


It is a familiar sight across the rural South: a weathered old truck that has been part of the family for generations, its paint faded by the sun and years of service, with a trailer hitched to the truck almost as permanent as the license plate. Every small town seems to have one parked under a pecan tree or beside a barn, still earning its keep long after the odometer has given up.
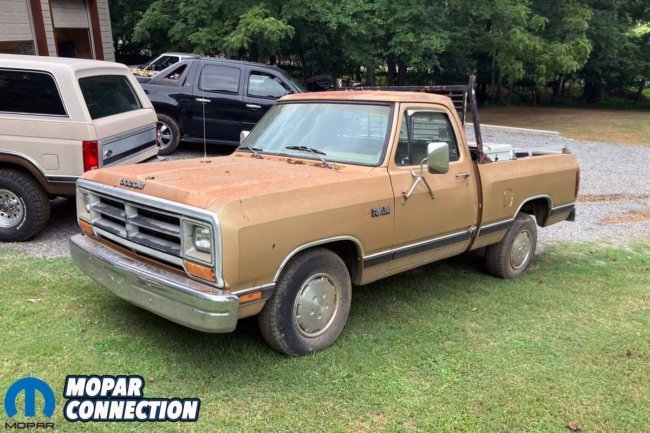

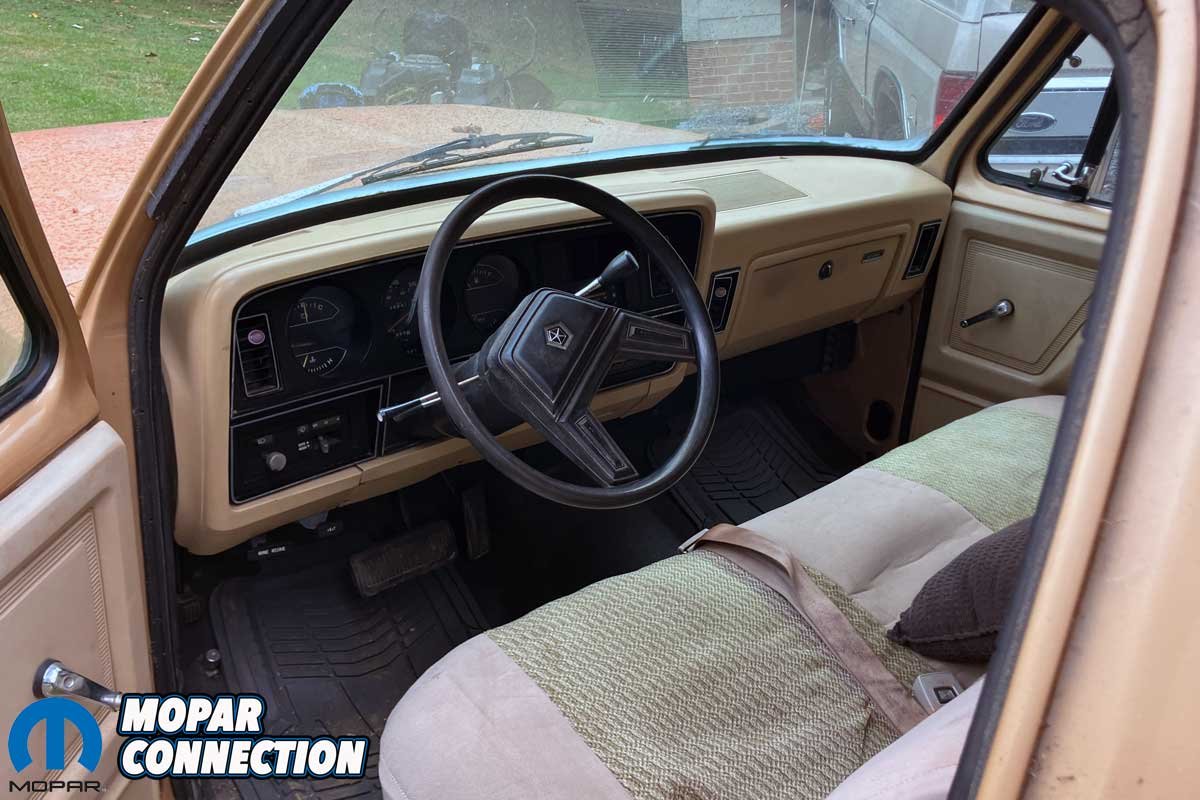
Above Left: A first look at our newly acquired 1987 Dodge D150 reveals a true survivor, honest patina, sun-faded paint, and decades of hard-earned character. Unrestored and unaltered, it is a genuine snapshot of a working truck that never quit. Above Right: Inside, the story shifts. The D150’s cab remains remarkably intact, with its original bench seat, dash, and trim showing only light wear. For a truck that has spent its life on the job, the interior condition is nothing short of impressive.
For the Smith family, that truck is a 1987 Dodge D150, a steadfast companion that has been in our family since the day it rolled off the dealership lot brand new. For 33 hardworking years, the Dodge served faithfully.
It hauled hay bales under the July sun, towed cattle trailers down rutted dirt roads, and brought home more project cars than anyone could count. But eventually, even the most loyal workhorse gets tired. A blown head gasket turned the 318 V8 into a steam locomotive, and sometime around 2019, the truck was parked for good.

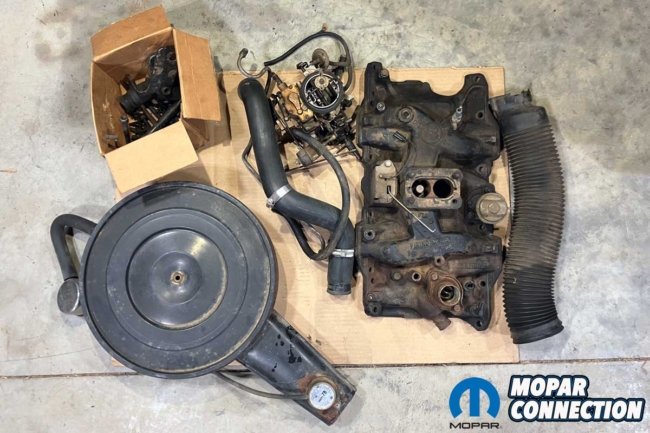
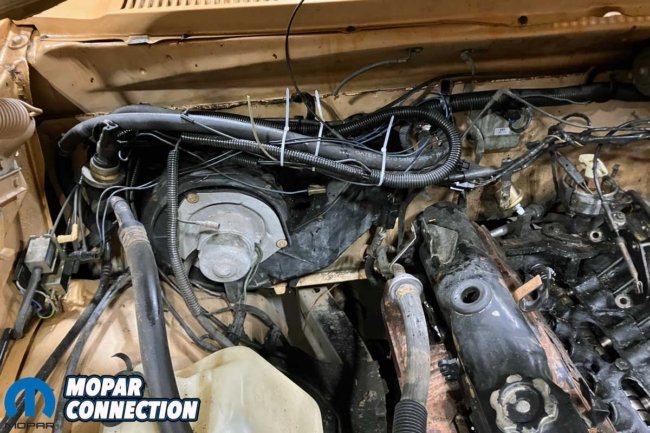
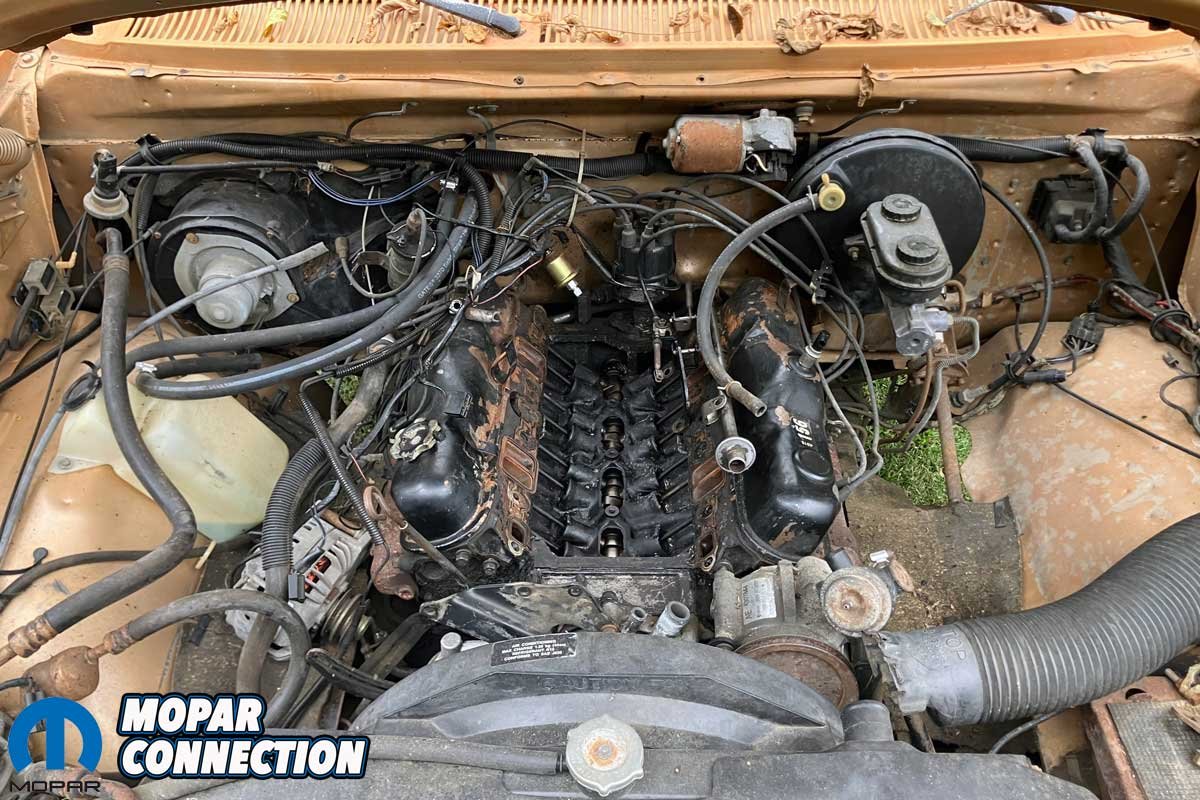
Above Left: Our poor 318 sits exposed and forgotten, its intake missing, the valley covered by a faded pink fleece blanket that did little more than keep the dust at bay. Above Center: Every part we could find was gathered from the truck’s old metal toolbox, a mix of bolts, brackets, sensors, and hardware that once held this D150 together. Above Right: Before diving into the teardown, we carefully labeled every hose and wire, moving them aside to make room for the real work.
Cecil Ray Smith, the truck’s original owner and my 85-year-old great-uncle, had started tearing down the engine before time slowed his progress. For years, the Dodge sat under a carport, its intake and accessories removed, a few parts tucked away for safekeeping.
The old pickup became part of the scenery until recently, when we decided it was time to give it another chance. With the help of Summit Racing, we set out to bring the family workhorse back to life.


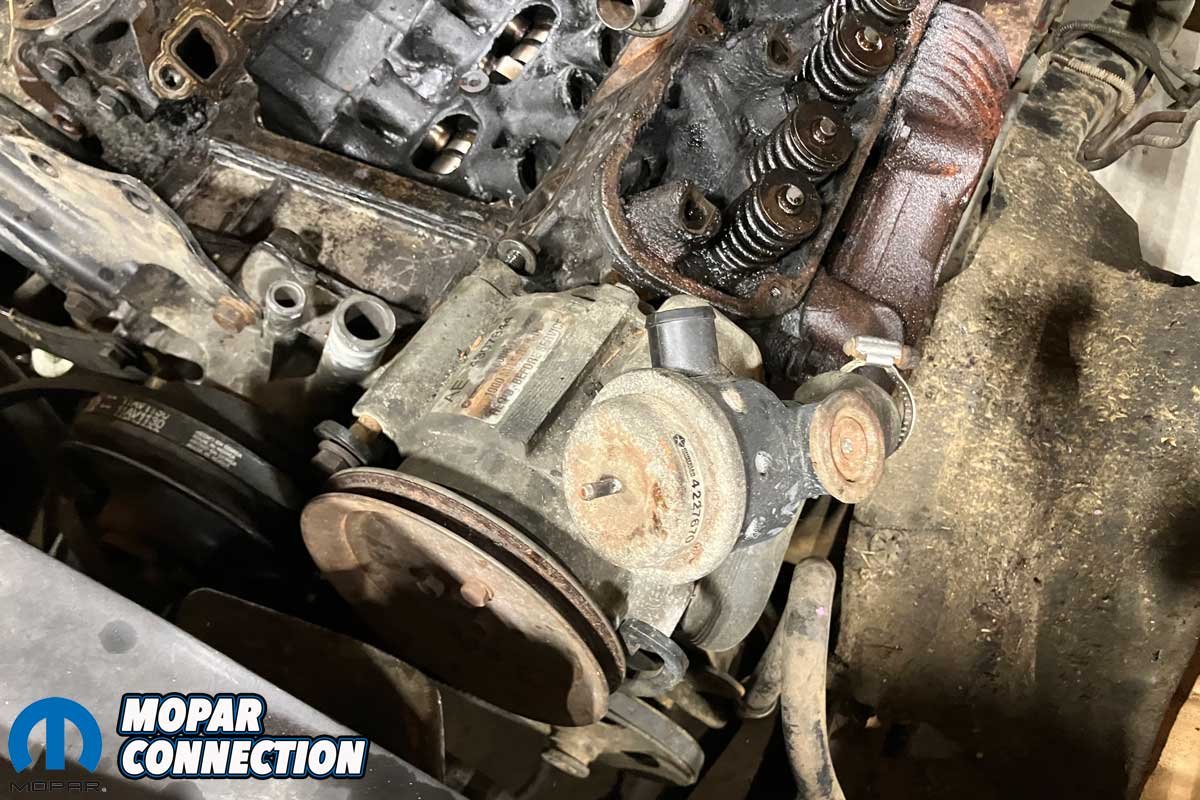
Above Left: The rocker shafts were carefully removed from the 318. Each bolt was loosened gradually to avoid bending the shaft under spring pressure. Above Center: The manifold and shaft hardware went straight into a PB Blaster bath to break loose decades of corrosion. Above Right: The factory air pump, long disconnected and quietly along for the ride, was finally pulled from the engine bay. It is a relic of another era and one component that will not be making a return during reassembly.
Because the teardown had begun years earlier, our first step was a combination of mechanical investigation and archaeology. We opened the toolbox in the truck bed and found a time capsule of hardware, including bolts, brackets, and sensors, neatly stashed away. Piece by piece, we laid everything out on a workbench, cataloging what we had and what might be missing. From the intake manifold and A/C brackets to the smog pump pieces, every part told its own story about the truck’s decades of service.
Once the inventory was complete, attention shifted to the engine bay. Years of grime, oil residue, and dust had accumulated, the kind of patina that only 38 years of hard work can create. We scrubbed, vacuumed, and wiped every inch, cleaning the intake valley and zip-tying the harnesses and throttle cable neatly out of the way. Every rusty bolt was soaked in PB Blaster to give us a fighting chance when teardown began.


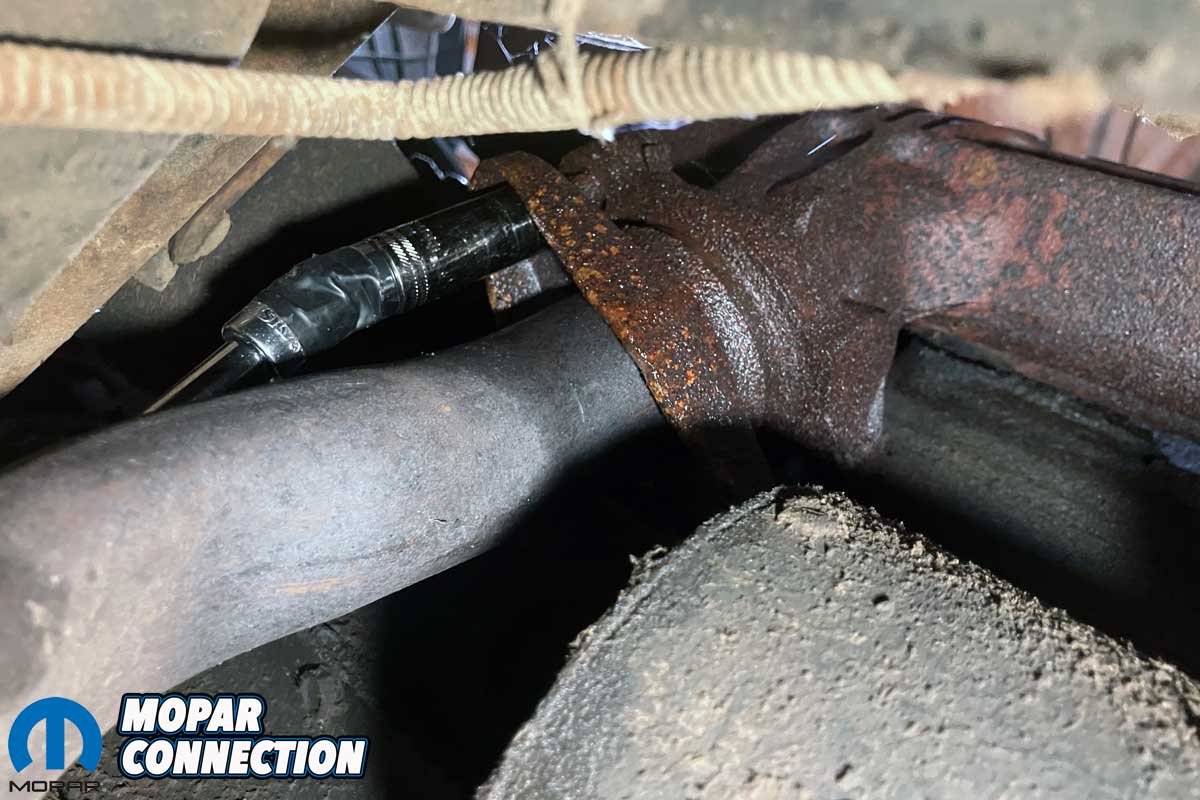
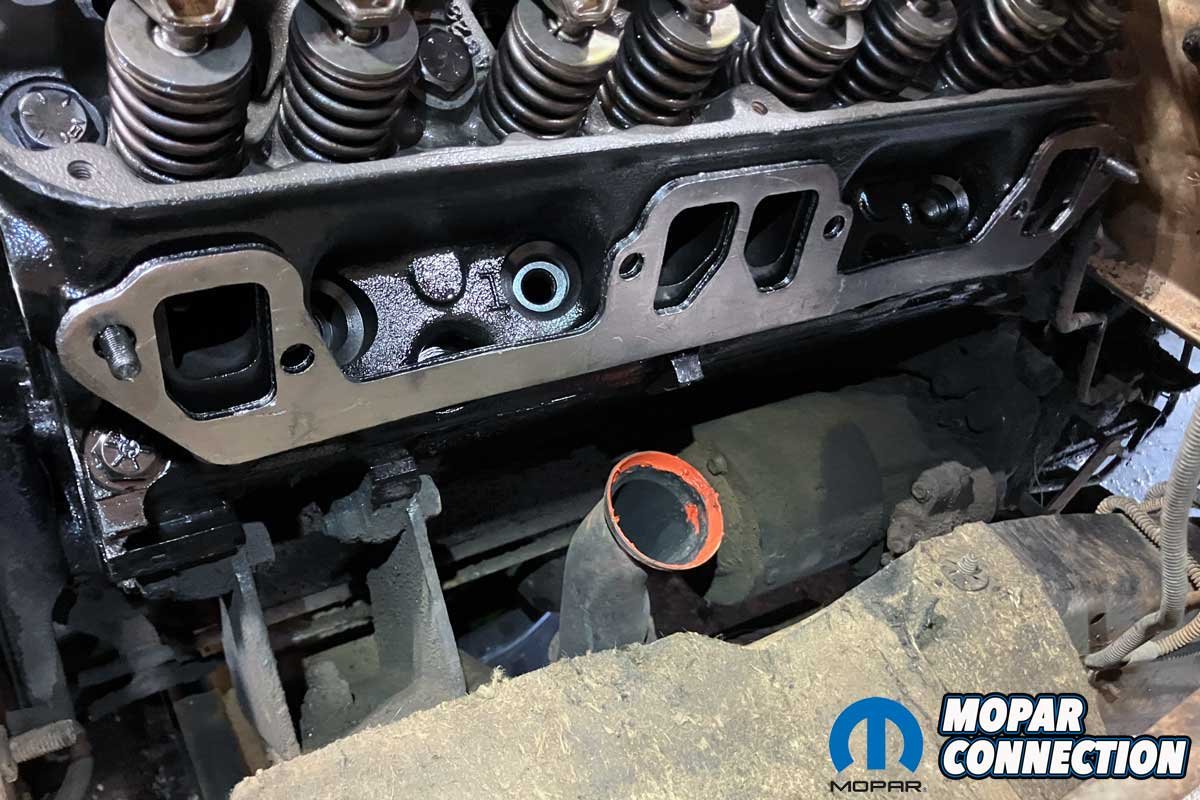
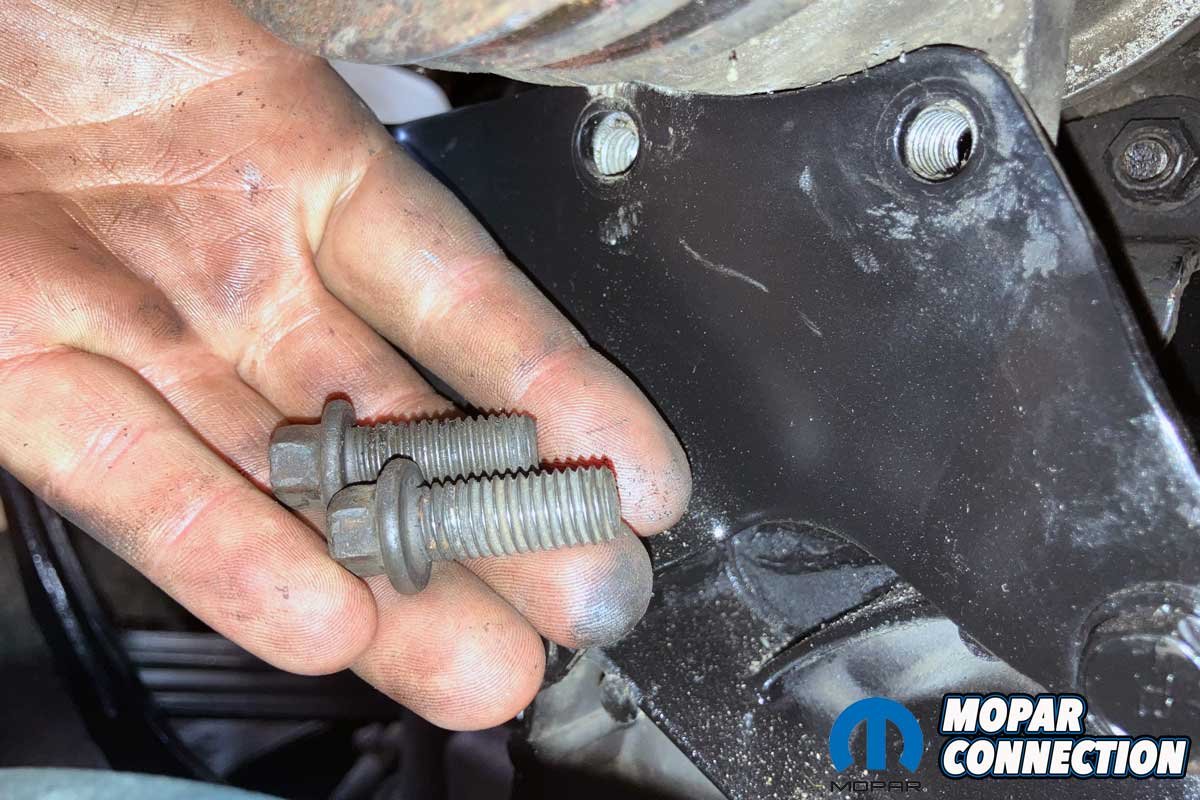
Above Left: With the smog pump, spark plugs, and intake manifold removed, the 318 begins to look bare. Above Center: Using a two-foot extension, swivel, and deep 9/16-inch socket, the stubborn ball-and-socket flange bolts were finally broken loose. Above Right: At last, both exhaust manifolds are free, dirty, heavy, and heat-scarred from decades of service.
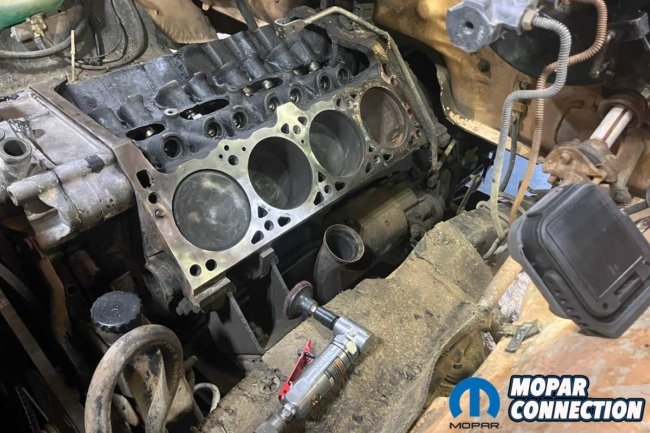
Disassembly started with the valve covers, followed by the exhaust flanges underneath. To our surprise, every bolt came loose without breaking, a minor miracle for an engine that had been through decades of heat cycles and neglect. We drained the oil and coolant, pulling the block drains to avoid a green puddle underfoot, then removed the exhaust crossover pipe and smog gear.
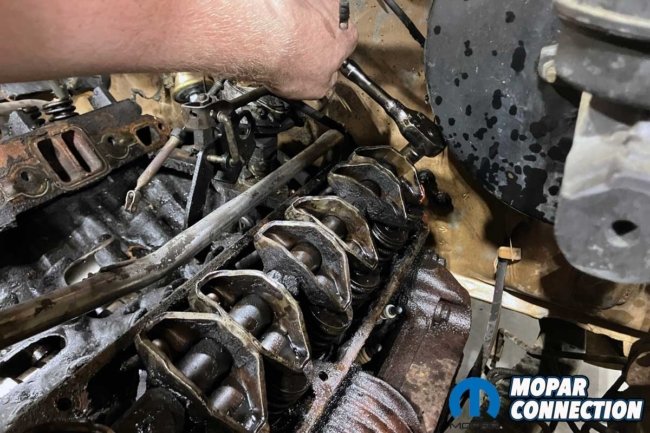
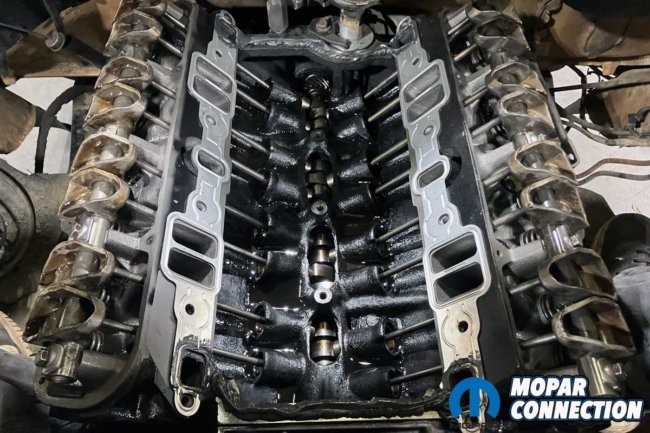
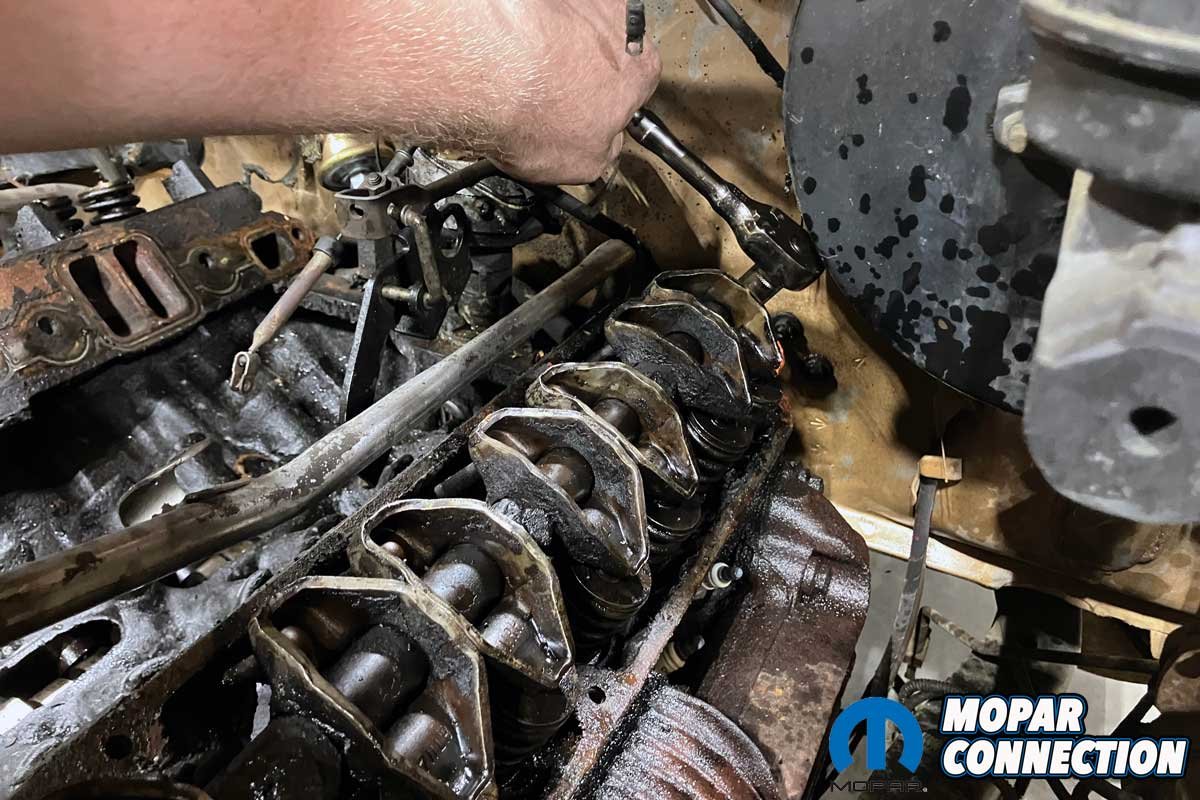
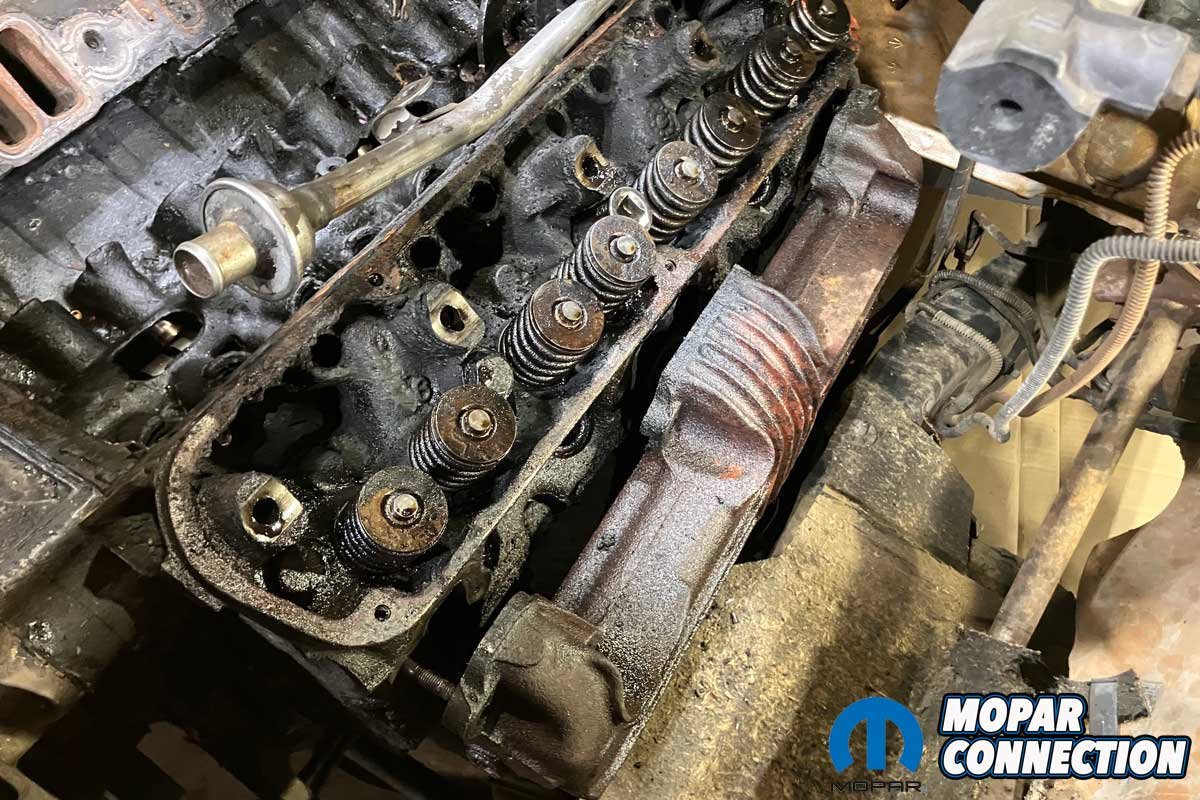
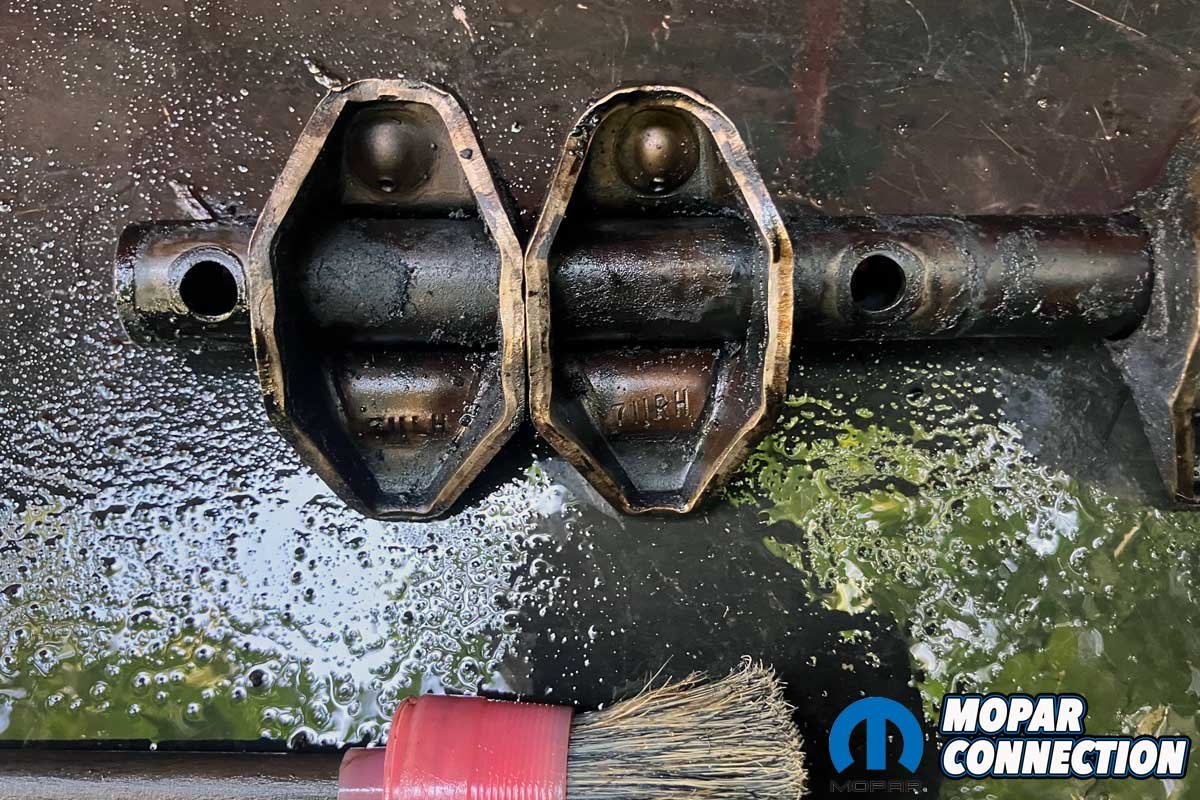
Next came the rocker shafts, pushrods, and cylinder heads. Mopar rocker shafts are notoriously easy to bend, so we worked slowly, backing each bolt off evenly in small increments. Despite the care, one shaft came out tweaked, though we found a solid replacement in our parts bin. Each pushrod was carefully removed, labeled, and kept for reassembly.


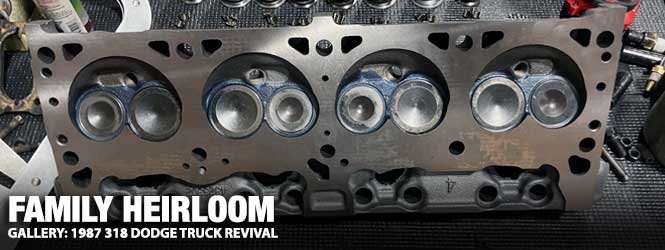
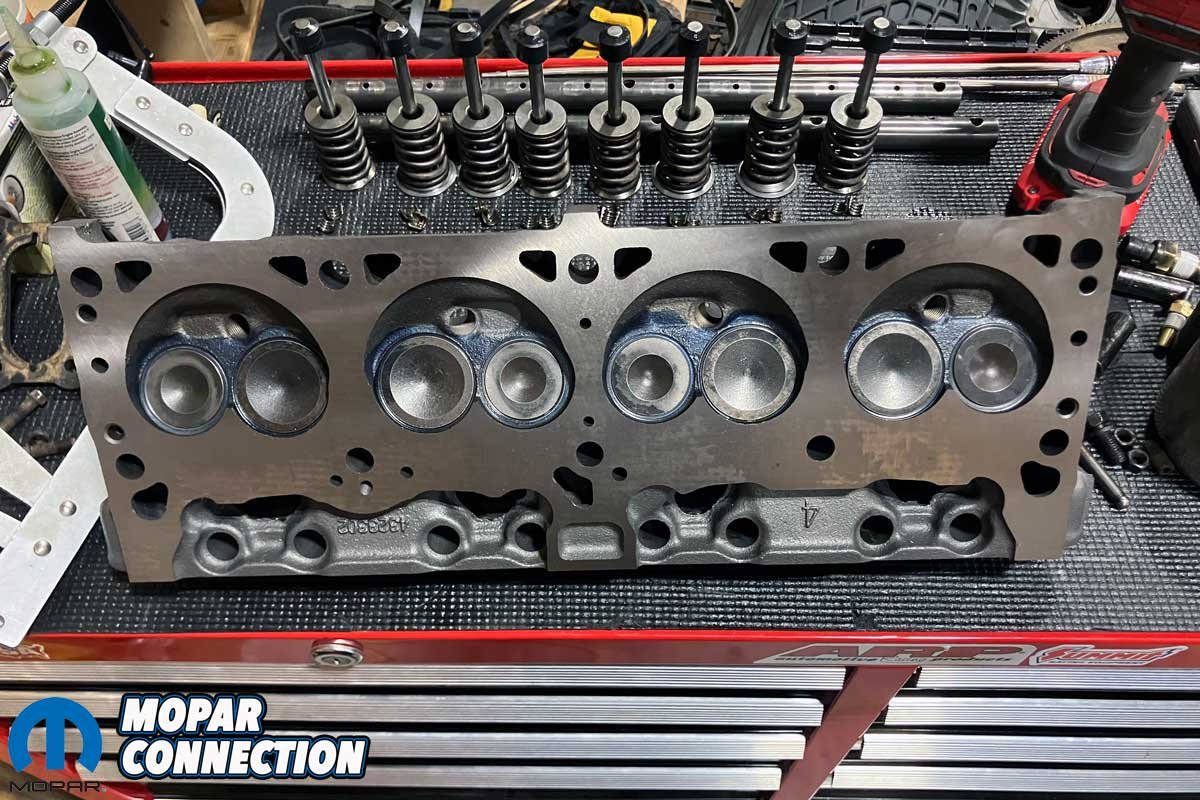
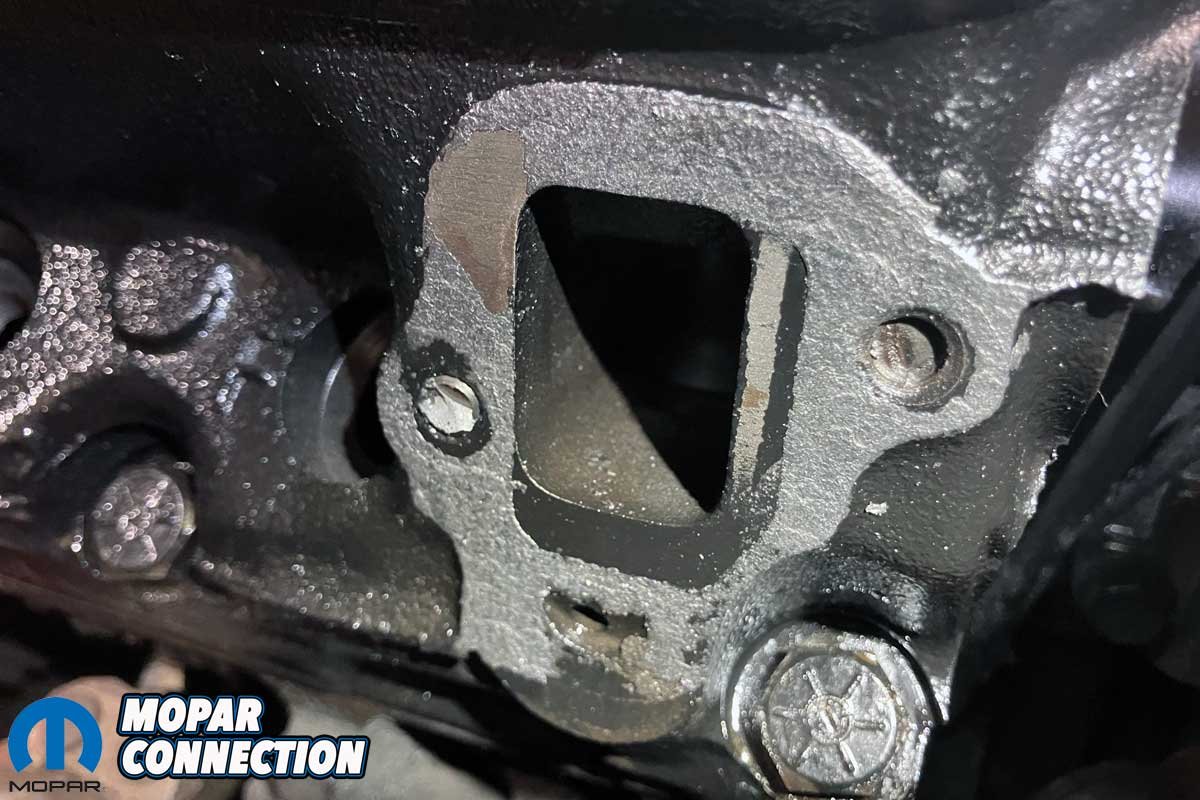
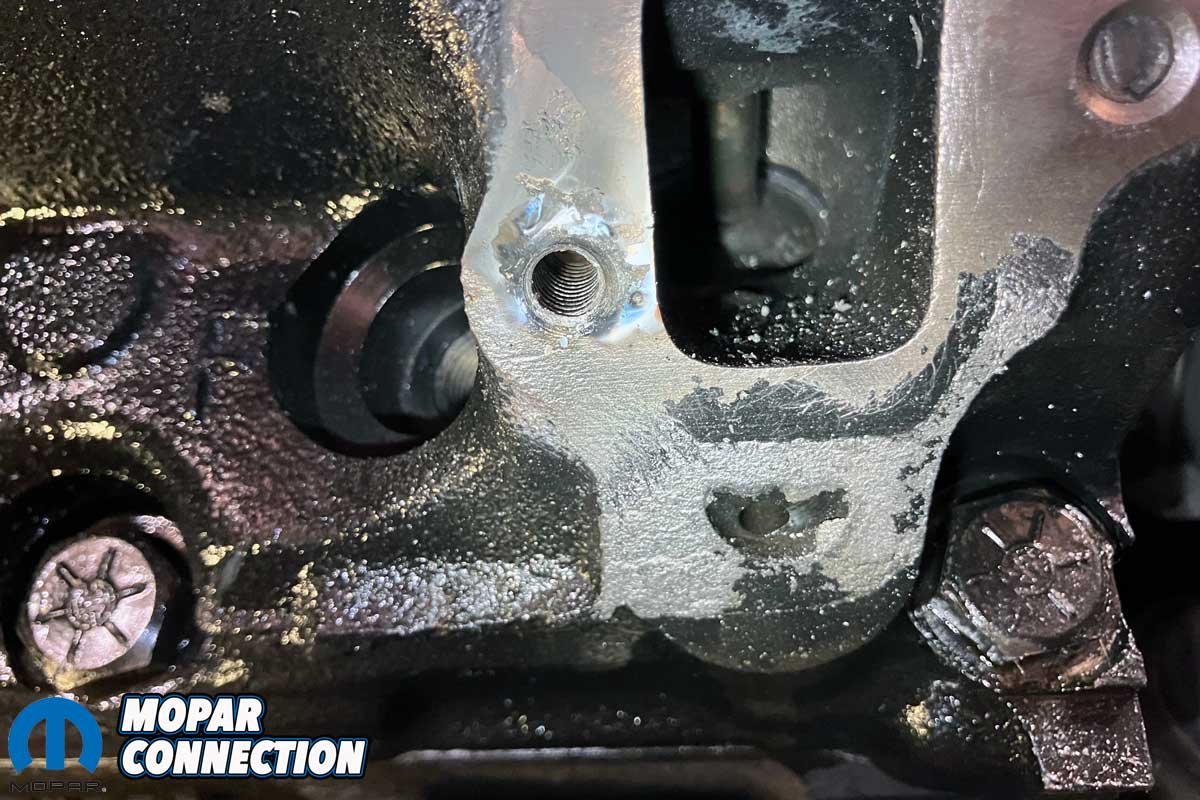
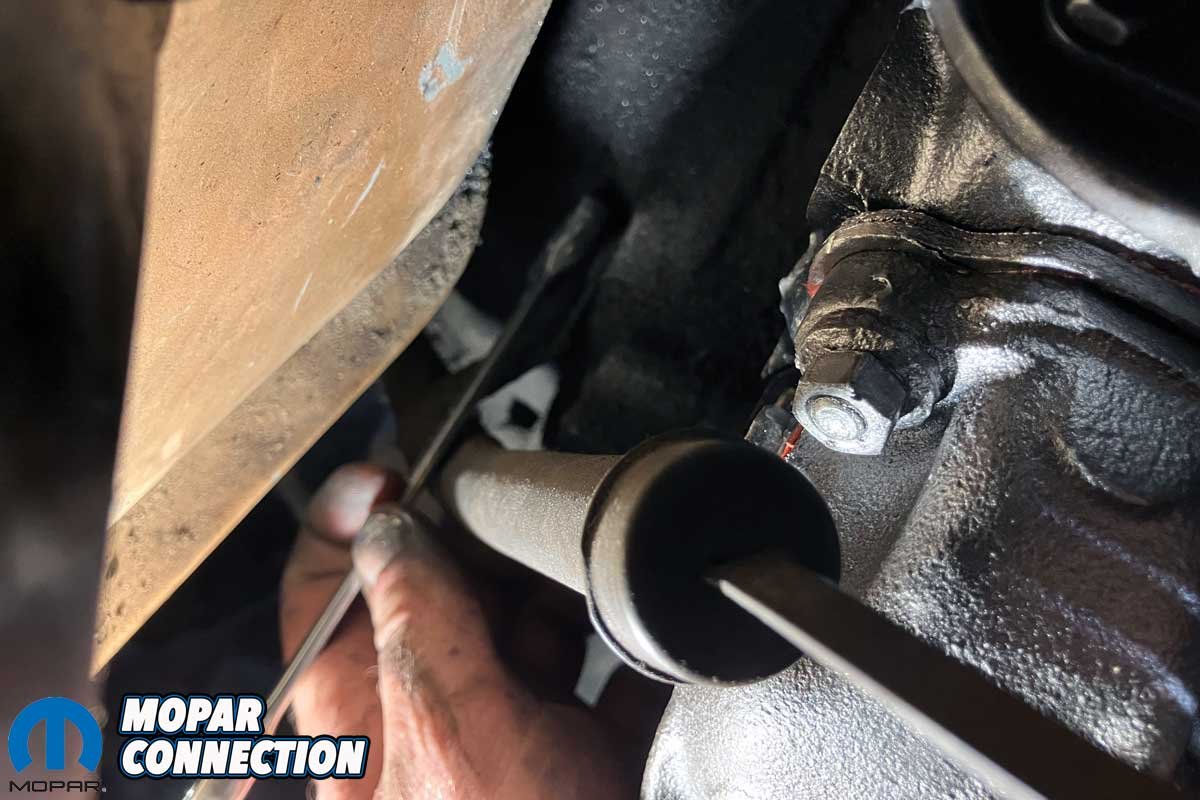
Above Left: We dropped off the cylinder heads at Headworks of Nashville, where expert machining and inspection will restore them to peak performance. Above Center: Back in the shop, the block decks were carefully cleaned with a Scotch-Brite wheel, stripping away years of grime and preparing a smooth, flawless surface for the heads. Above Right: Each head-bolt hole was meticulously chased and cleaned, ensuring perfect threads and a secure, leak-free assembly when the engine comes back together.
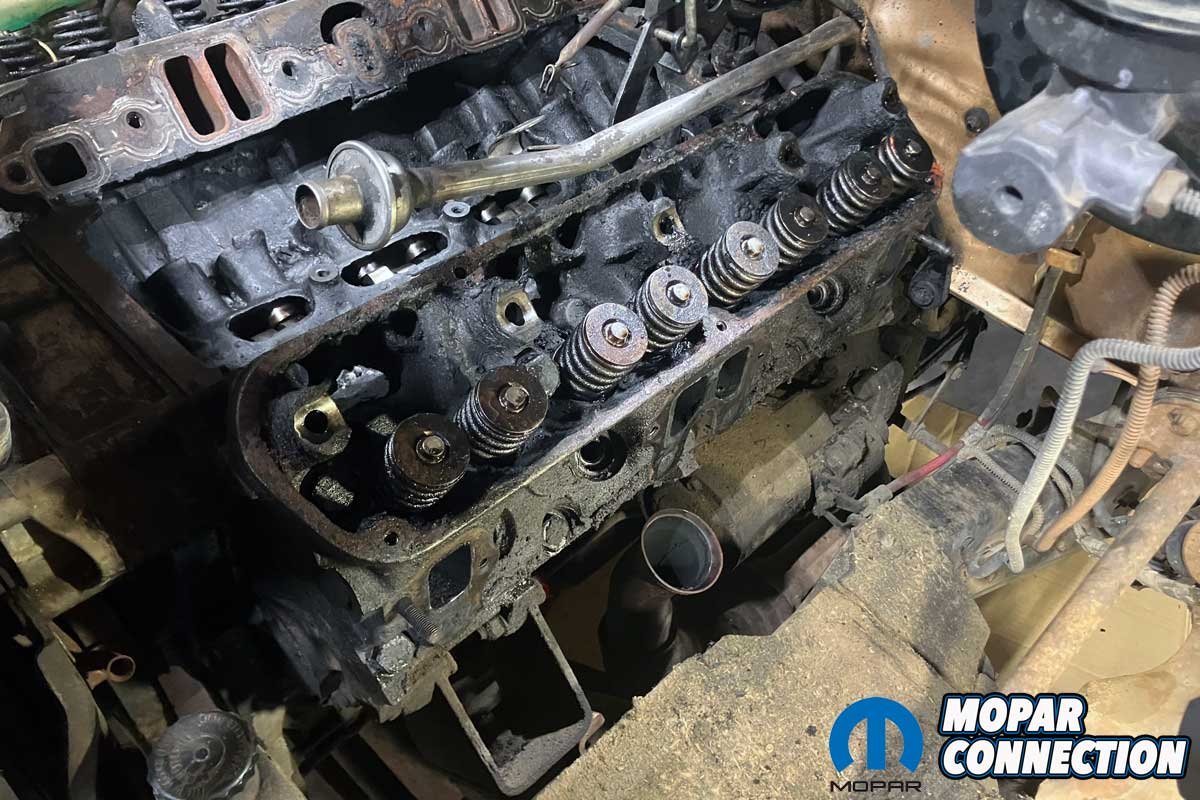
The removal of the cylinder heads, held by ten bolts each, required patience and finesse. Working from the outer bolts inward in a reverse torque sequence, we loosened each one. The center bolts near the valve springs required a thin-wall socket, and the rearmost bolts, located by the brake booster, required some creative wrenching.
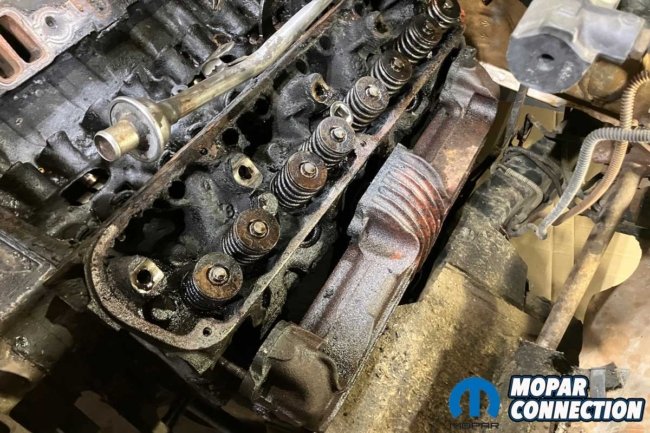
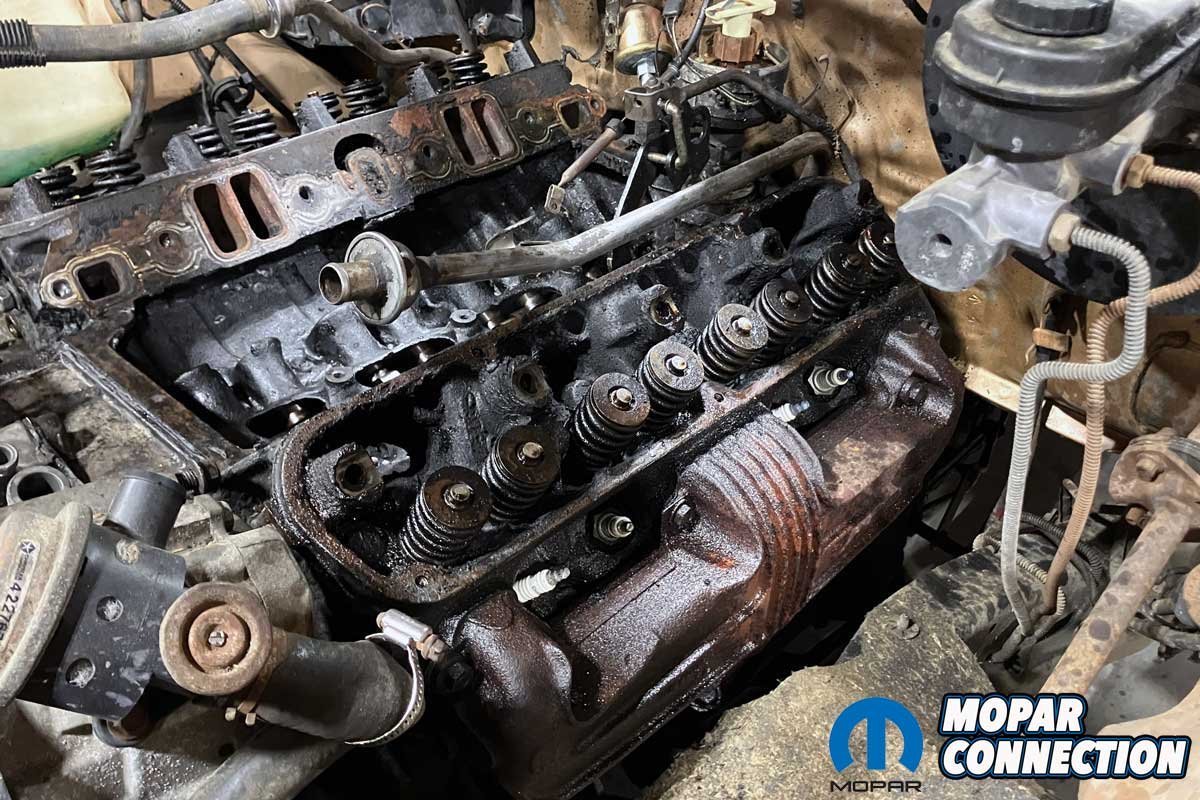
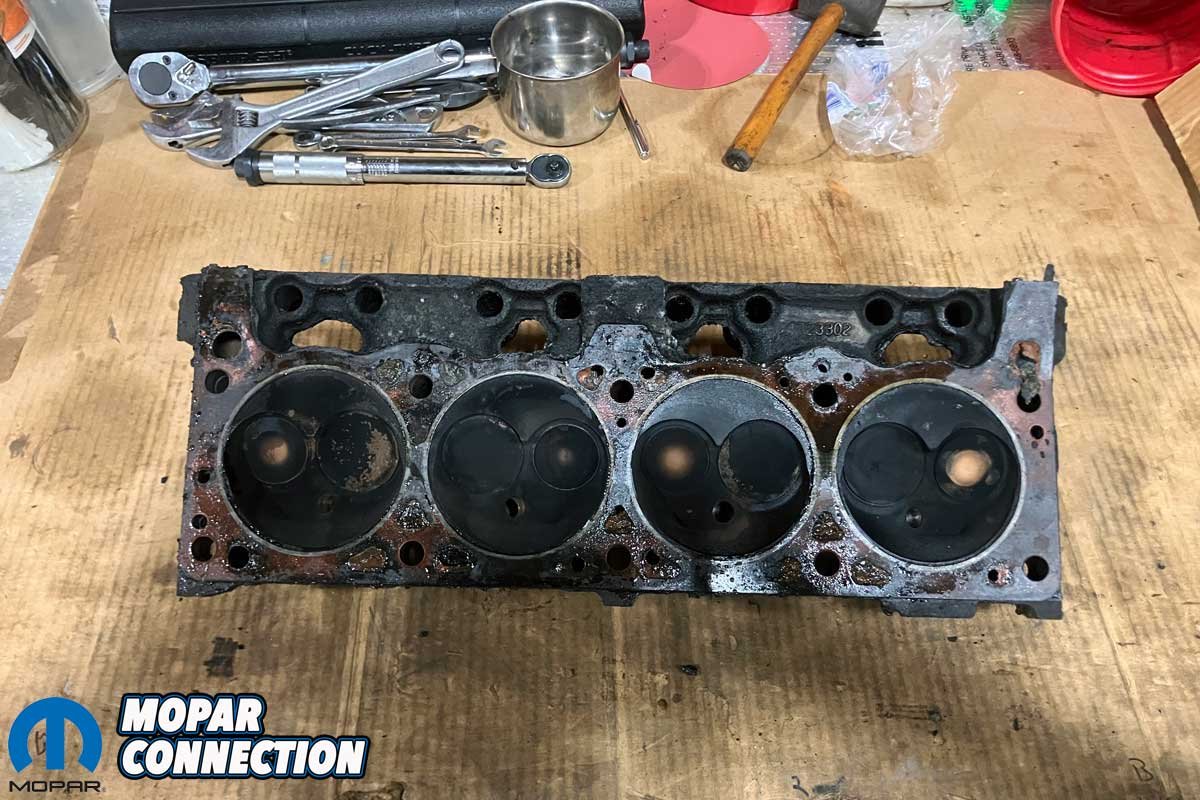
Once all but one bolt was out, a few well-placed taps with a dead-blow hammer freed the head. When we removed the bolt and then the head, the culprit was obvious: the head gasket had failed, the likely cause of the old Dodge’s “steam engine” act.
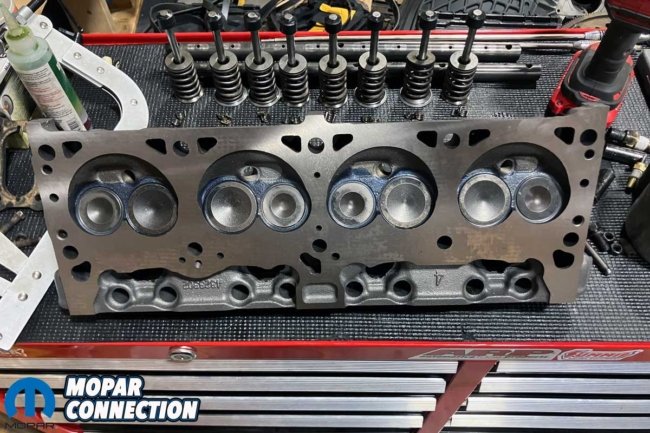
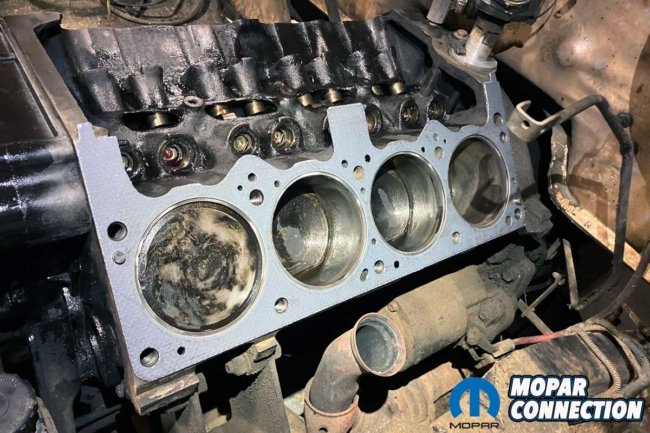

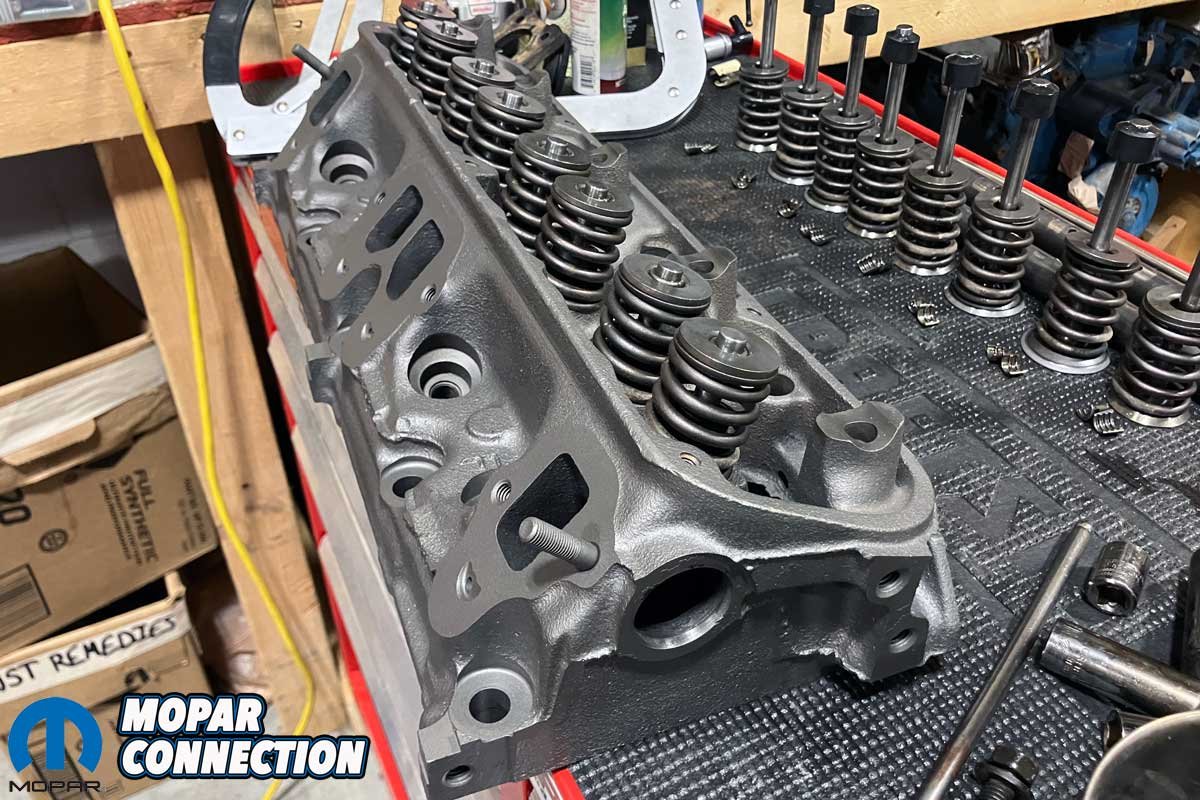
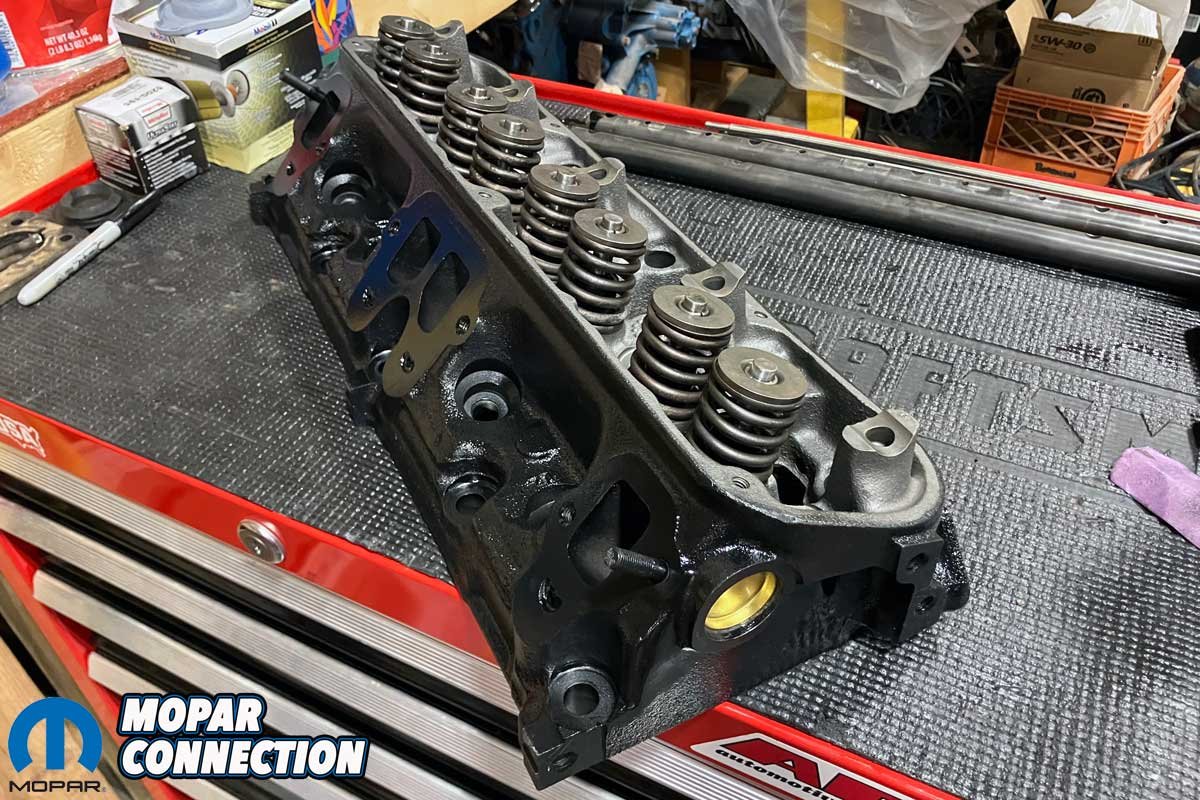
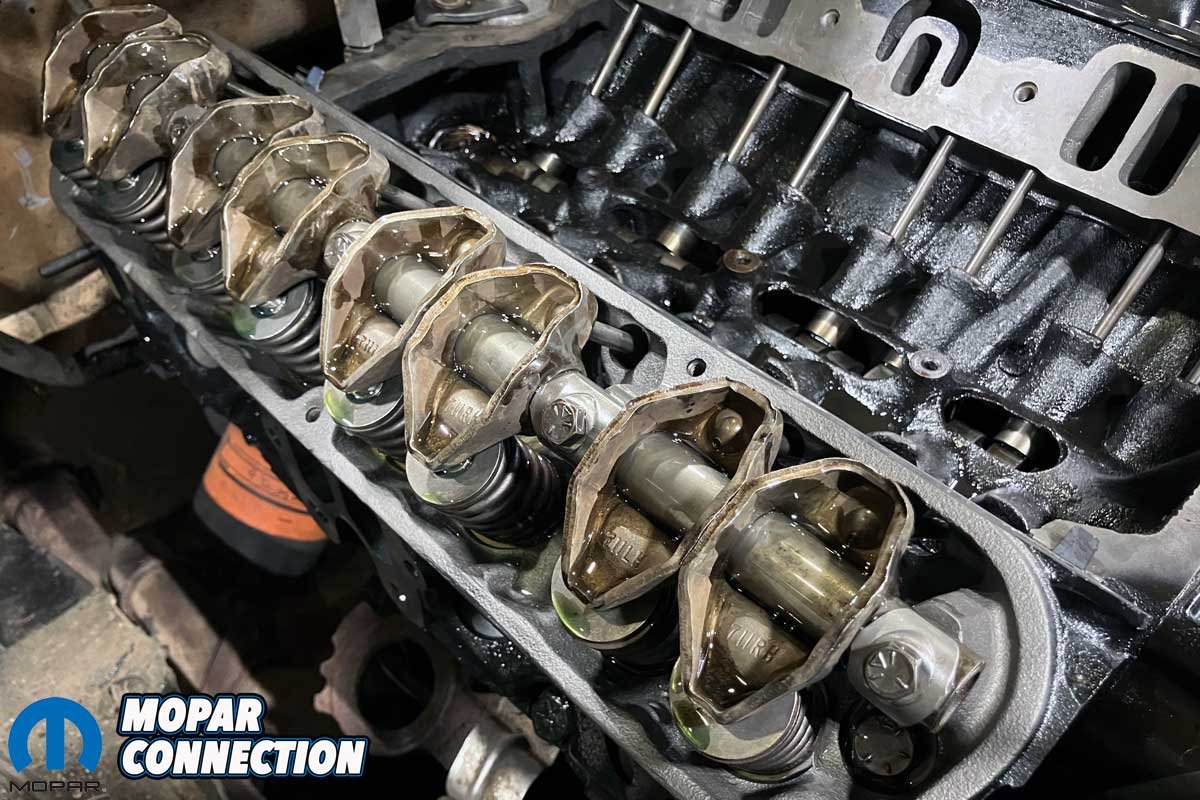
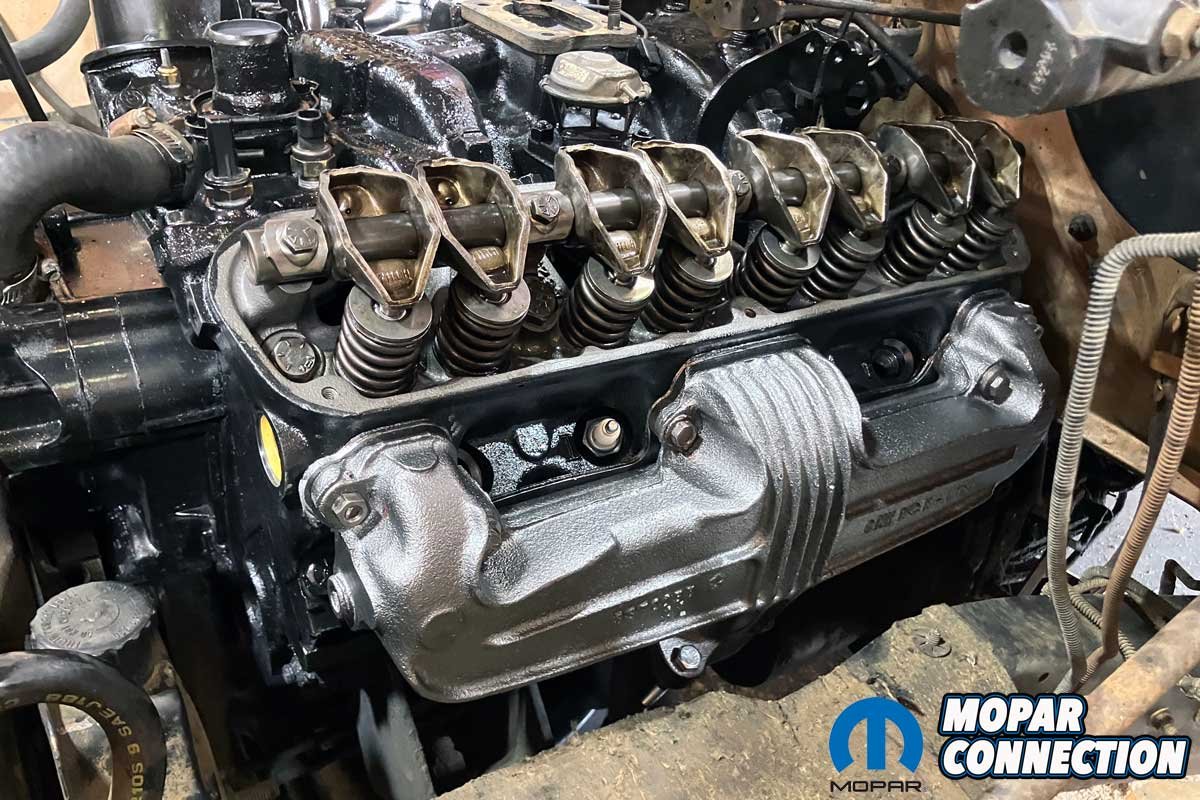
Above Left: A close-up reveals the excellent machine work performed by Headworks of Nashville, smooth surfaces, perfectly prepped for a flawless rebuild. Above Center: Our new Fel-Pro head gasket was carefully set in place, the unsung hero that will ensure a tight seal and trouble-free operation once everything is torqued down. Above Right: With the freshly machined heads reinstalled, the cleaned tappets, pushrods, and rocker shaft assemblies were carefully returned to their rightful places.
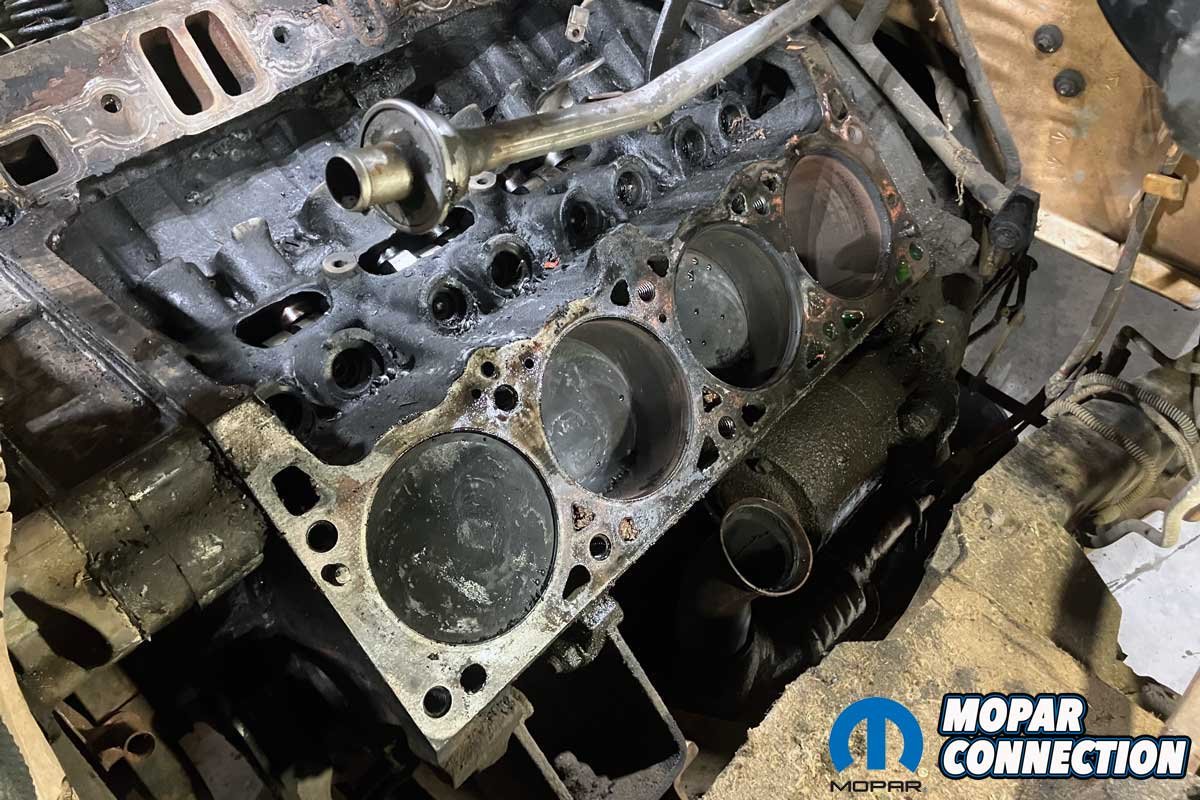
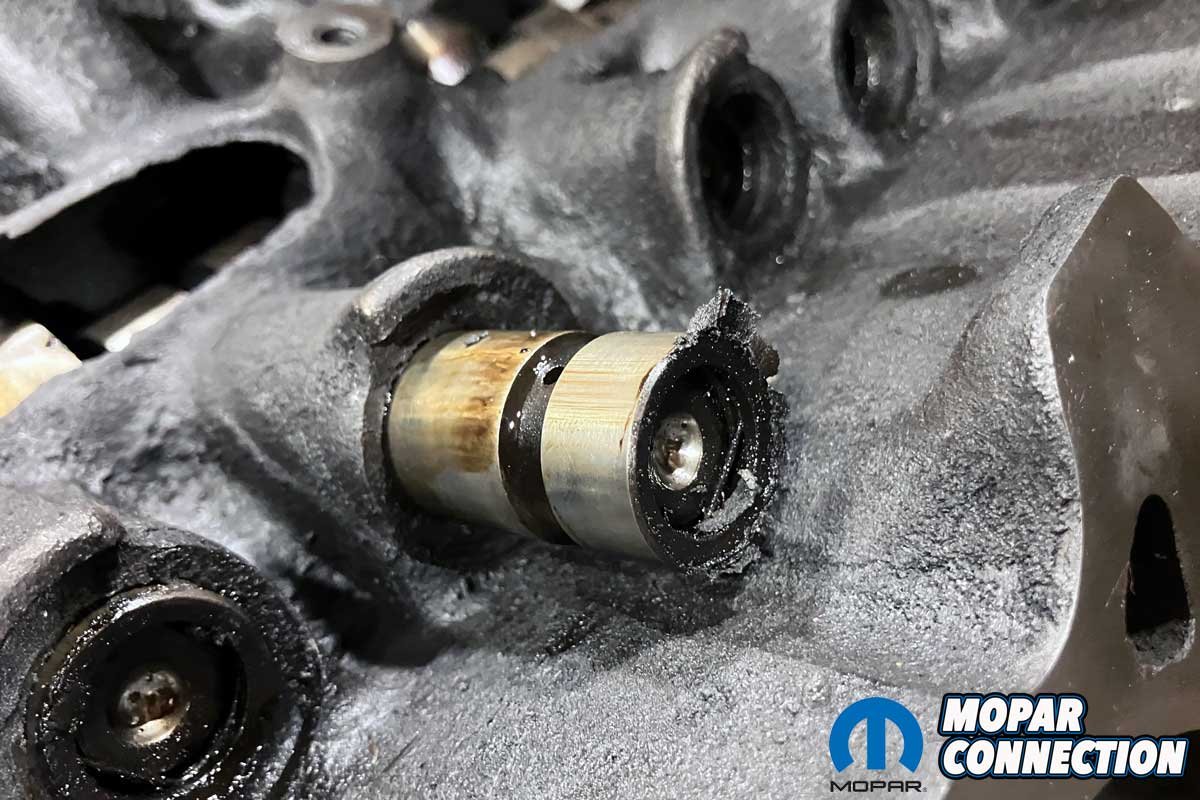
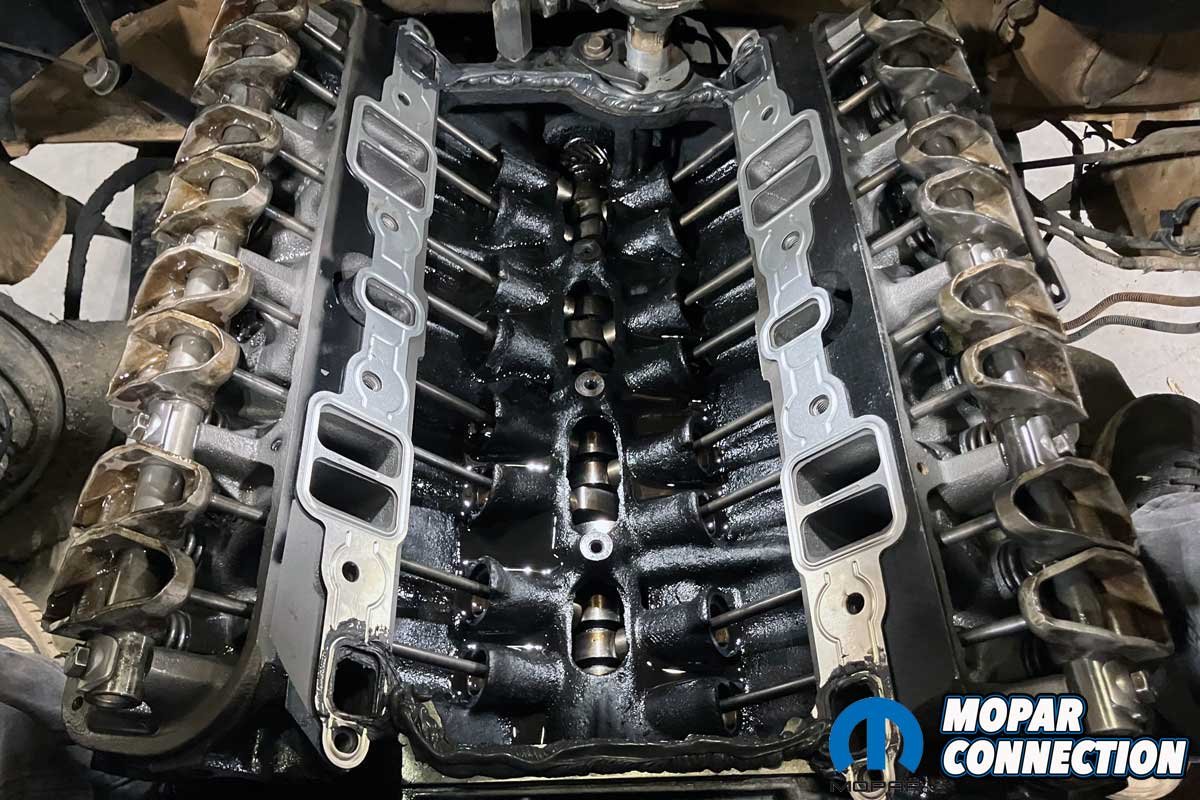
With both heads removed, we cleaned the lifter valley and pulled the lifters for inspection. Each was cleaned, lubed with assembly lube, and returned to its original bore. The deck surfaces were scrubbed with brake cleaner and a red Scotch-Brite wheel, kept flat to avoid any low spots.
The heads were sent to Headworks of Nashville for a complete refresh: cleaning, magnaflux inspection, resurfacing, and new exhaust seats and guides. Each head passed the pressure testing and came back looking brand new. We painted them in factory semi-gloss black and installed brass core plugs for a bit of contrast, a small but satisfying visual touch.

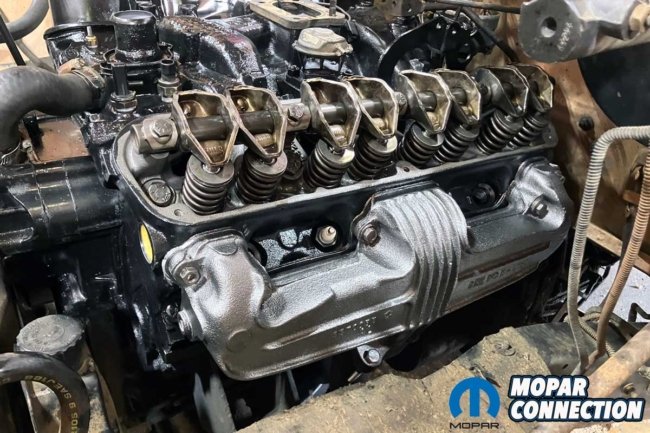
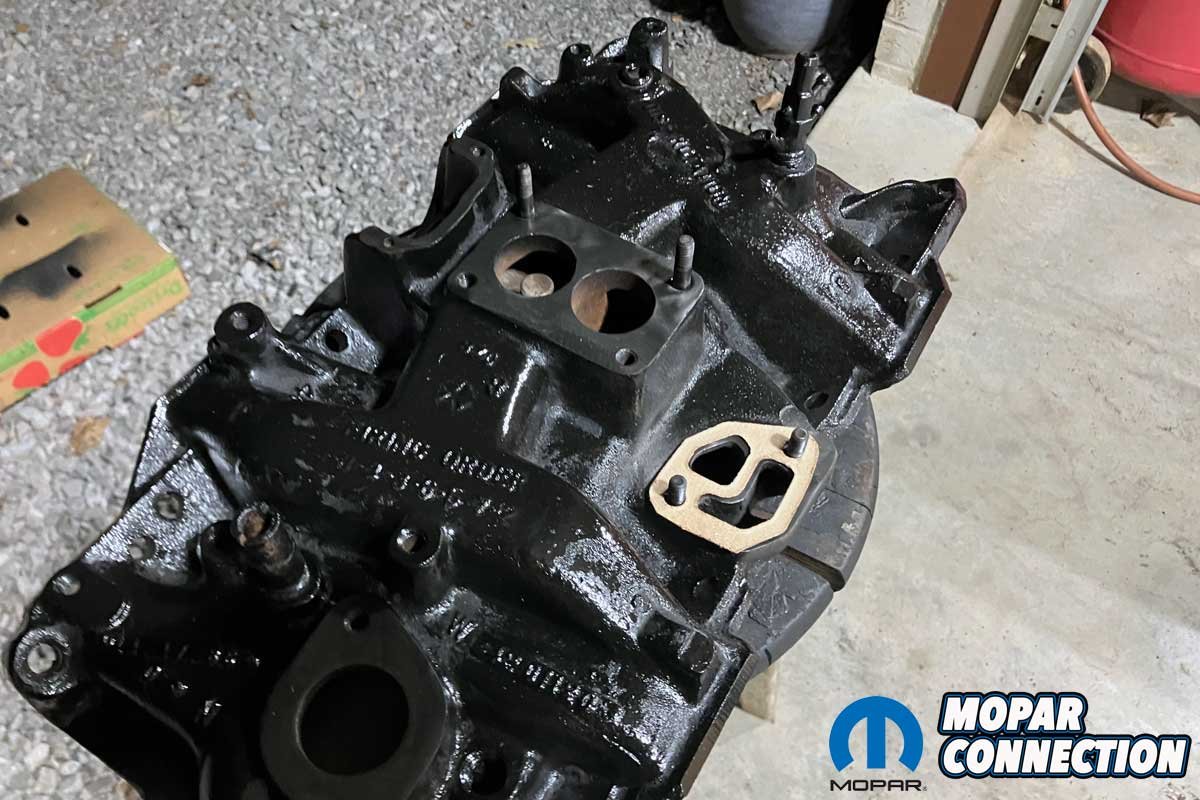
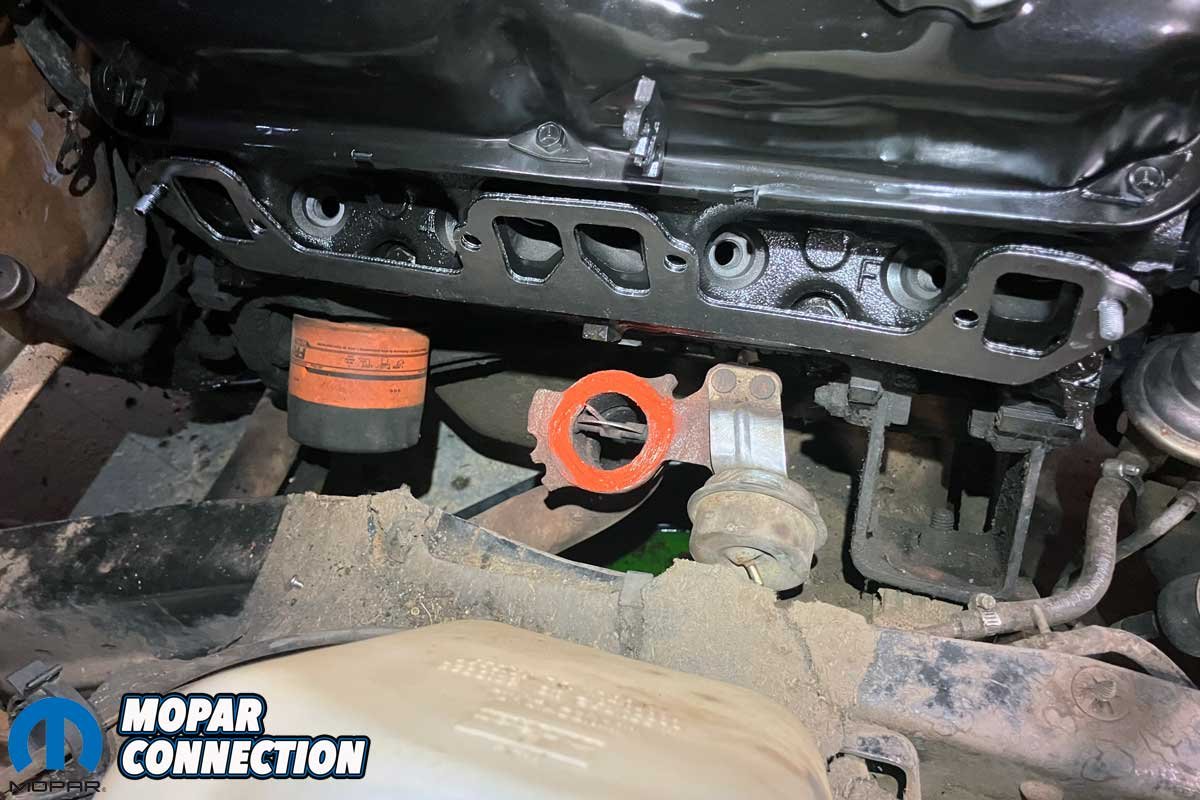
Above Left: We carefully installed the Fel-Pro intake gaskets, complemented by a precise 3/8-inch bead of silicone along each end rail of the block, as well as a smaller bead at the water ports. Above Center: Our freshly restored intake was lowered into place, marking a significant step toward reassembling this long-dormant small-block. Above Right: The driver-side exhaust manifold was secured, paired with a complete set of Champion spark plugs.
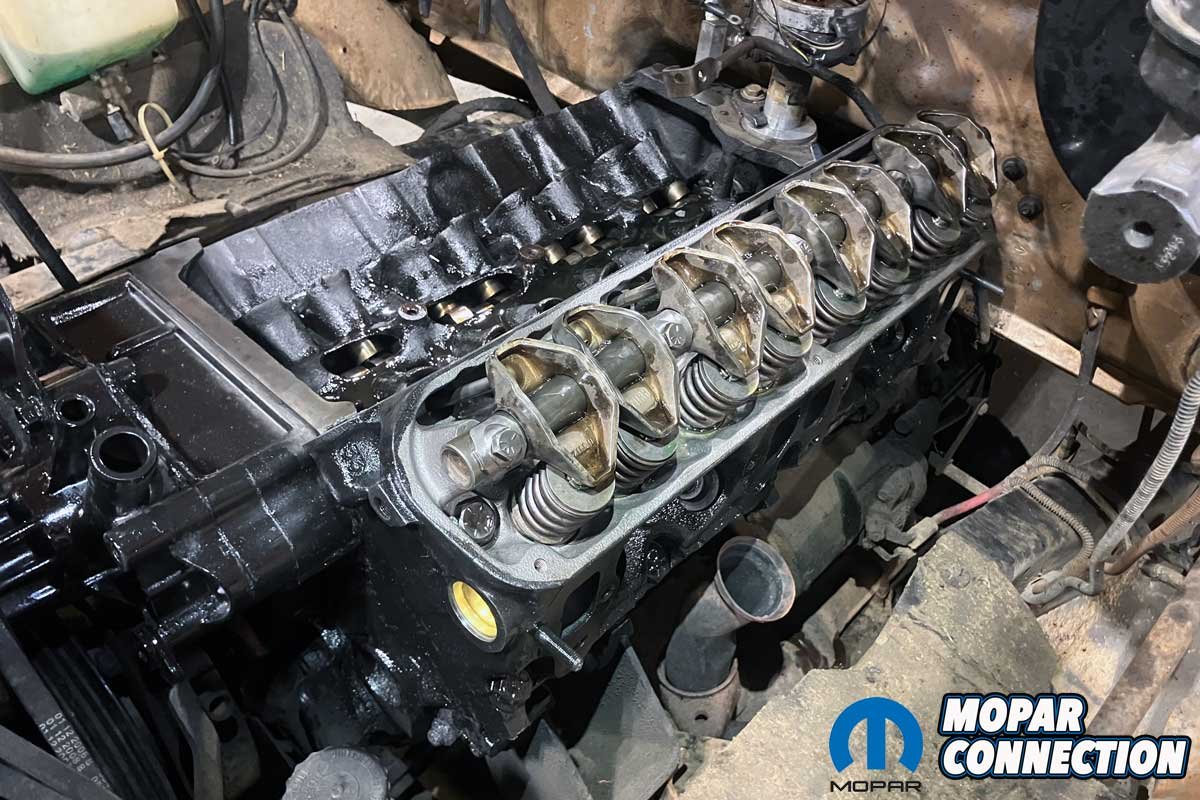
Reassembly began with fresh Fel-Pro head gaskets laid carefully on the decks. Each head was torqued in three stages to 85 ft-lbs. Then, the pushrods were installed, followed by the rocker shafts (notches left and down), and they were torqued to 15 ft-lbs, again in small increments to prevent bending.
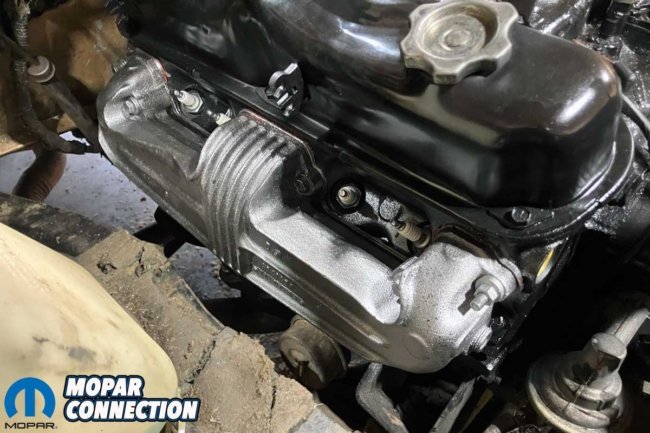
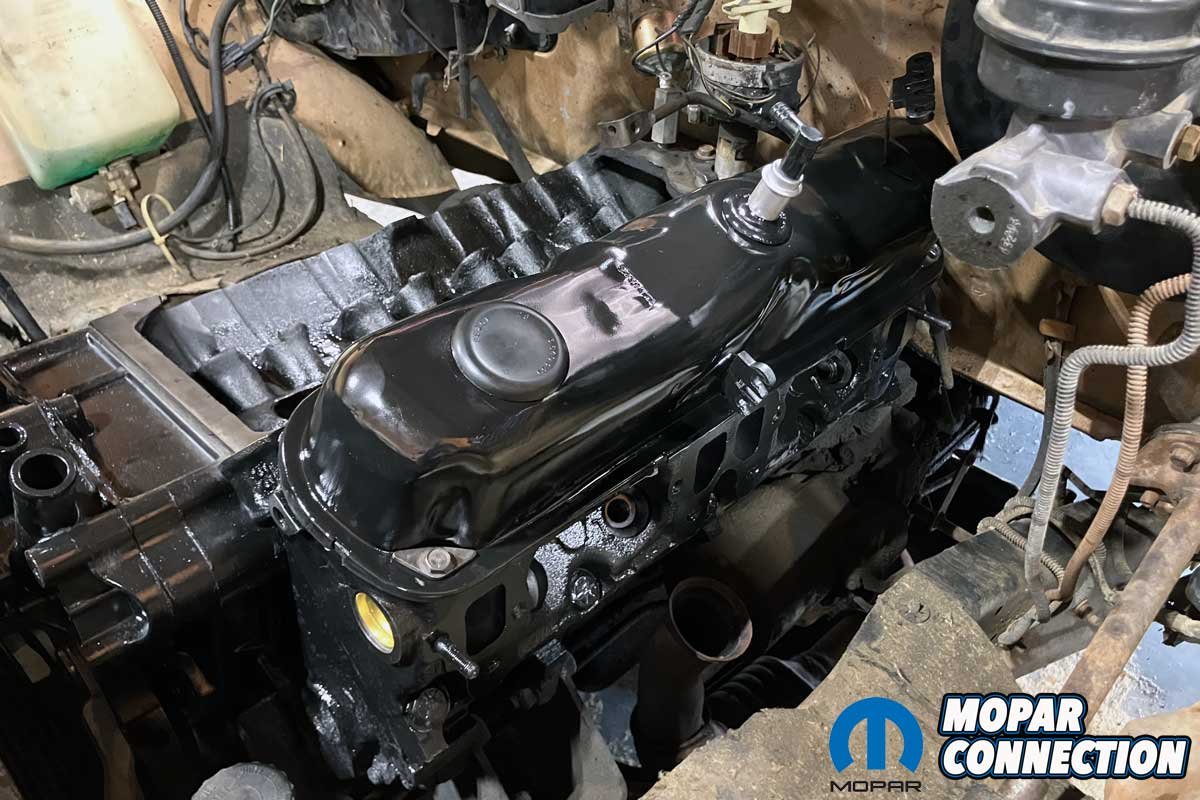
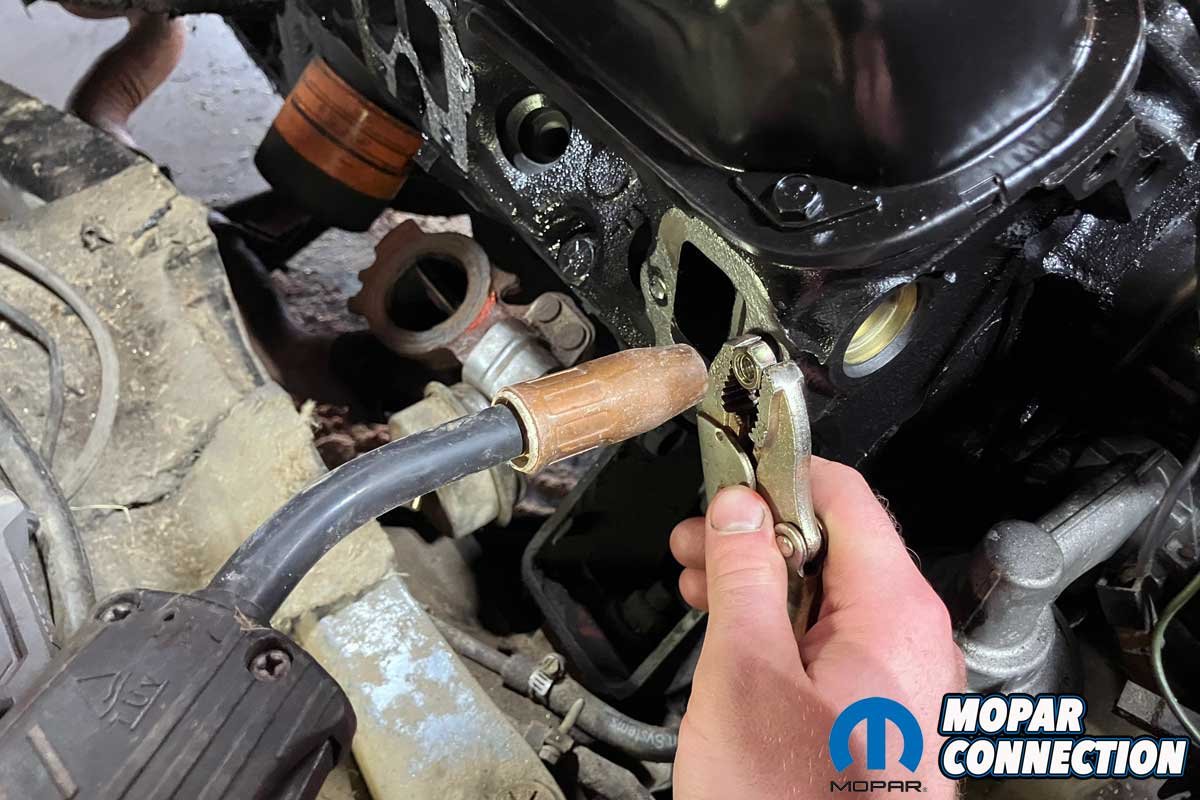
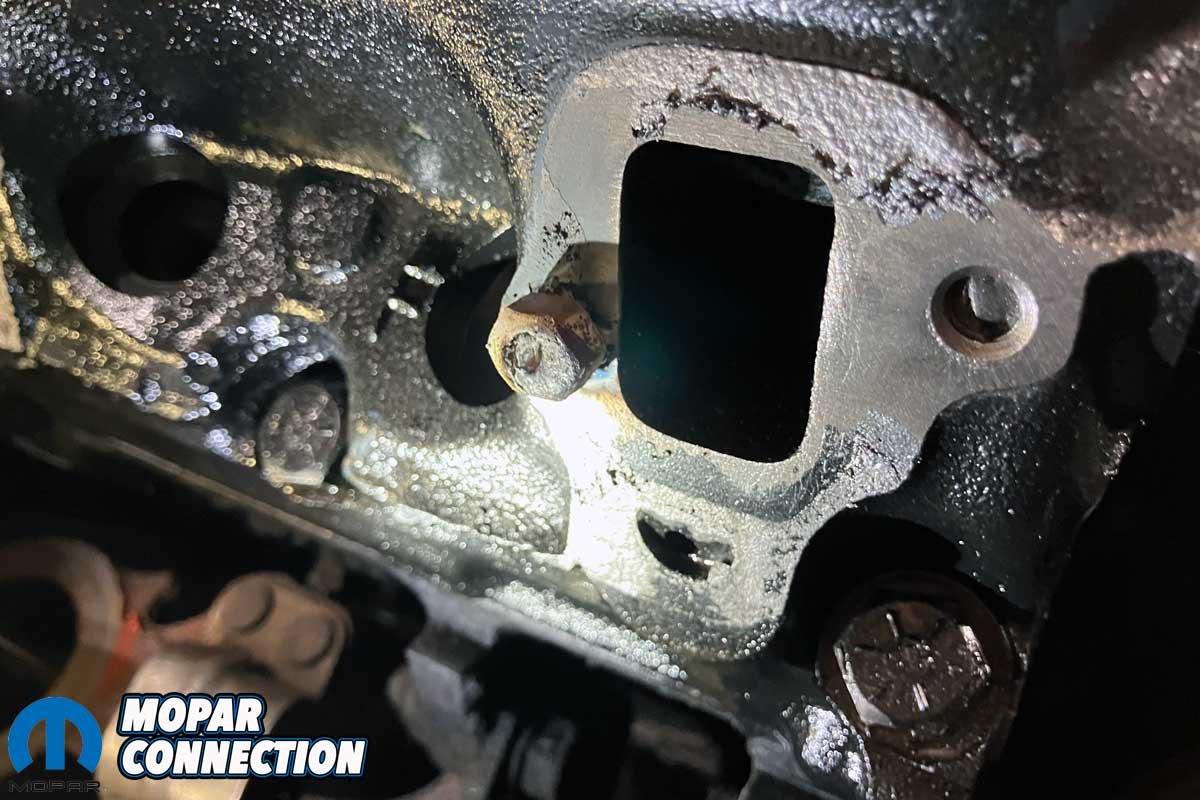
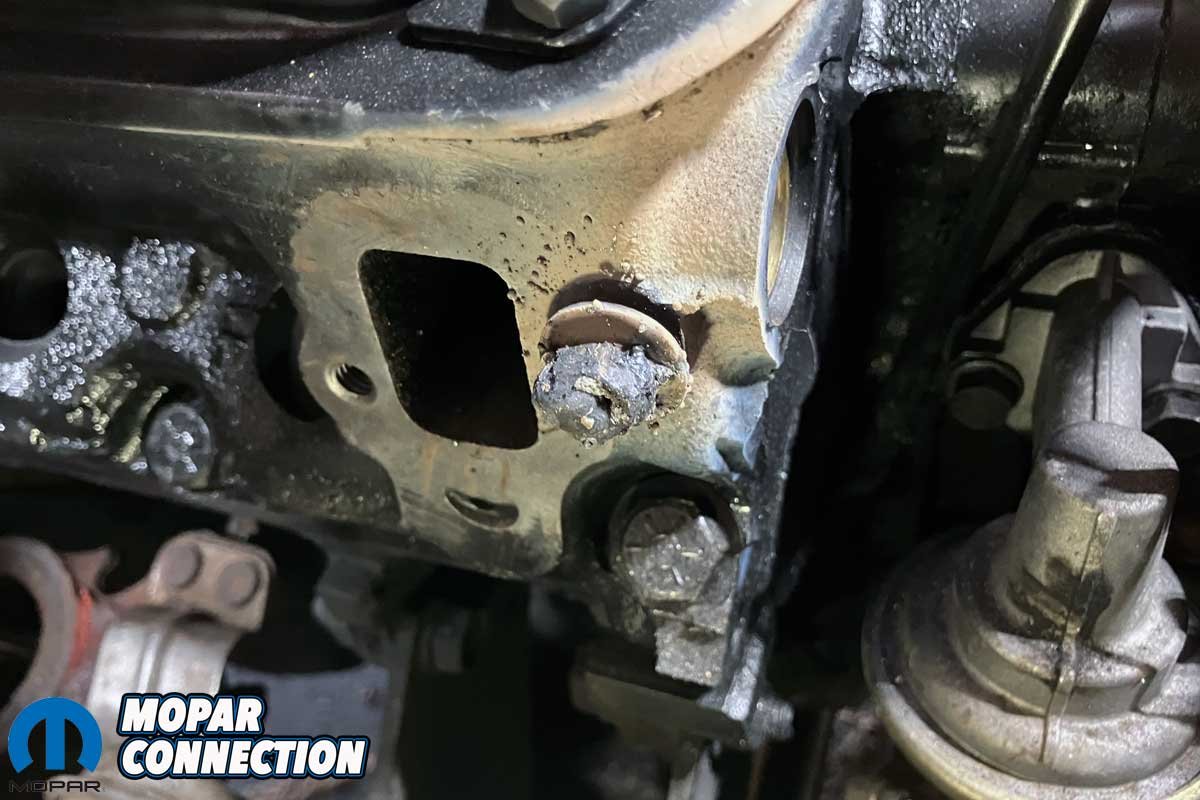
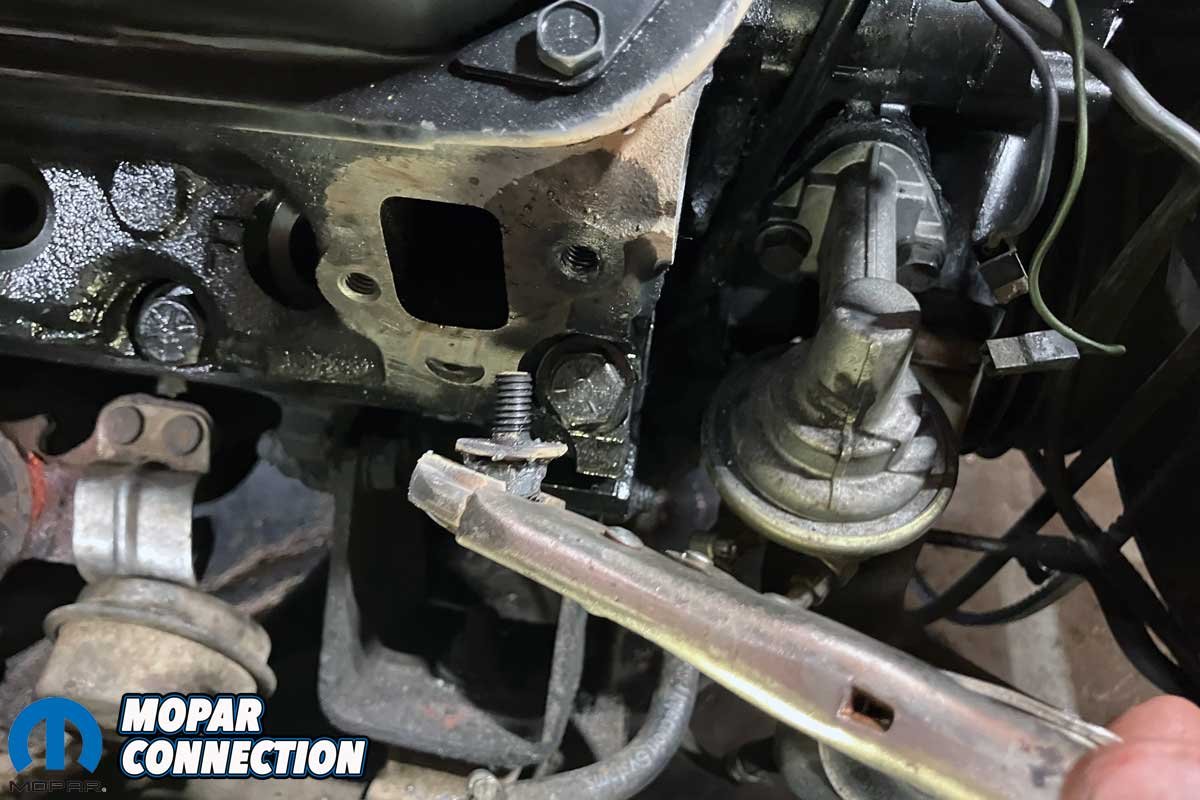
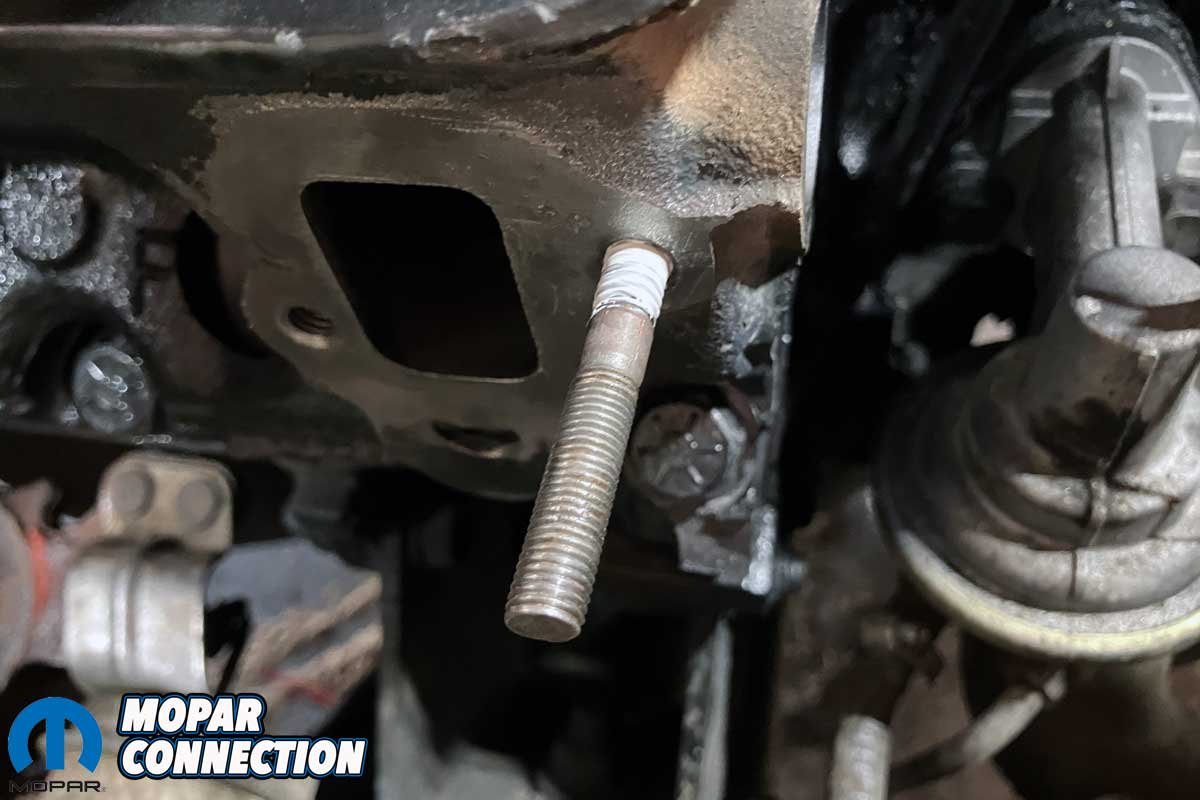
We fitted the refurbished valve covers with new gaskets and lightly tightened them to allow the silicone to set. The exhaust manifolds followed, sealed with Rem-Flex gaskets and torqued evenly. While tightening the passenger-side manifold, both bolts on cylinder #2 snapped, a frustrating but familiar setback. The first bolt came out easily after welding a nut to its stub, but the second bolt required thirteen careful weld build-ups before it finally backed out cleanly.

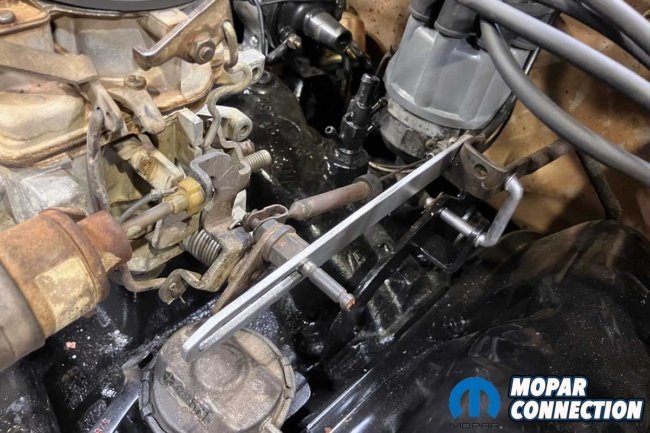
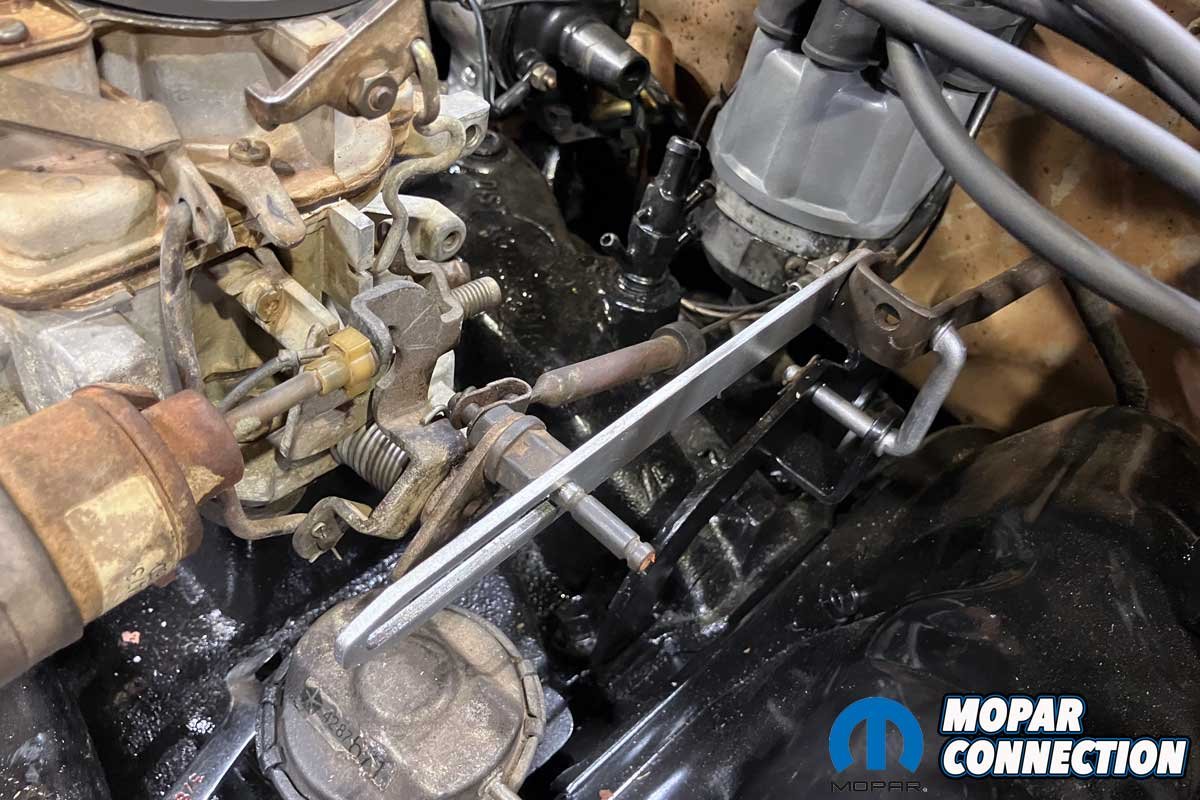
Above Left: Our fully restored intake manifold was reinstalled for the first time in over half a decade. Above Center: The heater hoses, along with assorted brackets and sensors, were carefully reattached to the manifold, ensuring all auxiliary systems were ready to perform as intended. Above Right: The throttle cable and kickdown linkage were installed, restoring complete control over engine response and automatic transmission function.
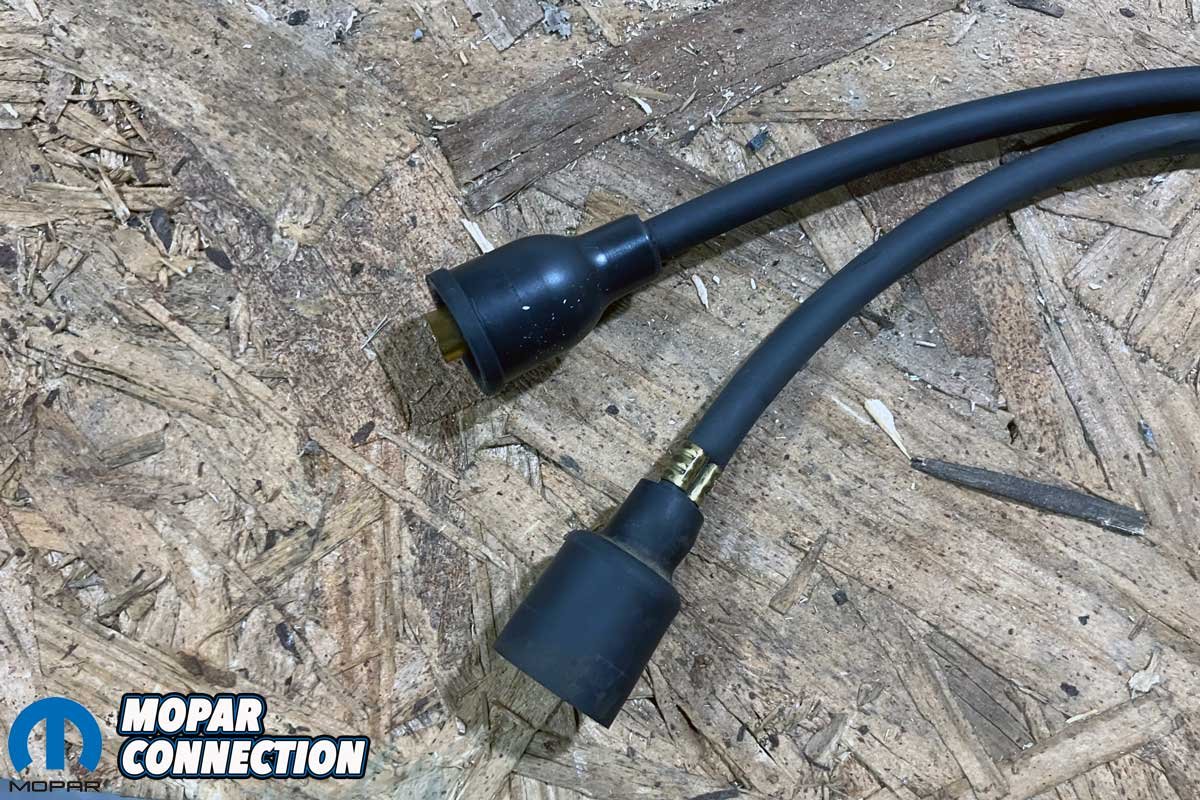
With the threads chased and repaired, we reinstalled the manifolds, added fresh oil and coolant, and installed a new set of Champion spark plugs along with Pertronix Flamethrower plug wires. The coil wire was modified using the original boot to ensure a proper Mopar fit.
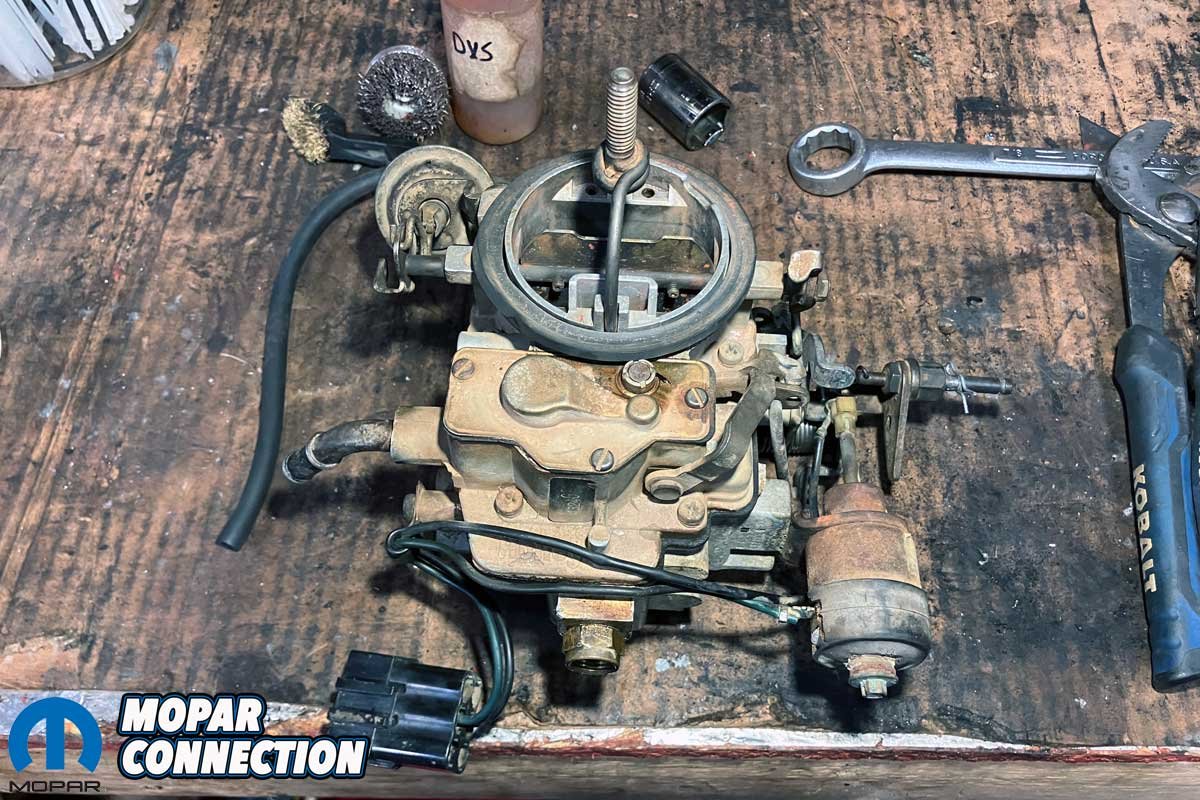
When the time came to reinstall the carburetor, the original Holley 2280 rewarded our optimism with a geyser of fuel during priming; the bowl gasket had corroded beyond saving. A remanufactured Holley 2280 from Summit Racing solved the problem. After transferring the kickdown stud and idle solenoid, we bolted it down and connected the fuel line.
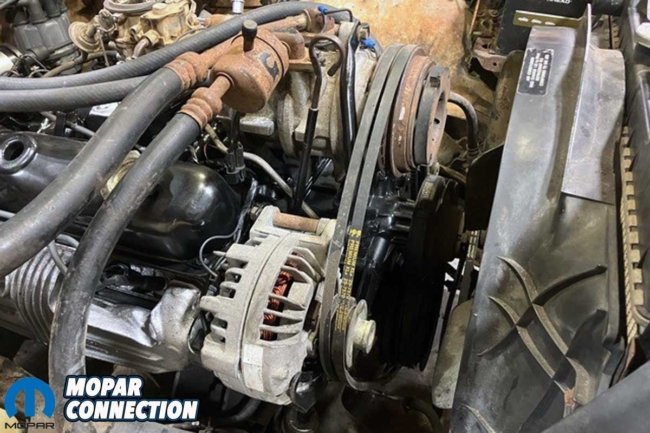
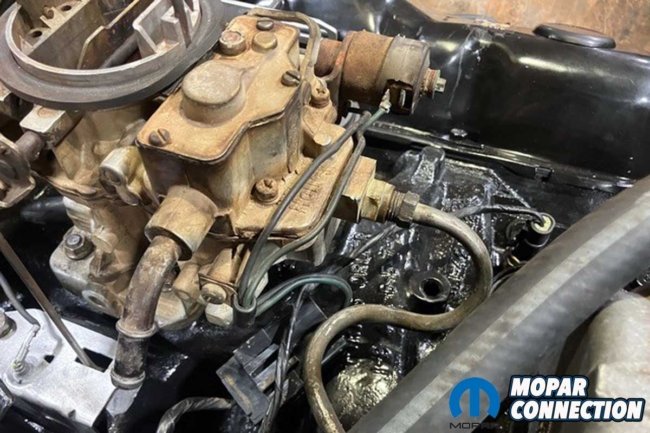
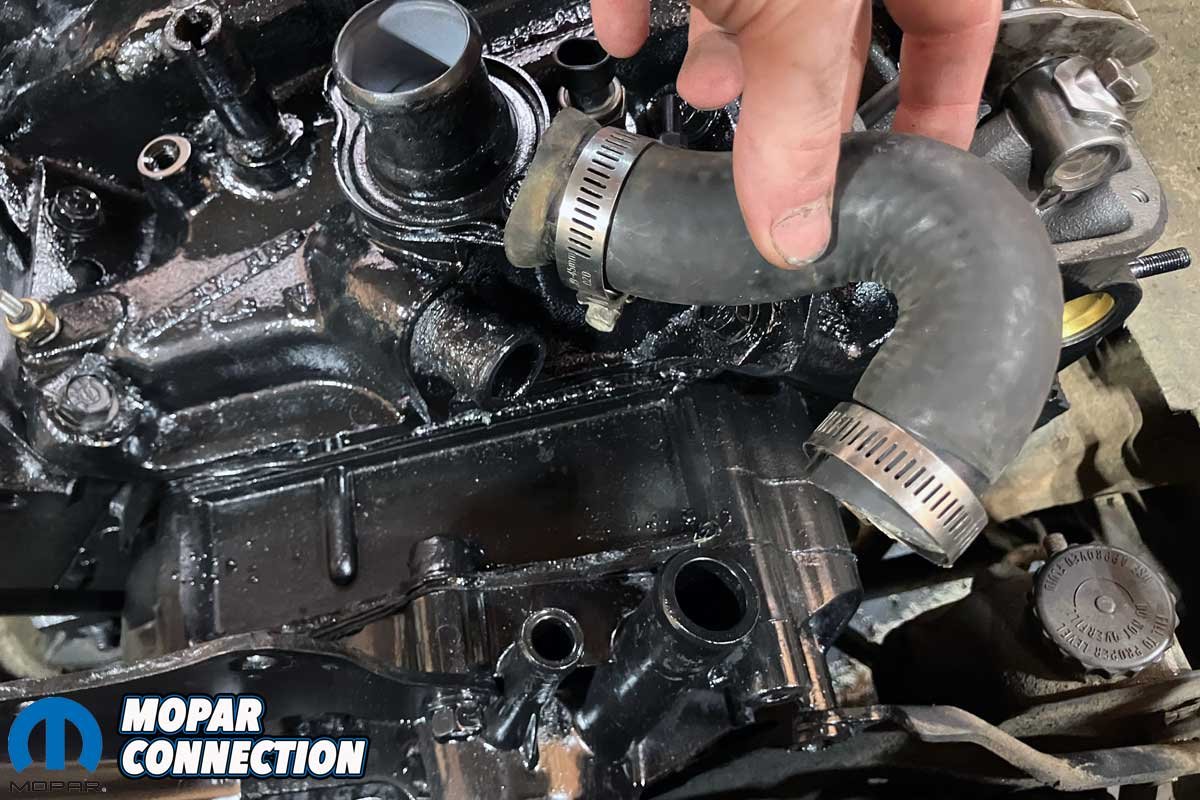
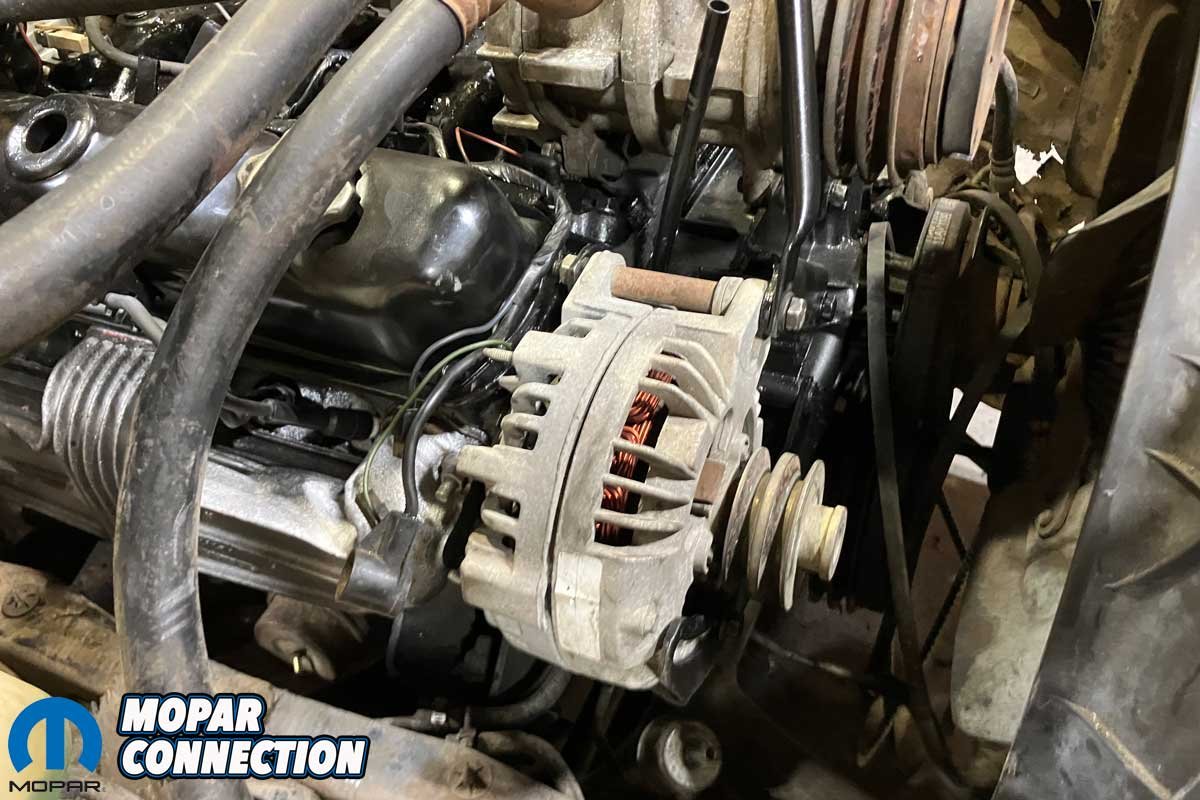
Above Left: The V-belts are routed adequately around the pulley of the remanufactured alternator, while the hard fuel line was positioned for proper flow. Above Right: The fuel line was installed to the original carburetor, but when pressurized, a fuel leak was quickly discovered.
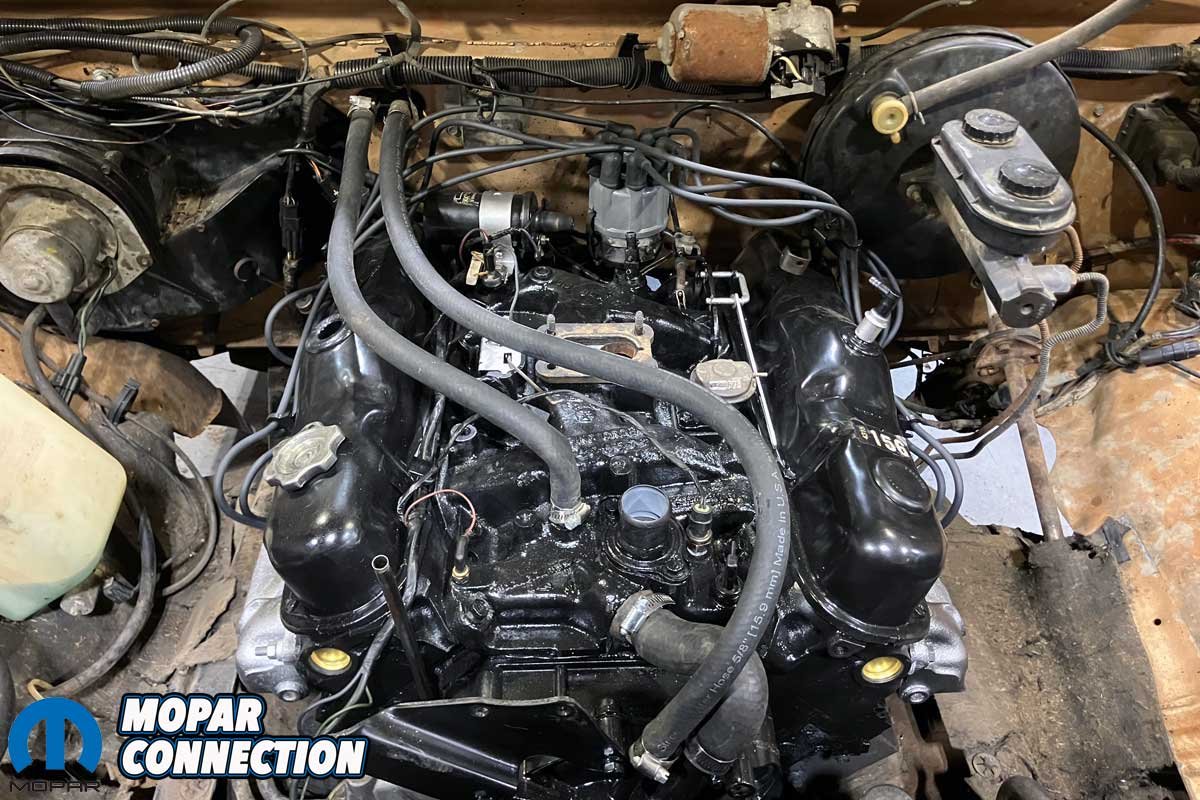
With the cooling system filled, fluids topped off, and a splash of fresh fuel in the tank, we turned the ignition key. After a few crankshaft revolutions, the old 318 yelped to life, loud, proud, and running smoother than it had in years. No leaks, no knocks, no drama. Just the steady rhythm of a small-block Mopar doing precisely what it was built to do.
We let it idle for twenty minutes, watching the last wisps of oil smoke fade from the exhaust. Once the temperature stabilized and the idle settled in, we buttoned up the air cleaner, checked all the fluids one last time, and gave the old truck what it had been waiting for, a trip down the road.


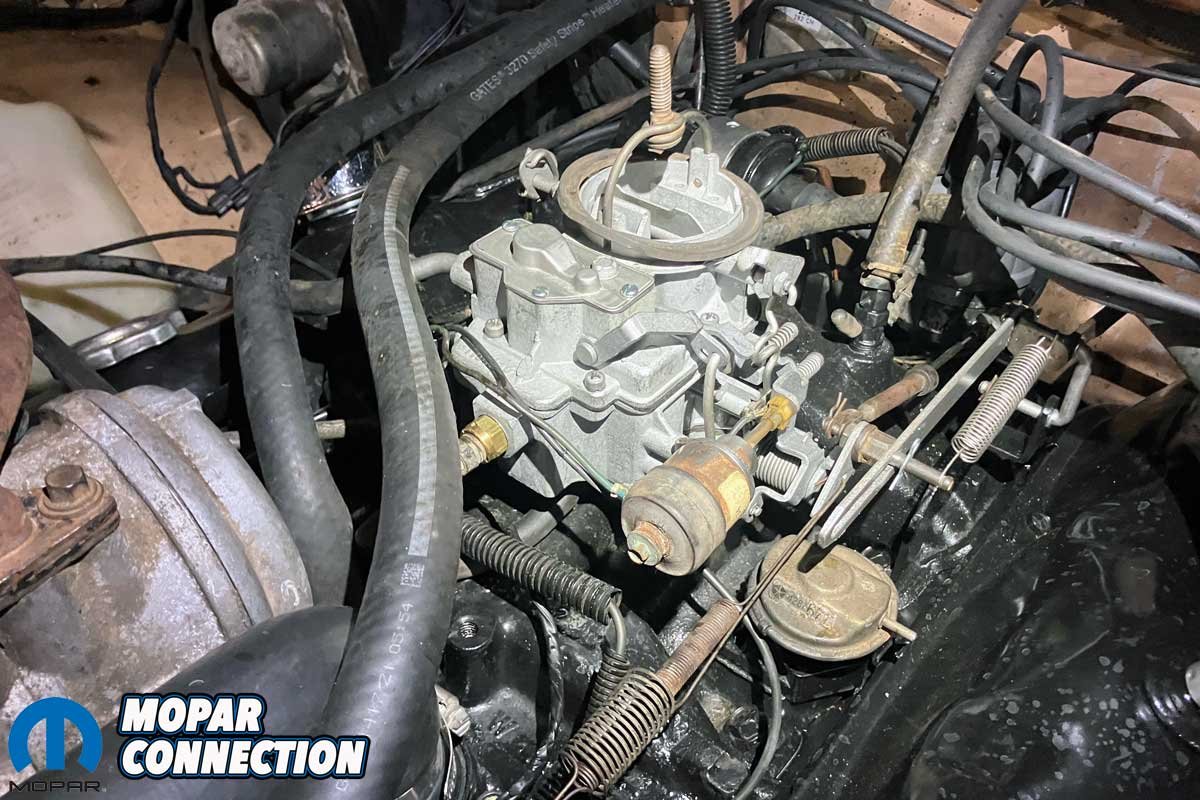
Above Left: A new carburetor fits perfectly with all the factory components. It was mounted onto the restored intake manifold. Above Right: The 318 assembly was completed, topped with its air cleaner. Since we rebuilt the engine, it has operated flawlessly, with the miles continuing to add up.
Five miles later, the verdict was clear: the family workhorse was back. The old Dodge ran smooth, strong, and smoke-free, its familiar rumble reverberating down the same backroads it had traveled for decades. After years of sitting silent, it was alive again, ready to haul, tow, and serve another generation of Smiths.


