


We wrapped up Part One of the brake upgrades on Project Rara Hemious Birdicus with a clear-cut victory. We swapped in an MBM Bendix-style drum brake master cylinder from Mancini Racing to replace the failing aftermarket unit. The upgrade was long overdue, and for a brief instant the engine bay appeared restored to its former glory, but as any classic-car builder knows, triumph can often be fleeting.


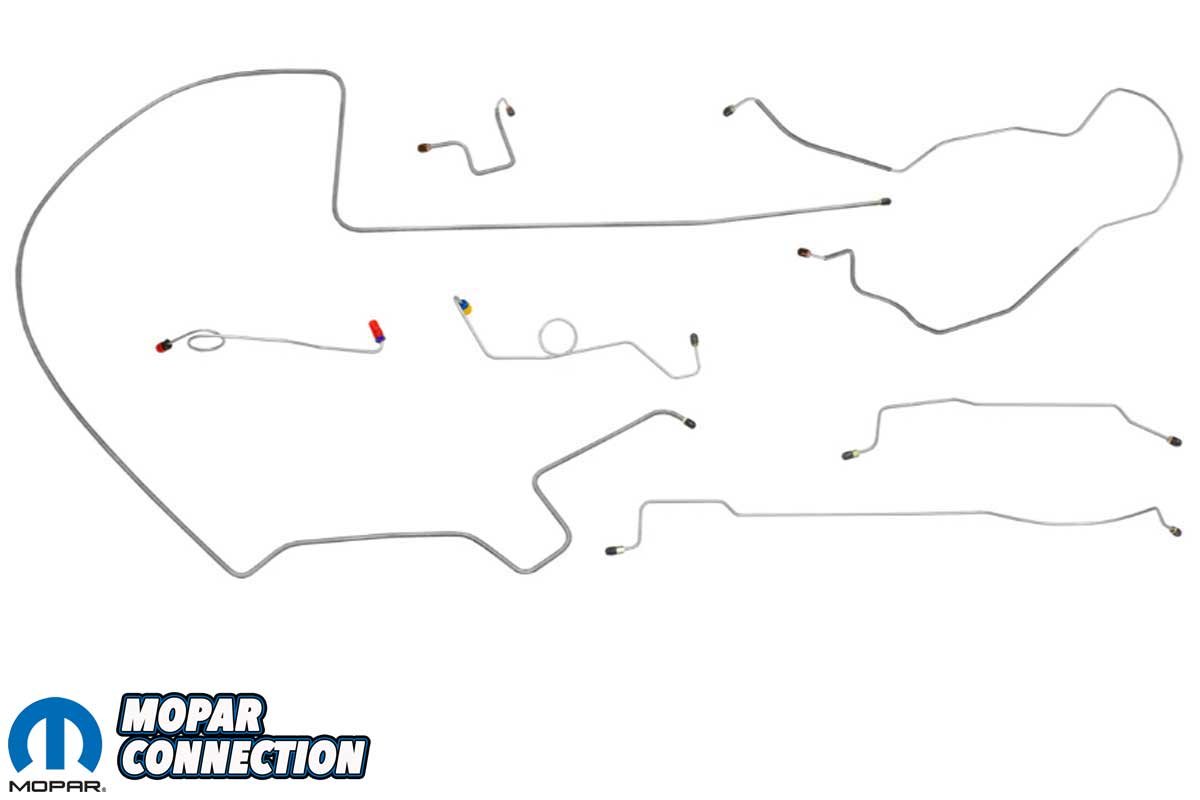
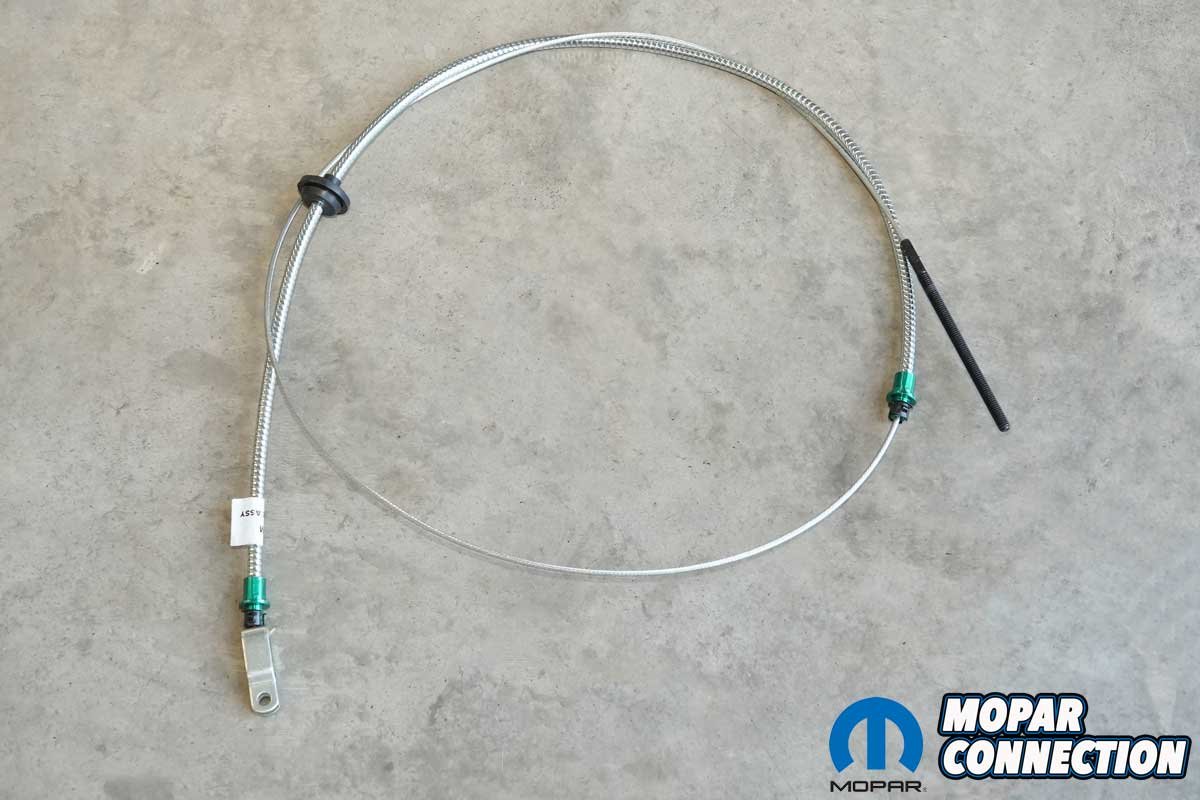
Above Left: Inline Tube had the hard lines needed for Rara Hemious Birdicus. We selected from the vast array of optional configurations to find what we needed: a 1968-69 Plymouth B-Body manual drum brake line kit, one-piece front-to-rear, left-port master cylinder, and an 8 3/4 rear end – 7-piece in OE steel. Above Right: Inline Tube offered a reproduction front parking brake cable as a direct replacement for our damaged cable. The new cable met the factory specifications, including the correct metal housing, end fittings, and anchor-point fittings at the pedal and frame.
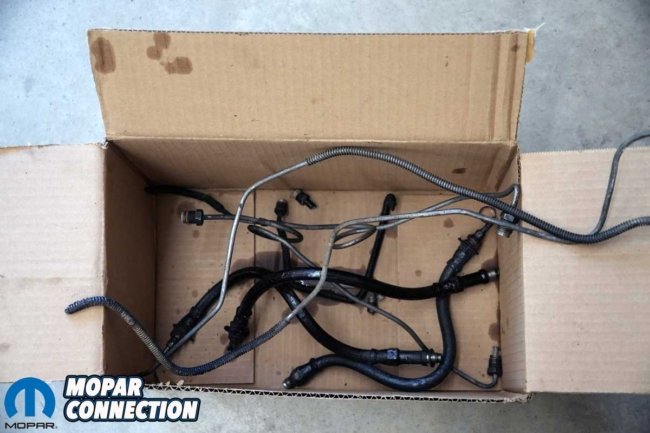
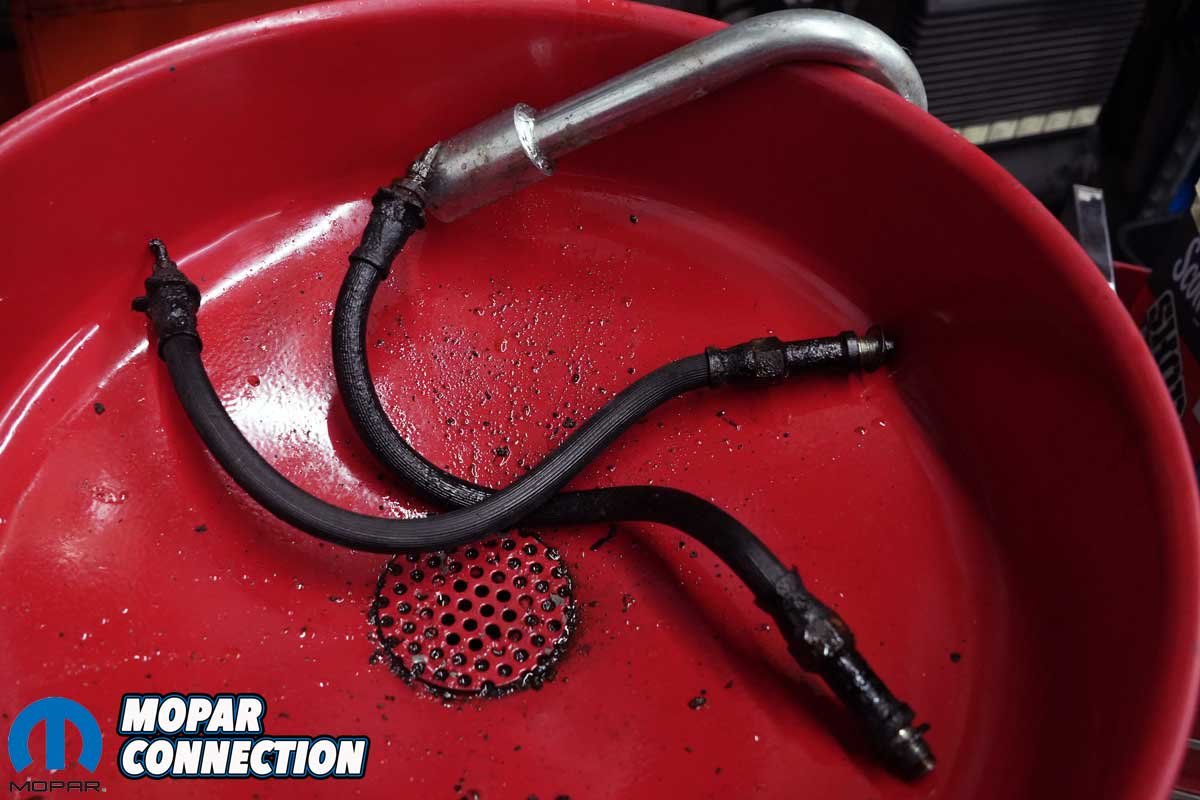
Our initial triumph quickly met its match when we moved on to install replacement rubber brake hoses. What should have been a routine task devolved into shambles. The brake lines twisted, kinked, and in some cases snapped entirely, leaving a tangled mess sprawled across the garage floor. It was a harsh reminder that even the easiest upgrades on a classic build can spiral into a test of patience, precision, and ingenuity.

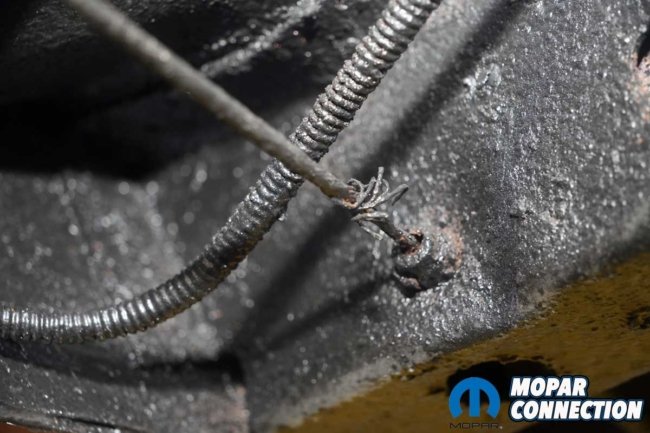
Above Left: After replacing the master cylinder, we thought the rubber hose replacement would be a breeze. We were dreadfully wrong. Above Right: We twisted off the ends of the metal lines on both front brake drums. That was just the start of the carnage.
To recover, we turned to Inline Tube for a resolution: a seven-piece brake line kit (part no. PRB6801) engineered specifically for a ’68–’69 B-body with manual drum brakes, a left-side-exit master cylinder, and an 8 ¾-inch rear end. We chose OE steel for authenticity and cost efficiency, though stainless steel was available for a slight premium.
When the kit arrived, it was nearly plug-and-play except for one hitch. The front-to-rear brake line had been bowed in half for shipping. Fortunately, Inline Tube had marked the critical unbending point (though we figured it out ourselves), and with careful finesse we straightened the line without damaging it. It was the first of many small victories in what would become a marathon day of brake-line installation.

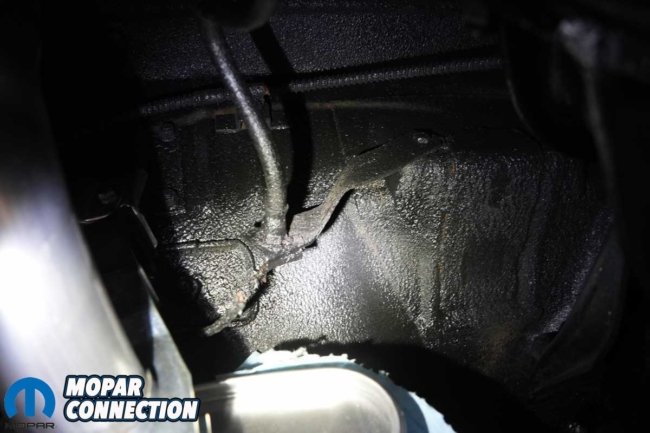
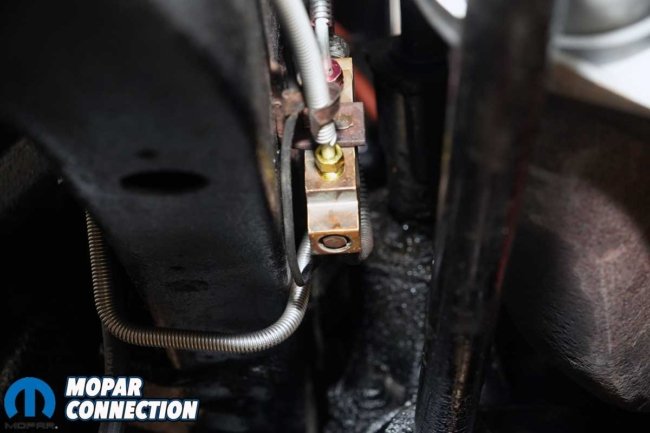
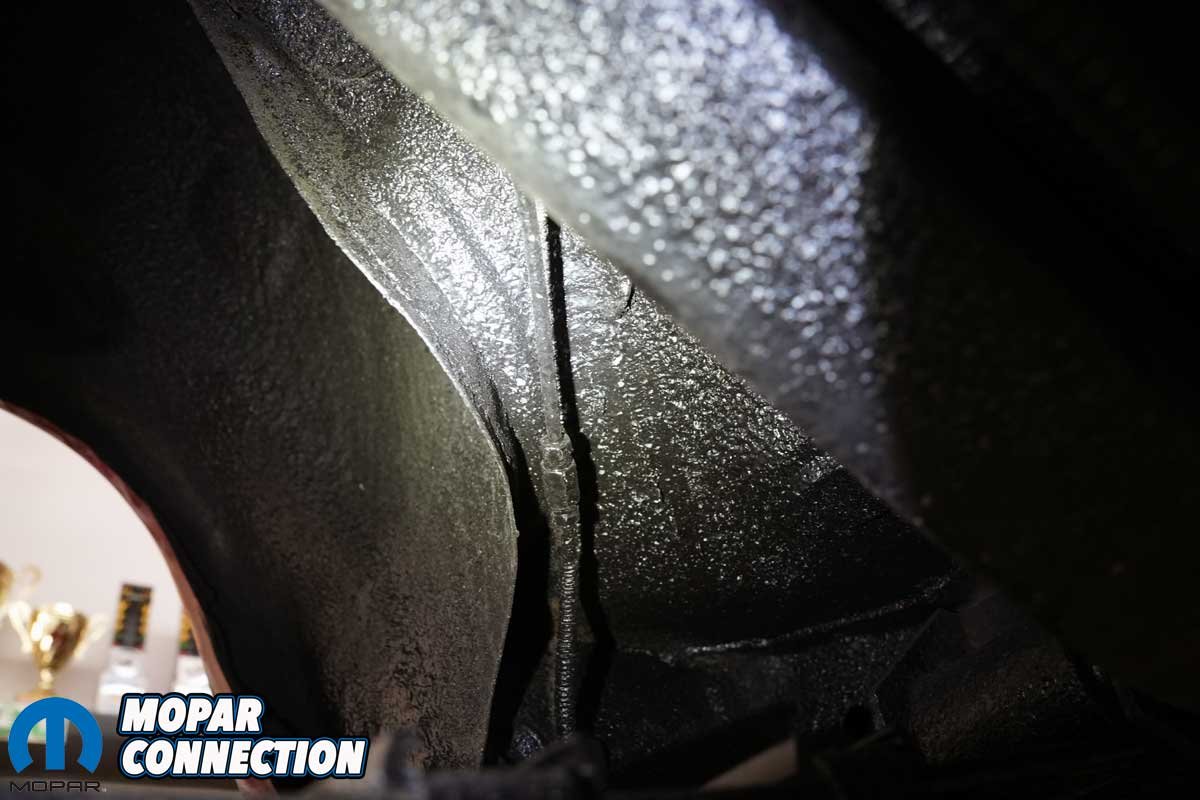
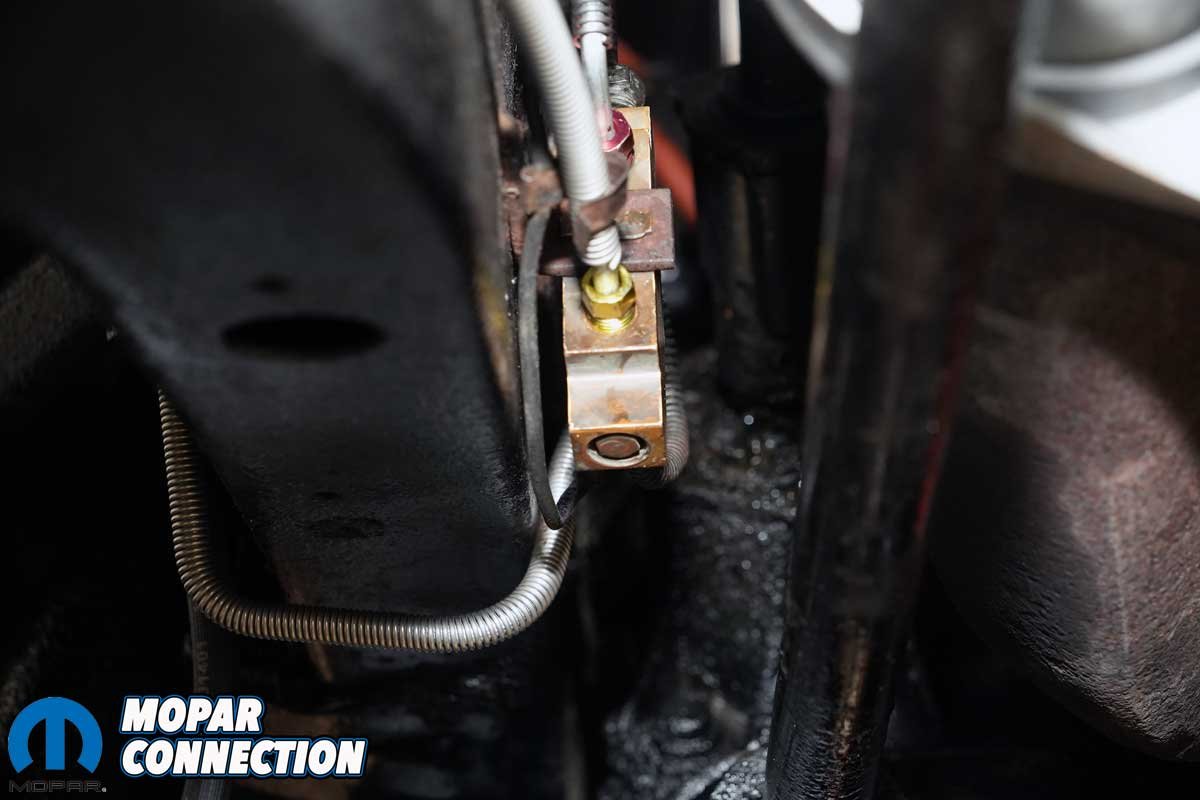
Above Left: The LF metal line broke off at the distribution block. Above Center: Not to be outdone, the RF brake line also broke off at the distribution block. Above Left: As we surveyed the rest of the brake lines, we noted we would have to work around (and through) several obstacles and a unibody member.
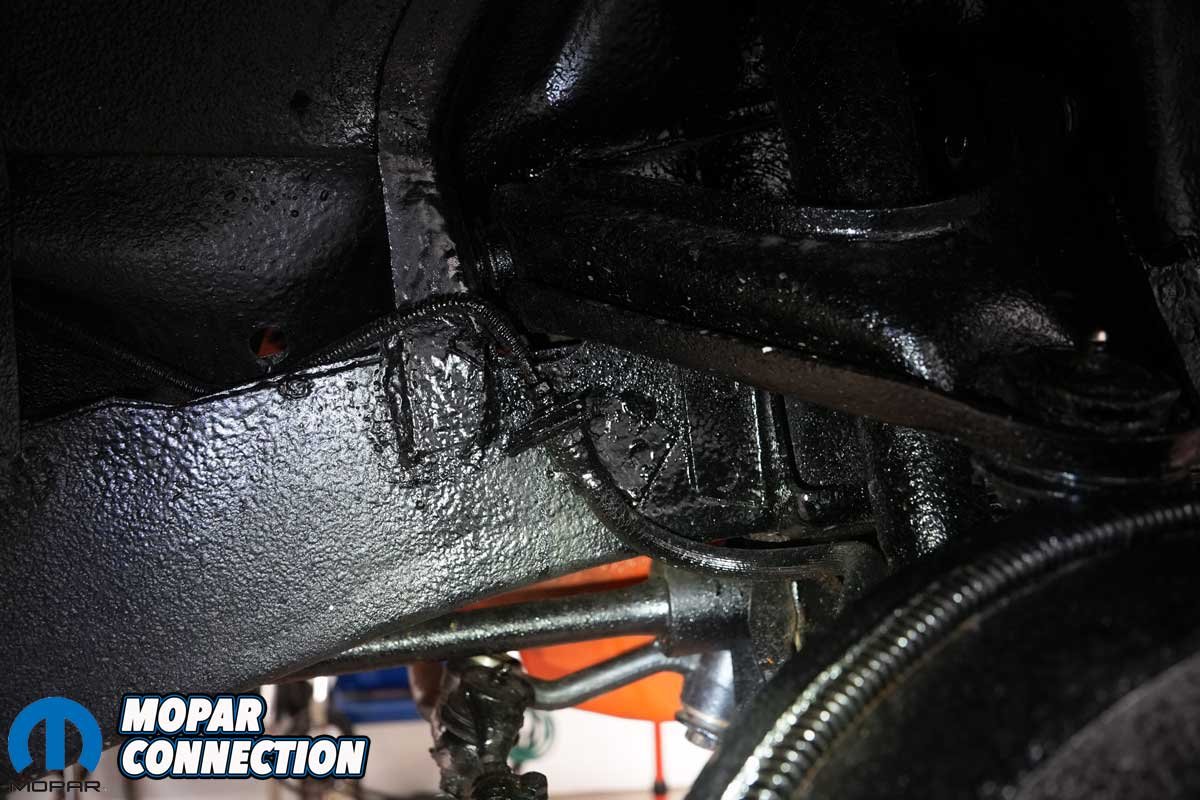
Running the new steel lines was straightforward in theory, but the Hemi proved a formidable obstacle. The massive engine dominated the space between the brake distribution block on the driver’s-side frame rail and the passenger-side union to the rubber hose. After removing the chrome dome air cleaner, several firewall components, and working around a maze of linkages, we finally managed to snake the brake line into place.

Above Left: Further down the metal brake lines, we found a non-original appearing union tucked in the LR wheel well. Above Right: The newer, poorly routed brake line extended to the connection with the rubber brake line. Yes, we broke the metal line at the rubber hose union during disassembly.
Securing the line in the firewall clamps proved just as demanding. The area near the passenger-side valve cover required surgical precision; one slip could scratch the pristine firewall. Inch by inch we maneuvered the line, closing each clamp with care. Routing the line through the lower apron shield and into the bracket for the rubber-hose union pushed our dexterity to its limits, but eventually the steel line was firmly in place.


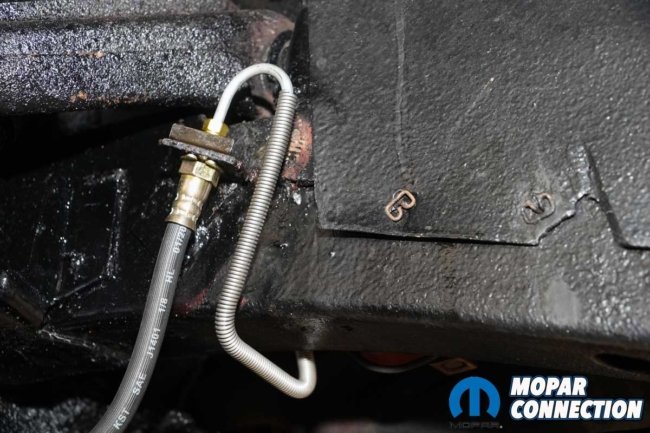
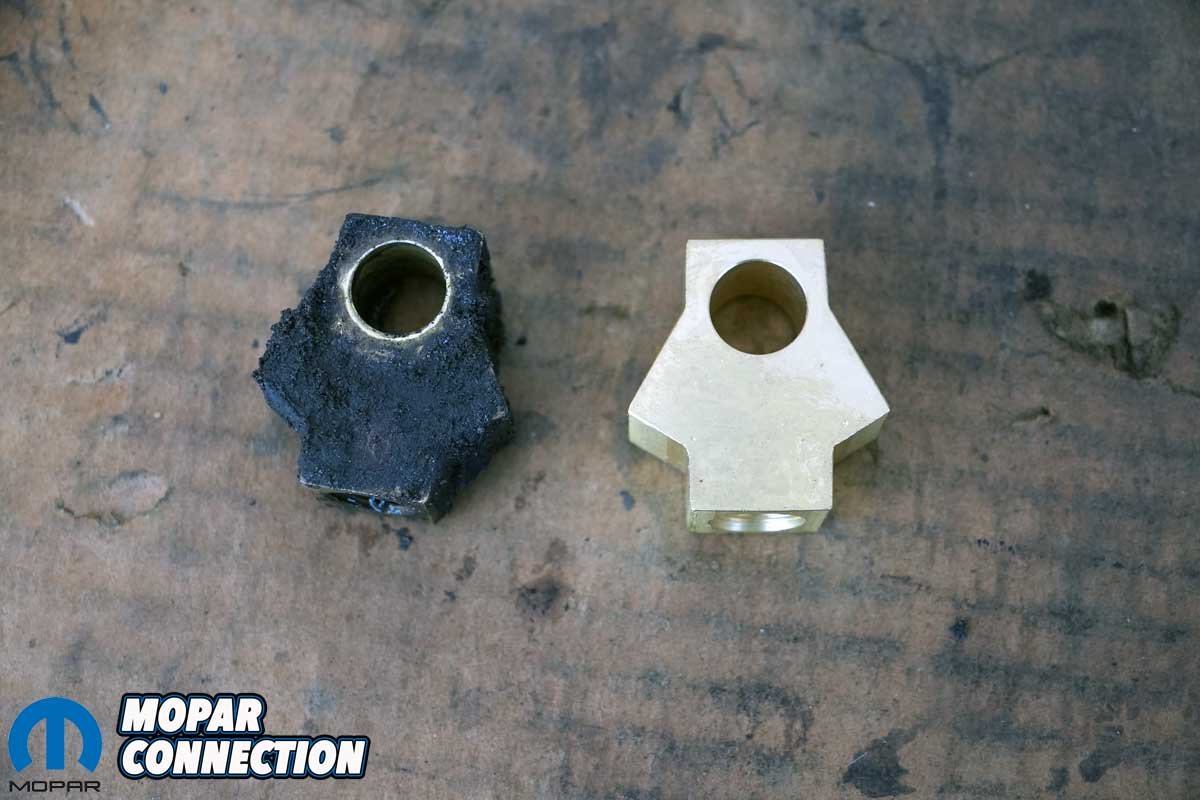
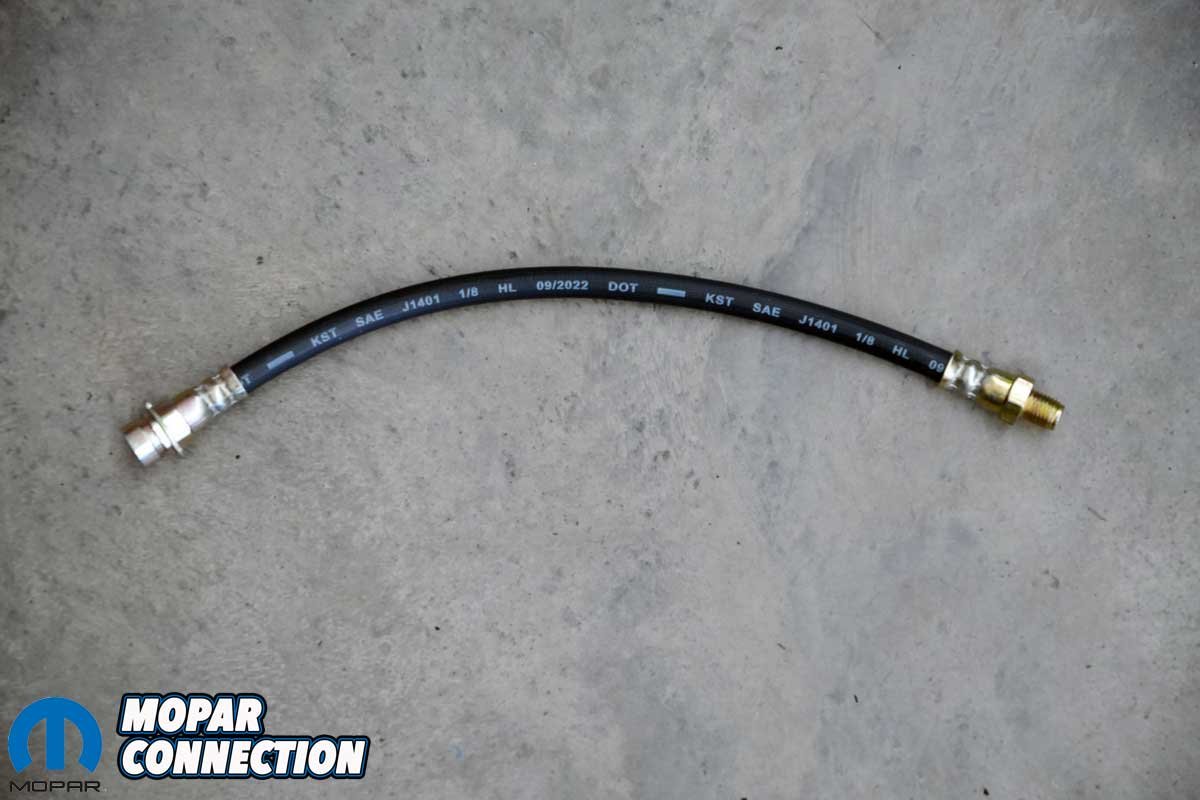
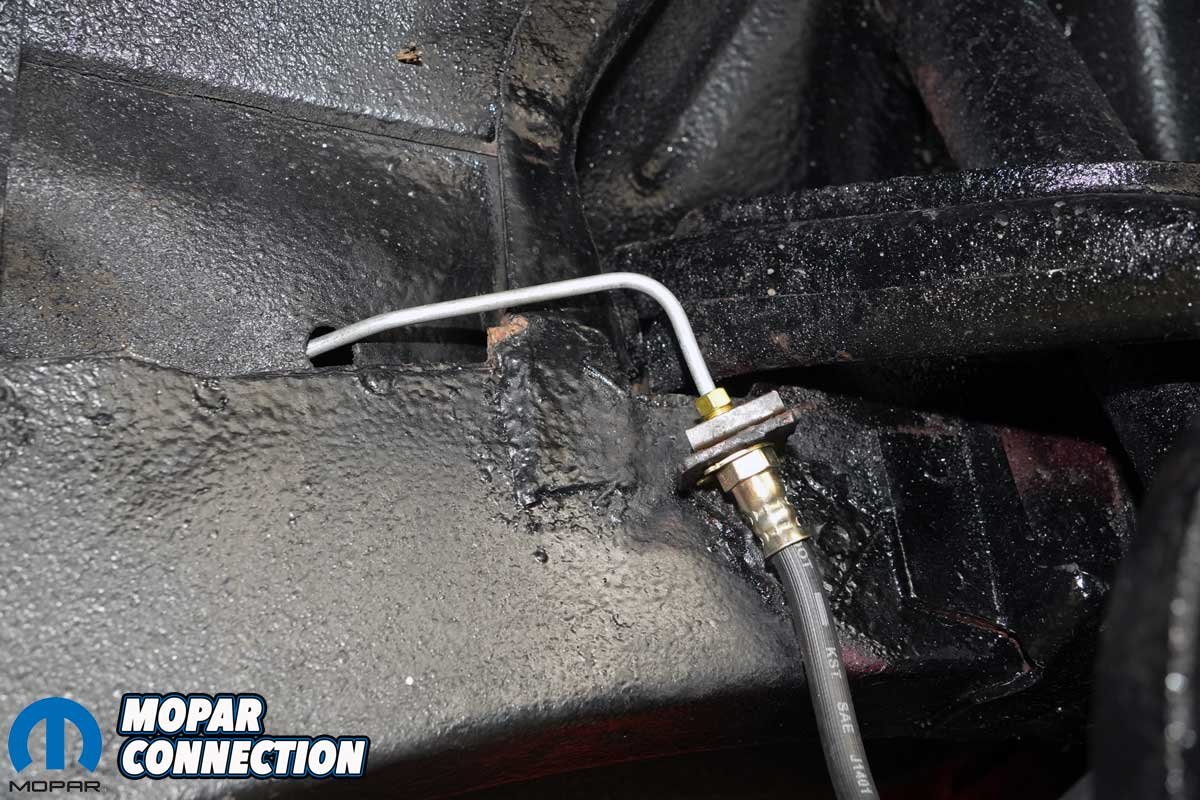
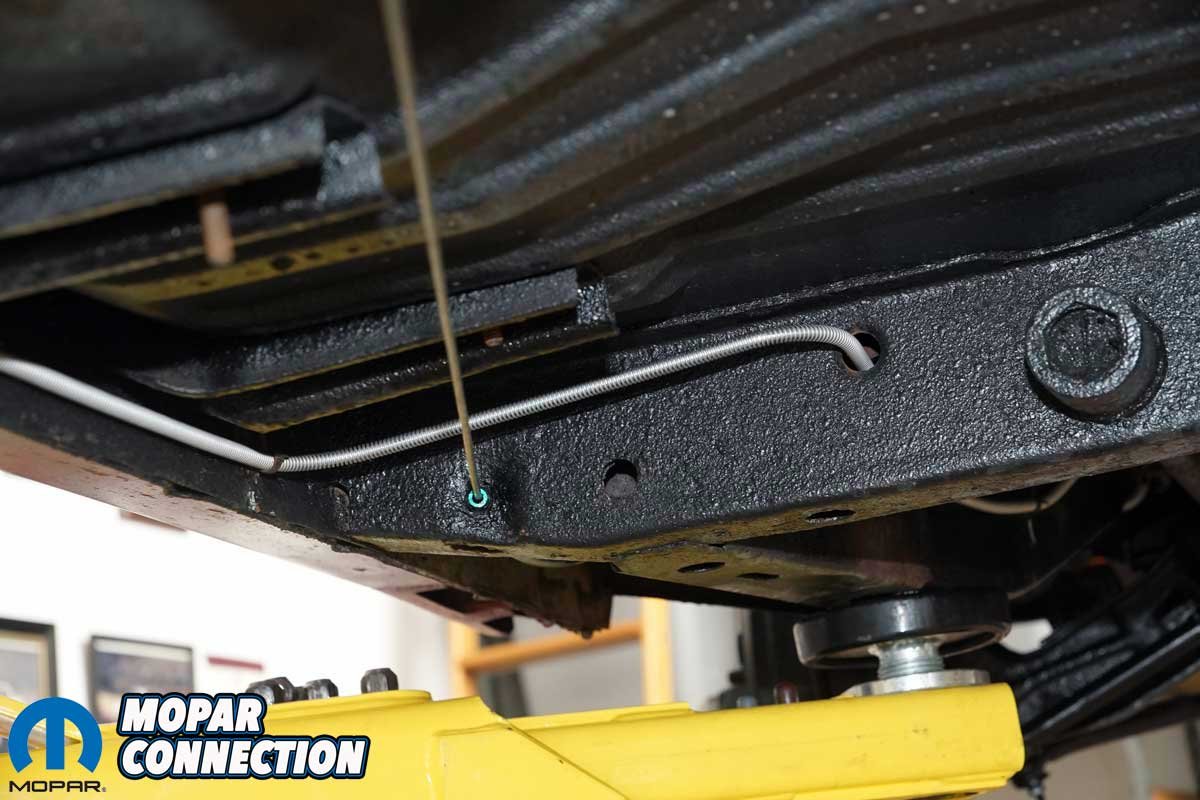
Above Left: We picked up a new rear hose tee for the 8 3/4-inch rear end. Above Center: The rubber hoses were sourced from the local NAPA dealer. We needed two front hoses and one rear hose. Above Right: The Inline Tube metal line routed perfectly from the distribution block to the union bracket at the LF frame rail. The line had the correct protective shield, just like the factory piece.
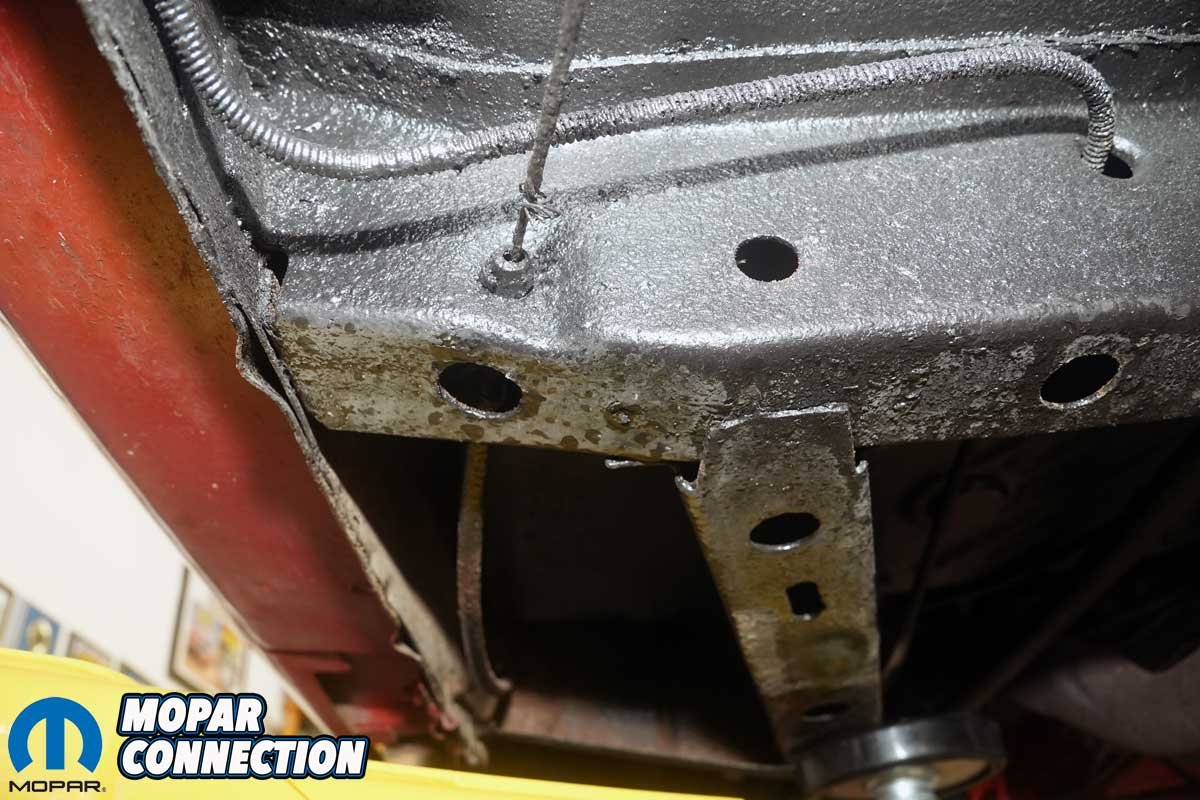
The front-to-rear line was the true test of endurance. We had to fish it through a unibody support member, snake it around the rear frame rail, and battle the mere length of the steel line while working under the chassis. The installation required patience, ingenuity, and forethought. Clip by clip, however, the line found its place, and for the first time all day the system felt like it was coming together.

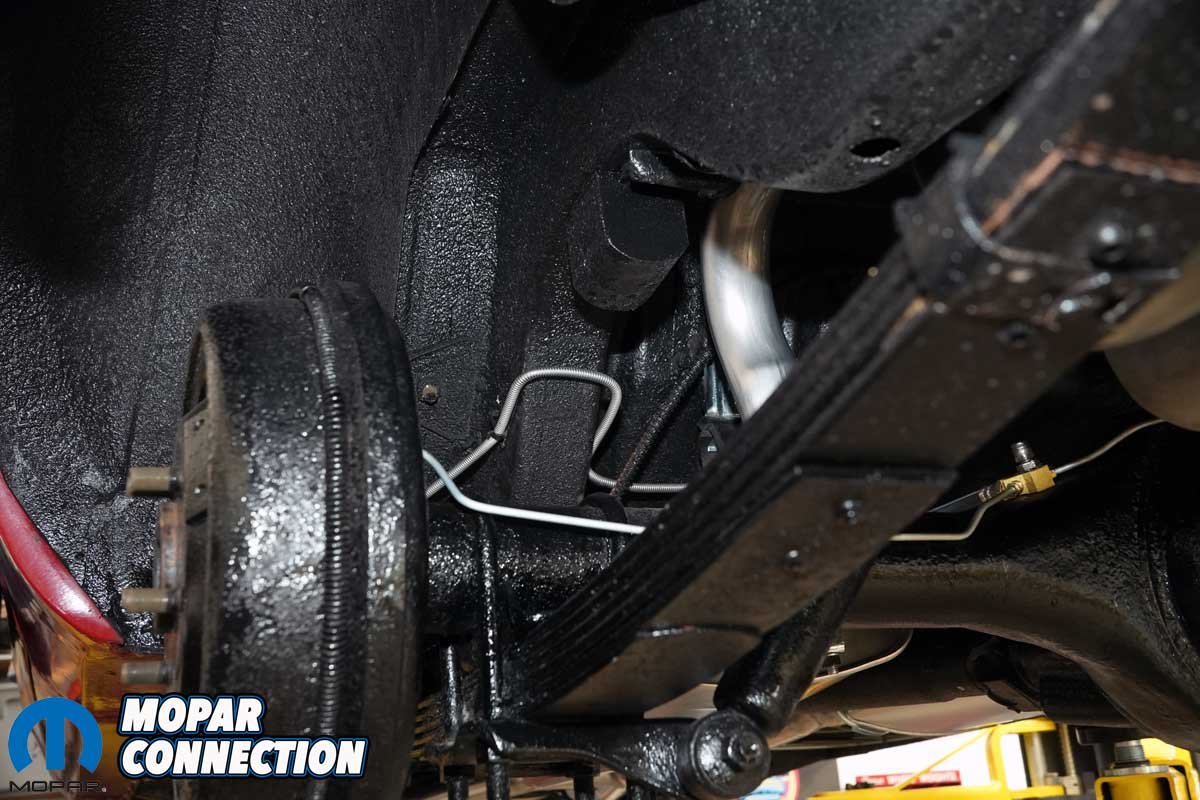
Above Left: The Inline Tube metal line followed the firewall concours perfectly. It had the proper kickout at the correct location, extending through the splash shield at the RF bracket. The brake line was a bear to install across the firewall, but once in place, it looked great. Above Right: The new brake lines threaded to the distribution block without difficulty, although the work area was tight with a torsion bar and an exhaust manifold in the way.


Above Left: The metal brake line fed through the frame rail. We reused the original installation clips. Above Right: At the rear, the brake lines contoured the unibody frame rail extending to the rubber brake line. The new brake line fed fluid from the rubber hose to the Inline brake lines, which were clipped to the rear end housing.
With the steel lines secured in the factory clamps, we returned to our original plan of installing the rubber brake hoses. The front hoses threaded in smoothly, but the rear required more coordination. We connected the new Inline Tube steel brake lines to the rear end housing, loosely attached them to a new rear-hose tee (part no. MTEE02), and fastened the tee with the factory vent bolt. Each line was tightened, guided, and clipped into position before the final rubber-hose connection tied the system together.
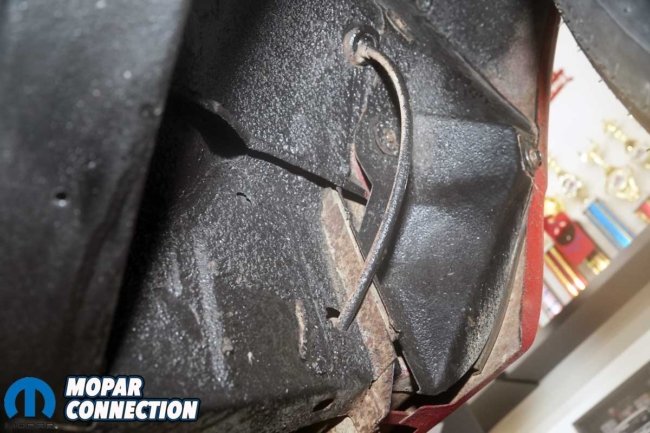

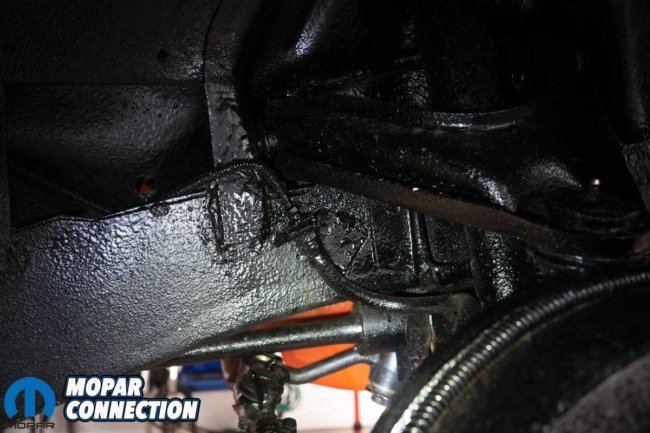
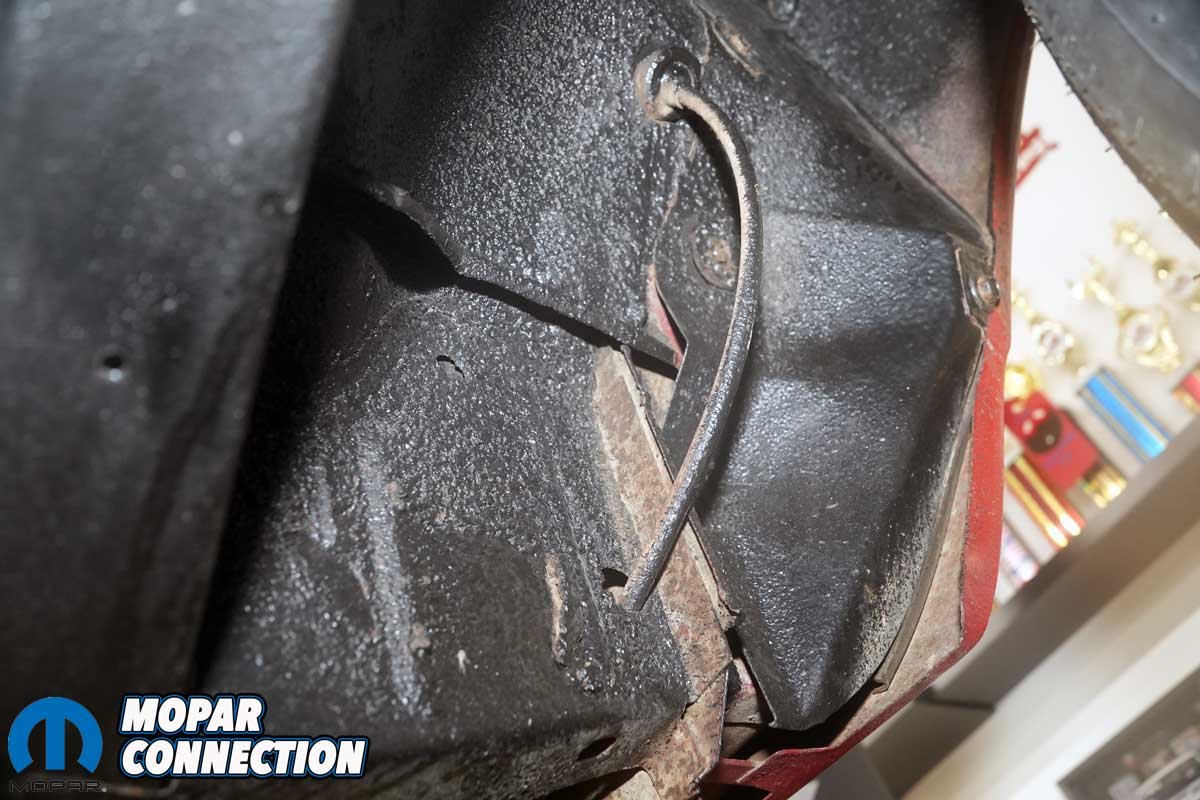
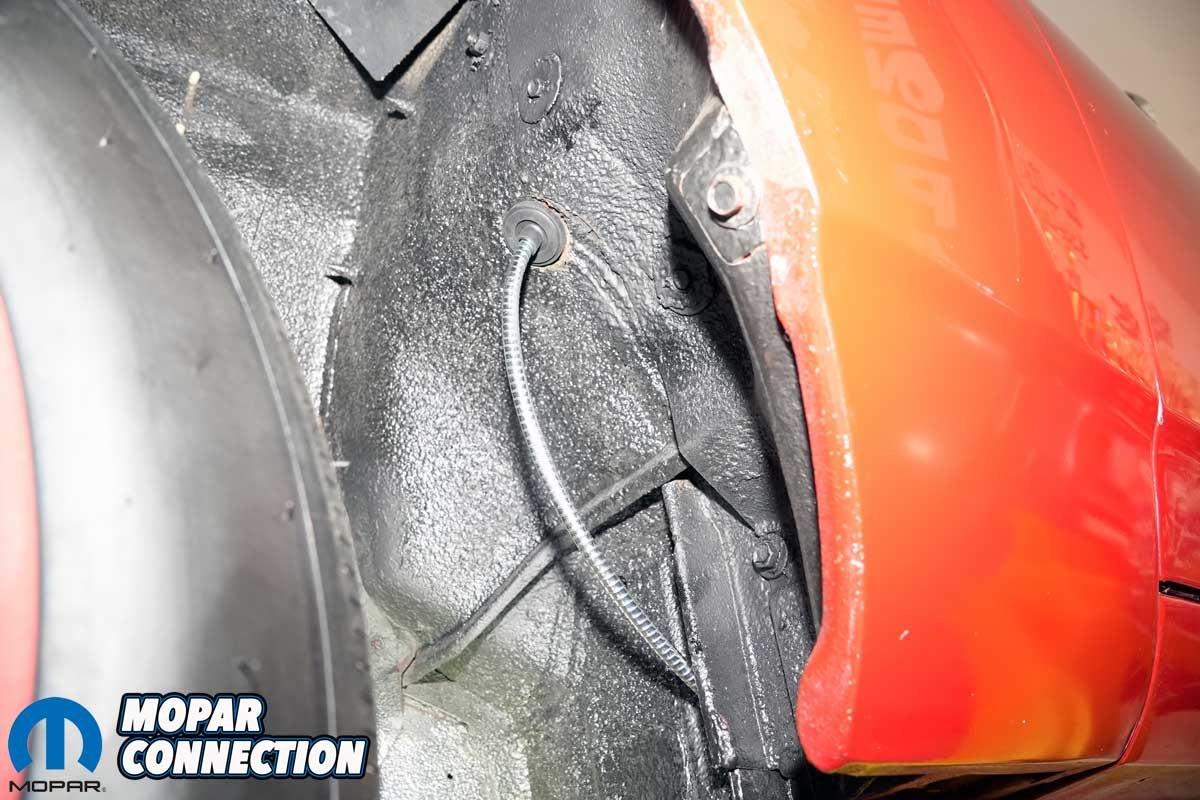
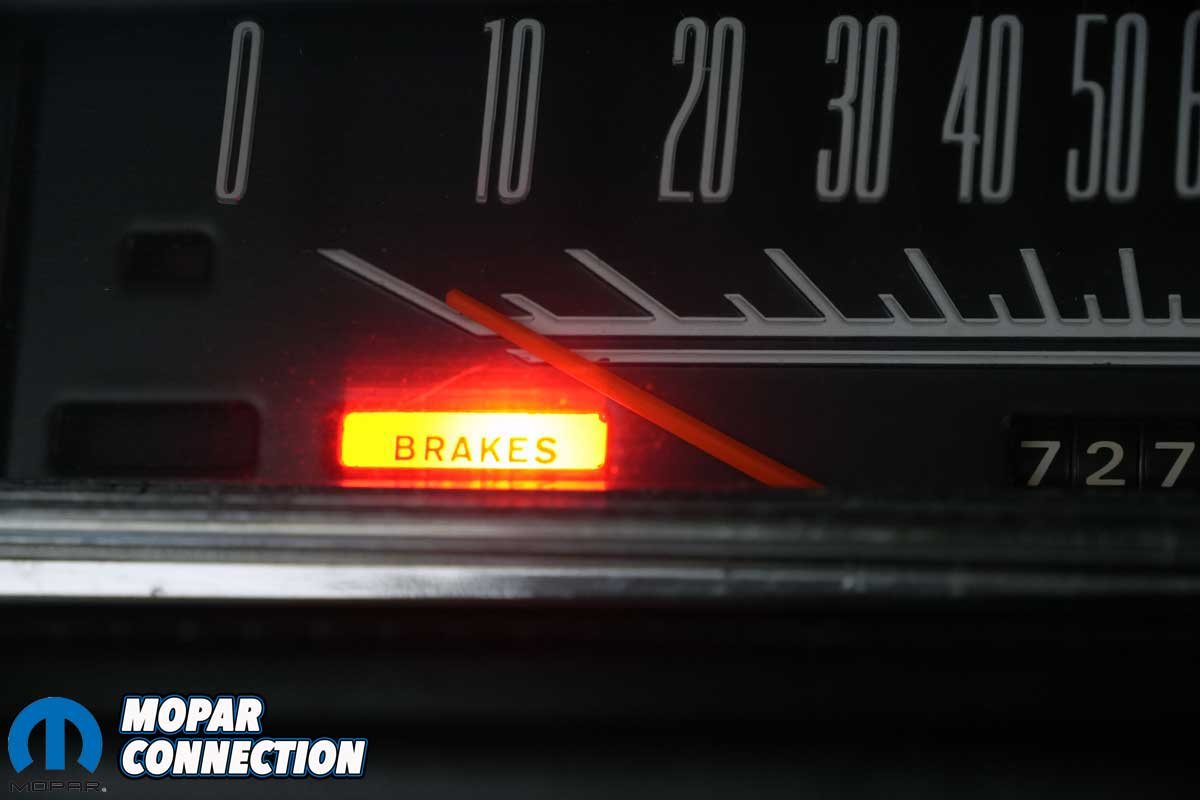
Above Left: The original park brake cable was frayed and would not allow the cable to release cleanly, resulting in a park brake light remaining illuminated on the instrument cluster. Above Center: The cable extended through the fender well from the rear of the car to the interior at the park brake assembly. Above Right: At the rear, the front cable was attached to a bracket that distributed the cable’s movement to each rear cable and onto the brake shoes.


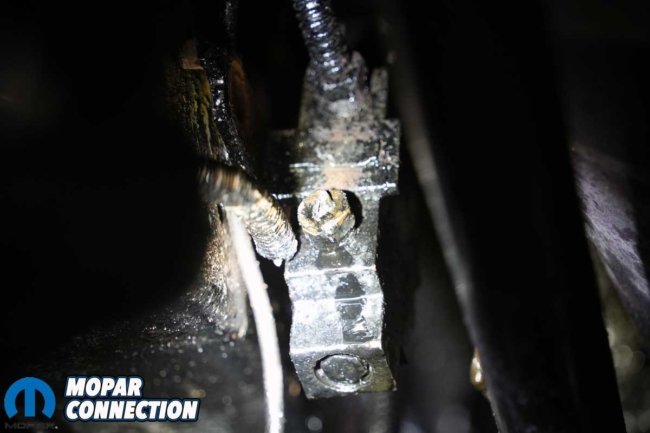
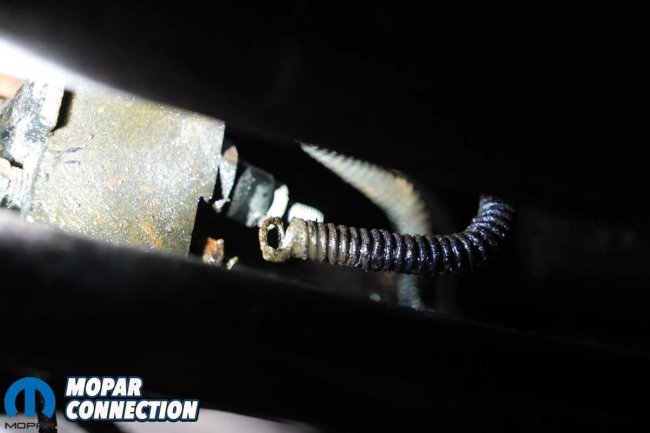
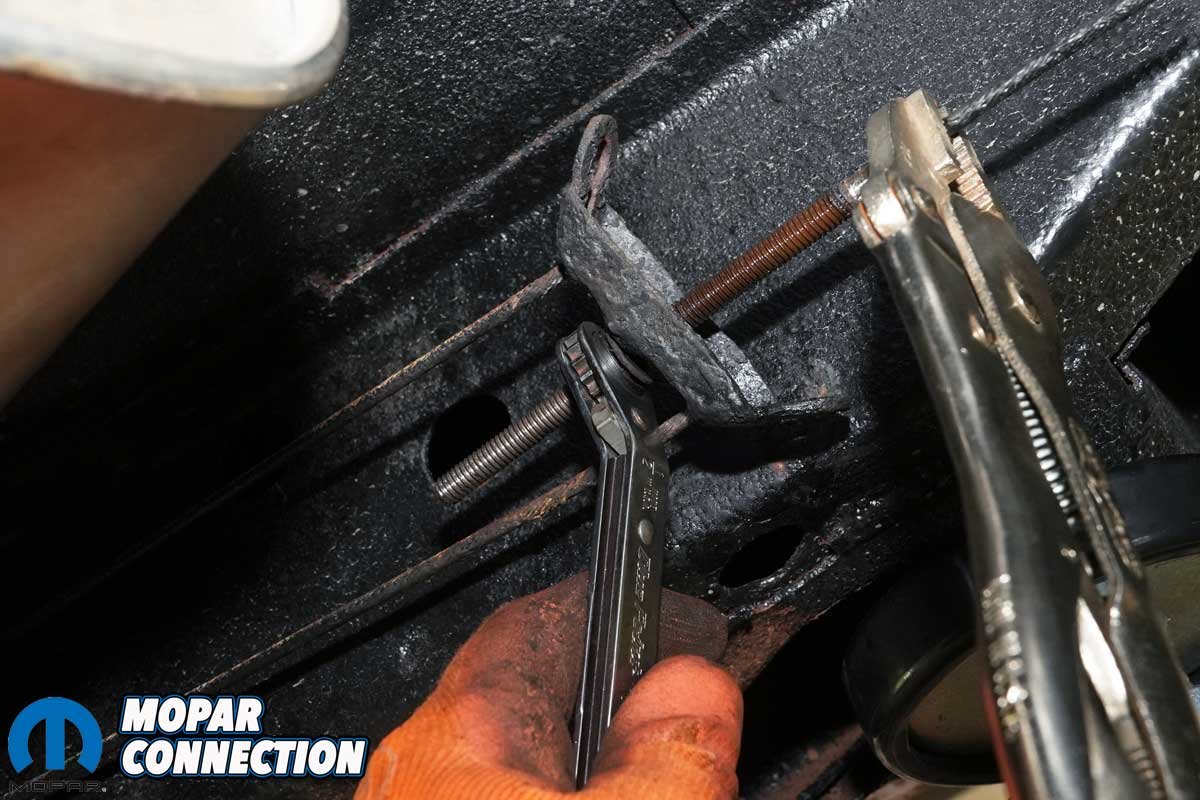
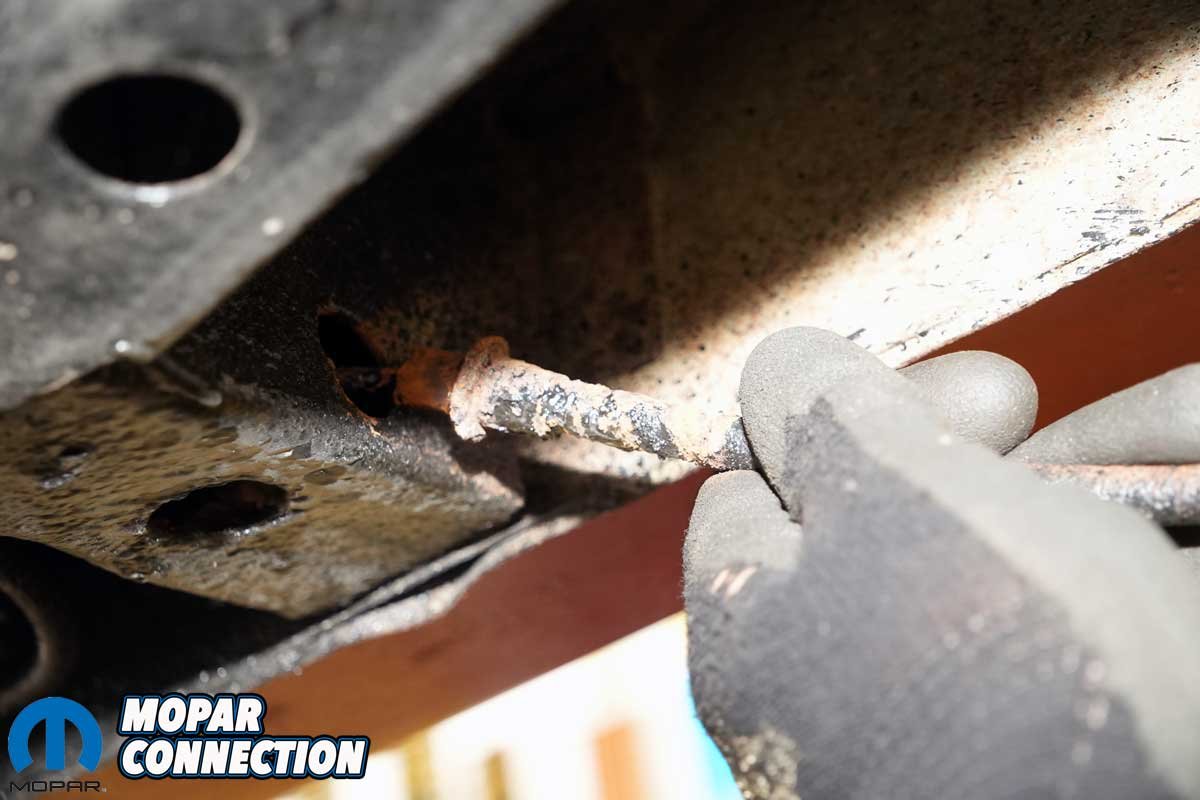
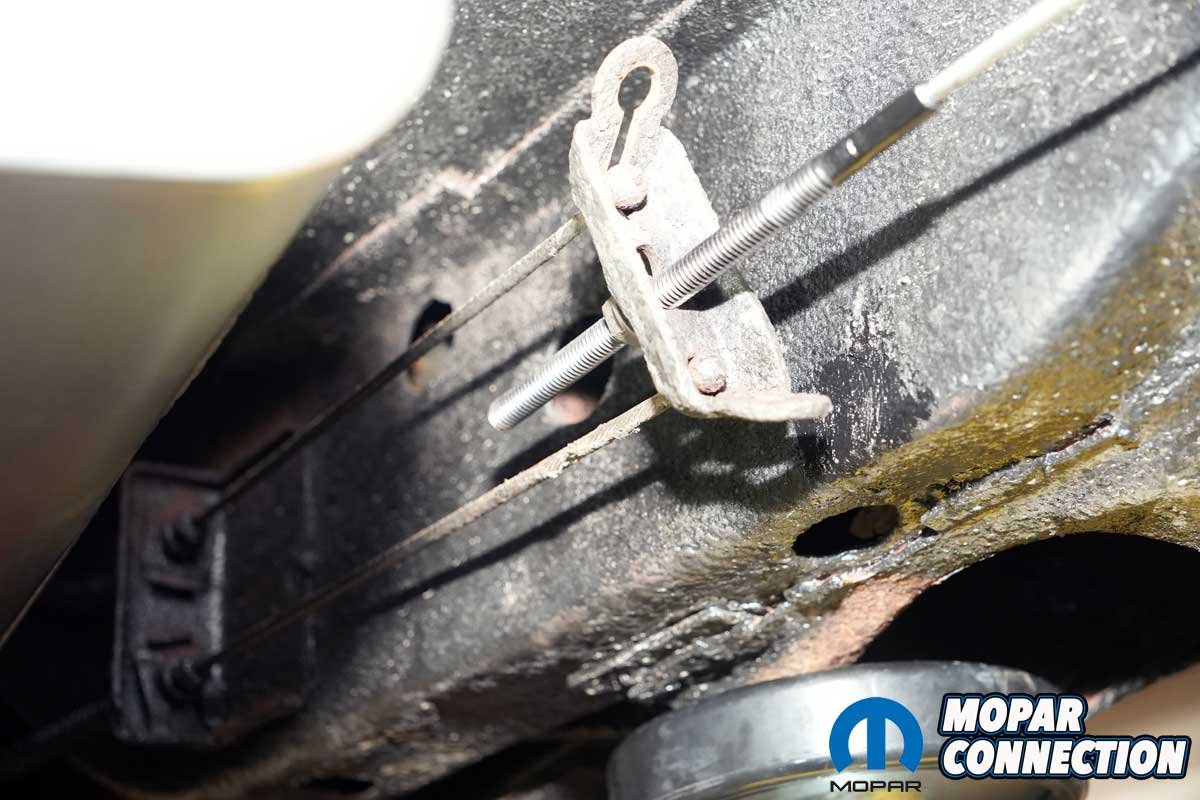
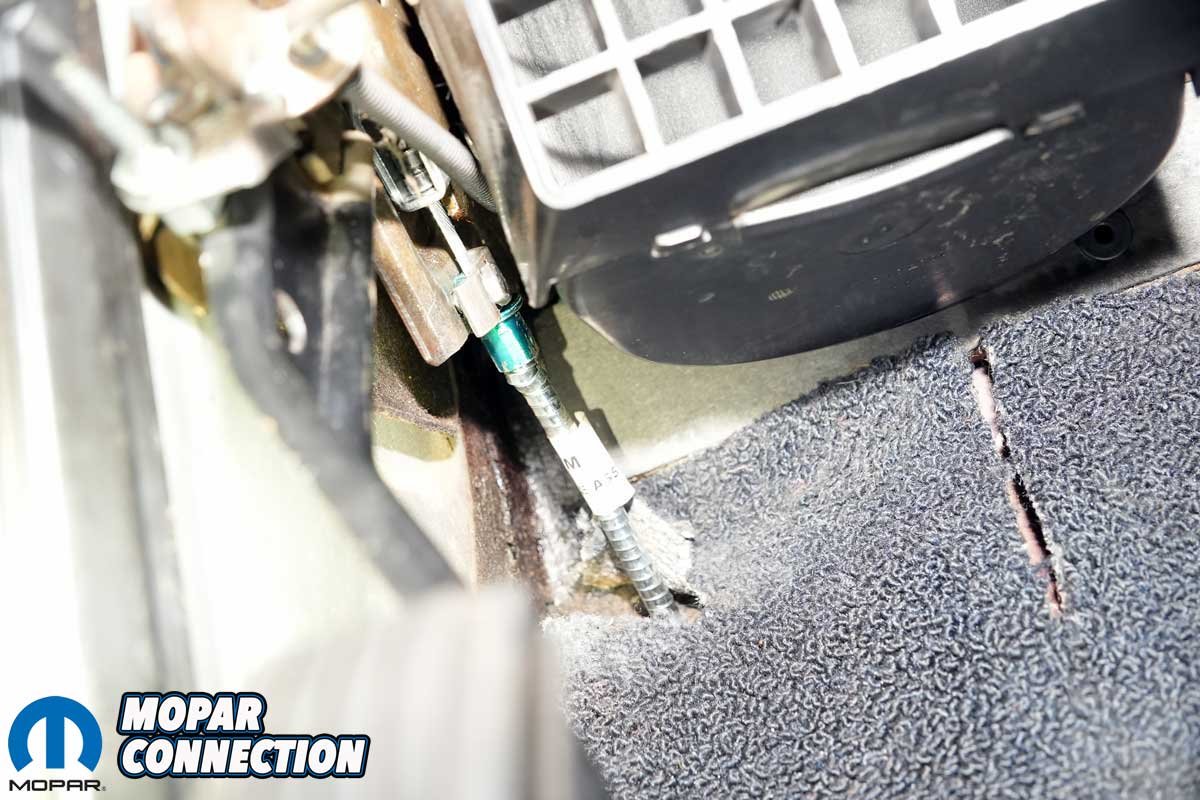
Above Left: After applying a liberal volume of penetrant, we were able to remove the cable’s adjusting nut. If it had become too difficult to remove the nut, we would have cut the cable. Above Center: At the frame extension, we had to tap out a locating clasp to free the cable. Above Right: With the clasp released, the cable slid from the frame extension.
To complete the brake system, we needed to bleed the brake lines. We filled the master cylinder with fresh DOT 3 brake fluid, pumped the pedal, and held it down with a brake-pedal depressor, then opened the bleeder at the right rear. Fluid and bubbles escaped. We rechecked the master cylinder fluid level and continued the pumping, holding, and bleeding procedure until the fluid ran bubble-free. The process was repeated for the left rear, right front, and left front.
Even after carefully bleeding each line, the pedal remained soft, so we repeated the entire procedure, releasing a few stubborn bubbles from each wheel-cylinder bleeder. After the second round, the pedal finally felt firm and responsive. A final top-off of the master cylinder sealed the deal.

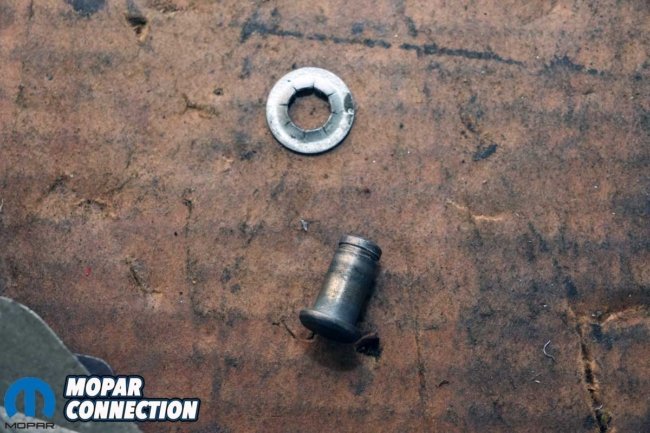

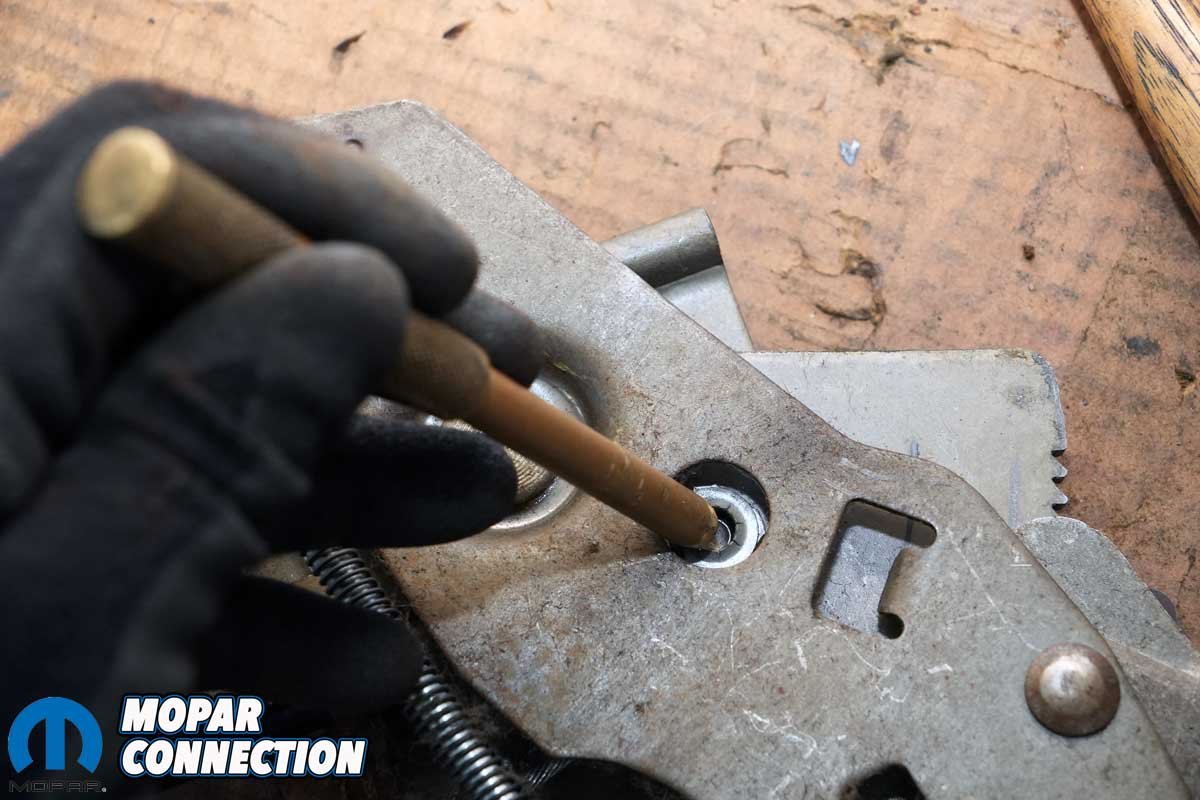
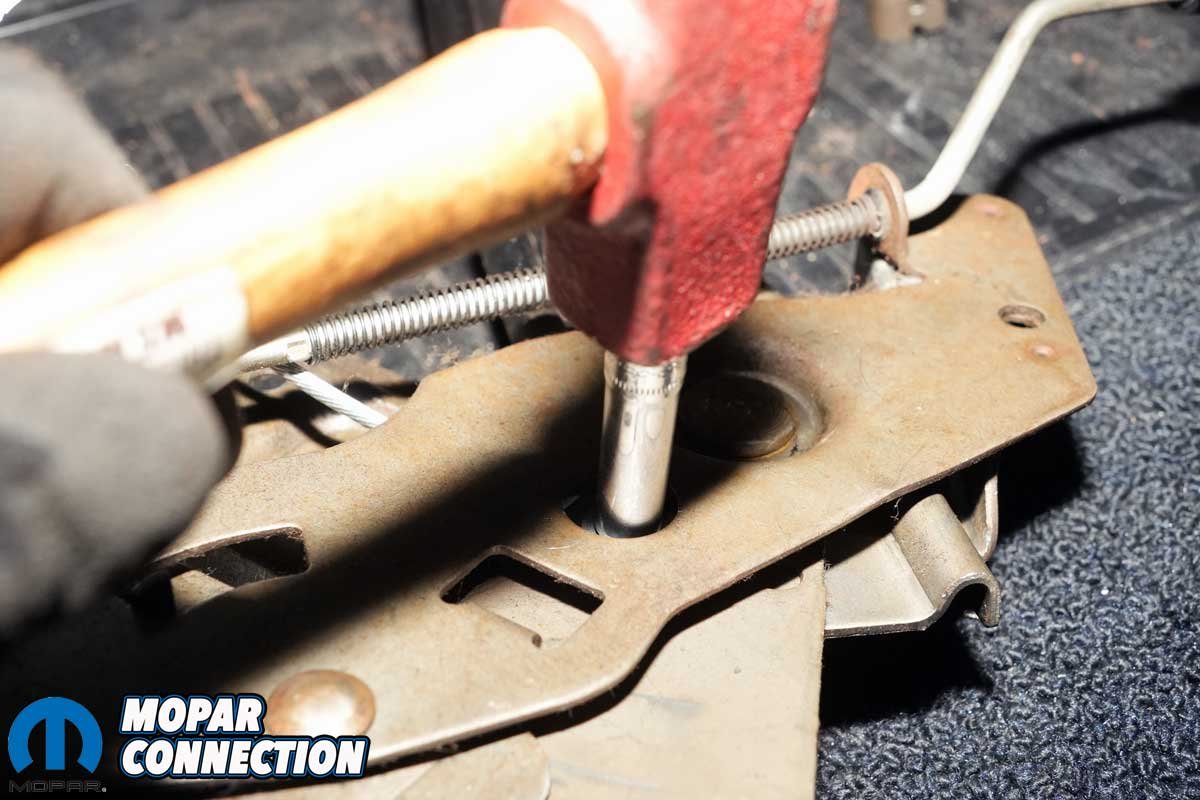
Above Left: To release the park brake cable, we had to remove the park brake assembly from the Road Runner. A tap with a hammer and a punch on the pin that secured the cable to the assembly was all we needed to free the cable. Above Center: We lucked out by not damaging the clip when we knocked out the pin. Both pieces were in excellent condition and were reused. Above Right: Back in the Road Runner, we extended the cable through the firewall, attached it to the assembly, installed the pin, and drove the clip onto the pin.
Our last task was to replace the frayed front parking brake cable. The frayed cable prevented the parking brake pedal from extending fully to its off position, leaving the parking brake light illuminated on the instrument panel. Inline Tube came through again, this time with a steel factory replacement cable (part no. FT510). The cable we chose connected the parking-brake pedal to the bracket that, in turn, connected to the two rear cables that extended to the drum-brake shoes.

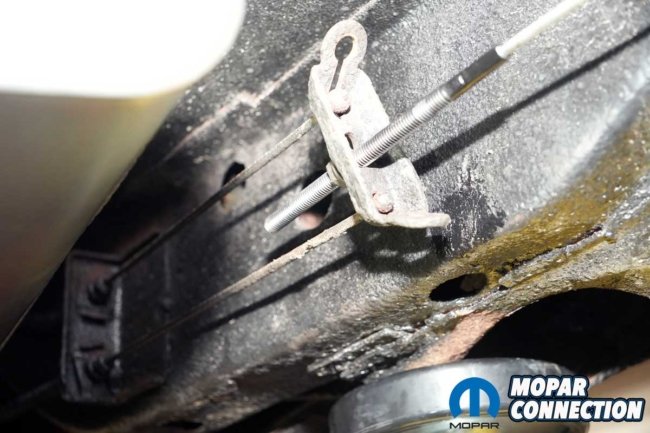
Above Left: The new cable was pushed through the frame extension. We tapped the clasp into place from the backside. Above Right: The new cable was threaded into the bracket and appropriately adjusted to have the park brake hold yet released cleanly.
To remove the cable, we used a pair of vise grips and a ratcheting wrench at the rear of the cable under the chassis. With a liberal amount of Thrust penetrant, we eventually removed the fastener from the front cable of the union bracket. At the other end of the cable at the parking-brake pedal, we thought we could free the cable from the mechanism, but we struggled to do so and ended up removing the parking-brake pedal assembly.

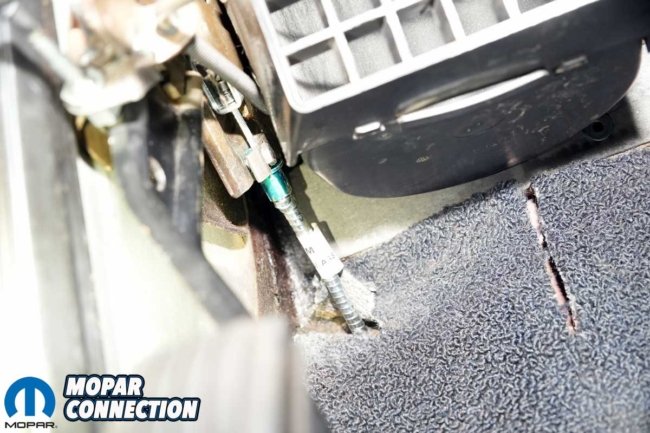
Above Left: The new cable grommet looked factory installed. It was the correct size and fit into the wheel well opening without difficulty. Above Right: At the park brake assembly, we ensured the cable end and sheathing were correctly attached.
Removing the assembly required pulling the cable through the firewall into the interior. We had to contend with one grommet and a clasp that was fitted into the frame rail. After removing the assembly from the Road Runner’s interior, we used a punch to drive the cable’s securing pin out. The cable was released from its positioning clamp and removed from the assembly.
To reassemble, we ran the cable through the frame to the rear and ran the front half through the fender well and into the interior. We installed the cable’s securing pin and clip and then installed the parking-brake assembly to the chassis. The positioning clamp was tightened at the base of the assembly. From the fender well, we reinstalled a pair of fasteners that located the parking-brake assembly. Lastly, we installed the new cable grommet.


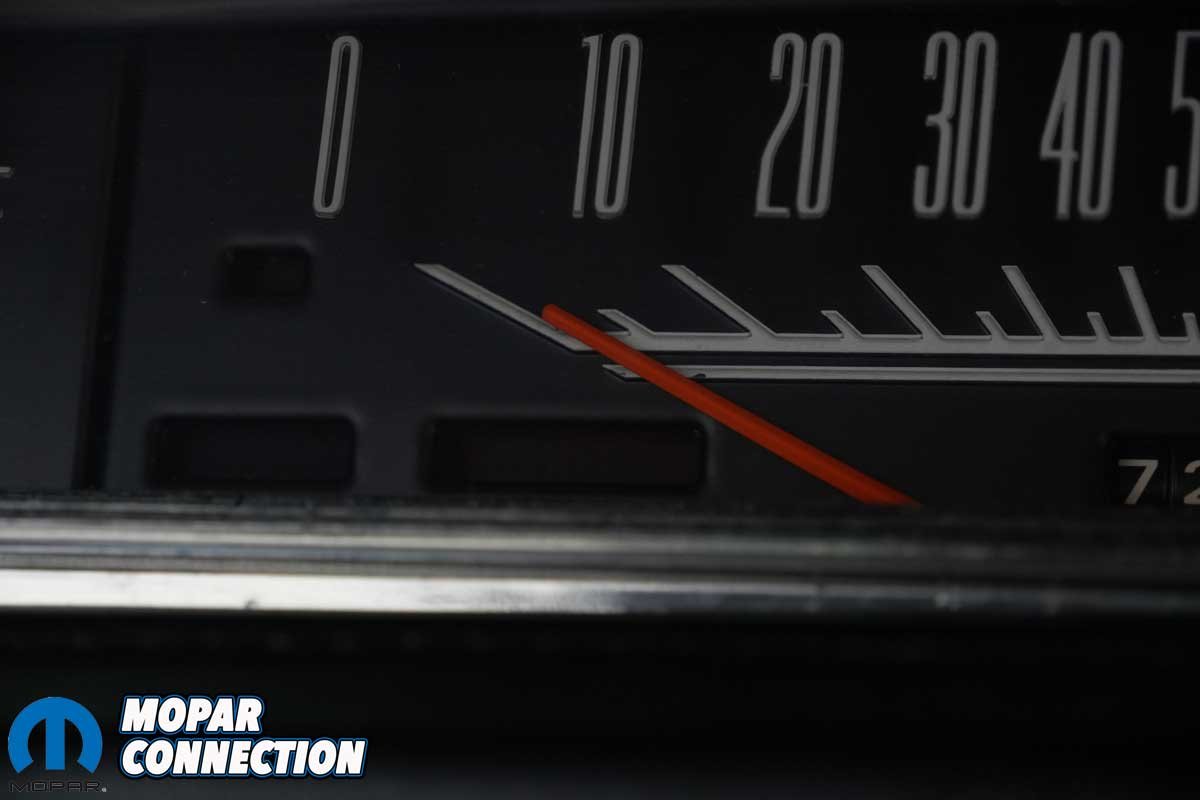
Above Left: The park brake light on the instrument cluster illuminated when the park brake pedal was applied. Above Right: However, with the new brake pedal cable, the light extinguished when we pulled the release handle, and the pedal was disengaged.
Under the Road Runner, we tapped the locating clasp into the chassis frame rail. Using a pair of wrenches, we installed the cable to the distribution bracket and to the rear cables. After a few adjustments, we established the correct cable length, so the parking brake held the Road Runner’s wheels from rotating (with wheels off the ground) without dragging when released. At the same time, when the parking brake was released, the instrument warning light was extinguished. Mission accomplished.
As a final step, we put the Road Runner on our alignment rack. After a few hours of fine-tuning the caster/camber adjustment eccentrics and the toe sleeves, we had a vehicle that drove straight, stopped effectively, and had a centered steering wheel.

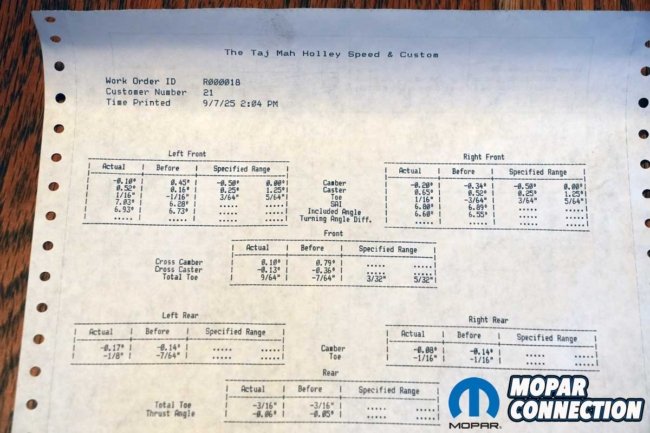
Above Left: After the battle with the brakes, we decided to continue the fight by aligning the Road Runner to adjust a way off-center steering wheel. Above Center: Nothing broke, and the alignment angles turned out to be quite favorable. Working with upper control arm eccentrics can be a challenge, but we got it done. Above Right: The brake system carnage was extensive, but now we have a system that is up to date and safe.
After all the twists, bends, and challenges, Rara Hemious Birdicus was finally road ready. The brake pedal was firm, the car stopped straight, the parking brake worked perfectly, and the steering was centered. Every system performs as it should. The chaos was behind us, patience paid off, and precision won the day with the help of Inline Tube and Mancini Racing.


