


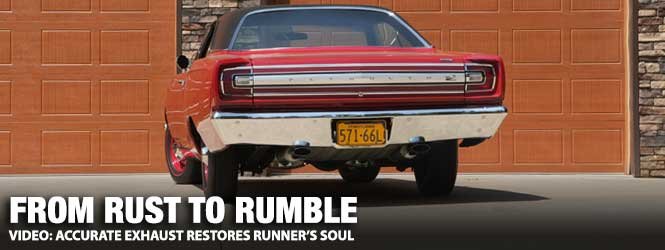
When it comes to restoring a classic Mopar to its original specifications, the exhaust system is more than just piping for flow; it is part of the car’s DNA. Every bend, bracket, and weld mark tells part of the story. That is where Accurate Exhaust Products Ltd. stands apart from the competition.
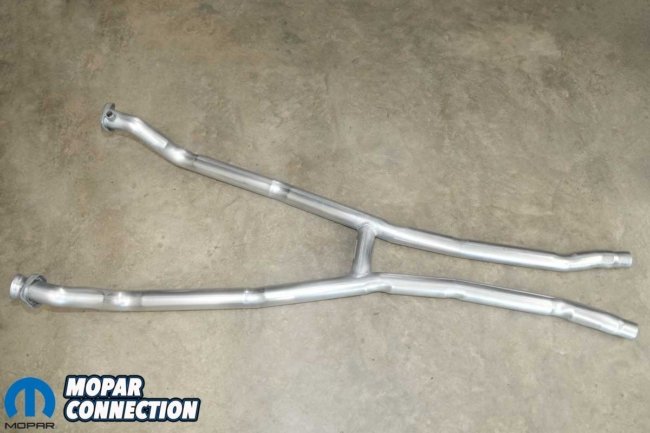
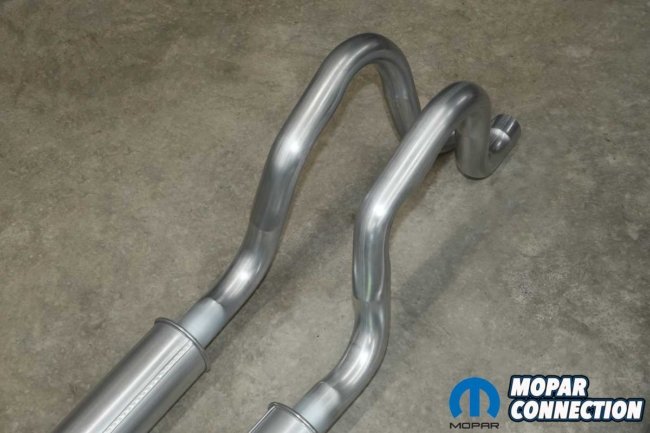
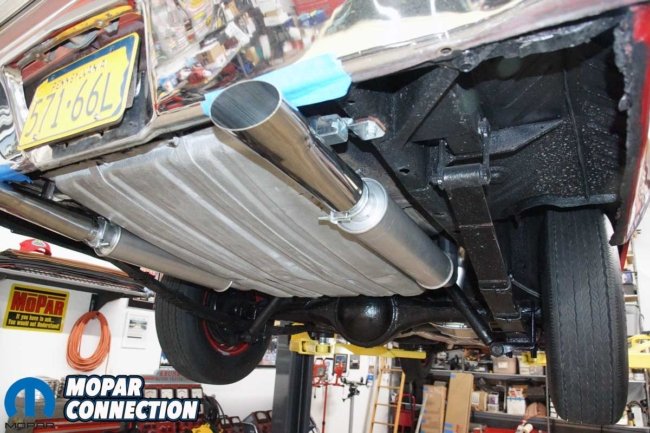
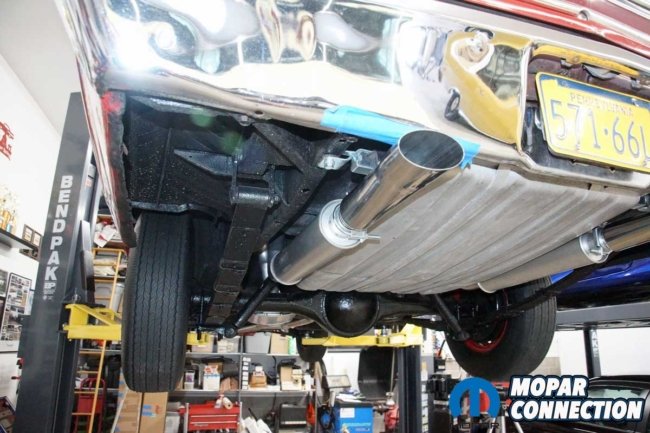
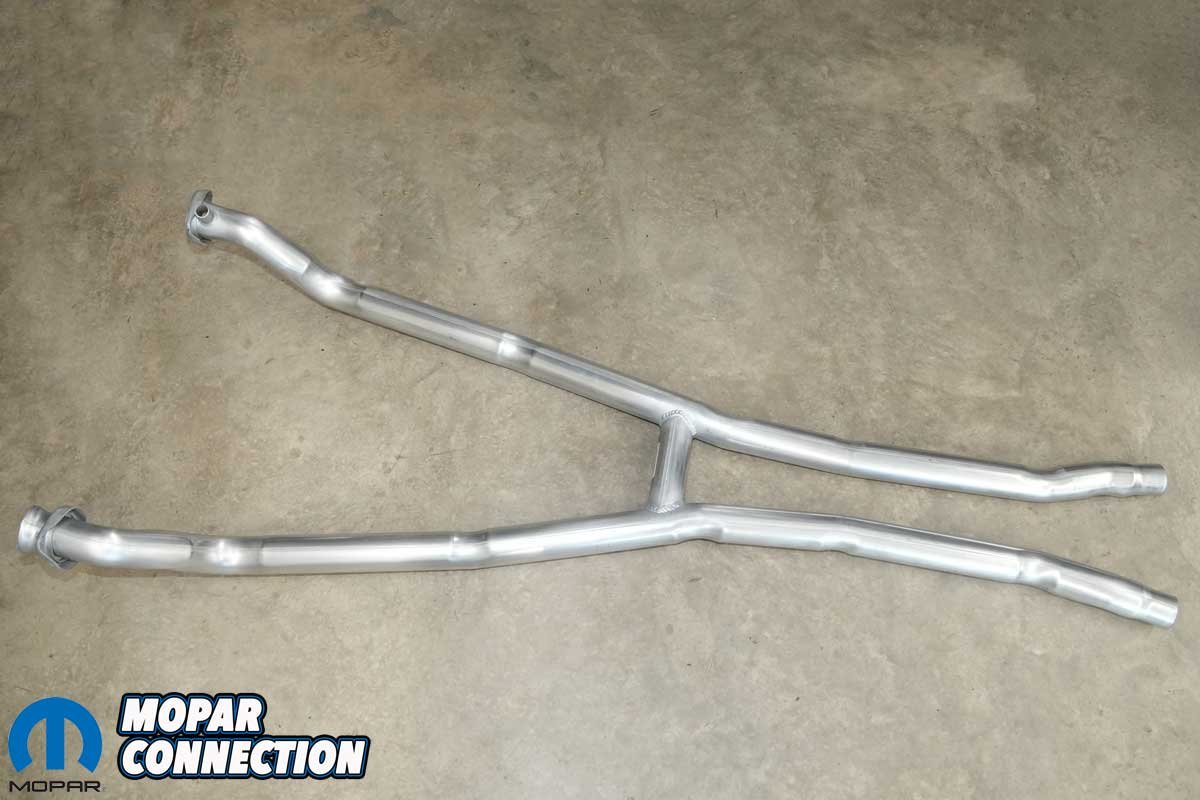
Above Left: Accurate Exhaust supplied a factory-style aluminized H-pipe kit for our B-body Road Runner. Above Right: The H-pipe includes a provision for a carburetor heat tube. Since our car uses a manual choke and the tubes had already been removed, we left it blocked.
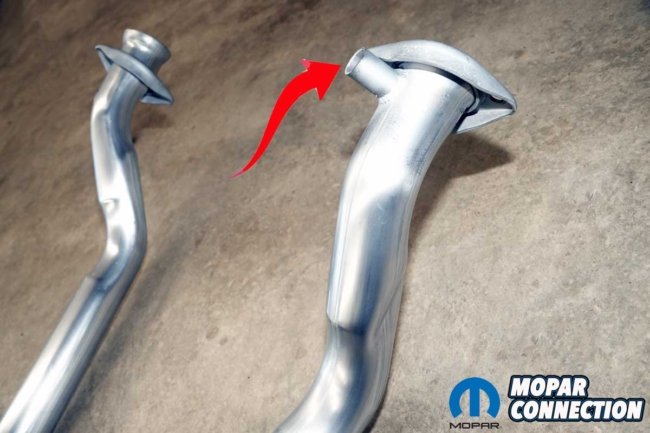

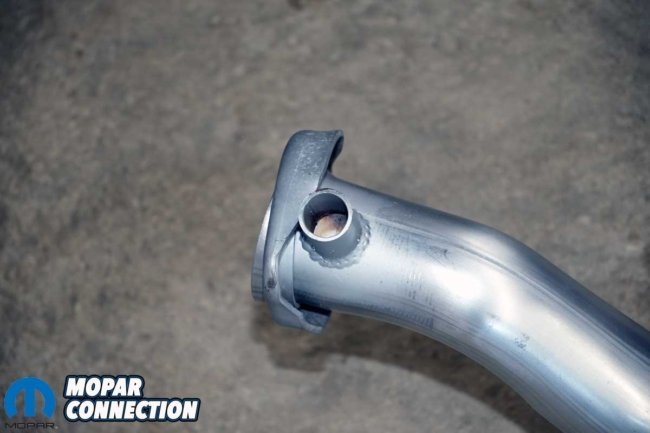
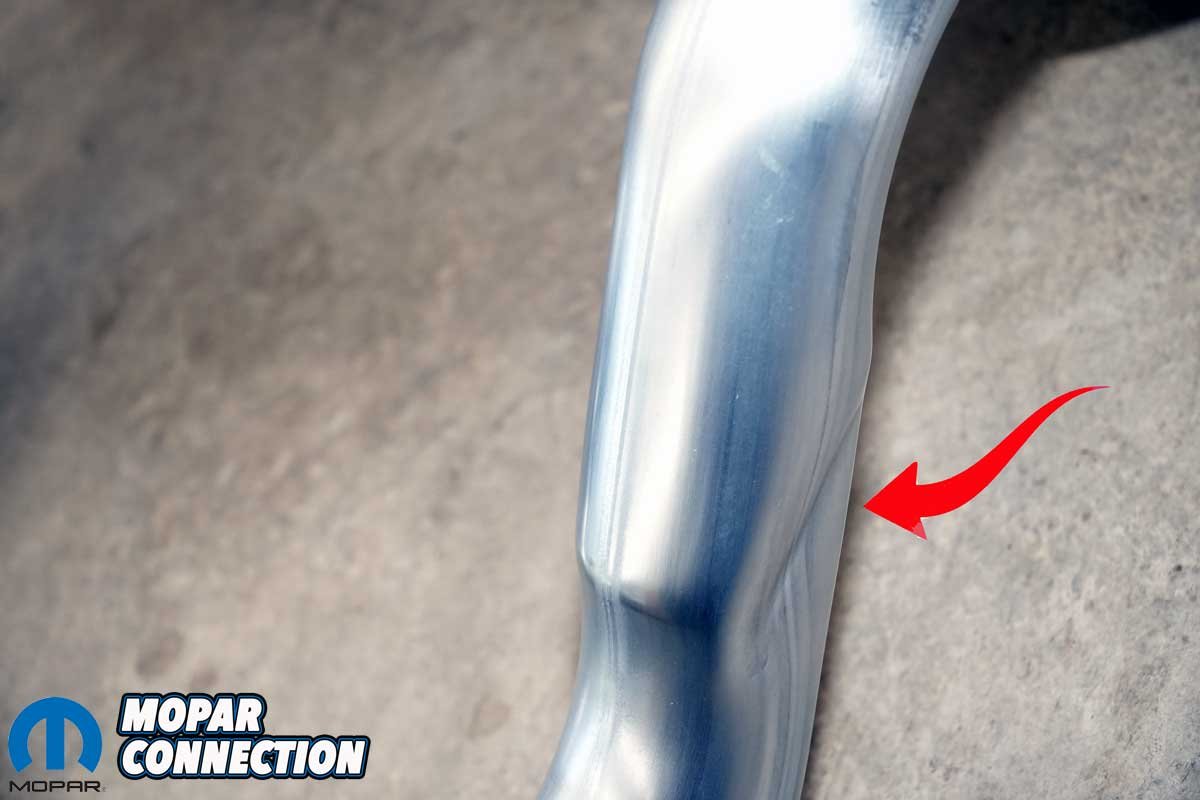
Above Left: From this angle, the H-pipe clearly shows the carburetor heat-tube provision, a carryover from the factory design. Above Right: Both header pipes feature precise bends to maintain clearance around the Road Runner’s torsion bars.
Based in the USA and built on a passion for precision, Accurate Exhaust has earned its reputation as the go-to source for OEM-style exhaust systems that deliver factory fit, correct sound, and authentic appearance. Their work is as much about preserving history as it is about building an exhaust.
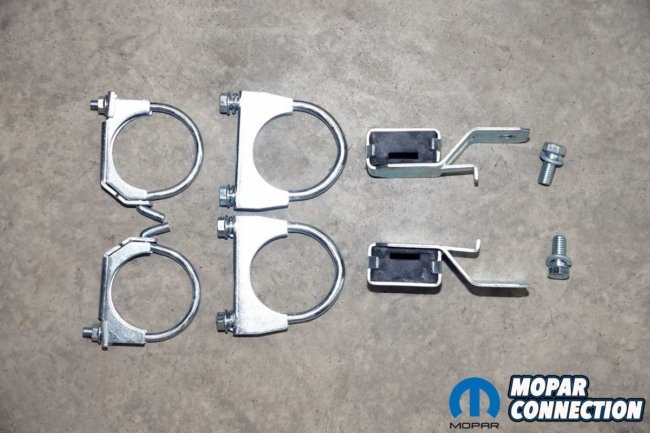
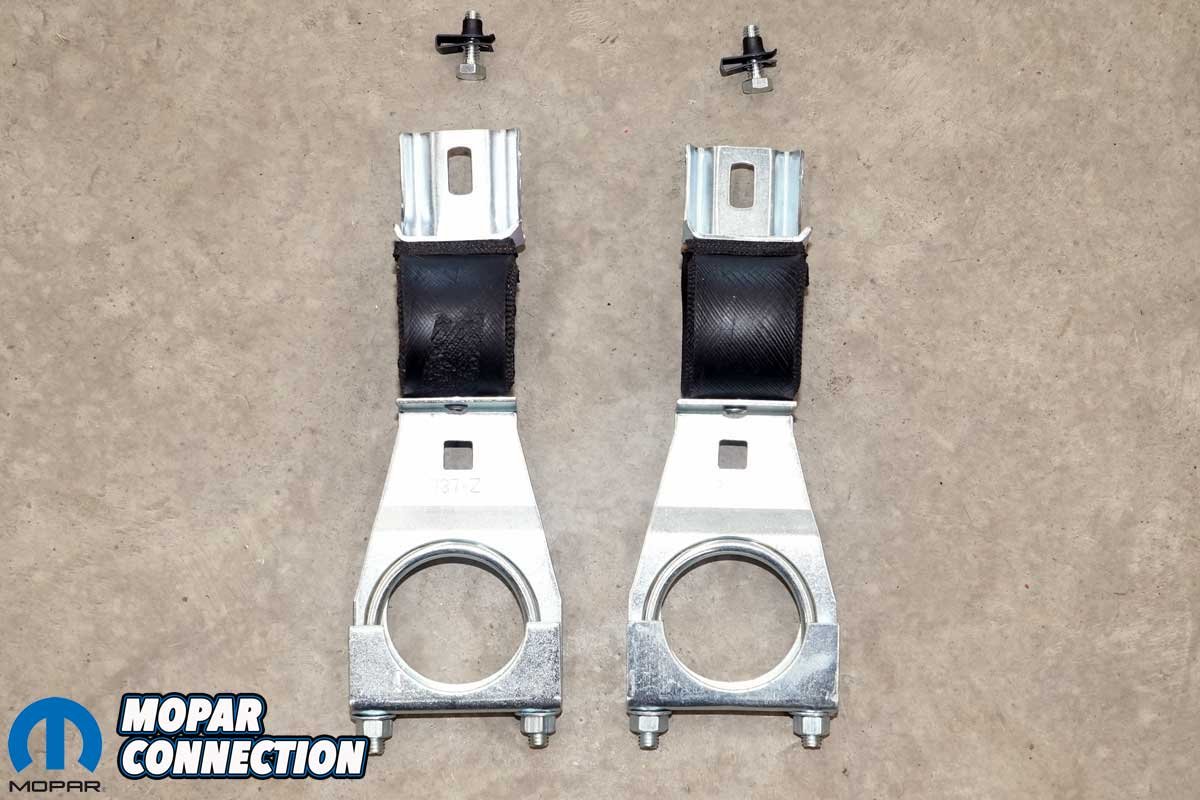
Above Left: The kit included factory-style exhaust hangers that support the system at key points, securing each muffler outlet and the over-axle pipes. Rubber insulators, just like the originals, help minimize vibration transfer into the chassis. Above Right: Also provided were Q-clamps, U-bolts, exhaust tip brackets, and all necessary mounting hardware to complete the installation.
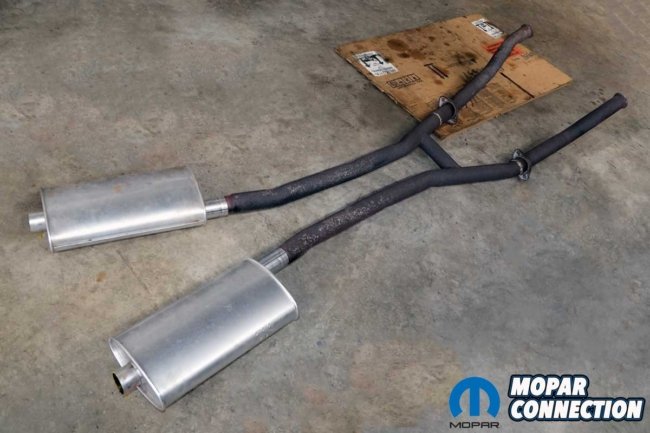
A factory-correct fit, the unmistakable Mopar tone, and a precise OEM look were exactly what we wanted for our Hemi Road Runner. When we purchased the car, it wore a mismatched system: an old (possibly original) H-pipe, inexpensive aftermarket mufflers, decades old replacement factory resonators, and original tips.
The system was rusty, patched, and missing essential factory features. The passenger-side exhaust manifold and header pipe had their carburetor heat tubes removed and welded shut (a minor detail unless undergoing a concours restoration).


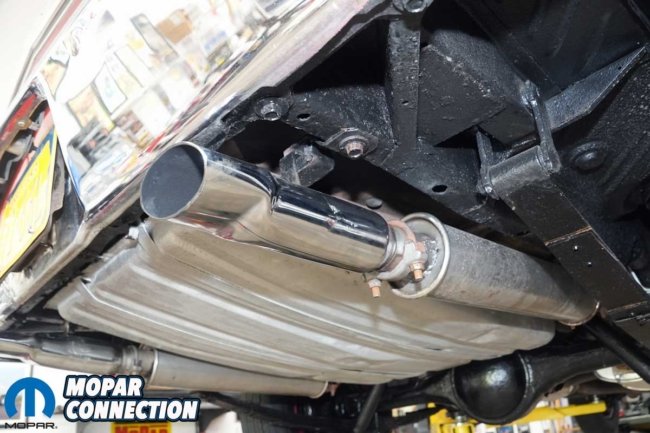
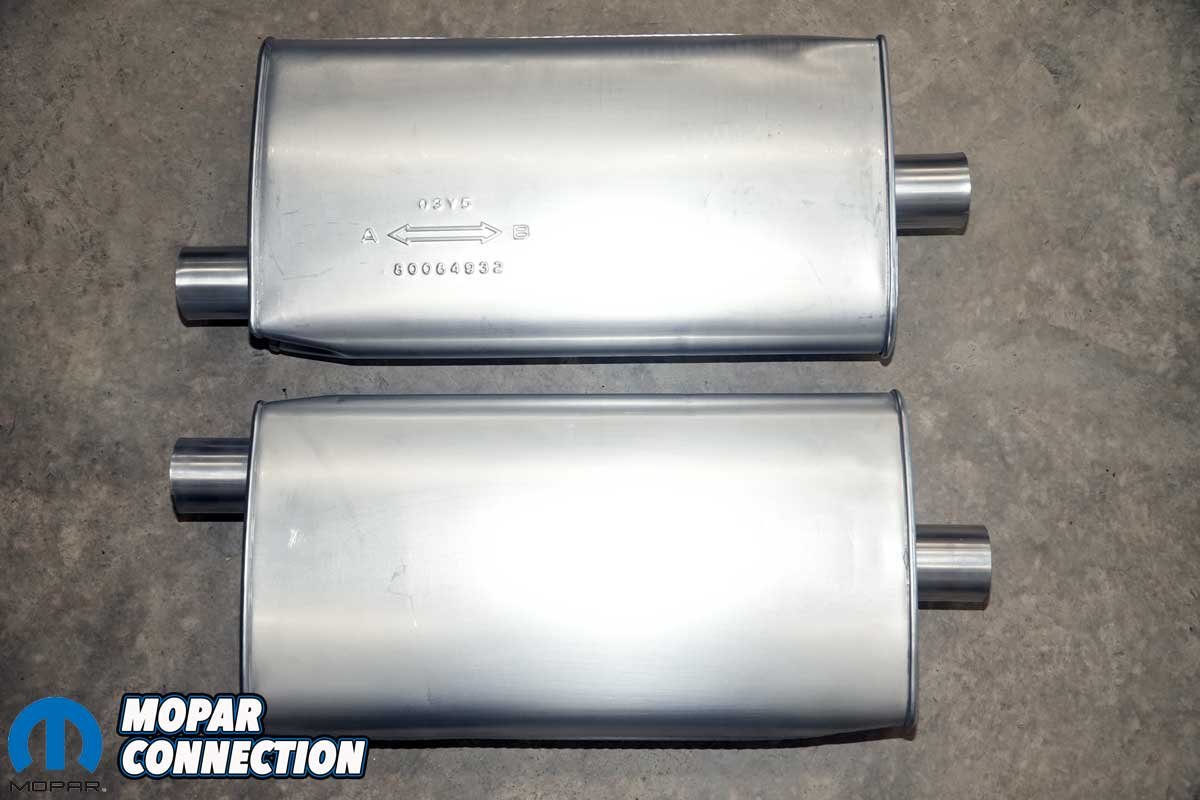
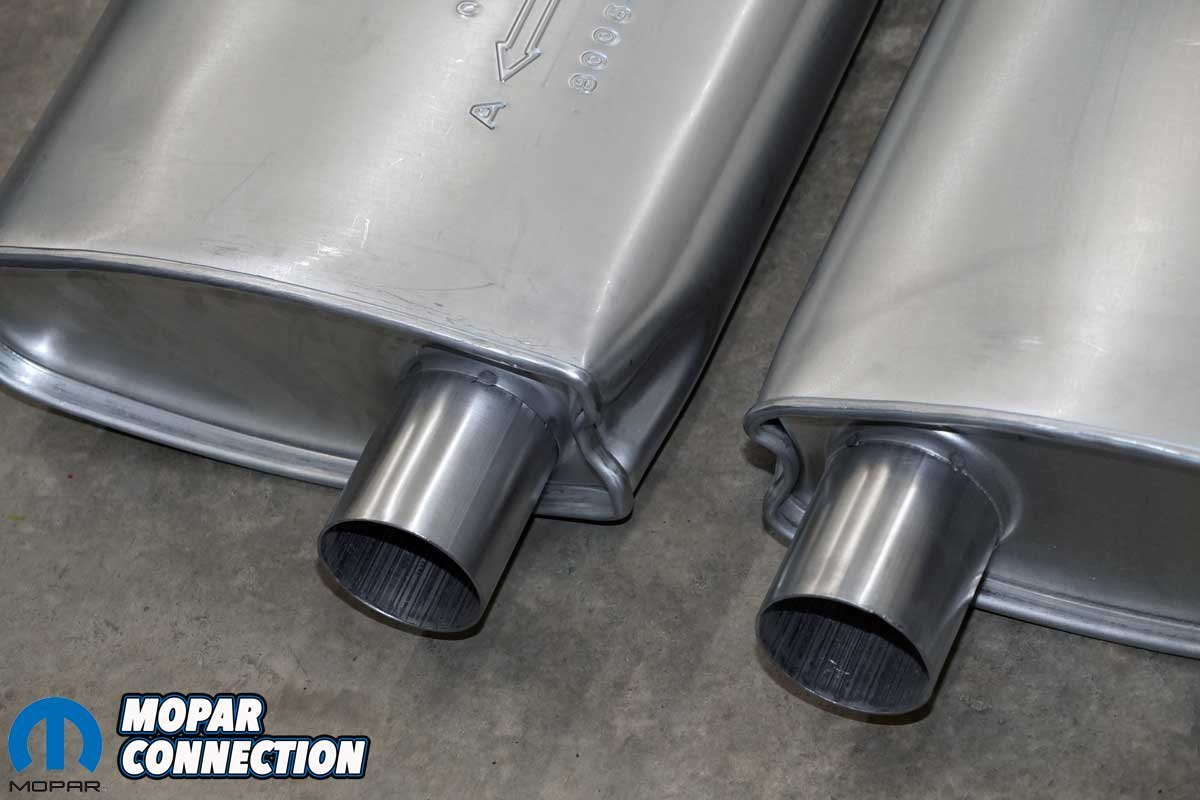
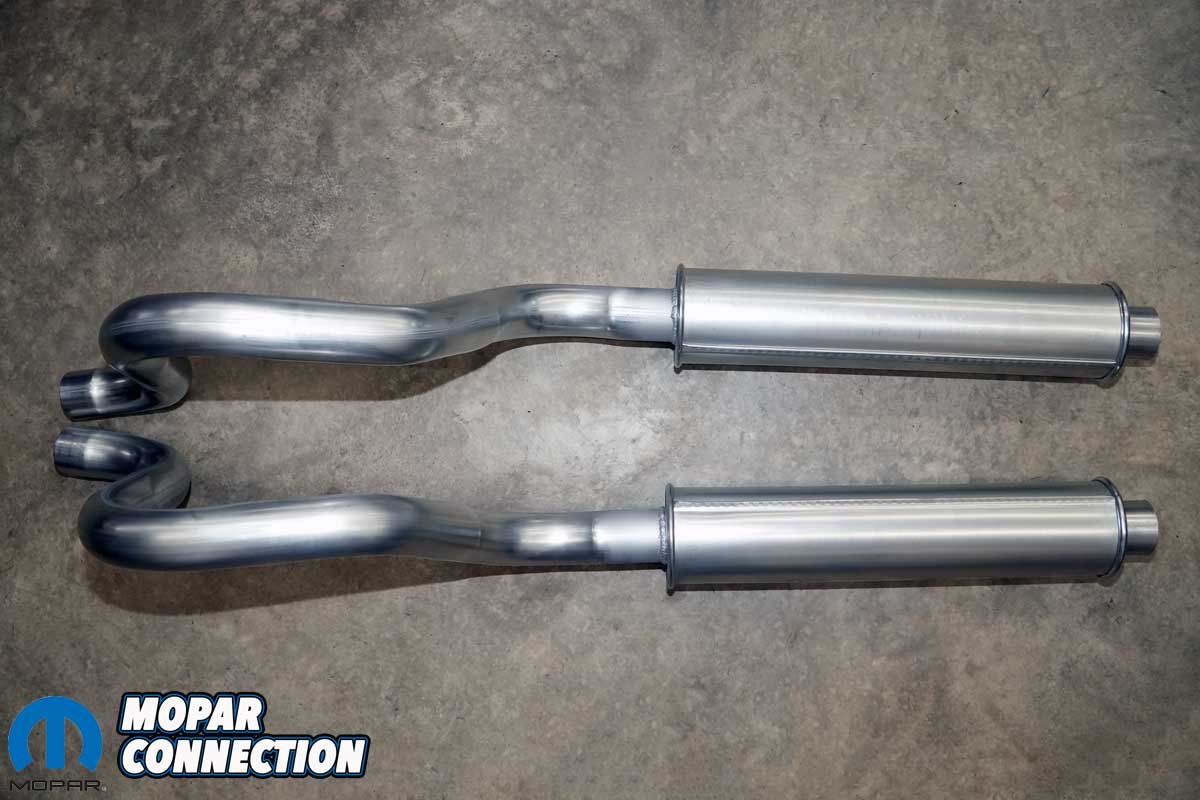
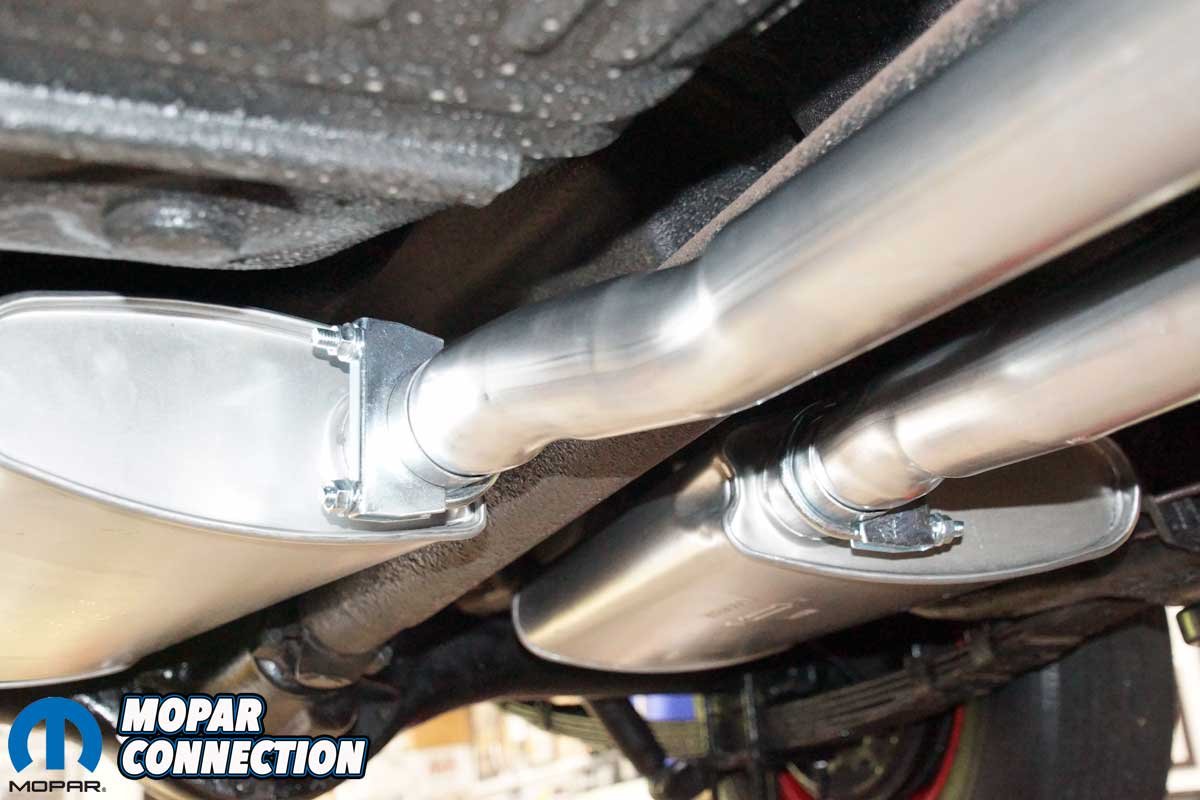
Above Left: The mufflers feature the correct offset inlet and center outlet, replicating the original factory configuration. Above Right: Each muffler includes the proper indentations to clear the driveshaft and nearby components for an accurate fit.
Unlike mass-market suppliers, Accurate Exhaust focuses on faithfully recreating the systems that rolled off Detroit’s assembly lines during the golden era of Chrysler performance, with a special emphasis on Dodge, Plymouth, and Chrysler products from the 1960s through the late 1970s. Whether you are restoring a Six Pack Super Bee, a Hemi ’Cuda, a New Yorker, or a slant-six A-body, Accurate Exhaust has the components to bring it back to showroom spec. They offer:
• Complete factory-style exhaust systems
• OEM-spec H-pipes, Y-pipes, tailpipes, and over-axle bends
• Original-style mufflers, resonators, and hangers
• Heavy-gauge aluminized material is standard or bare cold rolled steel by special order
• Factory-style brackets, clamps, and hardware kits

Above Left: We opted for factory-style resonators in our kit. Accurate Exhaust offers other configurations, so it is best to contact them with any technical questions. Above Right: We also chose to have the resonators welded to the over-axle pipes, maintaining an OEM-style appearance with the welded connection.
Every piece is engineered to match the original routing, sound profile, and fit. Kits are designed for true bolt-on installation, ideal for hands-on restorers. Each system arrives pre-bent for correct clearances, marked and labeled for straightforward assembly, and complete with factory-correct hangers, brackets, and tips.


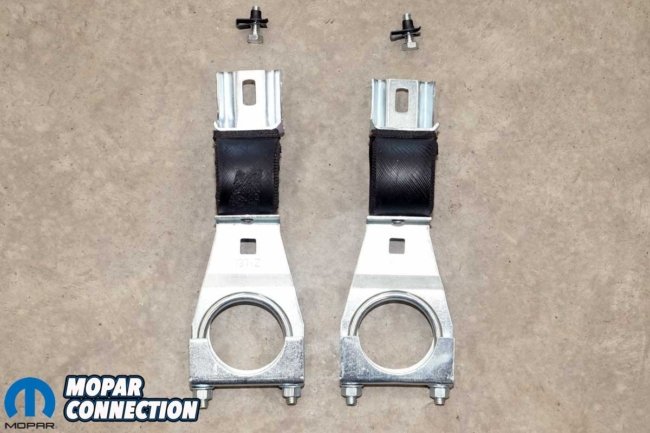
Above: The exhaust tips are stainless steel and feature the correct support tabs. Their openings match the original tips still on the Runner, preserving an authentic factory appearance.
For Project Rara Hemious Birdicus, we sourced our manifold-back exhaust system through YearOne. We worked closely with YearOne’s representatives and later Accurate Exhaust’s representatives to ensure every detail was correct for our ’68 Hemi Road Runner.
We chose the Deluxe version of the 1968–1970 B-Body 426 Complete Exhaust System, which included the Basic package:
• High-flow Hemi mufflers
• 2¼-inch aluminized over-axle/tailpipes
• 2½-inch aluminized (available raw if desired) H-pipe with heat tube not drilled through passenger header pipe
• All required clamps and hardware
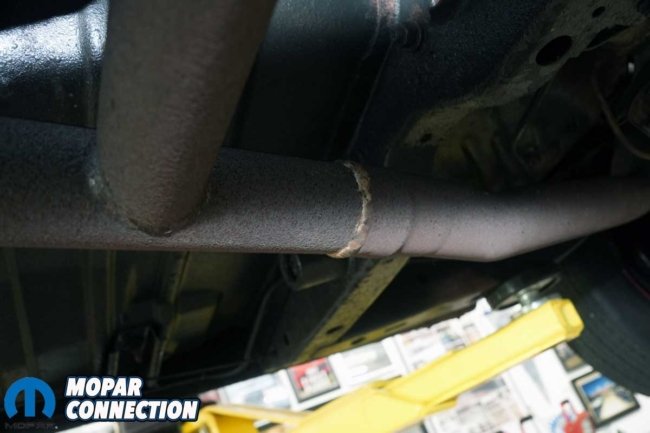
Above Left: The Road Runner’s exhaust was complete but patched together, with the H-pipe appearing to be a mix of original and replacement parts. Above Center: Both header pipes were welded (brazed) to the H-pipe, making it difficult to distinguish original components from replacements. Above Right: The H-pipe sagged noticeably on the passenger side, hanging lower than intended.
The Deluxe package added:
• Stainless-steel exhaust tips or turndown tailpipes (we optioned for the tips for factory accuracy)
• Zinc-coated tip hangers and hardware
• Main support hangers and hardware
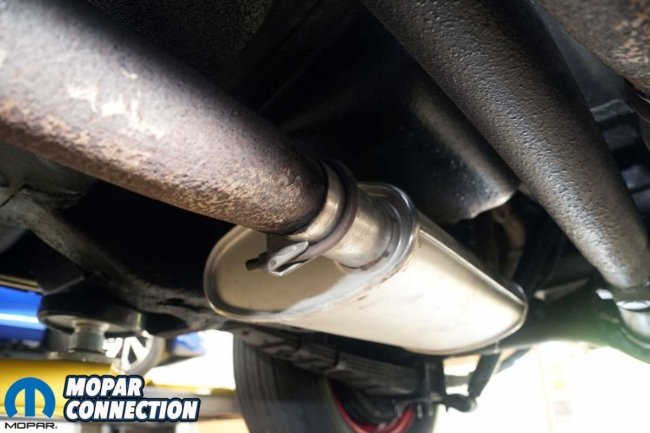
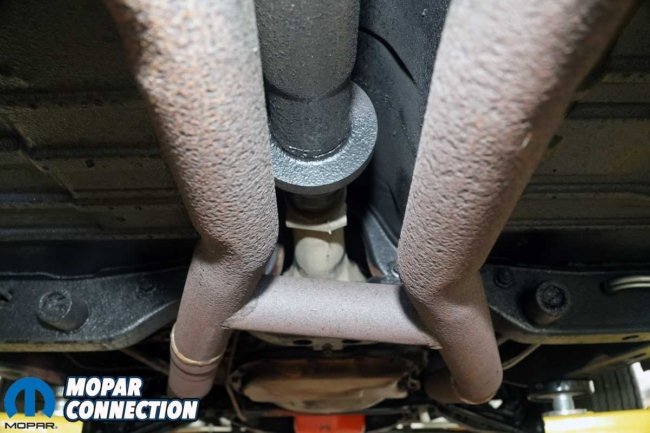
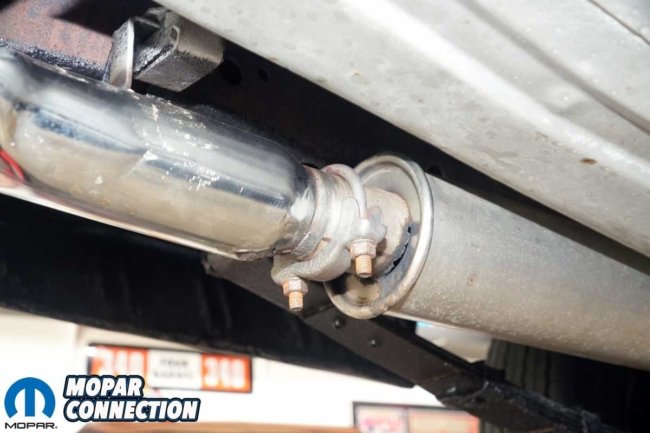
Above Left: The mufflers were relatively new but of low quality and poorly installed. Above Center: On the passenger side, the muffler was welded to the over-axle pipe, and the U-bolt had also been welded in place. Above Right: The driver’s side muffler showed the same substandard installation.
Accurate Exhaust also offers multiple tailpipe configurations: resonators (part no. CBH426RE), resonator delete with full tailpipes for tips (part no. CBH426ET), or resonator delete with turndown style tailpipes (part no. CBH426TD). We opted for resonators that were welded to the over-axle pipes, precisely as the assembly line did. The kits fit factory exhaust manifold castings #2780501 or #2780611 (left manifold), and #2780508 (right manifold).


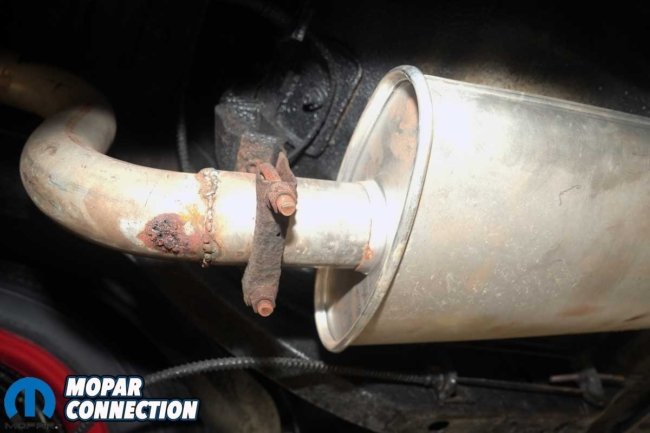
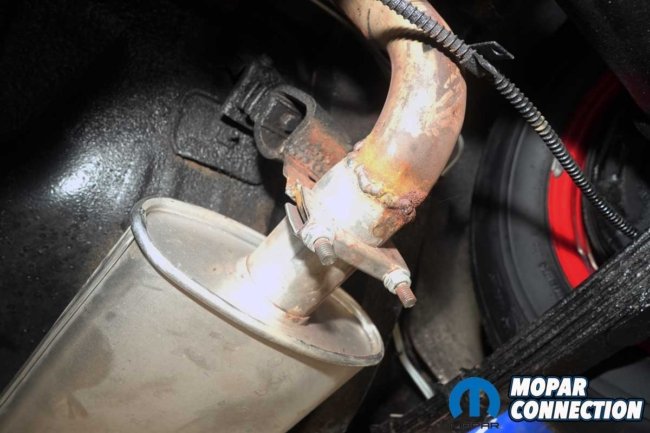
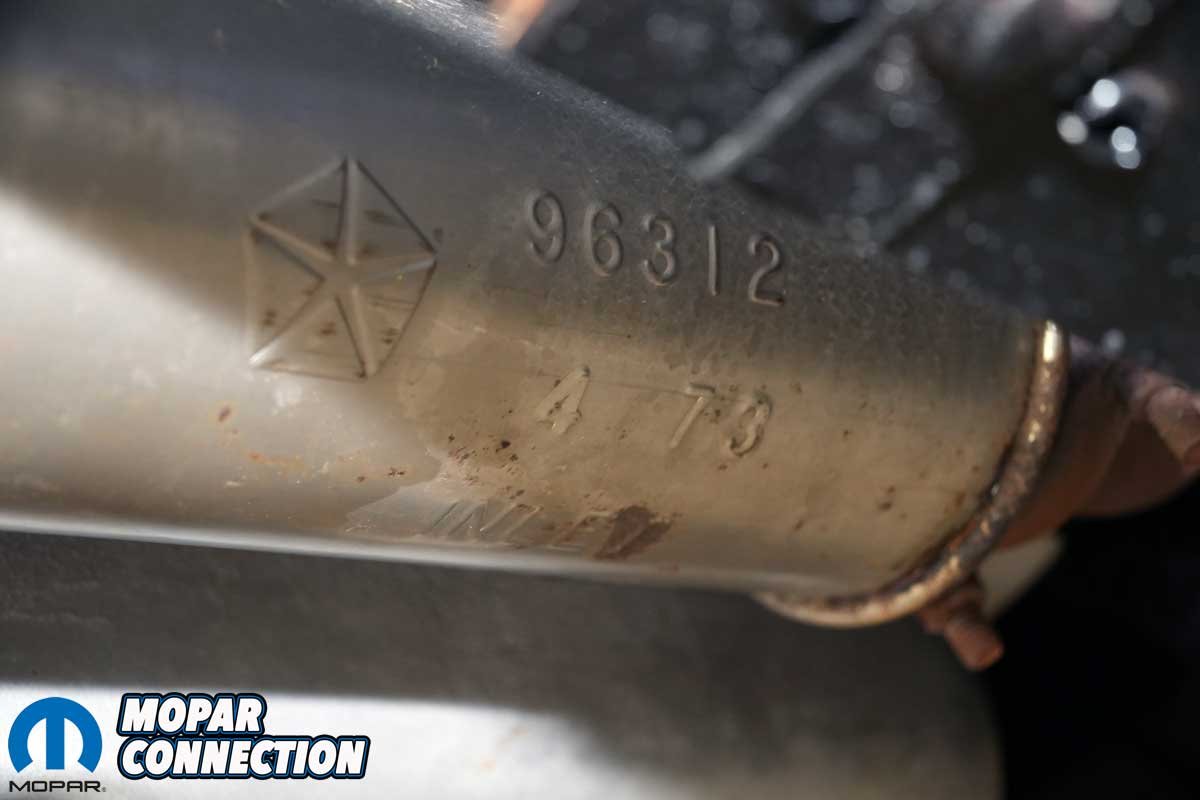
Above: The resonators were in poor condition. Both had been replaced in 1973 and repeatedly welded over the years in attempts to seal rust holes. Eventually, the corrosion reached a point where further repairs were no longer possible.
Above: The exhaust tips were original, with flaking chrome and rust replacing the factory finish. The tip brackets remained in good condition, though the driver’s side had been shimmed with several washers to achieve proper, or near proper, bumper clearance.
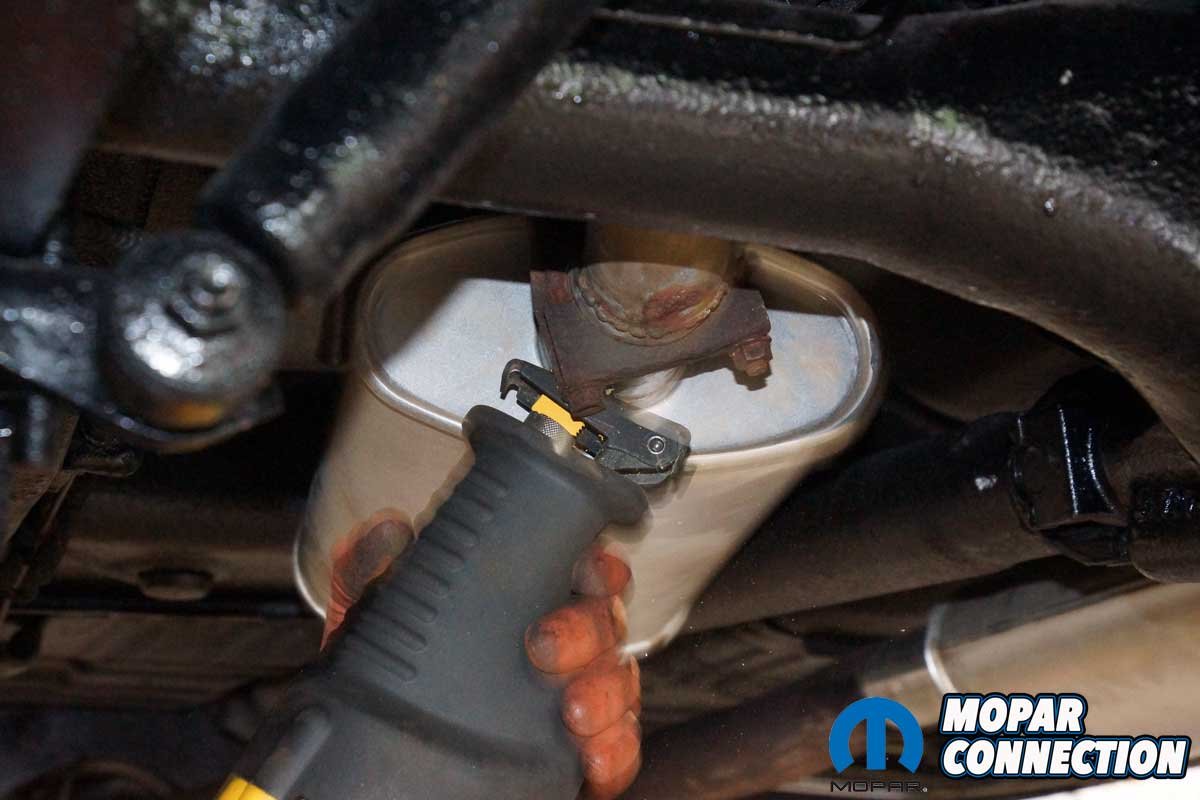
Filled with anticipation about the Accurate Exhaust products and the promise of an undamaged, intact exhaust, we could not wait to get our new pipes installed. However, before installing the new exhaust, we meticulously stripped out the mismatched setup. We began by loosening every U-bolt, but rather than fighting rust-seized joints, we used a Sawzall to cut just after the mufflers.


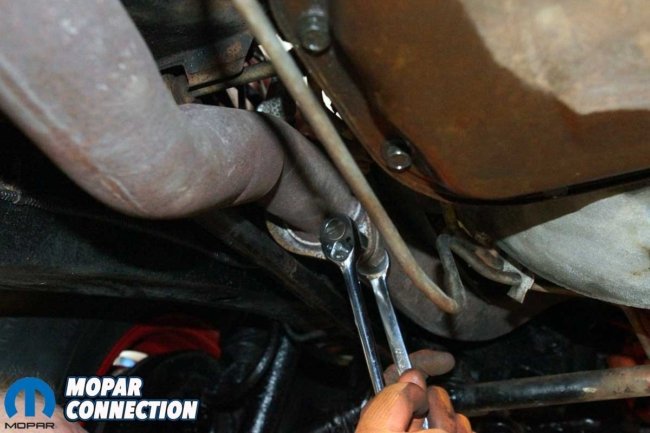
Above Left: To remove the exhaust, we cut the mufflers at the outlet just ahead of the hangers. Above Center: The over-axle section, resonator, and tip were removed as a single unit on both the driver’s and passenger’s sides. Above Right: Two fasteners were removed from each floating flange. Since all the hardware was mismatched, we discarded all four.
With the system sectioned, we slipped the left exhaust tip from its hanger and carefully rotated the tip, resonator, and over-axle pipe out around the axle housing and shock absorber. The driver’s side came out the same way. Interestingly, both resonators turned out to be replacements from April 1973.

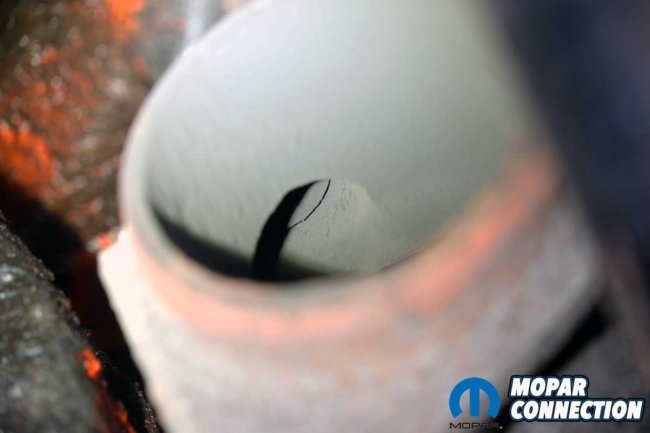
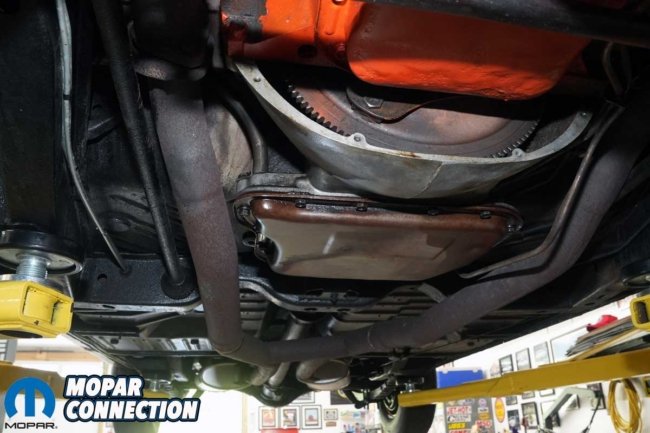
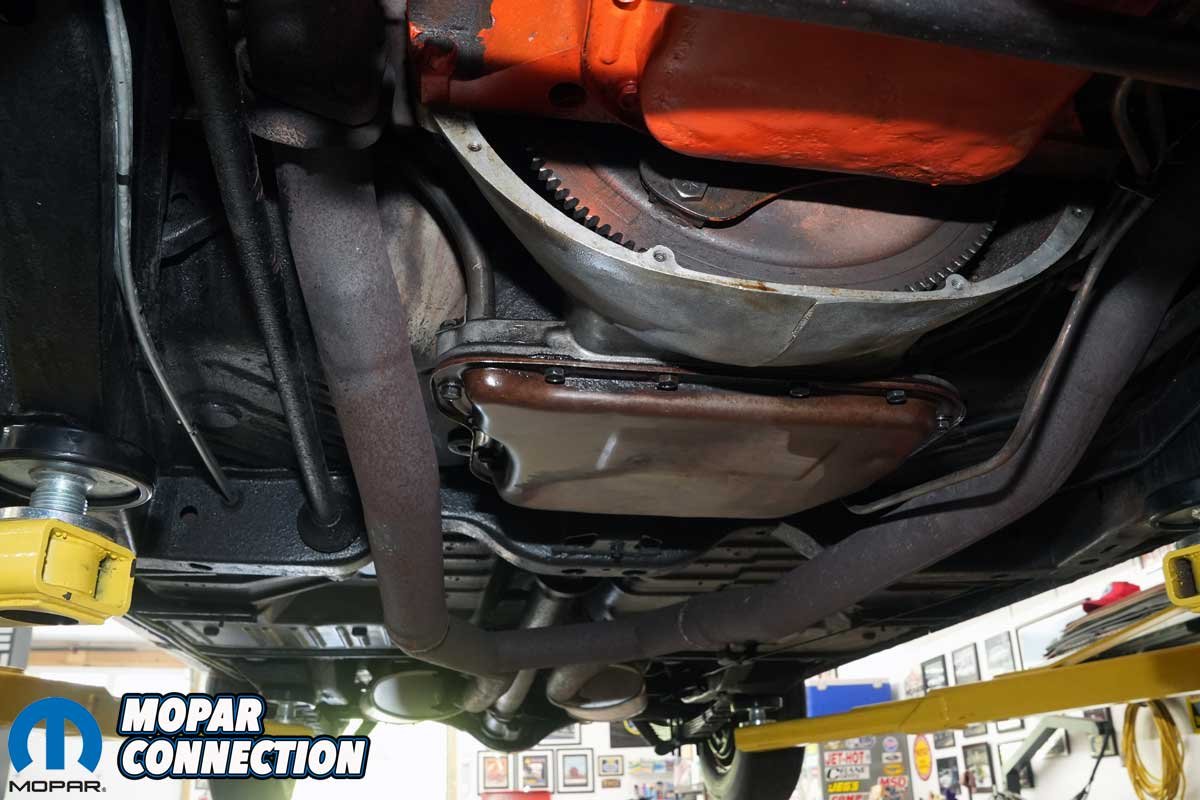
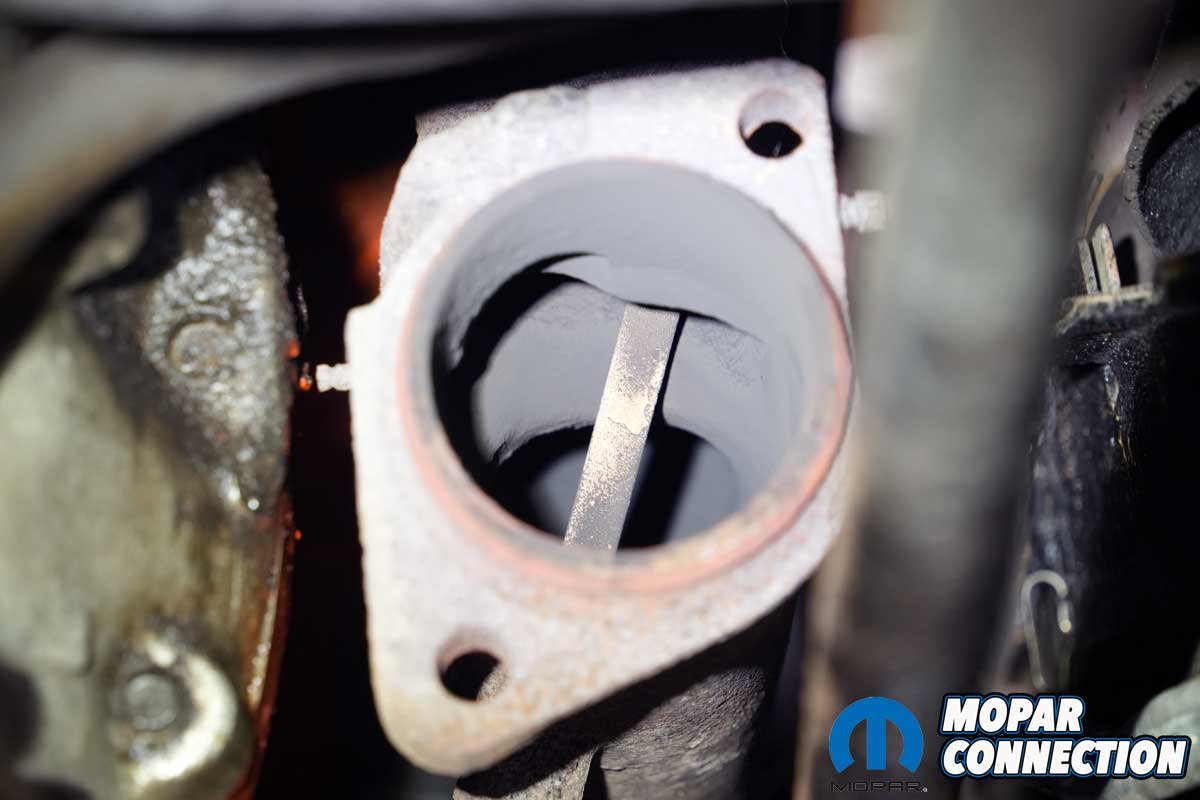
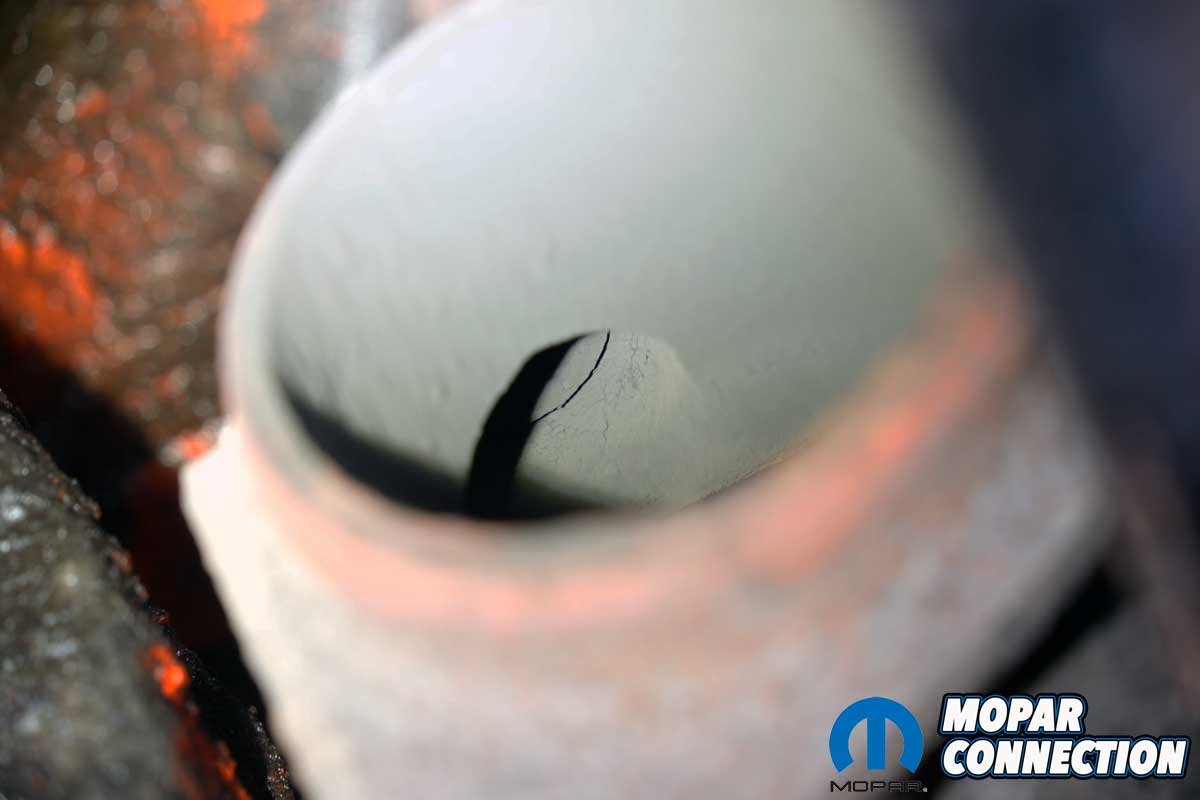
Above Left: The H-pipe and mufflers were carefully removed without taking out the torsion bars. After adjusting the pipe’s angle, it slipped neatly between them. Above Center: The passenger-side exhaust manifold is missing its heat riser flap, though the shaft remains. Above Right: The manifold’s heat-pipe passage had been plugged when the choke was converted to a manual cable assembly.
The H-pipe was secured to the manifolds with mismatched hardware, two bolts and nuts per side. Once all four nuts were backed off, we wiggled the pipe free, tilted one tube down, and snaked the assembly around the torsion bars. It was a tight fit, but Accurate Exhaust’s installation sheet was right; patience and the correct angle got it done. The H-pipe and mufflers went straight to the scrap heap.
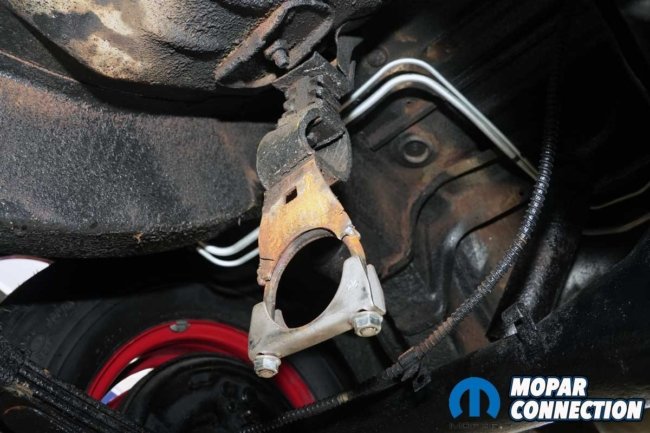
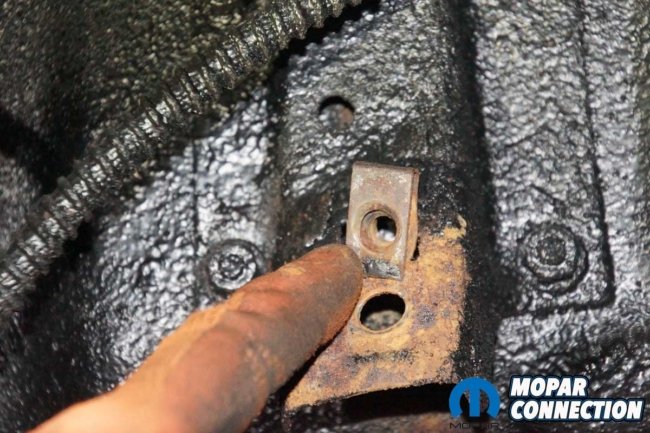
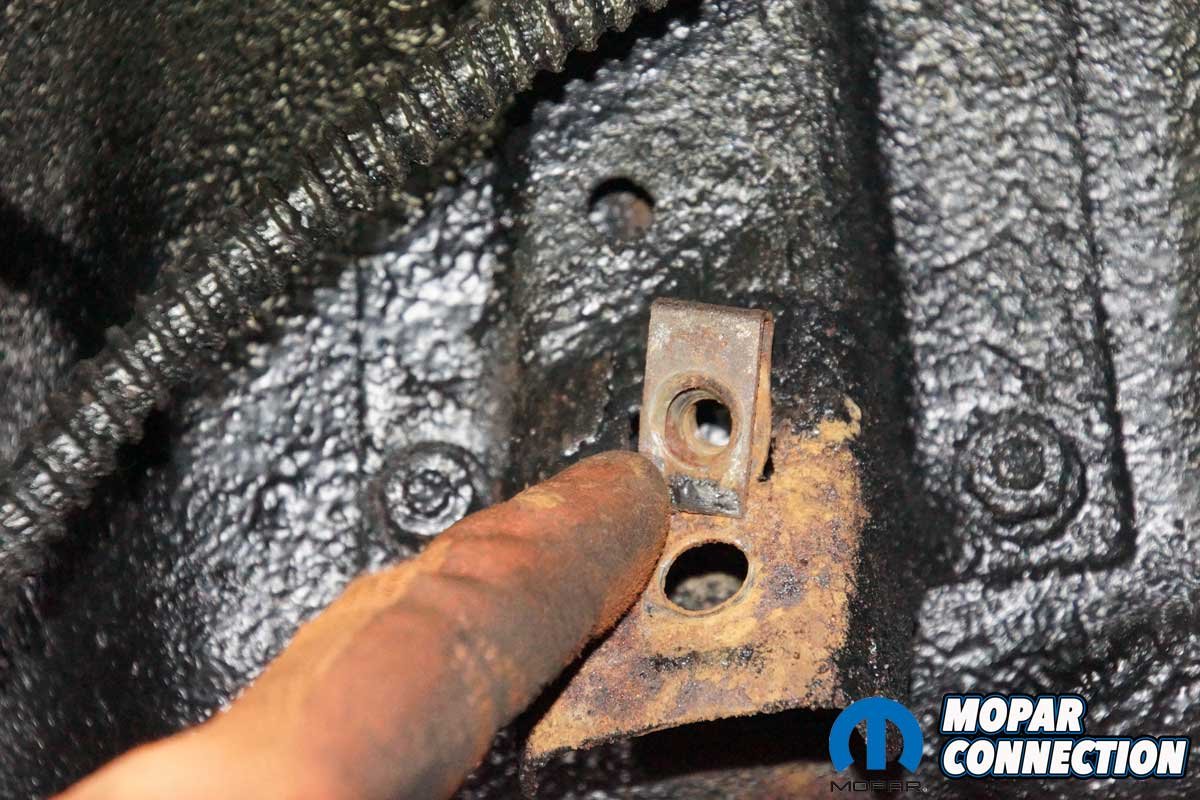
Above Left: The support brackets were in poor condition; each having been cut and rewelded. It appeared that both U-bolts had broken when a muffler shop technician tried to remove the old mufflers. Above Right: The bracket fastener was attached to a clip, and both clips were removed along with the bracket.
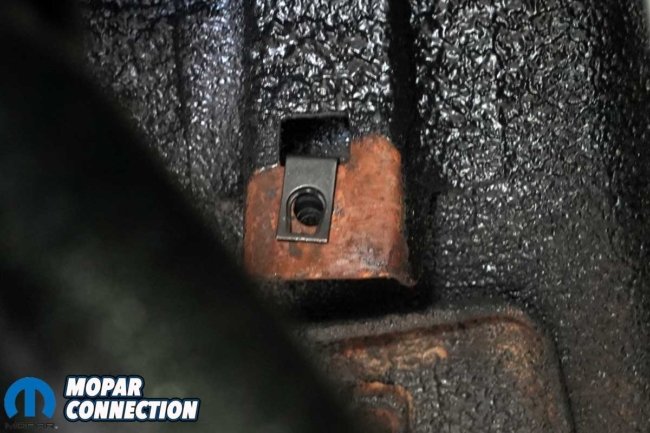
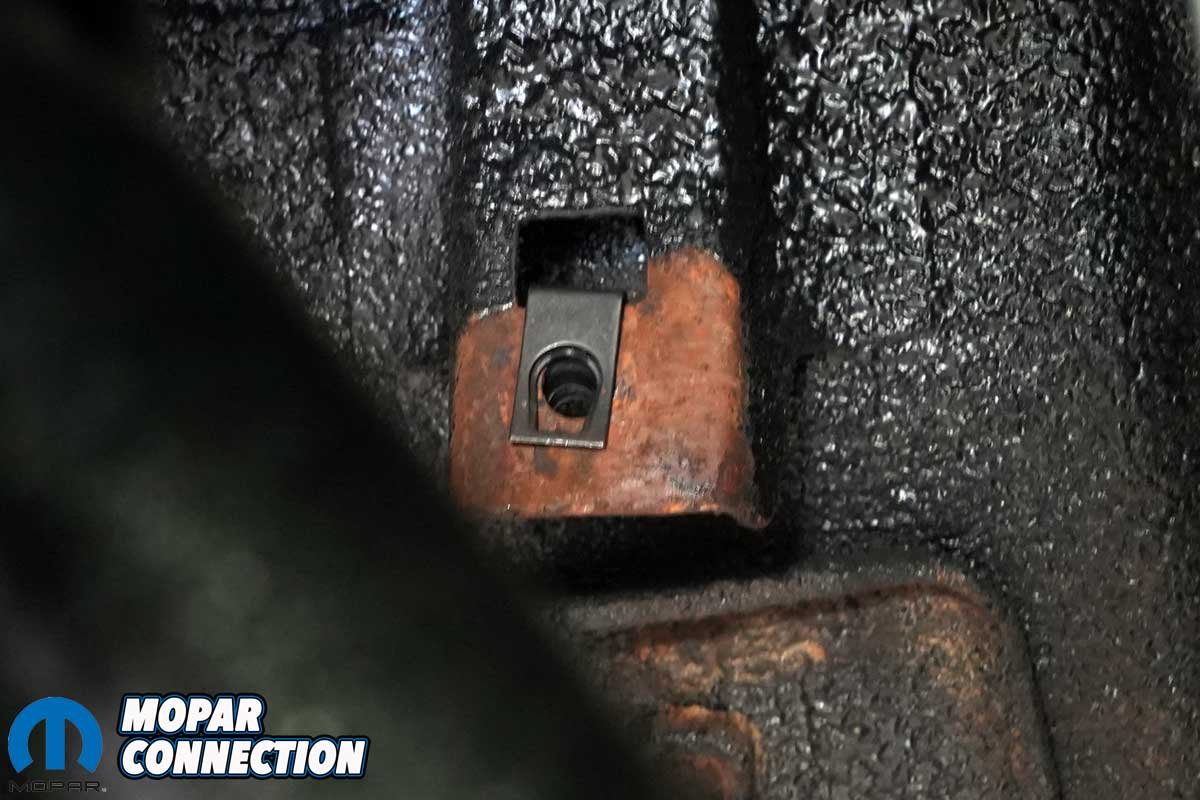
Above Left: Two new clips were installed on the chassis. Above Right: The Accurate Exhaust hangers were mounted using the supplied hardware. All fasteners were hand-tightened at this stage to allow vertical adjustment before final torquing of the U-bolts.
The last step was to unbolt the muffler support hangers and detach the exhaust tip brackets. When we swept the floor afterward, the pile of rust was proof that this system was long overdue for replacement. To our surprise, not a single bolt broke, a rare luxury on a 50-plus-year-old B-body.
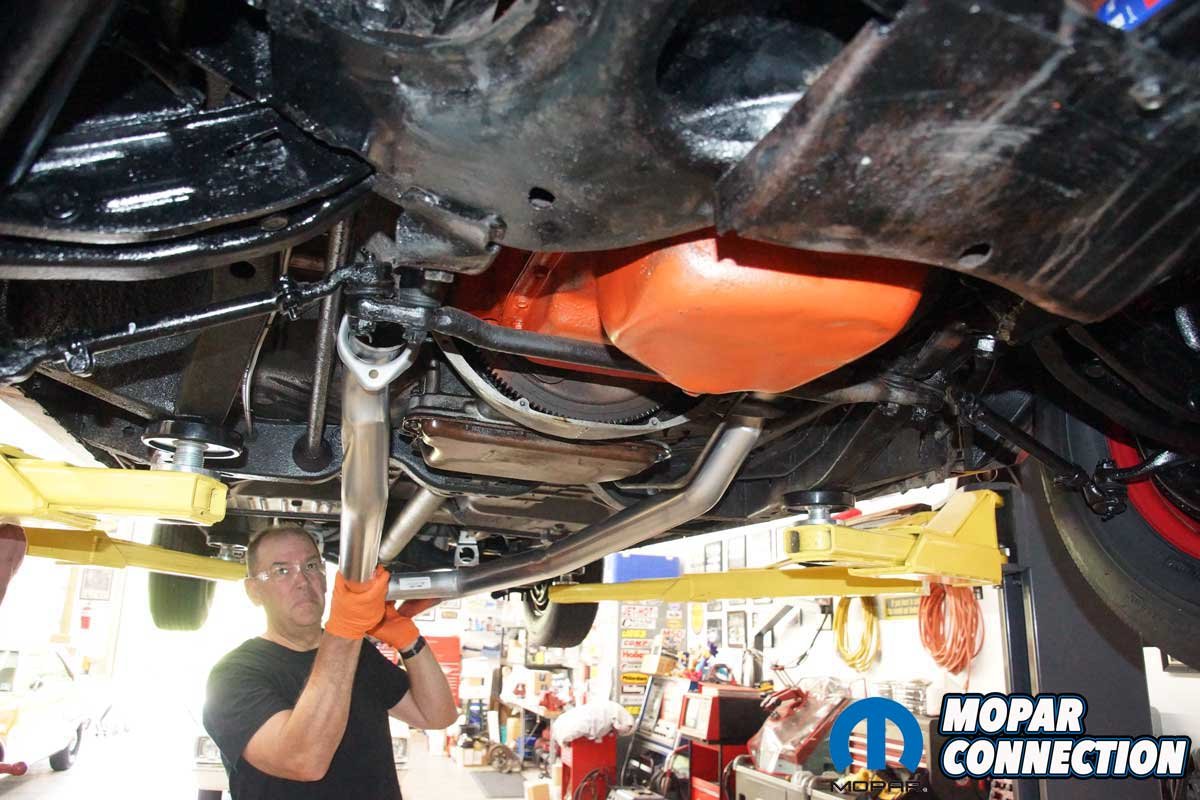
Above: The new H-pipe was tilted and guided into place. Accurate Exhaust provides a “technical tip” for completing this step without removing the torsion bars.
We began the installation by carefully angling the H-pipe around the torsion bars. Once in position, we aligned each header pipe with its corresponding exhaust manifold. A screw jack supported the H-pipe while we installed new manifold bolts and nuts (not included in the kit). We snugged the floating flanges into place but did not fully tighten them yet, allowing for adjustment later.
Next came the mufflers. Both had an offset inlet and center outlet. Each slipped over the H-pipe outlets and featured proper indentations for drive shaft and parking brake cable clearance. We loosely installed two 2½-inch U-bolts to hold them in place.


Above Left: The floating flanges of the header pipes were snugged to the exhaust manifolds, with a screw jack supporting the H-pipe during assembly. Above Center: The passenger-side muffler was installed onto the H-pipe. Above Right: With both mufflers in place, U-bolt clamps were fitted and the nuts lightly tightened.
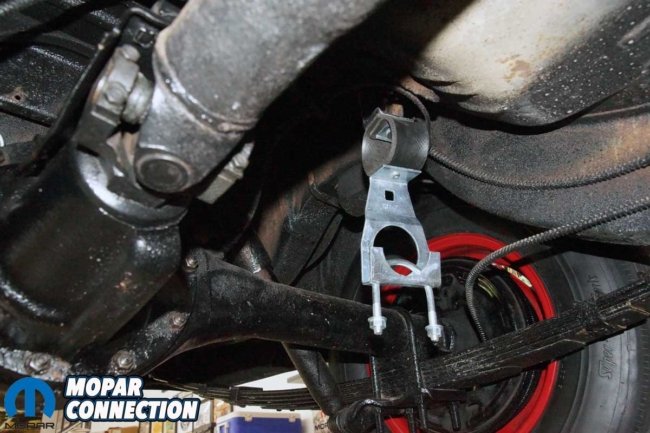
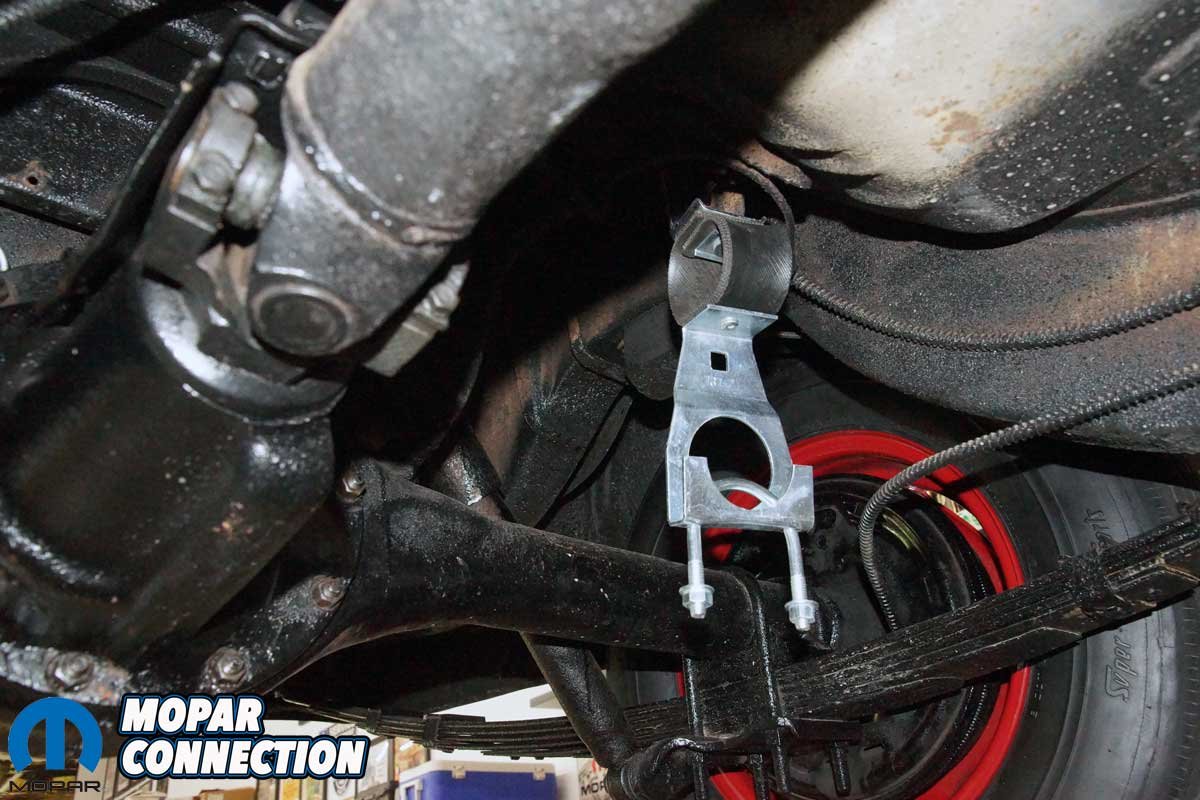
Before fitting the over-axle pipes, we installed the main muffler support brackets to the chassis. Once loosely attached to the frame, the other end of each bracket was slipped over the mufflers’ outlet tubes, ready for the next stage of assembly.
With the mufflers loosely in place and supported by their brackets, we moved on to the over-axle pipes. Each pipe was oriented so that the welded-on resonator was positioned correctly in the factory setting. We carefully threaded the over-axle pipes (one at a time) up and over the rear axle housing, clearing the shocks and leaf springs. A slight twisting and tilting got them seated without scratching the fresh aluminized finish.

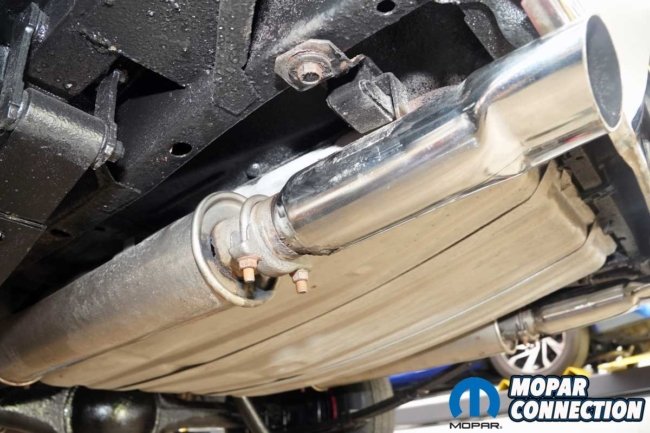
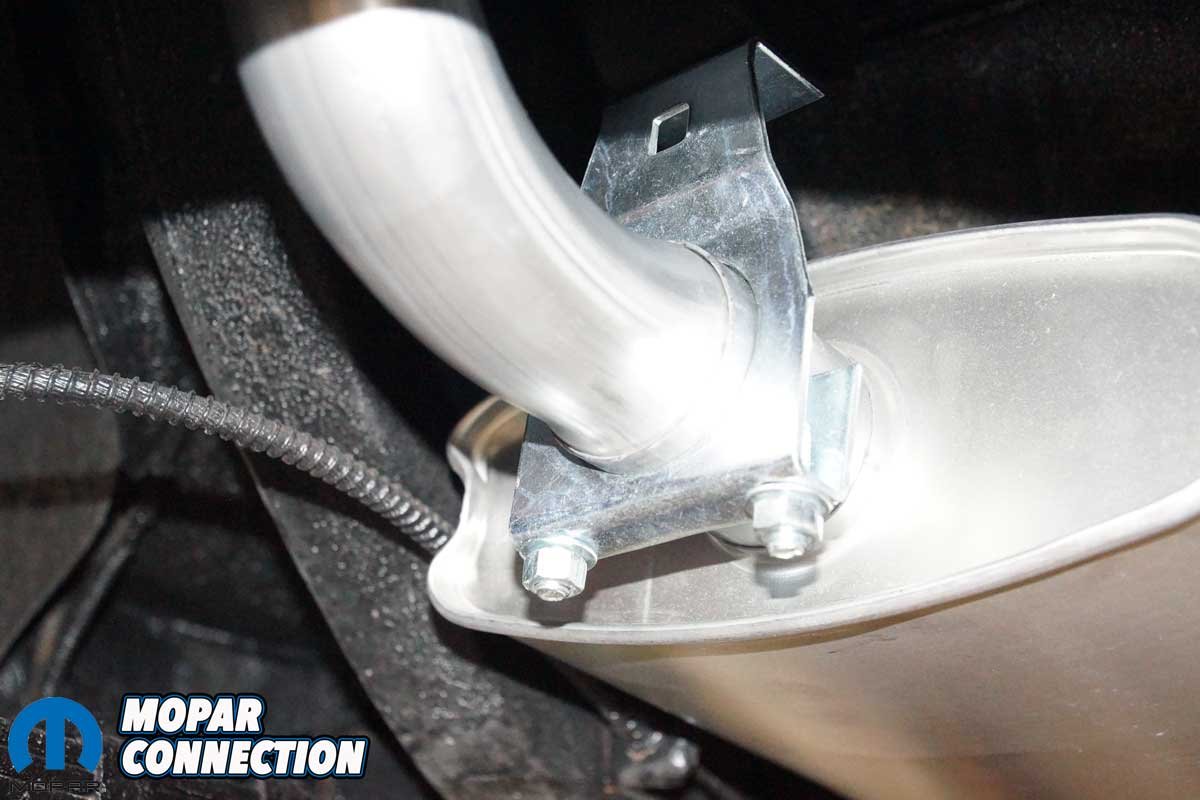
Above Left: The muffler hanger secured the muffler and over-axle tailpipe assembly; the passenger-side hanger served the same function. Note the muffler indentation providing clearance for the parking brake cable. Above Center: The passenger-side exhaust tip was installed and secured with the Q-clamp. Above Right: The driver’s-side exhaust tip was installed and adjusted for proper appearance.
Once both over-axle pipes were in position, we slipped the inlets into the muffler outlets and hand-tightened the supplied clamps. At this stage, nothing was fully tightened, keeping the system “floating” ensured proper alignment of the tips later.
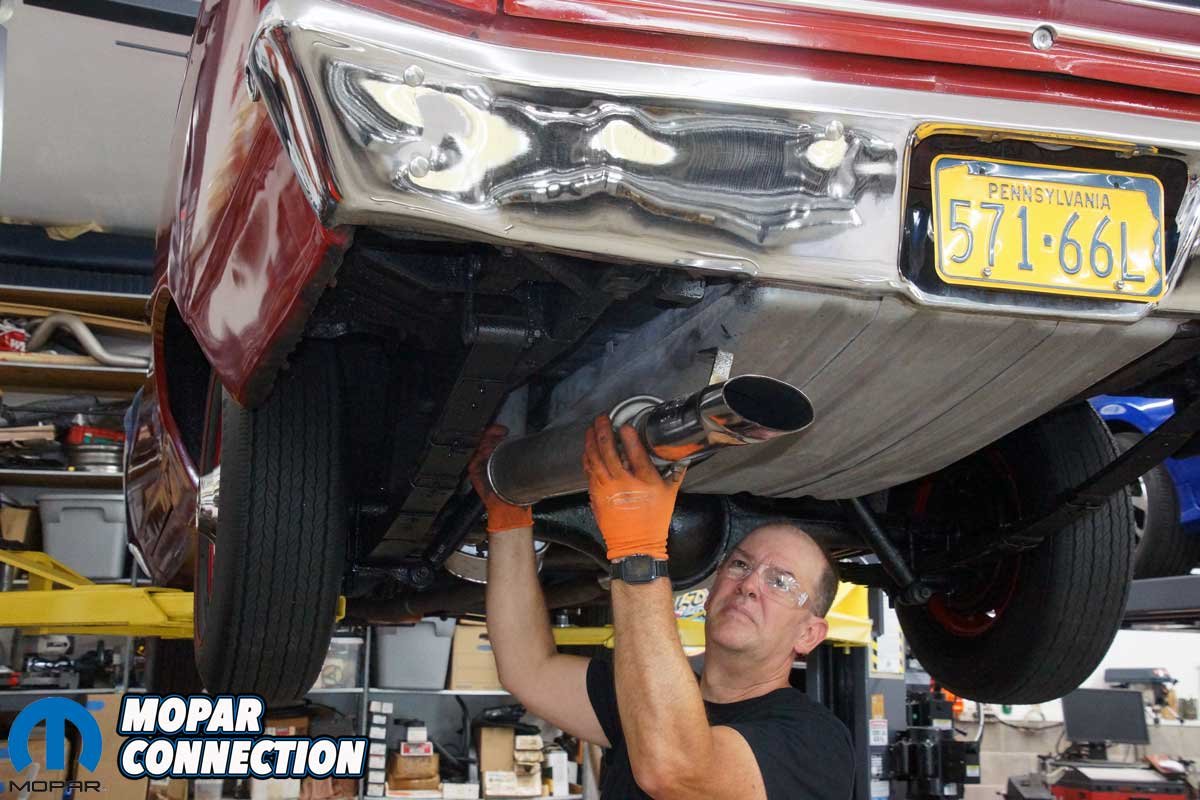
Next came the stainless-steel exhaust tips. We selected Accurate Exhaust’s correct 1968–’70 B-body Hemi tips, which have the right shape, length, and rolled edges to match the originals. The tips slid into the resonator outlets and were secured with the zinc-coated hangers and hardware from the Deluxe kit. We positioned each tip so that it exited at the correct height and angle relative to the rear bumper. Nothing looks worse than crooked exhaust tips on an otherwise perfect restoration.


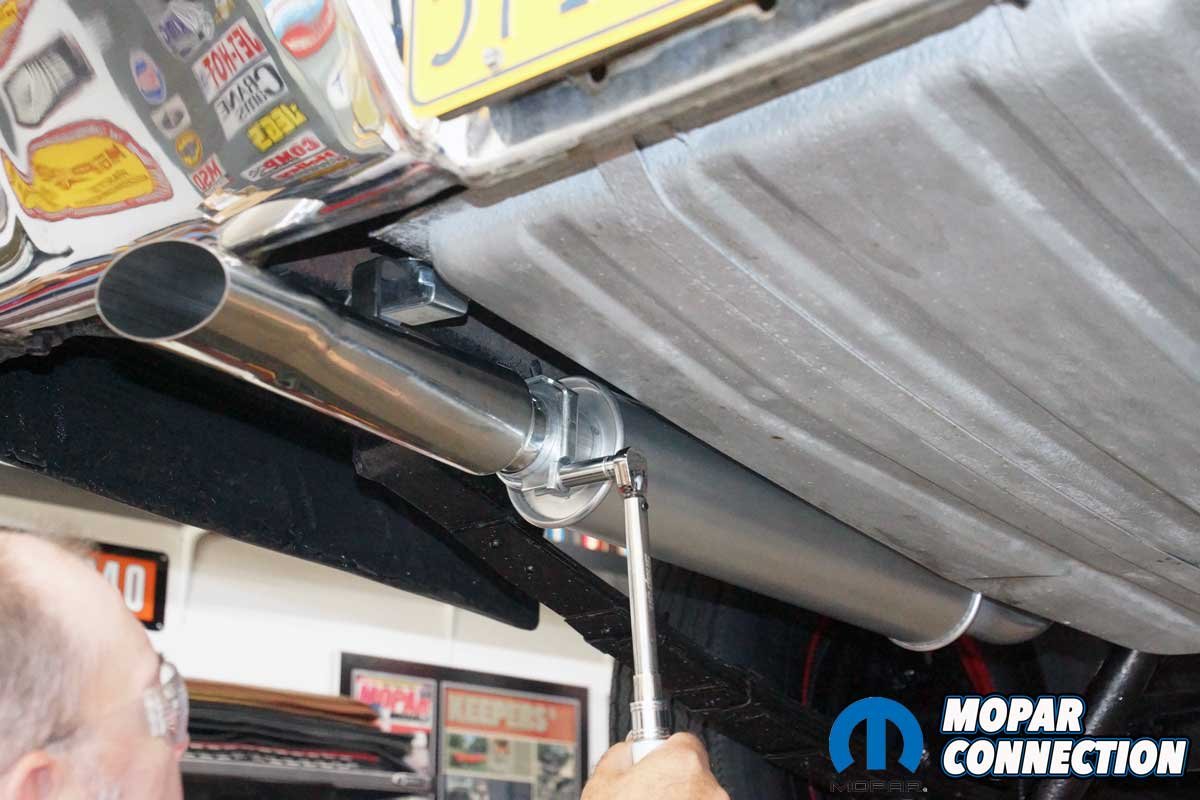
Above Left: With the exhaust clearances set, the exhaust tips were torqued to the resonators at the rear of the Road Runner. Above Right: The rear muffler clamps and hangers were torqued to specification, using the values provided by Accurate Exhaust.

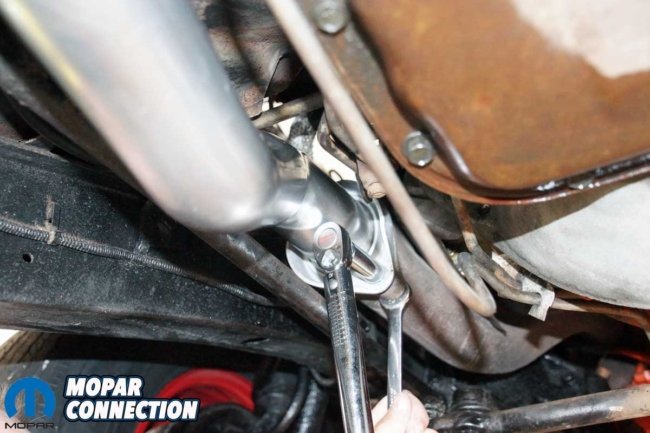
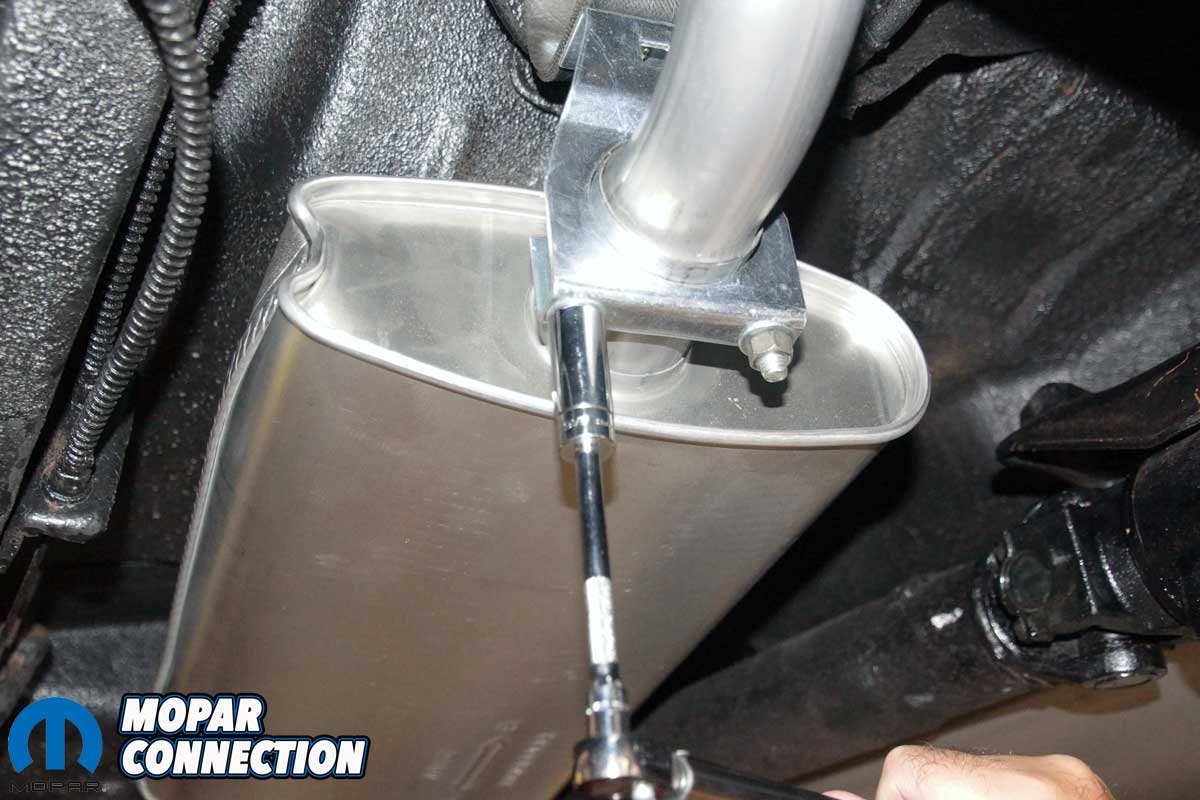
Above Left: We advanced to the muffler clamps, positioning them at an angle to maintain proper ground clearance before tightening. Above Right: The header pipes were finally torqued to the exhaust manifolds. The original flange hardware was mismatched and damaged, so four new fasteners were installed.
With everything mocked up, we worked from the rear of the Road Runner to the front, tightening each clamp and hanger in sequence. We torqued to Accurate Exhaust’s provided specs the tip hangers, tip-to-resonator U-bolts, main support/rear muffler clamps, front muffler clamps, and H-pipe bolts at the manifolds. This progression locked the system into its natural, stress-free position.
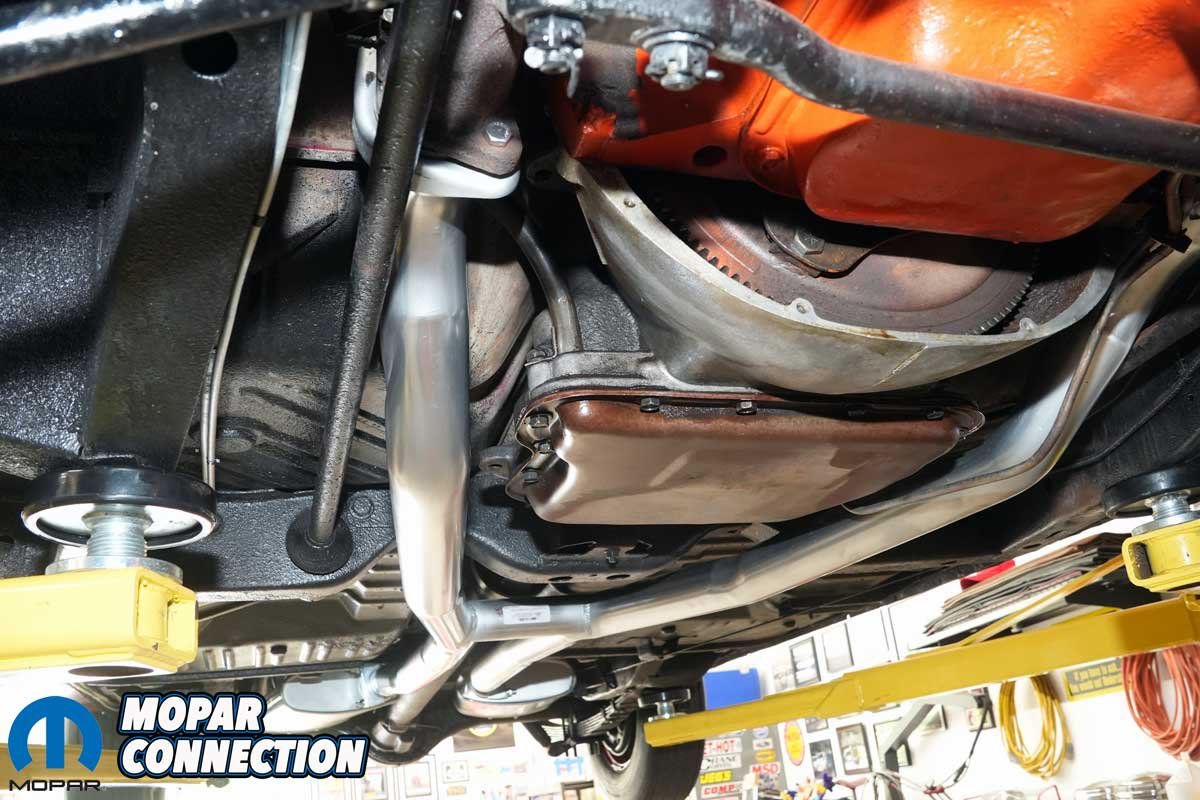
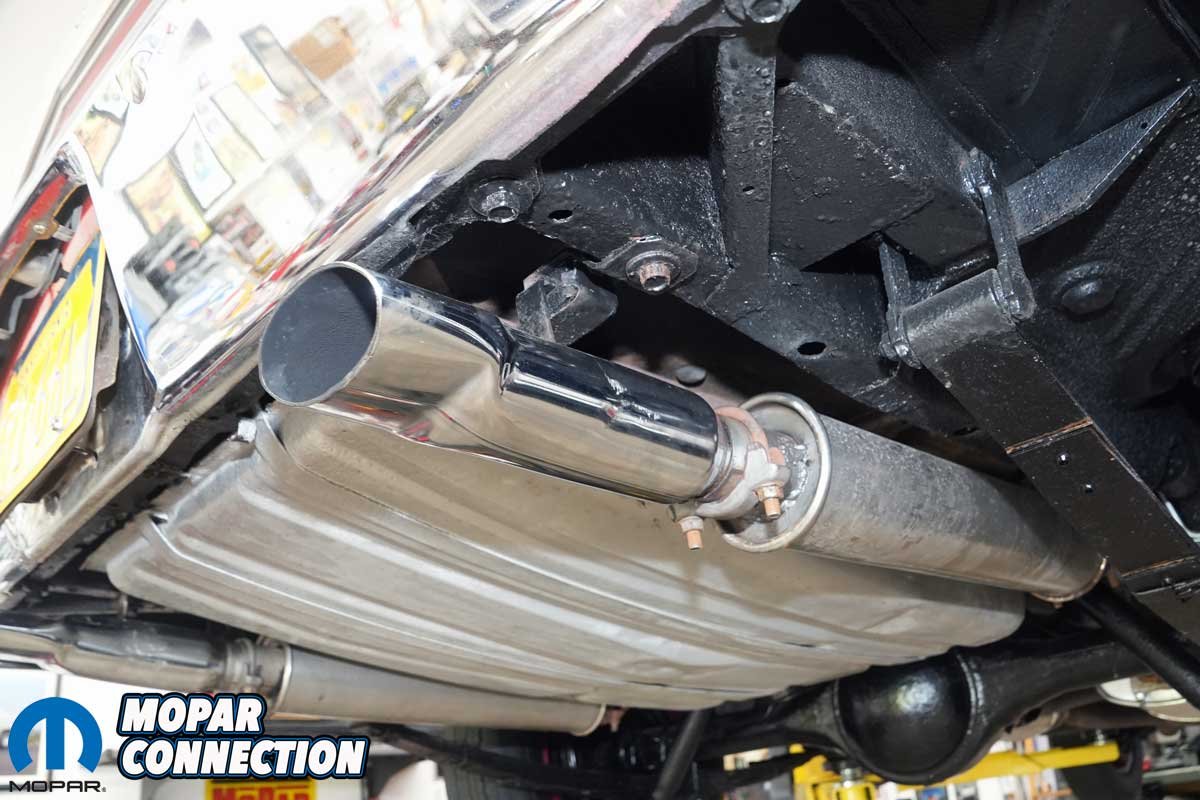
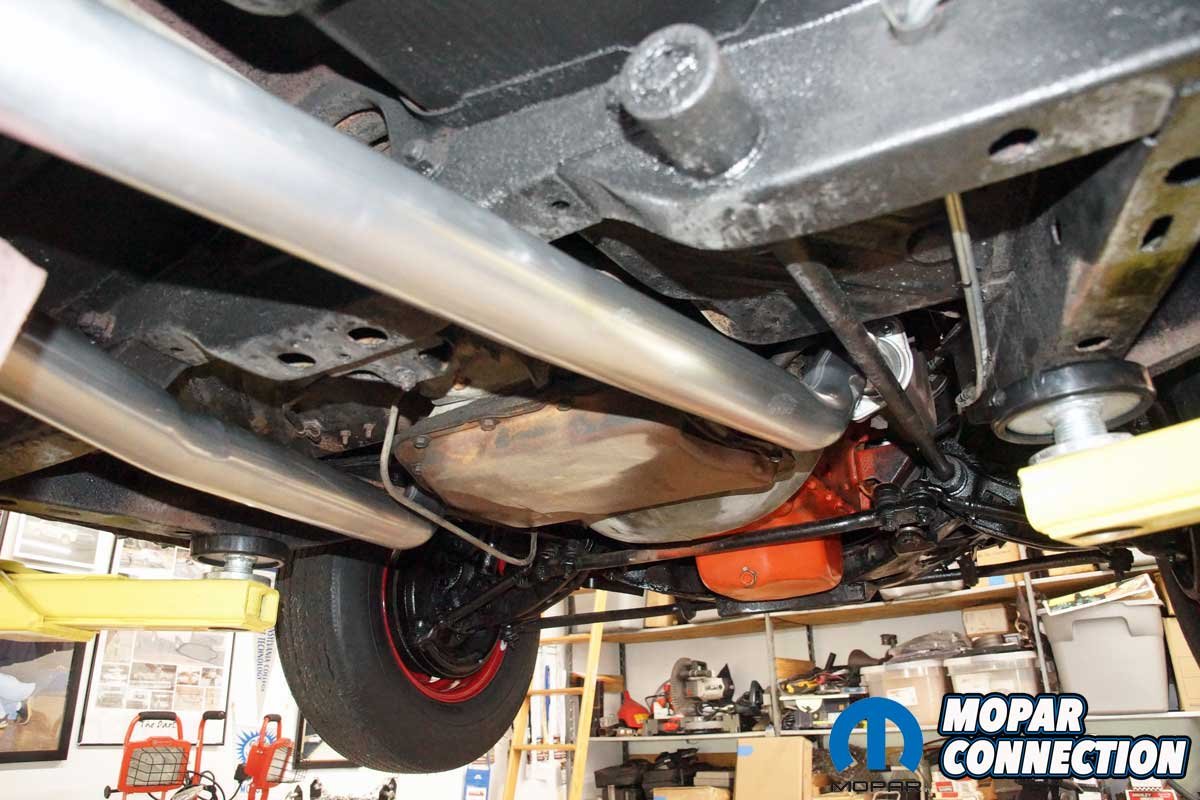
Above: The Accurate Exhaust fits correctly. The bends were all perfectly placed, and the hangers kept the exhaust properly located. It looks factory fresh, as if it is 1968 all over again.
Before calling it done, we double-checked clearance at every critical point: torsion bars, transmission crossmember, parking brake cables, driveshaft, rear axle, leaf springs, and fuel tank. Accurate Exhaust’s pre-bent geometry provided clearances that were spot-on, eliminating the need for any pipe tweaking.
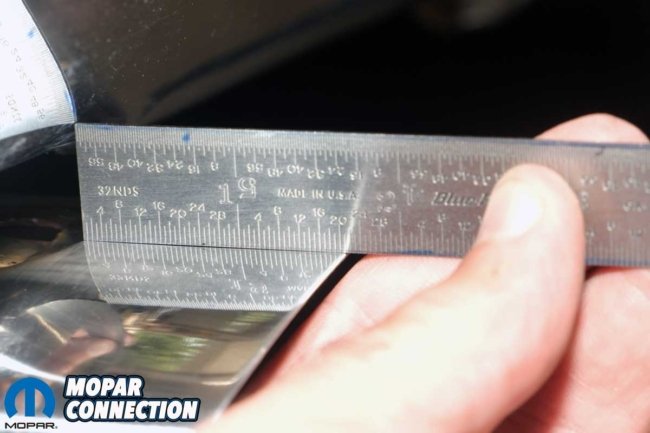
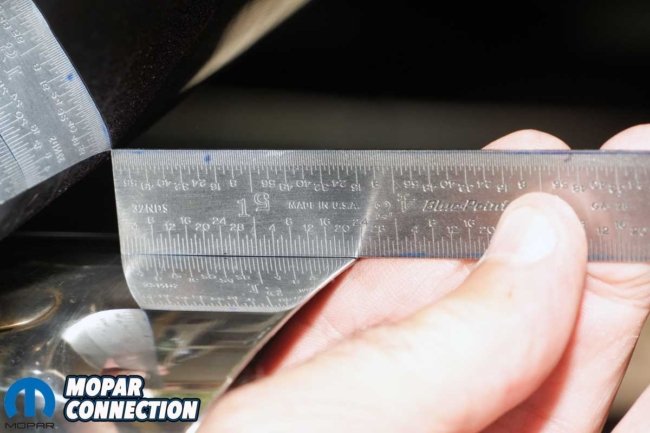
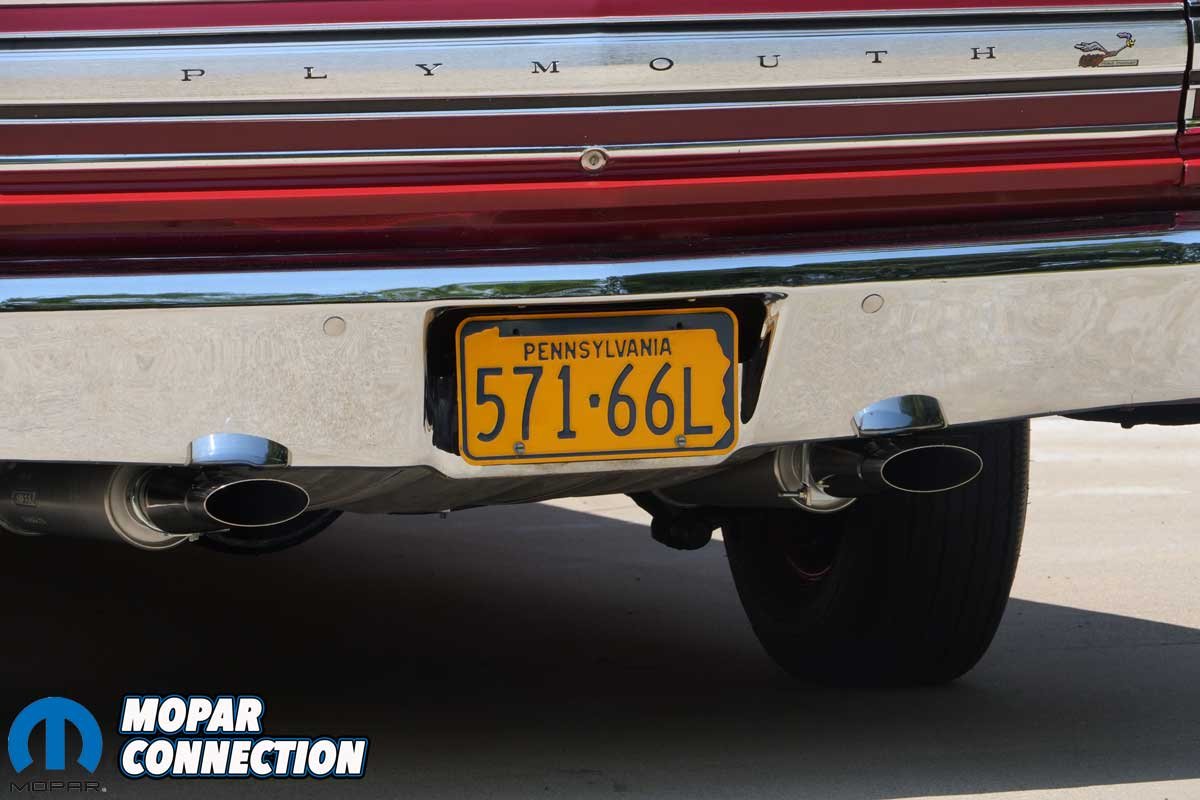
Above Left: The left rear exhaust tip extended 21⁄32-inch beyond the bumper. Above Right: The right rear tip extended 22⁄32-inch, a 1⁄32-inch difference that was acceptable.
With the system fully installed, we fired up the 426 Hemi. The engine settled into a deep, mellow idle with that unmistakable Mopar rhythm. Inside the car, the tone was smooth and period-correct, not boomy or droning, but with enough bark outside to remind everyone this is a Hemi-powered Road Runner.
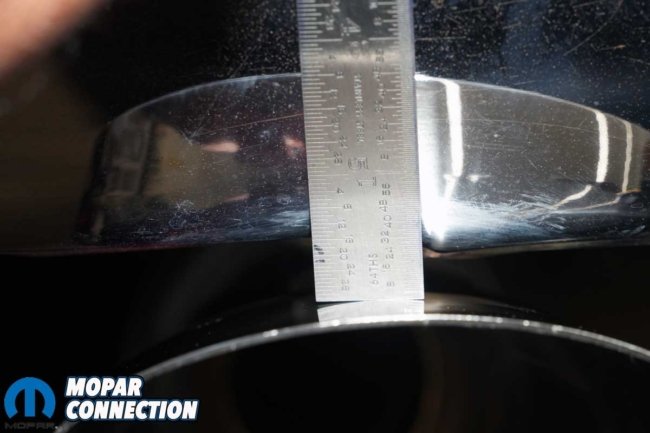

Above: We aimed for a 1/2-inch gap between the bumper and each exhaust tip. Both tips were adjusted to achieve this clearance, which required gently bending the mounting tabs that fit into the exhaust tip mounting grommets.
A quick test drive around the neighborhood confirmed everything was rattle-free, with no interference over bumps or during hard acceleration. The welded resonators gave the exhaust a refined edge, exactly like it would have sounded rolling off the Lynch Road assembly line in 1968.
Respected by restoration pros and weekend warriors alike, Accurate Exhaust products are found on many Mopars at Carlisle, the Mopar Nationals, Holley’s MoParty, and installed by many top-tier restoration shops. Their customer service is consistently praised, and their willingness to accommodate special setups (like aftermarket Schumacher tri-Y header flange pipes or ball and joint collector kits) makes them a favorite for both purists and performance-minded builders.


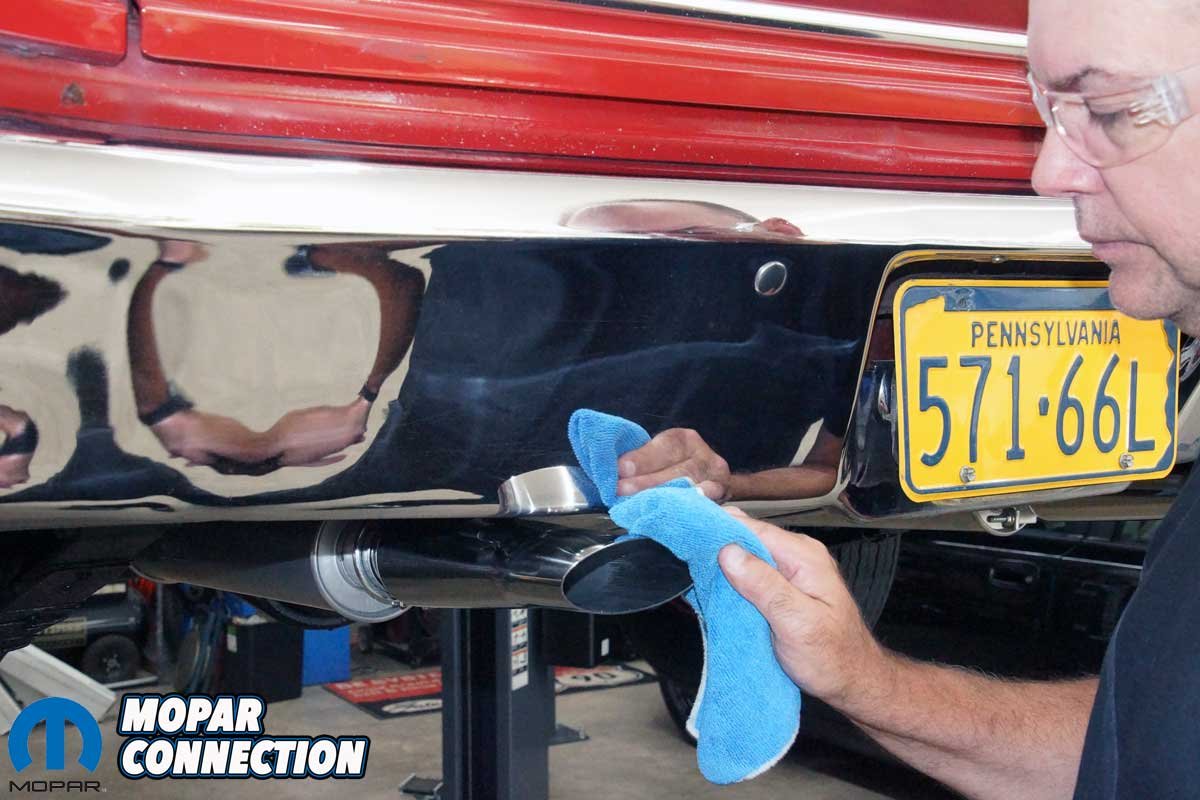
Above Left: With the installation complete, the final step was to clean the stainless-steel tips. Above Right: We carefully adjusted each tip to be perfectly level, likely a bit more precise than the factory ever bothered to do.
Accurate Exhaust delivered on every promise, factory fit, authentic sound, and dead-on appearance. For a restorer who cherishes originality, their mindfulness is worth every penny. On Project Rara Hemious Birdicus, the new system did not just replace a fatigued, patched-together exhaust; it restored an essential part of the Road Runner’s character.

Above: The Accurate Exhaust fit flawlessly: no cutting, bending, or tweaking of the pipes was required. Everything lined up, and the components bolted together effortlessly. Beyond improving the Road Runner’s appearance, the kit delivers a sound that’s as striking as it looks.
If you are building a Mopar that deserves more than generic pipes and mufflers, Accurate Exhaust offers the closest you can get to factory original, without a time machine. For more information, contact the representatives at YearOne at 800-932-7663 (Monday through Friday, 9:00 AM – 6:00 PM EST) or Accurate Exhaust at 541-672-2661 (Monday through Friday, 8:00 AM – 4:30 PM PST) for the most spectacular exhaust system your Mopar will ever have.


