


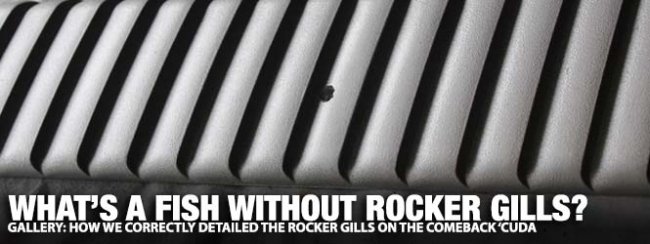
After restoring and installing the grille and “Shaker” scoop on the Comeback ‘Cuda we then turned our attention to the rocker gills. These are a one-year only feature and they are unique to the 1970 ‘Cuda model. In 1971 the “gills” were moved to the front fenders just in front of the doors. When you see a base Barracuda without these gills it just looks bare and unfinished. The designers at Plymouth were known for creating cool paint schemes and these gills are too cool for school.
To start with you need a set of fiberglass rocker gills. We had one good rocker gill left over from the wreck on the driver’s side, but the passenger side was toast. We contacted one of our go-to sponsors of this project at YearOne. If you go back over our four-year build of the Comeback ‘Cuda you will see that YearOne has been a major resource from the beginning. A great big thank you to this wonderful company and the great services you provide to our hobby. We really couldn’t have done it without you!

Above: We started out trying to save the reproduction “gill” from the driver’s side. Since we could tell it wasn’t an original part after sanding on it and then getting the new set from YearOne we decided to go with the new set.


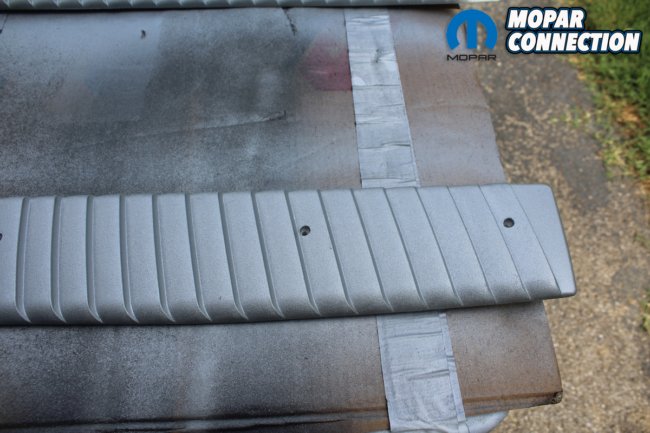
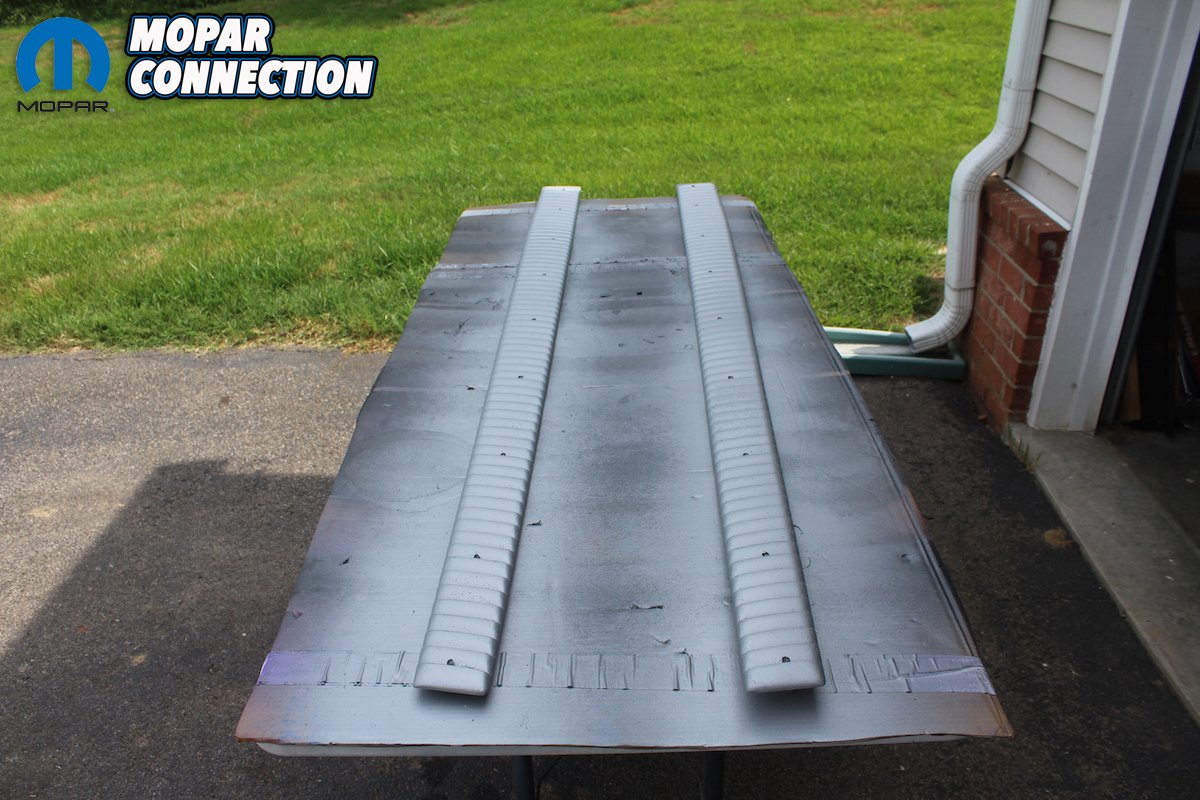
Above left: We hit the “rocker gills” with a good coat of epoxy primer and then carefully filled in all the imperfections with a skim coat of filler. Here you can see what we started with and just how much detail was needed to create a paintable piece. This was done not only to the outside surface but edges and the back side of the individual “gills.” Above right: Then the pieces were carefully hand sanded with 220 grit followed by 400 grit and then resprayed with primer. This created a smooth detailed, crisp edge surface to re-create the original texture with the correct “gill” paint from Frank.
When we got our new set of “rocker gills” the finish although designed to have texture had quite a few imperfections. So many that we had to spend hours filling and sanding each, individual gill, before we could paint it. As with a lot of reproduction parts they need some work to create a show quality appearance. After we got the surface correct, we then turned to another one of our go-to guys, Frank Badalson for the correct paint to create the perfect factory appearance these parts needed.
To get the rocker gills to factory correct appearance it took more than just shooting on the silver paint from Frank. Our theory is Plymouth used a two-step process to create a three-dimensional look that really brought these gills from plain to outstanding. To say they catch your attention is an understatement. Follow along on our step-by-step process and you will see what we mean.


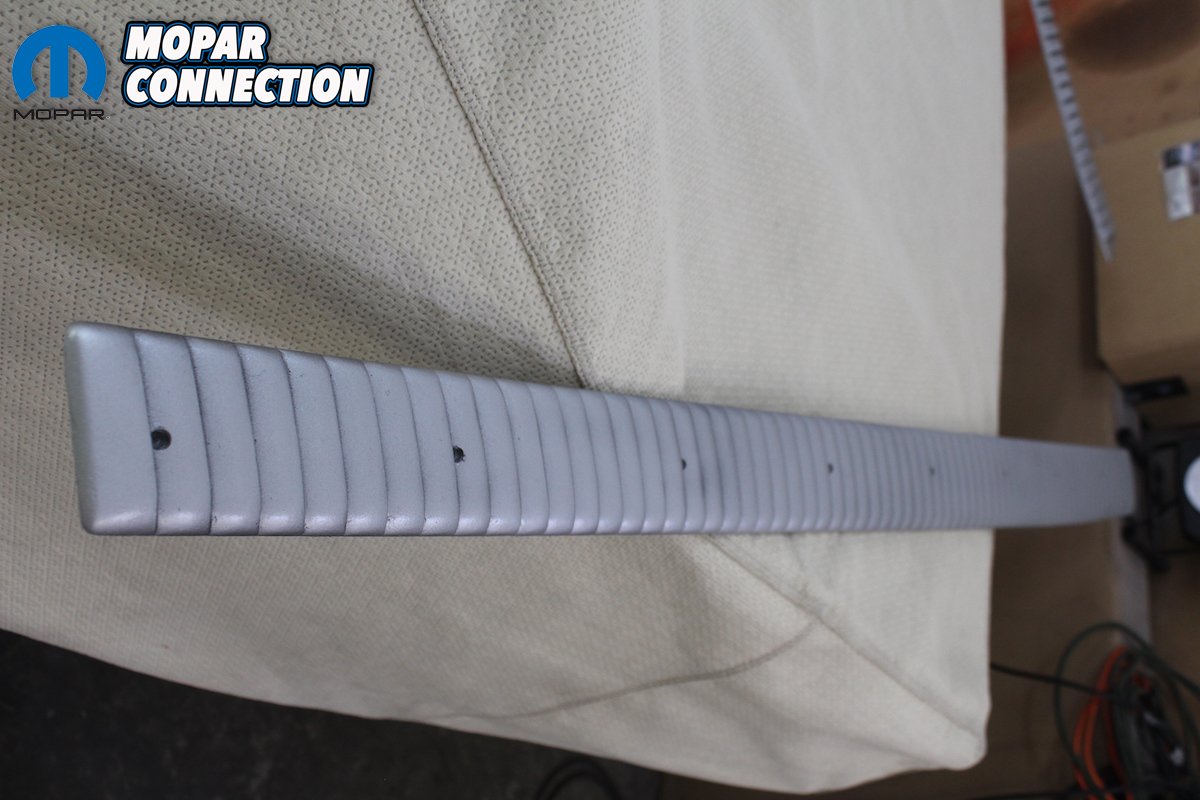
Above left:. Using the same “slow” lacquer thinner we got for the grill and “Shaker” paint, we then sprayed the “rocker gills” with 2 coats of the “gill” paint. You need to be sure and cover the back side and well as the front side of each “gill.” We shot both coats somewhat on the dry side to create the texture needed to re-create the original finish. Above center: Here is a close-up that shows the texture, the color, and the sheen, that we feel is as close to factory appearance as is possible with today’s paints and parts. We purposely shot the outside surface more dry than the back side surface. That way you get the texture on the outside and the crisp definition on the back side. You can do this by painting one direction the entire length of the “rocker gill” drier and then spray back the other direction more wet. You will see that the process of spraying one direction and then spraying the opposite direction with a different technique pays off in the final appearance. Above right: So, after the two coats of silver texture paint the results looked really good. Most people would look at this part in this condition and say that looks great. And it does look great, so we thought let’s install it now.
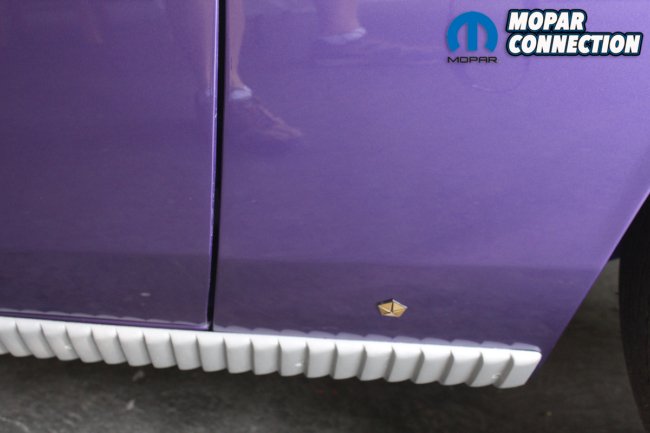
Above: Here is the painted rocker gill mounted on the Comeback ‘Cuda. We intentionally wanted to show the look of a one dimensional rocker gill installed on the car. But the designers from Plymouth had an artistic technique to bring these gills to life and make them something everyone would notice.

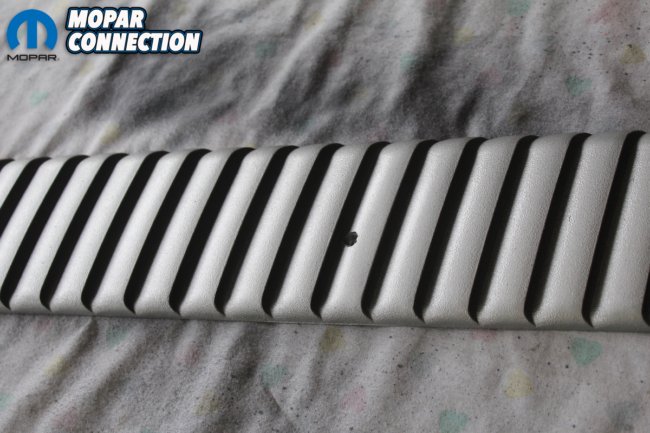
Above left: We then took a touch up gun with flat black and lightly sprayed the back side of the gills in one direction. By standing the rocker gill upright, most of the paint would go on the back side of each gill. This would give depth and dimension to the gills. Above right: After the flat black paint dried, we then turned the rocker upright and going the other direction shot a final dry coat of silver leaving a great texture on the outside of each gill. Here is a close-up of just how detailed the rocker gill can turn out using these techniques.


Above left: Now when the rocker gills are installed on the car they look great and definitely stand out. Now we only have speculation about how the factory did these. It is our theory that they were probably painted all flat black and then shot with silver one time going in one direction. After all we know just how “cost effective” these cars were made. Above right: But for the Comeback ‘Cuda we just had to make it better than factory. The results speak for themselves.


