


Through the course of accidents and the ravages of Mother Nature, it is incredible what the remaining muscle car-era Mopars have endured over the last five decades. The survivors have had a natural succession of parts failures, and many have received “owner modifications,” which led to future nuisances. Our project car, a 1969 Dodge Charger, aka Brazen, is no different than most of the Mopars that have been lucky enough to avoid the crusher.

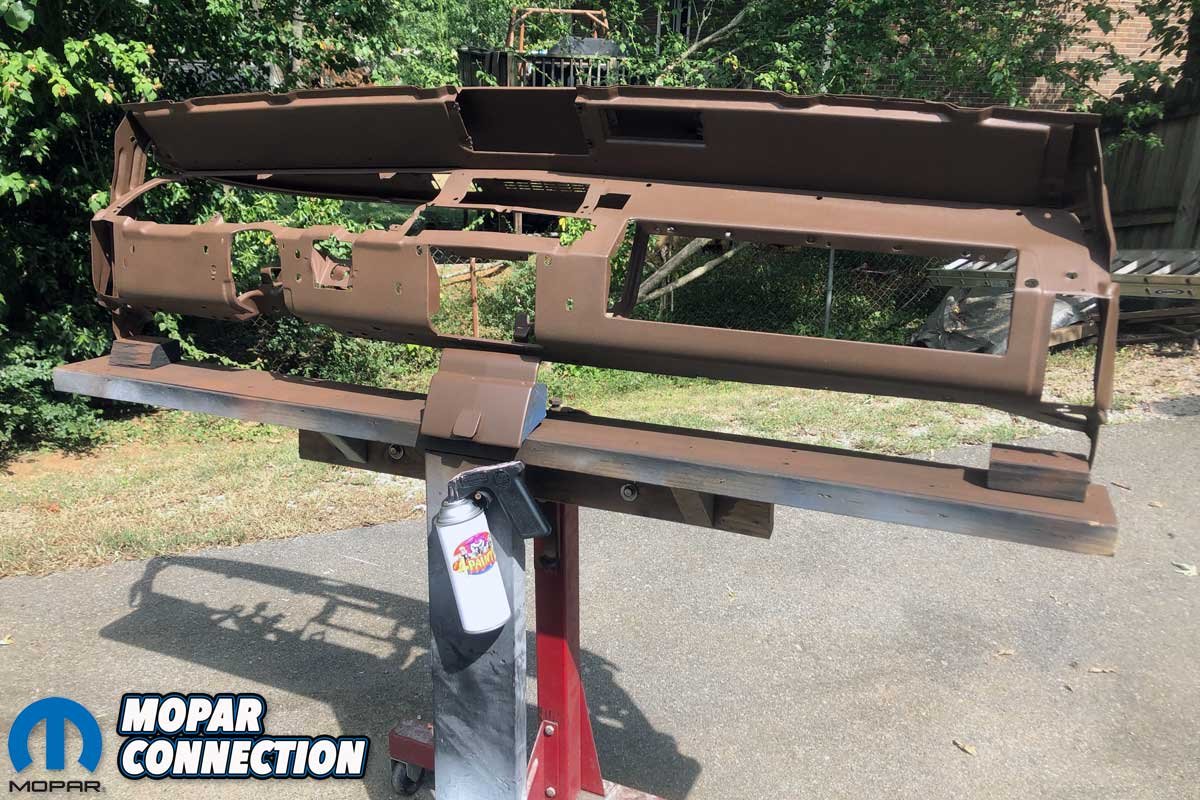
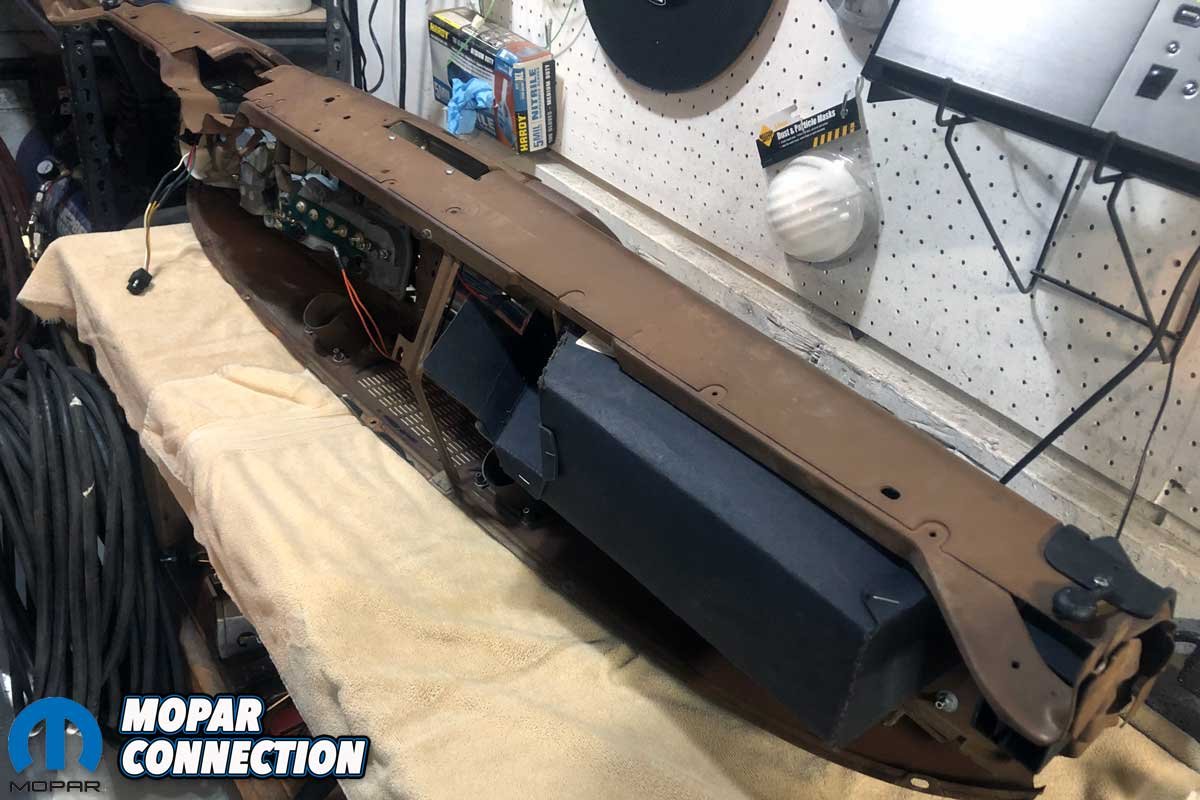
Above: Brazen’s dash was disassembled to the frame to gain access to some rust due to a leaking windshield gasket seal. Each dash component would be cleaned or repainted with 8774Paint1 products as needed.
Brazen suffered from some dash rust concerns in the typical places attributed to a weeping windshield gasket. In addition, the factory instrument cluster no longer operated a portion of the gauges or lights – with sporadic failures and flickering. Lastly, long ago, its young owner ditched the heating, ventilation, and air conditioning (HVAC) under the dash plenum (heater/evaporator box) to reduce the vehicle’s weight [Guilty as charged. –Ed.].
Ill-advisedly, countless young owners’ interests were related to speed rather than comfort. Years later, many of the same, but now older, owners desire some creature comforts originally equipped on their Mopar.

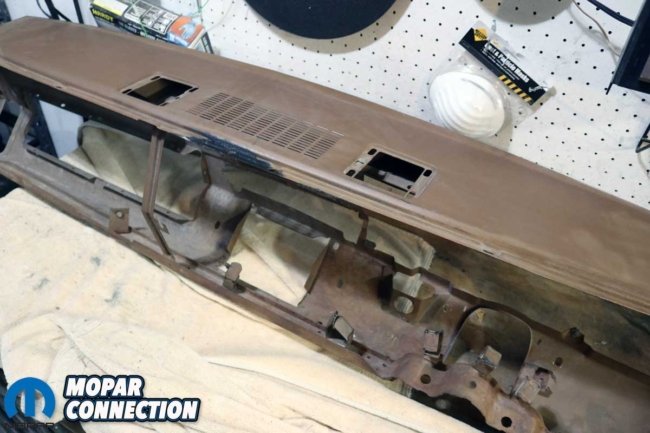
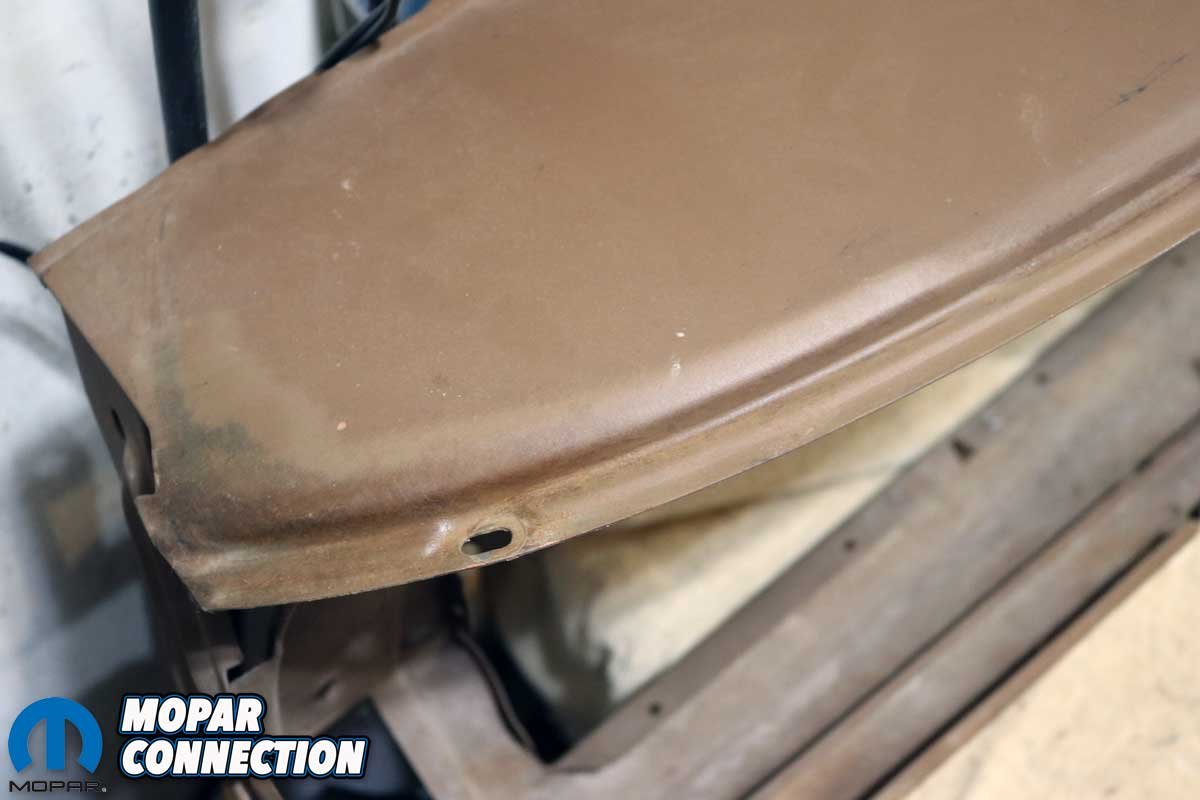
Above Left: One corner of the dash had minor rust, which was removed and treated. Above Right: The dash also had some damage between the defrost vents at the base of the windshield gasket.
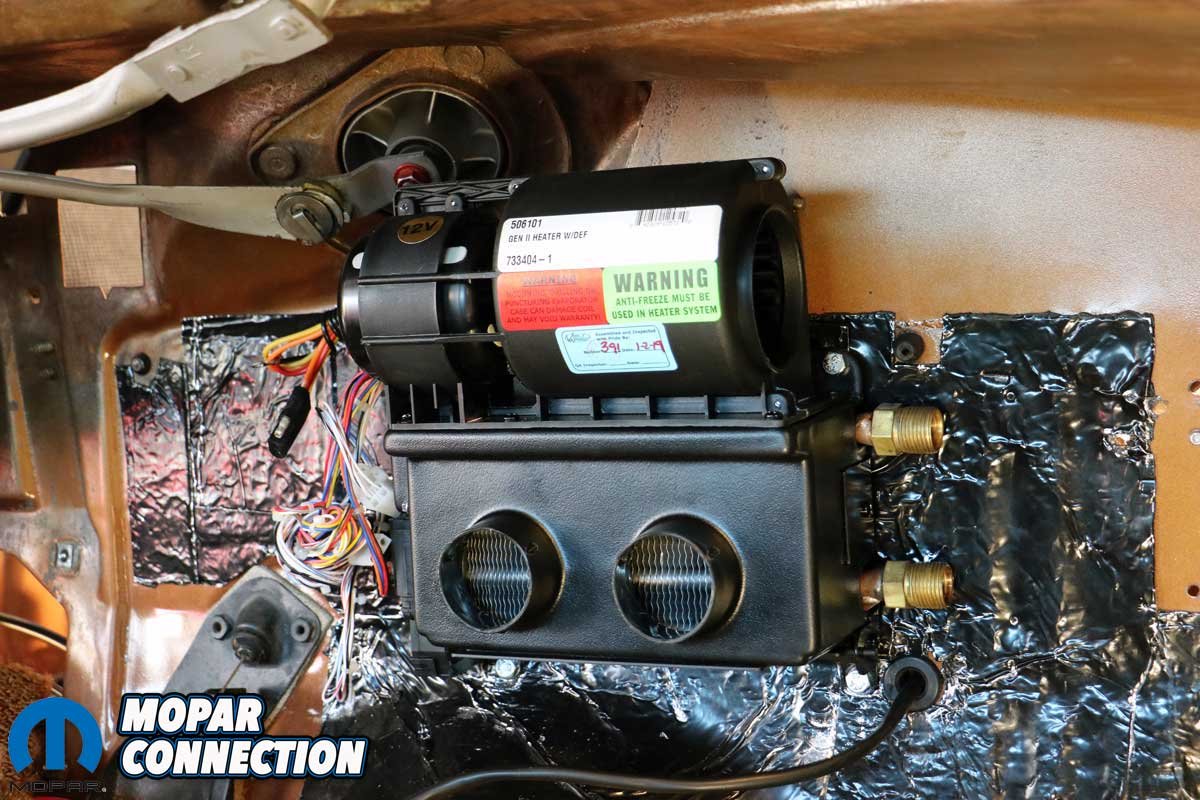
We planned to address the problems by removing the dash, disassembling it, eliminating the rust, and repainting it with 8774Paint1 factory-original style textured paint. While the instrument cluster was out of the dash, we would solder the damaged conduits on the circuit board. Finally, with easy access to the interior side of the firewall, this was a perfect time to install a Vintage Air Gen II heater kit with defrost (part no. 506101).
The dash removal was straightforward, but it was a significant amount of work. First, we pulled the windshield chrome trim, the cracked and discolored windshield, and the gasket. If unsure about windshield removal, a professional can be employed for this step. Next, we removed the steering column from under the dash. In the engine bay, we disconnected the three connectors on the bulkhead. The bulkhead assembly was pushed through the firewall into the interior.
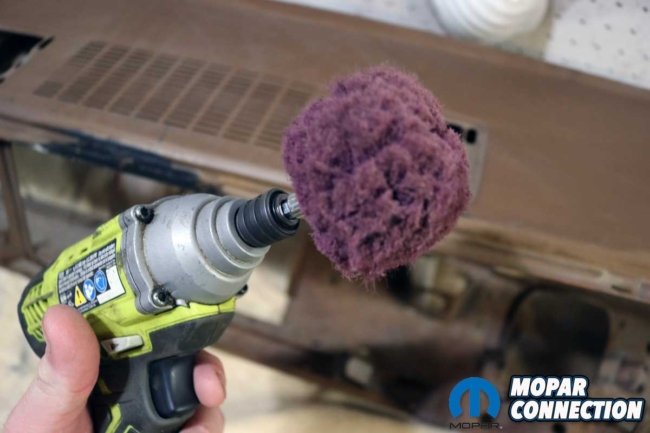
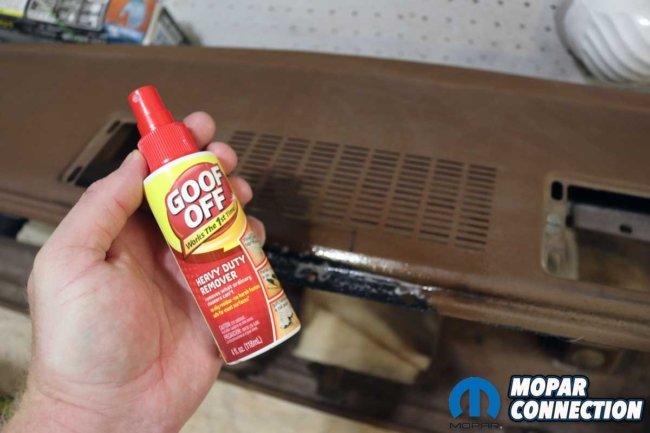

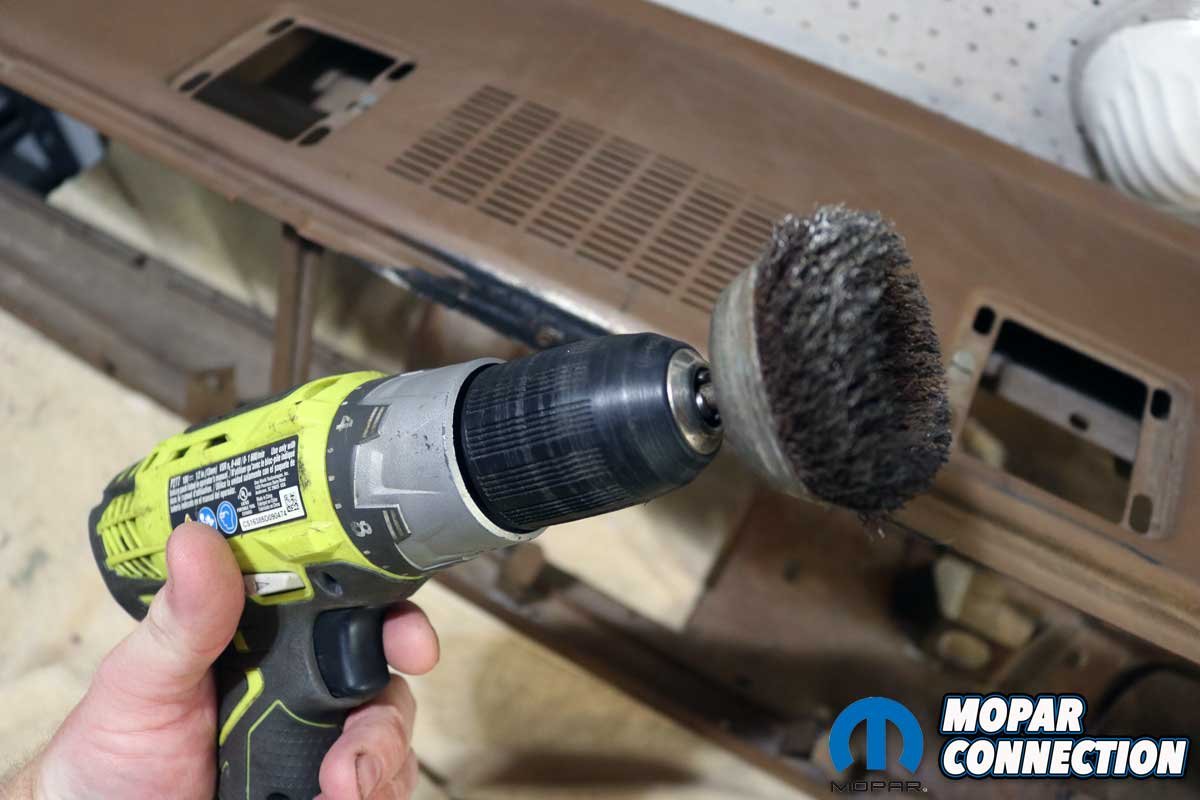
Above Left: We cleaned the dash frame with a red pad in our drill. It took care of most of the cleaning and rust removal. Above Center: At the center of the dash, we used Goof Off cleaner to clean the area caked with heavier debris. Above Right: A drill-driven wire wheel took care of the stuck-on, tough grime.
We removed the kick panels, disconnected the dome light connector, unclipped the parking brake and brake pedal stop switches, and removed the wiring harness at the left kick panel area. Subsequently, we removed the speedometer cable. Finally, we unscrewed a series of screws along the top of the dash and one bolt on each side of the dash frame at the kick panel areas. With that, we carefully extracted the dash from Brazen’s interior.
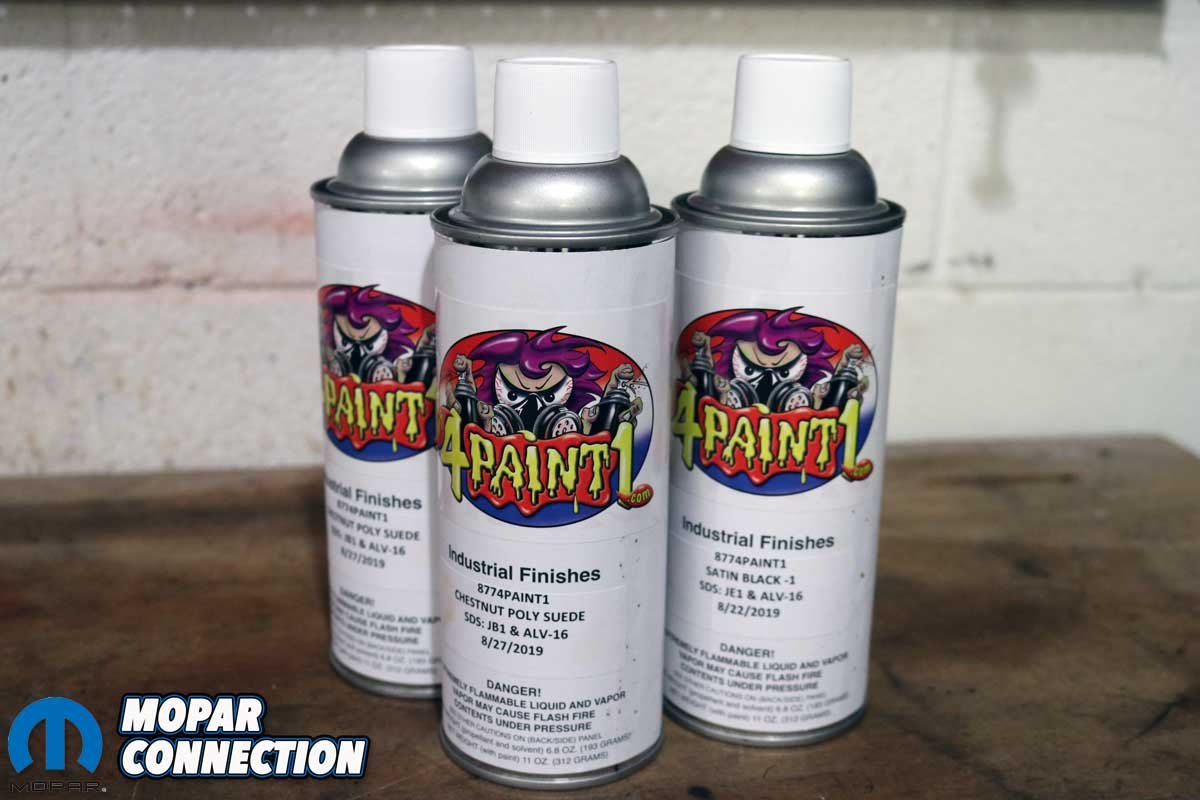
Above: 8774Paint1 had all the industrial finishes needed for Brazen. We selected textured Chestnut Poly Suede and Satin Black to complete the dash repair. The paint perfectly mimicked the factory appearance.
With the dashboard out of Brazen, the disassembly of the dash continued. We removed the instrument cluster and disconnected the glove box and door, the ashtray door and light assembly, vents and grilles, assorted bezels, the map light, a radio delete plate, the ignition switch, and the dash pad from the dash frame. Once the dash was disassembled, we evaluated the damage to the structure, which was minimal, with minor rust located at a corner and the middle, both in proximity to the windshield gasket.
We cleaned the frame, and in the stubborn areas, we used Goof Off cleaner and a wire wheel. A red pad effectively removed the oxidation concerns. After the dash was cleaned and treated, we prepped the frame by carefully taping over the VIN tag, followed by a few coats of red oxide Rust-Oleum.

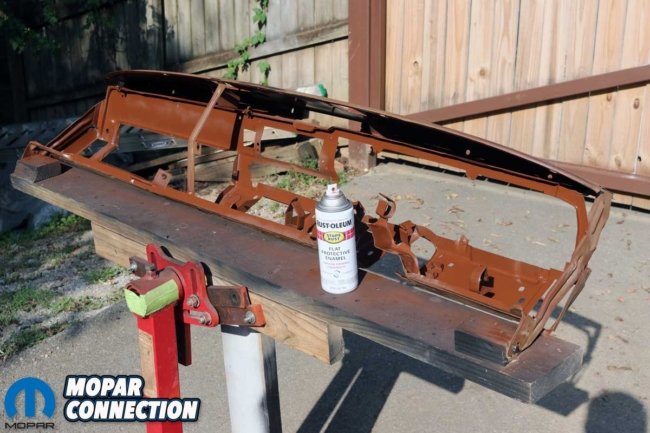
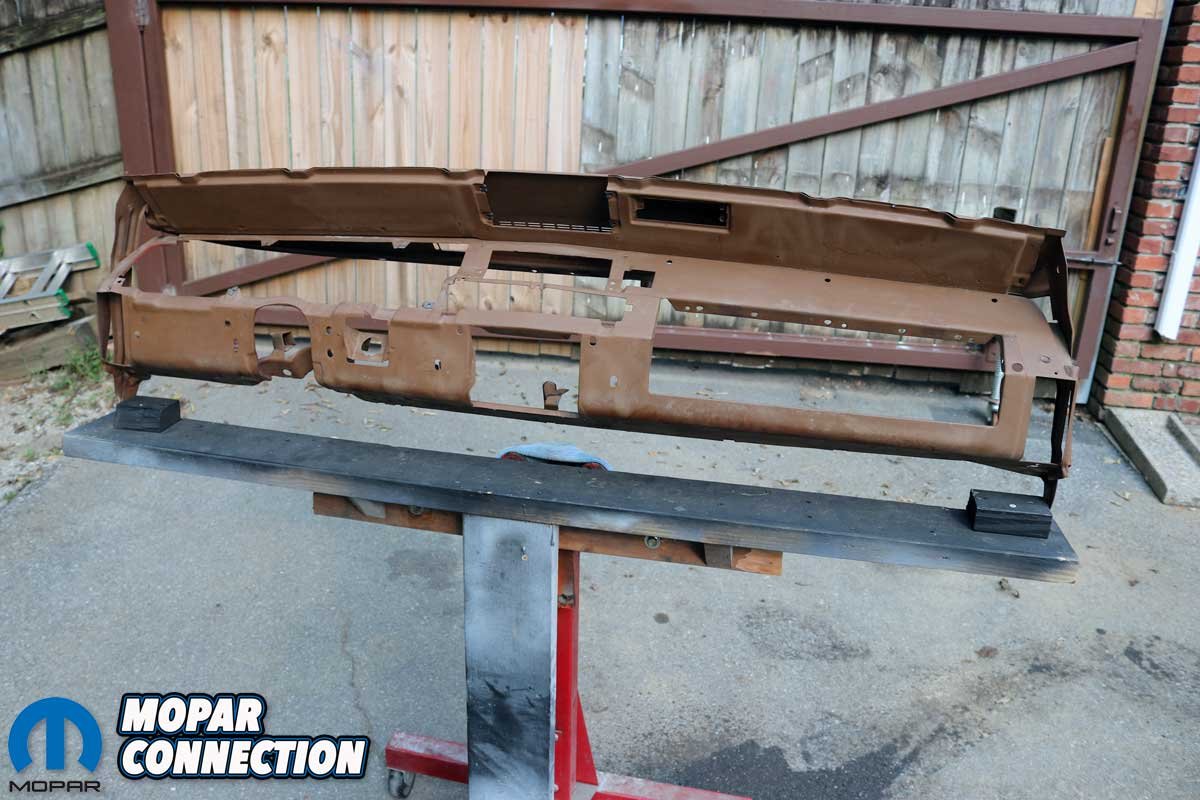
Above Left: We mounted the dash frame to an engine stand. Above Right: We prepared the dash frame for painting by laying down a few light coats of Rust-Oleum paint.
After the Rust-Oleum dried, we followed with Chestnut Poly Suede textured paint from 8774Paint1, which was a perfect color match for Brazen. 8774Paint1 also supplied a textured satin black for the plastic bezels. In both cases, the textured paint flawlessly mimicked the factory appearance.
The textured paint tends to gum-up and clog the spray cans’ nozzles, so 8774Paint1 sent us some extra nozzles just in case. The satin black laid down nicely, but the Chestnut Poly Suede spattered unevenly until we swapped nozzles and then went on beautifully. We recommend starting on an unseen corner first to see how it lays before spraying the more visible areas.
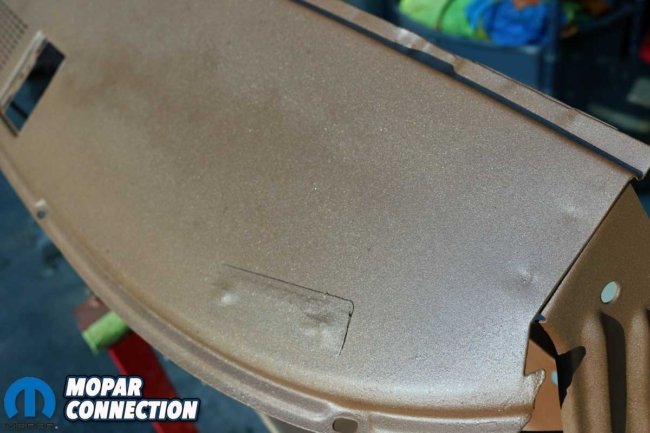
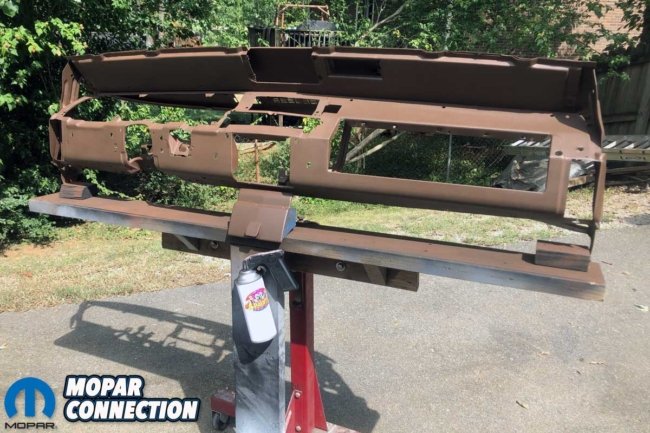

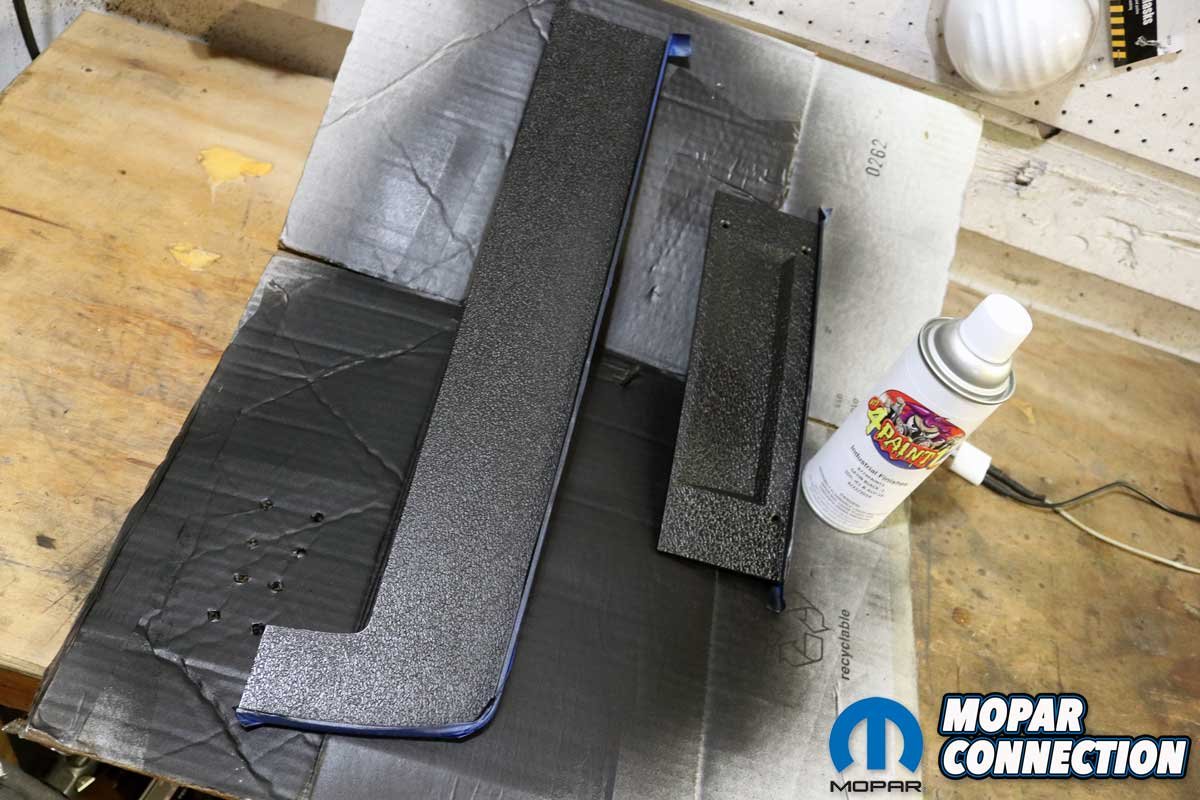
Above Left: We laid down the Chestnut Poly Suede textured paint. The VIN plate was taped over rather than removing it. Above Center: The dash frame looked great in the sun. We were very impressed with the 8774Paint1 texture paint. Above Right: The black dash trim benefitted from a fresh coat of textured satin black.
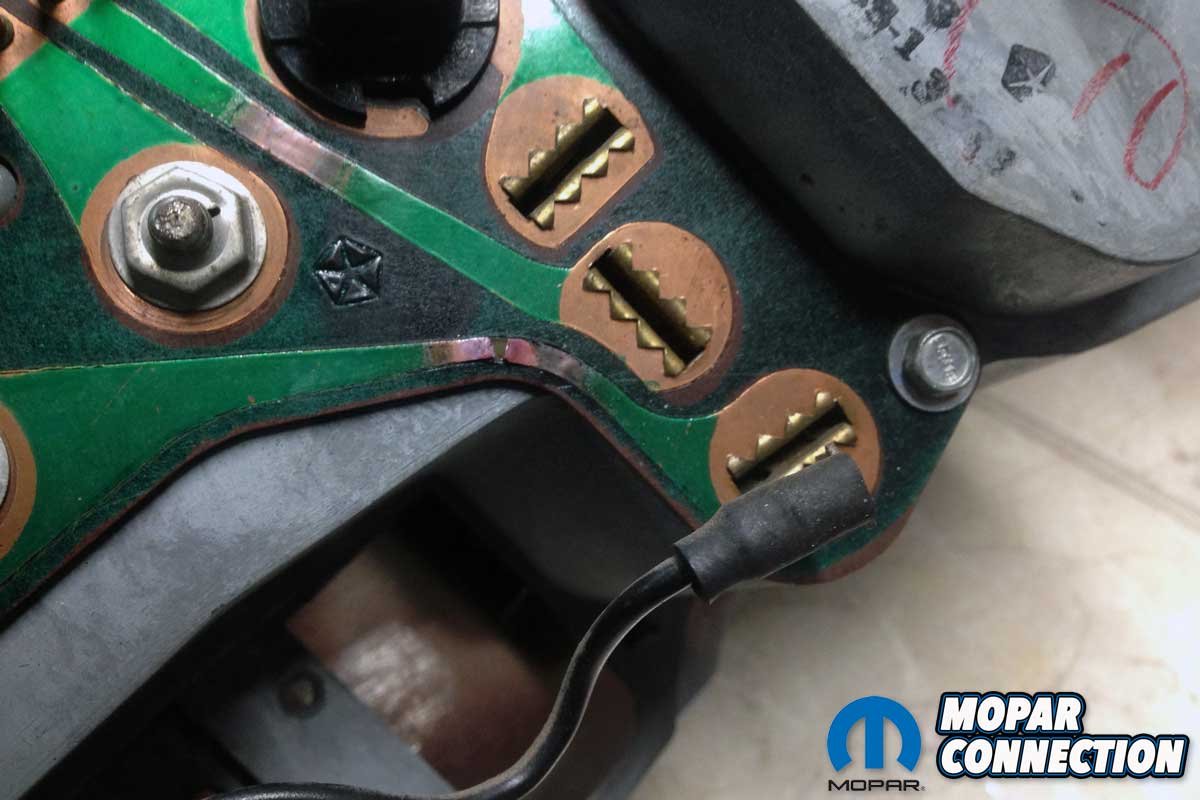
As the painting process continued, we moved our focus to the damaged circuit board on the backside of the cluster assembly. Brazen’s circuit board was severely damaged. Ron Gillespie from the Music City Mopar Club, an owner of a beautiful R4 Red ’70 Super Bee 4-speed, looked over the board and determined he could repair the three damaged areas.
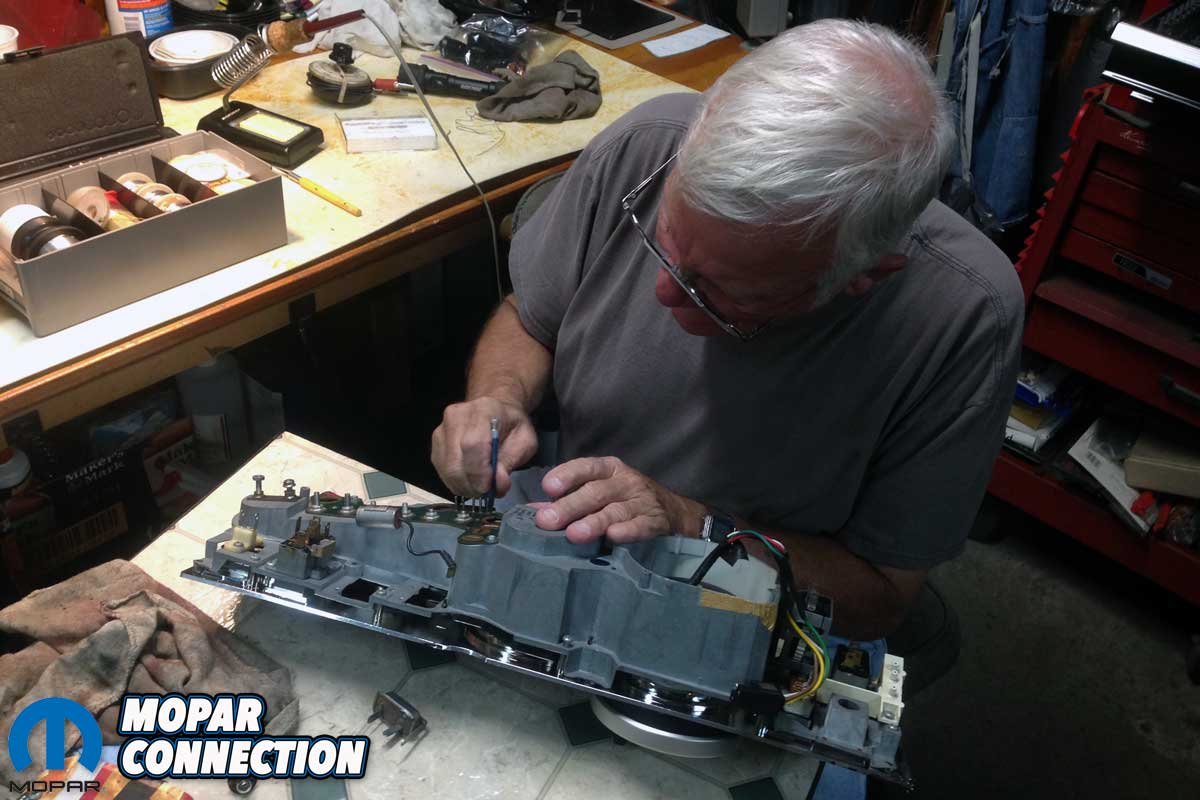
With an Exacto knife, Gillespie carefully cut away the damaged electrical strips. Next, he scraped the insulating coating off the damaged areas of the circuit board, far enough to expose damage-free points on each circuit’s path. Finally, each undamaged strip was lightly sanded and prepared for soldering.
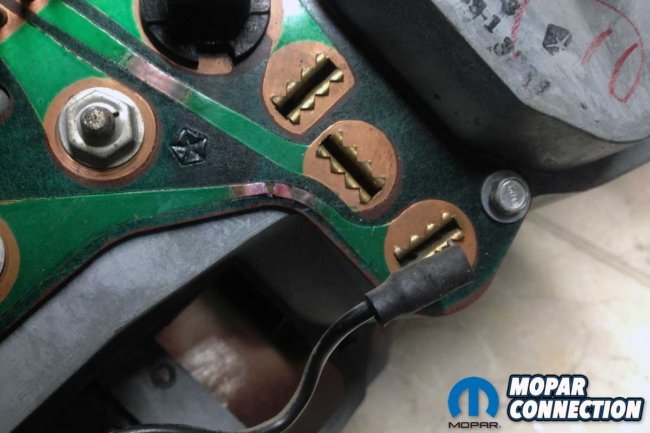

Above Left: Brazen’s instrument cluster circuit board had several areas of damage, which resulted in some gauges and lights not operating. Above Right: Ron Gillespie took care of the damaged areas of the circuit board. He used an Exacto knife to cut out the damaged areas and trim the circuit board insulation.
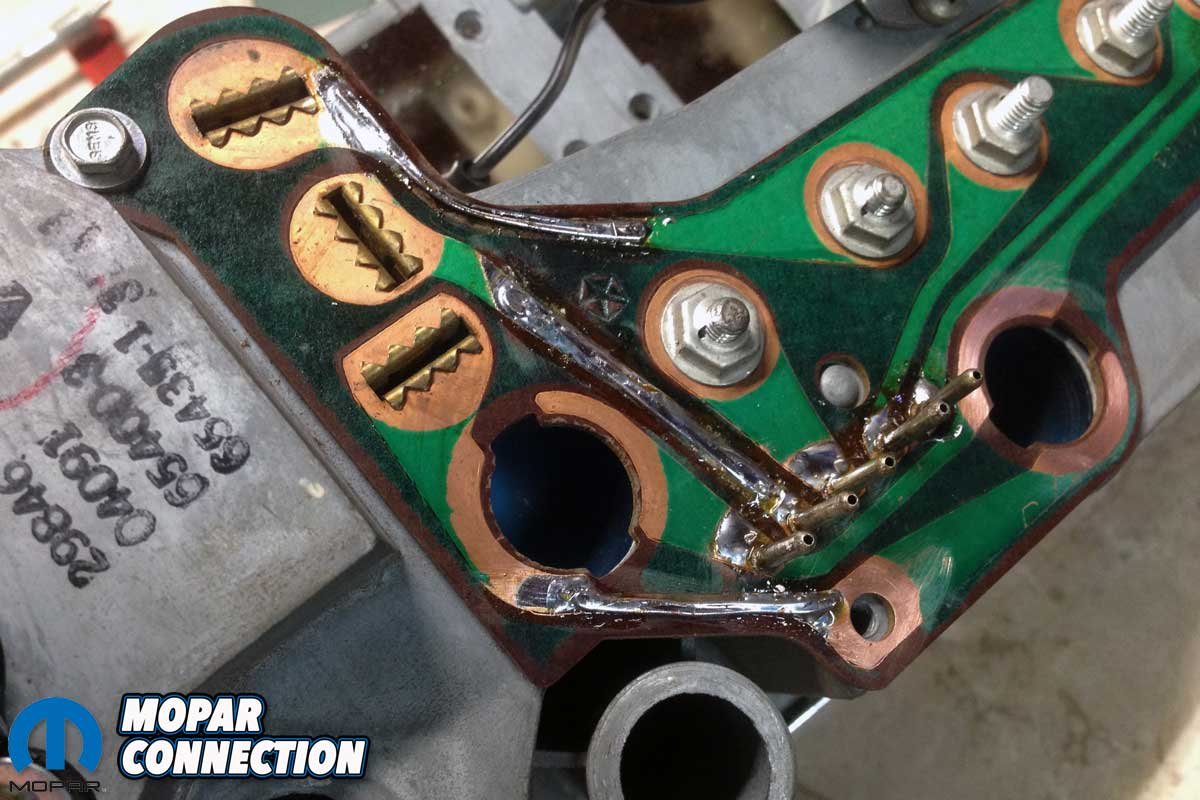
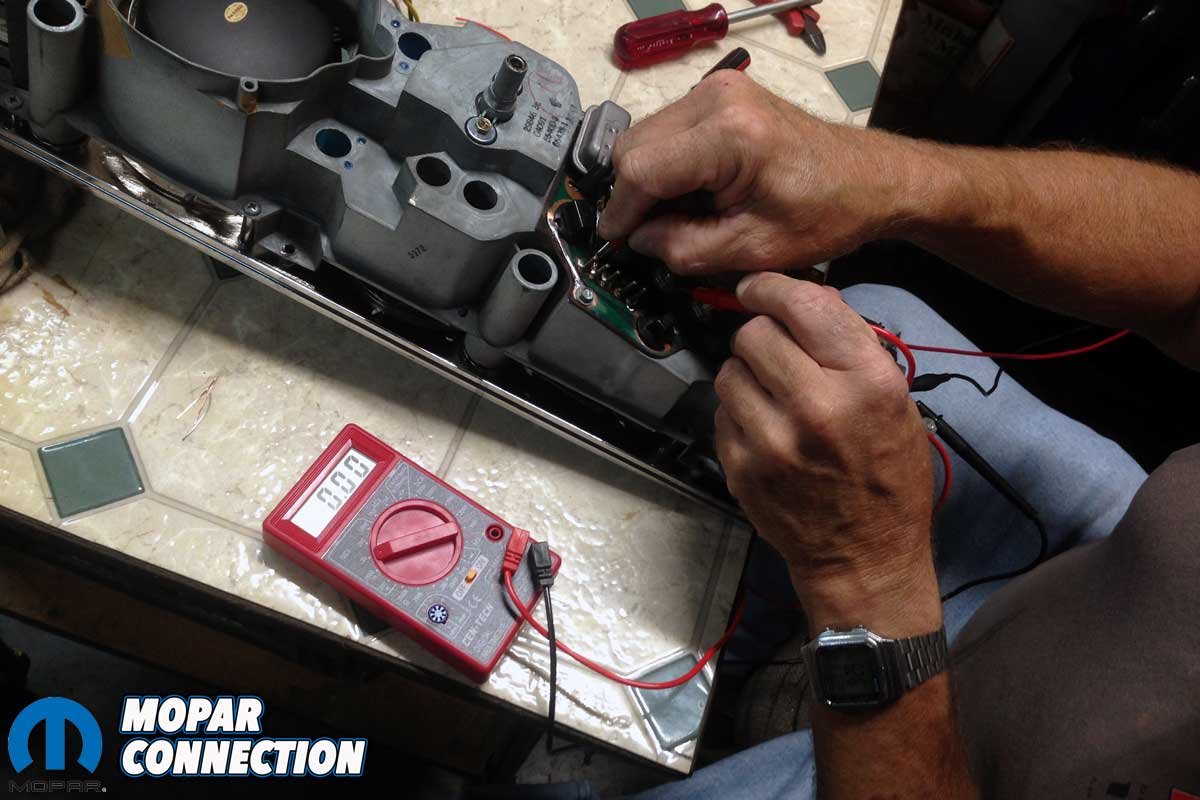
Gillespie carefully soldered a bridge between the undamaged areas of each circuit’s channel. He was watchful not to extend the solder into other circuit board areas. On one span, Gillespie soldered a single-stranded wire to the circuit board. Then, he doubled over a single-stranded wire for the other two repairs to tie each span together. To complete the repairs, Gillespie not only soldered the three channels but also soldered each circuit board pin to ensure excellent conductivity and rigidity as a cautionary measure.


Above Left: Gillespie carefully soldered the damaged areas. He used single-strand wire to span the gaps between the non-damaged areas of the circuit board. Above Right: Gillespie did an excellent job soldering the three damaged areas. He also took the time to solder each pin on the circuit board to secure them permanently.
As the last step, Gillespie used a multimeter to test the soldered areas. Fortunately, the resistance values of each repair fell within the acceptable factory range. At this point, we began the reassembly of the dash components.
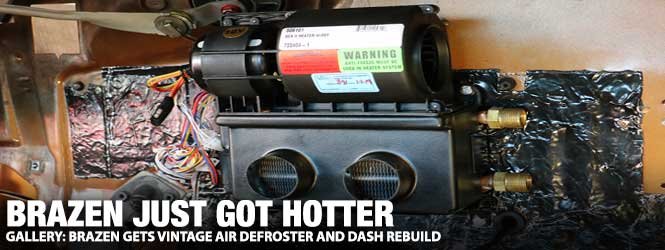
To finish the project, we began the installation of the Vintage Air under-dash heater/defroster. The complete HVAC assembly had been removed decades prior, but with the relocation of Brazen from California to Tennessee, window defrosting became necessary. The critical point of the installation was finding an area where the unit would not obstruct anything else that needed to be under the dash.


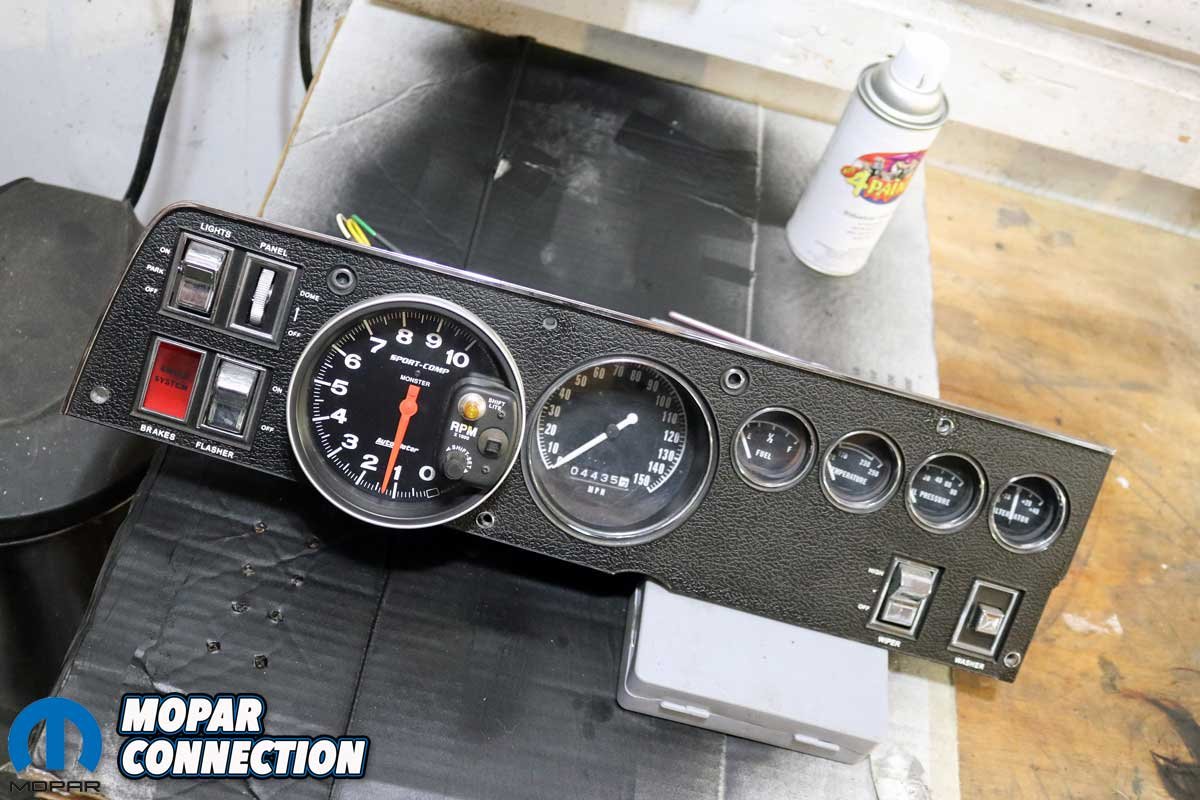
Above Left: Each repair was evaluated with a multimeter. The results of each test fell within the factory specifications. Above Right: The cluster with the previously installed monster tachometer was ready for installation.
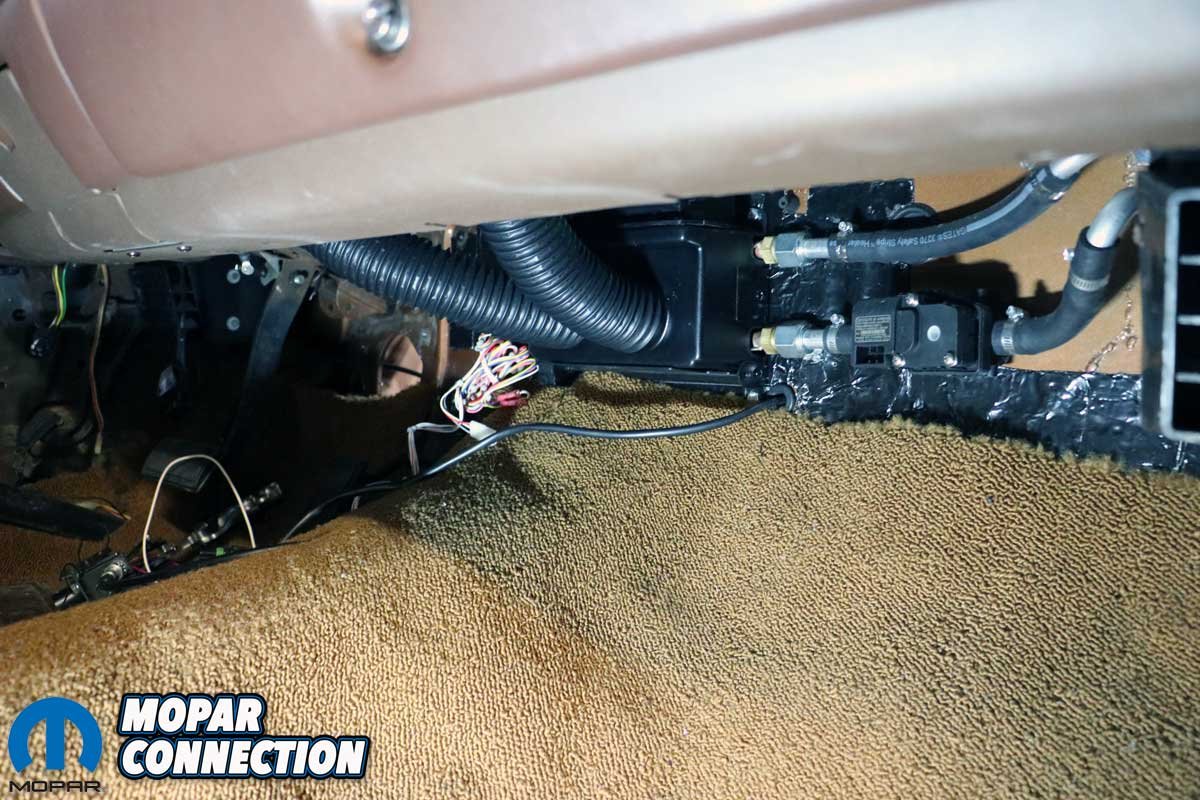
Luckily, we found an area on the interior side of the firewall where the compact Vintage Air heater/defrost sub case would fit without interfering with the factory harness, the wiper motor crank arm, or the glove box. So, after identifying a proper location for the case, we installed it on the firewall as the Vintage Air instruction guide suggested. Four fasteners held the assembly in place.


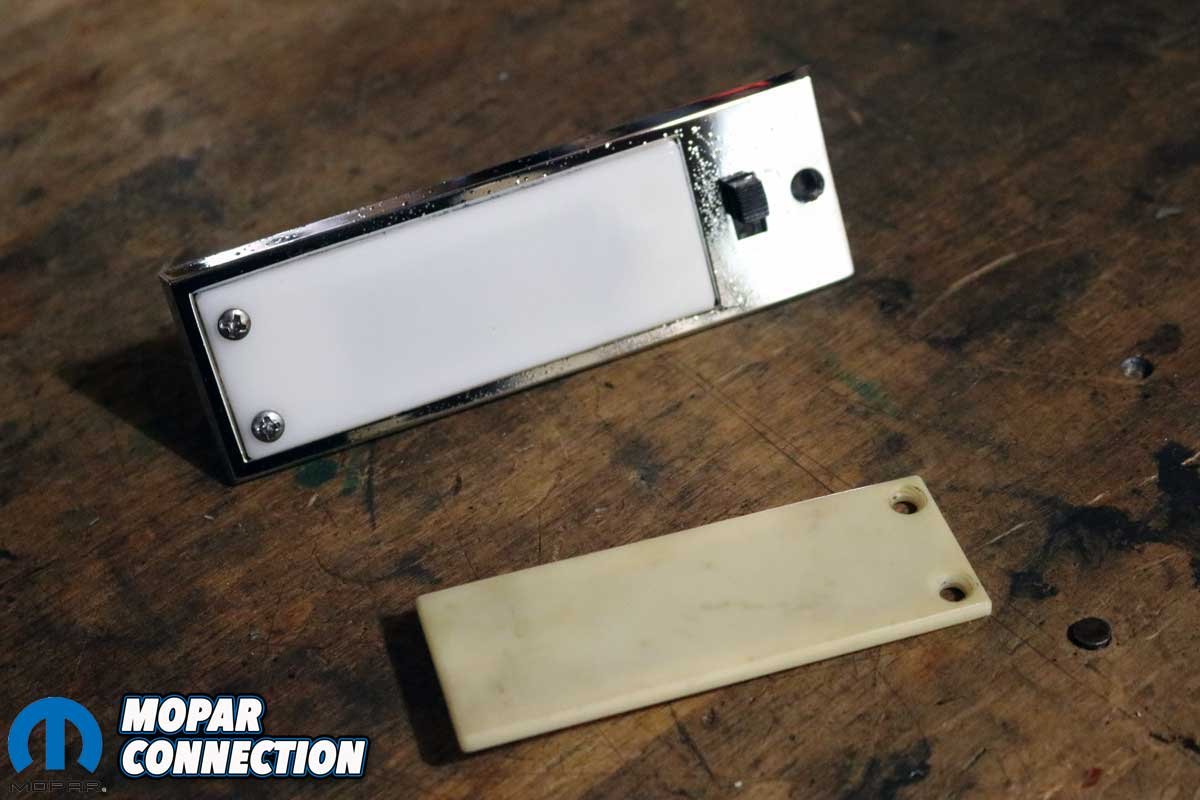
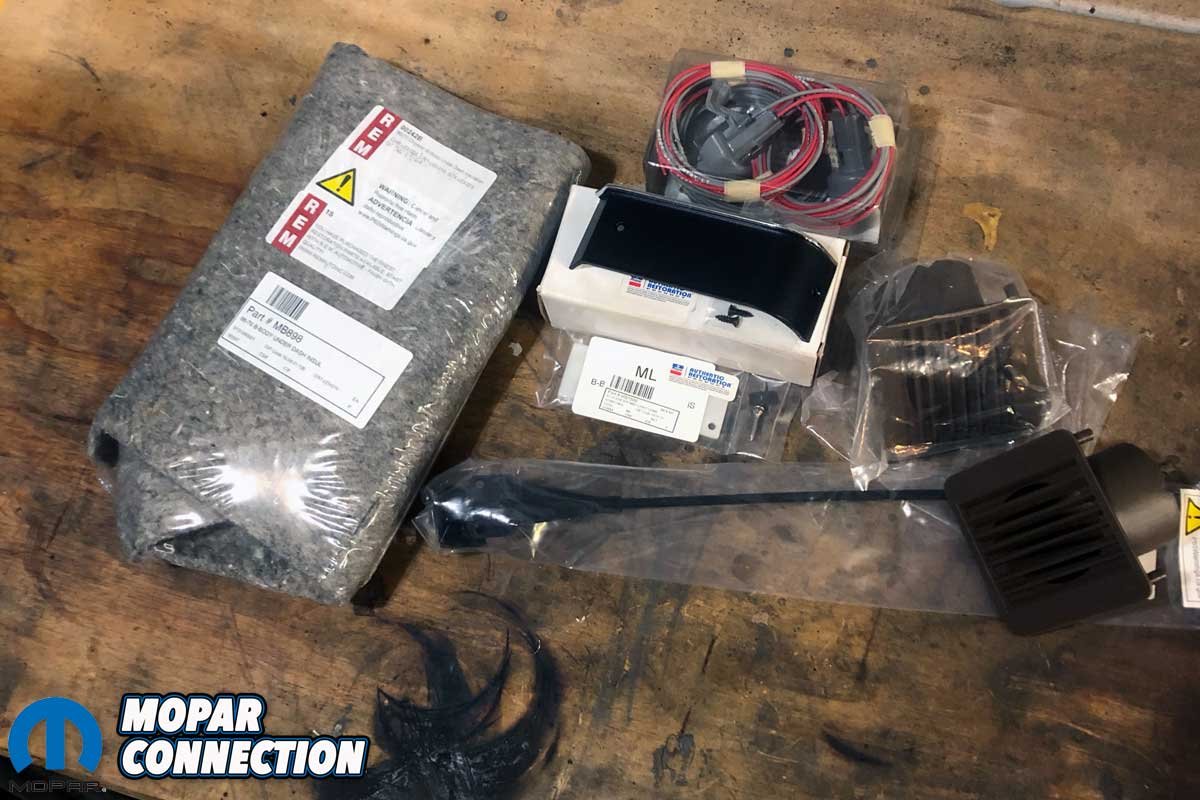
Above Left: Classic Industries helped with the dash rebuild. The under-dash courtesy light received a new lens cover. Above Center: We also got juke padding and vent ducts from Classic Industries. Additionally, we had a wiring harness for the Vintage Air defroster. Above Right: We reassembled the dash. Everything fit correctly, and the fresh paint greatly improved Brazen’s dash appearance.
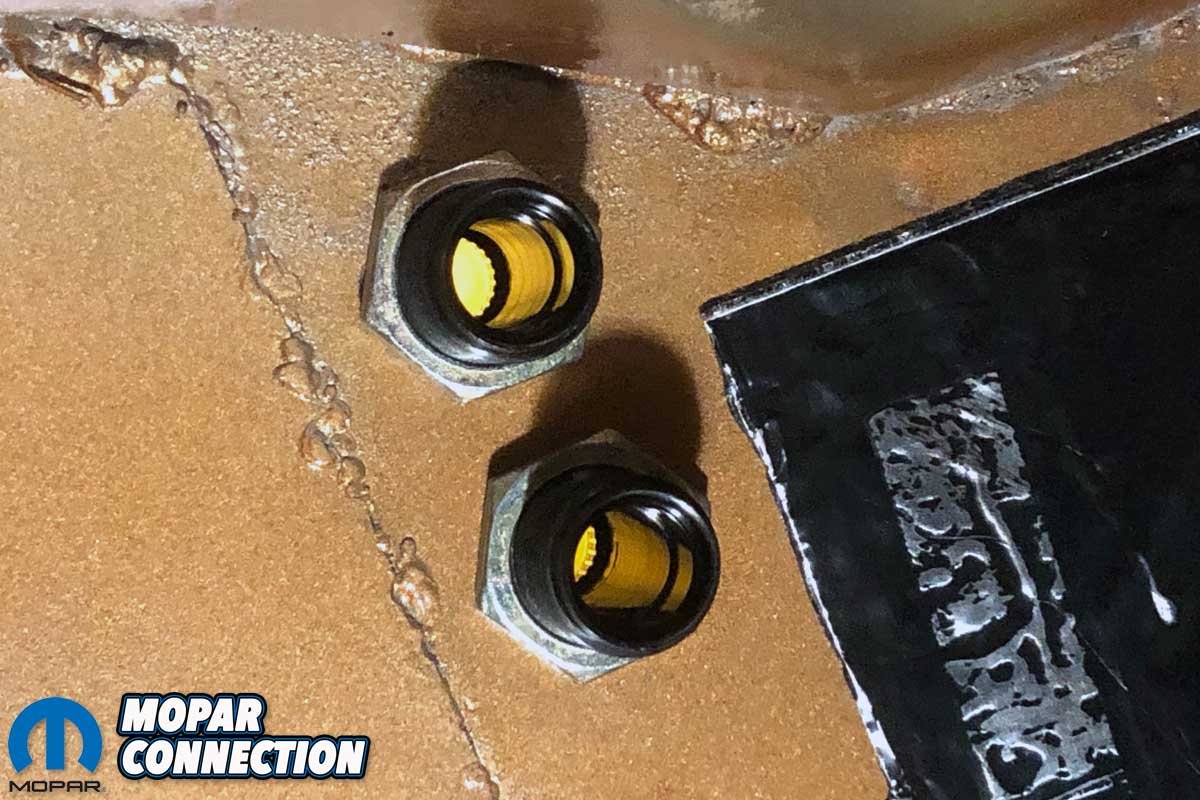
Next, we drilled holes through the firewall to position the streamline black anodized aluminum 2-way bulkhead plate (sold separately). Once we installed the plate, we mocked up a pair of heater hoses with various heater hose fittings (some included with the kit, others sourced from Vintage Air). Hose clamps secured the hoses to the fittings. Finally, we fitted the electronically controlled heater control valve on the inlet hose to the core.
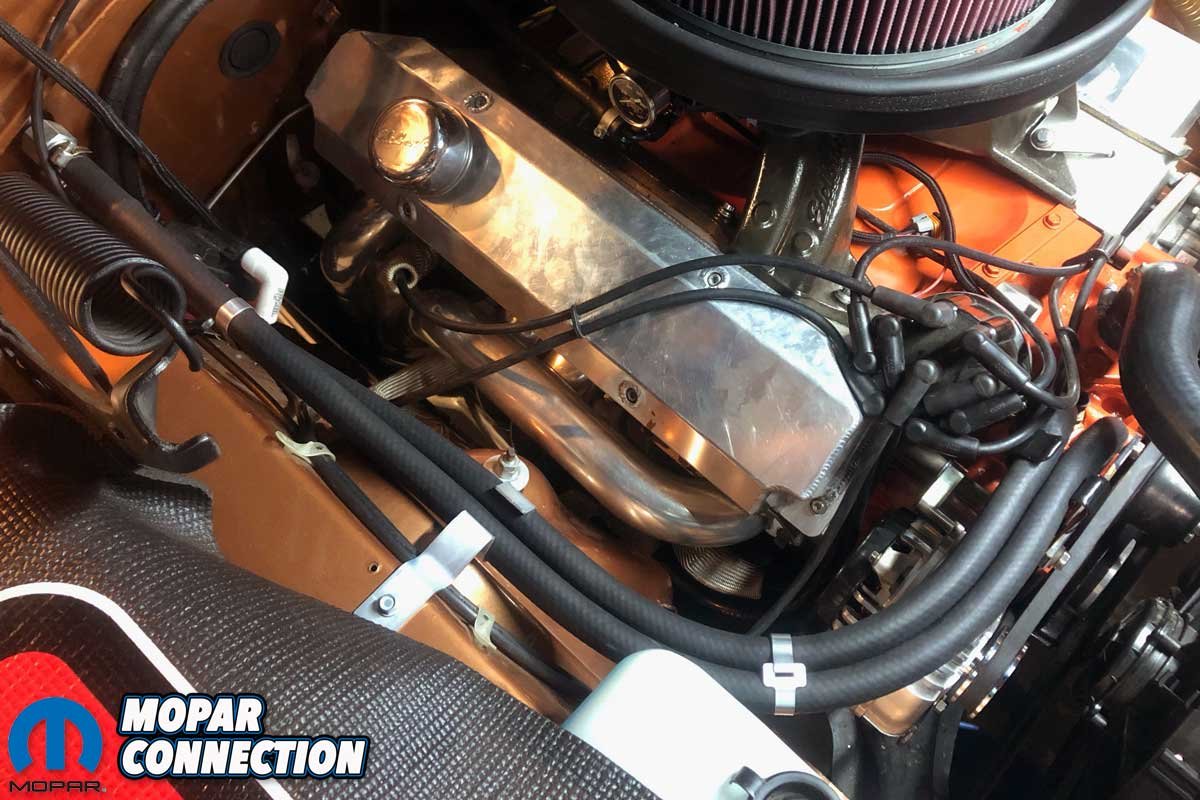
With the interior plumbing completed, we moved to the engine bay to finish the heating system. We had to insert two hose fittings into the engine. One threaded into the thermostat housing to supply coolant to the heater core, and the other was a coolant return from the core to the water pump area of the engine block.

Above Left: Decades ago, we removed the HVAC plenum from Brazen. After relocating to Tennessee, we needed a way to defrost the windshield. Vintage Air had a universal heater/defroster that met our needs. Above Right: We installed a streamline black anodized aluminum 2-way bulkhead plate to allow us to pass the coolant to and from the heater unit.
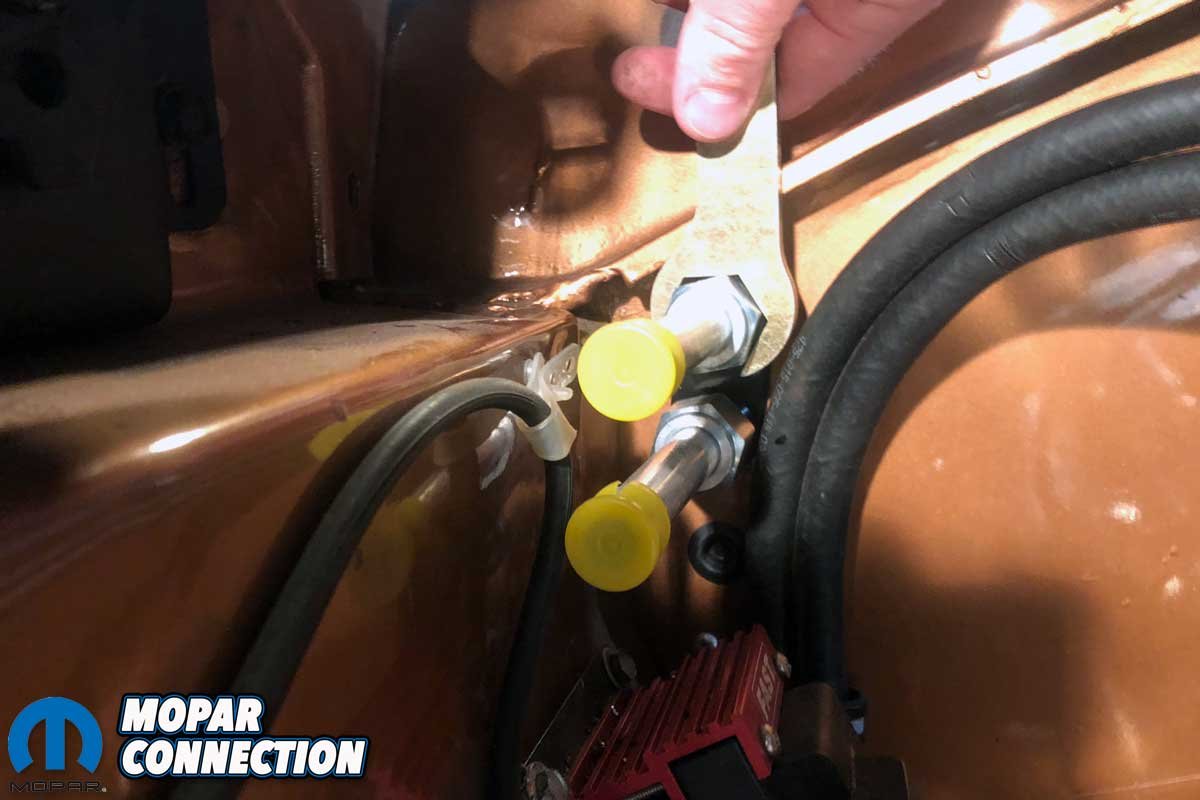
We, again, mocked up hose lengths to run smoothly along the passenger apron from the engine to the bulkhead plate. At the bulkhead, we used heater hose fittings supplied by Vintage Air. Once again, hose clamps secured the hoses to the fittings.
Year One helped us maintain the hoses’ location. We inserted the hoses in a factory clip we had attached in the factory location on the fender apron (part no. A0336). We also tethered the hoses to one another with a pair of aluminum heater hose straps (part no. W0102).
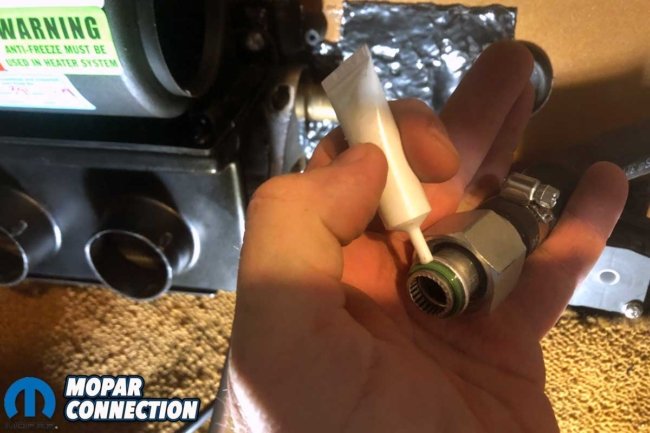
Above Left: We lubricated each O-ring before installing the fitting onto the heater core fittings. Above Right: We installed the electronically controlled heater control valve into the heater line. The heater hose slips over the inlet and outlet fittings on the valve. Hose clamps secured all the heater hoses to the fittings.
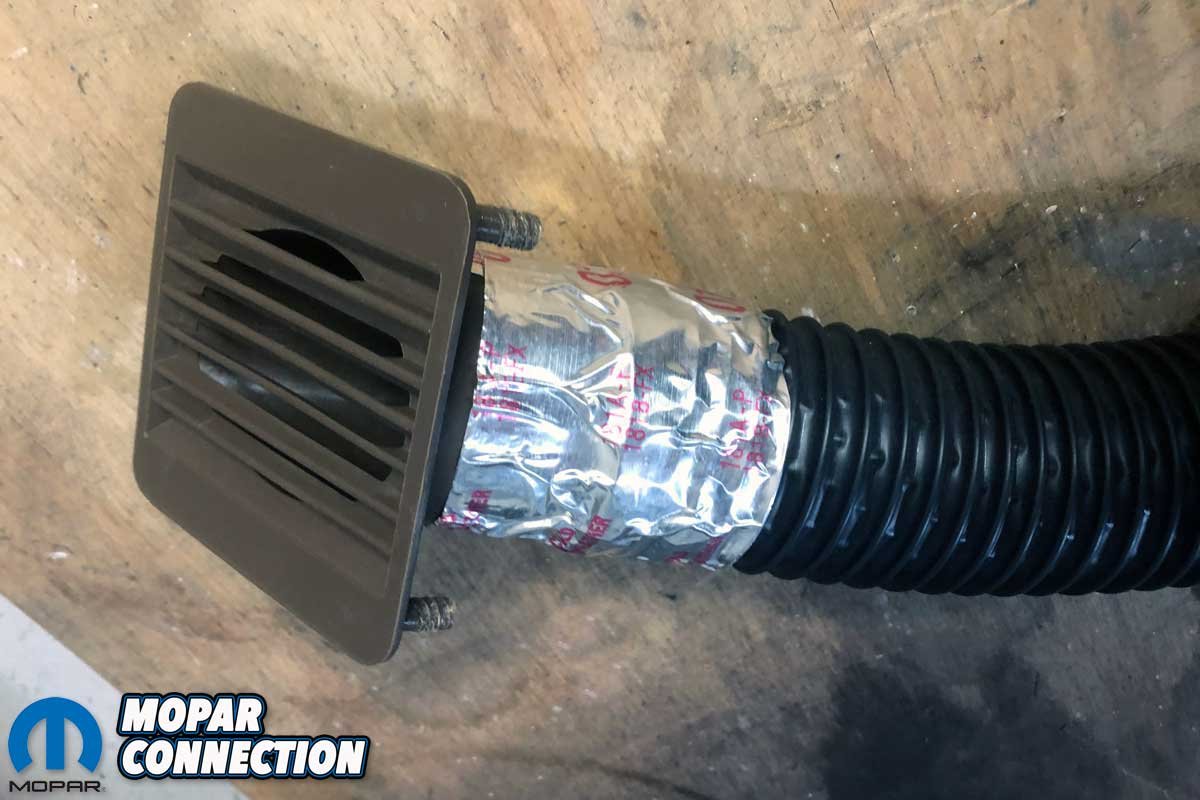
Before we installed the dash frame, we had a few last details to complete. Classic Industries had the dash vents (part no. MB194415) we needed. The vents, molded in brown color to match the dash, were attached to the defrost hoses supplied with the Vintage Air kit. We used silver duct tape to affix the hoses to the vents. Classic Industries also provided juke padding (part no. MB898) and new under-dash courtesy light lenses (part no. MB1500).
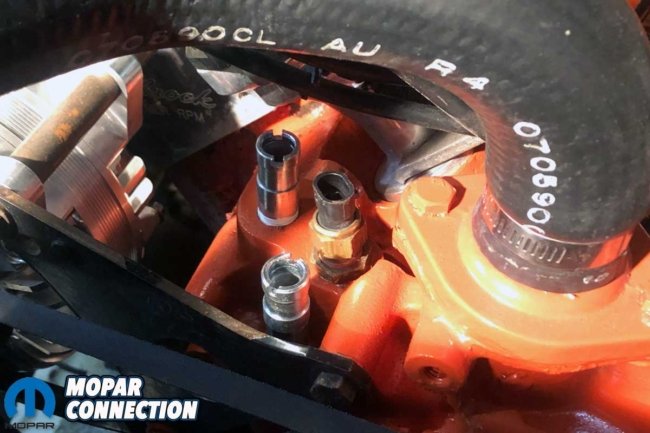
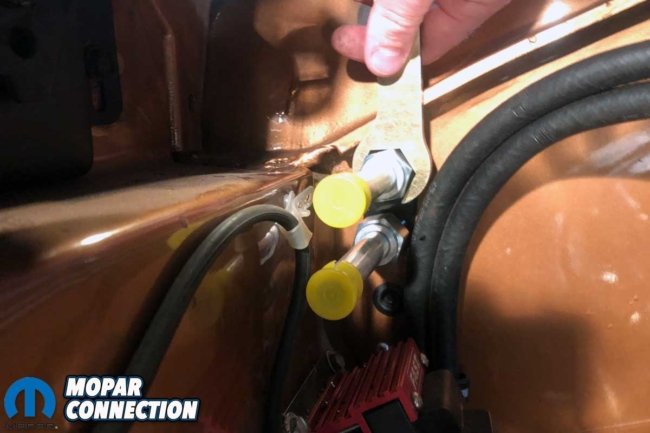
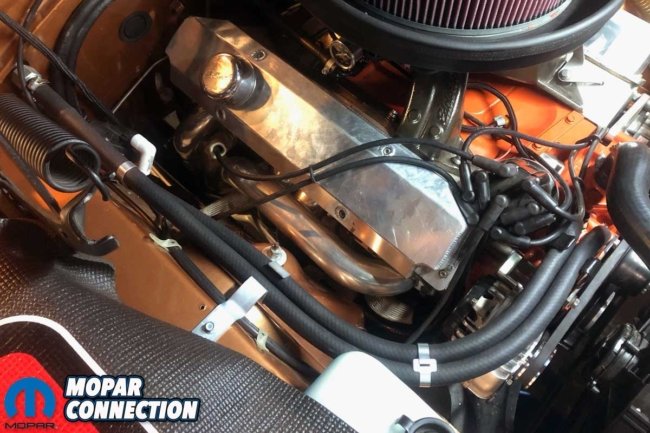
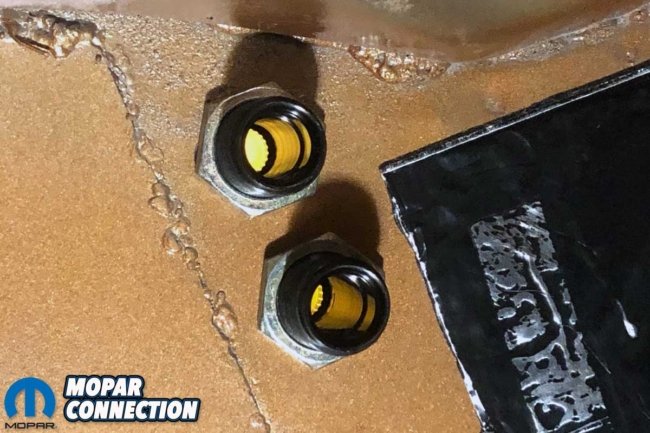
Above Left: We installed two fittings into the engine. One was threaded into the manifold at the thermostat housing and the other at the water pump. Above Center: We installed fittings onto the previously installed aluminum plate. Above Right: We neatly routed the heater hoses to a clip secured on the apron. Two additional straps held the hoses to each other. The clips and straps were from Year One.
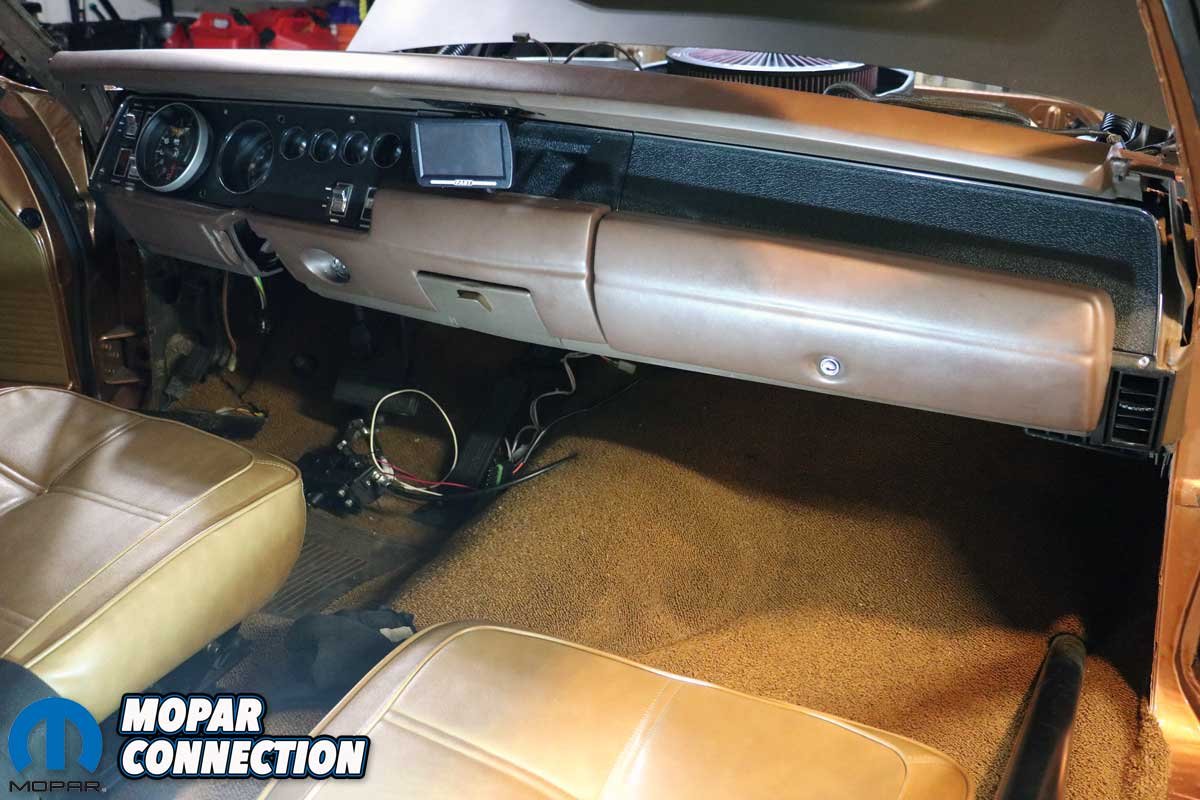
The dash components were reassembled, and the assembly was reinserted into Brazen. We reversed the disassembly process to complete the installation of the dash. Using a professional to install the windshield was advisable to reduce the chances of paint damage to the exterior or interior.


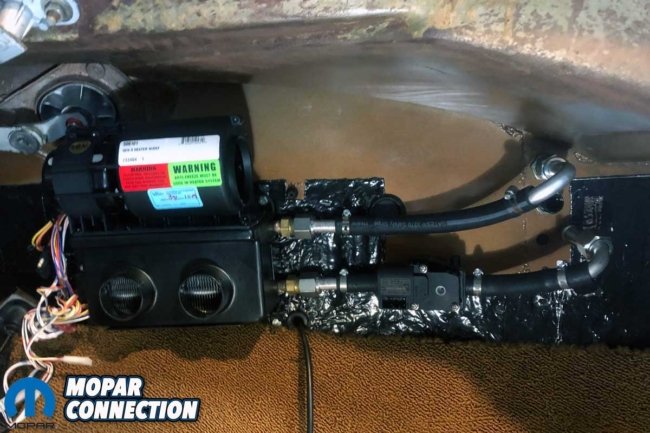
Above Left: We used duct tape to secure the Vintage Air ducting to the dash duct vent. Above Center: With the dash installed, the Vintage Air heater/defroster fits nicely under the dash. Above Right: The heater box was not visible from a higher angle. The dash frame fit well, and it looked great back in Brazen.
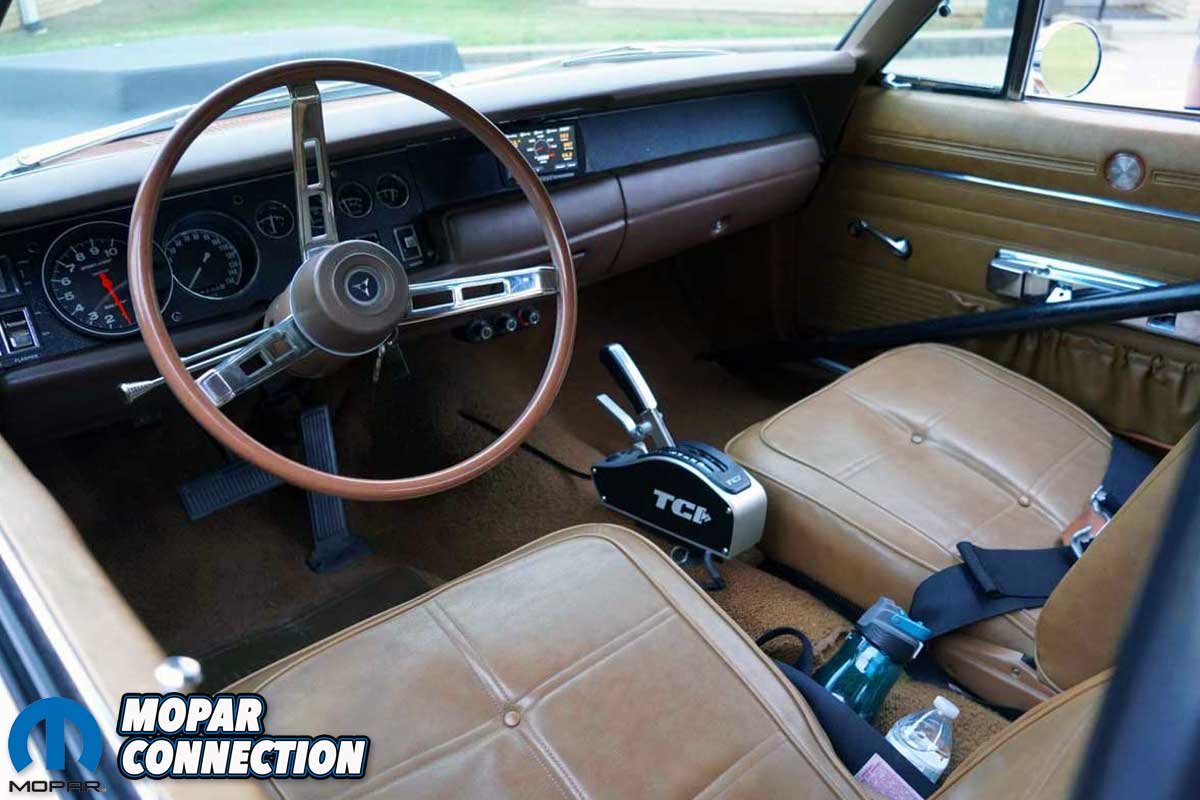
With the windshield in place, the defroster control panel was installed in a location convenient for the driver, mounted up under the dash below the ashtray. The harness from the panel to the heater control valve was attached and tucked out of the way.
Above: The dash removal and installation were a lot of work, but the results were worth it. We are pleased with the defroster’s operation and having all the cluster gauges and lights that operate correctly is a real benefit.
With the project complete, the dash looks great. The Vintage Air defroster keeps the leak-free windshield clear and provides heat, and the instrument cluster operates correctly. If your Mopar requires a heater/defroster or air conditioning, check out Vintage Air for complete kits or components to mix and match a system. Your ride’s interior heating or cooling will be better than the day you removed the original heater box.


