


As winter’s last snowbanks slowly surrender to stubborn, barely-above-freezing temperatures, work continues on Project Rara Hemious Birdicus. In that peaceful stretch between seasons, every completed job in the shop feels like a small but meaningful victory over both time and cold.
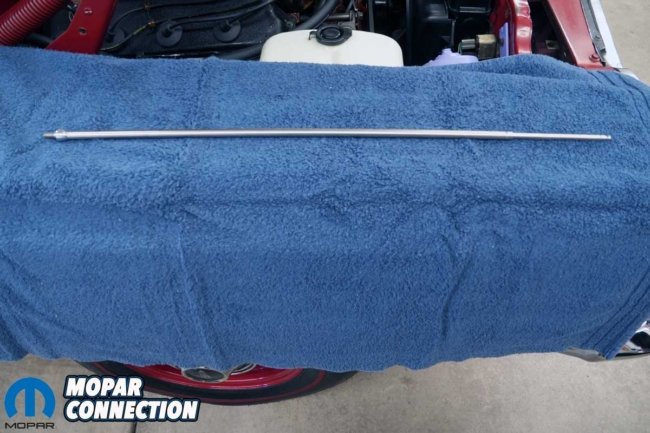
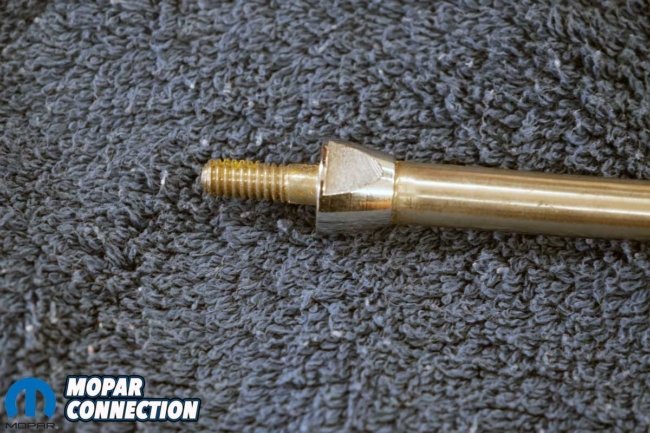
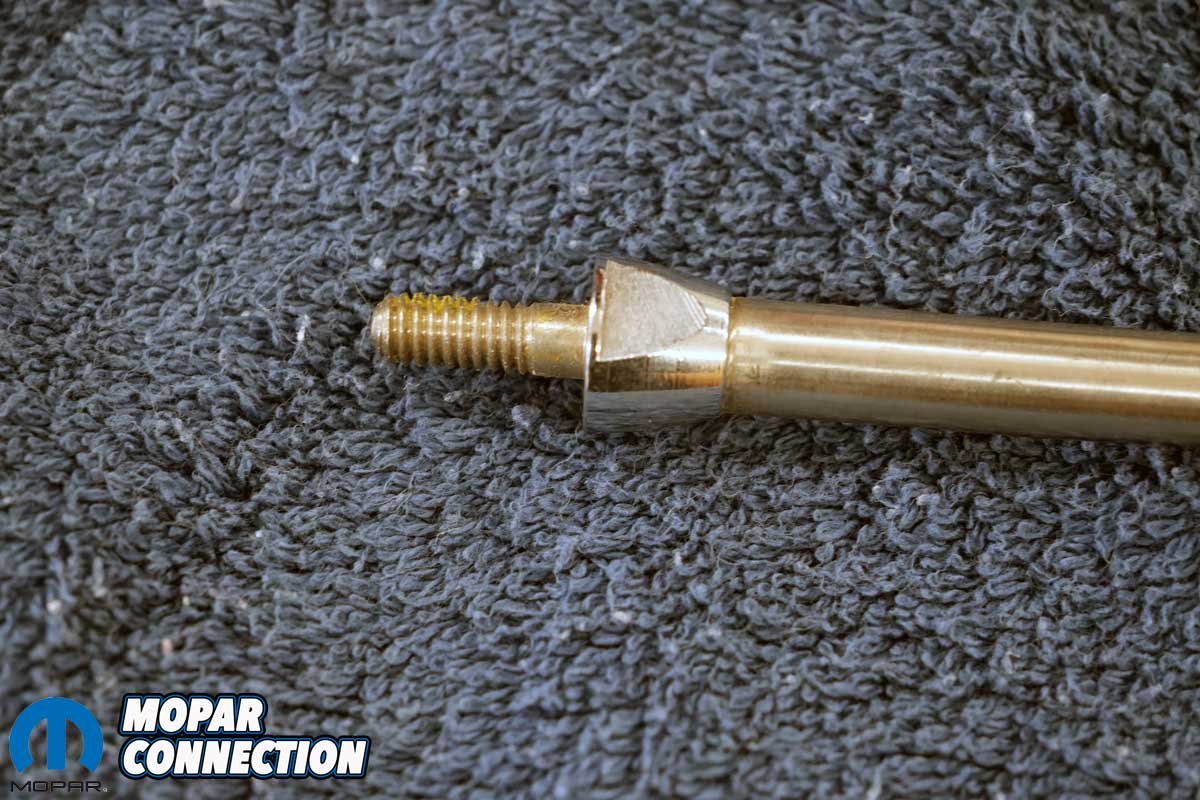
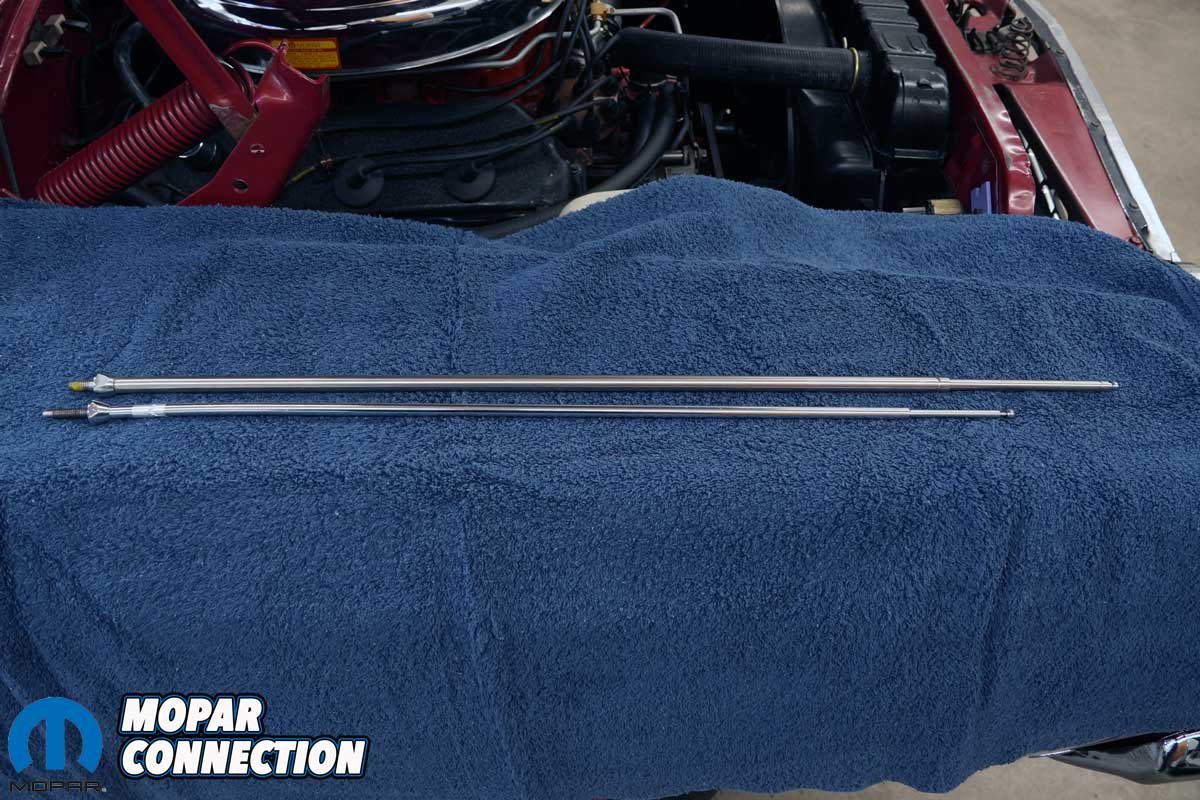
Above Left: Year One provided an NOS heavy-duty 76-inch manual telescoping antenna mast (factory part no. 2889934) for 1968–1976 A-, B-, and E-Body applications. Above Right: The lowest section of the NOS antenna measures a stout 3/8-inch in diameter, proof that this is a genuinely heavy-duty piece.
Our latest round of improvements, made possible with the help of Year One, included replacing the dual-point wiring, installing a new antenna to replace the damaged original, and fitting a proper dust shield to the transmission bell housing.
These updates to our 1968 Hemi Road Runner may seem modest. Yet none are insignificant. Each component represents another intentional step toward restoring the car’s former glory, bringing back not only its mechanical integrity, but the unmistakable spirit of a true muscle-era icon.


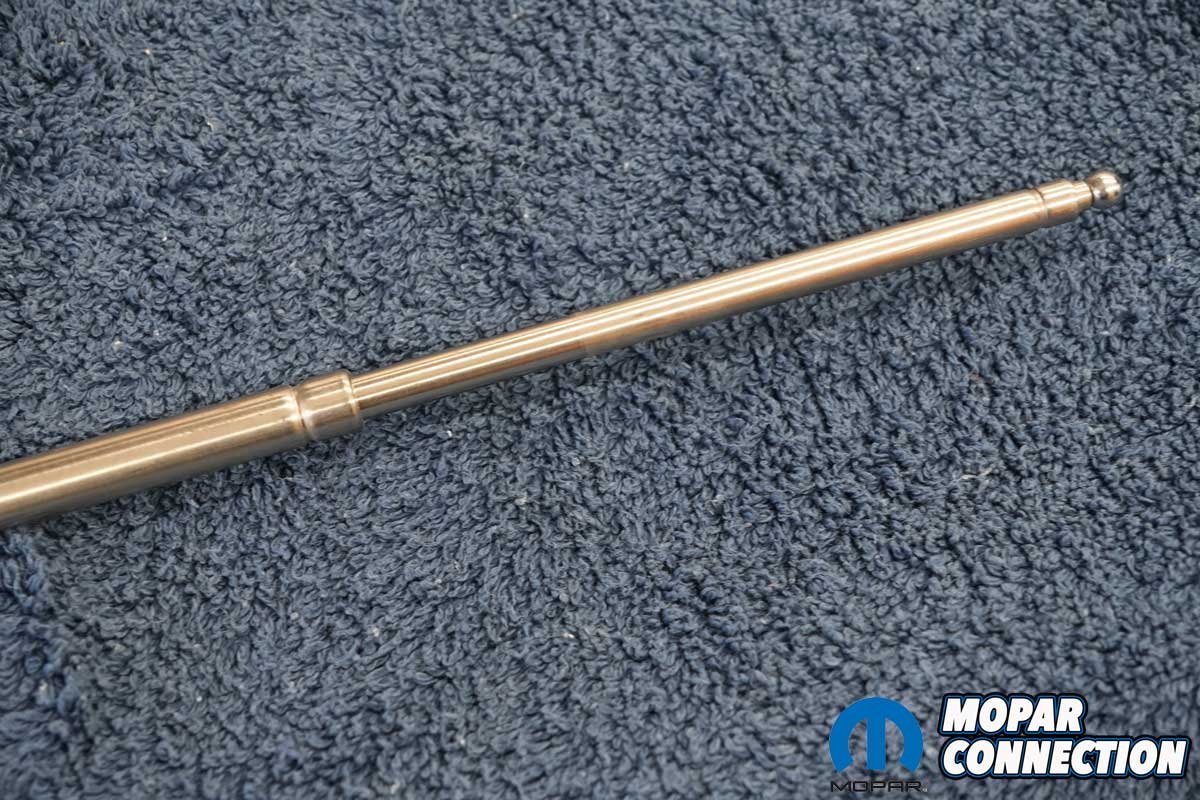
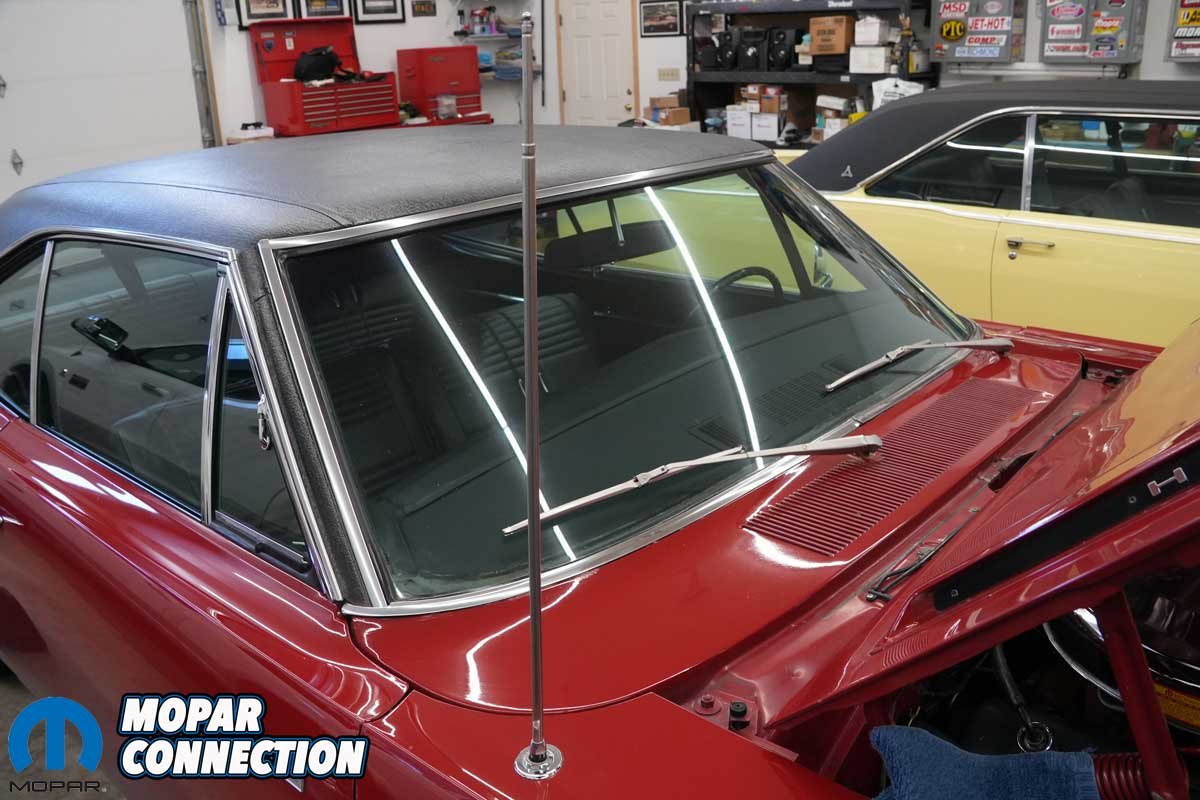
Above Left: The antenna extends manually. For our installation, we left the upper section retracted into the middle section and extended the middle section approximately six inches from the lowest section. Above Right: Compared to the unit we removed, this antenna has a noticeably more robust, heavy-duty construction.
We began with the simplest of the three tasks, replacing the antenna. The unit currently on the Road Runner appeared to be original, but 58 years had not been kind to it. The lower mast had been severely bent at some point, and during an attempted repair, a previous owner managed to snap off a portion of it entirely.
The solution? A generous wrap of silver Mylar tape around the damaged section. Functional, but far from fitting for a car of this caliber.


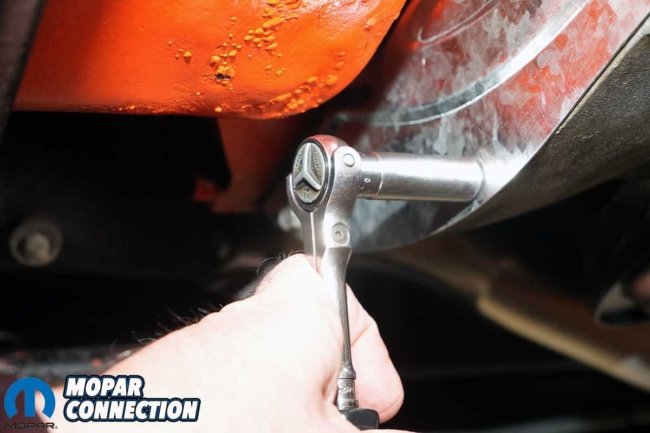
Above Left: The original antenna had been patched together with Mylar tape, visible just above the wrench. Above Right: The old antenna (bottom) differs noticeably in appearance from the new unit (top). For consistency, we adjusted the new antenna to match the original’s overall extended length.
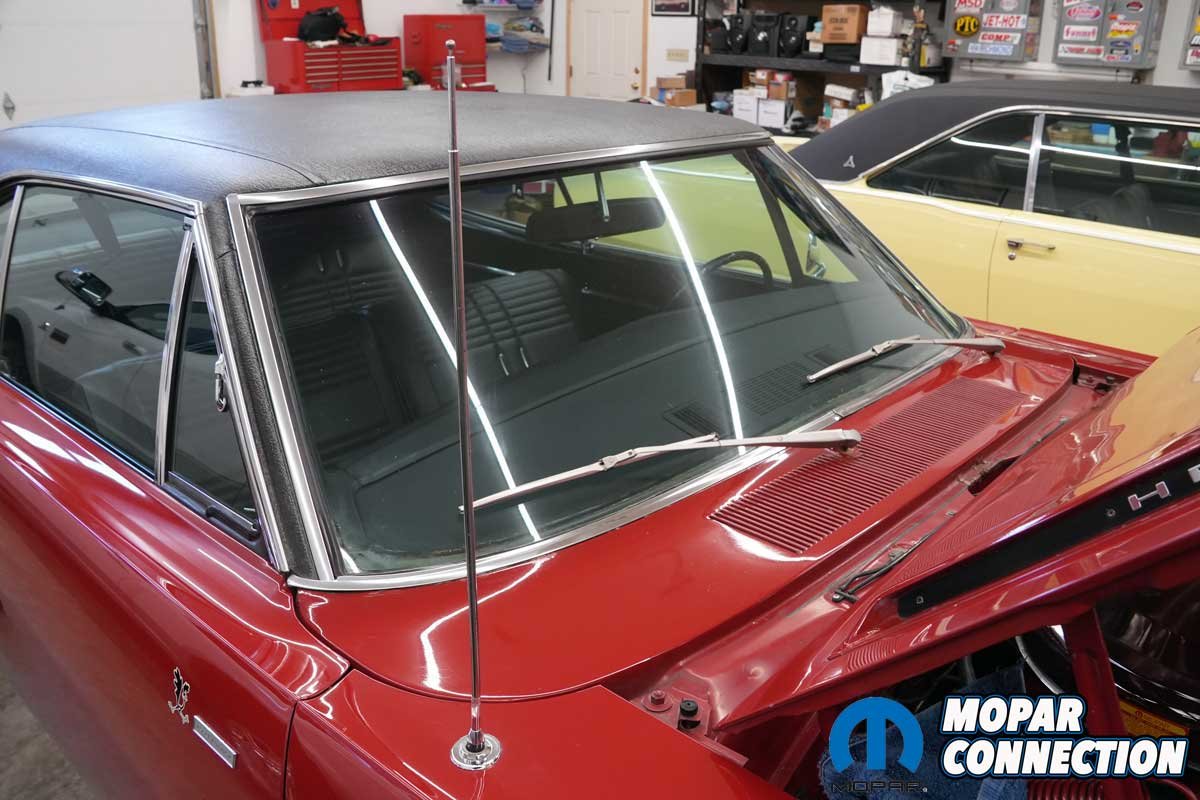
To remove the old antenna, we placed a wrench on the two flat spots at the base of the mast, just above the mounting point. Thankfully, it broke free and unthreaded without a struggle. The new Year One antenna (part no. MK333) threaded into position just as easily, seating without drama.
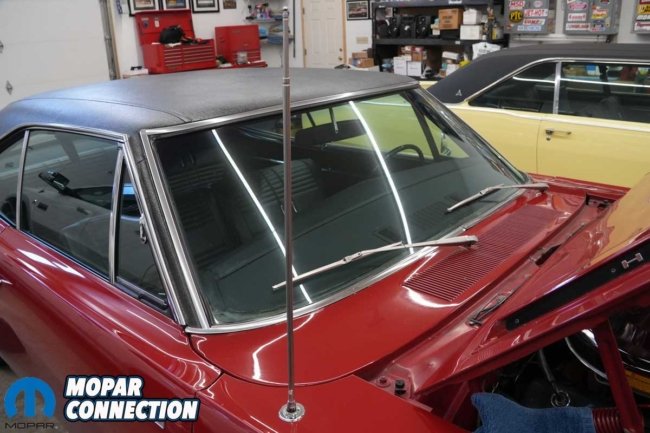
Above: The Year One antenna looks excellent and operates as it should. Reception is solid, though the factory AM radio limits station selection.
Interestingly, the replacement unit features a slightly heavier mast than the one we removed, suggesting the damaged antenna may not have been the factory original after all.
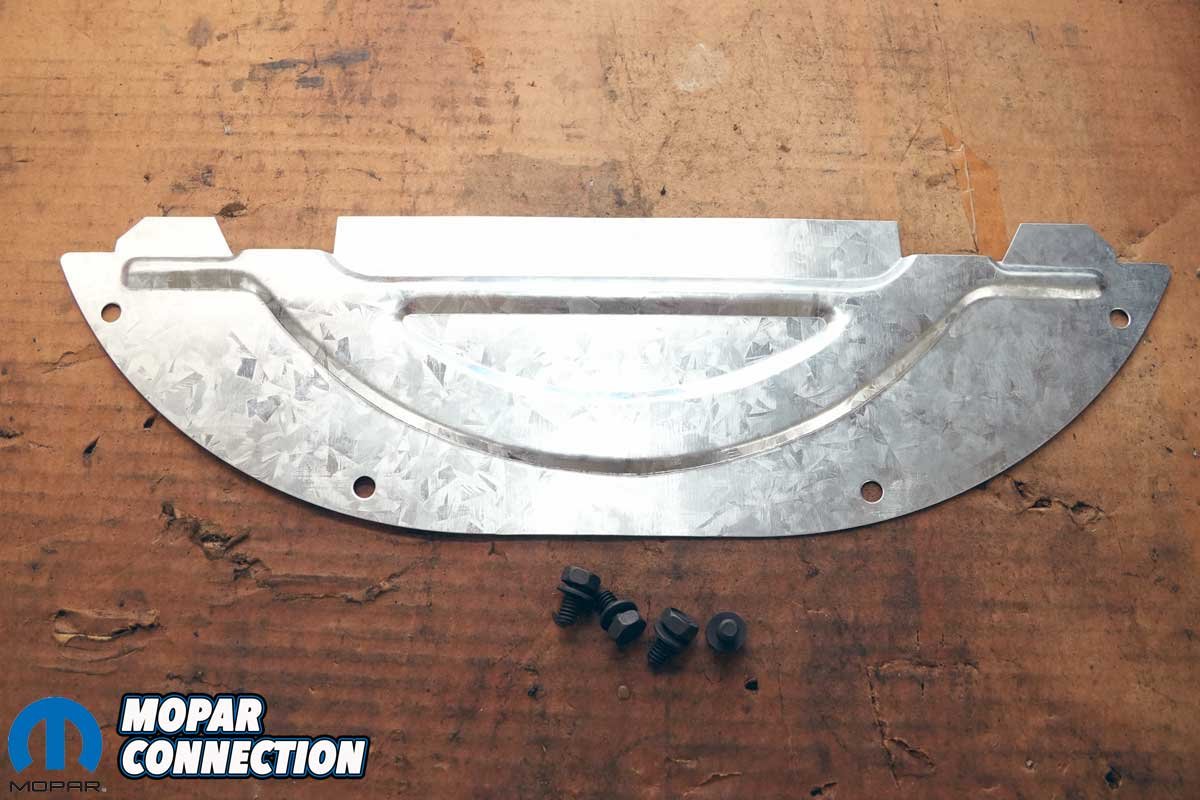
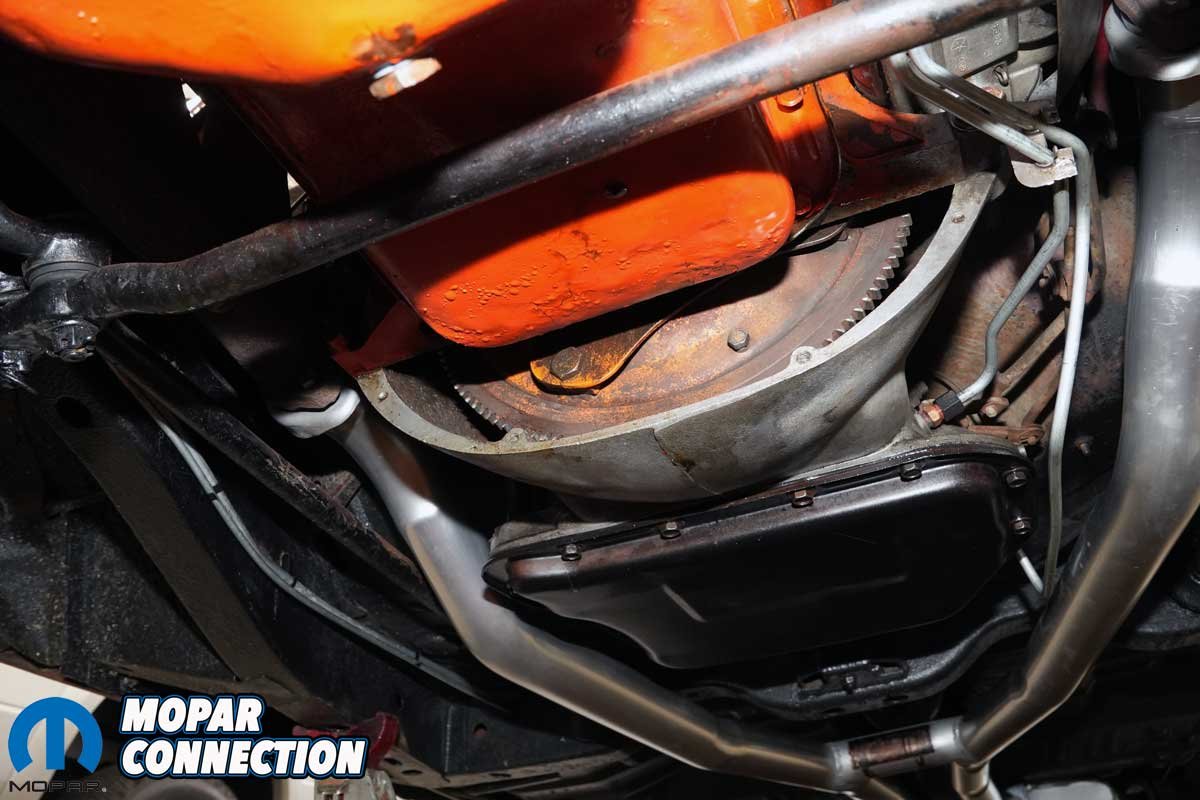
Next on the list was installing a dust cover (part no. FD15920) for the 727 TorqueFlite, along with the matching hardware kit (part no. FD1592H). Before fitting the shield, we took the extra step of chasing the threads in all four bolt holes in the transmission bell housing. Decades of grime and corrosion were pulled from each one.


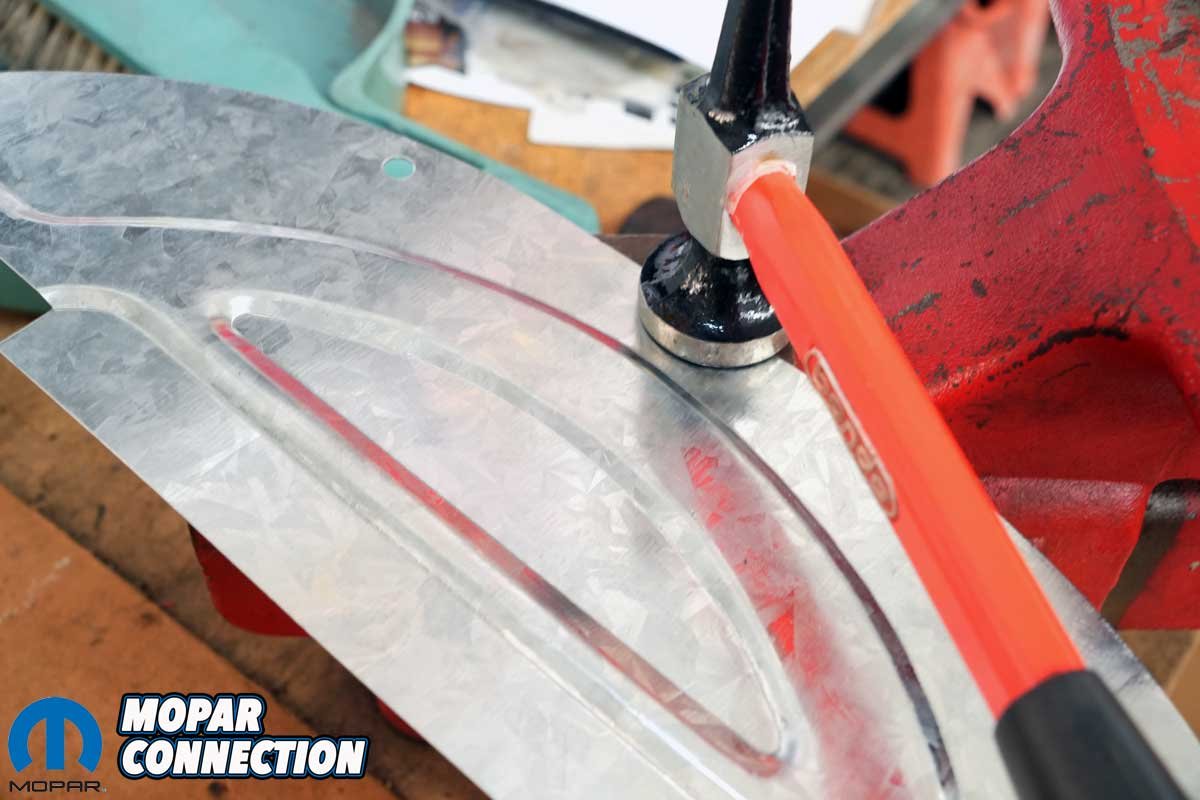
Above Left: As noted in our transmission service story, the Road Runner was missing the 727’s bell housing dust shield. We sourced a replacement, along with the correct retaining bolts, from Year One. Above Center: The new shield had a small, raised area, which we carefully tapped flat with a body hammer for proper fitment. Above Right: Without a dust shield in place, the bell housing opening leaves the transmission vulnerable to road debris that could potentially cause damage.
With clean threads ready to go, the dust shield slipped into place after a bit of gentle persuasion. The four supplied bolts drew it snug against the bell housing, finishing the job with a clean, factory-correct look. Within an hour, we had two simple but important tasks crossed off our list.
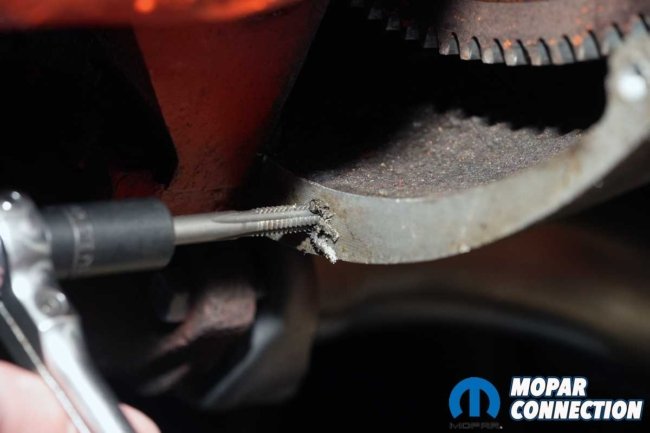
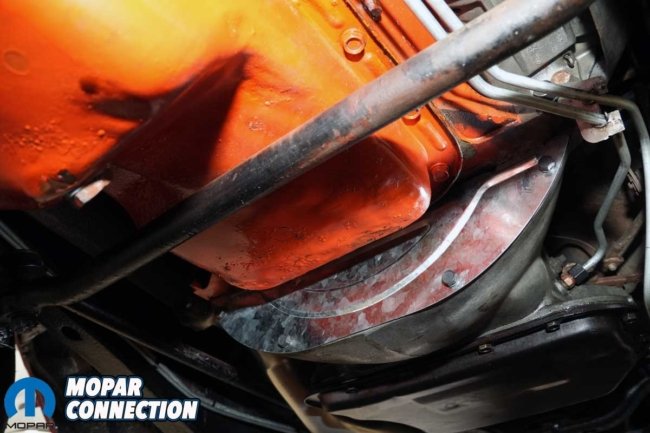
Above Left: Before installing the shield and bolts, we chased each bolt hole with a tap. Decades of accumulated debris fell from every threaded opening. Above Center: The shield slipped into position without difficulty, and the bolts threaded smoothly into the freshly cleaned holes. Above Right: With the new shield securely in place, the risk of debris entering and potentially damaging the original converter or transmission is significantly reduced.
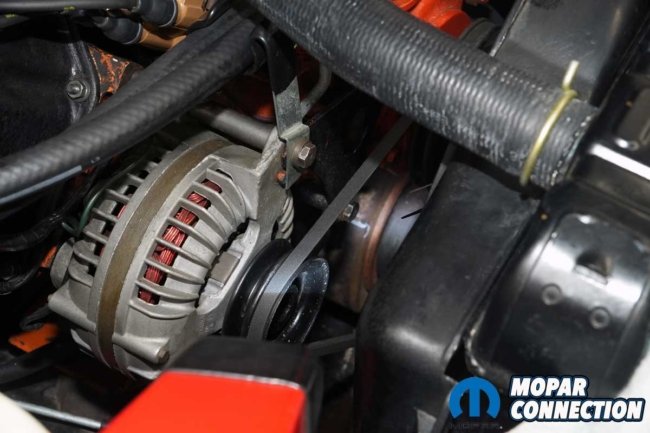
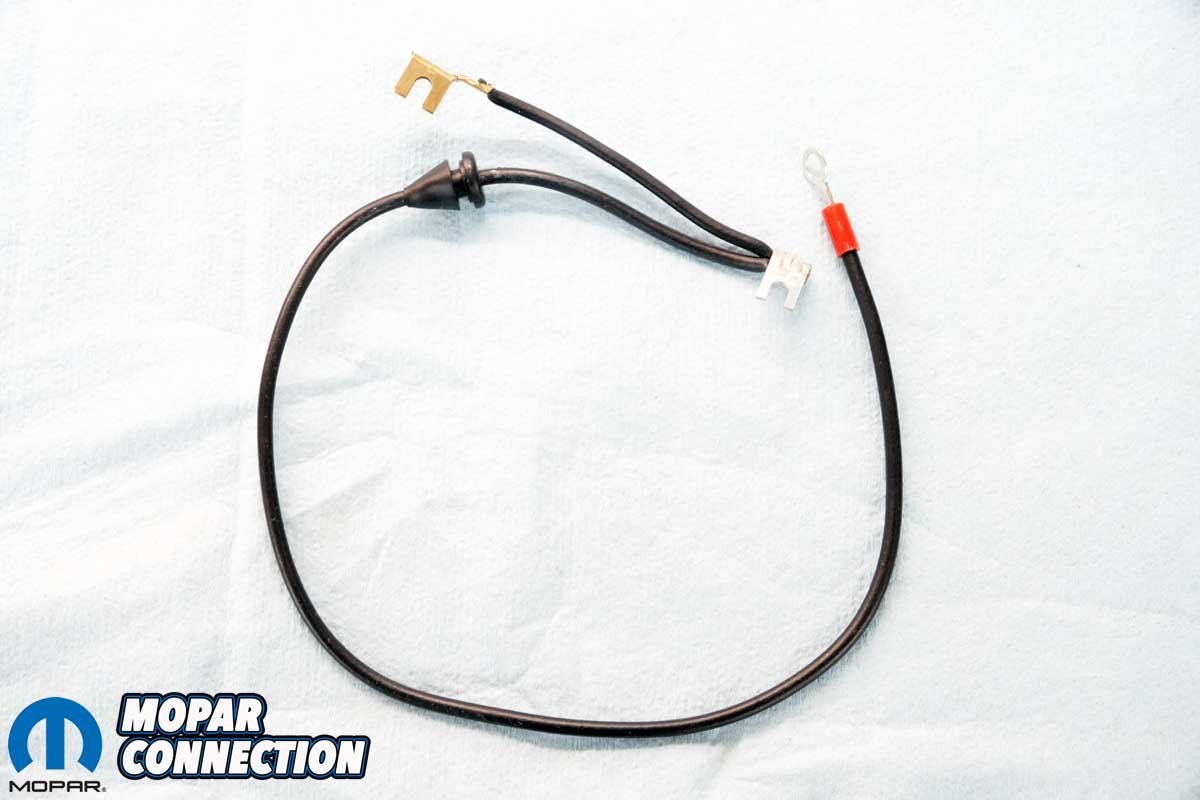
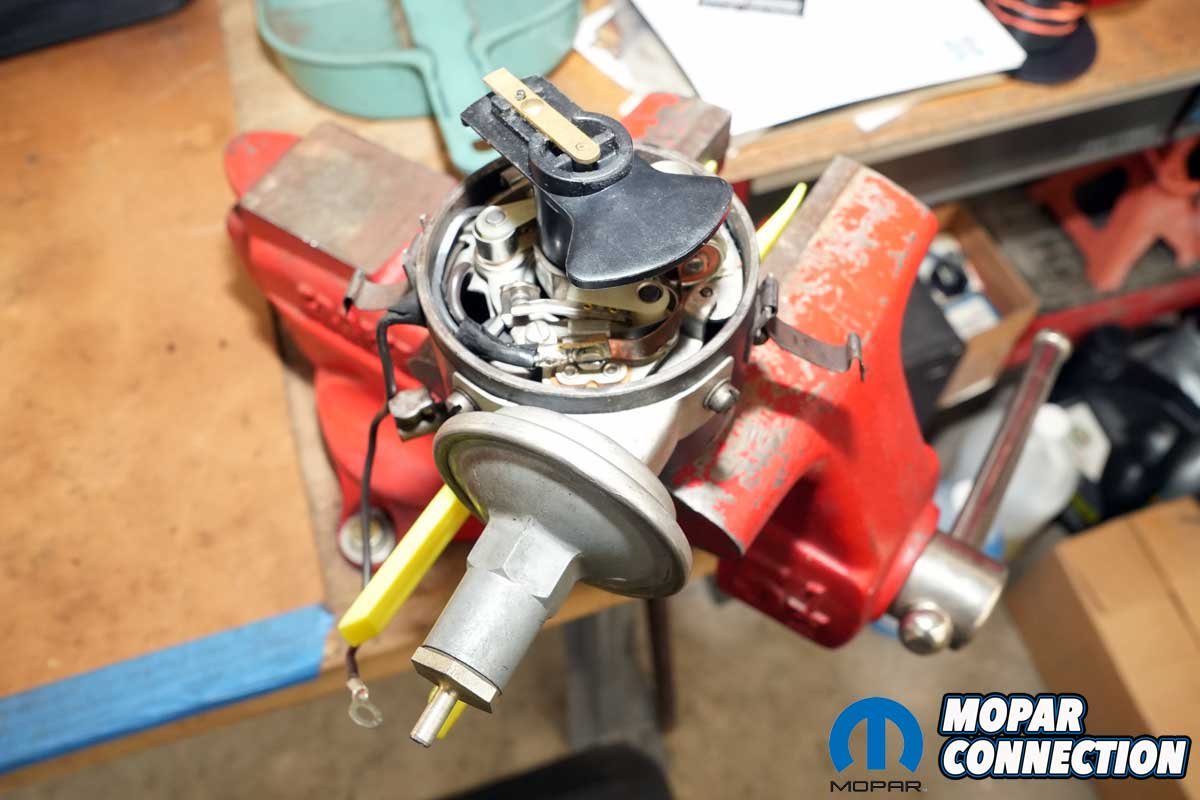
Our last task was to install a new dual-point distributor lead (part no. HU426D). While we could likely have carefully installed the lead with the distributor in the Hemi, we opted to remove it from the engine for easier installation.
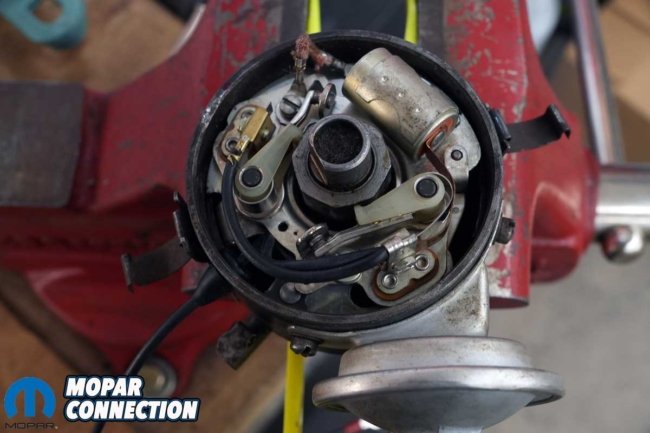
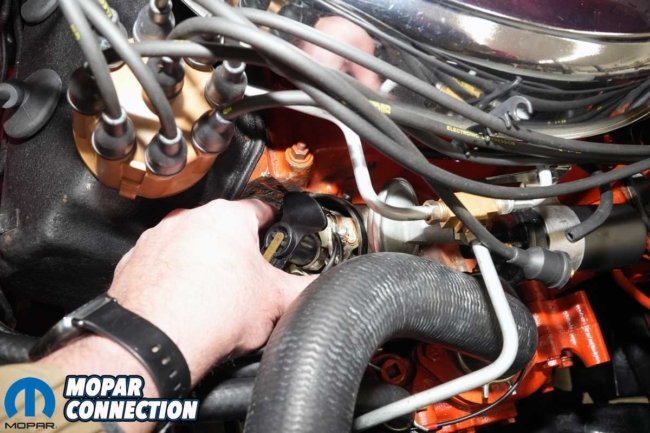
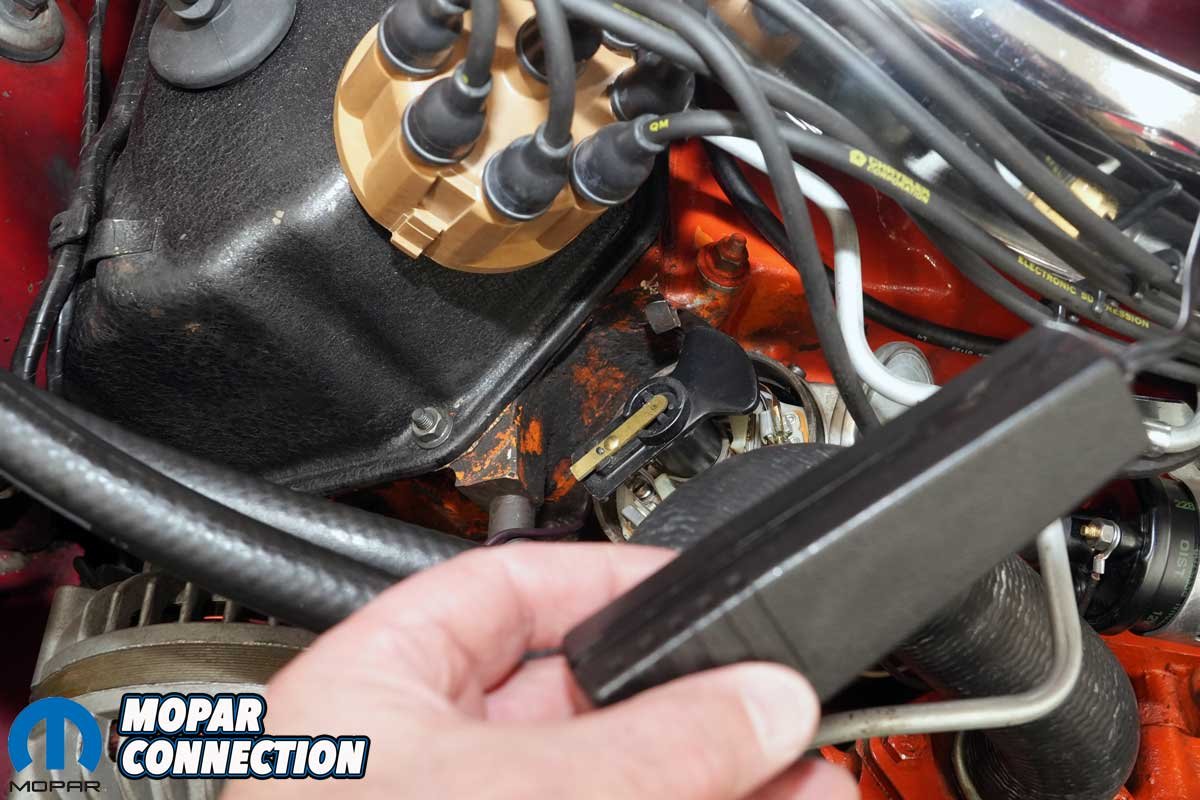
Before we pulled the distributor, we bumped the engine over until the rotor was pointed toward the distributor cap’s cylinder one spark plug wire. Once lined up, we removed the wire terminal from the coil, disconnected the vacuum advance, unthreaded the hold-down bolt, and removed the bracket.

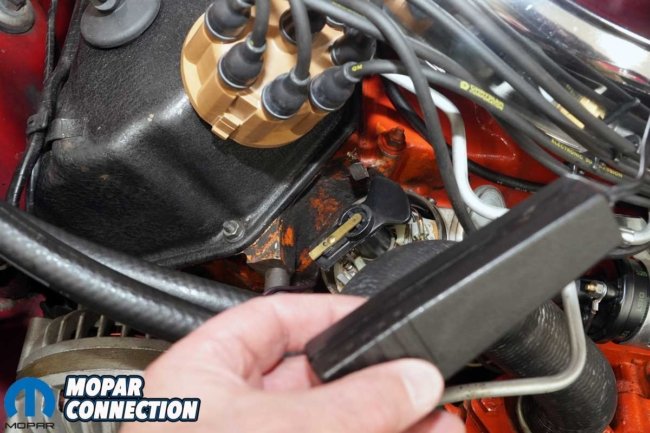
Above Left: The new distributor lead from Year One was listed for a 1969–70 application, yet it fit our 1968 perfectly. For a concours-level restoration, the lead length or red-insulated eyelet might not be exact for a 1968, but for our purposes, it was spot-on. Above Center: Using a remote starter switch, we bumped the engine over until the rotor aligned with the number one-cylinder terminal on the distributor cap. Above Right: Before removing the distributor, we first disconnected the distributor lead from the coil.
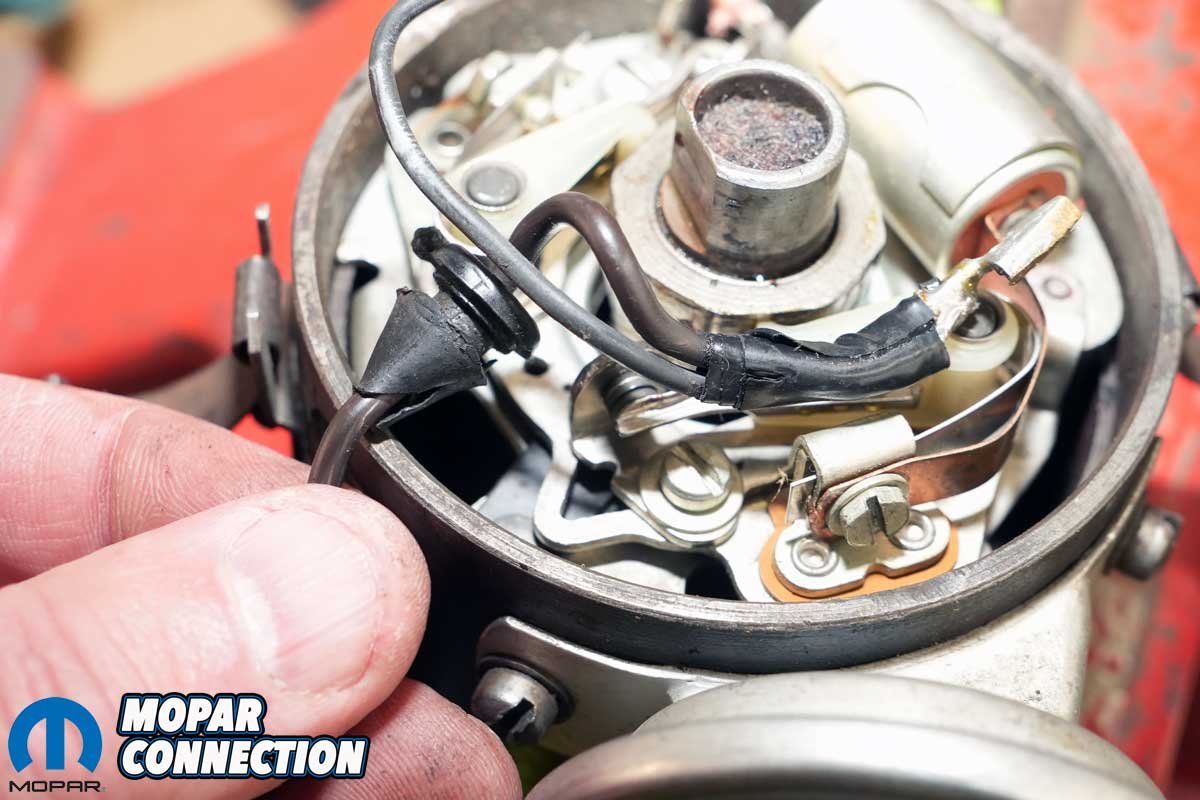
With the distributor supported in a vice, we observed the lead assembly we had made when we got the car. It was functional and replaced a severely damaged lead, but it was far from perfect. To remove the homemade lead, we loosened the installation screws at each set of points. The terminals slipped from the screws. Lastly, we gently pushed the rubber grommet from the outside of the distributor toward the housing to release the lead from the housing.
The installation of the Year One lead was the disassembly in reverse. We slipped the coil lead through the housing, engaged the grommet in the distributor body, installed the terminals at each set of points, and tightened the screws.


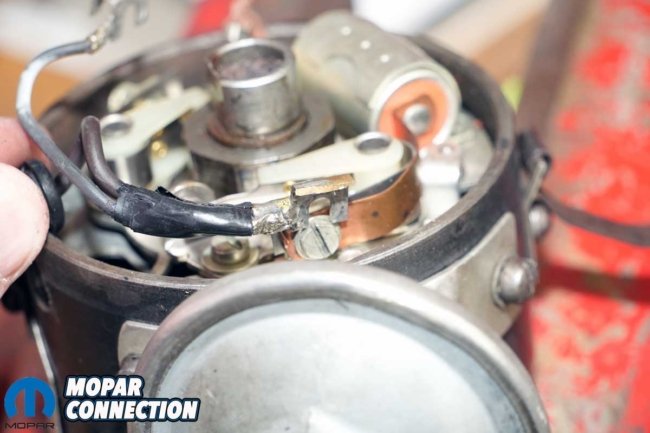
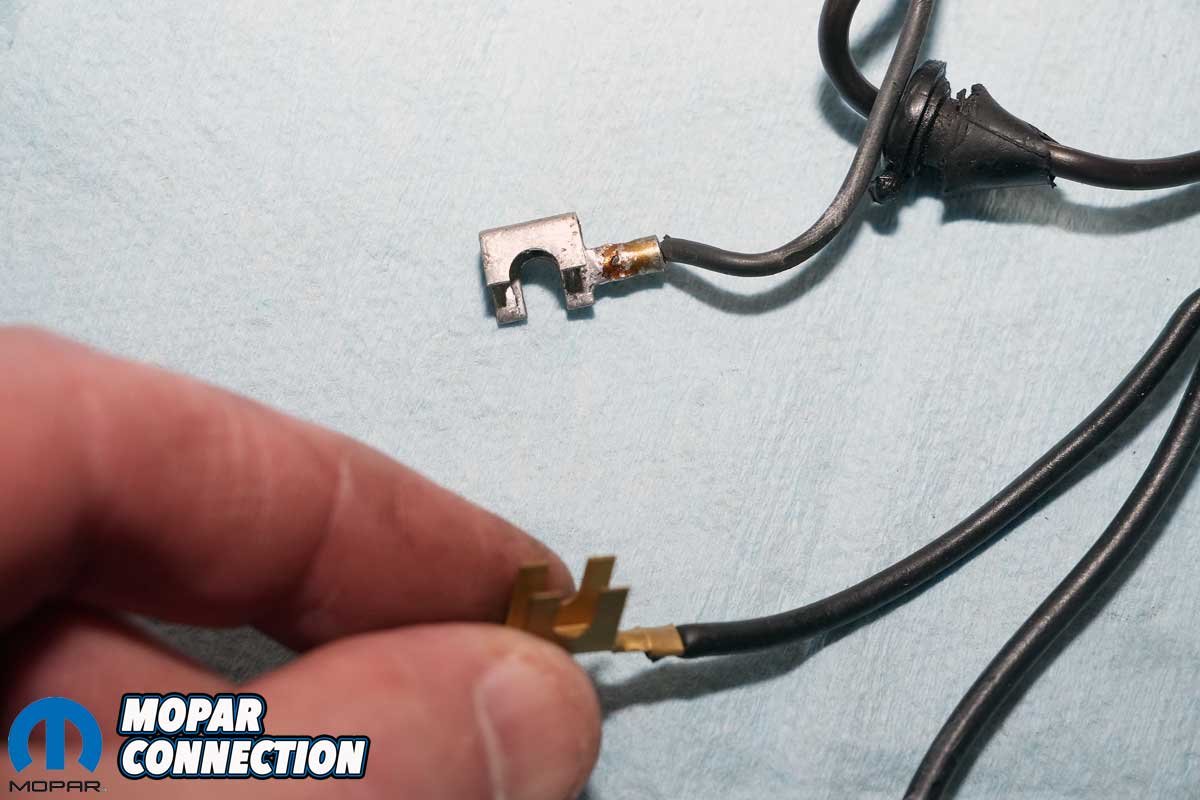
Above Left: We also disconnected and removed the vacuum advance hose before pulling the distributor. Above Center: After releasing the hold-down bolt and bracket, we secured the distributor in a vise, using plastic trim removal tools as improvised soft jaws to prevent damage. Above Right: Our homemade lead had been soldered and wrapped in tape. It functioned properly, but its appearance left much to be desired.
It was unlikely that we had changed the dwell much, but since we had the distributor out of the engine, we mocked it up in our Sun 404 distributor machine. We connected the lead to the machine and attached our vacuum source. With one set of points disabled (paper between the contacts), we set the dwell of the other points. We switched the paper and set the other points. The total dwell with both points operating was set to 40°.

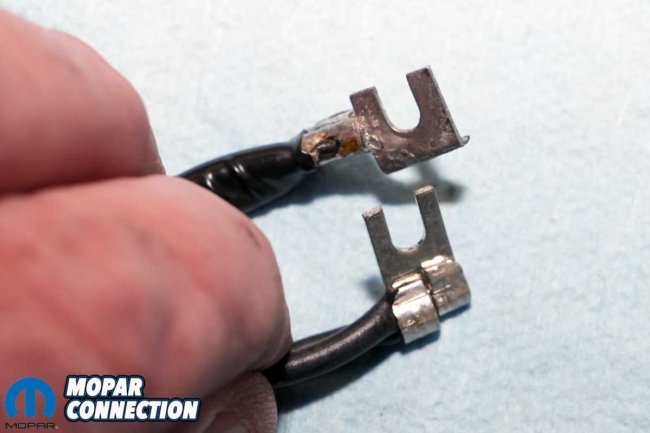
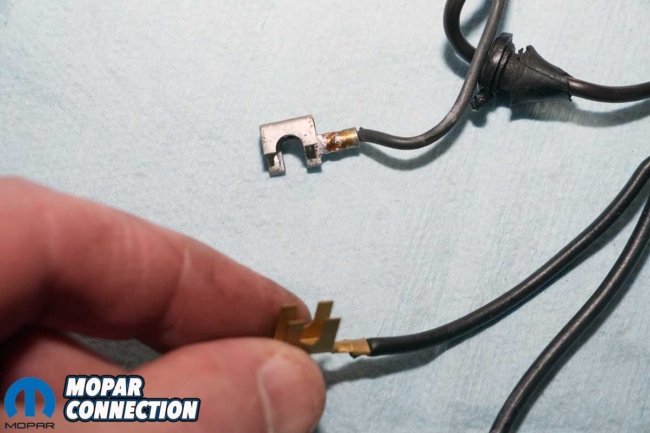
Above Left: After loosening both point screws and removing the lead terminals, we pushed the worn grommet through the housing to free the lead from the distributor. Above Center: The original terminal (top) for one set of points closely matches the shape of the new replacement (bottom). Above Right: The same comparison applies here; the old terminal (top) and the new terminal (bottom) are nearly identical in design.
Since our story (J-Code Road Runner Ignition Update with Year One) about fine-tuning the distributor, we have made a few changes to the centrifugal advance. It is now set to 22°. The initial is usually set at 12° before top dead center (BTDC) for a total advance of 34° BTDC. Add in the 18° of vacuum advance, and we end up with 52° BTDC.
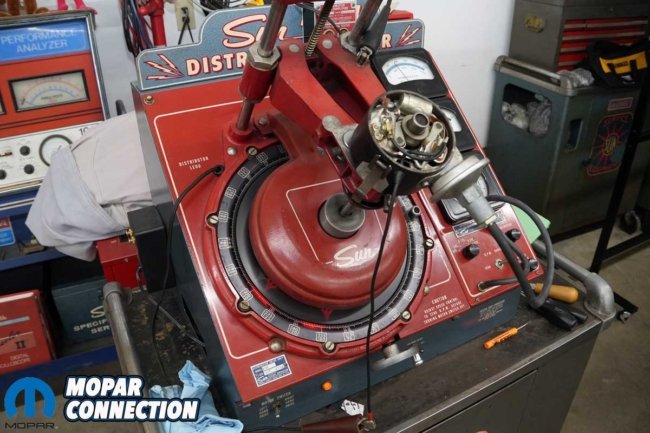
Above Left: We installed the distributor on our Sun 404 distributor machine to set the dwell and verify both centrifugal and vacuum advance operation. Above Center: After adjusting the dwell on each set of points, we confirmed a combined total dwell of 40°. The centrifugal advance measured 22°, with the vacuum advance contributing an additional 18°. Above Right: Once testing was complete, we reinstalled the distributor and snugged down the hold-down bracket and retaining bolt.
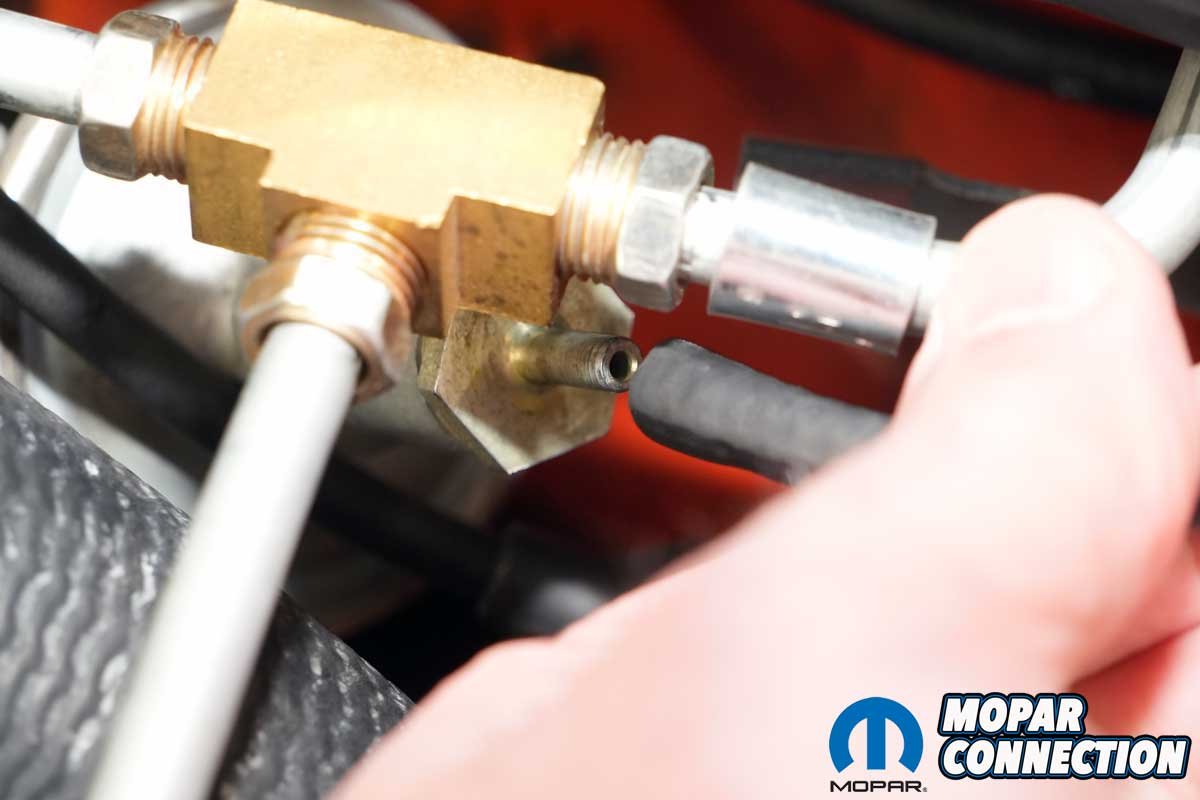
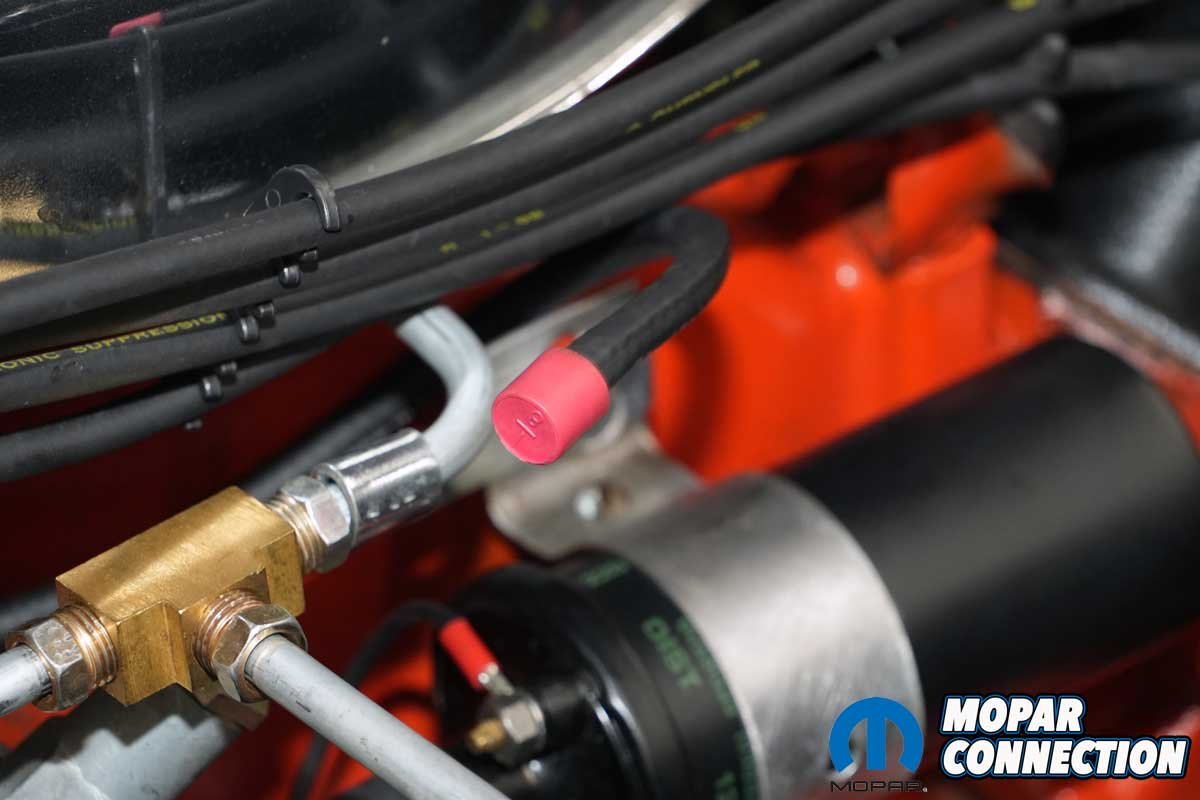
Satisfied without results, we reinstalled the distributor, snugged the hold-down bracket, and installed the coil lead. We plugged the vacuum advance and started the Hemi. After a few minutes of warm-up, we used our timing light to verify that the initial timing was set to 12° BTDC at idle in gear.
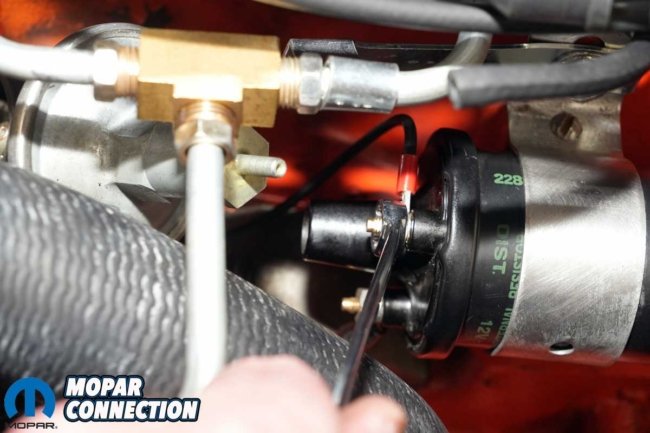
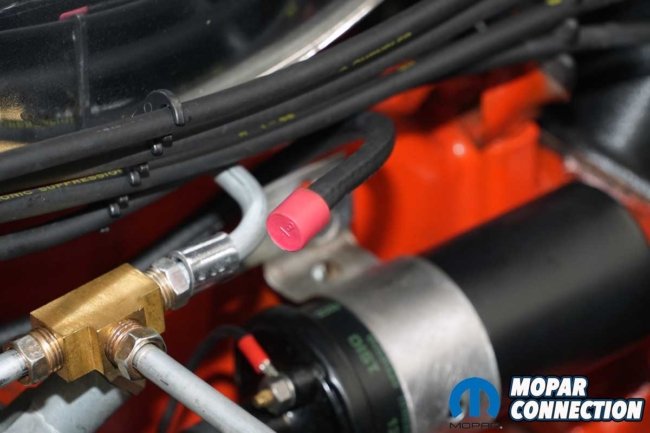
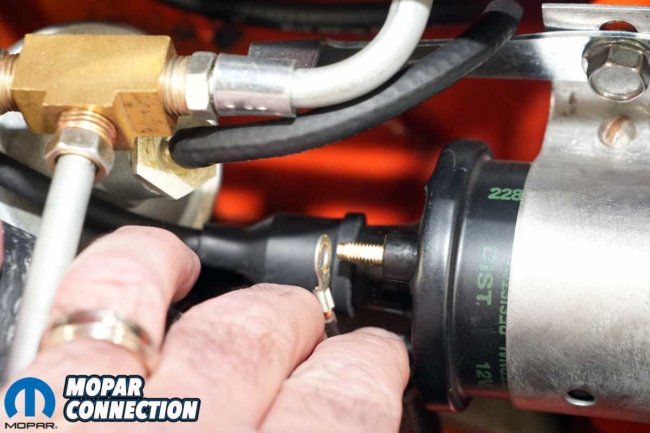
Above Left: The distributor lead was reconnected to the coil, with the D-shaped opening ensuring proper alignment as the terminal nut was tightened. Above Right: To establish the initial timing, we plugged the vacuum advance. With the transmission in drive, we set the timing to 12° BTDC.
Placing the transmission in neutral, we increased the engine rpm and noted 34° of timing, and it was all in by 1800 rpm. Lastly, we connected the vacuum advance and again increased the engine rpm. The vacuum advance increased the timing to between 51 and 52° BTDC. Everything was what we expected.
Above: With the transmission in neutral, we revved the engine to 1800 rpm, at which point the centrifugal advance was fully engaged, giving a total of 34° BTDC. Reconnecting the vacuum advance brought the total timing to 52° BTDC. We tightened the hold-down bolt to complete the installation.
A quick Saturday tech session with the help of Year One improved the appearance, safety, and performance of the Road Runner. For more information about Year One’s products, feel free to check out its website or contact its technical representatives at 1-800-932-7663 to update your Mopar.


