


Racing reveals truths. It exposes weaknesses, rewards preparation, and never fails to present the next thing to fix. At Sick Week 2025, our Drag-and-Drive ’73 ’Cuda ran like a bracket car, dead consistent in the 11.40s. But at the top end, the air/fuel ratio told a different story. Lean. Too lean.

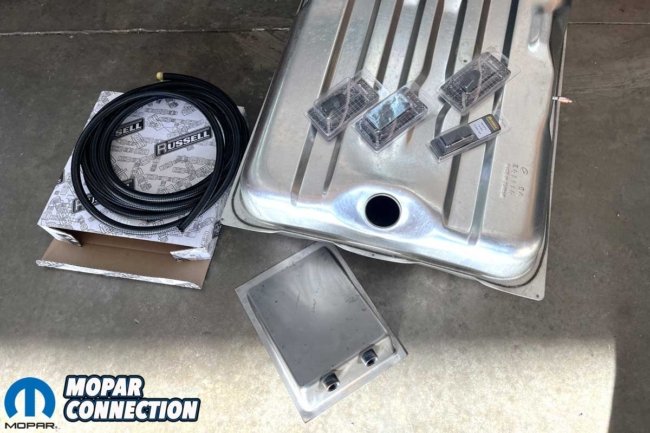

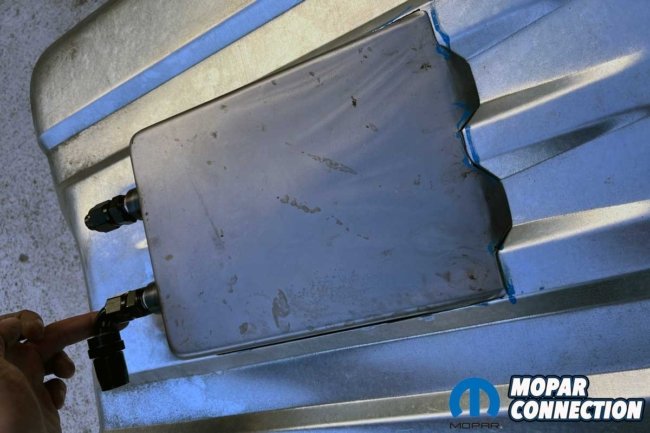
Above Left: Our ’73 ‘Cuda “Sick Fish” storms the track at Sick Week 2025. The car performed consistently throughout the week, showcasing both its muscle and mechanical refinement, thanks to recent fuel system upgrades. Above Center: The heart of our fuel system: an AMD fuel tank, Moroso Deep Sump Kit, and Russell Performance fittings and lines. The trio provides us with the capacity, flow, and reliability required for Drag-and-Drive abuse. Above Right: We mocked up the Moroso Deep Sump pan with Russell Performance fittings. The fitting angles and routing were planned before we started cutting ensured a clean install.
We had just upgraded the sending unit to a ½-inch pickup and replaced the -06AN fuel line with a fatter -08AN. Problem solved, right? Not quite. After reviewing our data logs and trading notes with fellow racers, one issue kept surfacing: fuel starvation due to slosh. The stock pickup on an E-Body tank sits at the front driver’s side, a fine location if you are cruising with a full tank. But race at anything less than half a tank, and you are asking for trouble.
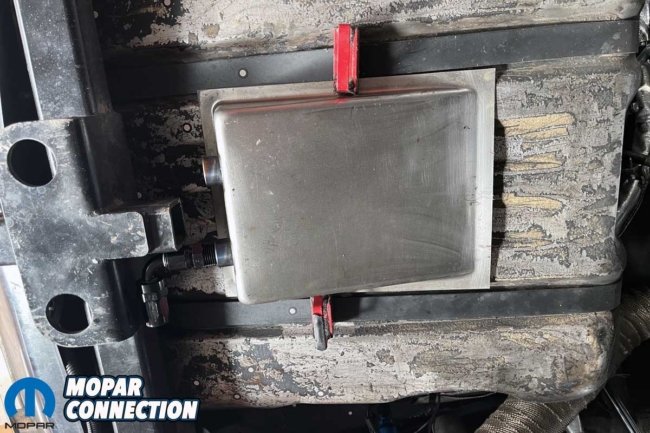
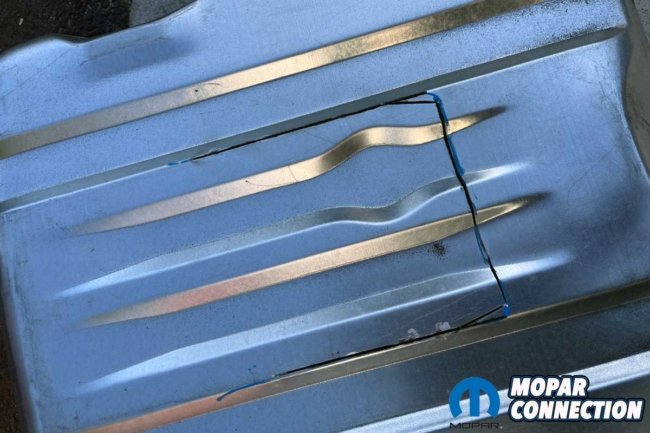
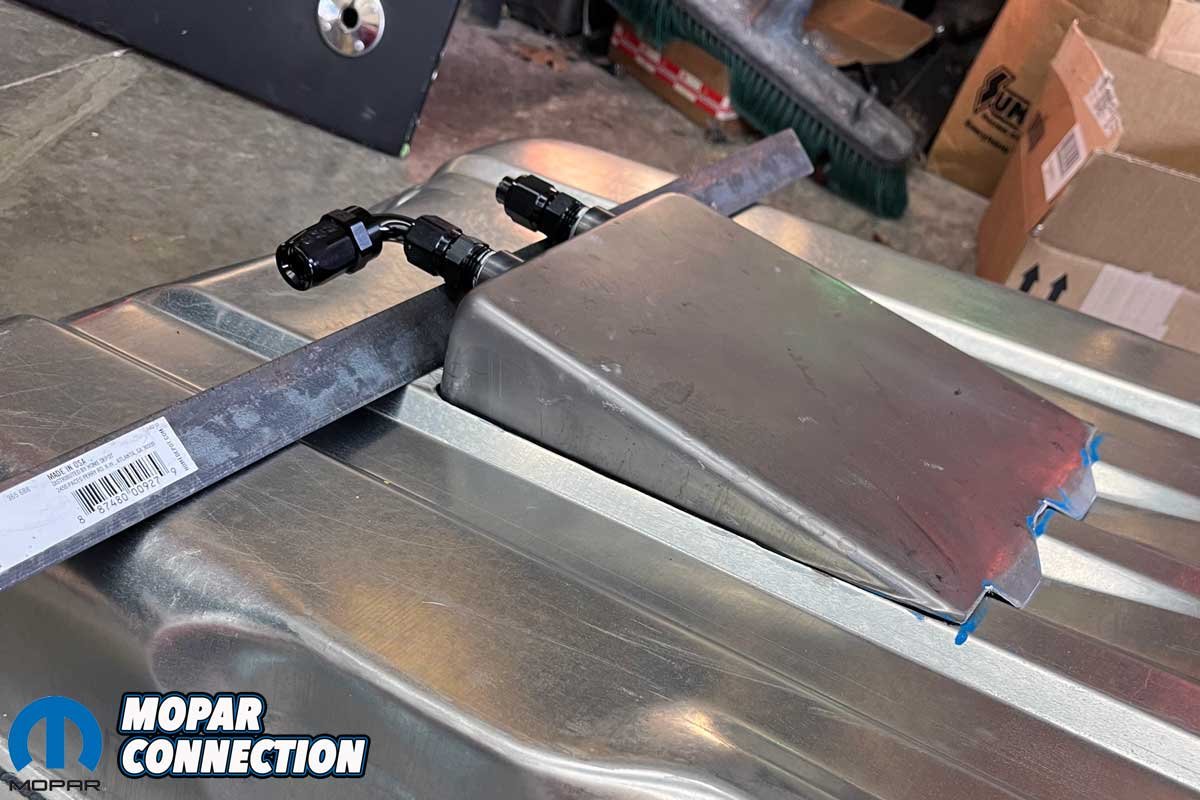
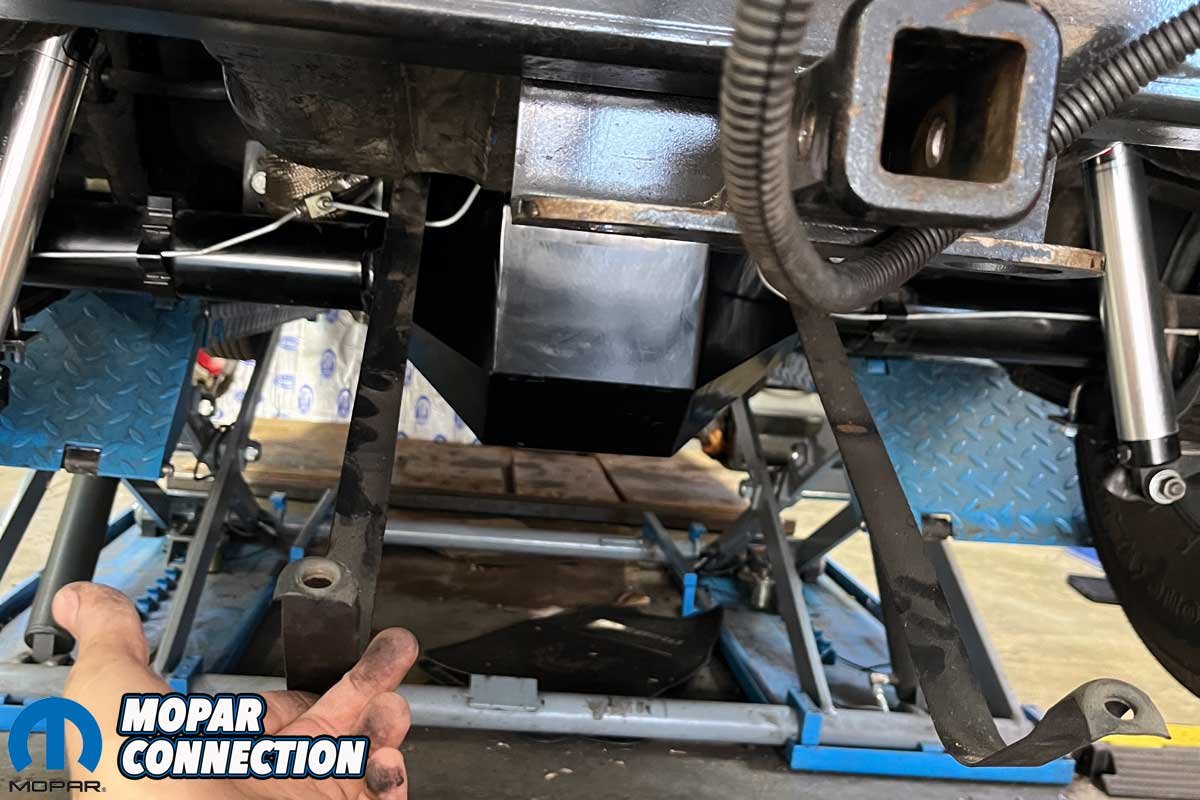
Above Left: We determined the optimal location for the deep sump installation. The proper placement ensured maximum fuel pickup volume while avoiding interference with the chassis and hitch. Above Right: We took the time to verify the clearance between the receiver hitch and rear-exit sump fittings. Tight packaging meant checking and re-checking every angle to avoid future headaches.
And we do not like running heavy. Every gallon of fuel adds roughly six pounds. With an 18-gallon tank, that is 108 pounds when full. A quarter tank trims that down to just 27 pounds, and that is more our style. But under hard acceleration, the fuel shifts rearward, away from the pickup. The result was a pump that ran dry. Not a good scenario.
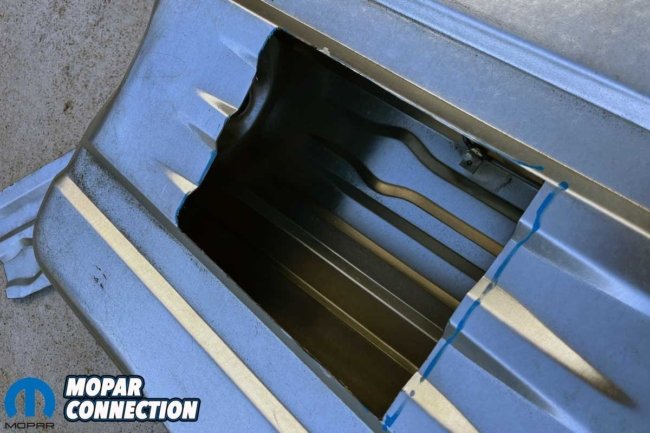
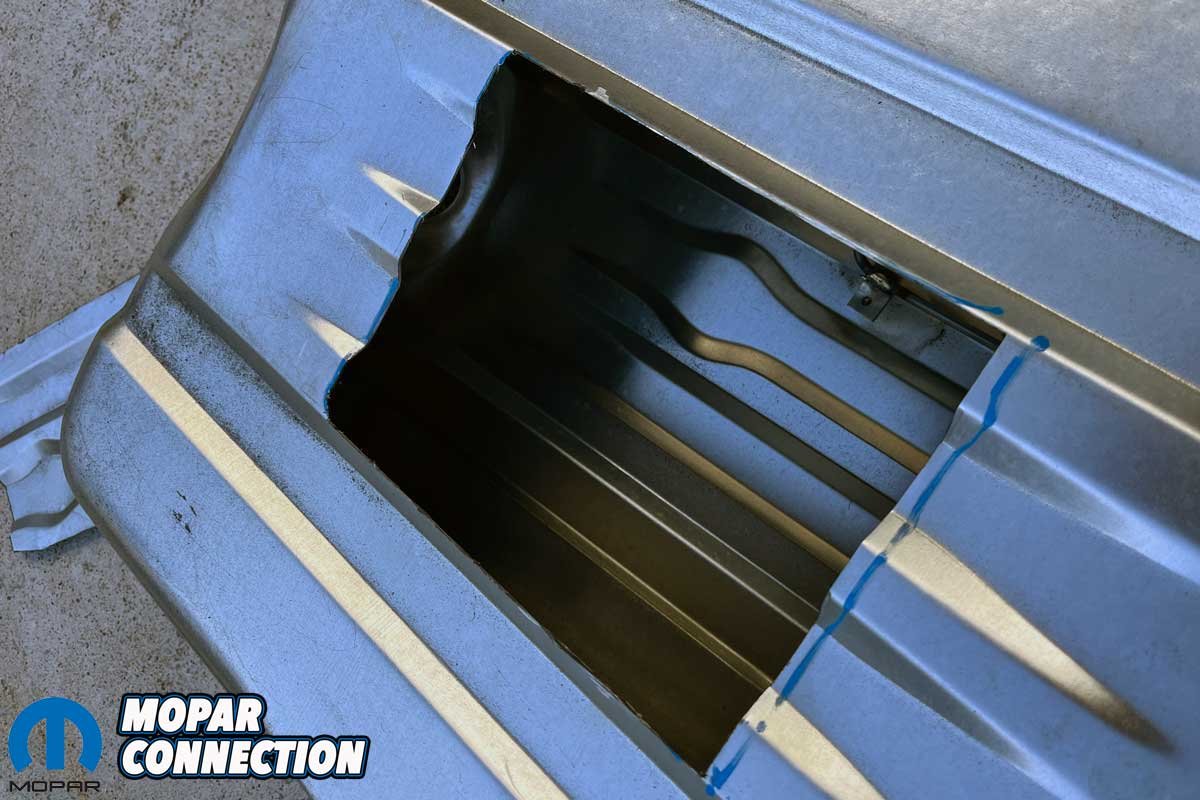
Above Left: Time to commit. We cut the opening in the new AMD fuel tank for the deep sump. Mark twice, cut once. Above Right: We had the deep sump opening entirely cut in the AMD fuel tank. A clean, adequately sized hole is critical for a strong, leak-free weld.

Above Left: We took the time to test fit and trim the Moroso deep sump pan into the AMD tank. A tight, flush fit helps with alignment and makes welding far easier. Above Right: We used a piece of angle iron to set the desired sump depth inside the tank temporarily. That ensured the sump sat exactly where we needed it for fuel pickup and clearance.
We needed a better way to feed our Holley Blue pump without carrying the weight of a half tank or more. The answer was simple: add a sump to the rear of the tank. Our friends at Auto Metal Direct (AMD) supplied a fresh 1970 E-Body tank (PN 890-1572-4), which uses a single vent line instead of the more complex four-line ’72–’74 setup. Since our original emissions plumbing was long gone, the simpler ’70 tank fit our needs perfectly.
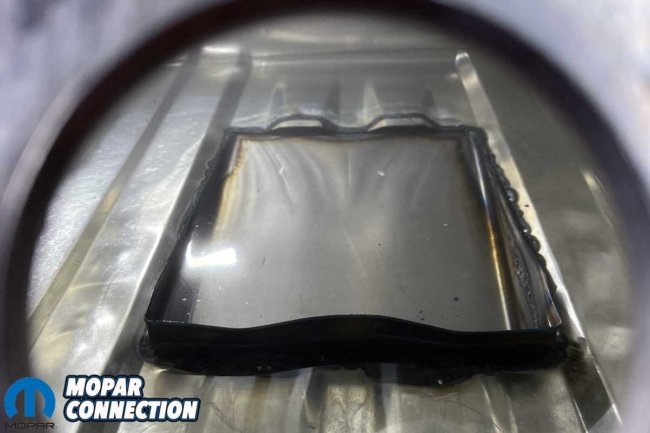
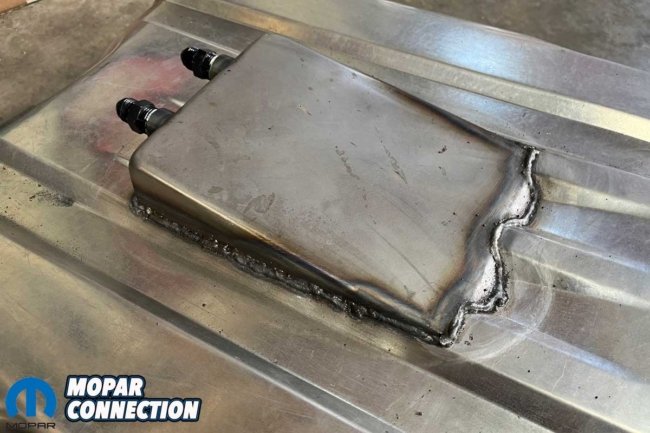

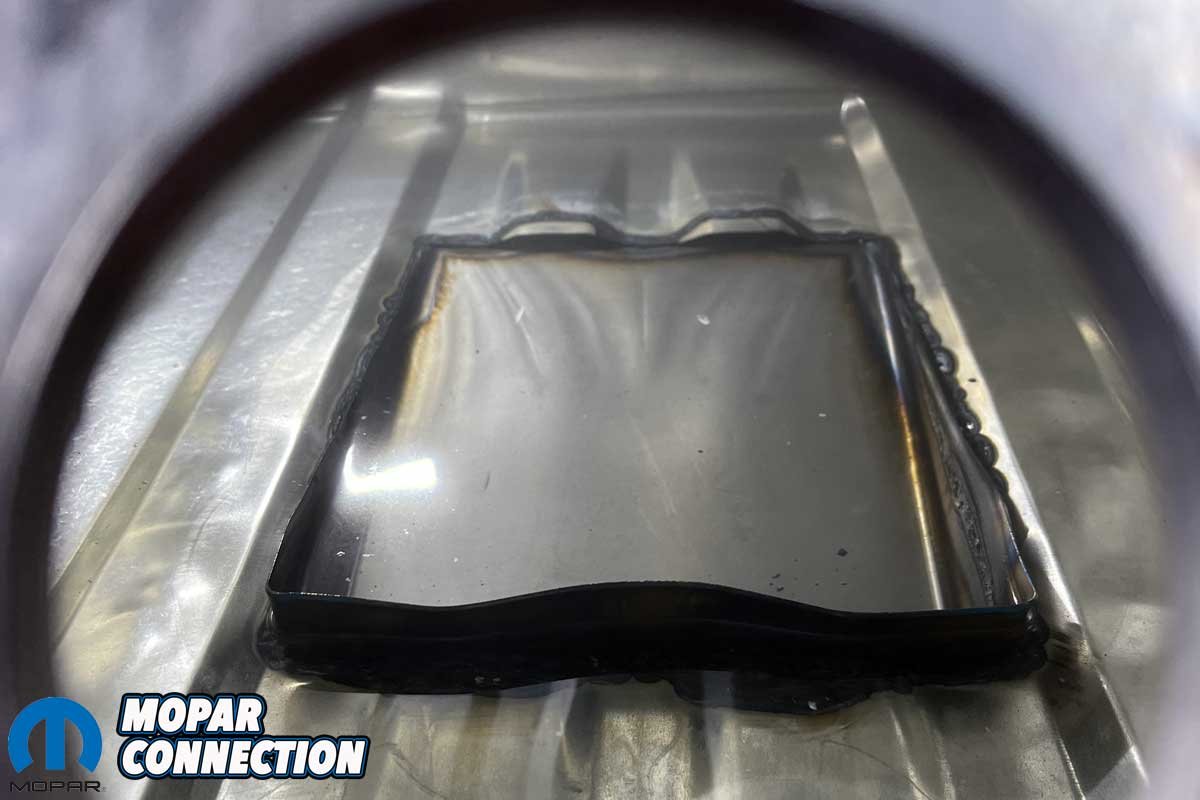
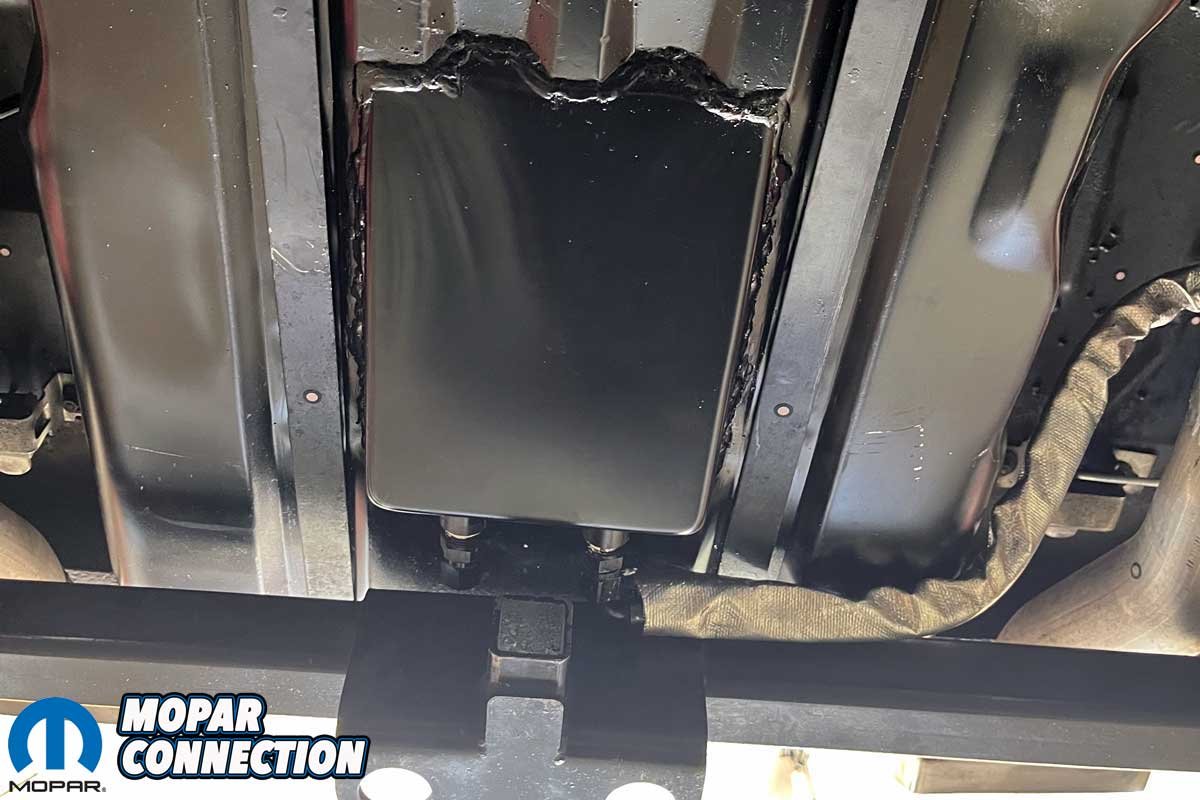
Above Left: Peering through the filler neck hole, we verified the sump’s position inside the tank. The simple trick that helps confirm fitment before final welding. Above Center: We welded the Moroso deep sump pan onto the AMD fuel tank. Strong, clean welds meant we were one step closer to track reliability. Above Right: By pressurizing the tank and using soapy water, we were able to inspect the weld integrity. Bubbles meant trouble, but fortunately, after a few attempts at welding, we were able to eliminate them.
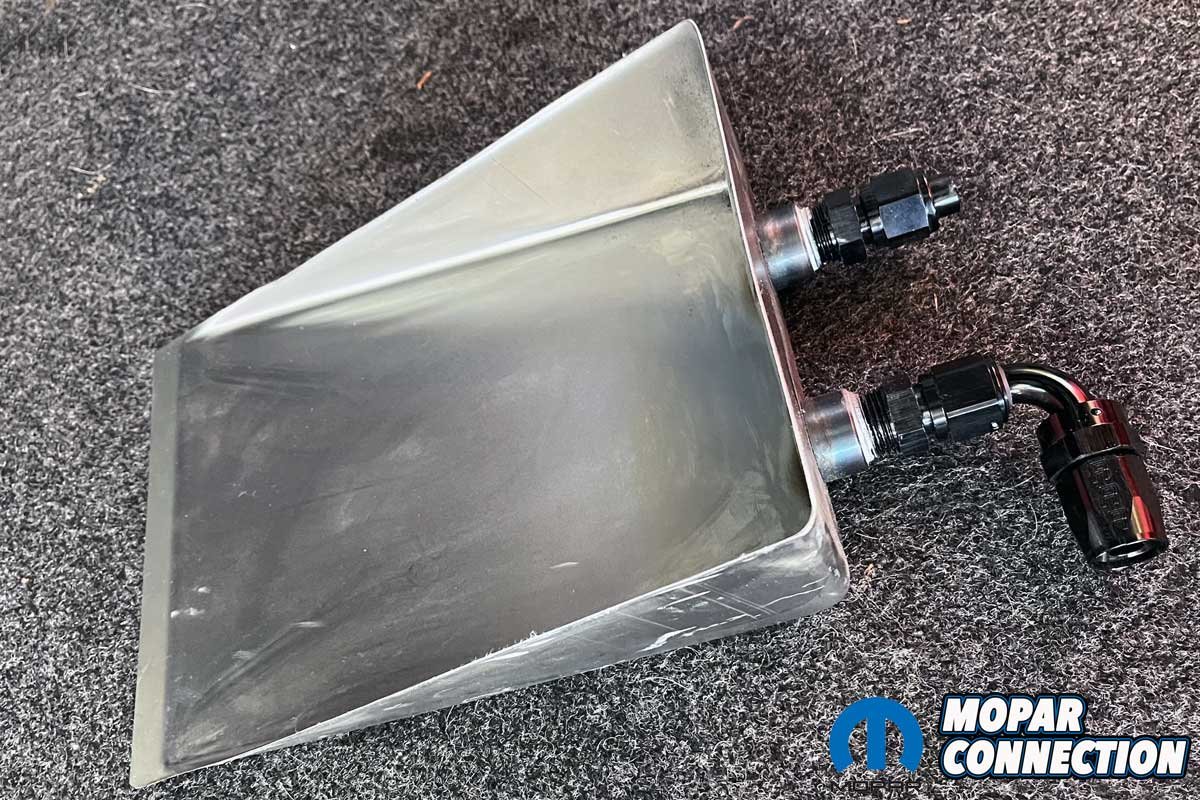
For the sump, we chose Moroso’s weld-in kit (PN C4041), a straightforward, universal panel with bungs ready for AN fittings. To finish off the plumbing, we turned to Russell Performance for fittings and fresh lines.
One curveball: our ’Cuda tows a small trailer at Drag-and-Drive events, so we could not interfere with the receiver hitch. Using magnets, we mocked up the sump on our original tank to determine placement. Once we were confident, we transferred the measurements to the new AMD tank.
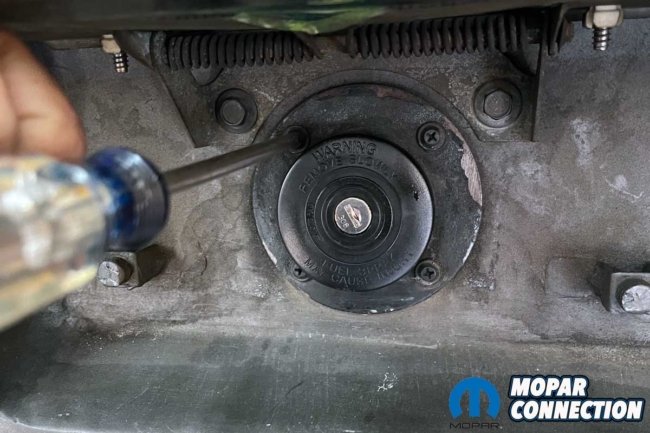

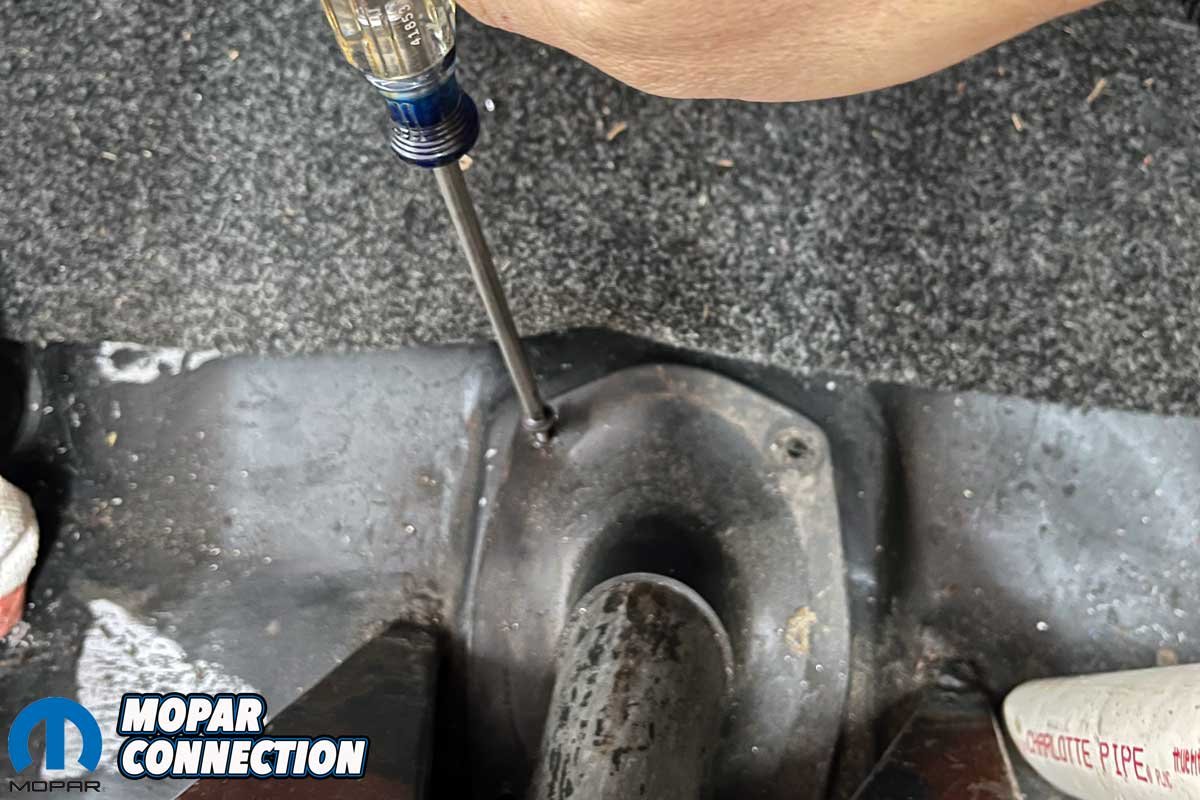
Above Left: Removing the filler neck screws hidden behind the license plate was required to drop the tank cleanly from the ‘Cuda. Above Center: Patience was key, especially when working around 50-year-old hardware. We loosened the filler neck screws from inside the trunk. Above Right: Freeing the filler neck from the old fuel tank was a challenge. The filler neck was seized to the rubber gaskets along with corrosion. It took some serious persuasion to free the filler neck.
We marked our cut, grabbed the grinder and cutoff wheel, and opened up the tank. To tuck the sump neatly into place, we trimmed off the outer flange and notched the front to match the tank’s contours. A chunk of angle iron supported the sump as we tacked it in using our MIG. As first-time tank fabricators, we quickly learned to crank the welder up hotter than usual; sheet metal welds need serious heat to seal correctly.
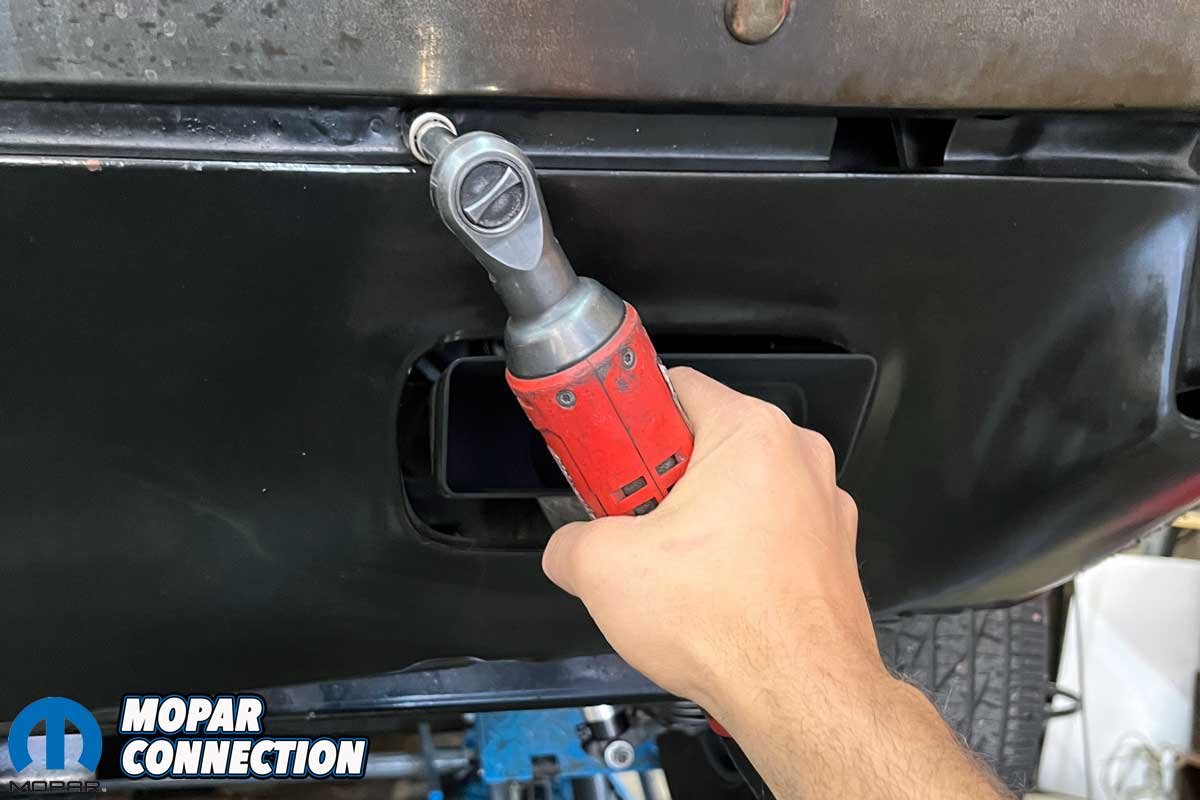
Above Left: Although not strictly necessary, removing the rear valence allowed for better access to the fuel tank straps, making the job significantly smoother. Above Right: With the rear valence removed, we could access the tank hardware, and it gave us maneuverability for the tank’s removal.

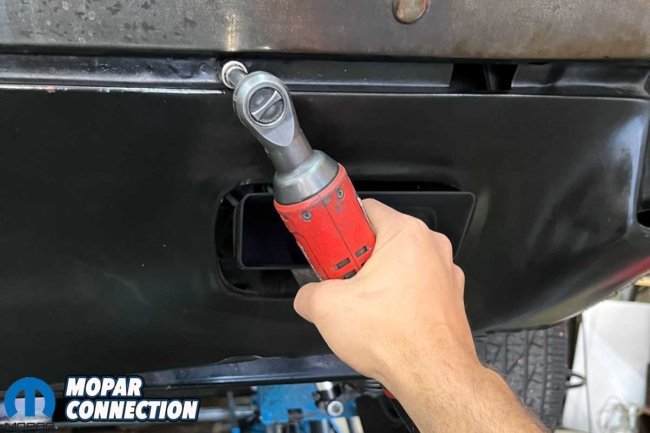
Above Left: Just a few bolts hold the gas tank in place. We loosened the fuel tank straps that support the old tank a little at a time. It is best to have the fuel tank supported and lowered from the chassis. It is heavy and awkward. Above Right: With fuel tank straps disconnected and hanging free, we were ready to drop the fuel tank from the chassis.
Once tacked in, we stitched the perimeter slowly, checking our work as we went. We performed leak tests using compressed air and soapy water first, then filled the tank with water for a full soak test. When we found leaks (and we did), we drained, ground, rewelded, and repeated until we were sealed tight.


Above Left: We slid the original tank forward and tilted it down to avoid the receiver hitch. Maneuvering around the hitch was tight, but manageable with some finesse. Above Right: We planned to remove the less than two-year-old filler neck gasket for reuse in the new AMD tank. It was pliable and undamaged; there was no need to replace it.
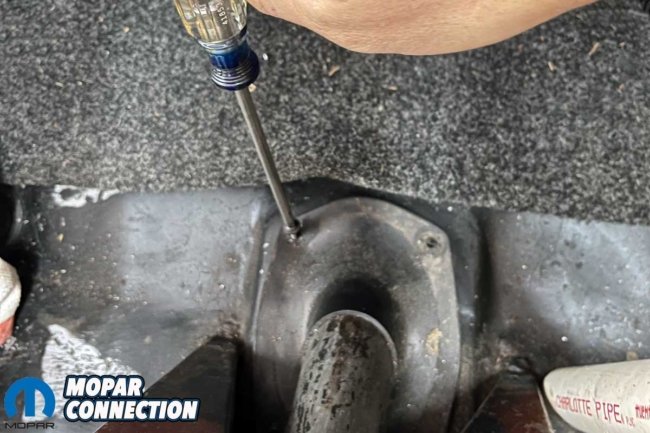
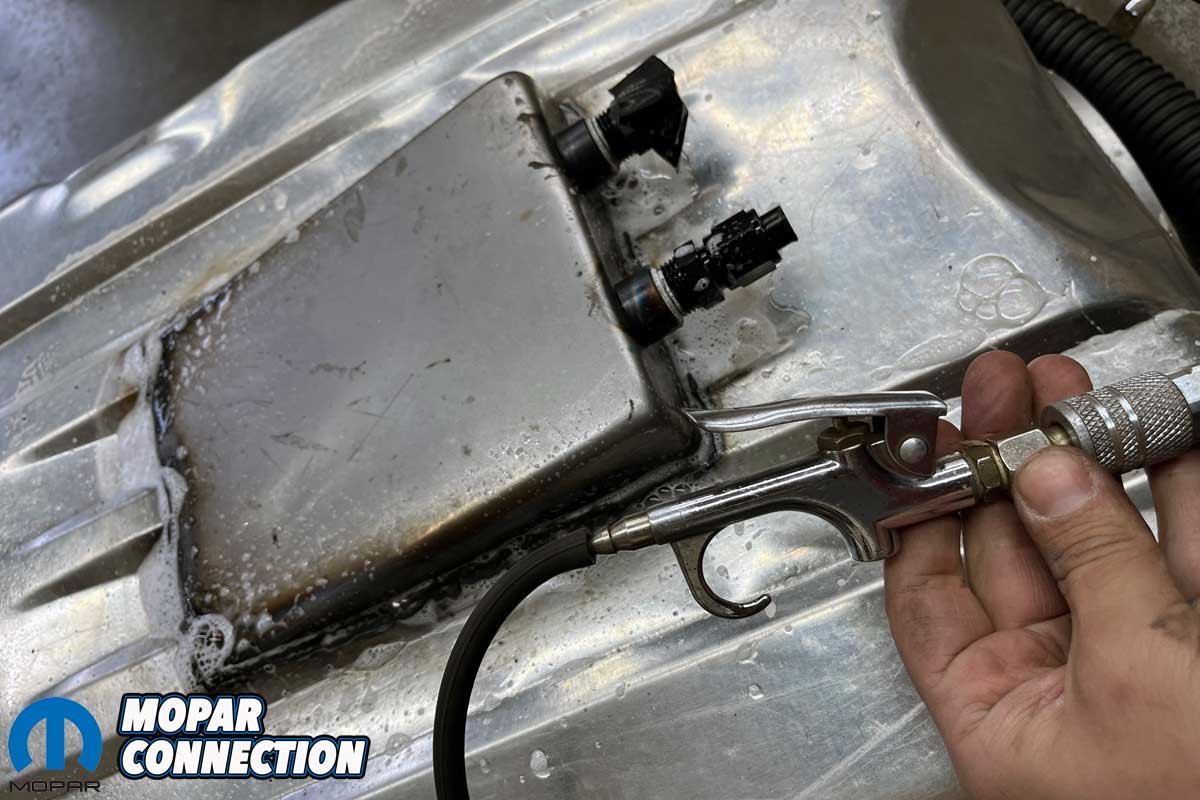
Above Left: We extracted the original sending unit for transfer to the new tank. The sender was necessary to keep our factory gauge reading correctly. Above Right: Our sending unit had unused sending unit lines. We capped them to prevent vapor leaks or fuel spillage from the unused ports. However, the lines could be utilized if we made a change to our fueling system in the future.
To keep things discreet, we applied a coat of black paint to the tank before installing it. Removal of the old tank was straightforward: unhooking the fuel line and sender wire, loosen the filler neck at both ends, drop the rear valence, and undo the straps. We were able to fish the tank out cleanly without touching the WAF Racing hitch.
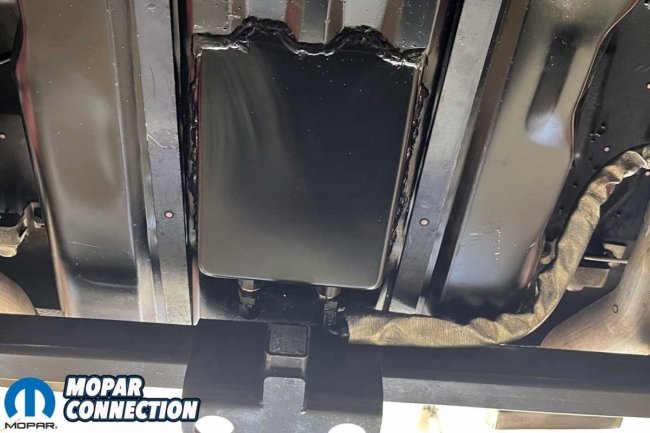

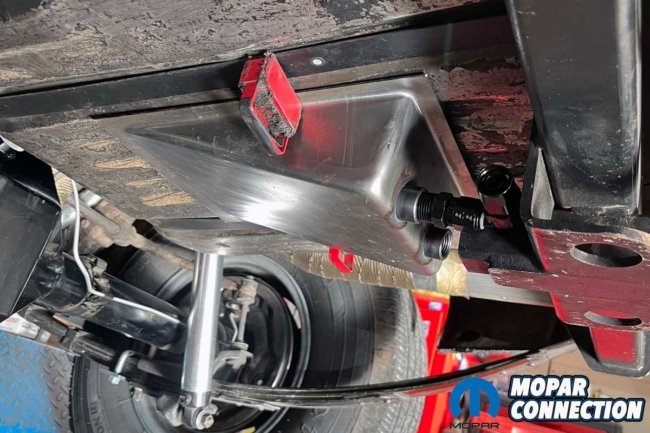
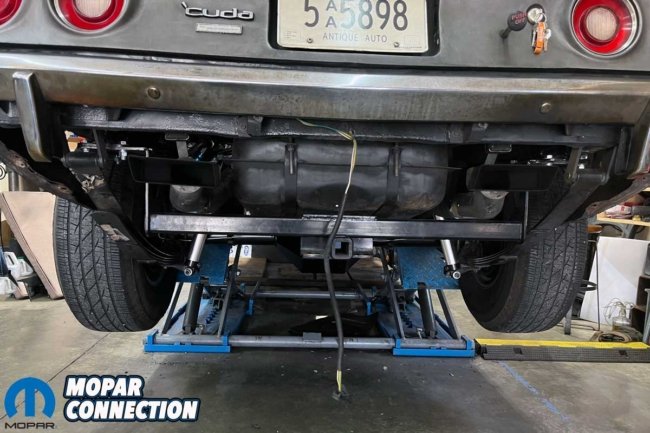
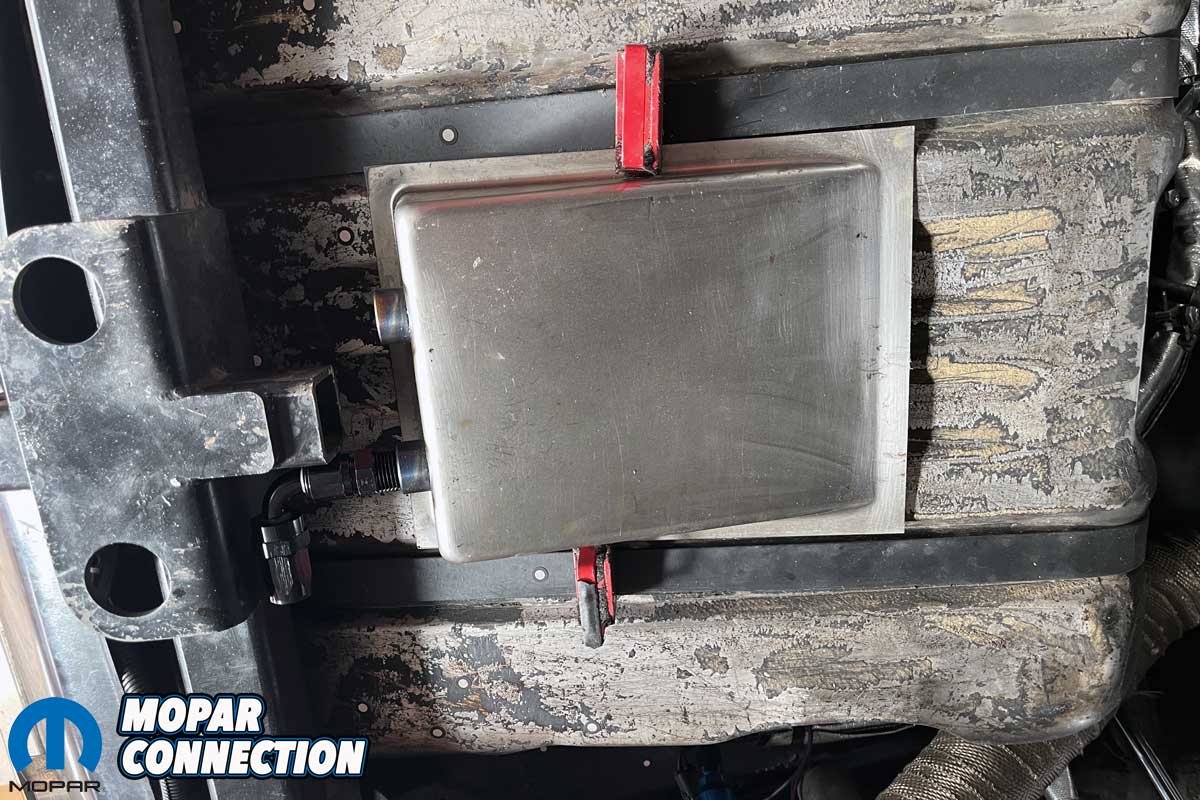
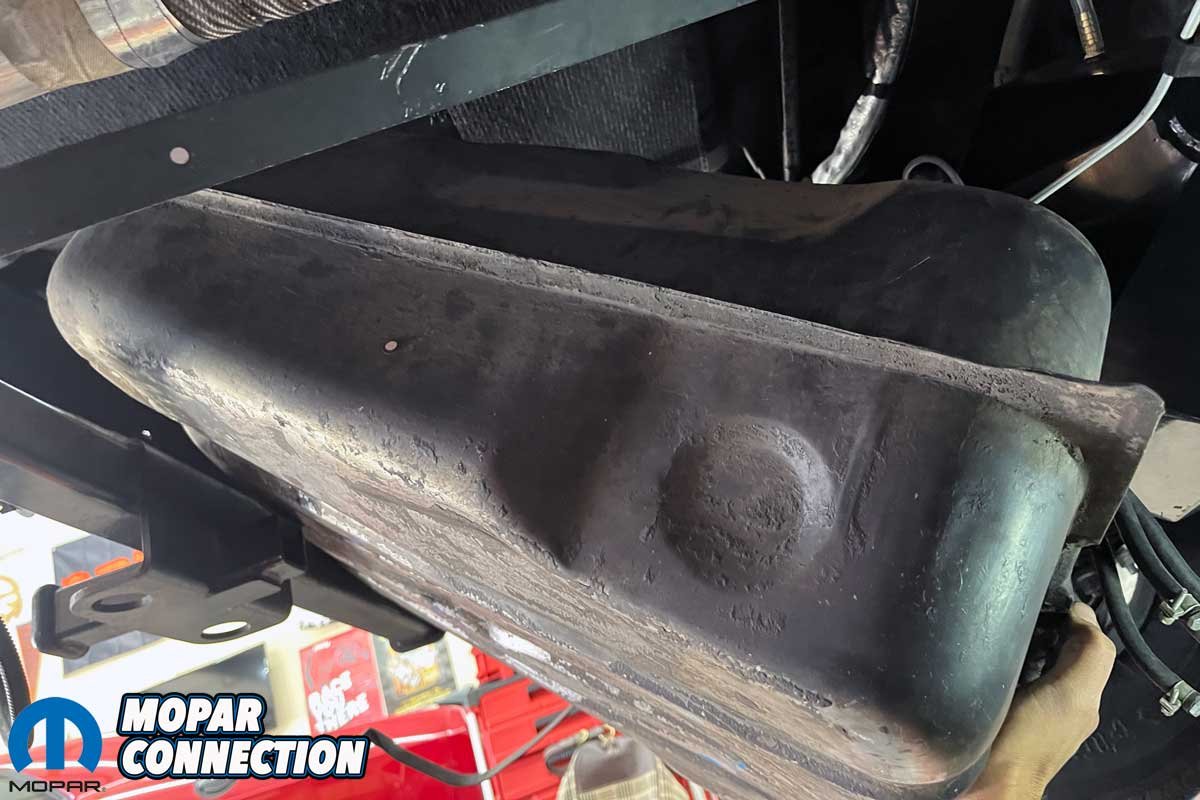
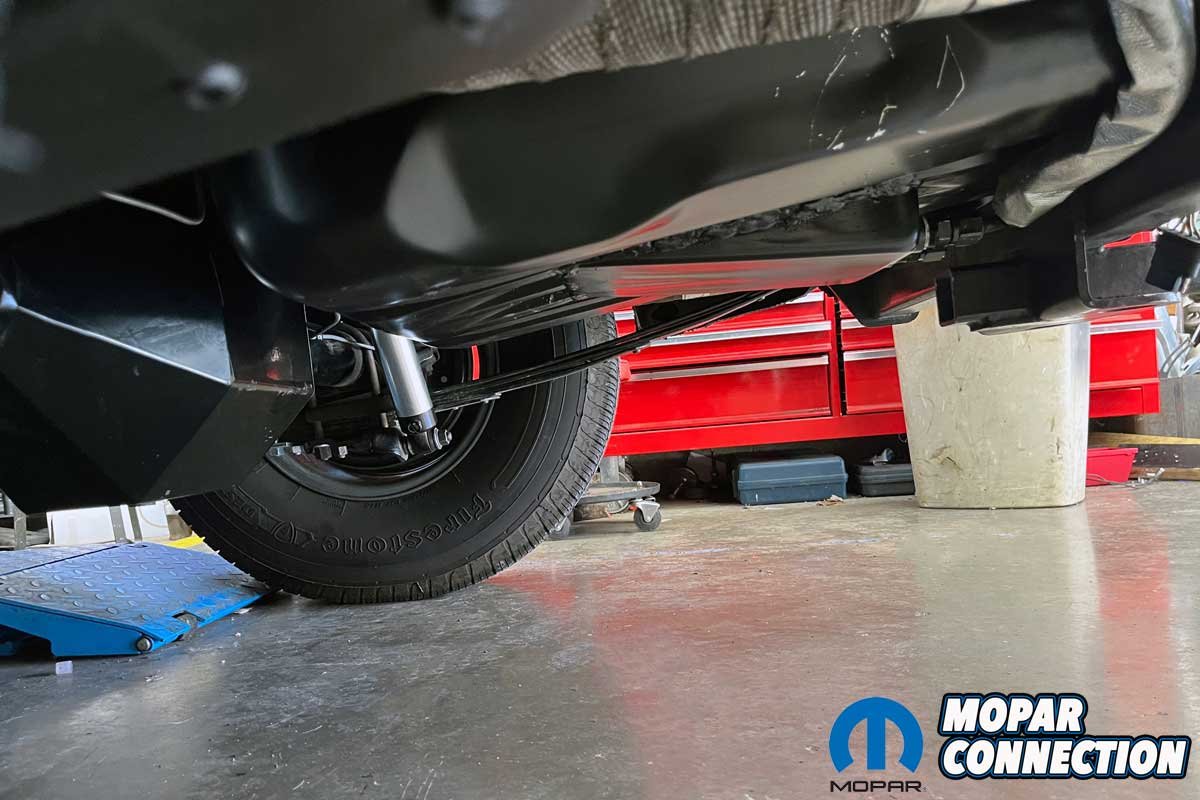
Above Left: The new AMD fuel tank with the Moroso deep sump was installed and ready for action. Although simple in its construction and idea, it was a serious upgrade in both form and function. Above Right: When viewing the new fuel tank and sump installed in the car, the side profile of the new fuel tank and sump is quite stealthy in appearance. The fit is snug, and ground clearance is precisely where we want it.
With the new tank on the floor, we reused our two-year-old filler neck gasket and reinstalled the sender. The sender still handles the fuel gauge, and in the future, we may repurpose the original supply port as a return line if we upgrade the system.
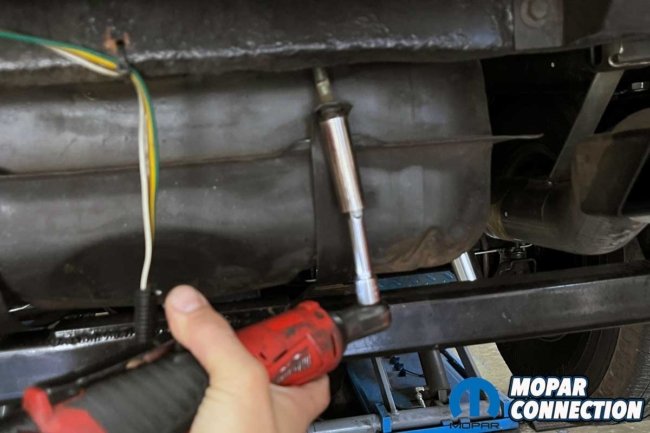
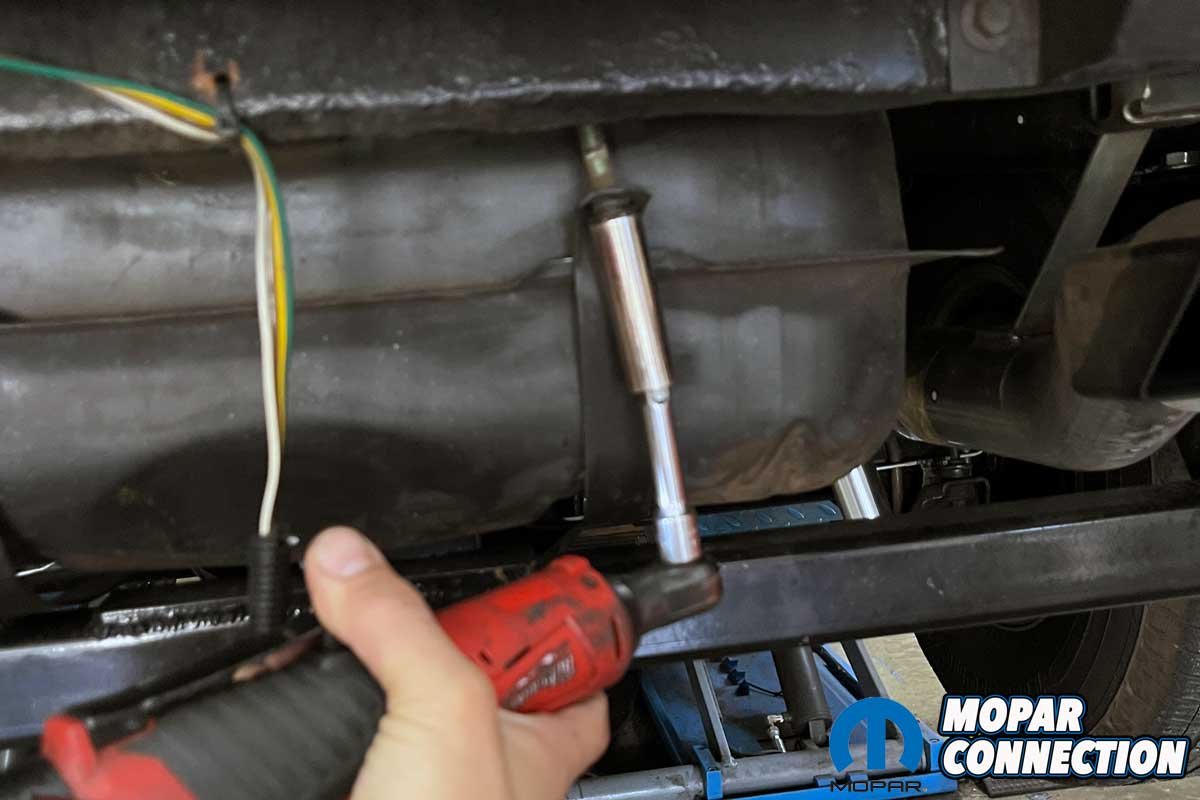
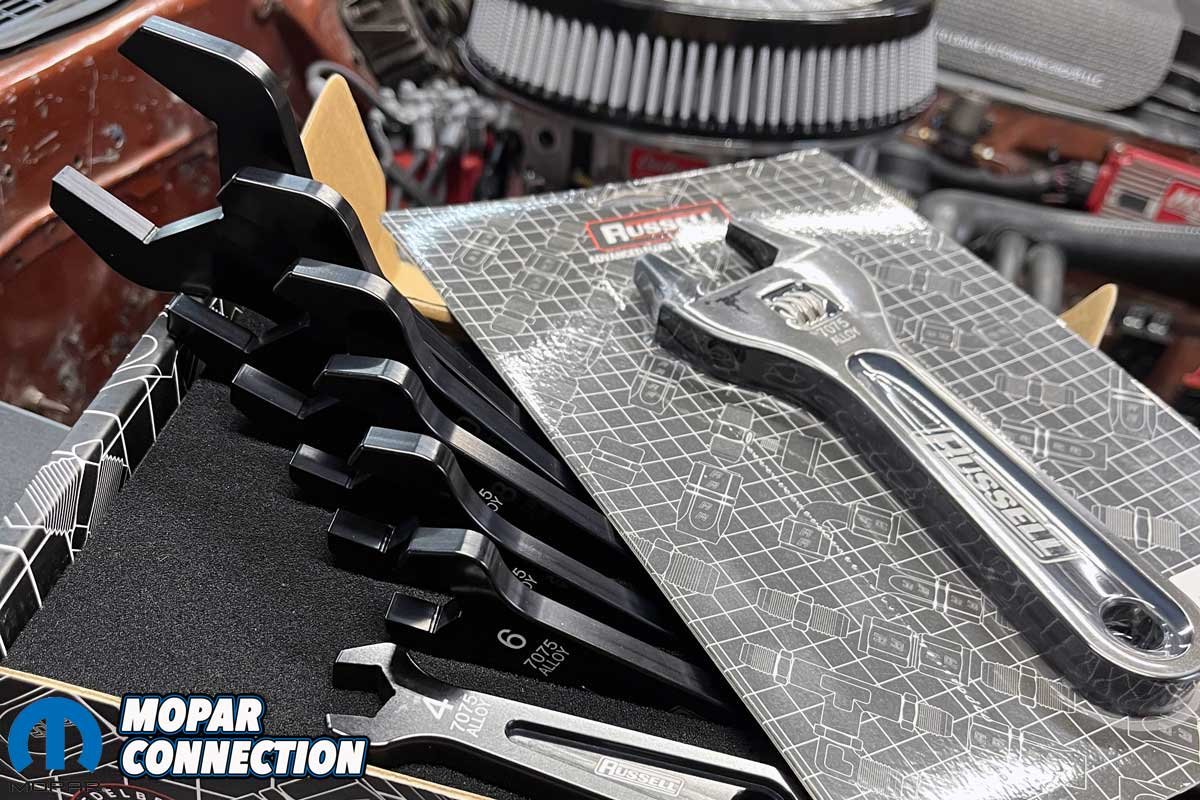
With the tank back in place, we routed a fresh AN line from the sump to the pump. Historically, we have abused our fittings during assembly; therefore, this time, we have also upgraded our toolbox. Russell Performance’s Adjustable AN Wrench (PN 750000) and AN Wrench Set (PN 750100) made a world of difference, eliminating chewed-up anodizing and busted knuckles. If you are still building AN lines with a pair of Vise-Grips, do yourself a favor: buy the right tools.

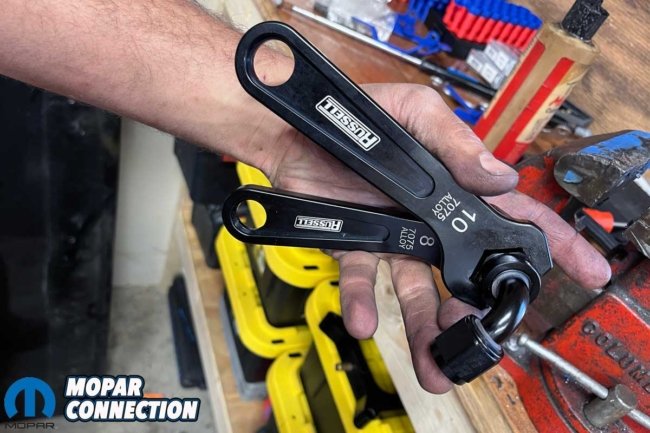
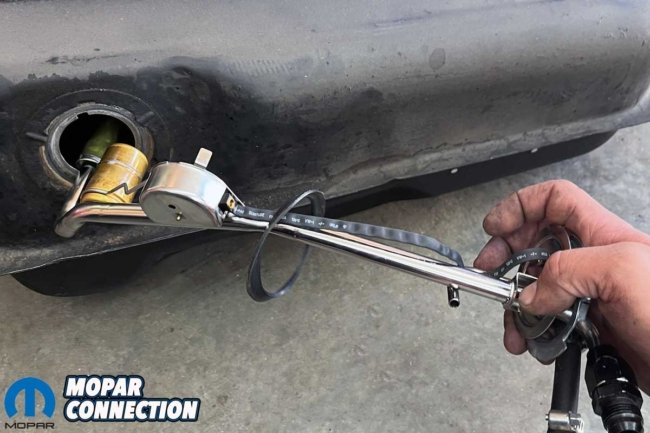
Above Left: We picked up Russell Performance AN Wrenches. These specialized tools help prevent marring and provide better torque control during assembly. Above Right: We assembled the new Russell Performance AN fittings and lines using their dedicated wrenches. A clean, professional finish makes a difference both aesthetically and functionally.
With everything buttoned up, we added just enough fuel to get to the gas station. There were no leaks, no drama, and the car fired immediately. But the real proof came two weeks later when we hit the track again. With only a quarter tank of fuel, we ripped off a crisp 11.35x pass in warm air. Best of all, the A/F ratio stayed locked, with no lean spike and no stumble. That is precisely what we were after.

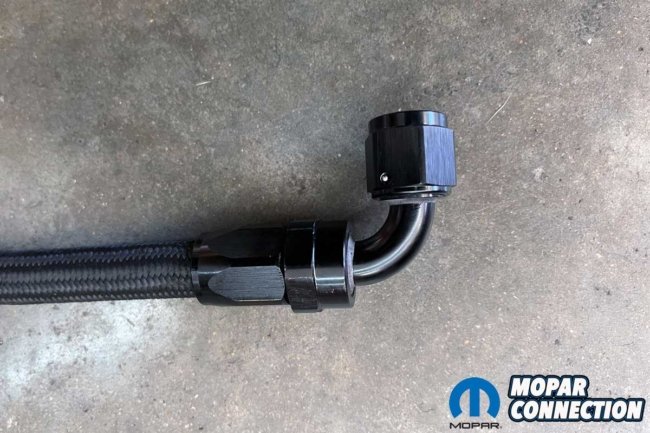
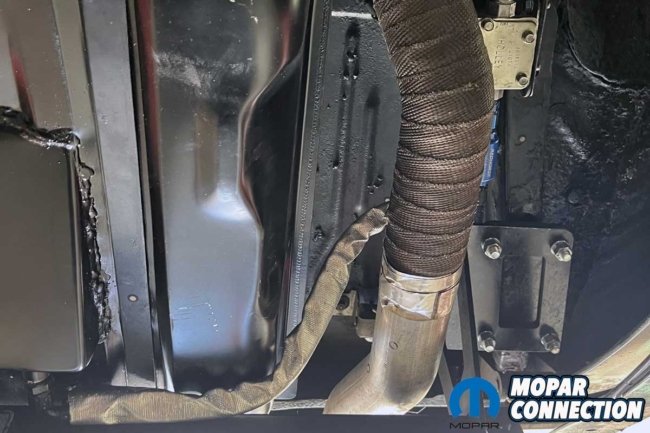
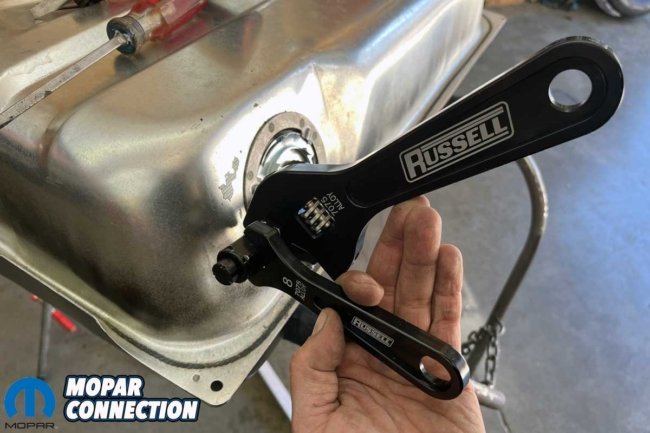
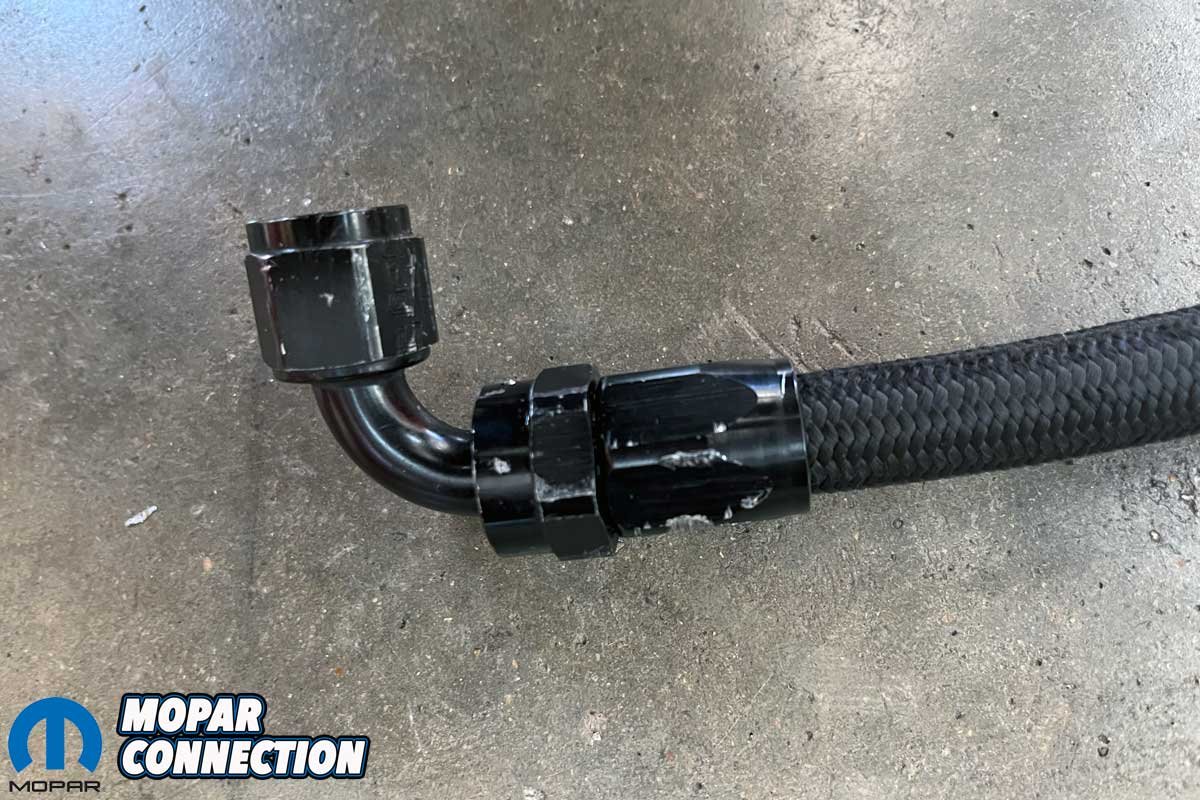
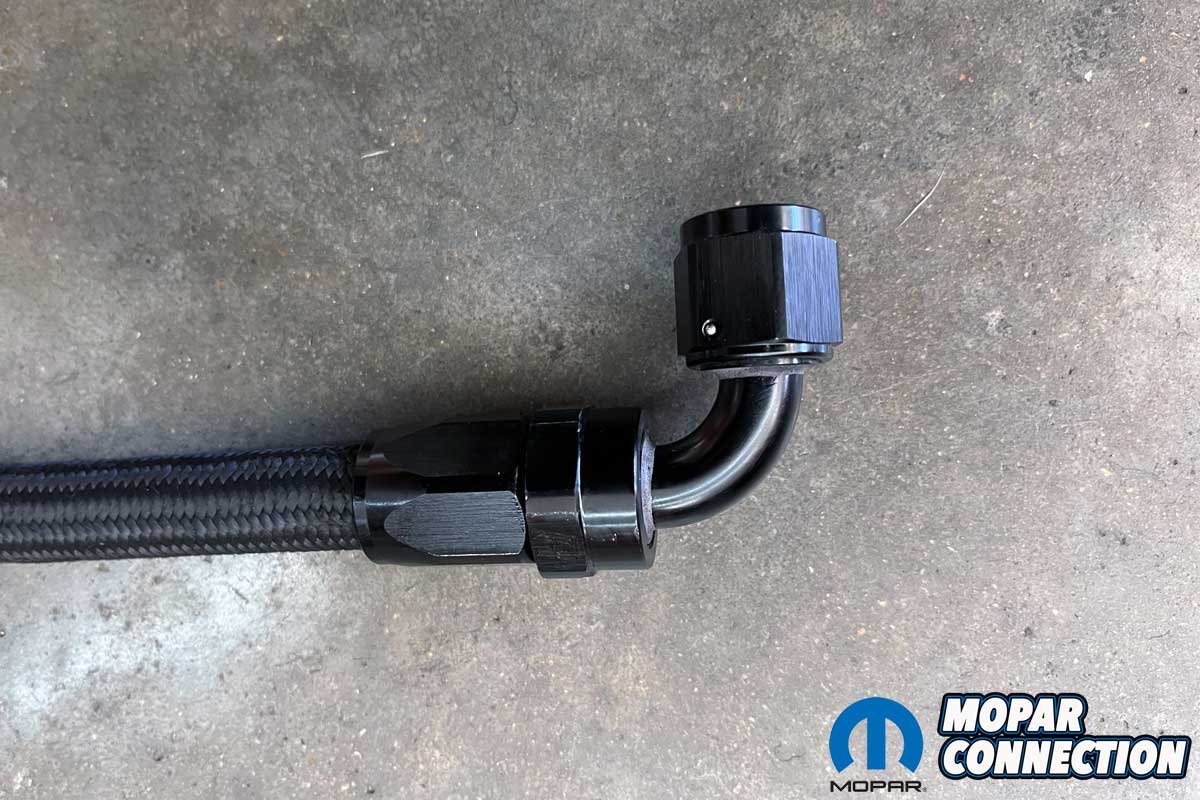
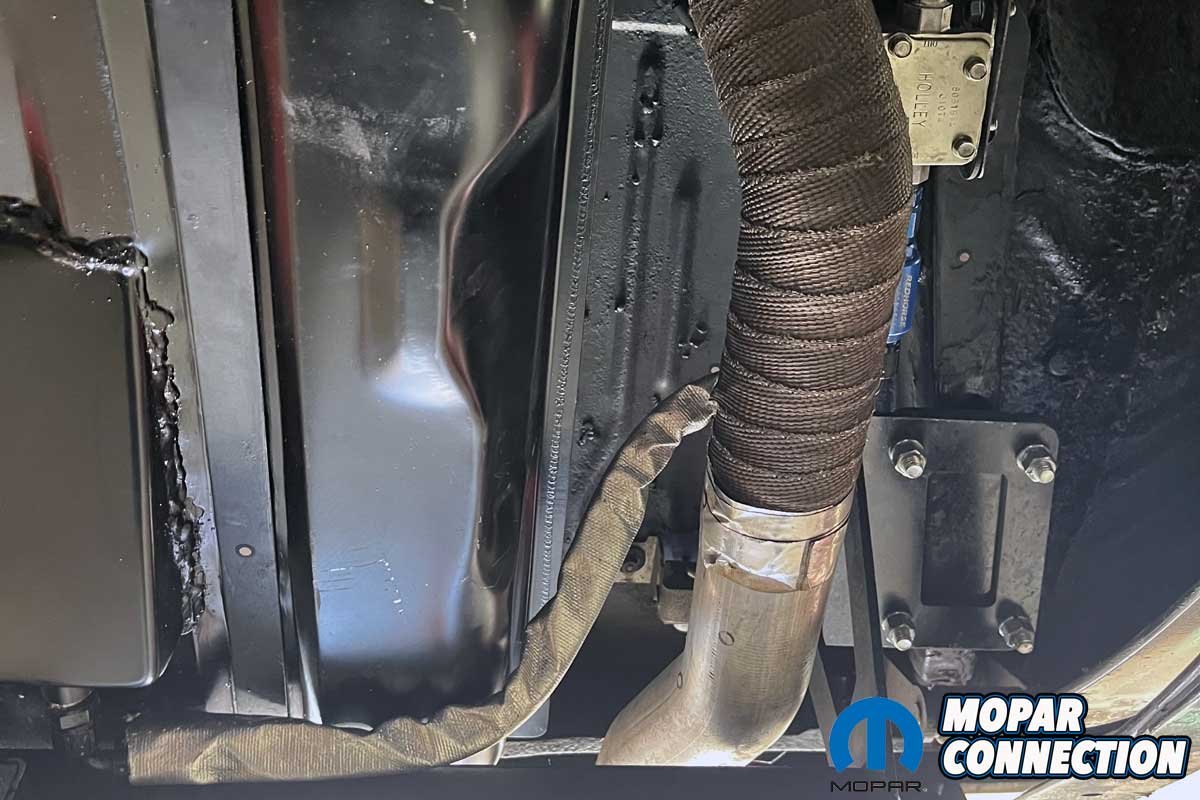
Above Left: The older AN fitting was assembled using generic wrenches. It is scuffed and scarred; this is why dedicated tools are worth the investment. Above Center: The braided line has a fresh AN fitting that was assembled with Russell Performance wrenches. Notice there are no scratches, just precision. That is how it is supposed to look. Above Right: The final connection was a custom AN line linking the deep sump outlet to our Holley Blue fuel pump. With the plumbing complete, we were ready to feed the beast at full throttle.
Fuel system upgrades do not always make headlines, but this one made a measurable difference. A deep sump is not glamorous, but it is functional. It fixed our top-end lean issue, gave us the confidence to run light, and let our car perform the way it was built to. Sometimes, it is the little things that make the big things possible. This one is a wrap and a win.
For more information about the parts we used, contact AMD, Russell Performance, and Moroso directly.


