


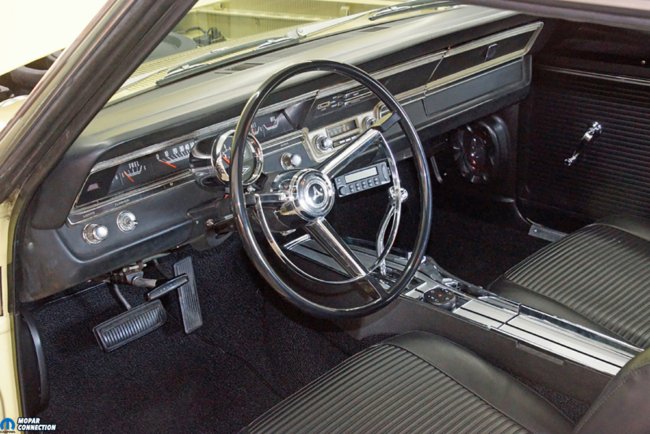
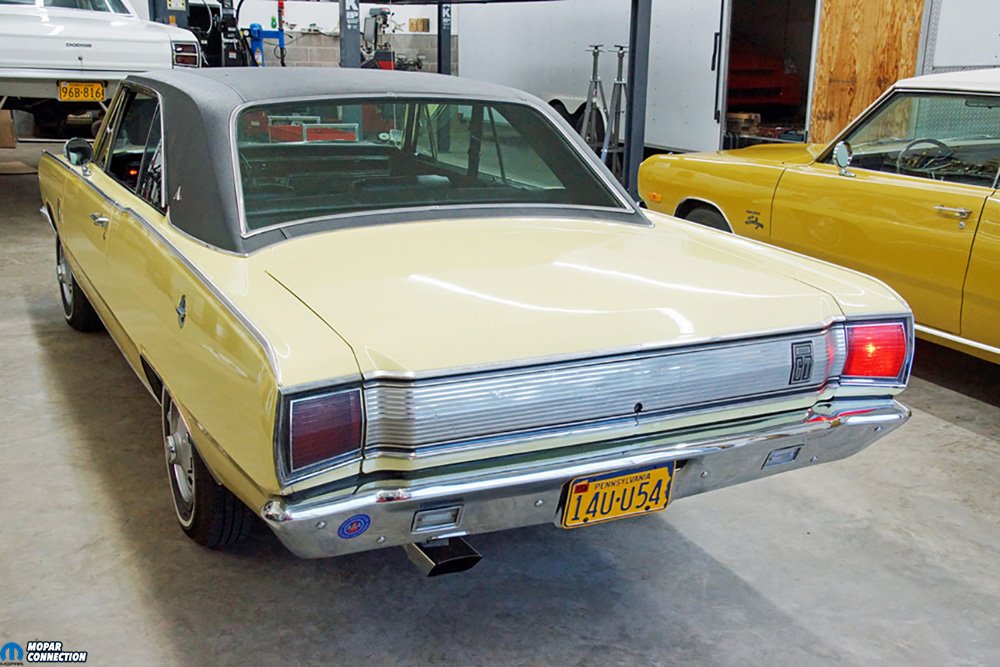
Over the last twenty months of ownership of our ’67 Dart GT, we have encountered many “owner add-ons and modifications.” Some of these add-ons are nothing short of genius. One exceptional add-on is the additional fuse box in the engine bay that has six “hot” fuses, and an additional six “keyed hot” fuses. The practicality and location of the fuse box have simplified the wiring of many aftermarket components. On the other end of the spectrum, there are some dangerous and poorly thought out repairs.
The latest inferior-quality repair we have come across is the steering column. We noticed a missing breakaway bracket bolt, and due to this, the steering column vibrates (shakes) when the Dart traverses a bump in the road. Accompanying column concerns include blinker lights that operate erratically, and the steering coupler and cover have long since separated, which contaminated the grease in the coupler.
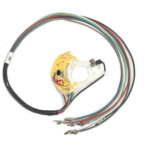
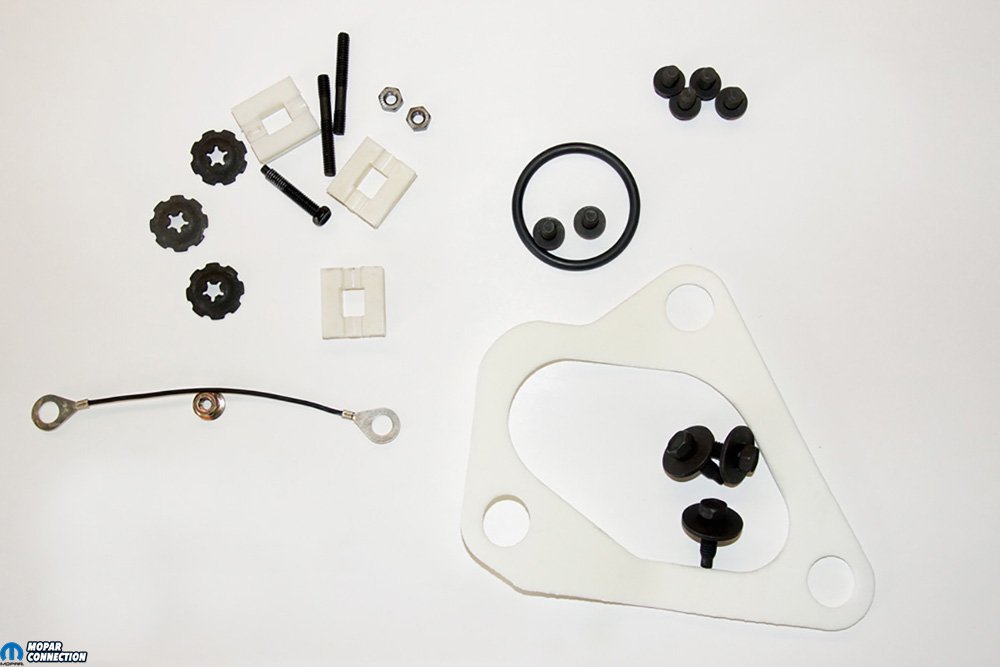
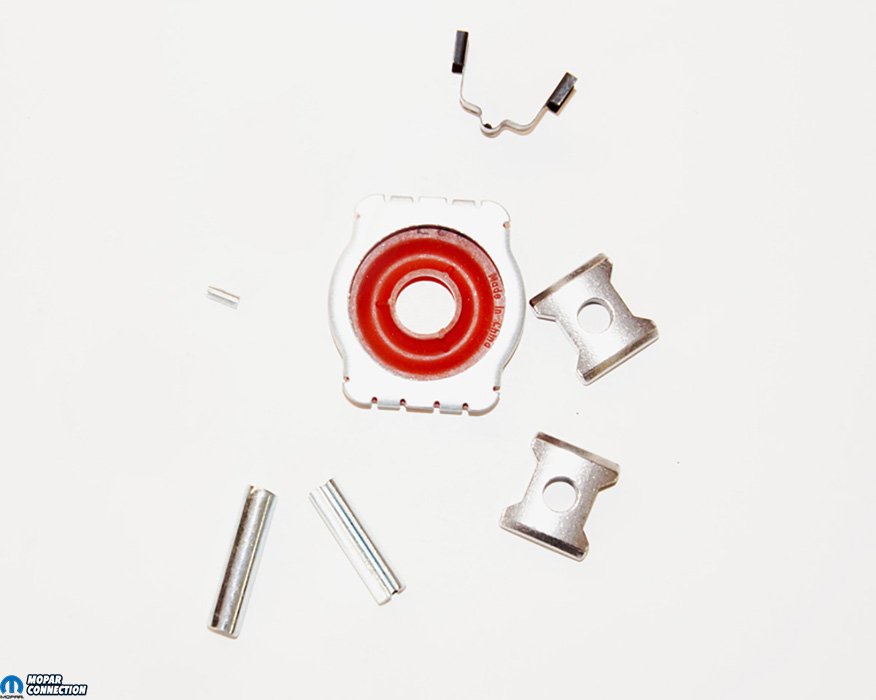
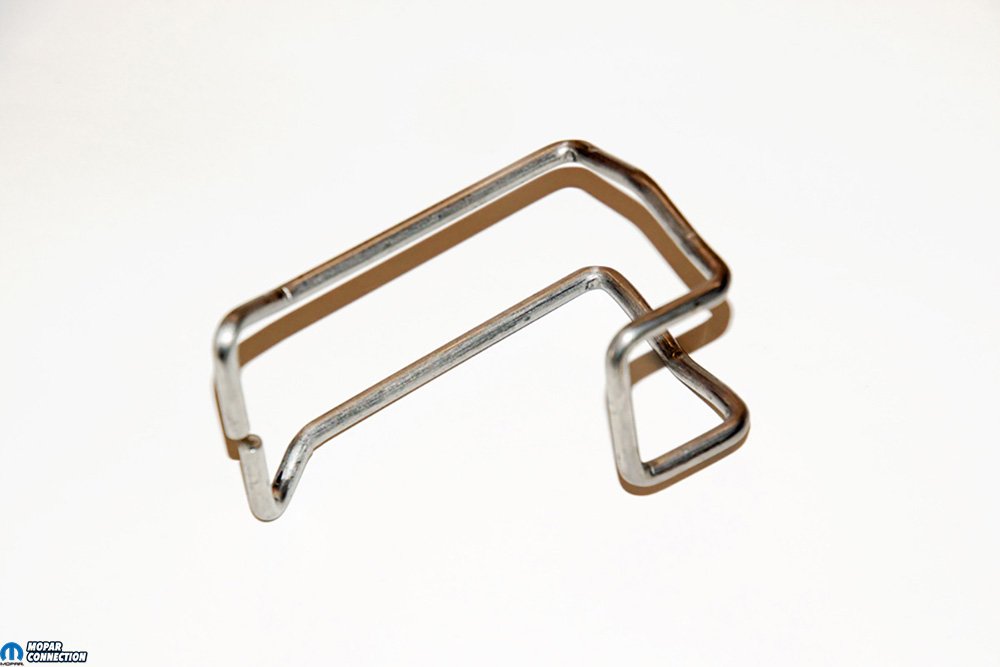
To address all of the concerns, YearOne set us up with all the required steering column hardware and gaskets (part no. SCM67A). YearOne also included a new blinker switch (part no. FD47801). Additionally, we selected a coupler rebuild kit (part no. FD436) and a steering shaft coupling clamp (part no. SCC6673). This part is a technical service bulletin (TSB) update used on ’66-’73 A/B/E-body Mopars.
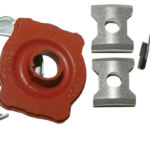

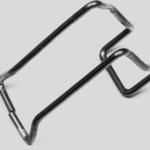
Above From Left to Right: The parts we ordered from YearOne: Steering Couple Kit FD436, Steering Column Mounting Kit SCM67A, Steering Column Coupler Cover Retainer SC6673, Turn Signal Switch FD47801.
Before we get into the repair, a little history lesson is required. As the ’60s unfolded, the manufacturers continued to add federal or state-mandated safety features into the vehicles sold in North America. All-new for 1967 was the impact-absorbing steering column for all the Mopar vehicle lines. There was a simple reason for the impact-absorbing (collapsible) steering column. In essence, it reduced driver injuries sustained during a frontal crash. During the crash, a non-collapsible column was forced into the driver’s chest as the k-member and firewall moved rearward.
With the steering column forcefully thrusting in the occupant compartment, the driver, with only a lap belt (or no belt at all), was harpooned onto the column as their body whipped forward. The advent of the impact-absorbing column design allowed the column to compress as the k-frame and firewall moved closer to the driver compartment. At the same time, the column would breakaway as the driver moved forward, reducing the injuries sustained from contact with the steering wheel. The design, while archaic by today’s standards, certainly added to the driver safety at that time. With that brief history about steering columns, it’s time to get to work.


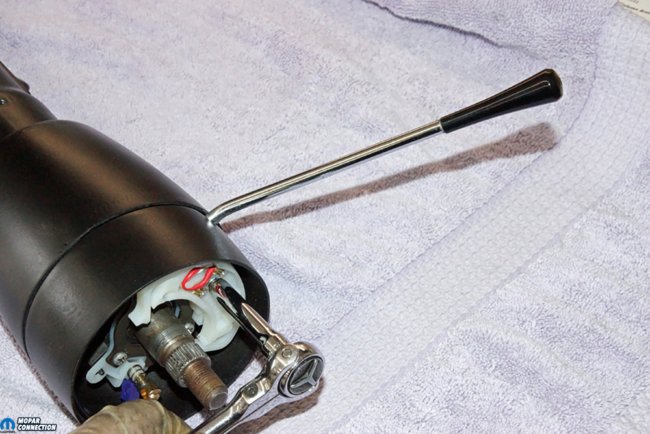
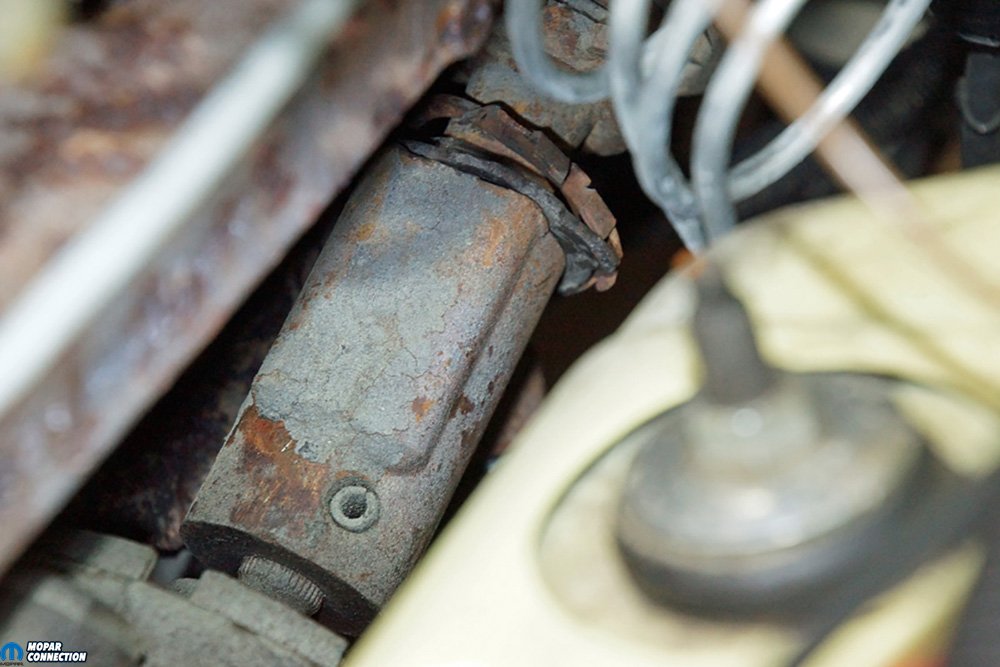
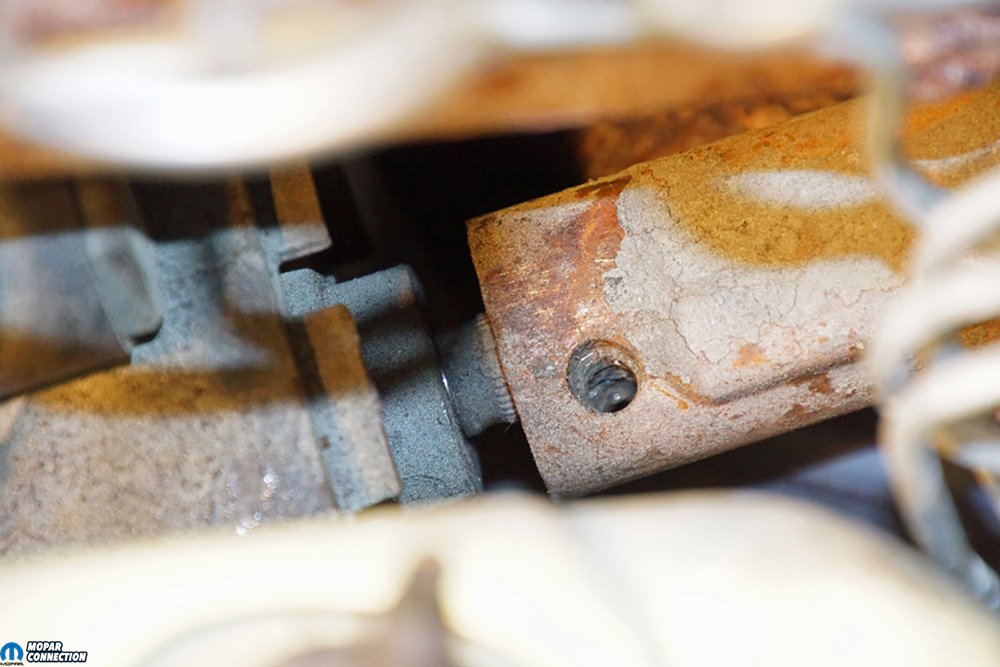
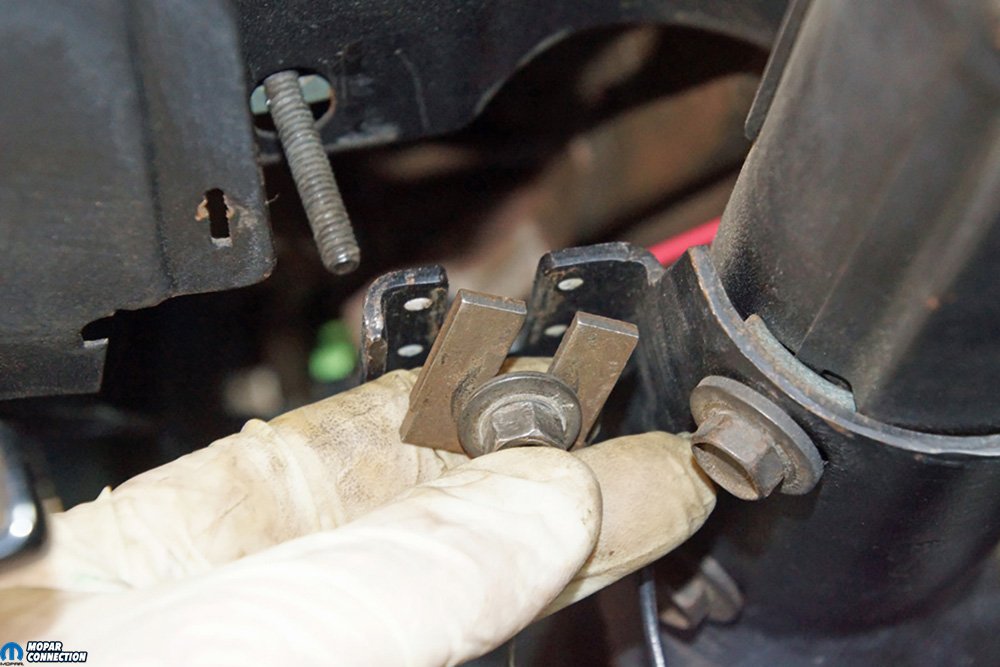
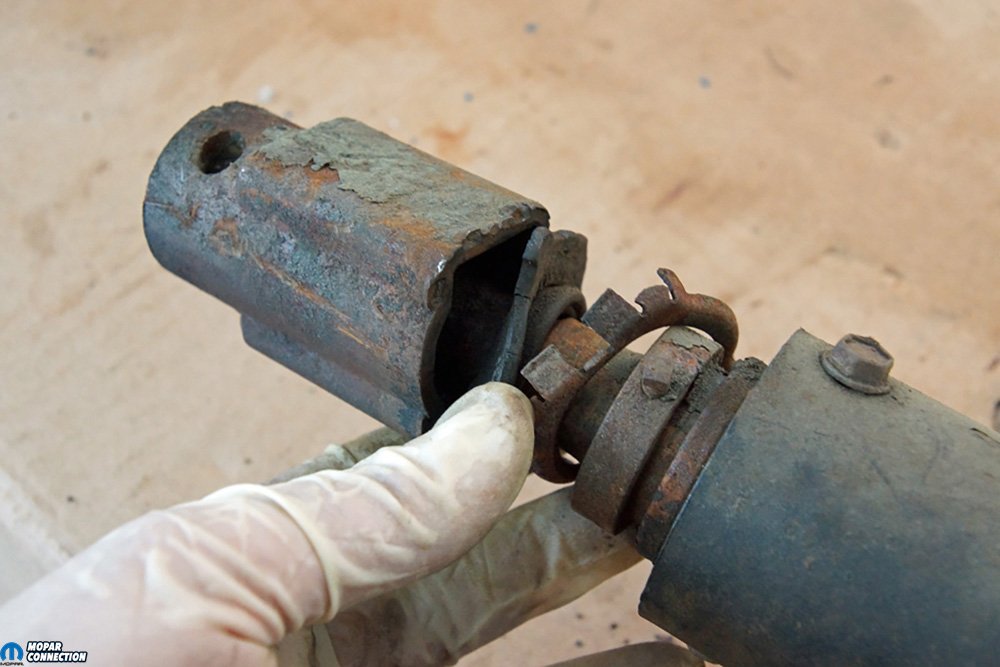
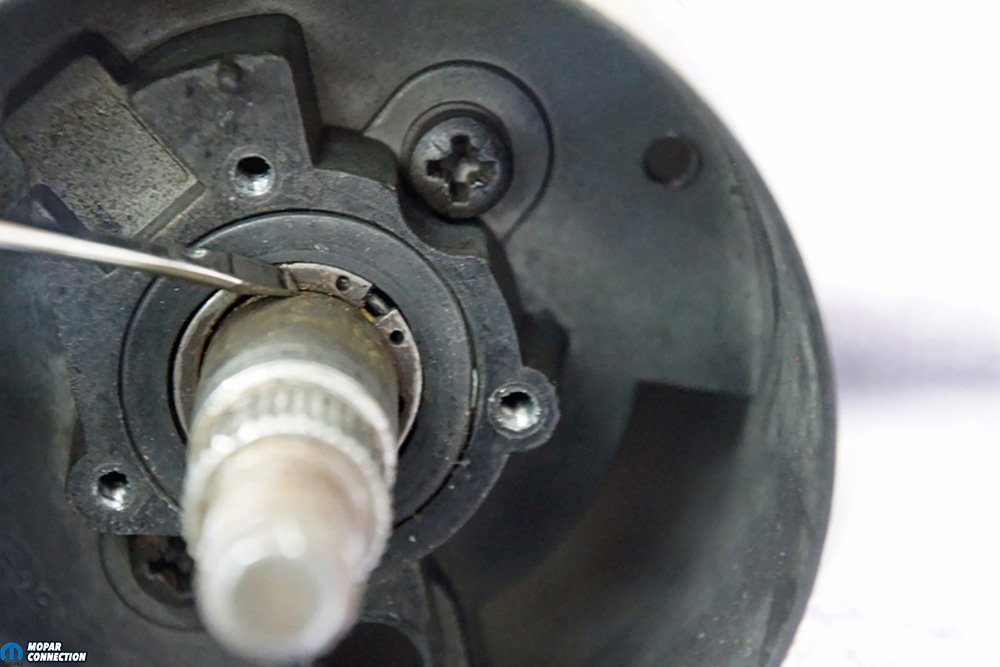
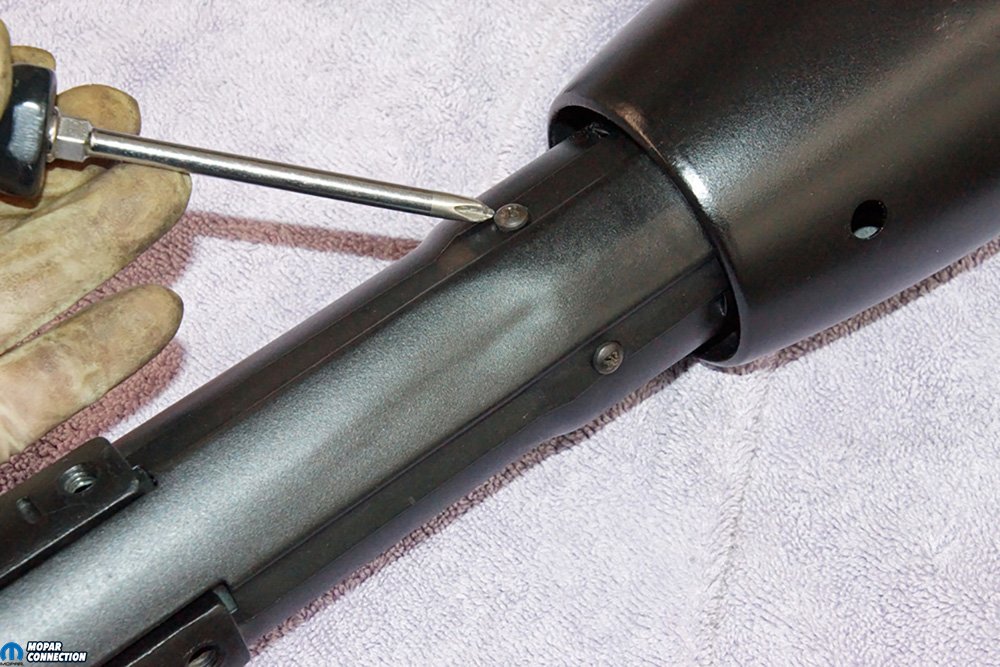
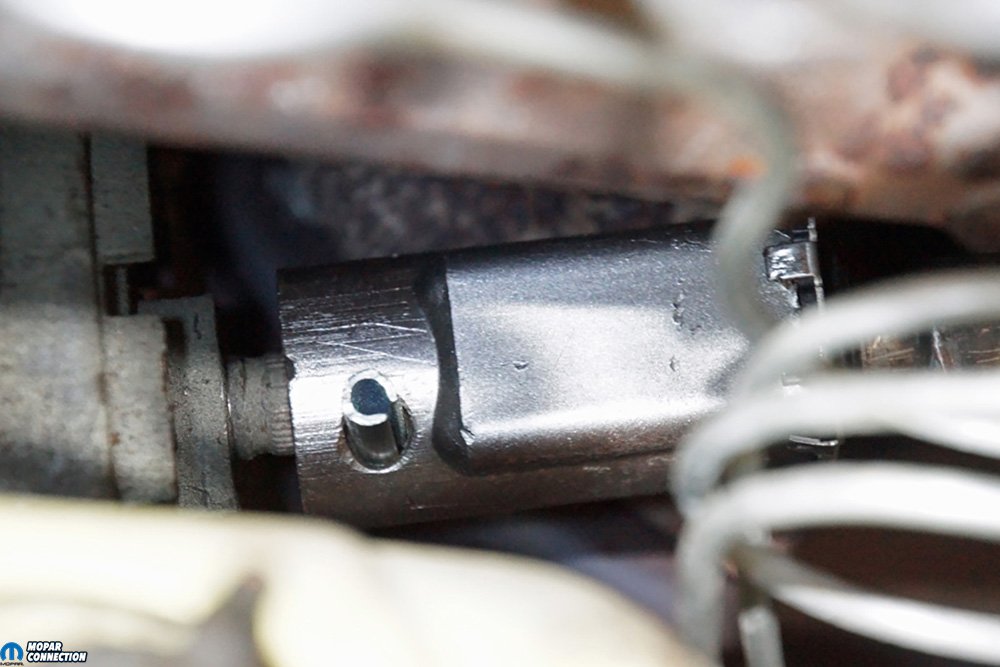
Above Left: The coupler on our Dart had a seal and cover that were in terrible condition. It does not look like the seal has been performing its job in years. Above Left: Further investigation found another bolt that held the breakaway bracket to the column jacket was missing. Whoever serviced the column did a poor job.
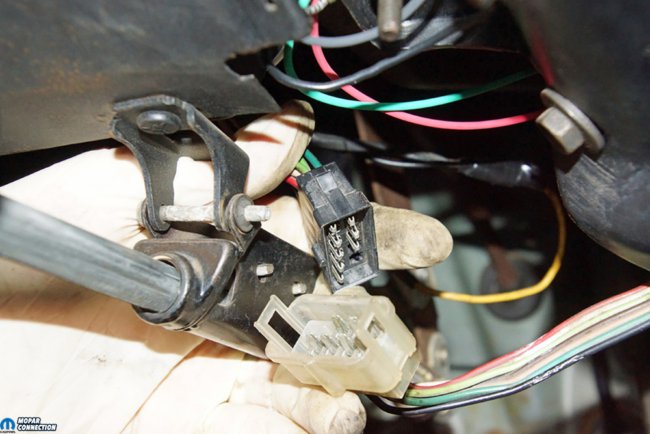

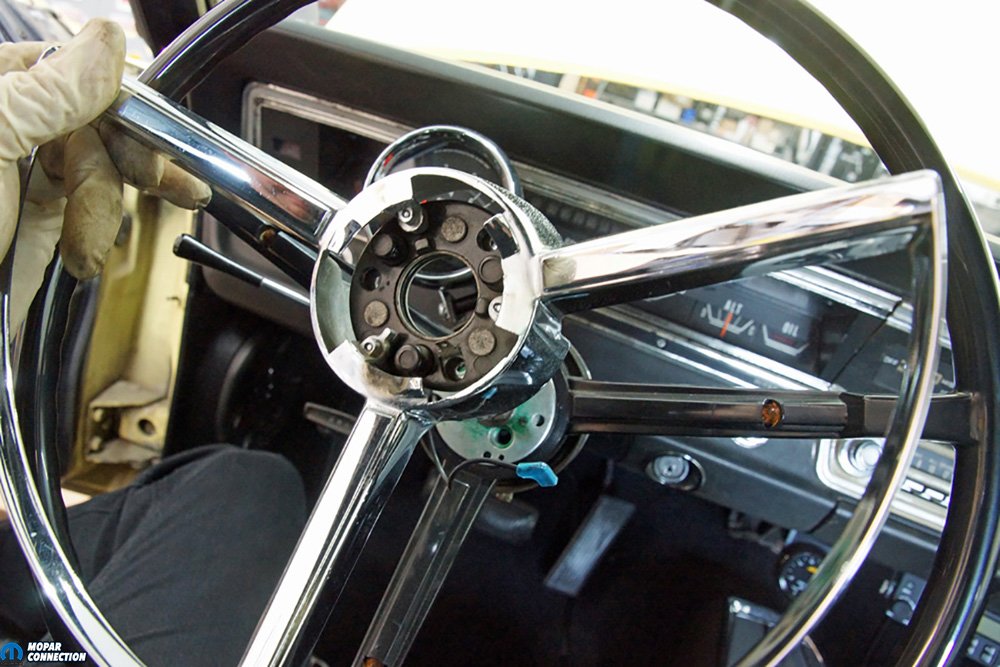
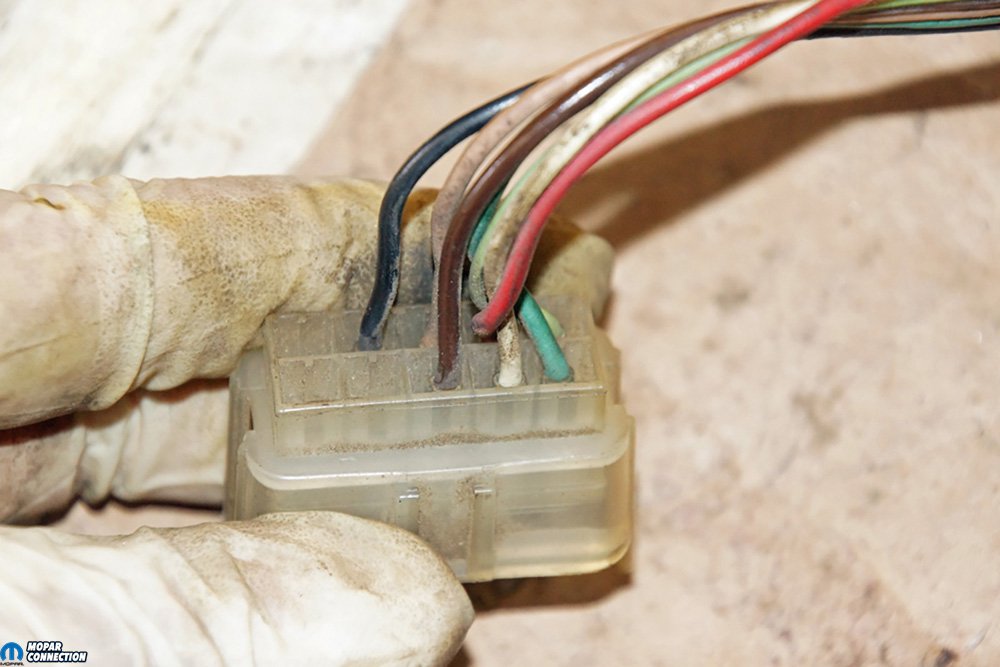
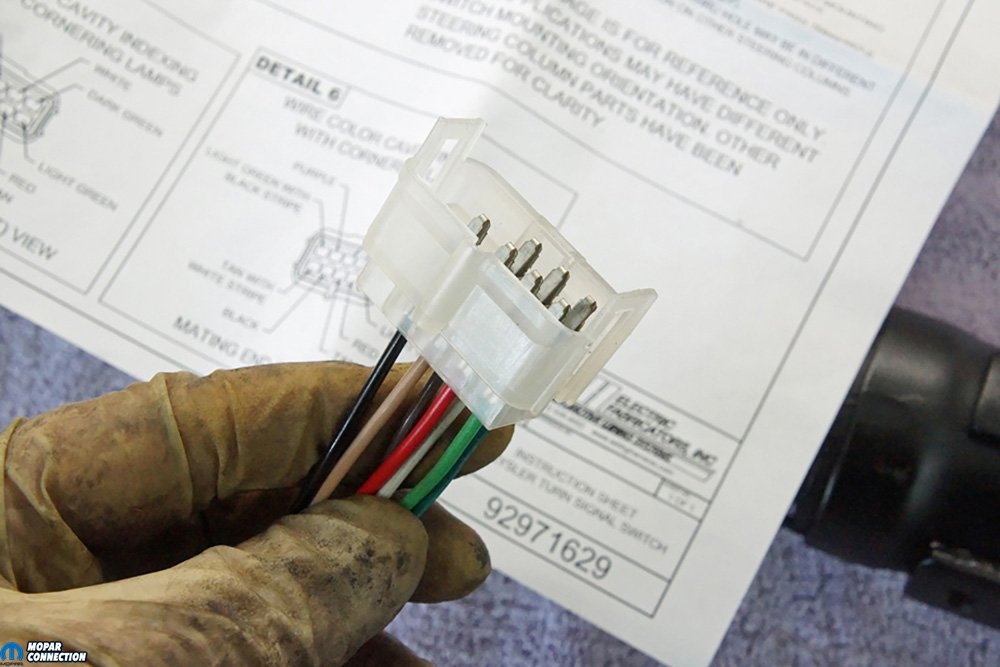
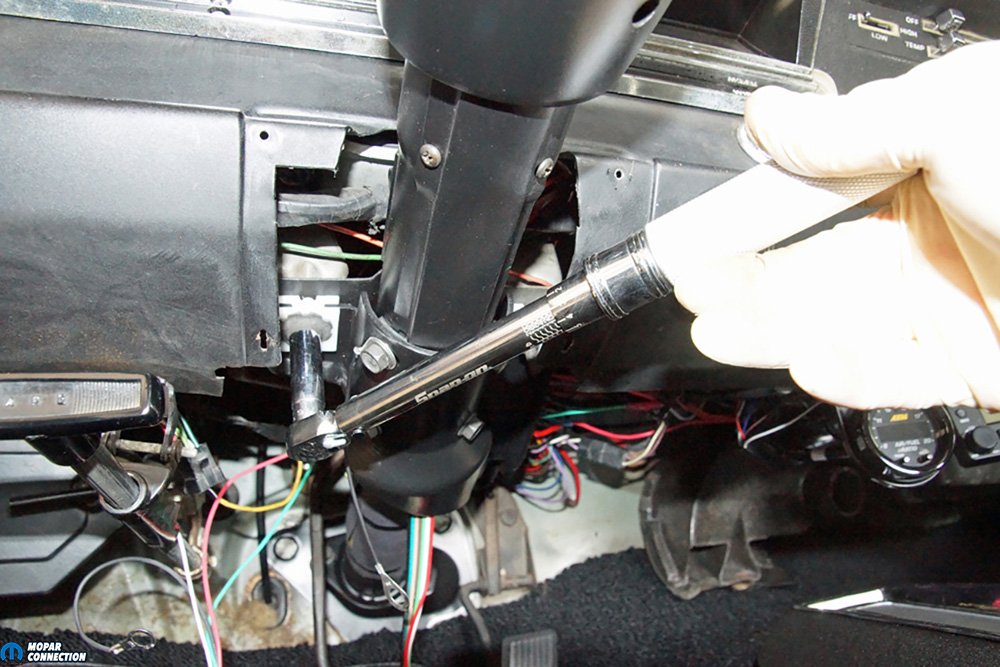
Above Left: The under-dash blinker switch wiring was disconnected from the Dart’s main harness. We did not notice any wire damage, but something was undoubtedly operating incorrectly because the blinkers operated sporadically. Above Right: The steering wheel horn button and horn ring had to be removed so we could gain access to the nut holding the steering wheel onto the column. We carefully maneuvered the horn wire through the horn ring.
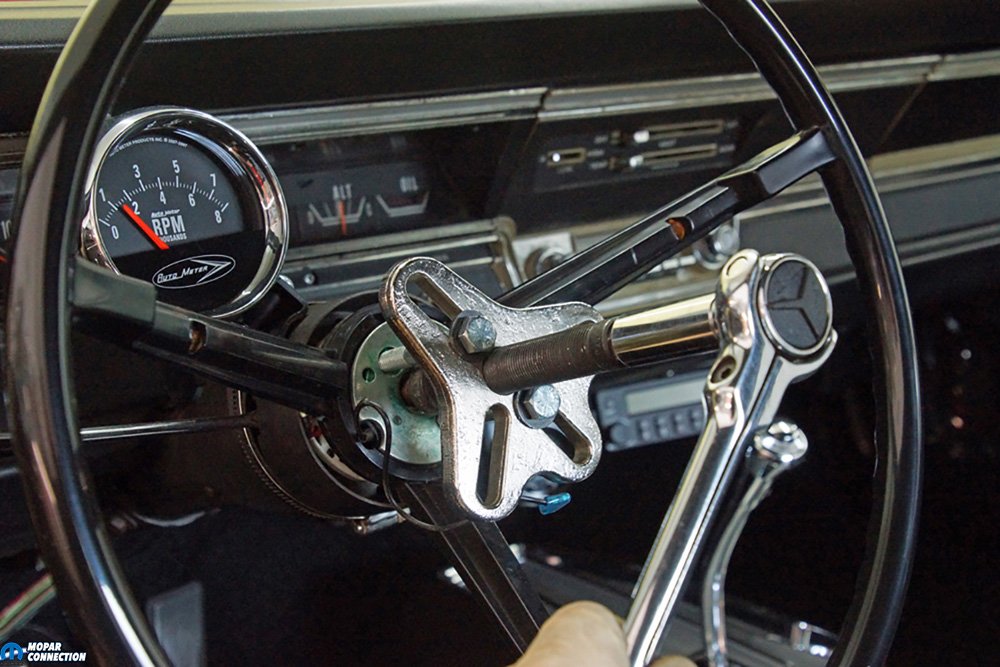
The disassembly of the steering column began with centering the steering wheel and removing the roll pin from the steering coupler. The under-dash electrical connector for the turn signal switch was disconnected from the harness. We removed the steering wheel center cap and horn ring before pulling the steering wheel. After the removal of the steering wheel, we unthreaded the three bolts from the steering column plate freeing the lower column from the firewall. We removed two nuts from the breakaway bracket capsules and removed the horn ground cover.
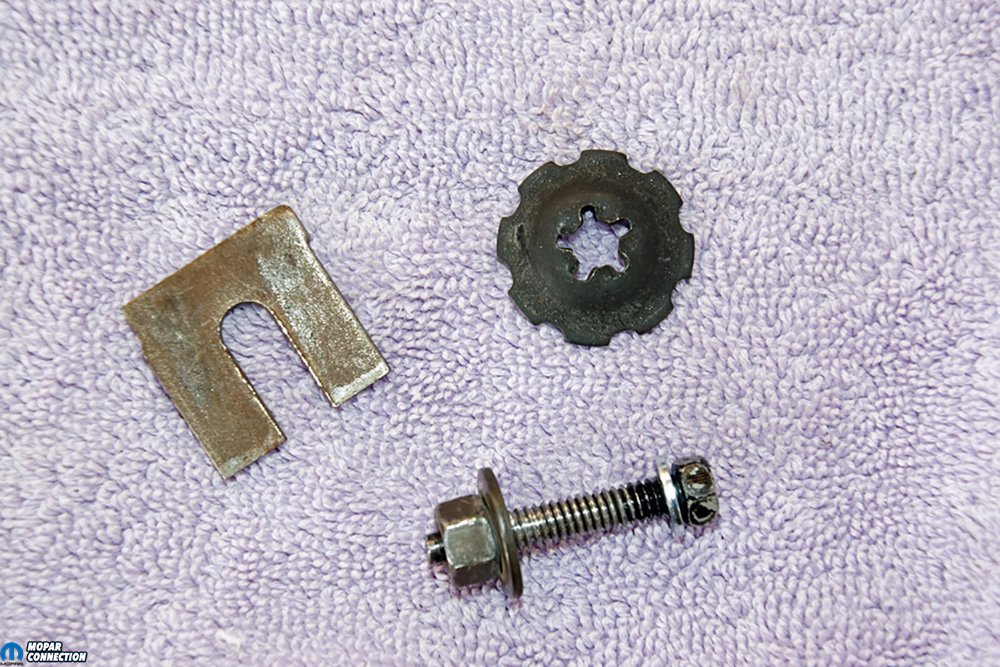
The bolt that should have gone into the third bracket capsule was missing, as was the adjustment shim. Strangely, we found the shim acting as a washer with one of the other capsule nuts. Before we removed the coupler from the splined steering box shaft, we wrapped towels around the steering column. We covered the front seat with additional towels to protect the new seat covers from any damage. With light pressure applied to the coupler, the column slid rearward and off the splines. With the column disconnected from the steering box, firewall, and under dash supports, we removed the column from the Dart.
With the column out, we noticed an additional bolt missing from the breakaway bracket. The coupler seal and metal cover had long ago given up, and the grease, shoes, and spring in the coupler had deteriorated, so we discarded them. We removed the breakaway bracket from the column jacket. To gain access to the blinker switch, we detached the upper bearing plate. We de-pinned seven terminals from the blinker switch connector and slipped the blinker switch out of its housing. To free the wires, we removed the wire trough and pulled the harness from the column.
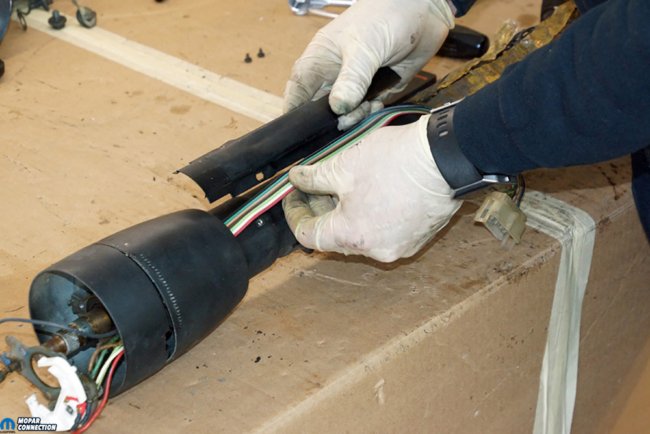

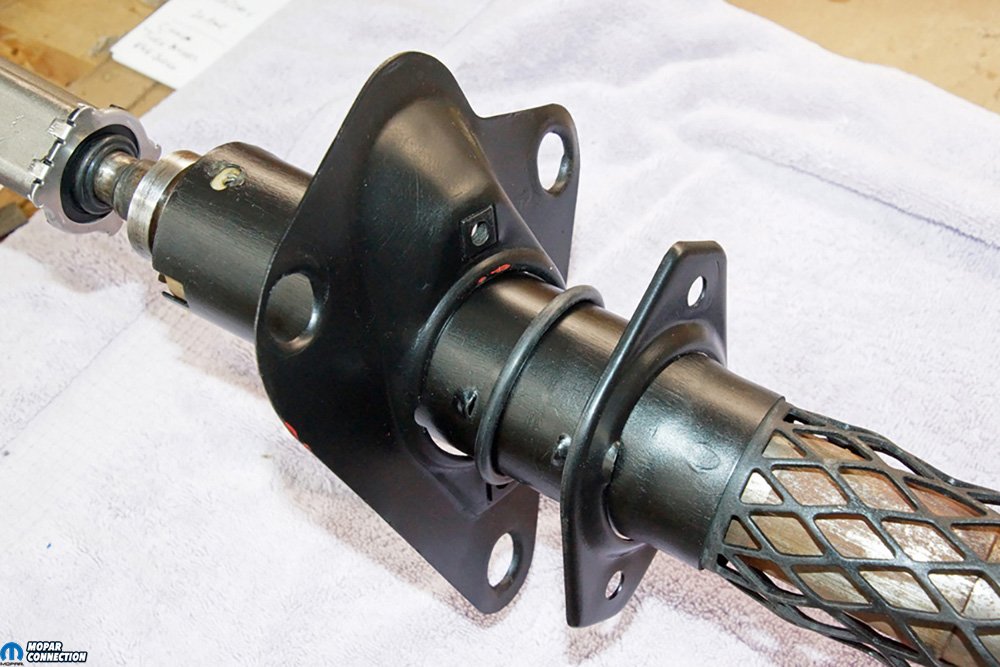
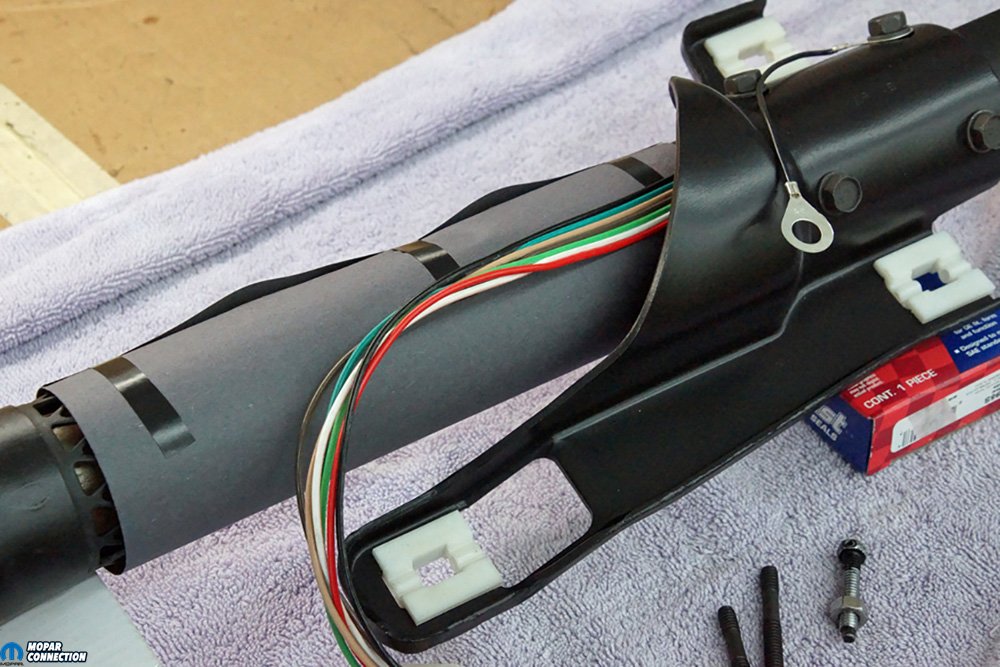
Above Left: At this point, we had removed the upper bearing plate and freed the blinker switch from the column housing. We had to remove the column wiring trough, which would allow us to feed the de-pinned wires out of the housing. In this photo, we had yet to de-pin the wires from the connector. Above Right: We removed the two screws (opposing sides) that held the plastic column shaft support in the column jacket. The column plate, seal, and gasket were rotated past an index pin and slipped off the column jacket.
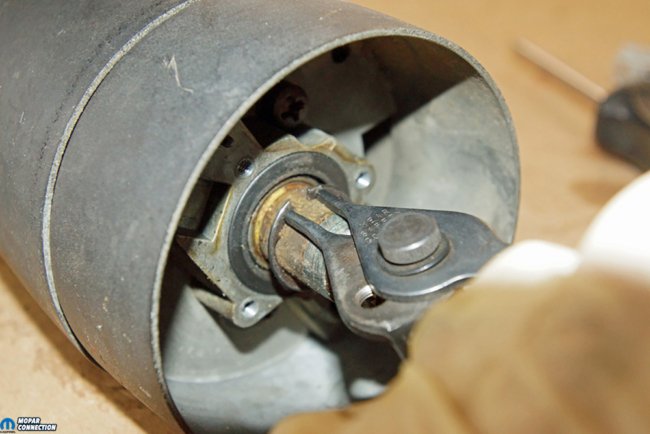

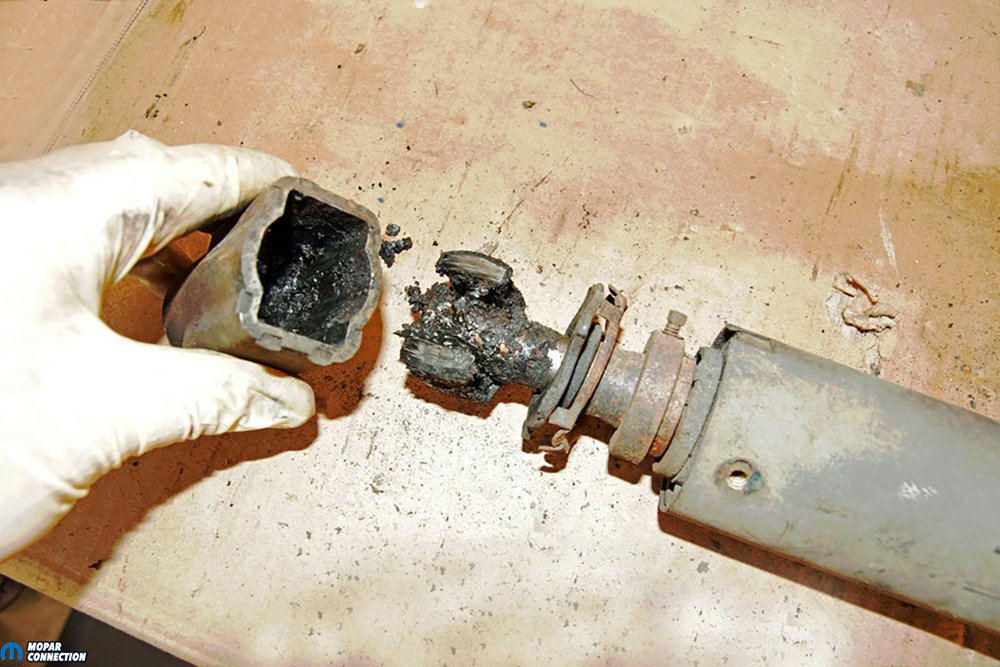
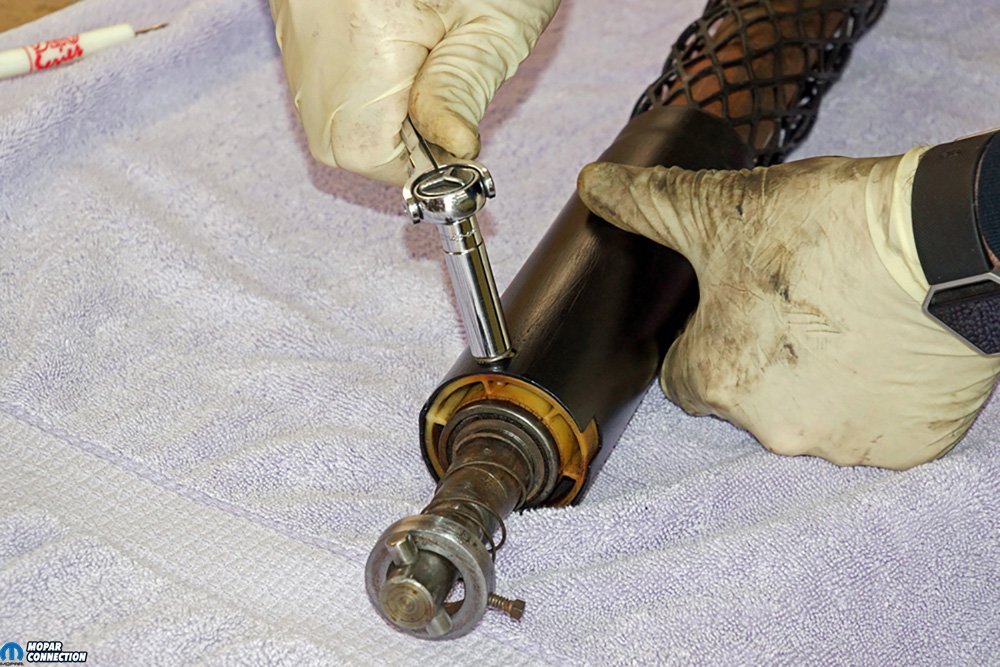
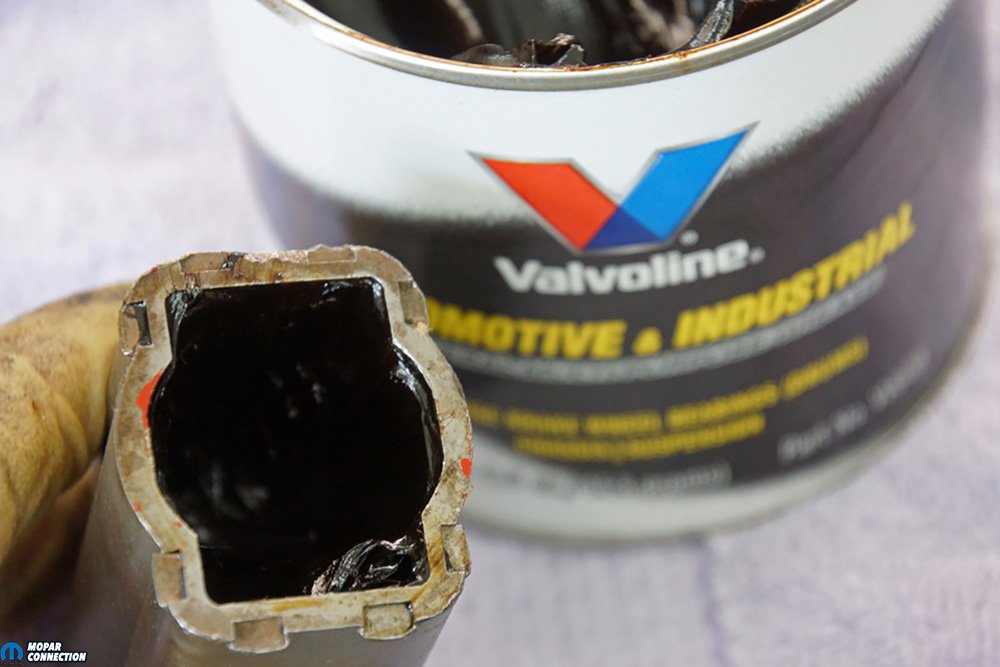
Above Left: At the upper end of the column, we removed the single snap ring from the column shaft. The sealed bearing was in good shape, so we would reuse the bearing when it came time to reassemble the column. Above Right: Before we pushed the column cover out of the jacket, we broke down the coupler. The grease had long ago lost its lubrication properties. What we had was a crumbly surface with a sticky substance under the crust. After looking at the coupler housing, we reused it. The shoes, shoe spring, seal, and cover were tossed. After this photo, we pushed the column shaft out of the jacket. We removed the plastic support, bearing, washer, spring, and collar from the shaft.
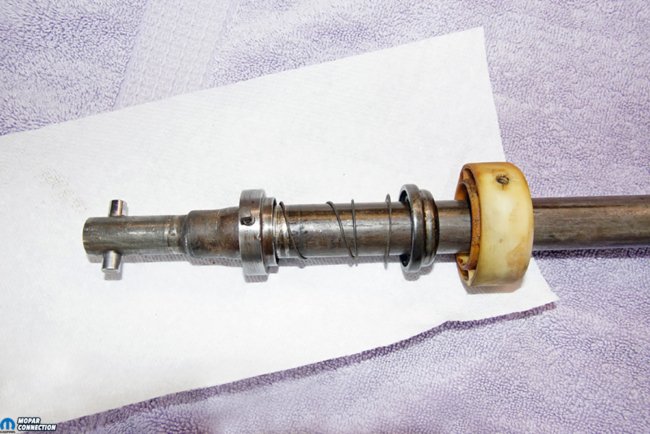
Separating the lower steering column plate from the O-ring seal plate allowed us to remove the column plate, the O-ring, and the seal plate from the column jacket. The plastic support at the lower column jacket was unfastened. Moving to the other end of the column, we removed the snap ring from the upper column shaft. A gentle tap on the column shaft knocked it out of the column jacket. With the shaft removed, the plastic support, bearing, washer, spring, and collar slipped off the shaft. After observing the coupler cross pin’s excellent condition, we left it in place.
With the steering column disassembled, we cleaned the reusable components. The painted parts were reshot in a semi-gloss black. The 1967 lower bearing is a different design (and more challenging to locate a replacement) from the 1968 and later bearing. Luckily, our bearing was in good shape, so we cleaned it and then repacked it with #2-wheel bearing grease.
The column reassembly started by sliding the collar, spring, washer, lower bearing, and plastic support onto the column shaft. The YearOne 1967-72 A-body steering column mounting kit provided us with all the mounting hardware and seals for the column. The kit also had plastic capsules for the breakaway bracket, which we installed onto the bracket in place of the original aluminum capsules.

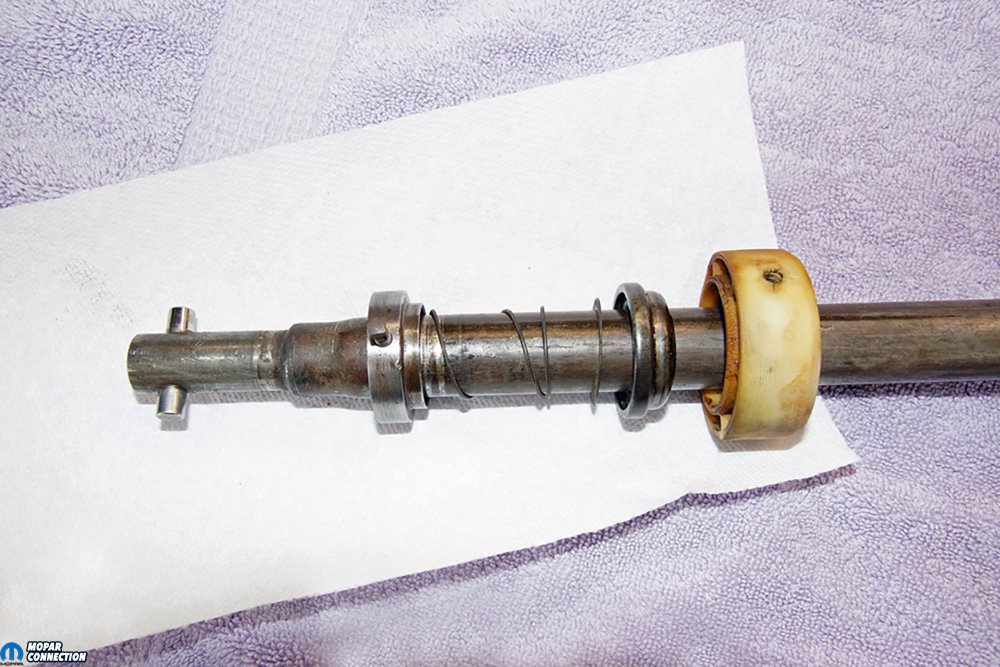
Above: All the parts have been cleaned and painted as needed. 1-the collapsible column shaft, 2-the column jacket, 3-lower column plate, 4-lower bearing, 5-bearing spring, 6-column collar lock, 7-bearing washer, 8-plastic column support, 9-column wire trough cover, 10-O-ring seal plate, 11-breakaway bracket with new plastic capsules.

Above Left: The assembly began by slipping the collar lock, spring, washer, bearing, and the plastic column shaft support onto the column shaft. Because the cross pin was in good shape, we decided to reuse it rather than press it out and press a new one in. Above Right: After the snap ring was installed, we moved back to the other end of the shaft. With the bearing packed with #2-wheel bearing grease, we pushed the bearing into the plastic support. The spring was compressed between the bearing washer and the collar. With the collar sufficiently compressing the spring, we tightened the collar lock screw.
With the lower column shaft components installed, we guided the shaft into the column jacket. The shaft was pushed through the upper sealed bearing (this bearing was in good operating shape, so we reused it). The snap ring was installed to retain the shaft in the column jacket. With the shaft adequately retained, the plastic shaft support was secured into place with the factory screws. We centered the bearing and washer into the shaft support, compressed the spring, slipped the collar lock into place, and secured the collar lock, so it maintained the spring pressure on the bearing.
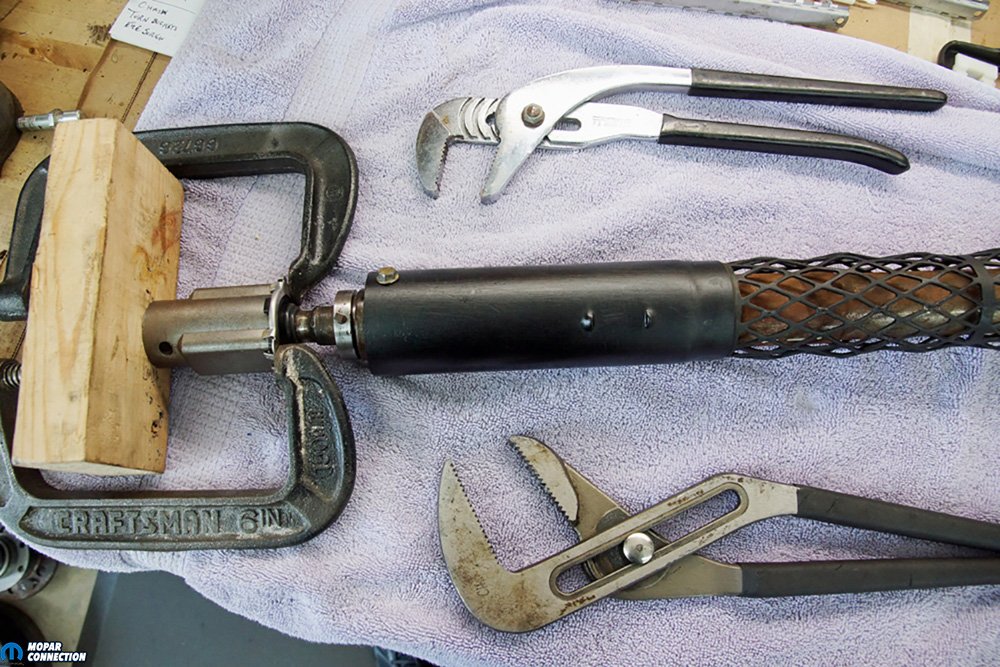
The coupler cover and seal from the YearOne coupler kit were guided over the steering shaft cross pin. We situated the new retainer spring and shoes onto the cross pin. Before installation, we half-filled the coupler housing with #2-grease. We pushed the coupler over the shoes and spring. The coupler seal was aligned, and to keep the seal in place, we crimped the cover onto the coupler. Crimping the cover required two C-clamps to hold the cover in place, and then the tabs were bent with a pair of large channel locks and adjustable pipe wrench pliers. The coupler position on the shaft was adjusted to provide a 1 ¼-inch gap between the collar lock and the coupler cover.


Above Left: The new cover and seal were installed onto the column shaft. We slipped the shoe spring onto the cross pin. A shoe was pushed onto each side of the cross pin and into the shoe spring. We put a thin film of grease on the cross pin and the shoes. Above Right: To crimp the cover onto the coupler, we lined up the seal and the cover with the coupler. A pair of C-clamps retained the cover while we used channel lock and pipe wrench pliers to bend the cover’s tabs onto the coupler housing.

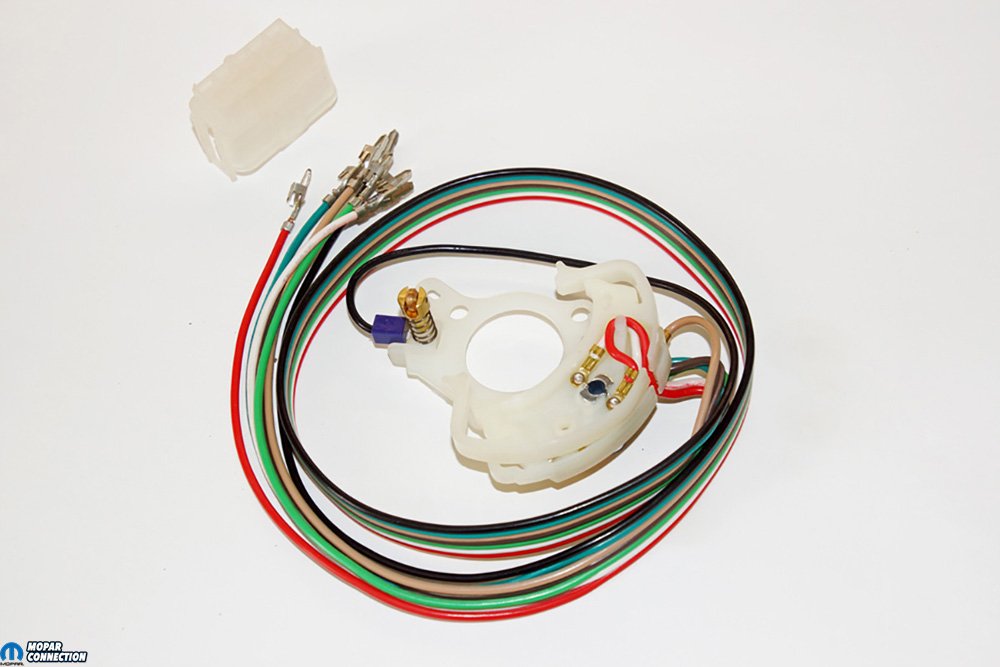
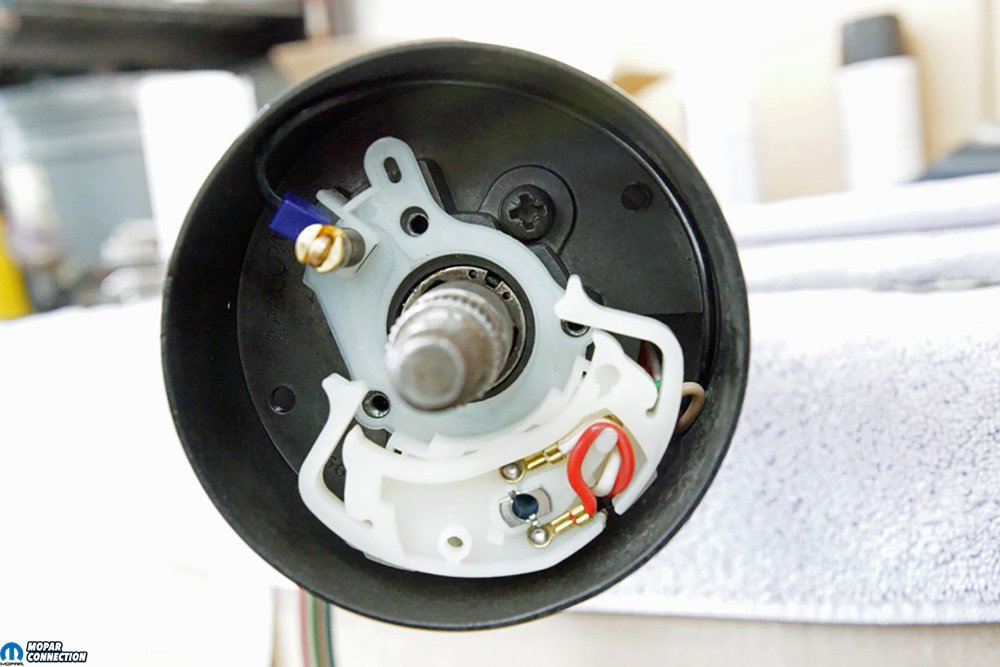
Above Left: The new blinker switch fit perfectly into the column housing. Just like the original blinker switch wiring, the new wiring followed the same routing. Above Right: We secured the blinker stalk to the blinker switch with the factory screw. In this photo, the switch had already been secured with the upper bearing plate.
After threading the new switch wiring through the column, we seated the blinker switch into the column housing. We retained it with the factory lock plate. We pinned the seven wires into the connector, as described in the detailed instruction sheet. The blinker selector stalk was pushed through the factory access hole and fastened to the blinker switch with a single screw. We reinstalled and secured the wire trough, and the breakaway bracket was installed with new hardware and a new horn ground wire.
To finish the column, we slipped the seal plate, the new O-ring, and column plate onto the column jacket after temporarily removing the plastic shaft support screws. We secured the seal plate to the column plate with new bolts, glued a seal onto the column plate, and reinstalled the shaft support screws. The O-ring, bolts, and seal were all part of the YearOne hardware kit. As a final touch, we fabricated a piece of black construction paper (similar to the factory) to cover the column jacket mesh area.
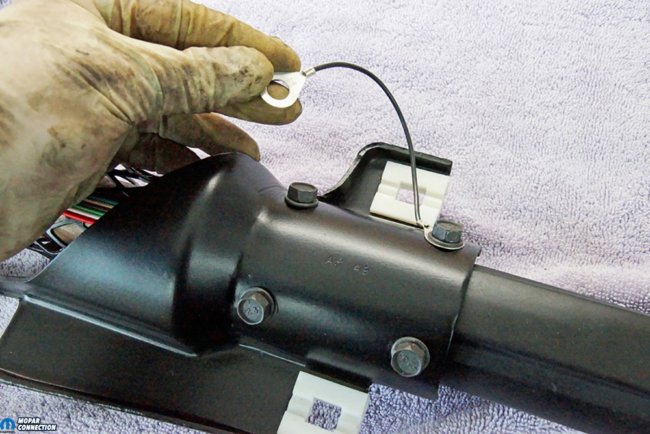

Above Left: The breakaway bracket was reinstalled onto the column jacket with new YearOne hardware. We included a new horn ground wire. Above Right: We temporarily removed the plastic retainer screws. The seal plate was slipped over the column and past the column jacket index. We rolled the seal onto the column jacket, followed by the lower steering column plate. The seal plate was secured to the column plate, squeezing the seal between the two plates.


Above Left: Our column had a portion of a paper cover over the mesh area when we removed the column. We simulated the look with a piece of construction paper and some electrical tape cut into strips. The look was similar to the factory, and it does reduce the amount of debris that can get into the column jacket. Above Right: We rechecked the 1 ¼-inch gap between the coupler cover and the collar lock. It was within specifications, so we torqued the new YearOne washers and nuts to the two forward capsules. The horn ground was secured to the left stud (where the socket is) with an additional nut.
To slip the column back into the Dart, we guided the coupler onto the splined steering box shaft and tapped the roll pin into place. The breakaway bracket capsules slipped over two studs extending from the dash. New washers and nuts fastened the column in place. The steering column coupling clamp was maneuvered over the column shaft and secured into the coupler roll pin.
The clamp safeguarded the coupler cover and seal from loosening and allowing contamination of the coupler’s grease. To finish the rebuild, we situated and tightened the column plate to the firewall, adequately shimmed the last breakaway bracket capsule, and reinstalled the steering wheel onto the column.
With the column rebuilt, we now enjoy a vibration-free steering wheel and a pair of blinker lights that consistently operate when requested. All the parts fit perfectly, and the addition of the TSB steering column coupling clamp ensures our steering coupler will remain free of contaminates. We highly recommend taking a couple of days and rebuilding your column. The little bit of cost and time it took paid off big. When you are ready for your rebuild, head to YearOne for all the A/B/E-body parts needed to update your ride.


