


So far in the reassembly process of the Comeback ‘Cuda we just finished attaching the brake, vent, fuel lines, as well as emergency brake cable. These were already on the car when the factory applied the undercoating in the front and rear wheel wells. There are varying theories about what else was on the car when the undercoating was applied.
We only found remnants on these parts upon disassembly, so we are going to recreate what we found. Several B-bodies we have seen have more undercoating on the sides of the fuel tank. So, you’ll want to recreate what you find on your particular car.
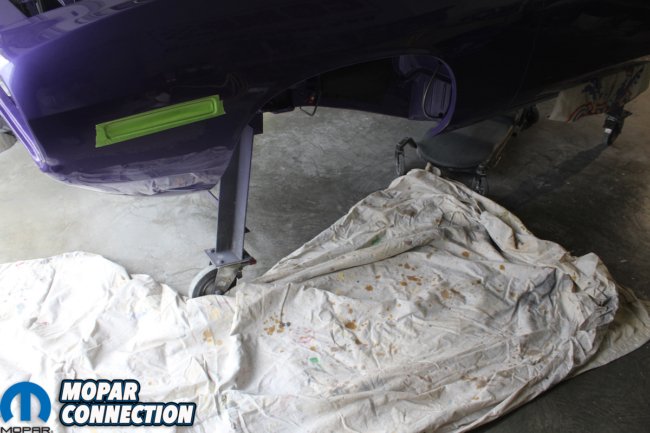

Above left: A good creeper and drop cloth are essential. A clear face shield, long sleeves, and rubber gloves are also needed. Some of you will say “You said not to mask off anything” and clearly there is tape on the outside of the marker light hole. We confess we were still waiting on the new marker light assemblies from Classic Industries. Once they arrived, we just shot at low pressure some undercoating on the backside of the assemblies. Note the emergency brake cable and gromet along with the front brake lines are installed before undercoating. Above right: We cannot say enough about how great the Resto Rick undercoating is and how well it shoots. The rear wheel well is completely covered as well as the outer and upper portion of the well. Our results turned out to be somewhat nicer than the factory so after it dried, we came back and shot several heavy, irregular passes to recreate the factory look. To get that look you must wait on the undercoating to dry before adding additional material. Otherwise it will just flow out and remain in a uniform pattern.

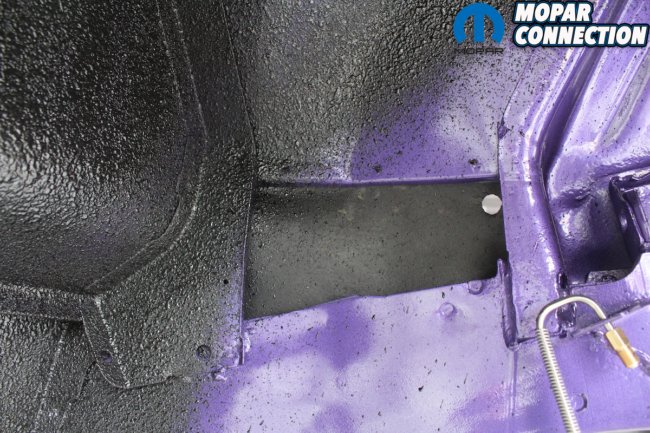
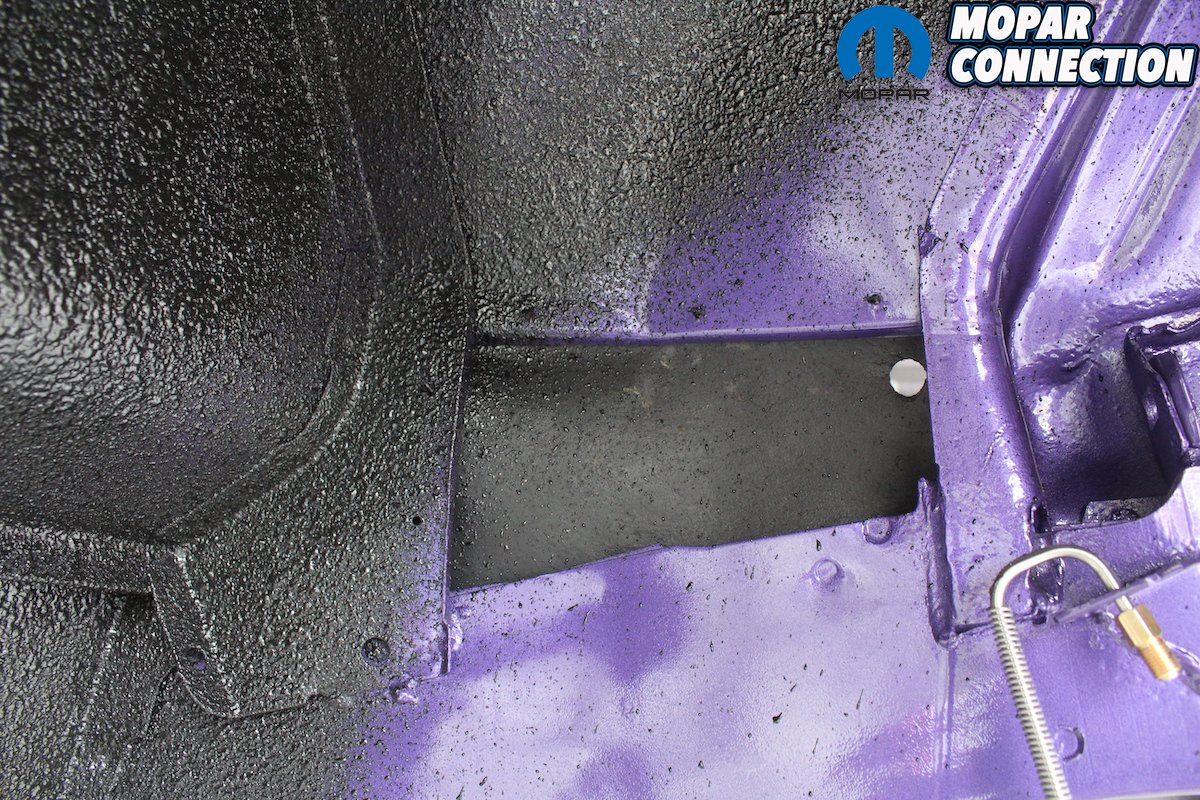
Above left: As you can see the brake line and attaching hardware are all in place and undercoating is shot so that the over spray covers those parts. The frame rail is also shot with undercoating and the amount of material that remains depended on who was holding the gun. We did not find an abundance of undercoating on the Comeback ‘Cuda so it was re-applied in the same manner. Above right: Remember that “no masking” statement we made earlier. Well here you go. Wherever the coating hit we left it. You could remove the overspray with a solvent and a rag, but you know they did not take the time to do that on the line.
Ma Mopar applied the thick coating to not only fight the formation of rust inside the wheel wells but it also protected the underside of the fender from rocks and debris that could cause visible distortion to the tops of the front fenders. You could order your car fully undercoated and even the dealership would add this additional protection for a nice “up sell.” But every car came from the factory with wheel well undercoating.
There are various patterns of how this undercoating was applied, all based on who had the gun that day and how he felt about his task and his frame of mind. The patterns we have seen on B and E-bodies are remarkably similar. We again turned to the factory-correct undercoating available from Resto Rick.

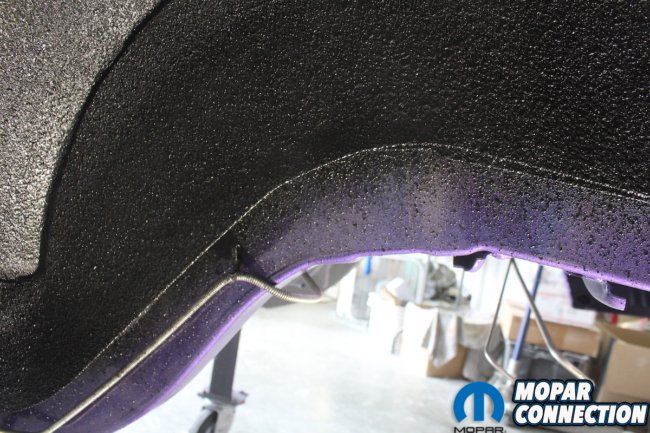
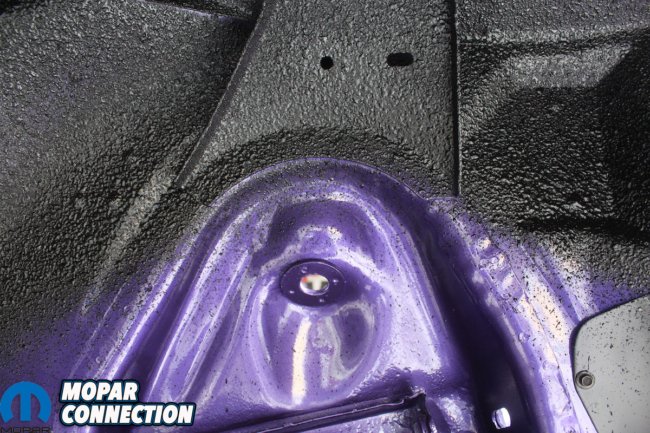
Above left: Now we know this is getting a little “nit-picky” and few if anyone will even notice once the car is completely assembled, but here you can see the angle the undercoating was shot. Where the inner wheel housing lip extends and over- laps the frame rail there is less undercoating. Above right: Here where the lip of the inner wheel housing does not overlap the frame rail there is considerably more undercoating on the rail. Note how good the factory correct dip primer on the undercarriage contrasts with the body color and undercoating over sprayed out- side of the frame rail looks. Why would you do it any other way?

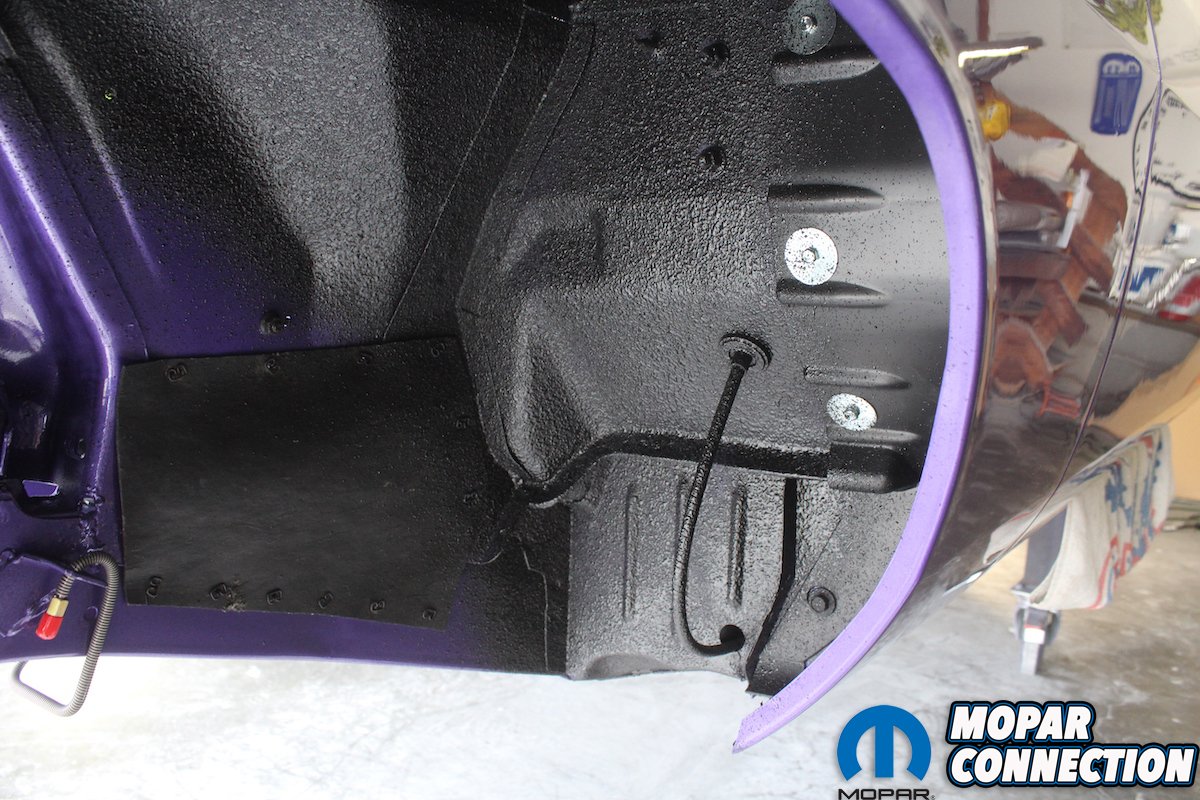
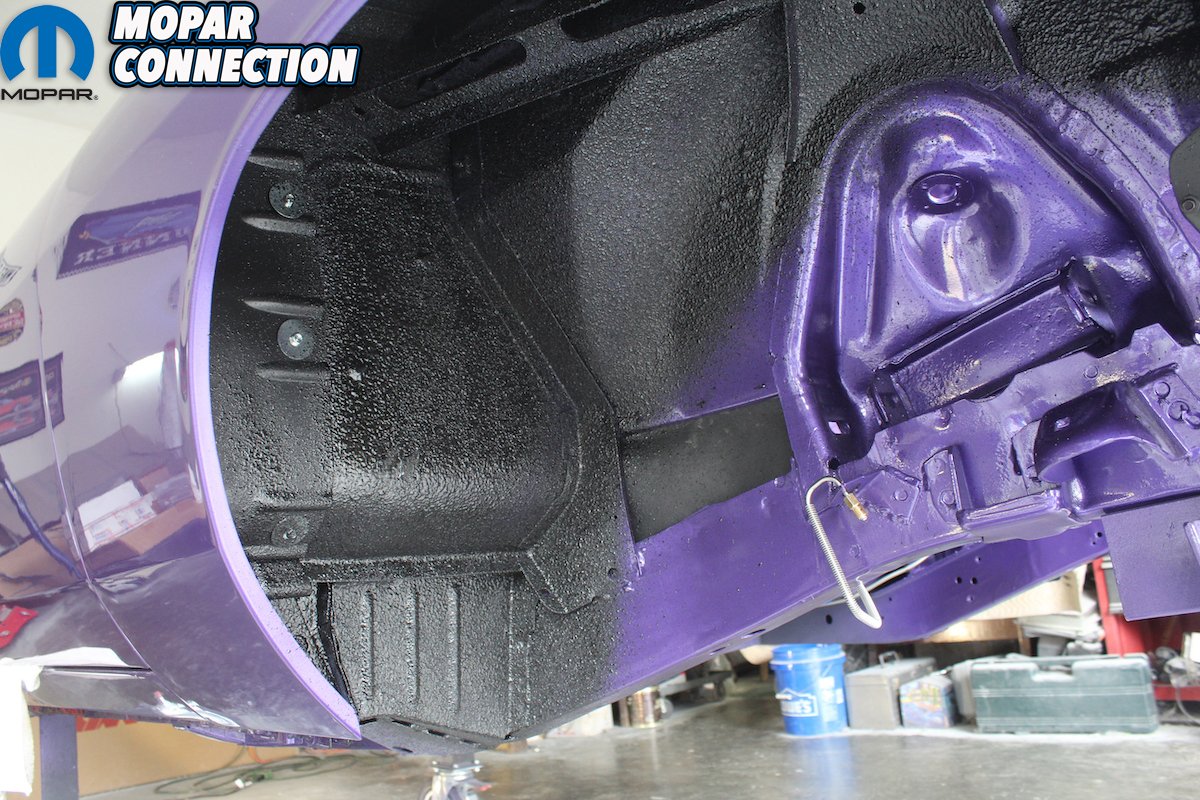
Above left: We now move the front fender well. Before shooting the undercoating, the inner splash shield is installed. Since it is installed that means that the antennae base and wire must already be installed. The front brake lines are already installed also. You can also see the heavy amount of undercoating shot on the upper portion of the fenders and supports. This will protect from flying rocks and debris. Above right: The rear and front inner fender splash shields are already installed. We got these beautiful correct splash shields and attaching hardware from our good friends at YearOne. Their fit and appearance are spot on correct. Since these shields were designed to be removed for access to the radio antennae, they did not require heavy undercoating although we have seen examples of a heavy concentration of material.
There should be enough of the gallon previously used on the inside of the quarter panels before paint to be able to cover the wheel wells after paint. You also use the same gun that was used before with the nozzle enlarged to create the thick spray patterns found on these cars.
We have seen some cars that do not apply the undercoating to the wheel wells at car shows. The paint inside the wheel wells shows up and if the car is a light color it just looks…well, bad, especially behind the front wheel and tire. We have also seen cars that masked of these areas so that the undercoating does not bleed over onto the metal lines and frame rails. If you have been following the build of the Comeback ‘Cuda you know by now that is not the way we roll.


Above left: This is a great shot of the desired pattern for the front fender well undercoating. The desired result is to protect as much as possible while leaving the areas that would have parts installed or removed not too heavily covered. Above right: Here you can see the sweeping spray pattern of a factory gun. The shock tower, the upper control arm mounting area, and the access plate only get a hint of coating if any at all. The frame rail where the bumper brackets will bolt are protected and then the trailing spray pass would hit the edge of the radiator lower support.

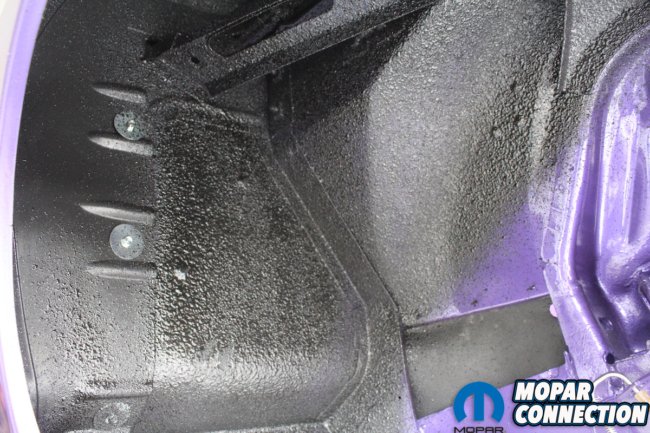
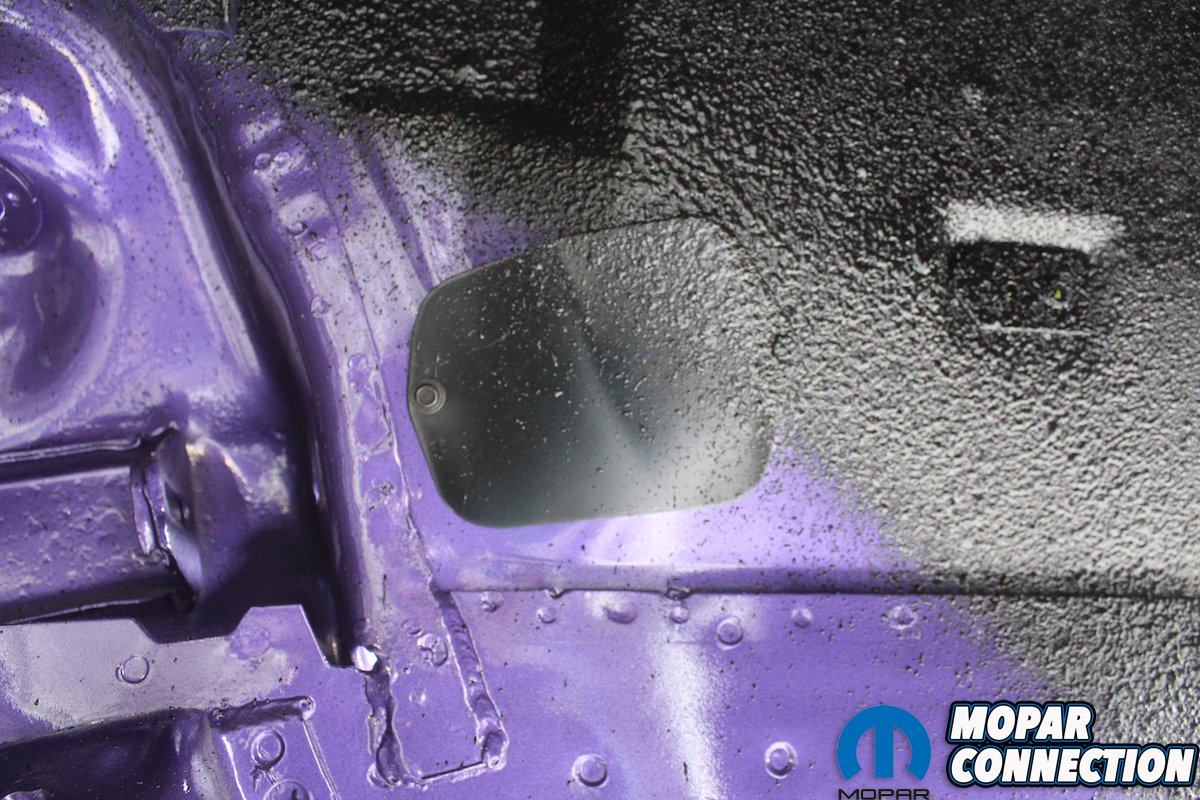
Above left: At the time we undercoated the Comeback ‘Cuda we only had three correct access plate hex head screws. We used the incorrect one in the rear of the plate so it could easily be replaced with a correct one. Above right: The rubber inner fender splash shield mounts from the engine compartment on the passenger side facing out. We see more times than not this shield mounted incorrectly. Most people mount this just the opposite from the outside facing in.
Get your mindset the way a factory line worker would think and spray away. It is messy, so cover the shop floor and protect your face and hands, because this stuff gets everywhere. After a couple of days, it will be dry enough to continue assembly.
The best part about getting the undercoating applied is everything else, including the K-member, front suspension, and engine assemble can be installed. Rear end and springs can also be installed too. From here on it will be full steam ahead!

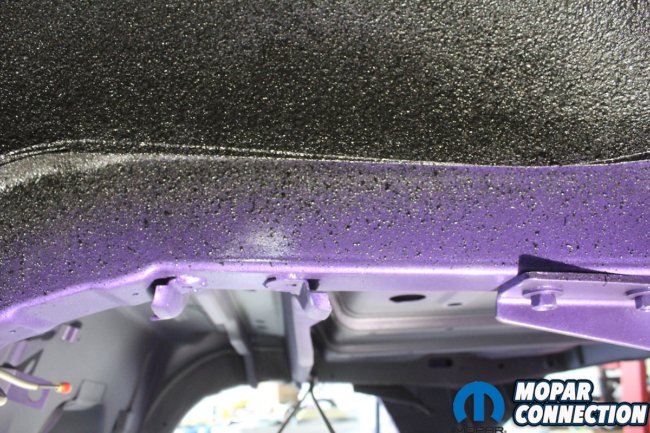
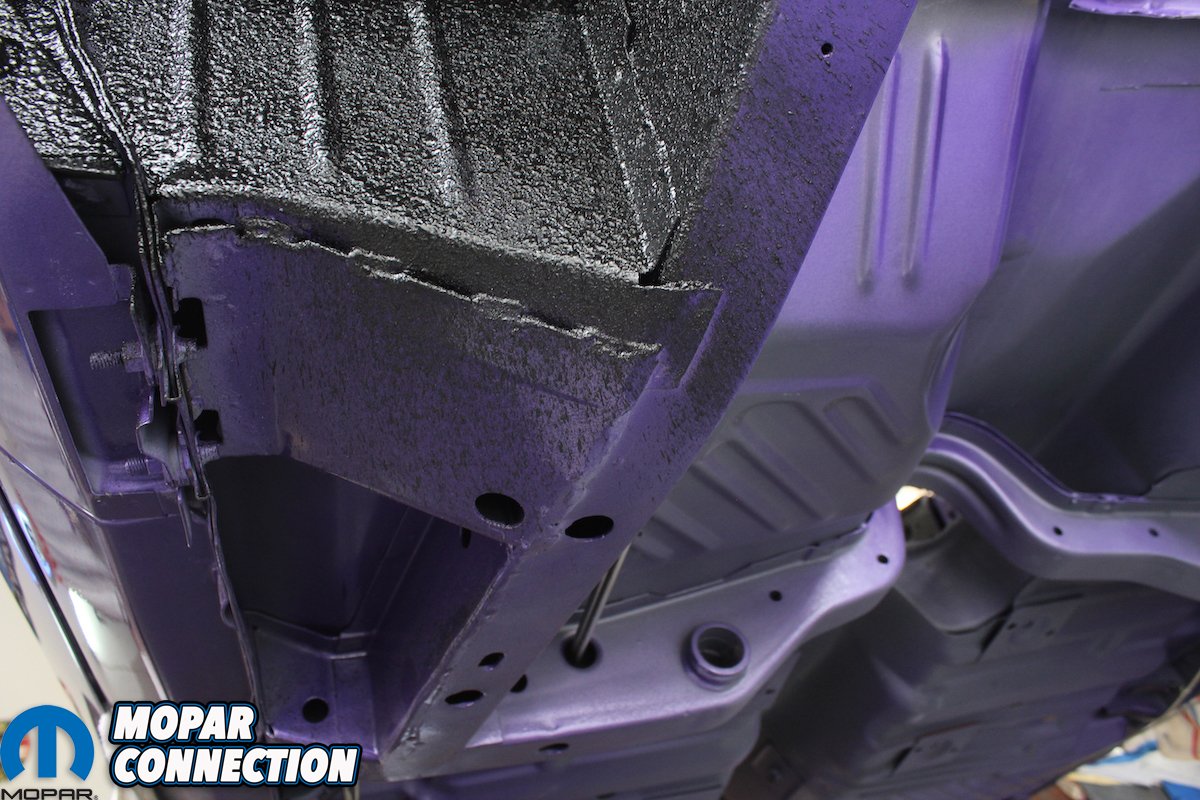
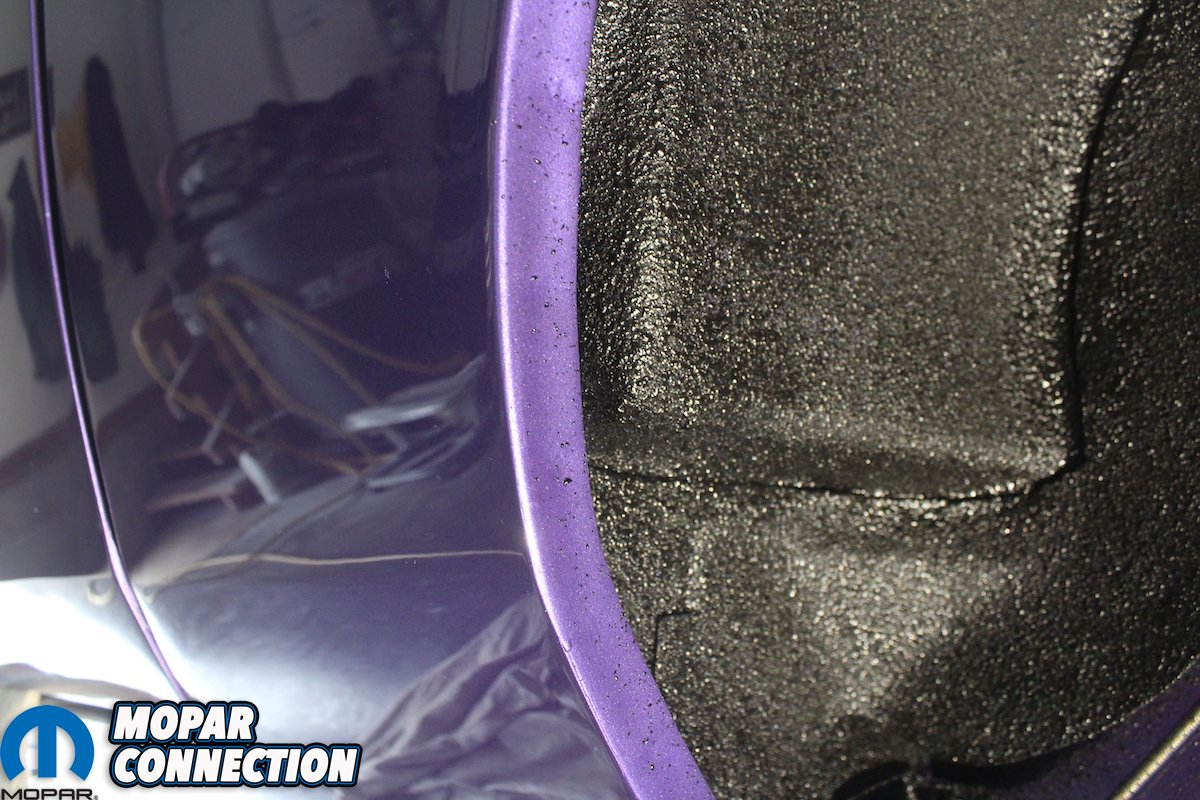
Above left: The shock tower gets just a slight amount of undercoating here. This will vary greatly from vehicle to vehicle and factory to factory. Even day to day and shift to shift. The idea was to leave where the shock will mount free from undercoating. Above right: Again, just like the front of the fender well got a trailing pass of the gun so did the rear of the fender well. The main difference was they needed to get more protection since this area would take the most abuse in day to day driving. Just like the front of the wheel well this varies from car to car in the amount of coverage. Typically, we have seen much more coverage on B-bodies than E-bodies.

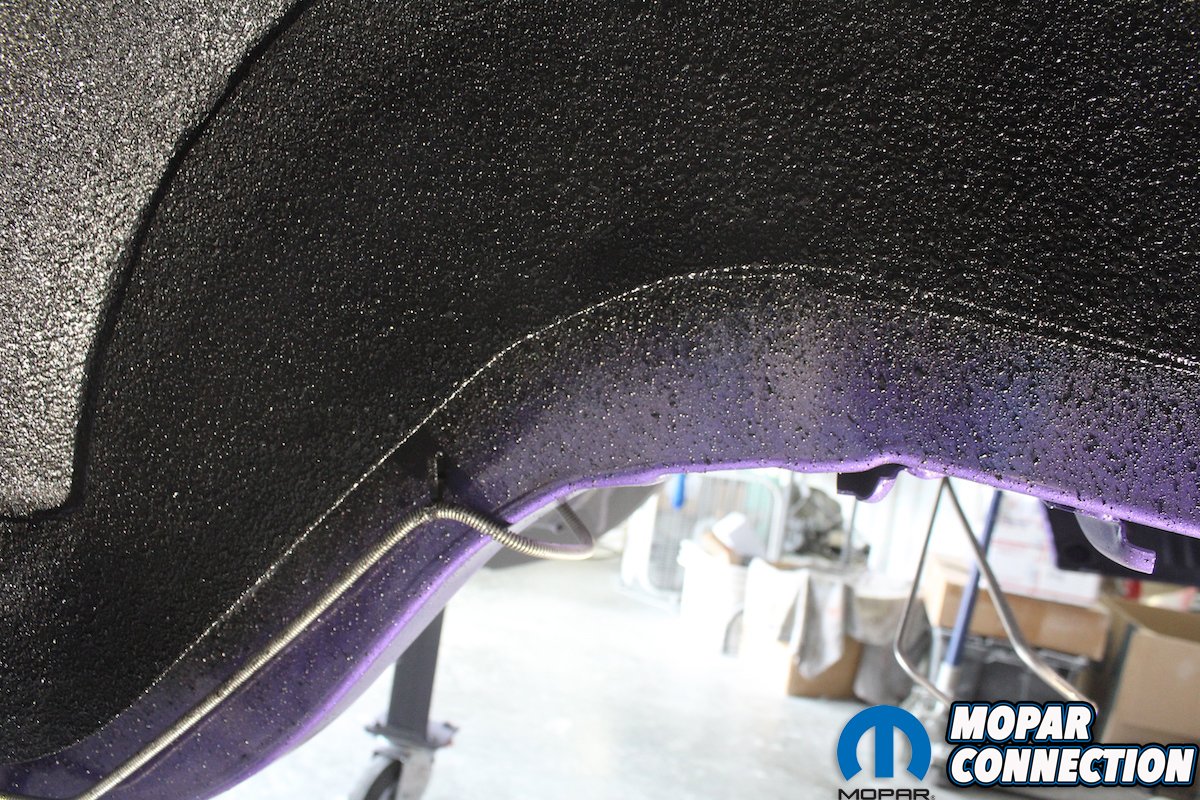
Above: Here is a good detail shot of the driver’s side wheel well. The same spray pattern is used on both sides of the car. The brake line is in place and the inner fender splash shield is mounted. It mounts from the outside facing in. The correct emergency brake line with correct mounting rubber/metal grommet is also installed before undercoating.


