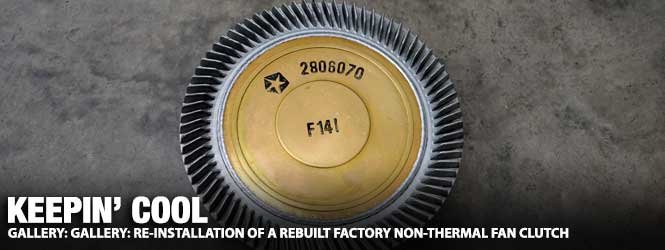
Back in June, after noticing that our factory-original non-thermal viscous fan clutch had developed a wobble, we sent it to Russ Guajardo at RG FABRICATION LLC, dba Kirkconnell Corvettes, for servicing. The original turnaround time would have left us without the factory clutch until late September, so we decided to install a Hayden clutch fan while we waited for the rebuild.
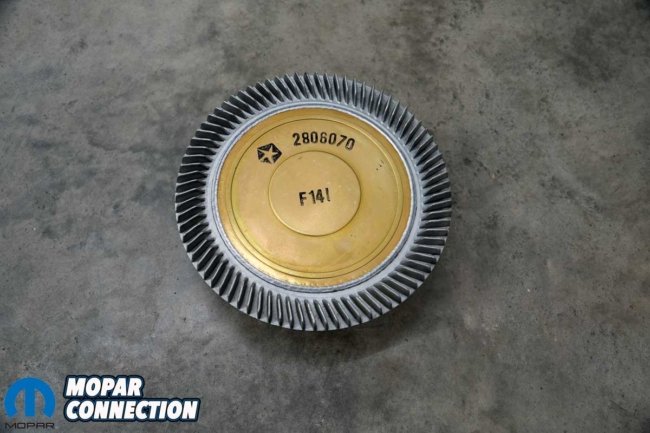
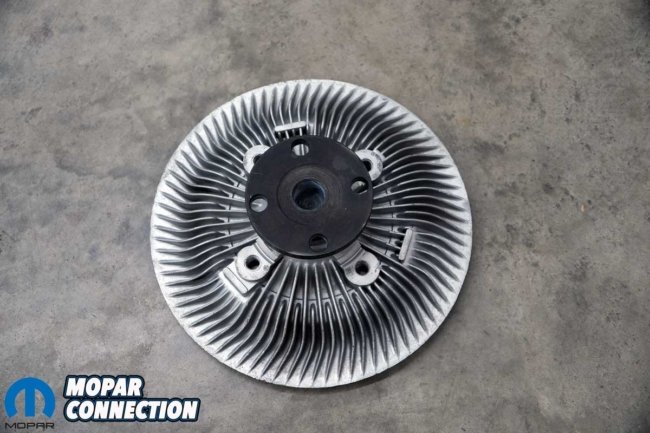
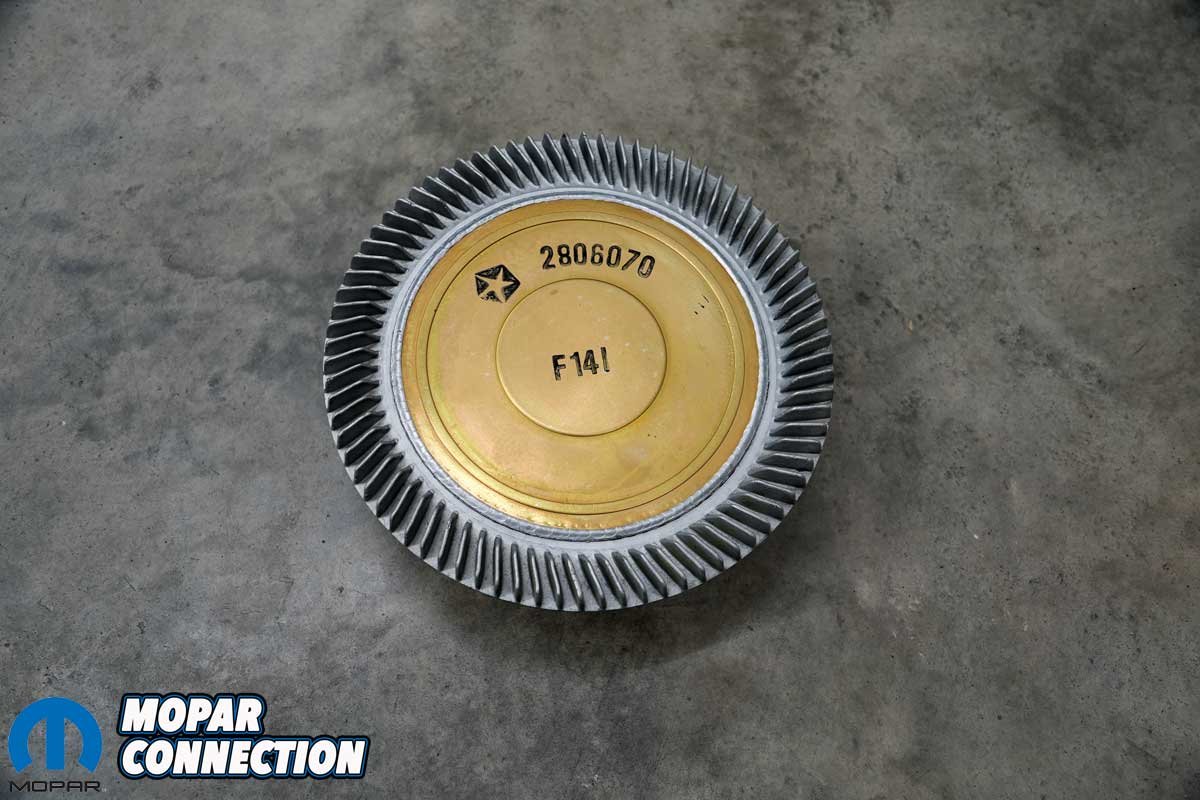
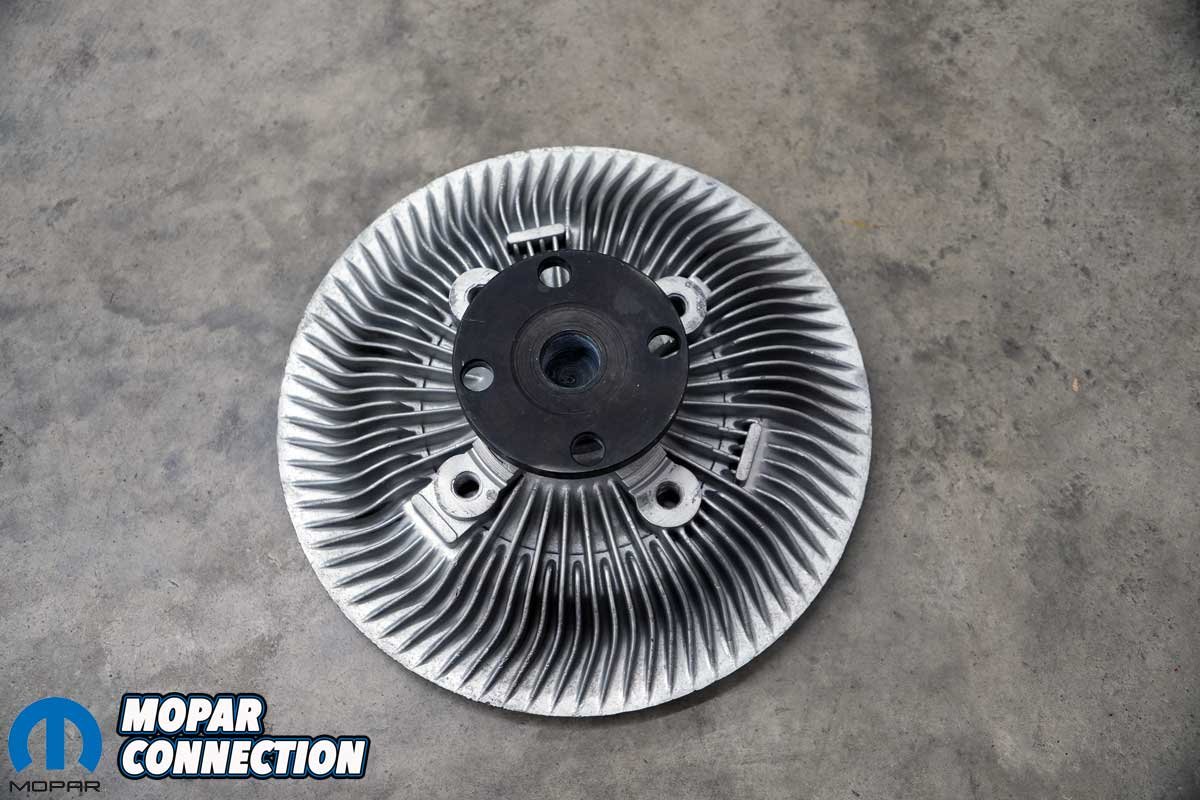
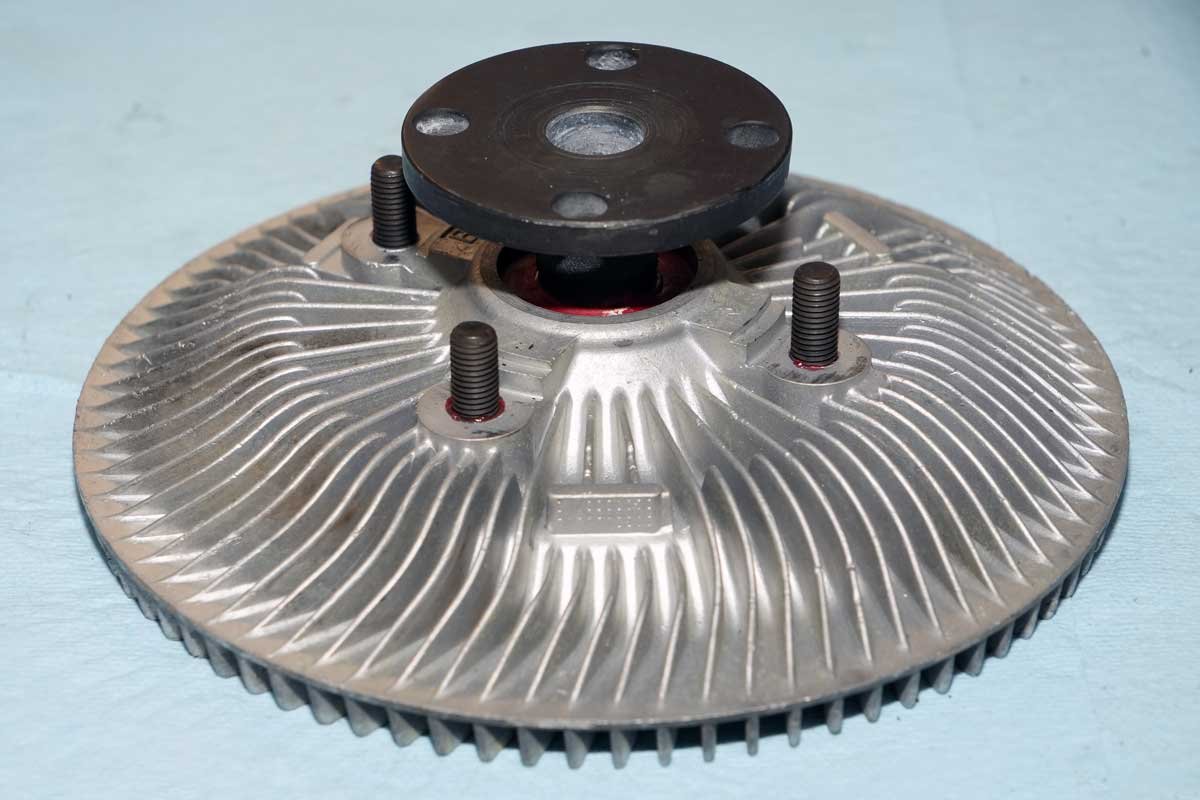
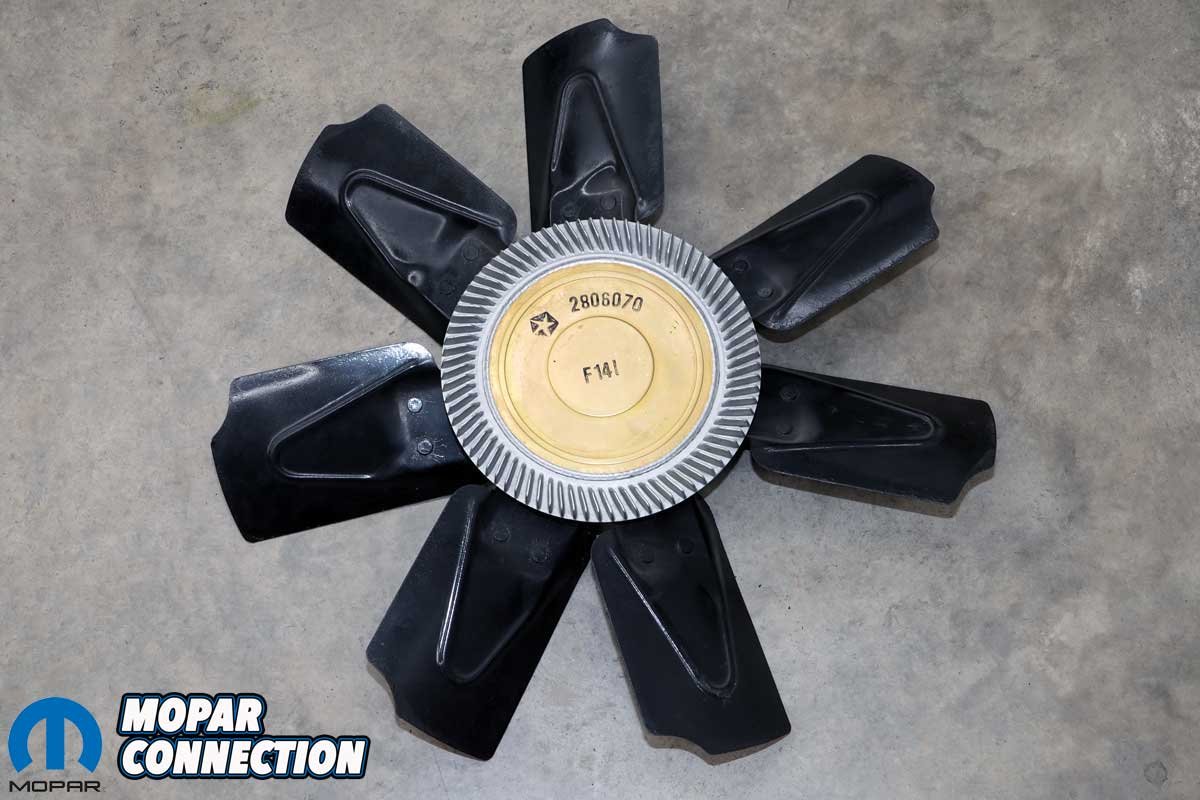
Above Left: The factory non-thermal fan clutch we sent out in June returned much sooner than expected. The zinc plating looked great, and it had all the factory stampings replicated. Above Right: The aluminum housing had been cleaned. It too looked outstanding. All the fins were in good shape before shipping, so no repairs were needed.
To our surprise, the clutch was rebuilt and returned during the first week of August, far earlier than expected. When we opened the shipping box, we were even more impressed by the quality and appearance of the finished clutch.
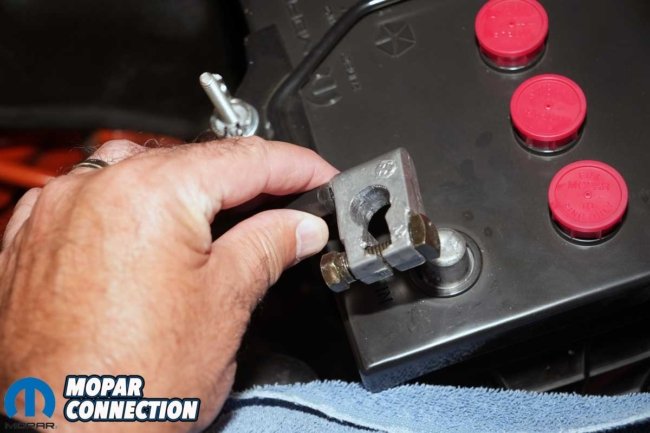
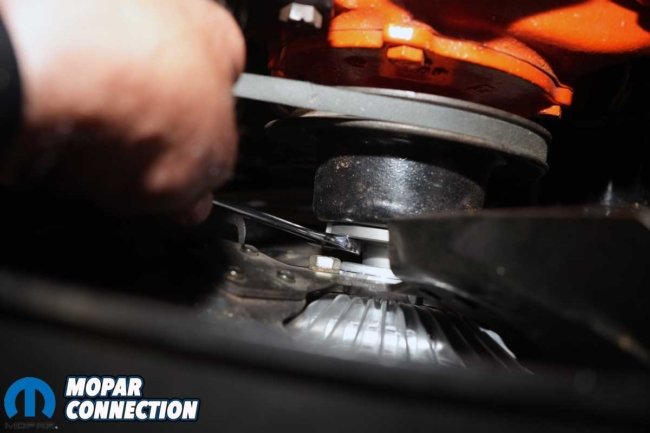
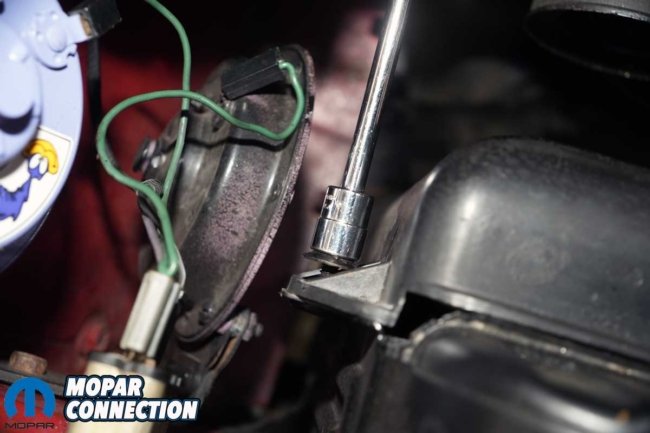
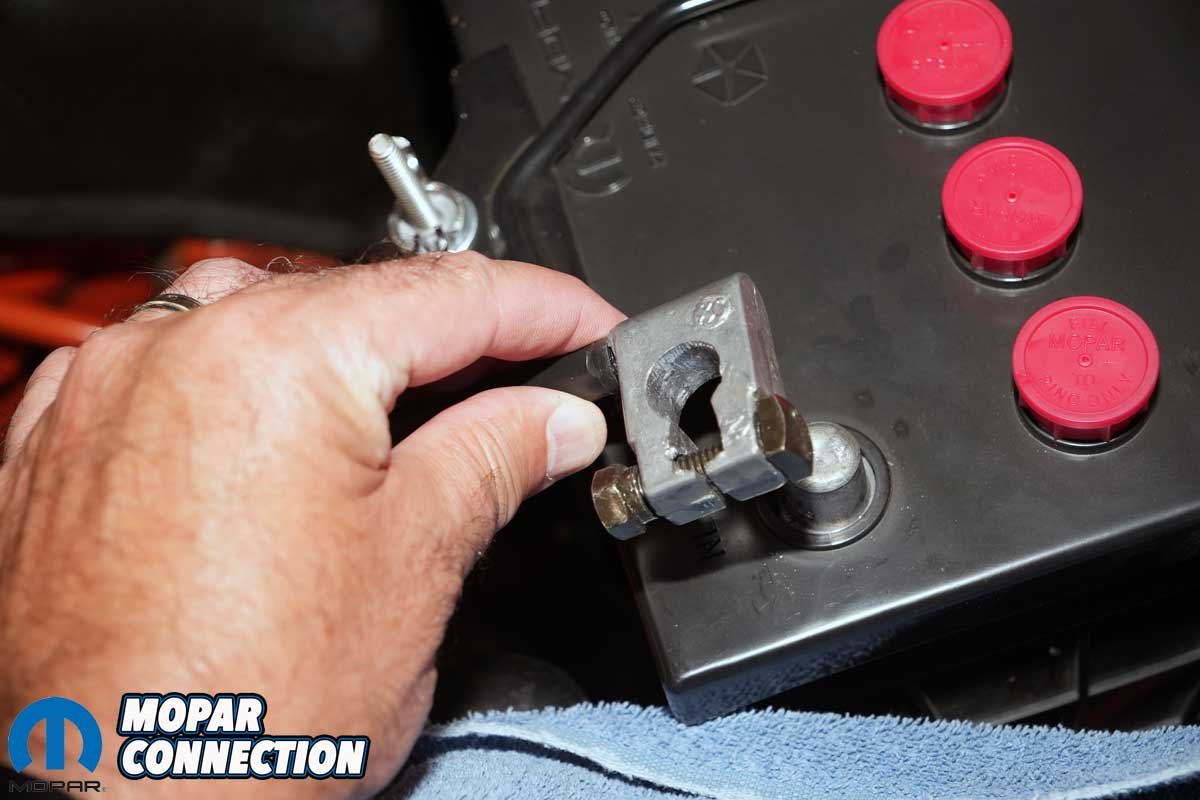
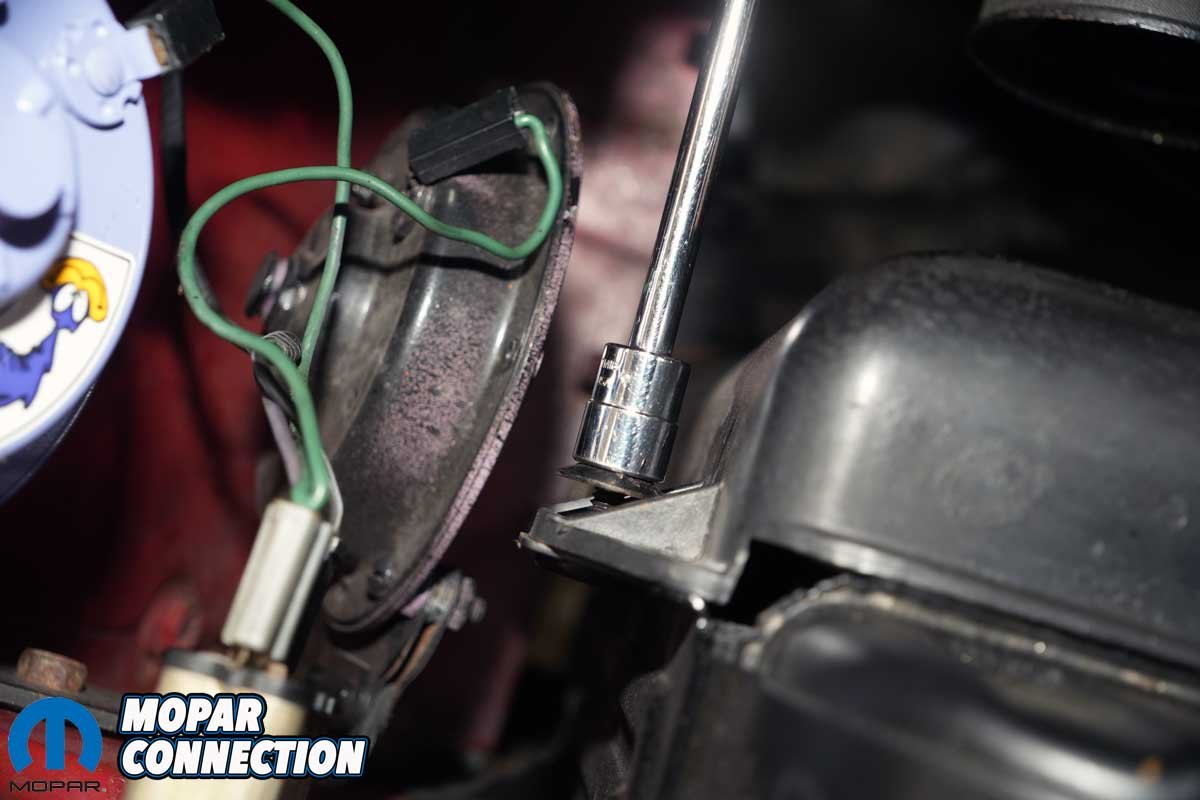
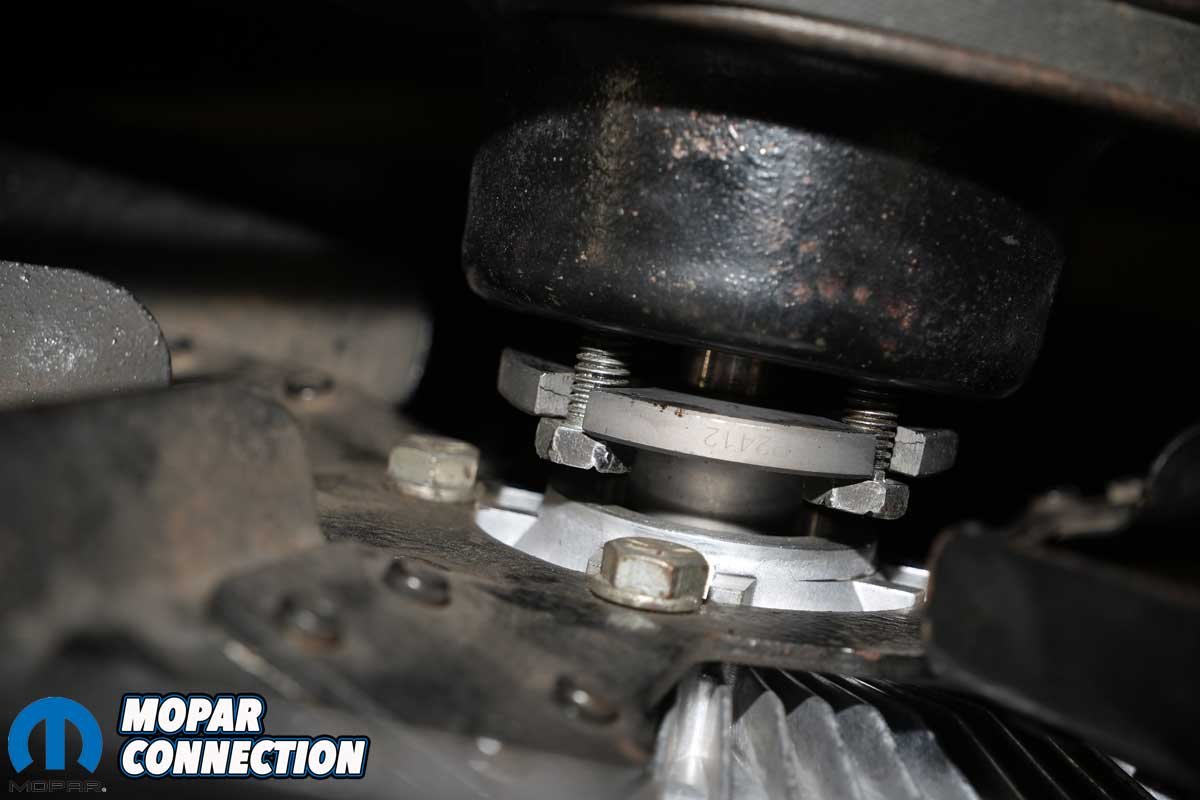
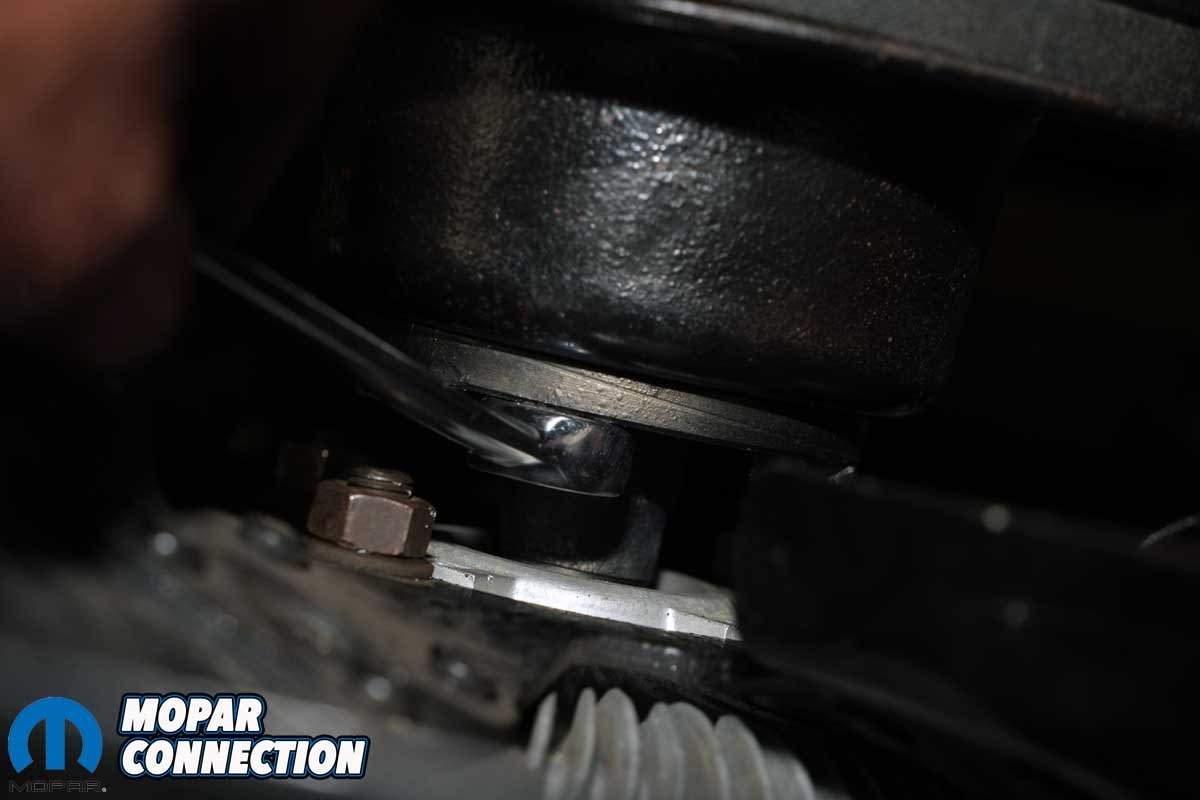
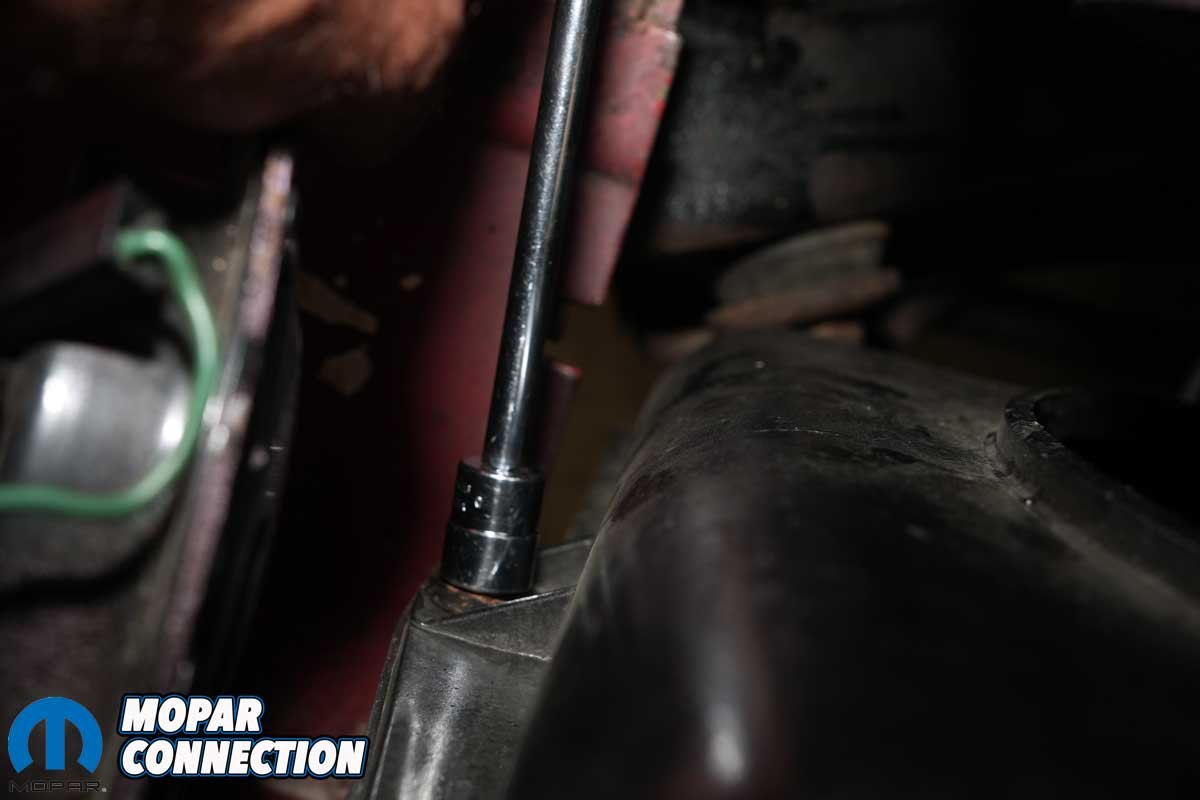
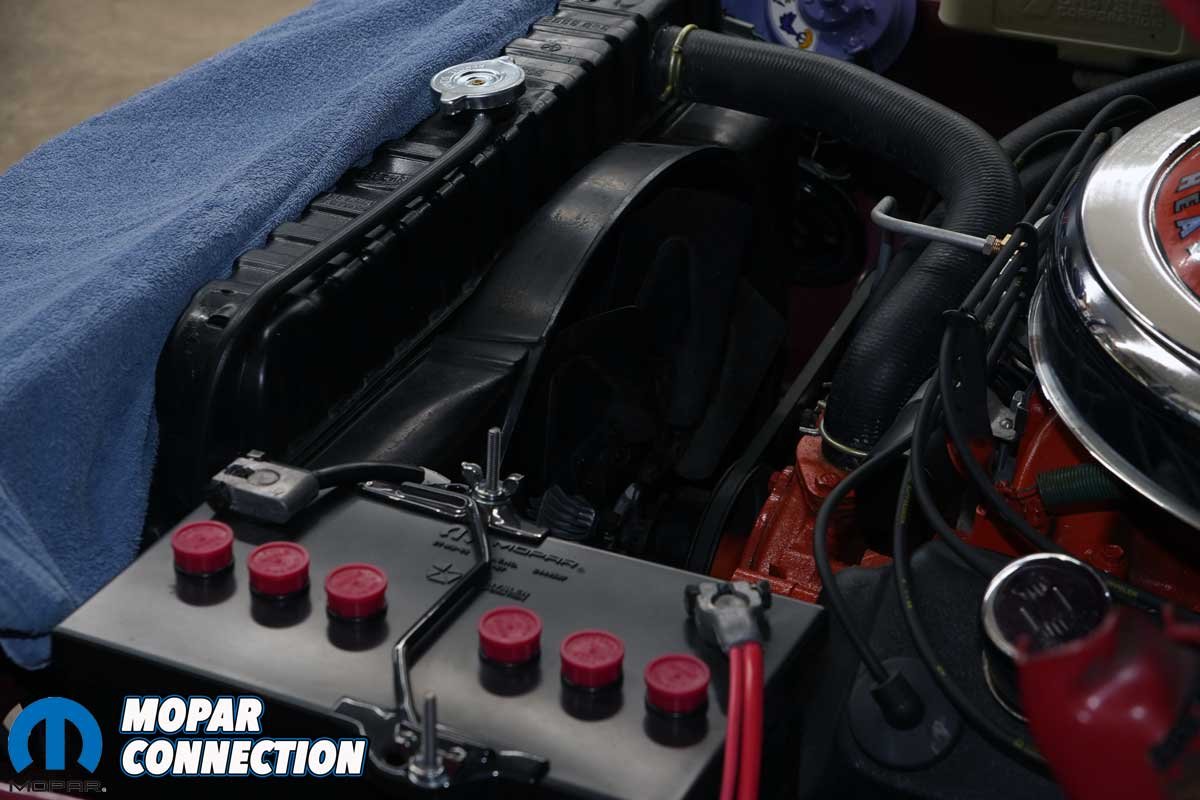
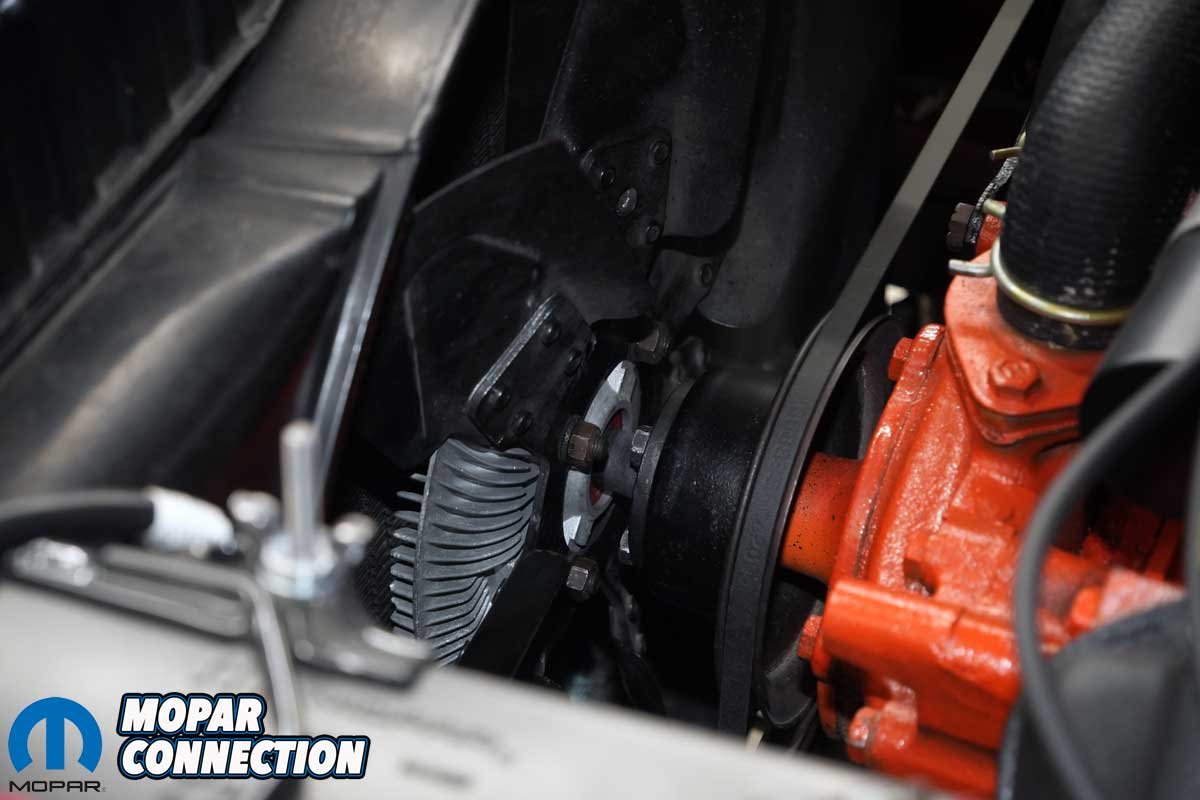
Above Left: Before we started working, we disconnected the negative battery cable from the battery. Above Center: The clutch flange-to-water pump drive bolts (4) were loosened but not removed at this time. Above Right: The shroud fasteners (5) were removed, so the shroud could be moved as necessary to get the fan/clutch assembly out of the engine bay.
The first thing that caught our attention was the front cover of the housing. The zinc plating featured a yellow-gold iridescent chromate finish that closely mimicked the original factory appearance. It was an impressive detail that immediately gave the rebuilt clutch the look of an original component rather than a freshly refurbished part.
The aluminum housing had also been thoroughly cleaned. Although our housing did not require any fin repairs, Kirkconnell Corvettes could have handled that work as part of the restoration if necessary. The mounting flange and shaft were refinished in the correct factory black.
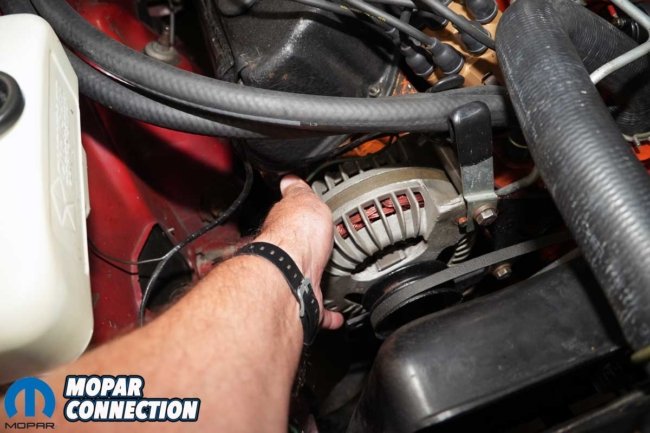
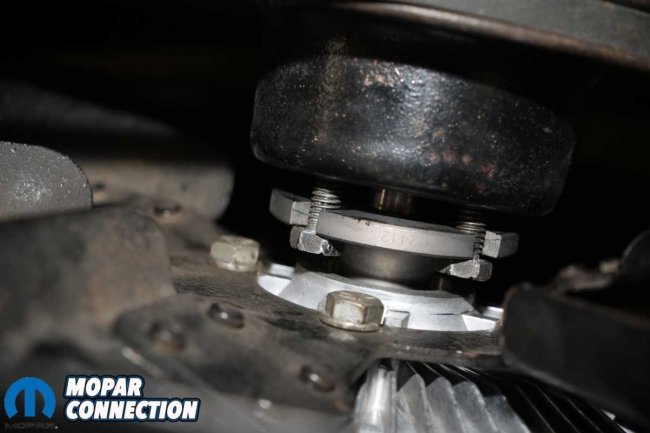
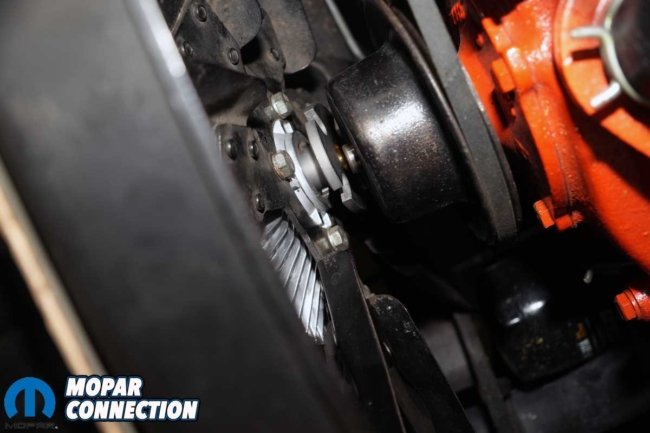
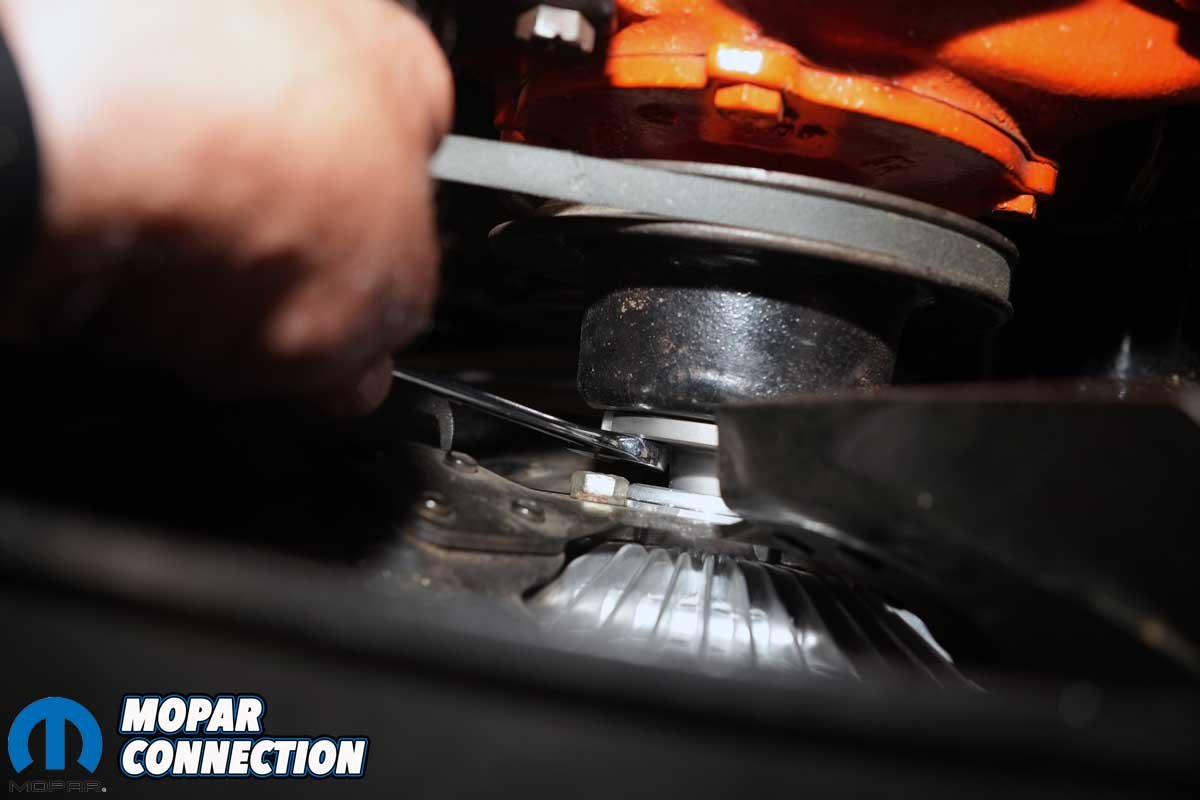
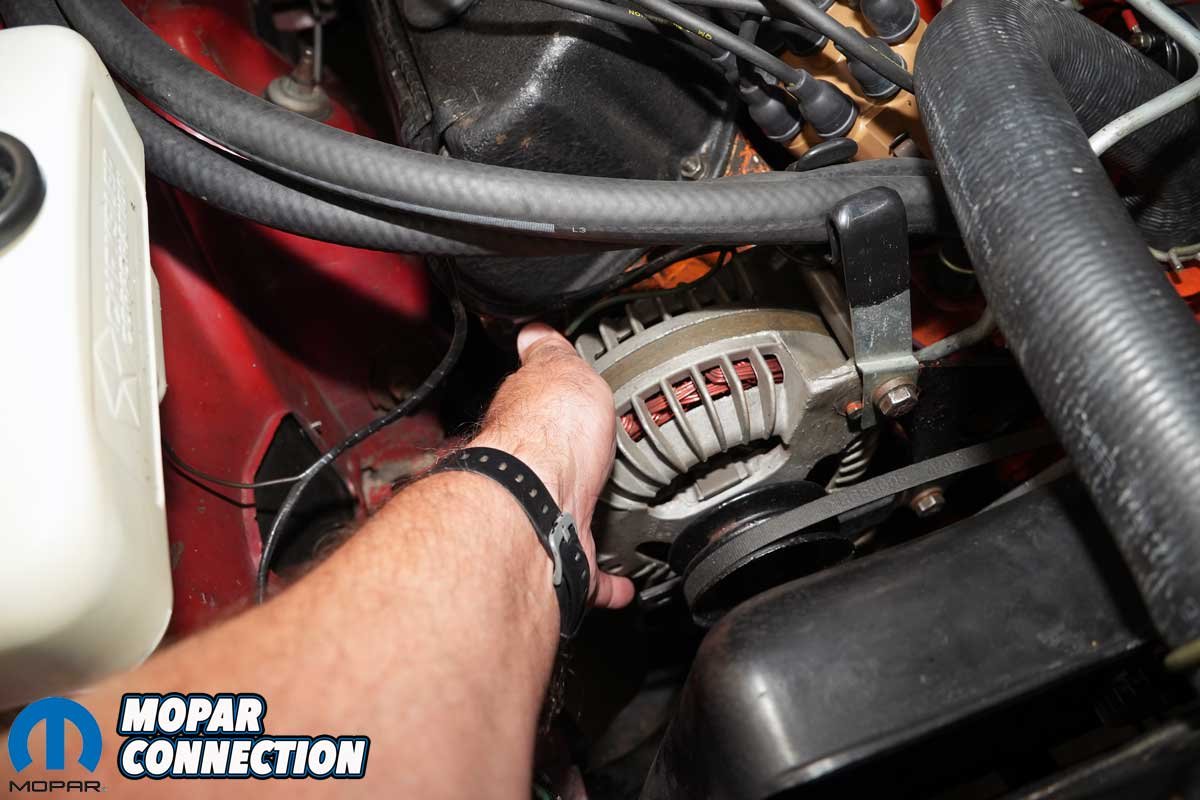
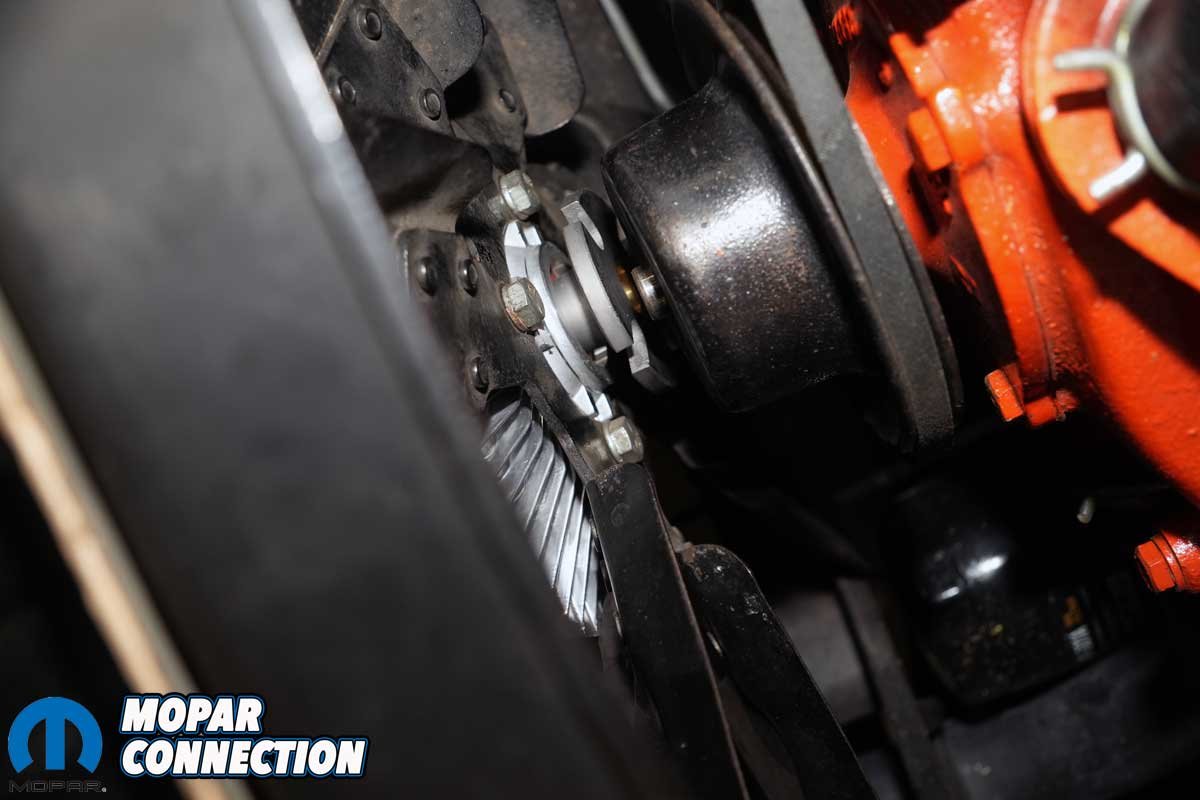
Above Left: The alternator had to be loosened to allow the water pump pulley to rotate freely. Above Center: We systematically loosened each bolt to allow the flange to drop off the water pump shaft. Above Right: After slipping a piece of cardboard between the fan clutch assembly and the radiator surface, all four bolts were removed.
Finally, we had asked that the clutch be restamped with the original part number, 2806070, along with the build date, F14I. The reproduction stampings were an especially nice touch, with the font closely matching the original factory markings.
With the factory clutch back in hand, it was time to remove the Hayden clutch and reinstall the original assembly. We followed essentially the same procedure we had used when installing the Hayden clutch.
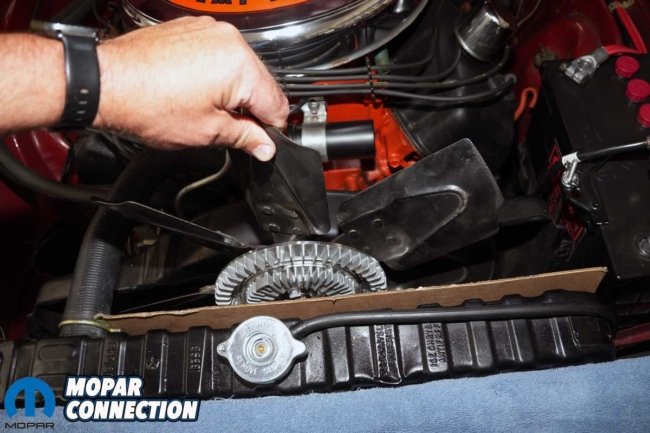
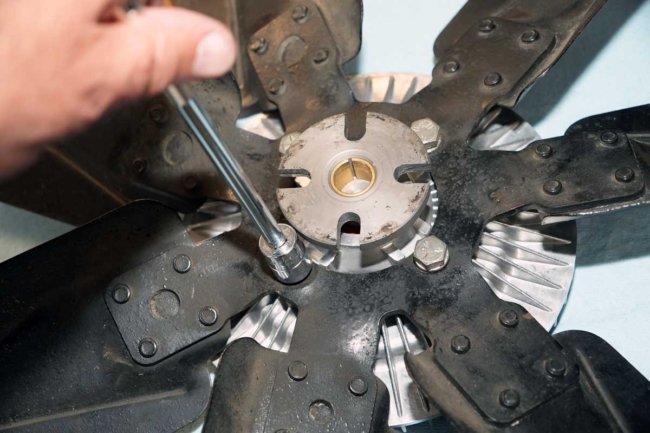
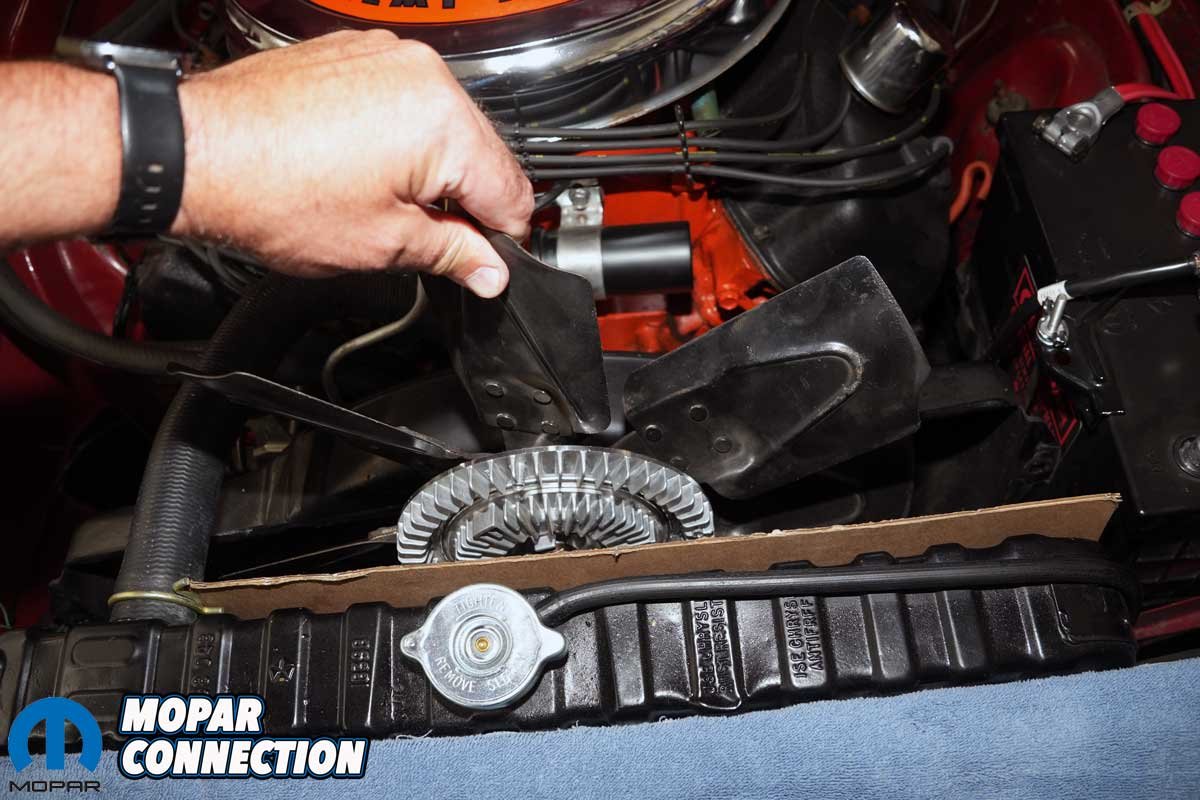
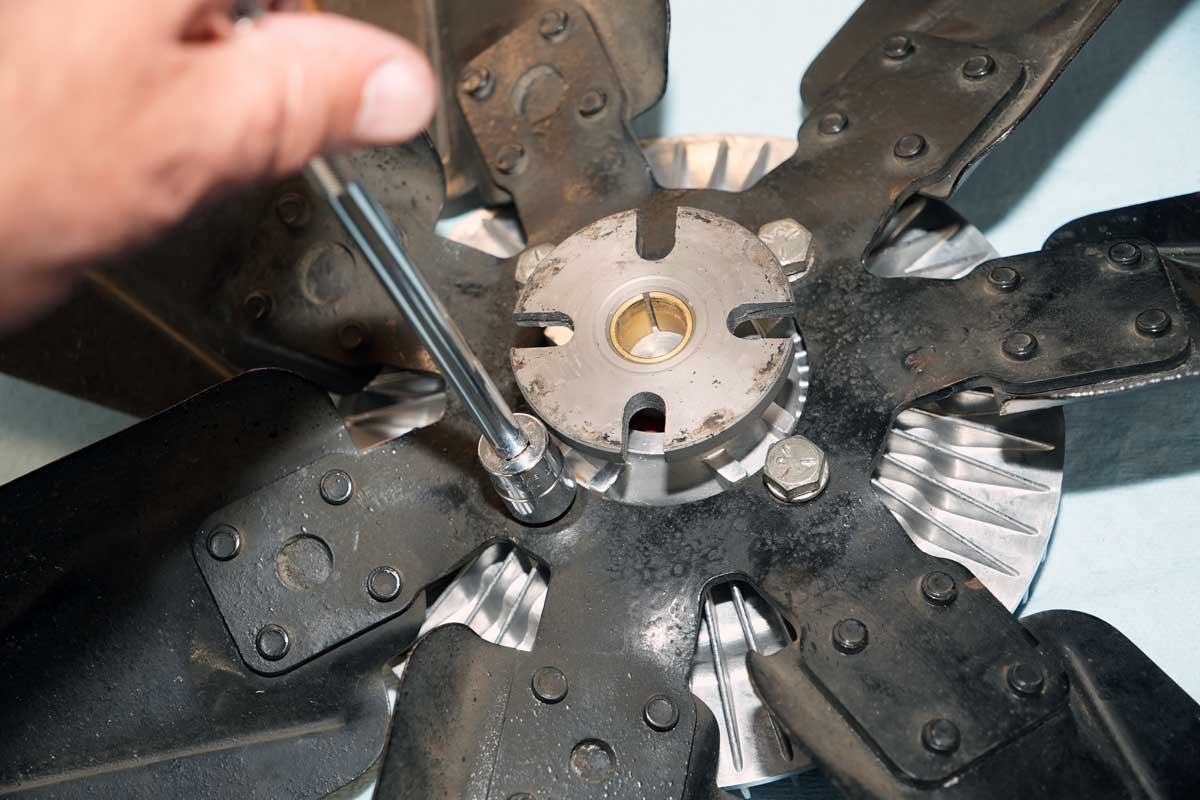
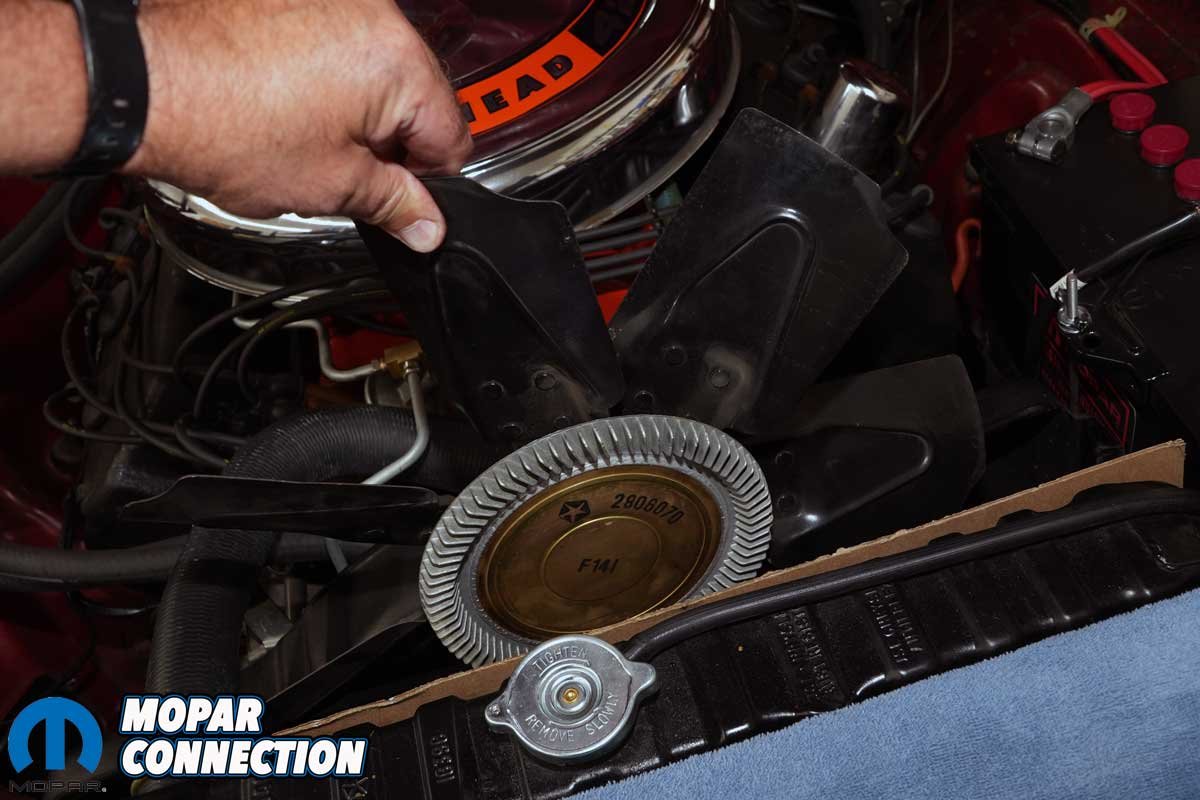
Above Left: The fan assembly slipped out between the shroud and the cardboard-protected radiator. Above Right: The fasteners (4) that held the fan to the clutch were removed and returned to another fan assembly for another project.
We began by disconnecting the negative battery cable and then loosening the four bolts securing the fan clutch to the water-pump drive. With those bolts loosened, we backed off the alternator mounting bolts to relieve tension on the accessory belt.
Before removing the four fan-clutch mounting bolts, we removed the five bolts attaching the fan shroud to the radiator. Once the shroud was detached, we placed a piece of cardboard between the radiator core and the fan assembly to protect the radiator fins during removal.
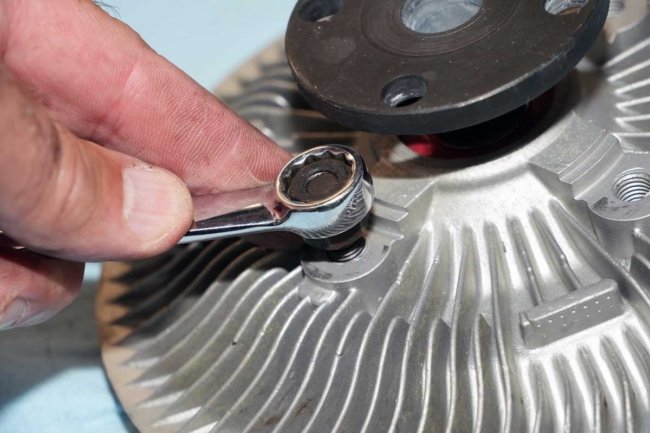
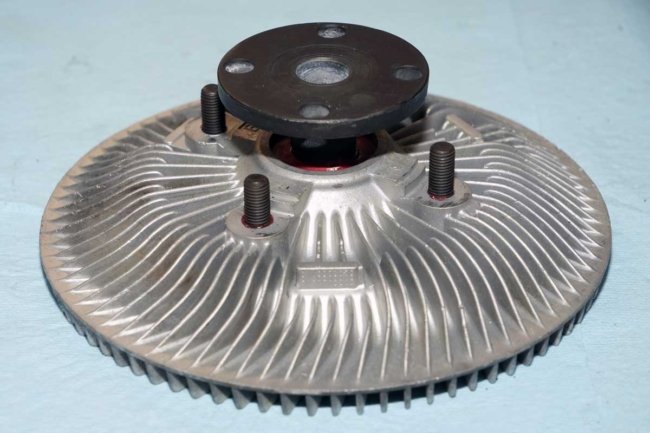
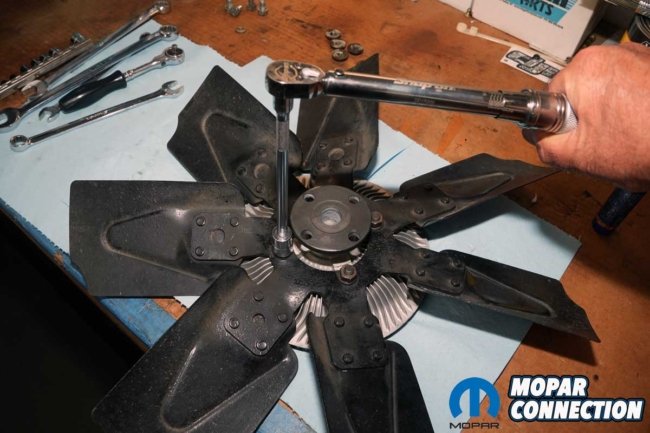
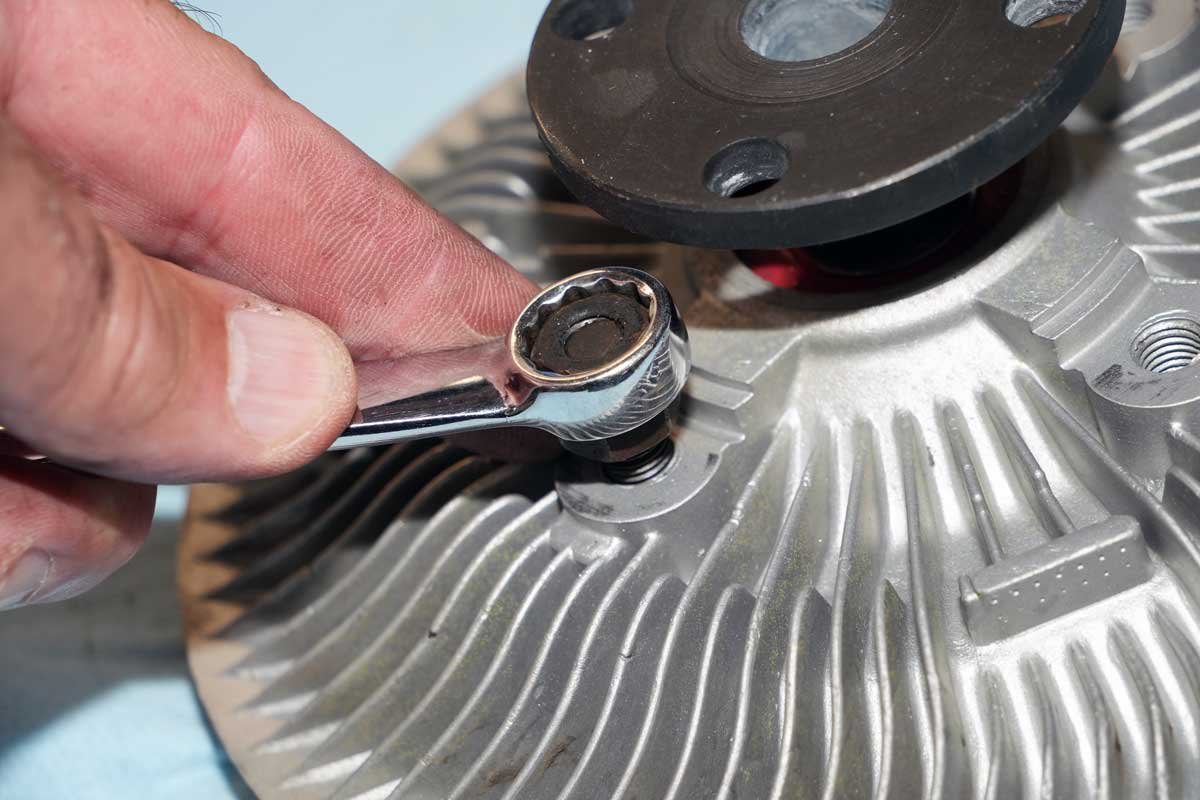
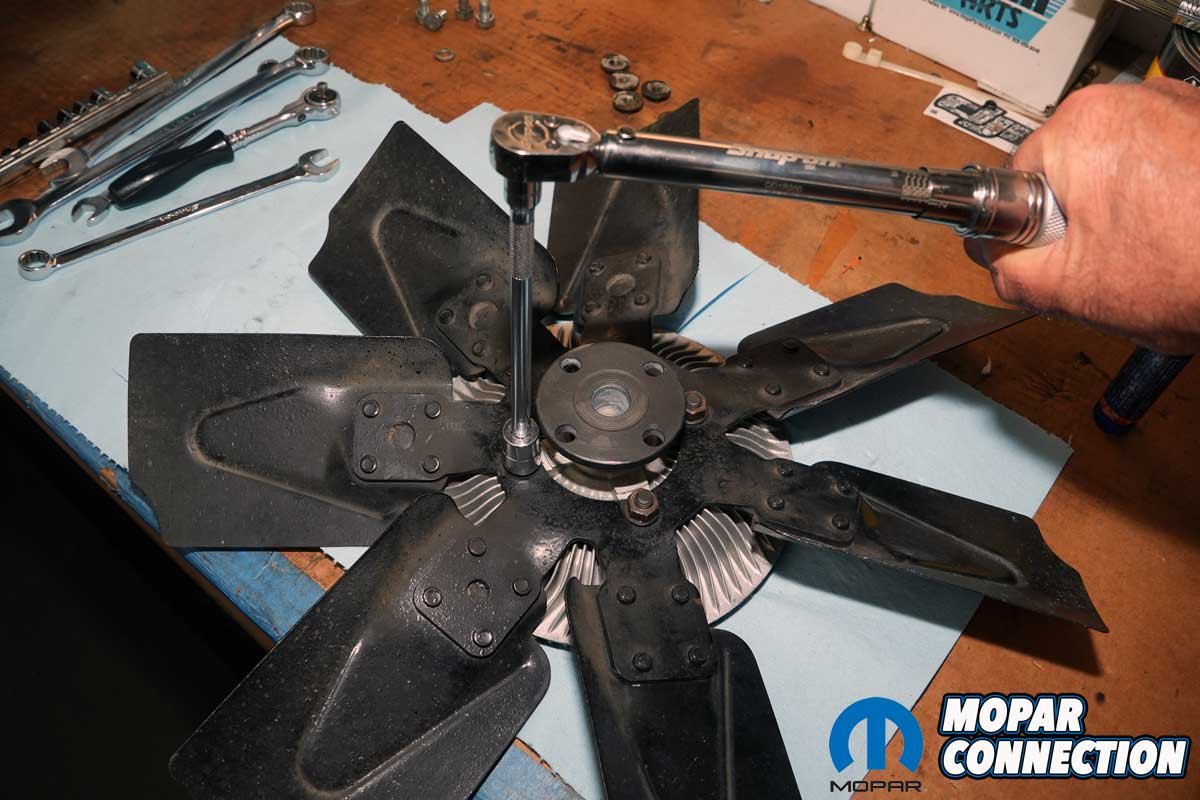
Above Left: The original studs were reinstalled in the clutch. A double nut technique was employed to thread each stud into place. Above Center: Each stud was installed with a drop of thread locker to ensure they would not back out. Above Right: A washer and nut were installed and torqued onto each stud.
After removing the mounting bolts, we pushed the shroud rearward toward the engine and slipped the fan assembly between the cardboard and the shroud. With the fan assembly safely on the workbench, we removed the four additional fasteners that secured the fan to the clutch.

Before sending the factory clutch out for restoration, we had removed the four original mounting studs. With the rebuilt clutch returned, we reinstalled the studs and positioned the fan over them. The original factory nuts were then installed and torqued to 120 in-lbs.
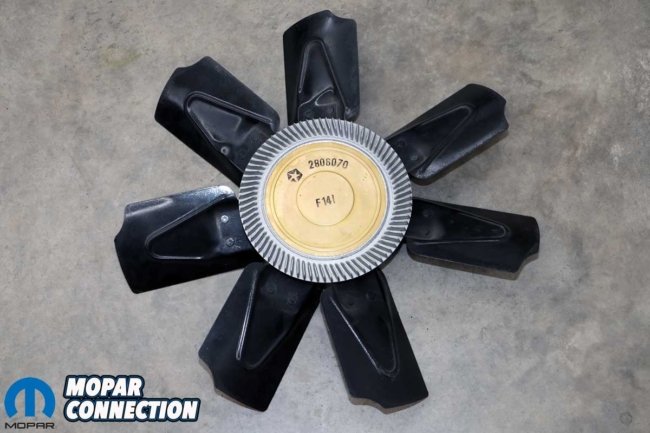
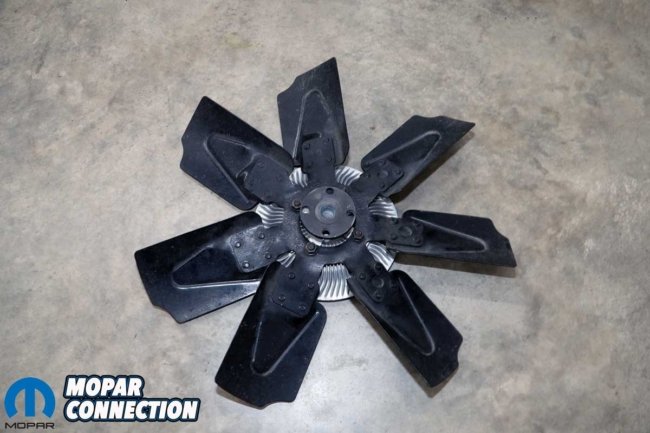
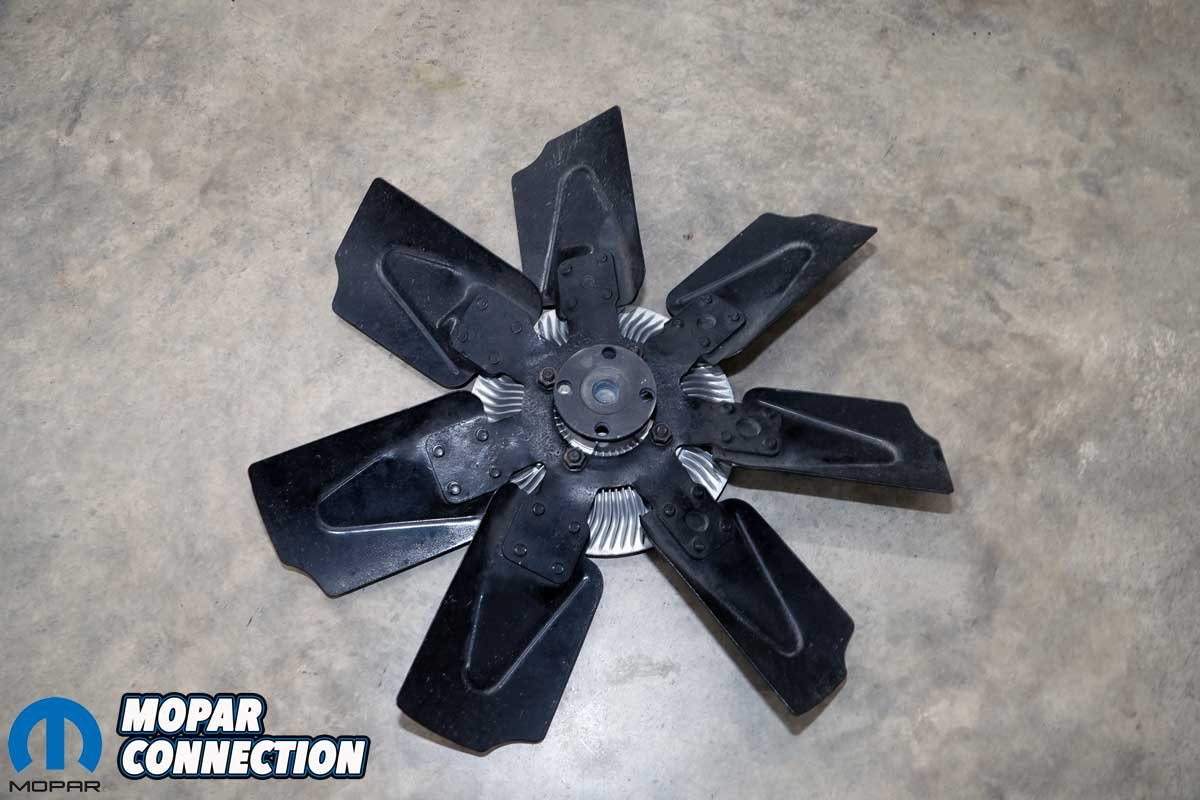
Above Left: The completed assembly looked like it did in 1968. We cleaned the fan but did not repaint it to keep it as original as possible. Above Right: The backside of the fan assembly looked just as nice as the front.
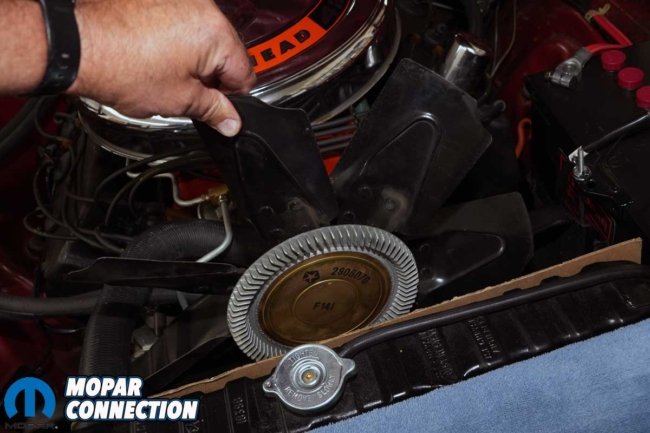
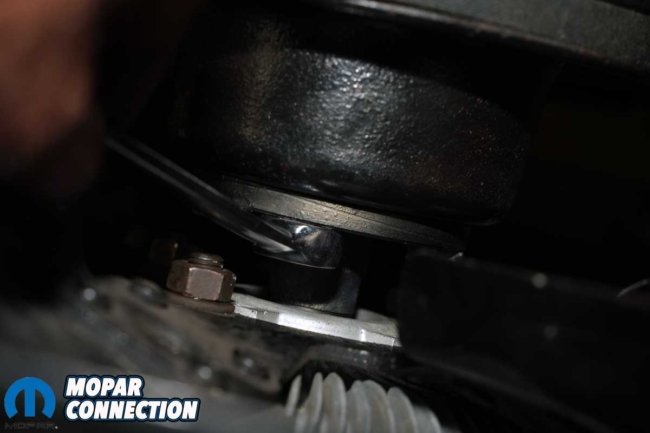
Above Left: The fan and clutch assembly slipped into place without any difficulty. Above Right: Each original fastener was installed a few threads at a time. All the bolts and studs had thread locker applied to ensure they would not loosen over the ensuing years.
With the fan secured to the clutch, we slipped the fan assembly back between the shroud and the cardboard. We aligned the mounting holes through the clutch flange, water pump pulley, and water pump drive, then hand-tightened all four bolts.
To get the shroud out of our way and properly positioned, we removed the cardboard from the radiator and reinstalled the shroud using its five original fasteners. Next, we tightened the alternator to restore the proper tension to the accessory belt.
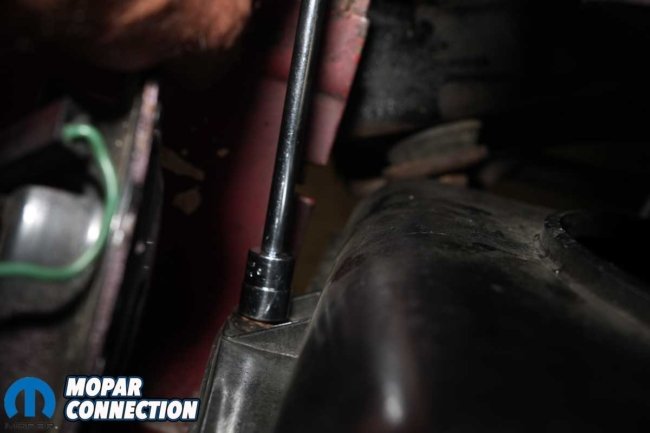
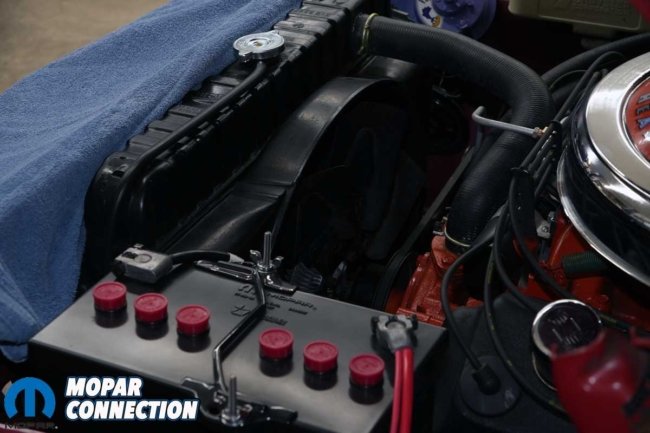
Above Left: The shroud fasteners were all reinstalled. We checked for any fan blade-to-shroud interference, but since everything was factory original, we did not expect and did not find any problems. Above Right: We tightened the alternator, secured each fastener at the water pump shaft, and reattached the negative battery cable.
With the belt properly tensioned, we tightened the four clutch mounting-flange bolts. Our final steps were to reconnect the negative battery cable and reset the factory clock.
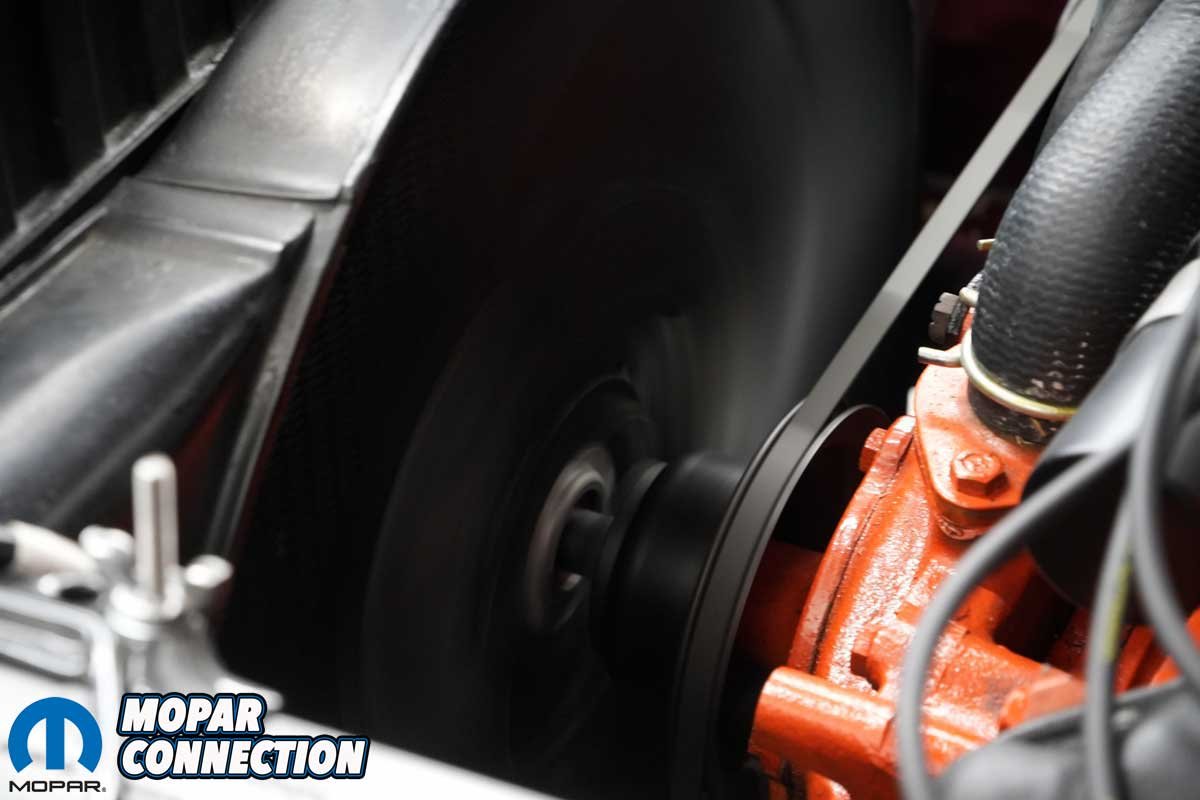
When we turned the ignition key, the Hemi jumped to life. We immediately watched the fan clutch for any sign of the wobble we had experienced before the restoration. There was none. The clutch operated smoothly and ran true.
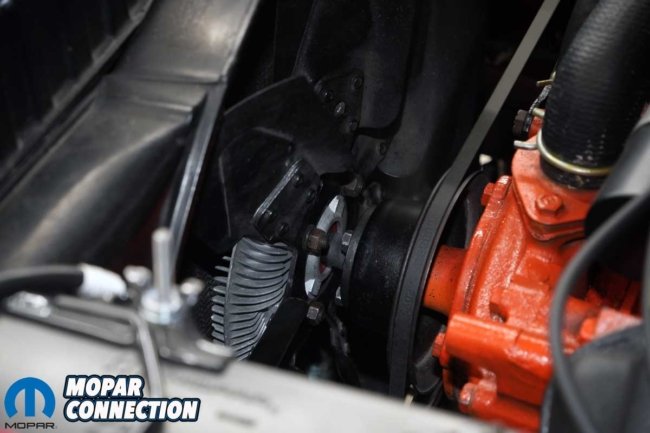
Above: With everything tightened, we did one more overview of the fan blades, the shroud, the clutch assembly, and the belt/pulley. Everything looked good.
During our subsequent test drives, the coolant temperature remained steady in the lower range of the engine temperature gauge. With the original clutch restored and back in service, the Hayden replacement could finally be retired.
In the end, restoring the original fan clutch was worth the wait. We could have left the Hayden clutch in place and moved on, but keeping the factory components on the car has always been important to us. The restored 2806070 not only looks right, down to the plating and factory-style stampings, but it also performs exactly as it should.
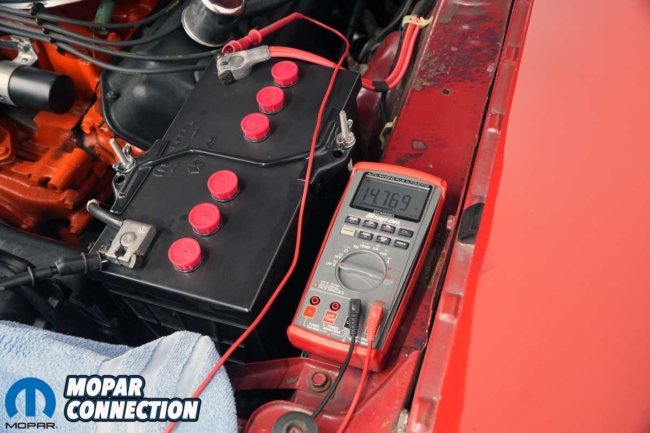
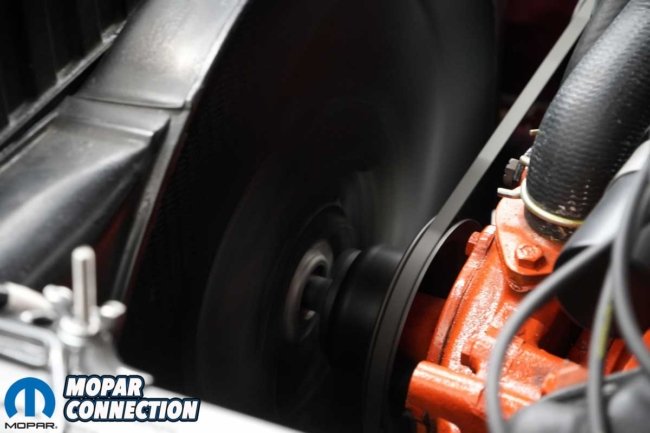
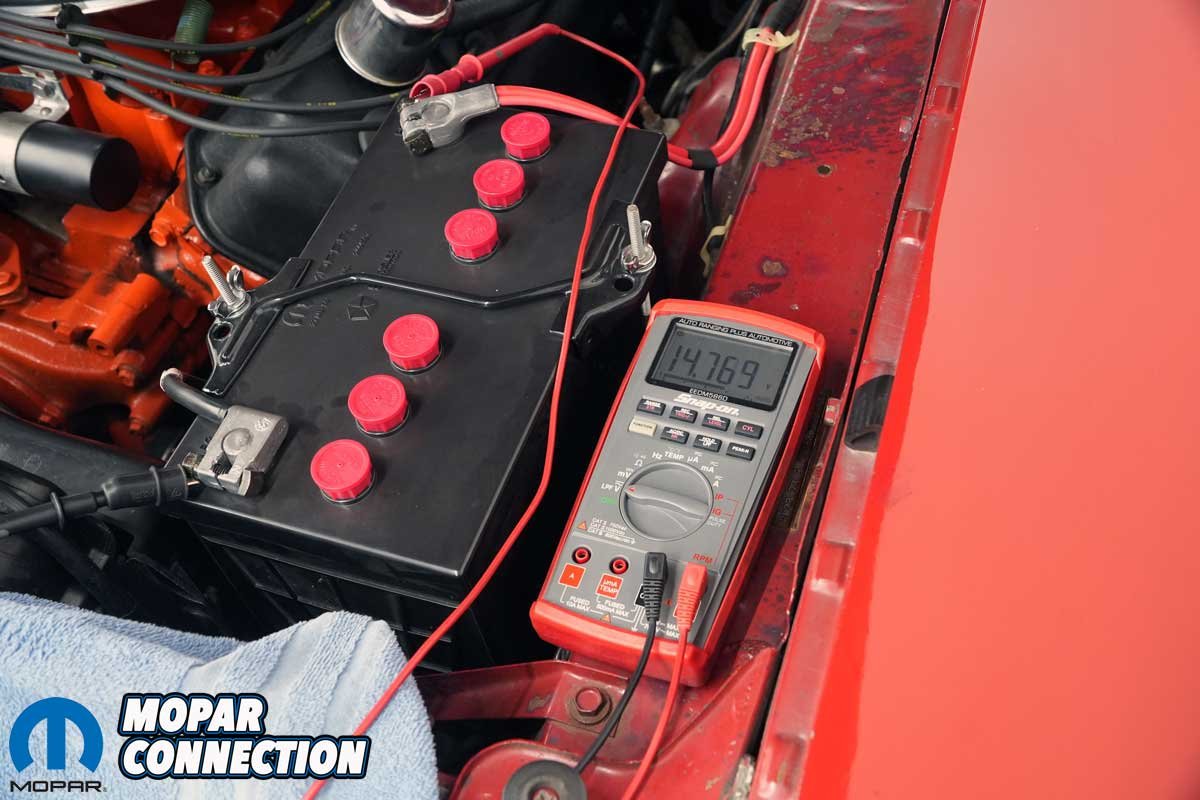
Above Left: Since we had moved the alternator for the fan removal, we quickly checked the battery charging voltage with the engine running. It was in our target range of 13.5V to 15V. Above Right: The fan wobble we were experiencing was gone. The fan assembly spun smoothly, and on subsequent drives, the non-thermal fan clutch helped to maintain the coolant temperature in the low range of the engine temperature gauge.
After more than 50 years, it is satisfying to see an original component like this returned to service, not just preserved for its historical value, but actually doing the job it was designed to do.