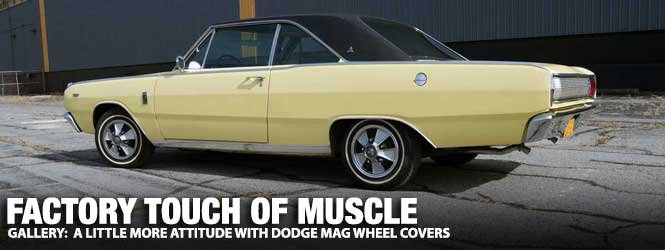
Two schools of thought exist when it comes to modifying an old car. Some enthusiasts think a stock vehicle is boring and believe modifications are necessary to make it more interesting. Others feel that changing anything takes away from the car’s originality, value, and potential resale.
When it comes to our ’67 Dart, we fall somewhere in the middle. We like tasteful, period-correct upgrades that add a little more personality without taking away from what made it appealing in the first place.
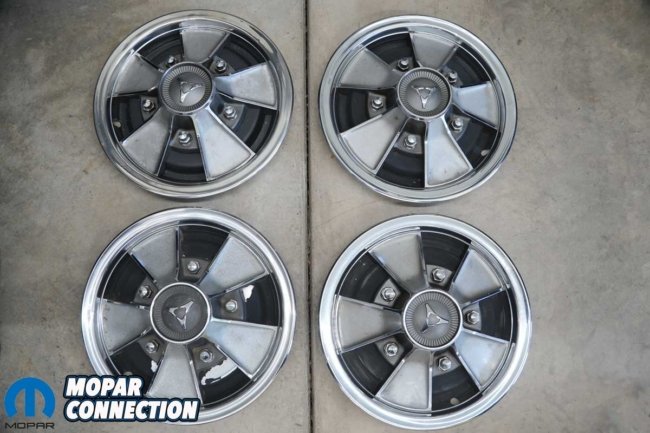
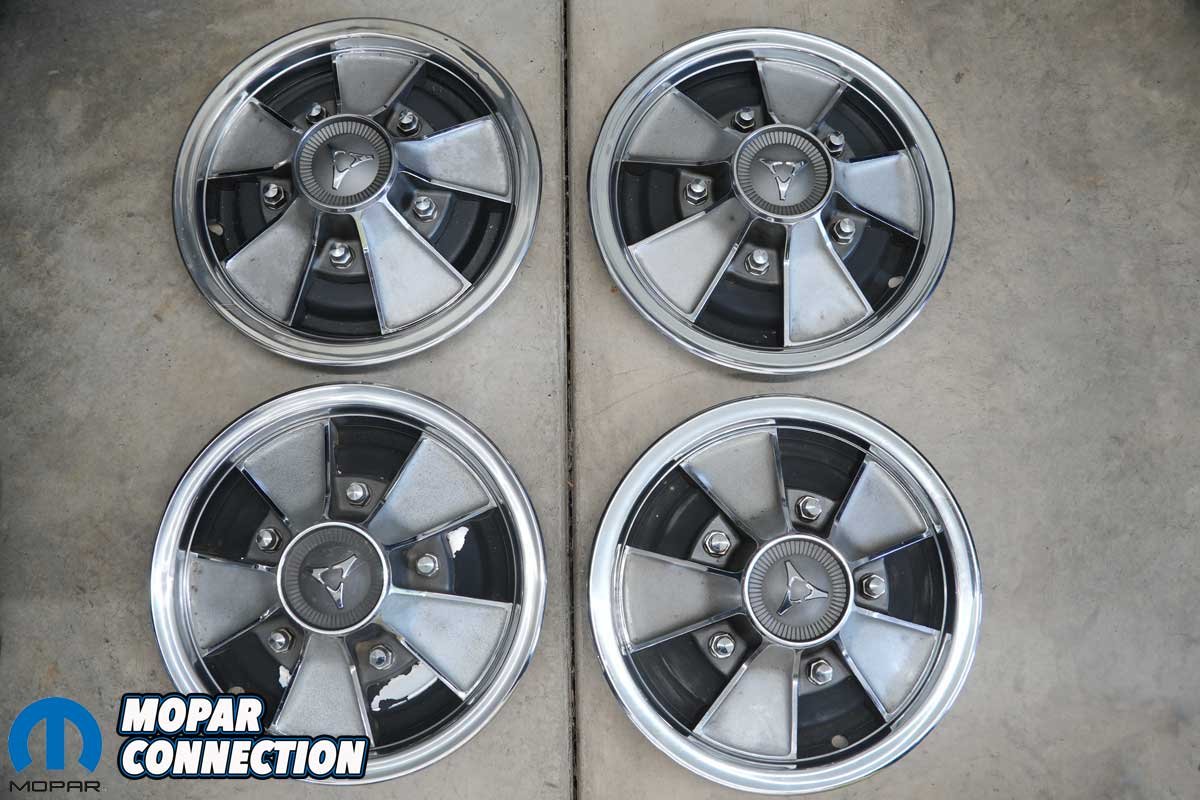
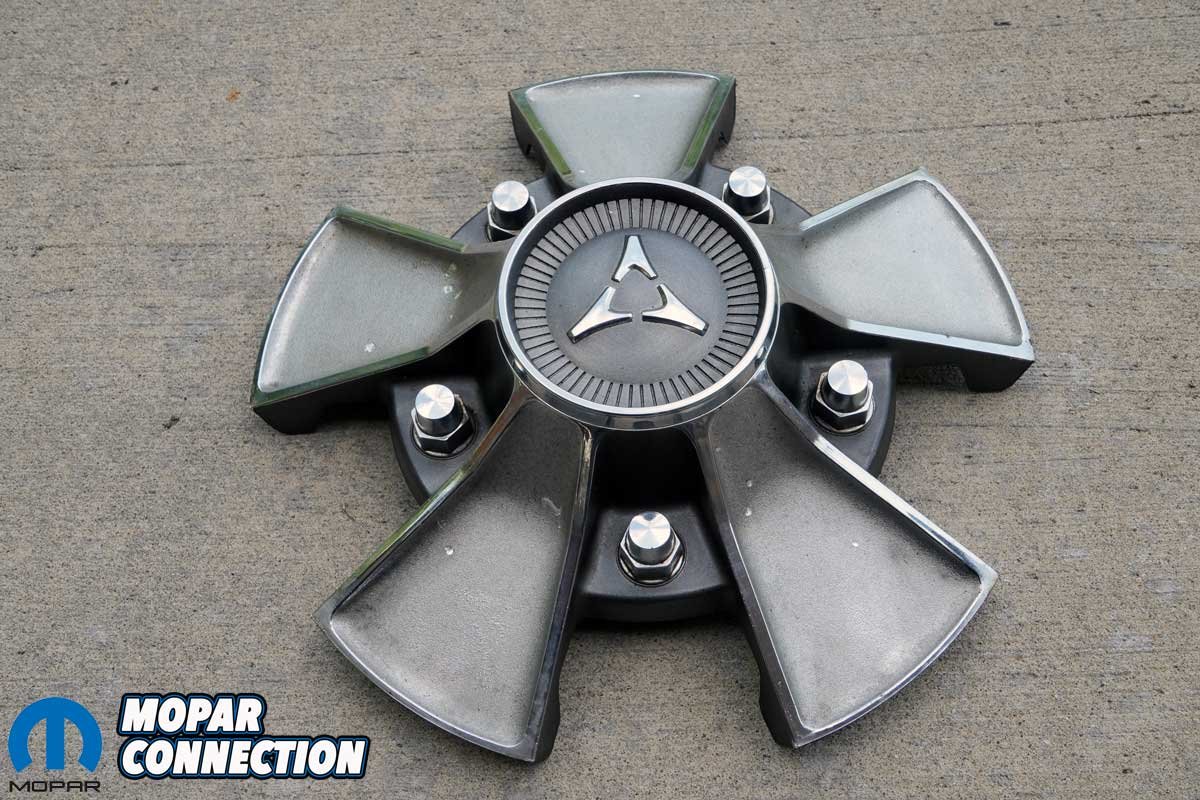
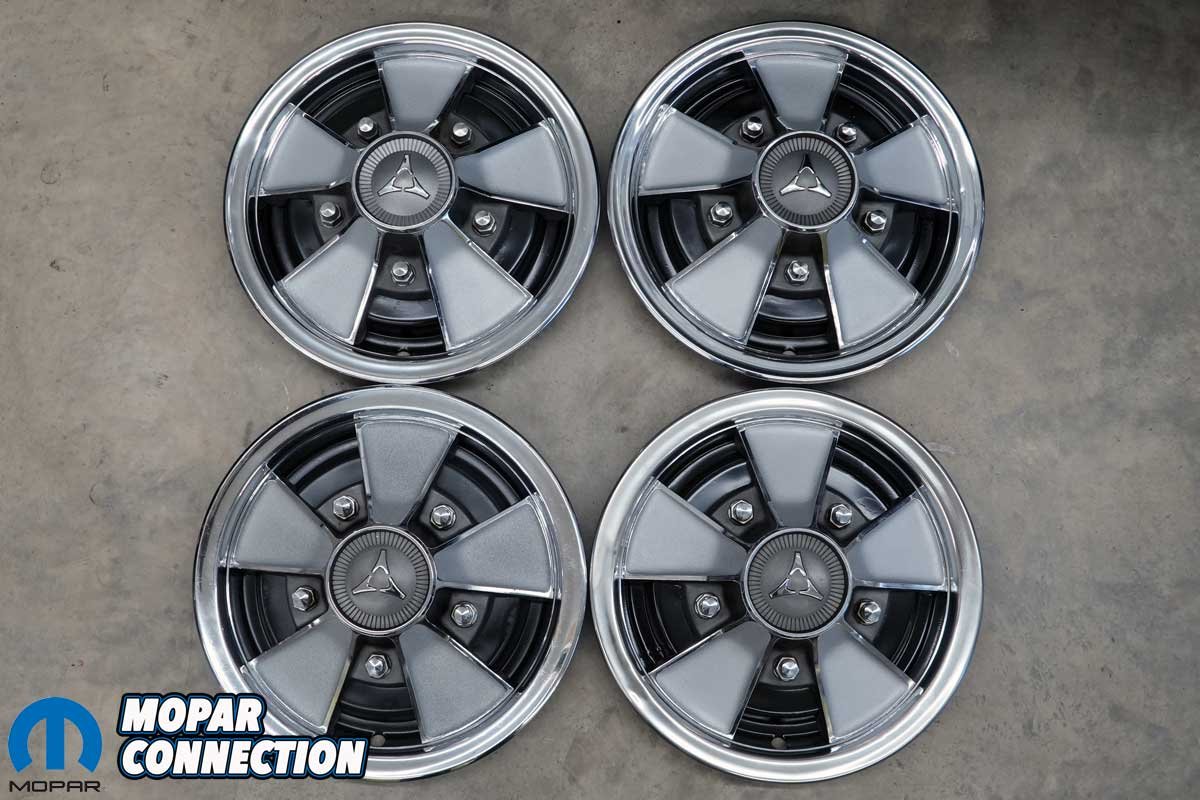
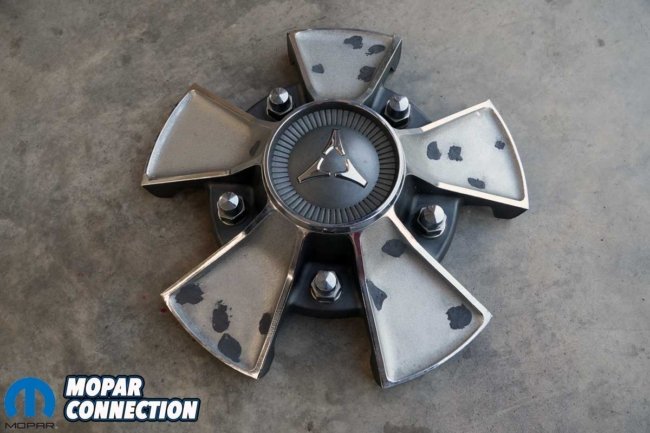
Above: After installing the new dual exhaust on our ’67 Dart, we wanted to continue the performance upgrade with flashier wheels. Rather than buying aftermarket wheels, we matched a set of Dodge “Mag” hubcaps, but each needed some repair.
We recently installed a new exhaust system from Classic Exhaust Systems and Mancini Racing, which gave the Dart a much better sound. With that project behind us, we thought it was time to do something about its appearance. The goal was to move the car a little further away from its grandmother’s grocery-getter image and give it more of a boulevard-cruiser look.
We kicked around the idea of installing aftermarket wheels but wanted something that would look at home on our Dart. Cragar SS and Keystone Klassics were obvious choices. Fenton, Motor Wheel, and Halibrand also offered some interesting alternatives, although their prices were considerably higher.
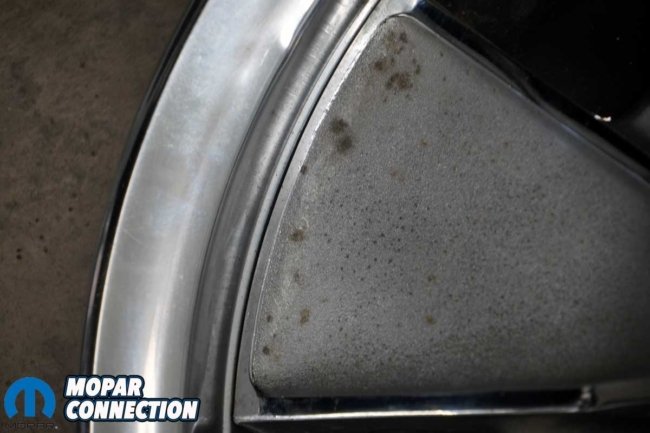
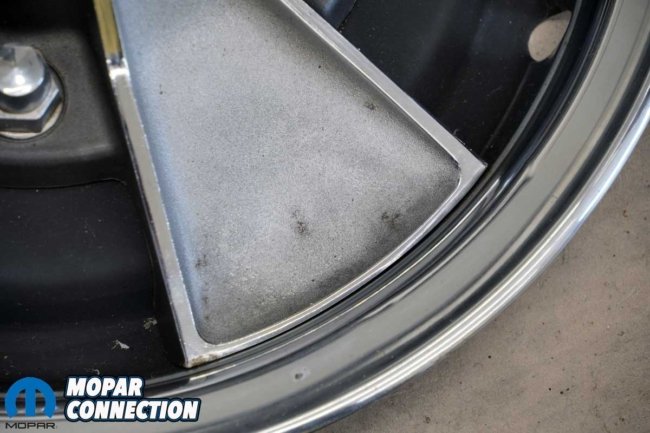
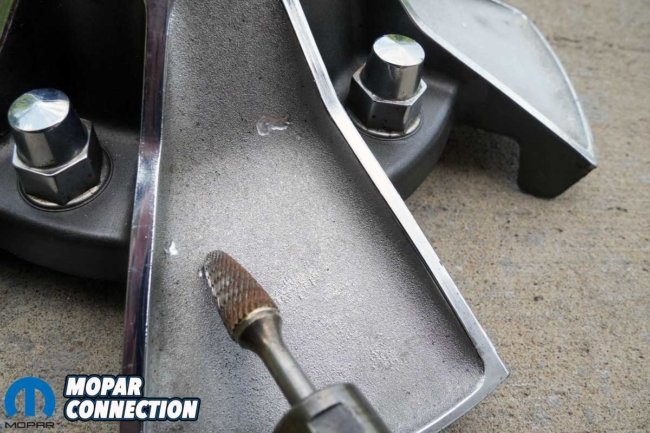
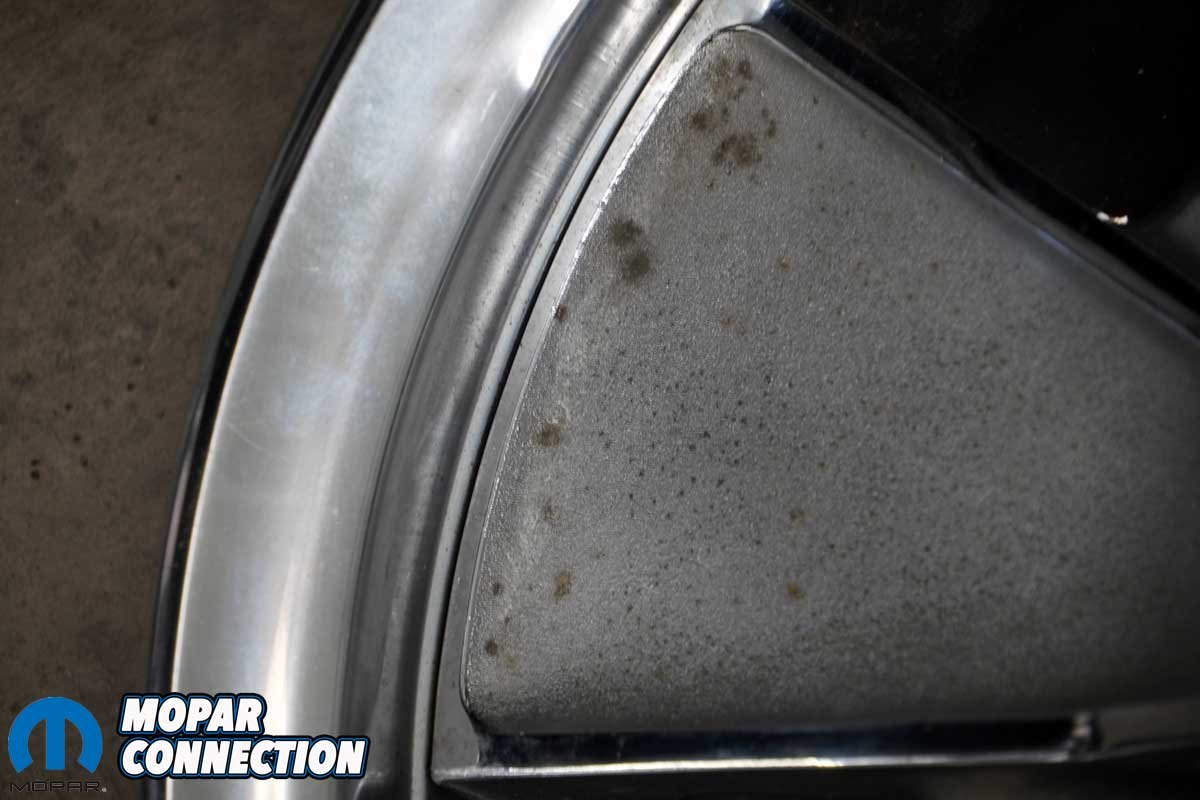
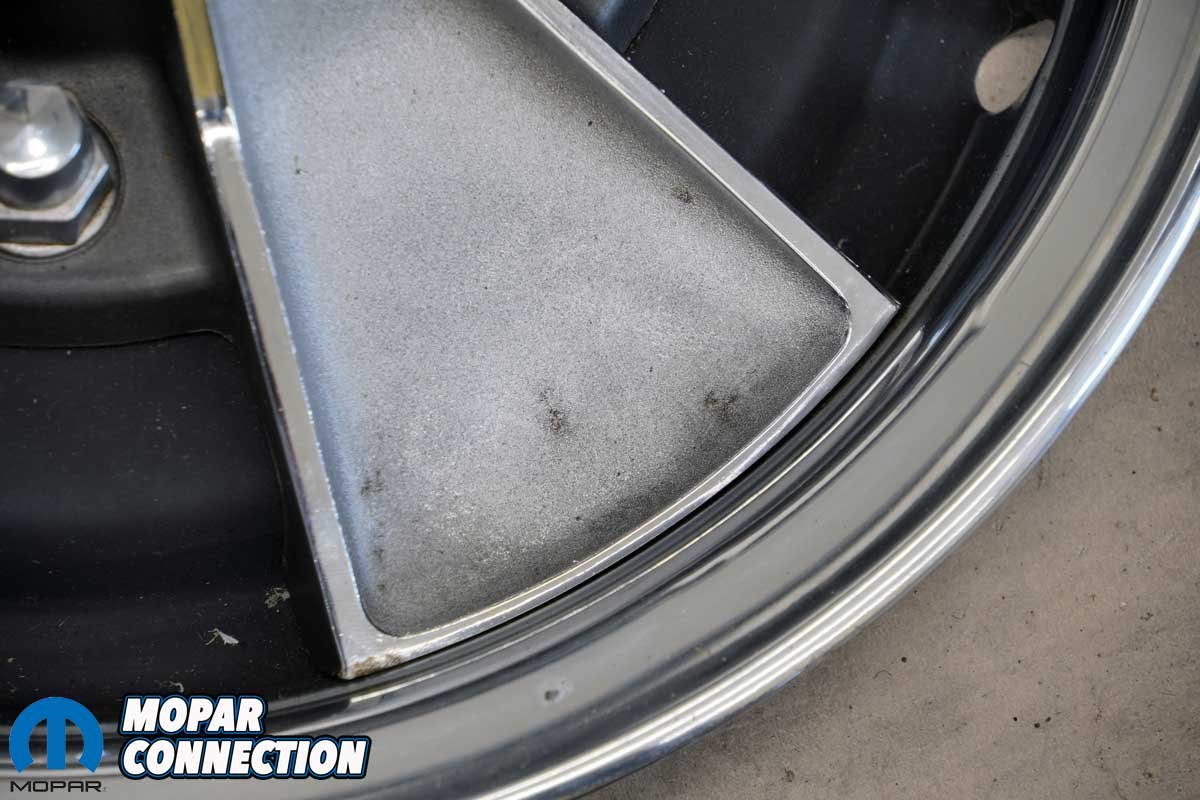
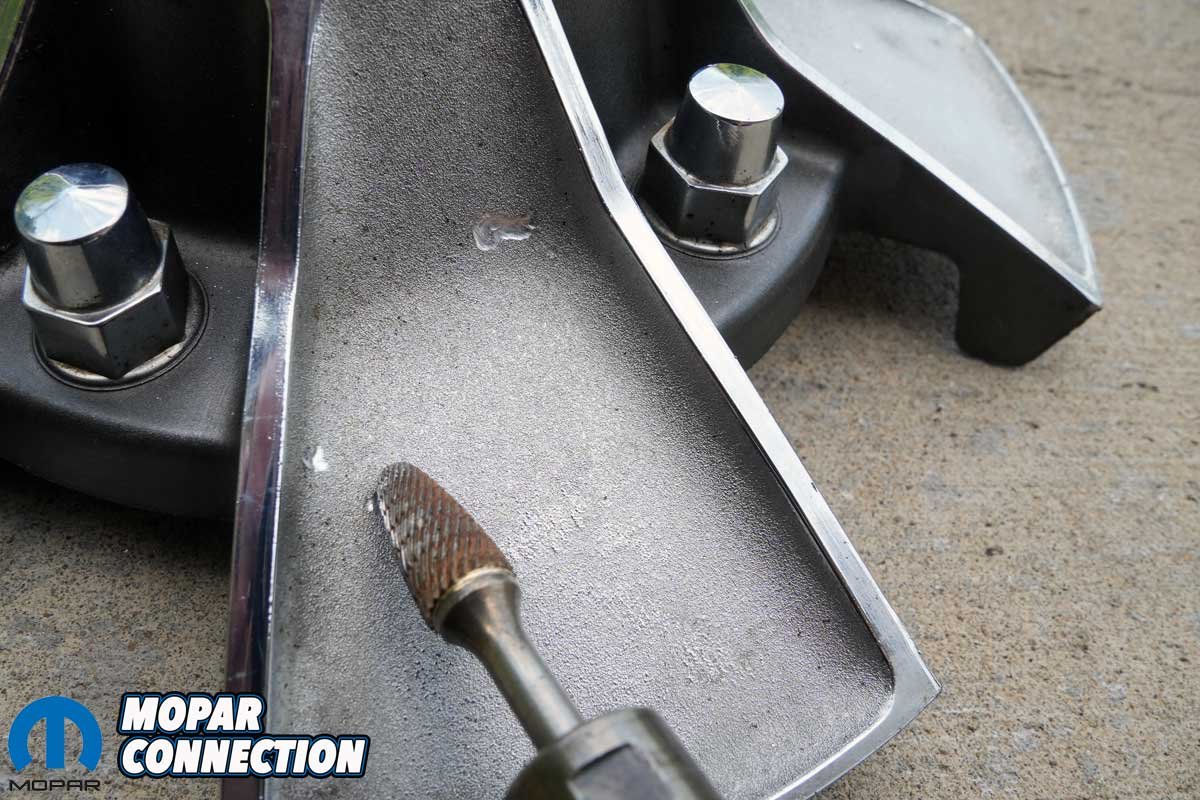
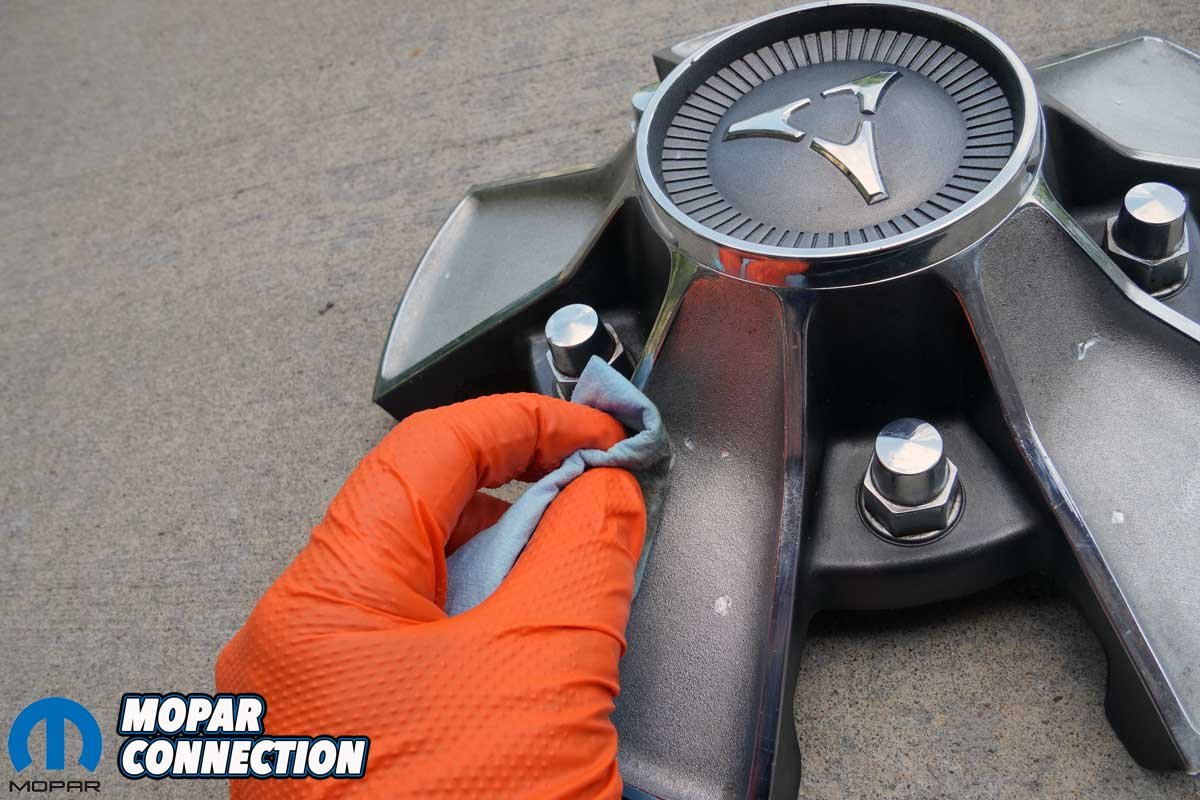
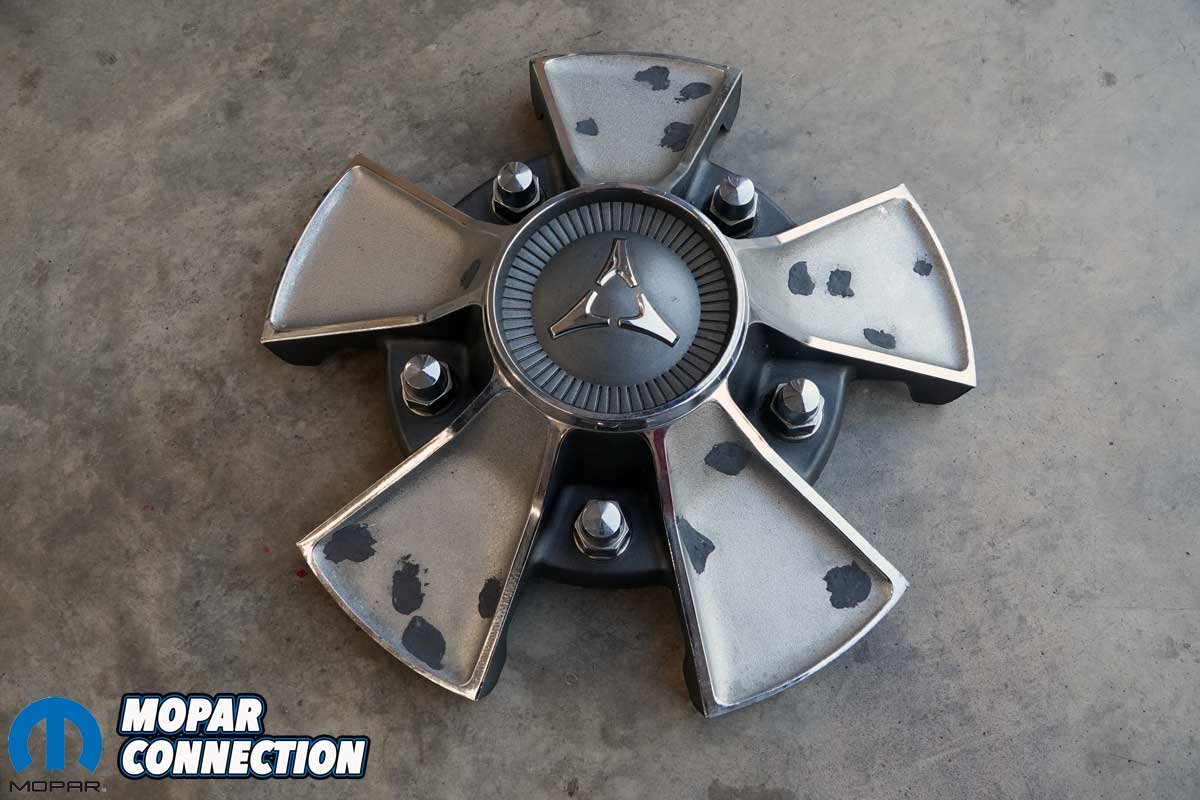
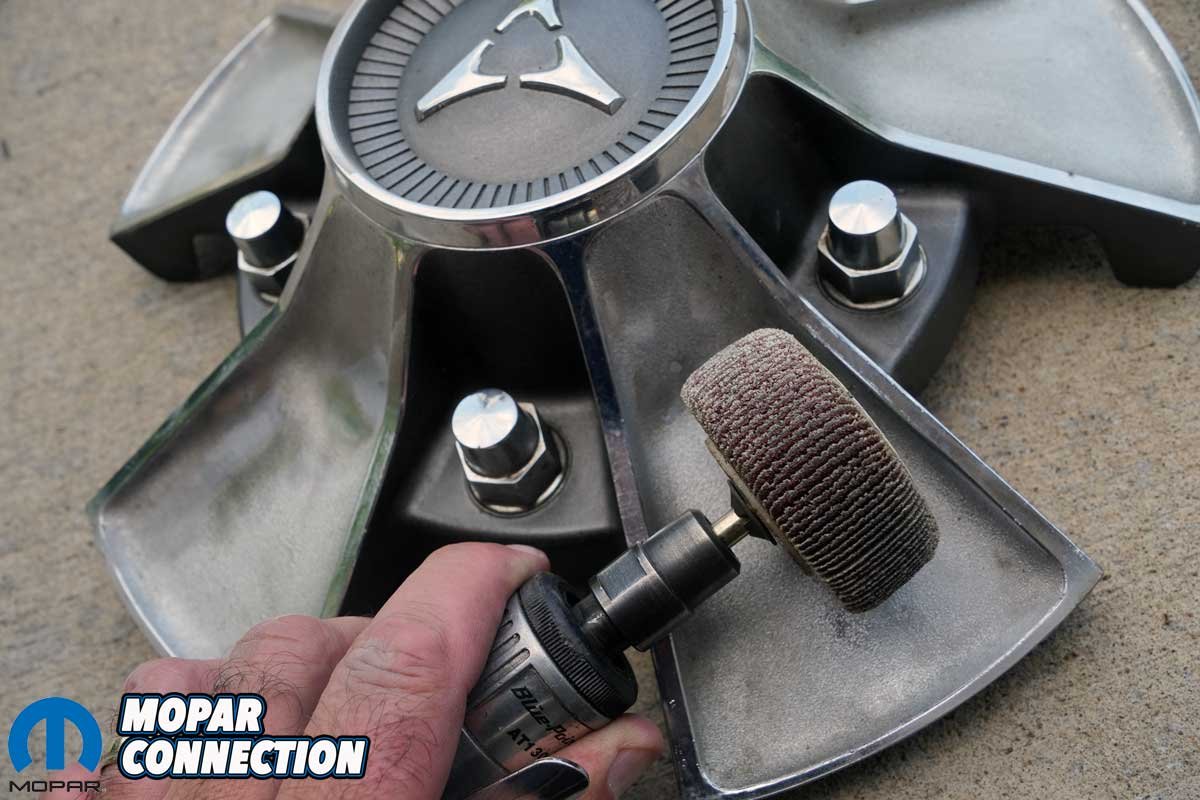
Above Left: Each hubcap had pitting and corrosion that we needed to address. Above Center: For the most part, the pitting damage was localized to the spokes on the center casting. Above Right: With a grinding bit in a die grinder, we removed the pitted areas by grinding through the pits into clean metal.
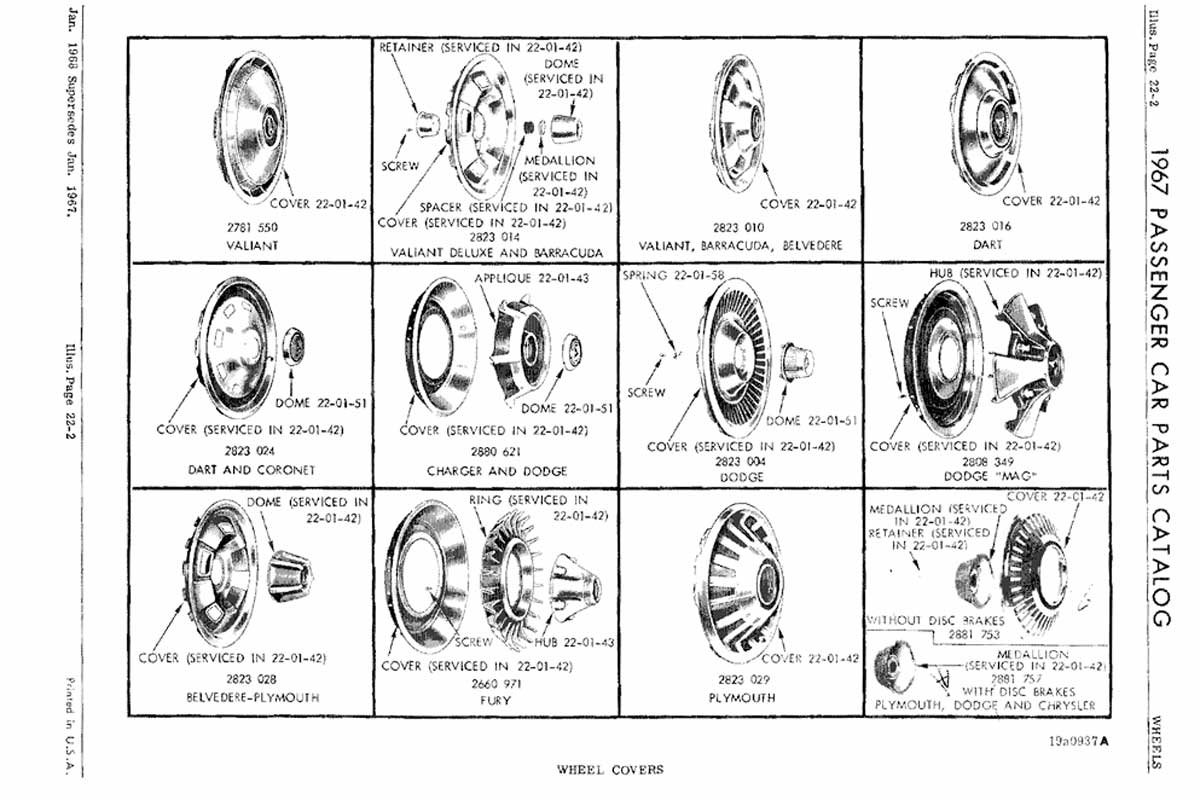
Then, while looking through an old Dodge parts catalog, we came across something we had not given much thought to before. Dodge offered a wheel cover called the Dodge “Mag.” It was designed to look like an aftermarket magnesium wheel while letting owners keep their original 14-inch steel wheels.
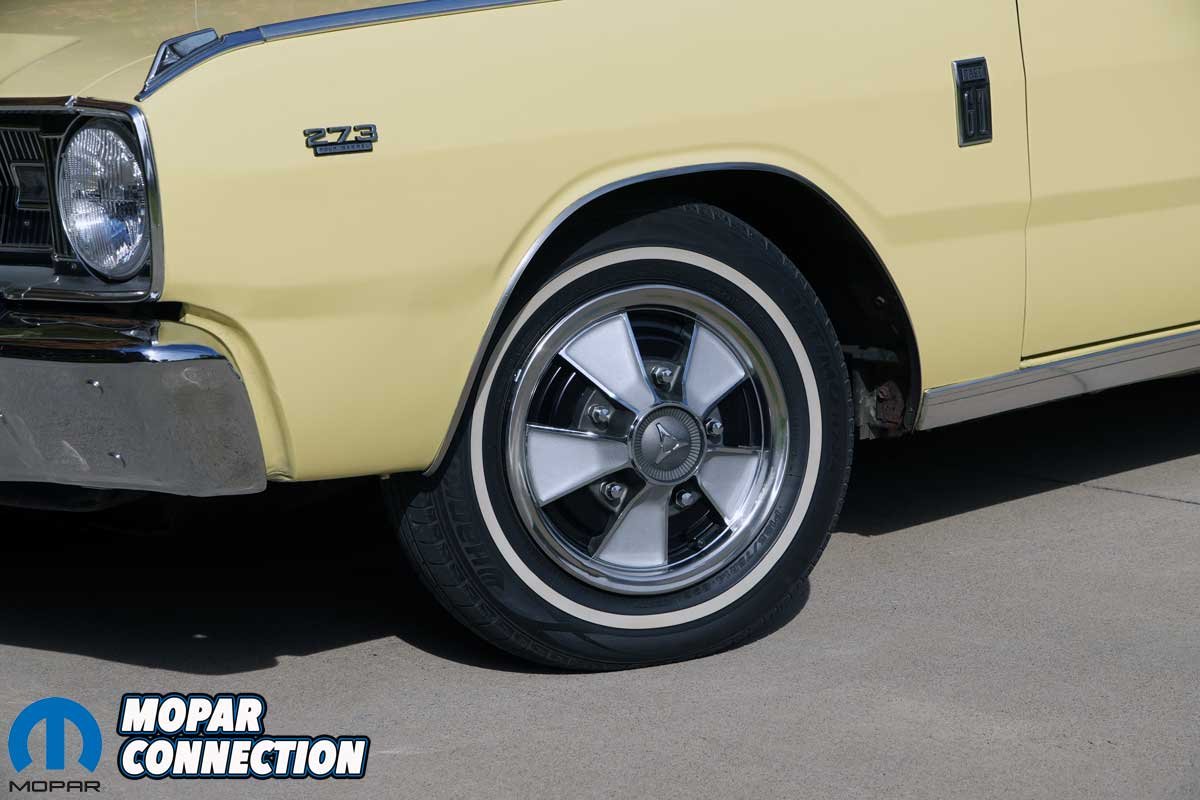
The design featured five simulated magnesium spokes, complete with a simulated lug-nut pattern, against a black background. A bright chrome trim ring completed the look. It was a clever way for Dodge to offer the appearance of aftermarket mag wheels without requiring a change to the factory steel wheels. More importantly, the design looked right at home on a ’67 Dodge.
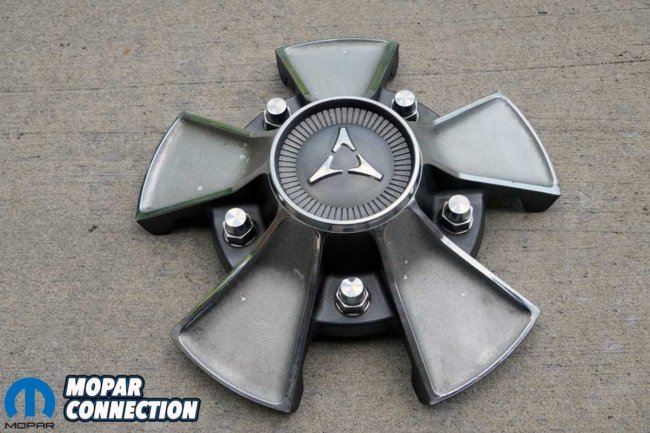
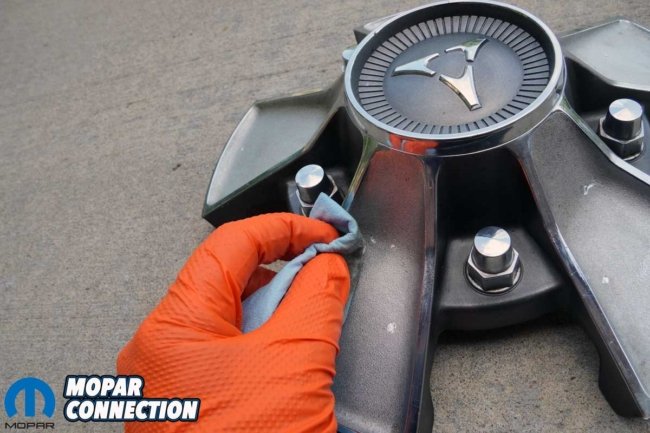
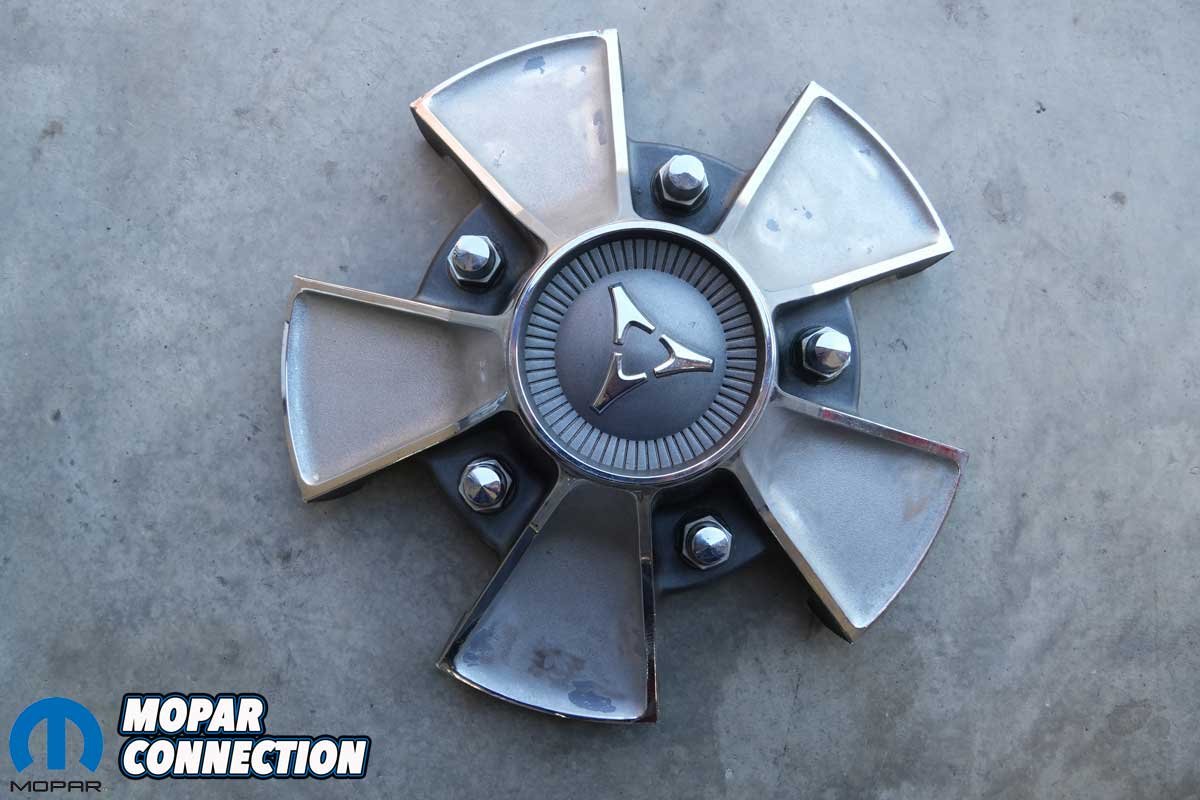
Above Left: Some center castings required less grinding than others, but each had problems we addressed. Above Right: After grinding, we cleaned the spokes with a degreaser to prepare for the texture coating and paint.
Finding a set of four turned out to be another matter. We spent months searching the internet, starting long before we installed the new exhaust system. Eventually, we found five wheel covers. Unfortunately, none was in particularly good condition. They all needed some attention, including paintwork, refinishing, and polishing.
Rather than jump into all five at once, we decided to start with the worst one. If we could bring that one back to life, we would have a pretty good idea of what we were up against with the others.
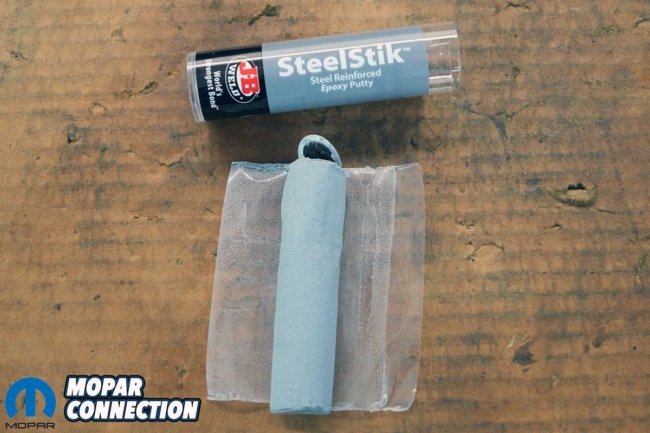
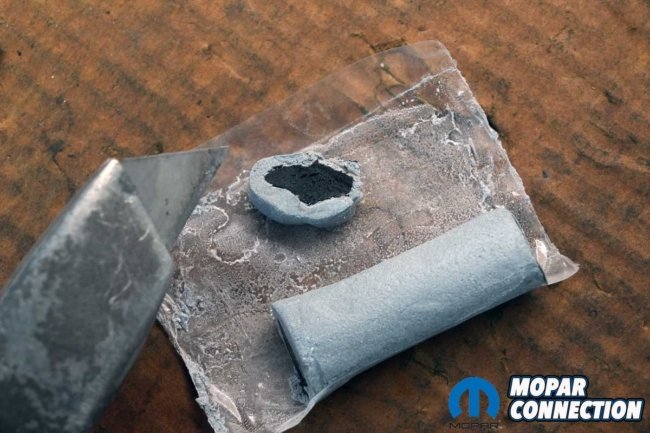
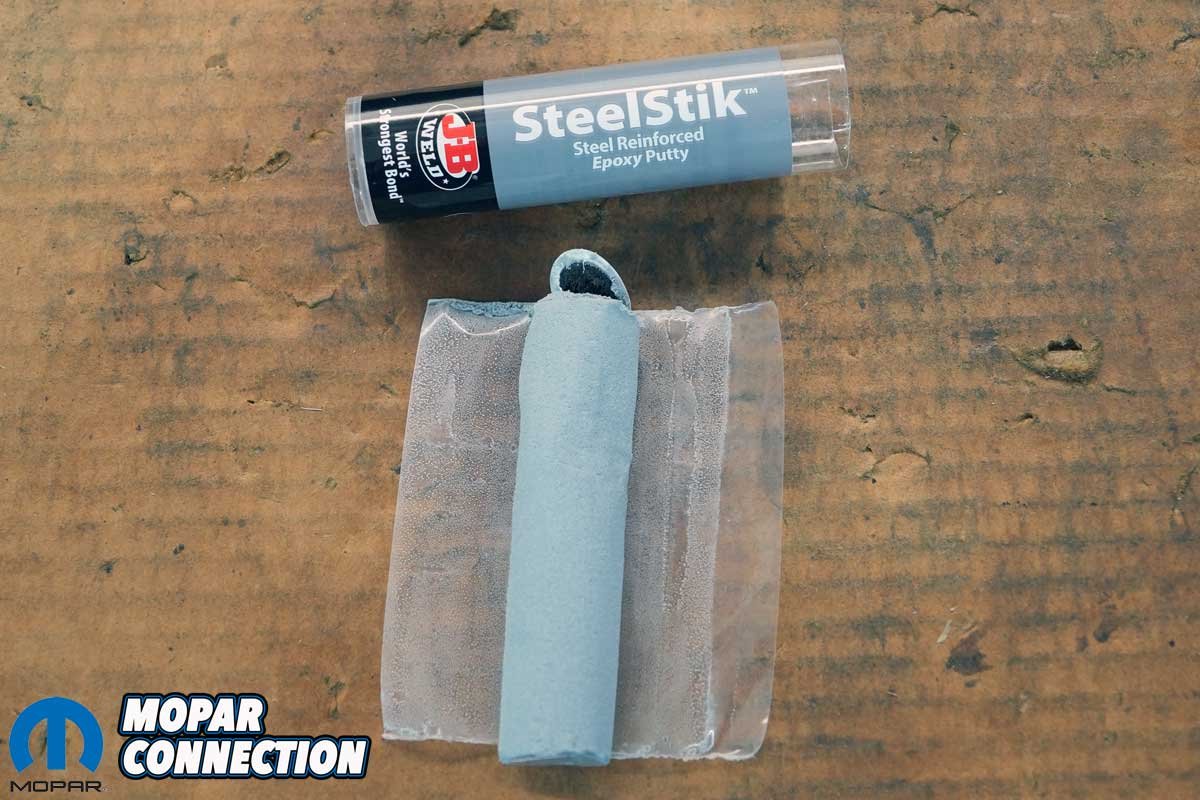
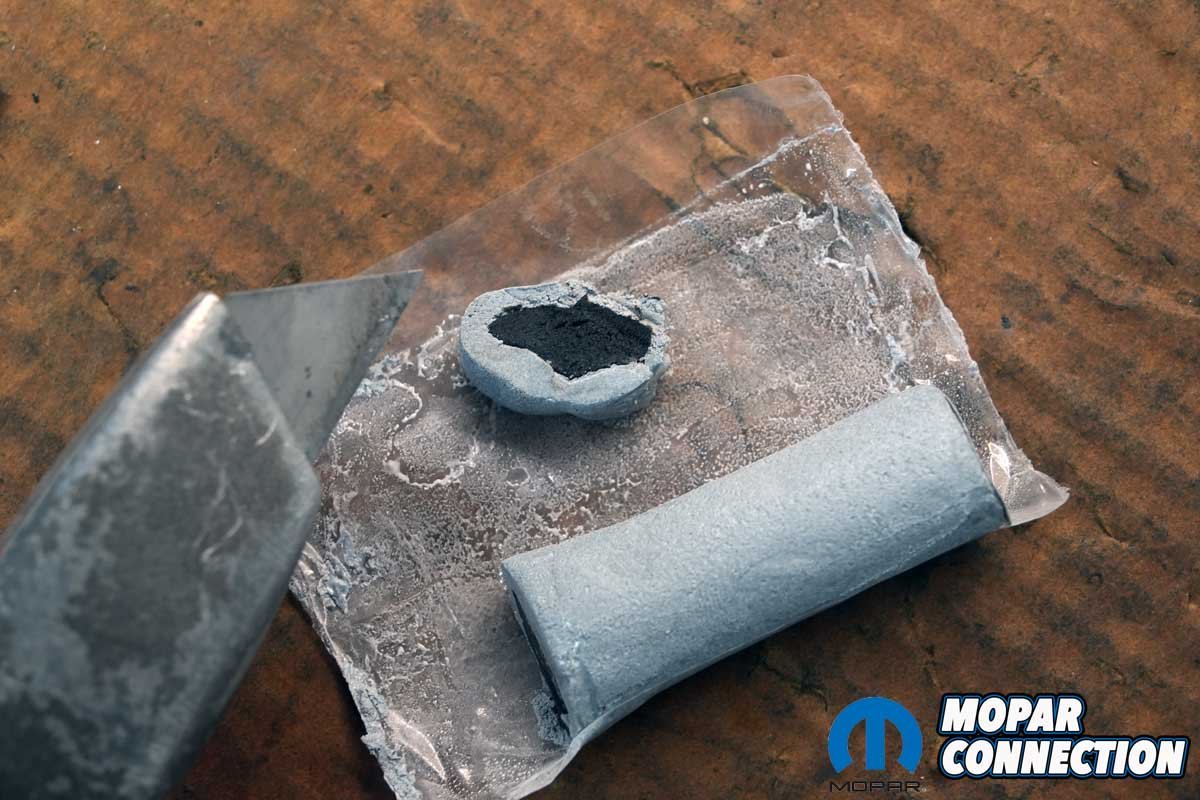
Above Left: We selected JB Weld’s SteelStik epoxy putty to fill in the voids we created in the castings. Above Right: The putty cut easily with a utility knife. Once cut, we could easily see the two parts of the putty.
The biggest problem with the cast center sections was pitting in the spokes. Years of exposure had left the castings with some pretty ugly surface damage. We used a carbide grinding bit in an air-powered die grinder to work out the pits. The idea was to remove enough material to get below the damaged surface and expose clean metal.
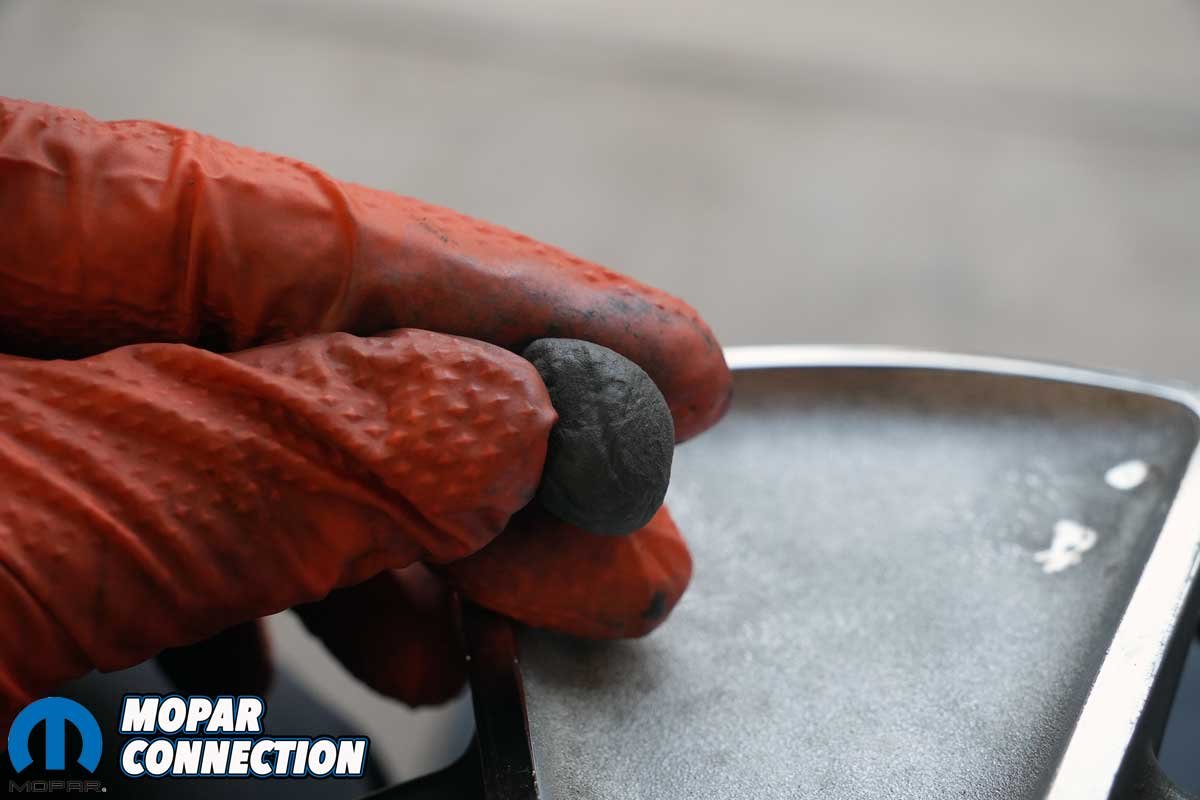
That left us with several areas that needed to be built back up. We decided to try JB Weld SteelStik, a steel-reinforced, two-part epoxy putty. We kneaded the material by hand until the two components were thoroughly mixed, then pressed it into the damaged areas. Once it cures, it provides a durable repair that can be sanded and shaped.
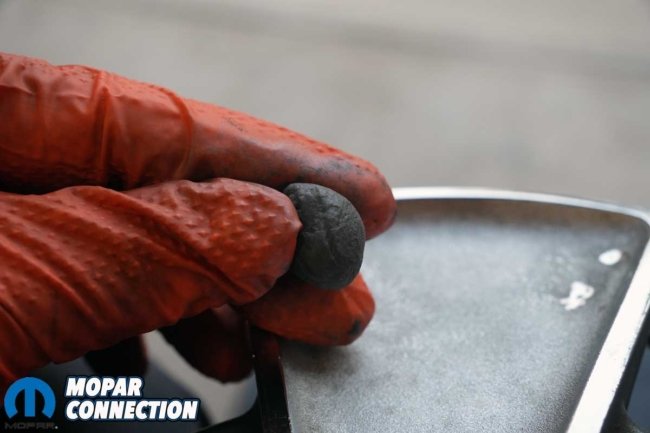
Above Left: After kneading the epoxy, it turned into a soft ball that was one color. Above Right: We worked quickly to press the epoxy into the voids. Once in place, we let the epoxy harden into shape.
After the SteelStik hardened, we used 180-grit sandpaper, followed by 320-grit, to work the repairs into the surrounding casting. This took patience, as we wanted to restore the original spoke contours without creating flat spots or noticeable transitions. The sanding also removed the original texture from the areas we had repaired, which created another problem. We needed a way to bring back the textured appearance of the silver portions of the casting.
Before refinishing, we took a closer look at the existing paint. Surprisingly, the areas surrounding the simulated lug nuts were in pretty good shape. The other four castings were similar, with the original paint holding up remarkably well in those areas. Based on that information, we decided there was no reason to disturb paint that did not need attention.
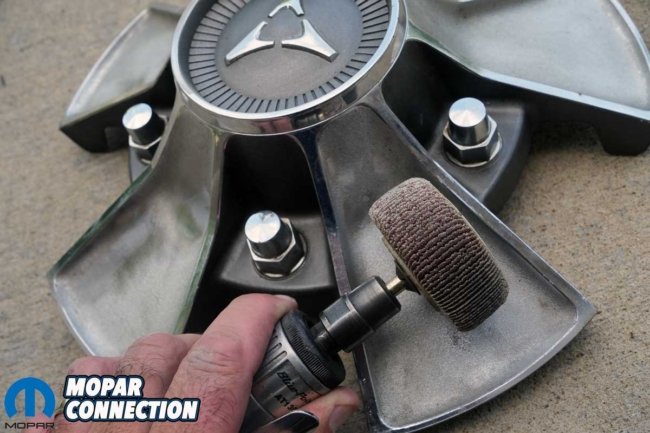
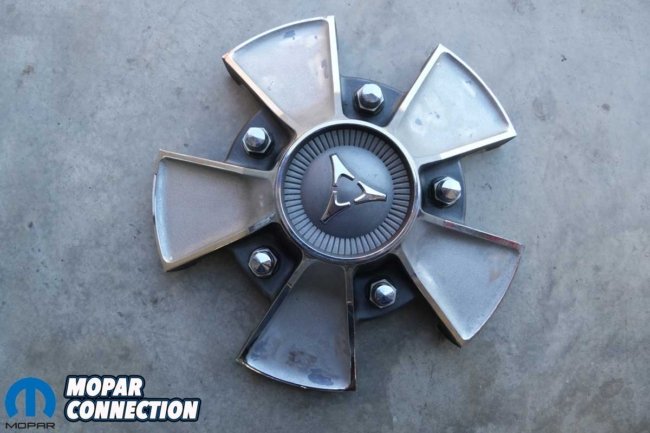
Above Left: We used a flap wheel on a die grinder to knock down the high spots, then sanded with 180- and 320-grit sandpaper to smooth the epoxy into the contours of the castings. Above Right: The results were impressive. However, the sanding damaged the texture found on the factory castings.
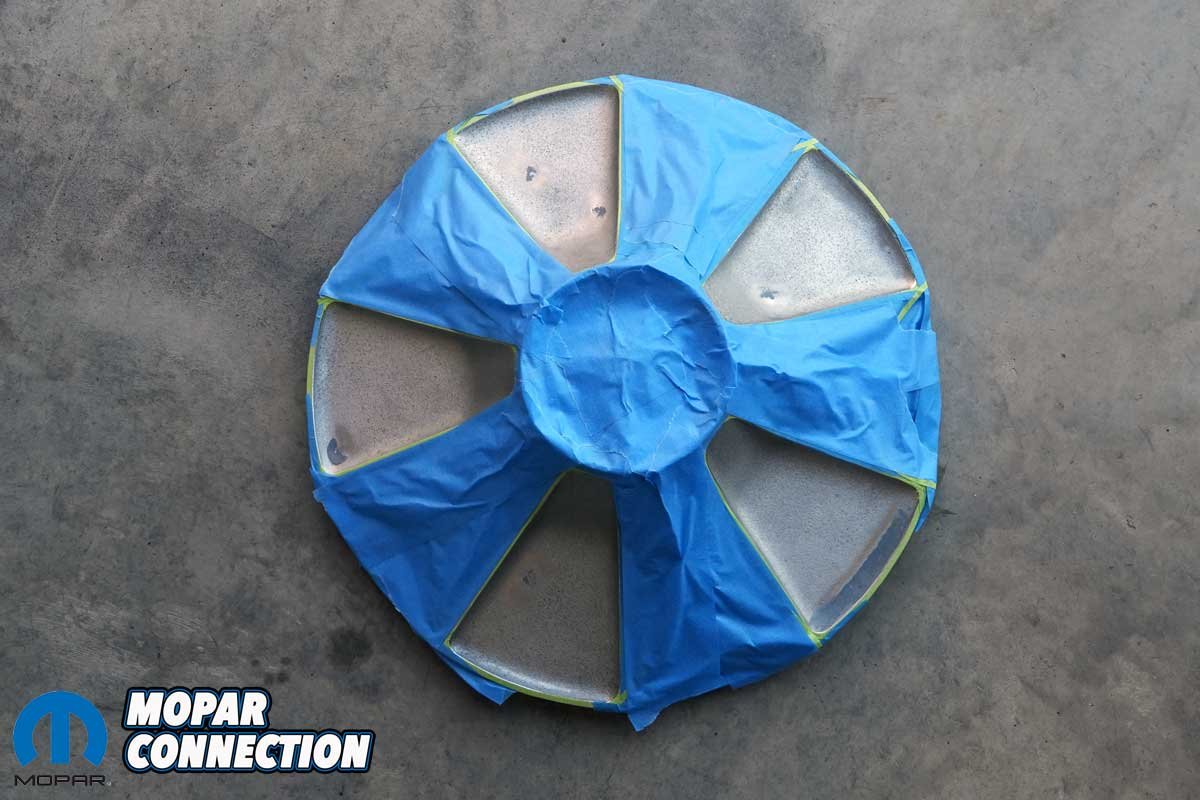
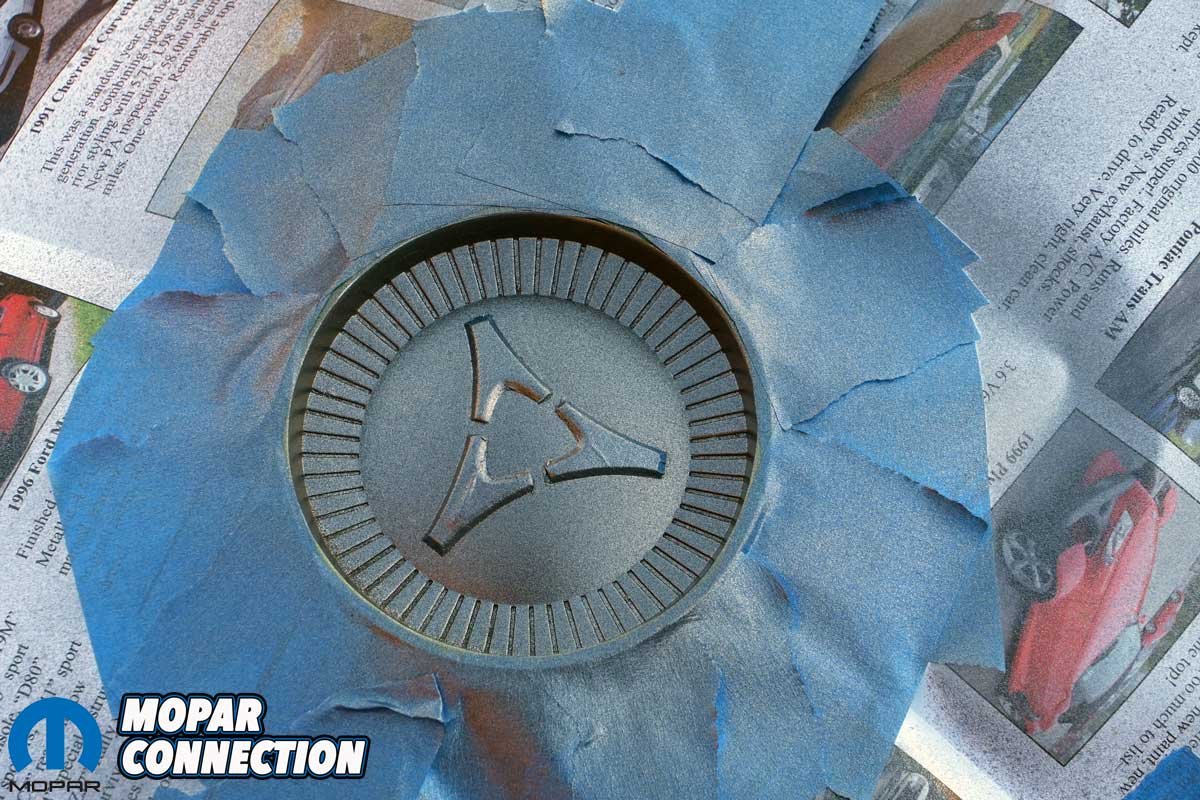
We cleaned the center casting and began masking off the areas we wanted to protect. This included the chrome trim surrounding the individual silver sections, the simulated lug nuts, and the center section containing the Fratzog emblem.
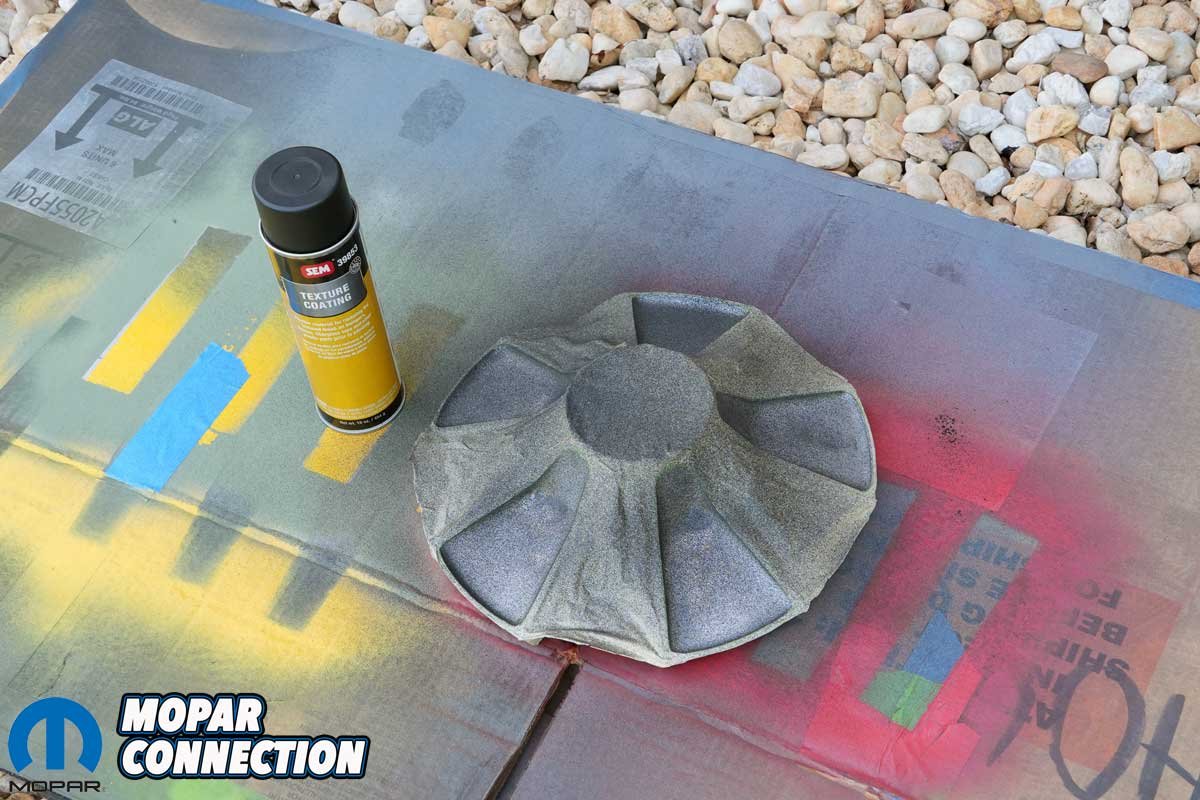
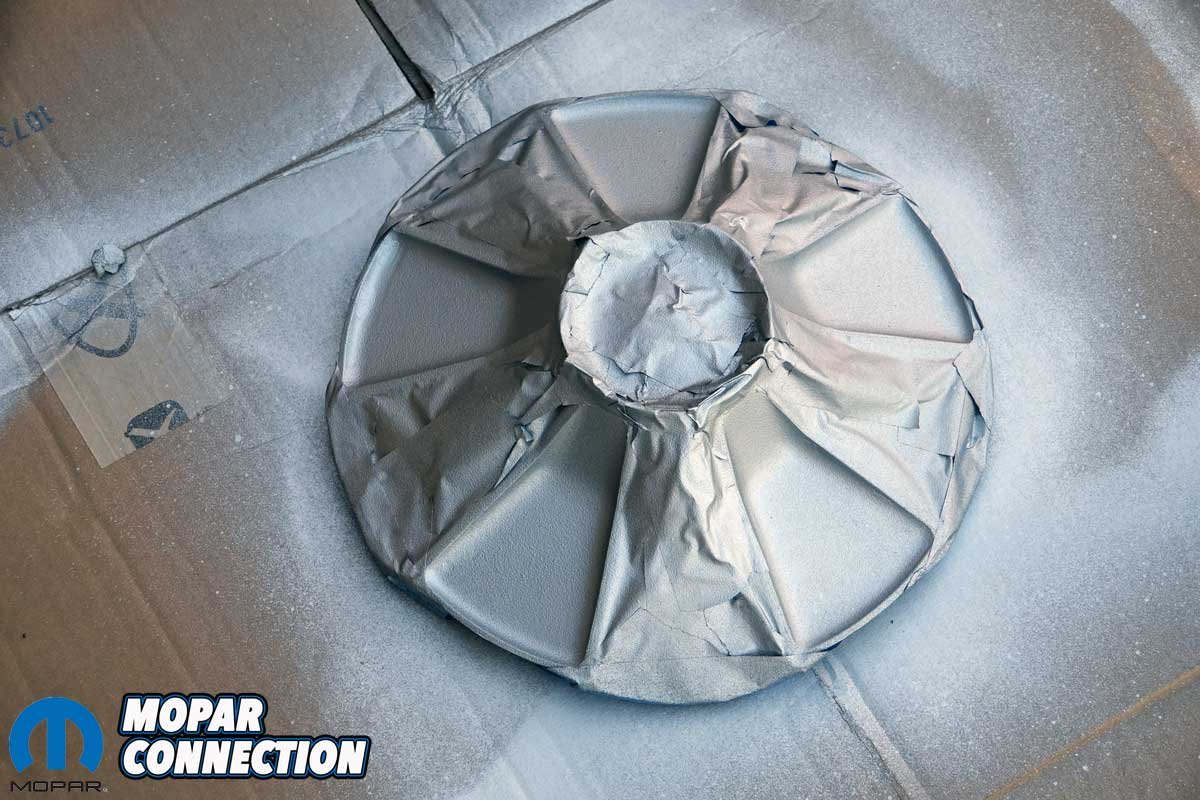
To bring back the original texture, we scuffed the spokes with a Scotch-Brite pad and applied SEM Texture Coating. This let us cover the repaired areas and reproduce the original casting’s textured appearance. Following the manufacturer’s directions, we held the aerosol can approximately 18 to 24 inches from the surface.
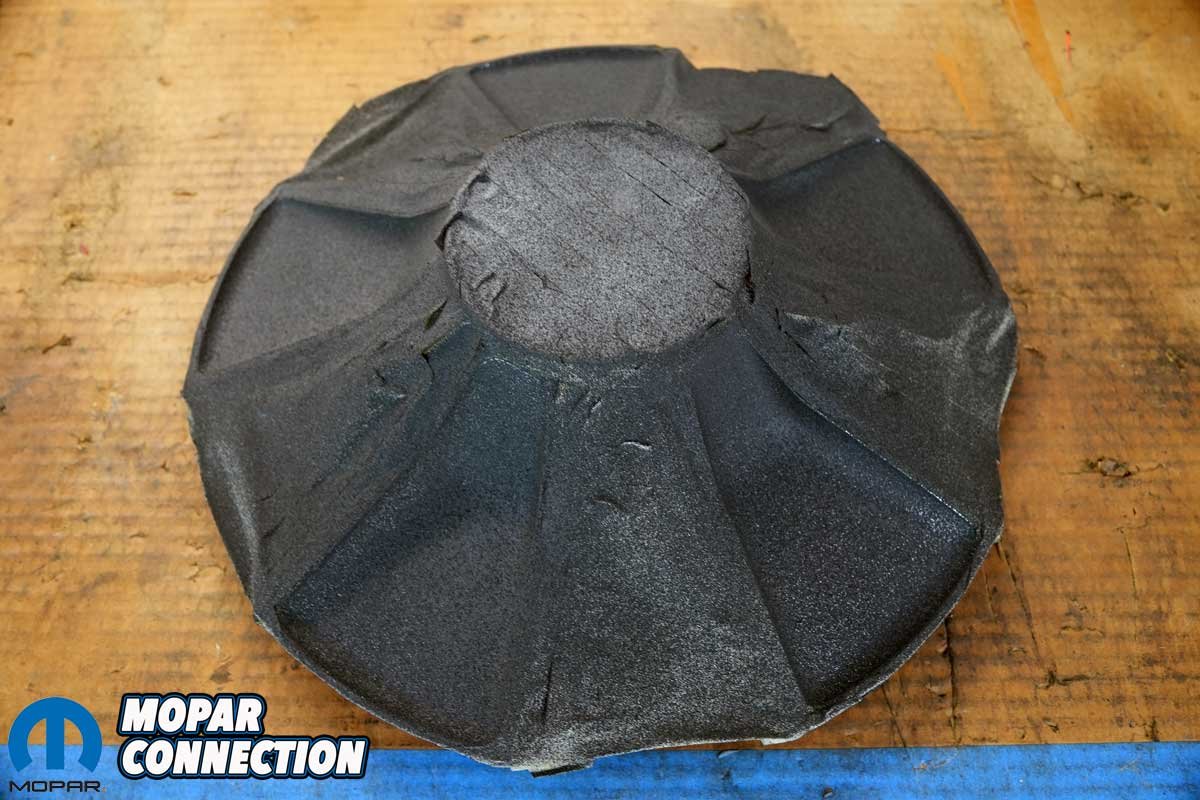
Three light coats did the trick. The repaired areas now had a texture that looked factory applied. We were happy with how it turned out, so we set the casting aside and let the coating cure.
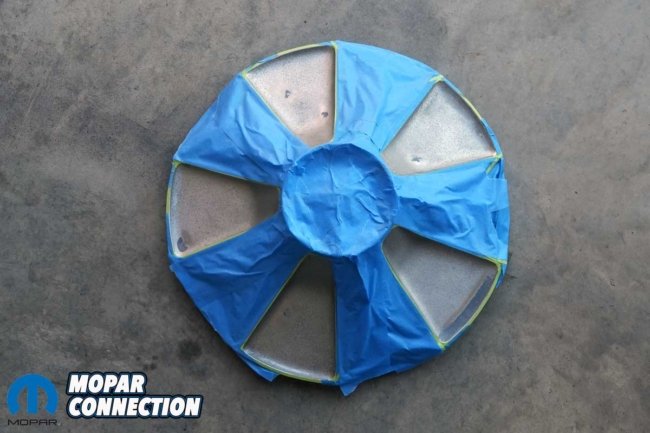
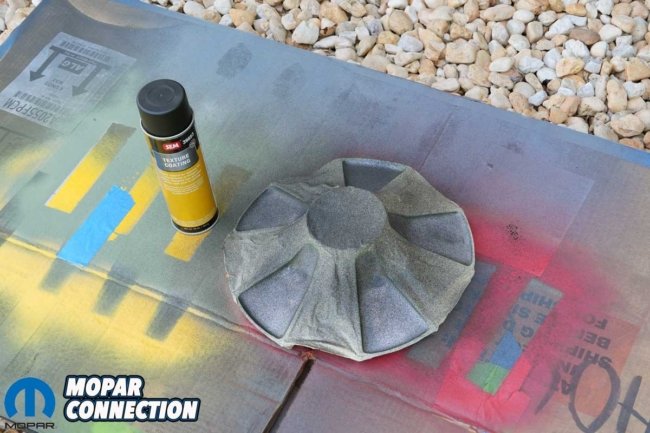
Above Left: We taped off the areas we did not want to paint, which included the center section and the simulated lug nut segments. Above Right: We used SEM texture coating to reestablish the factory-appearing texture.
While that was drying, we moved on to the cover, which had minor dents and ripples in the integral chrome trim ring. We spent time carefully working the metal to straighten the damaged areas and remove as many imperfections as possible. The chrome ring would never be perfect, but we cleaned up most of the damage without getting too aggressive with the metal.
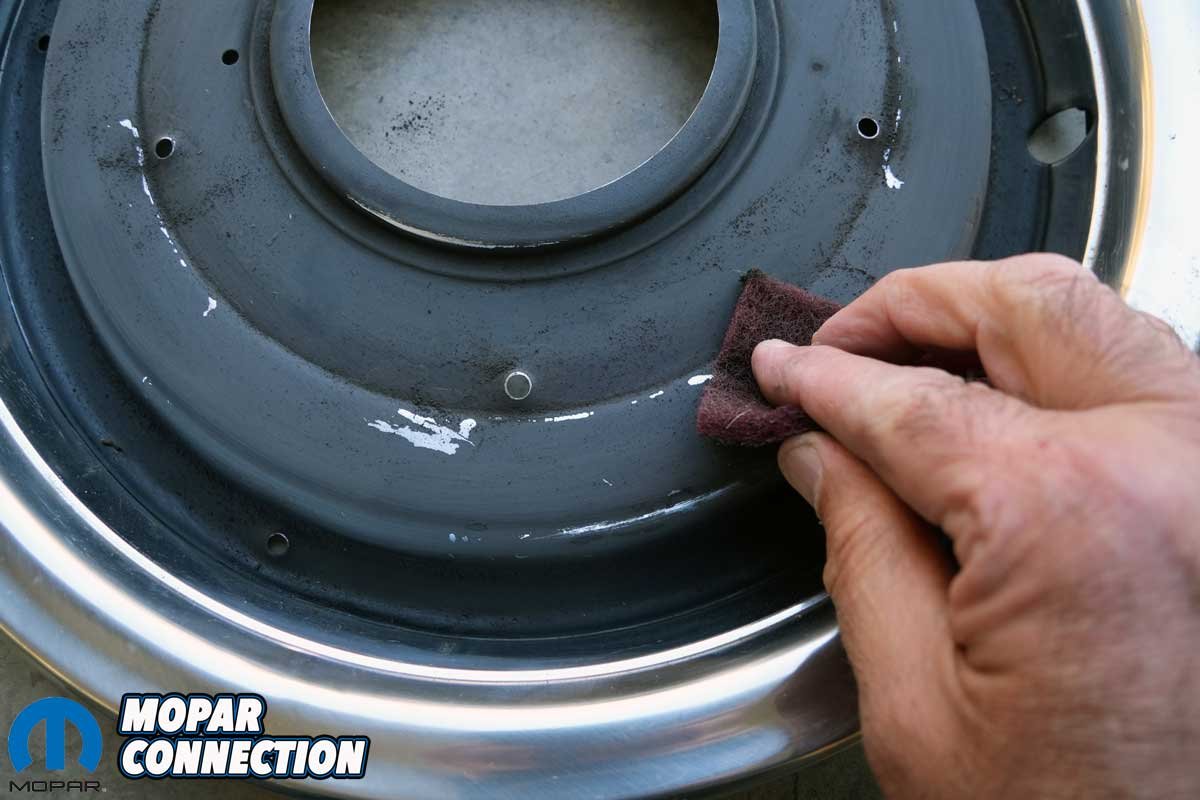
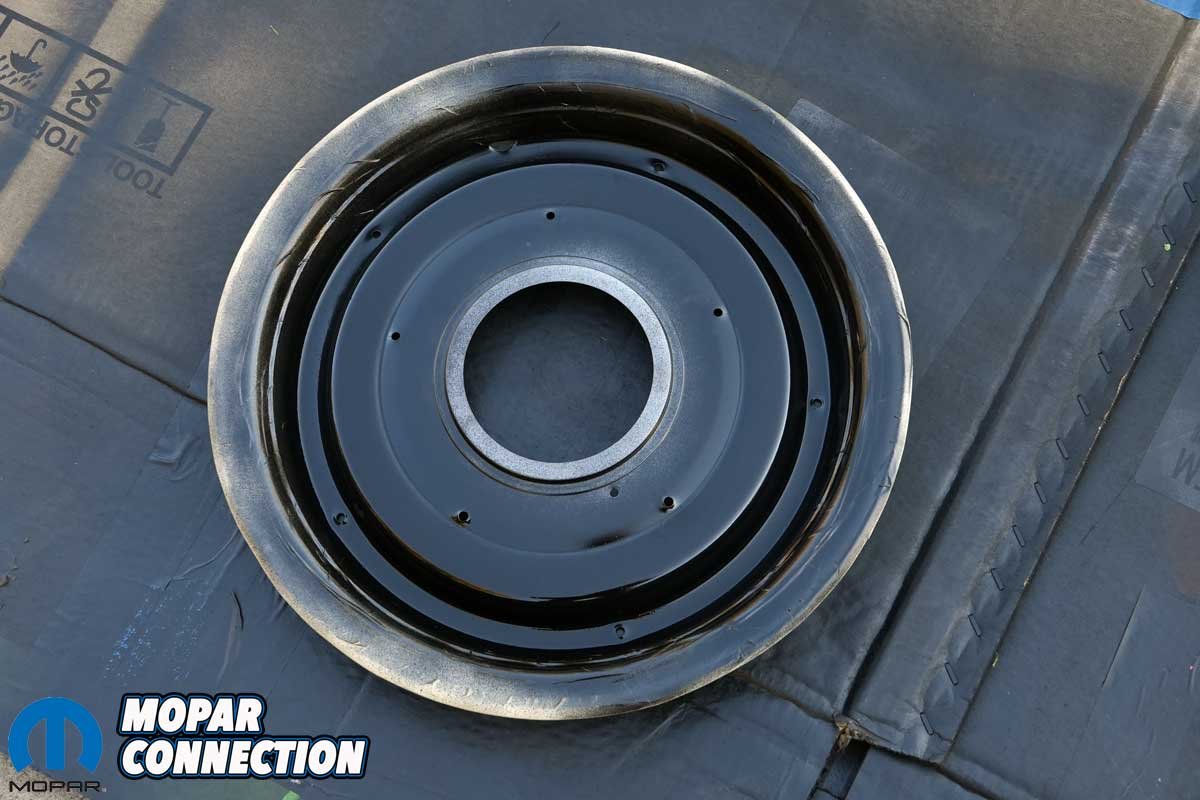
Next, we scuffed the existing black paint to prepare it for refinishing. After masking the chrome trim ring, we applied Rust-Oleum Ultra Cover Paint + Primer in black. Once the paint dried, we pulled the masking tape and got our first look at the freshly painted cover. The contrast between the black center and chrome trim really brought the design together.
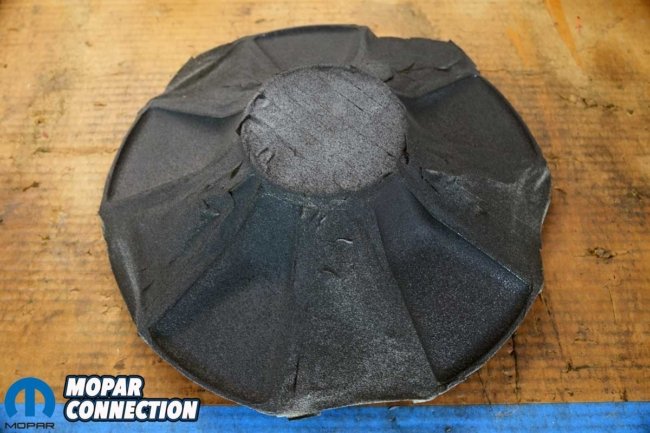
Above: After three light coats of the texture coating, we had a surface that looked sufficient for our castings. Spraying the texture coating takes some finesse to master, but we were pleased with the results.
With the cover done, we returned to the center casting to finish the silver portions. We applied four light coats of Eastwood Rally Wheel Paint in Silver Argent, followed by two coats of Eastwood Diamond Clear in a satin finish. The combination gave us the look we wanted. The silver might be a little brighter than the original Dodge color, but it was close enough to give the casting a convincing factory-style appearance.
After the paint had dried, we removed the masking and positioned the center casting over the mounting holes in the cover. The black background, silver spokes, and chrome trim made a considerable difference.
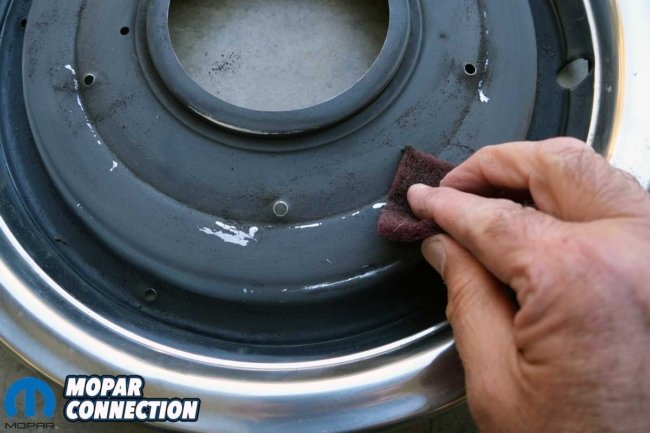
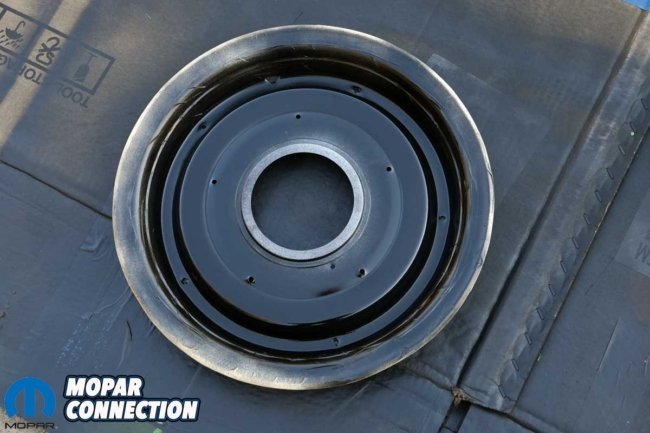
Above Left: The covers needed a fresh coat of black paint, but before we painted them, we had to smooth out the rough areas and give the surface some tooth for the fresh paint. Above Right: After taping off the trim rings, we applied the paint. A few coats took care of the covers.
Fortunately, the original paint around the Fratzog emblem was still in good condition, so we left it alone. We installed the ten mounting screws that secure the center casting to the cover, completing our first restoration.
With one under our belt, we moved on to the remaining covers. We followed the same process, addressing the metal damage, preparing the surfaces, and refinishing the covers and center castings. There were a few differences from one to another, but the basic approach worked well.
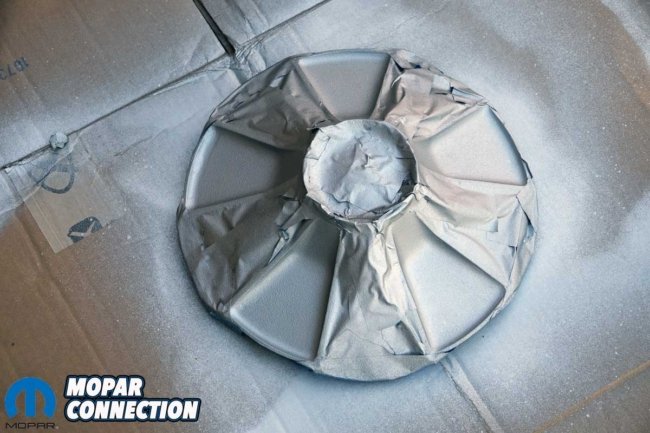
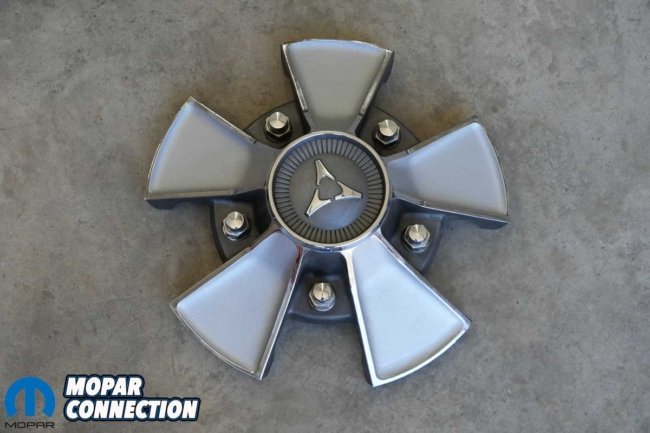
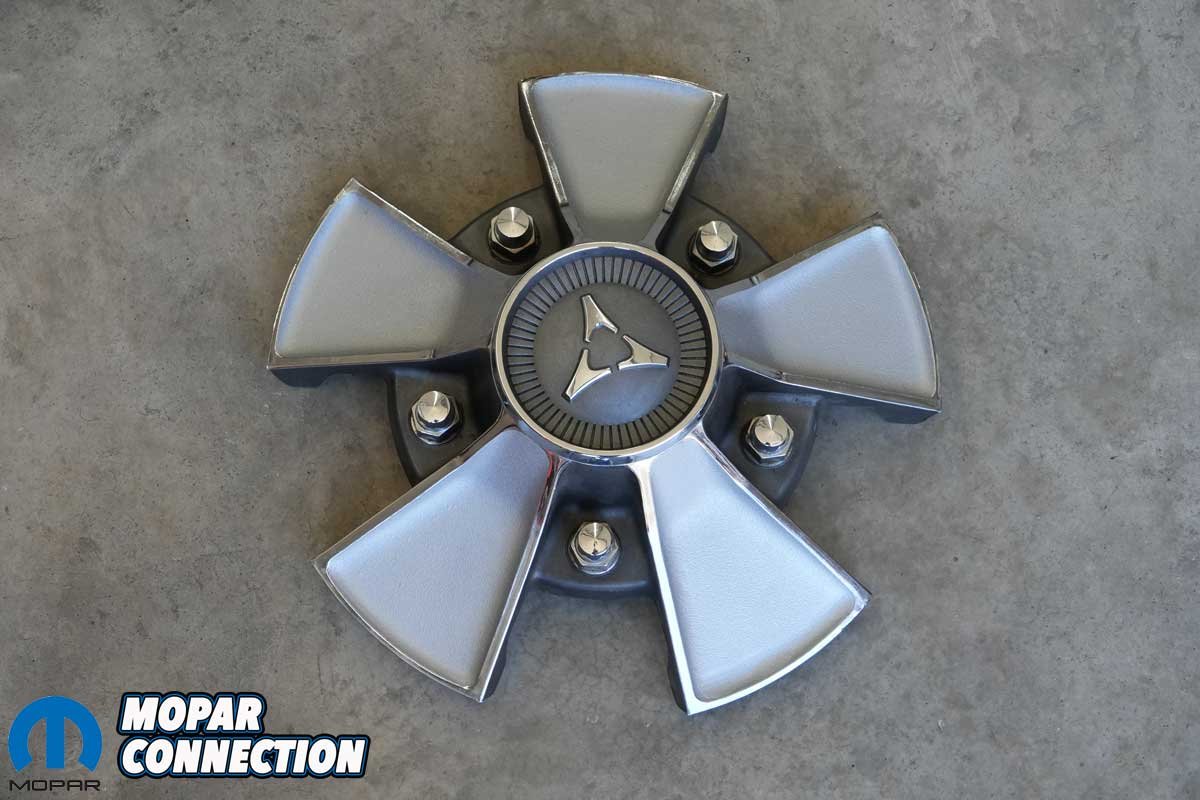
Above Left: After letting the texture coating thoroughly cure, we laid down several coats of Eastwood’s silver argent paint followed by a few coats of Eastwood’s satin finish. Above Right: The texture and paint gave us a beautiful center casting. Once finished, all four castings looked as good as this one.
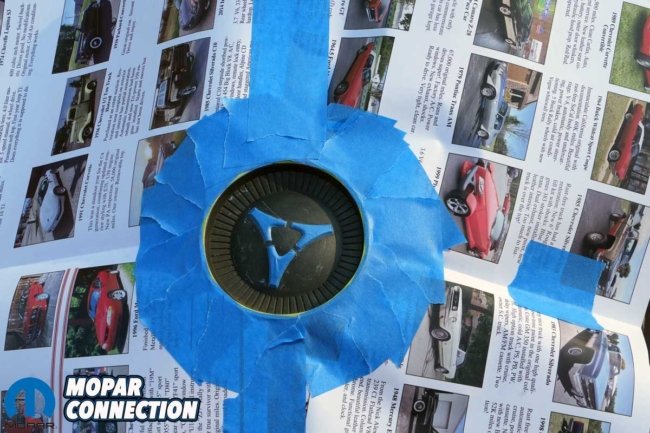
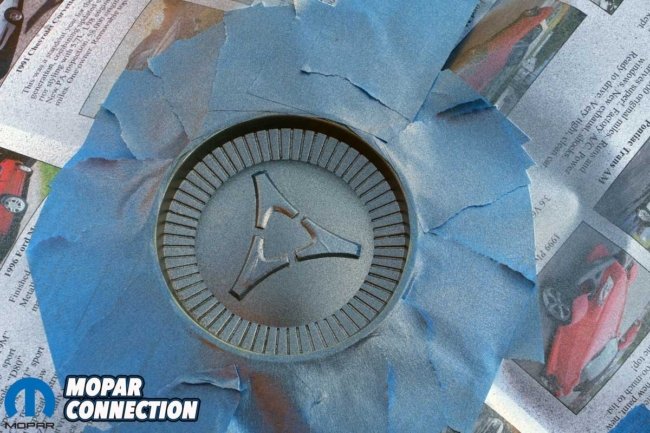
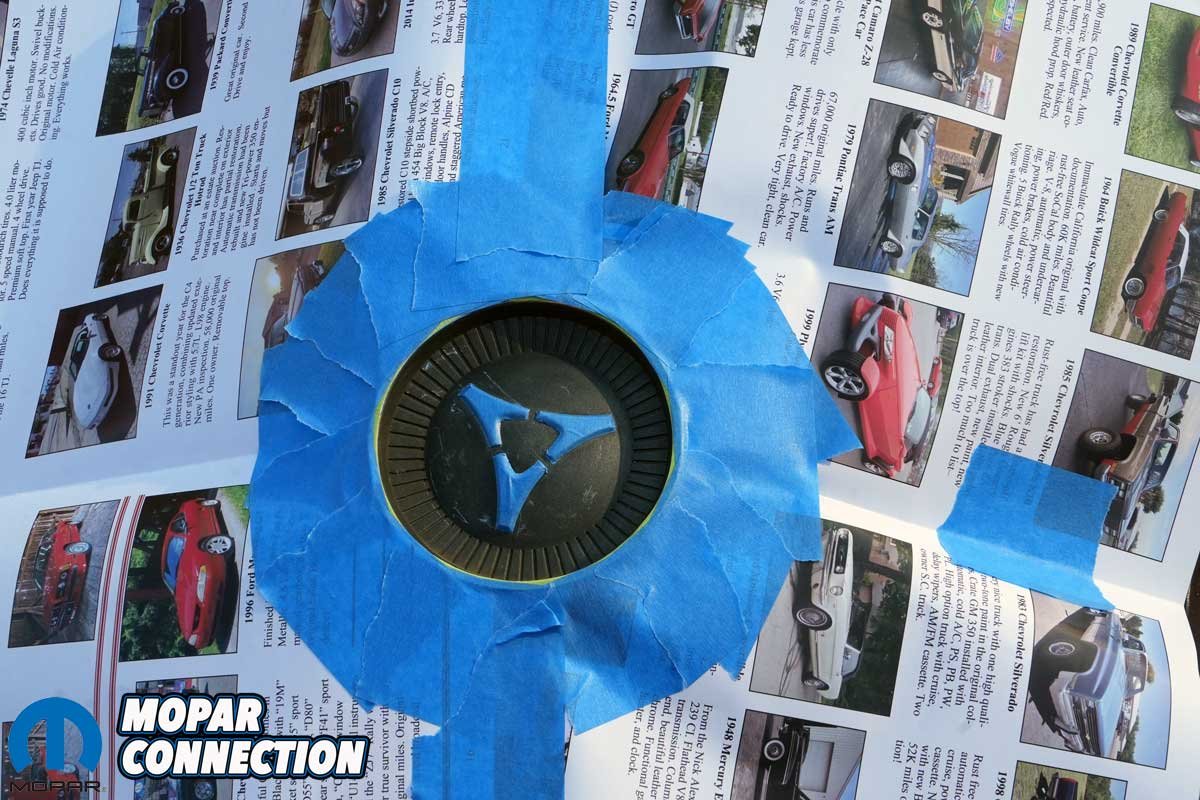
Above Left: The Fratzog center section of the casting was scratched, and the color tone was wrong, so we taped it off to reshoot the paint. Above Right: We did our best to match the center section with the other castings. We found a graphite color that was extremely close to the factory color.
One of the center castings needed a little attention around the Fratzog emblem. The existing paint was damaged, so we had to find a suitable replacement. After reviewing several options, we determined the original color was graphite. Raptor 1K Pro Wheel Paint offered a graphite shade that was a close match.
We masked the surrounding areas, painted the section around the emblem, and let it dry before removing the tape. With that last detail done, we had all four covers painted, refinished, and reassembled. Considering what we started with, they turned out well.
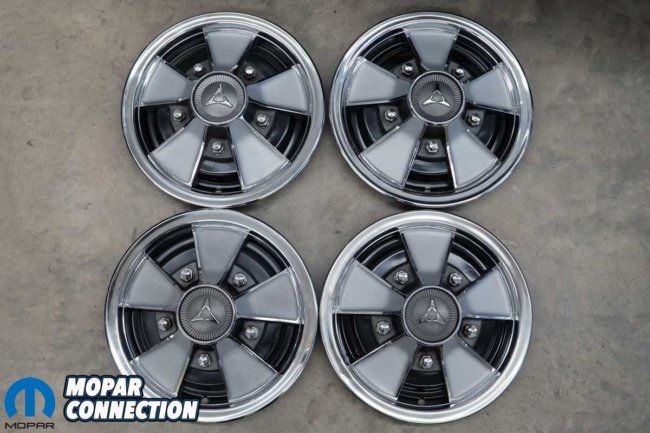
Above: The results of our labor were outstanding. We did light metalwork on the trim rings to remove small dings, painted the covers, painted the spokes, and painted one center section. We did not repaint the other paint because it looked to be in excellent condition.
With the restoration behind us, it was time to get the old full-wheel covers off the Dart and install the Dodge Mags. One thing we noticed right away was how much heavier the Mag covers were compared to the ones we removed. We put them on the scale and found that each weighed just under six pounds. We tapped each cover into place on its 14-inch steel wheel and stepped back for a look.

A quick drive around the neighborhood revealed nothing unusual. The Dart drove as it always had, and we could not detect any difference in how it rode or handled.
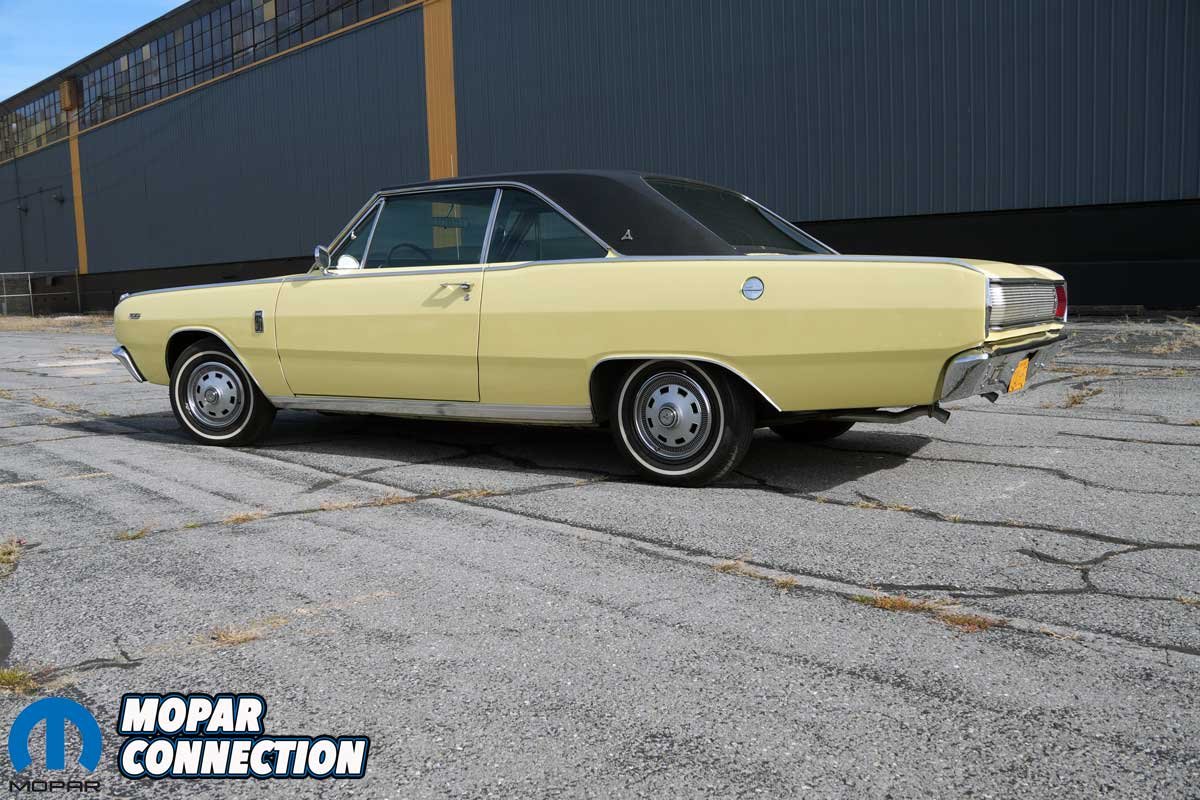
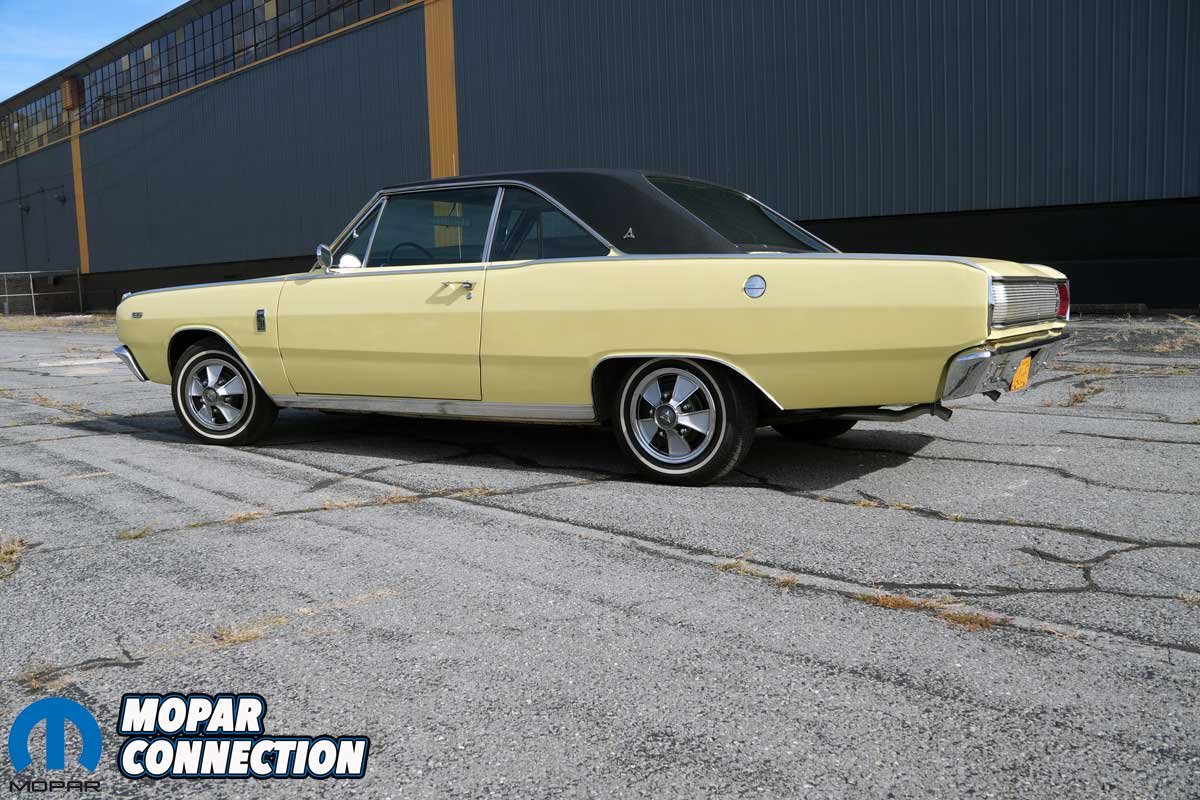
The real difference became apparent when we got out of the car and took a few steps back. It is funny how something as simple as changing a set of wheel covers can make such a difference in the way a car looks. The blacked-out covers, simulated magnesium spokes, and chrome trim gave the Dart an entirely different personality. It still looked like a ’67 Dart, but it had a little more attitude than it did with the original full-wheel covers.
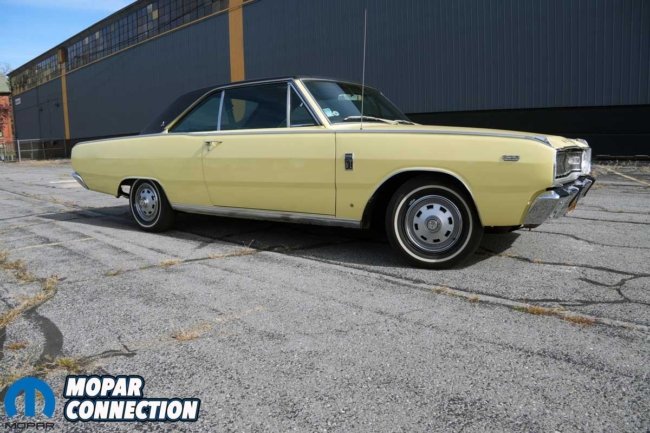
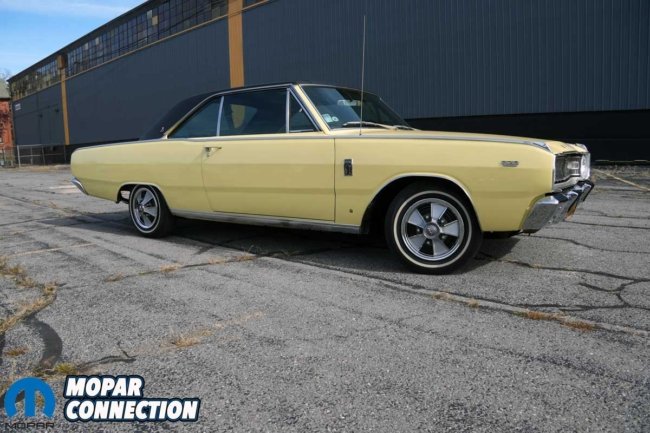
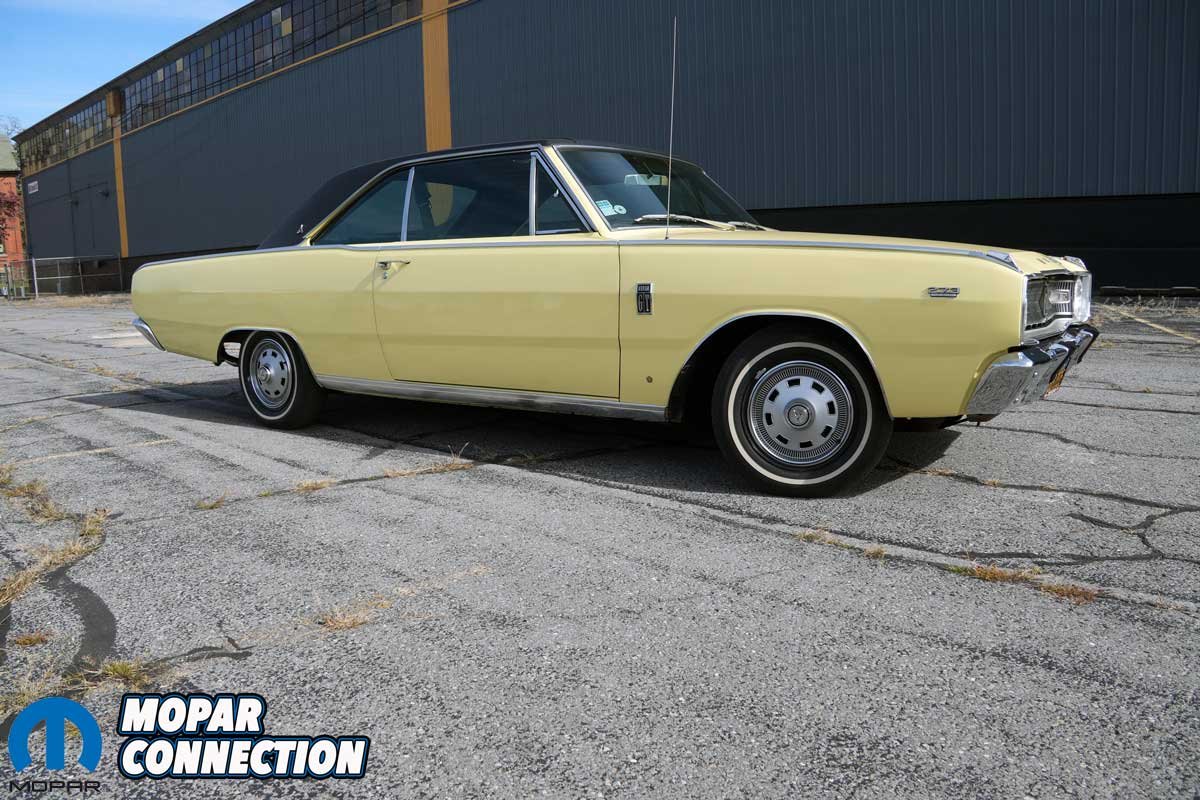
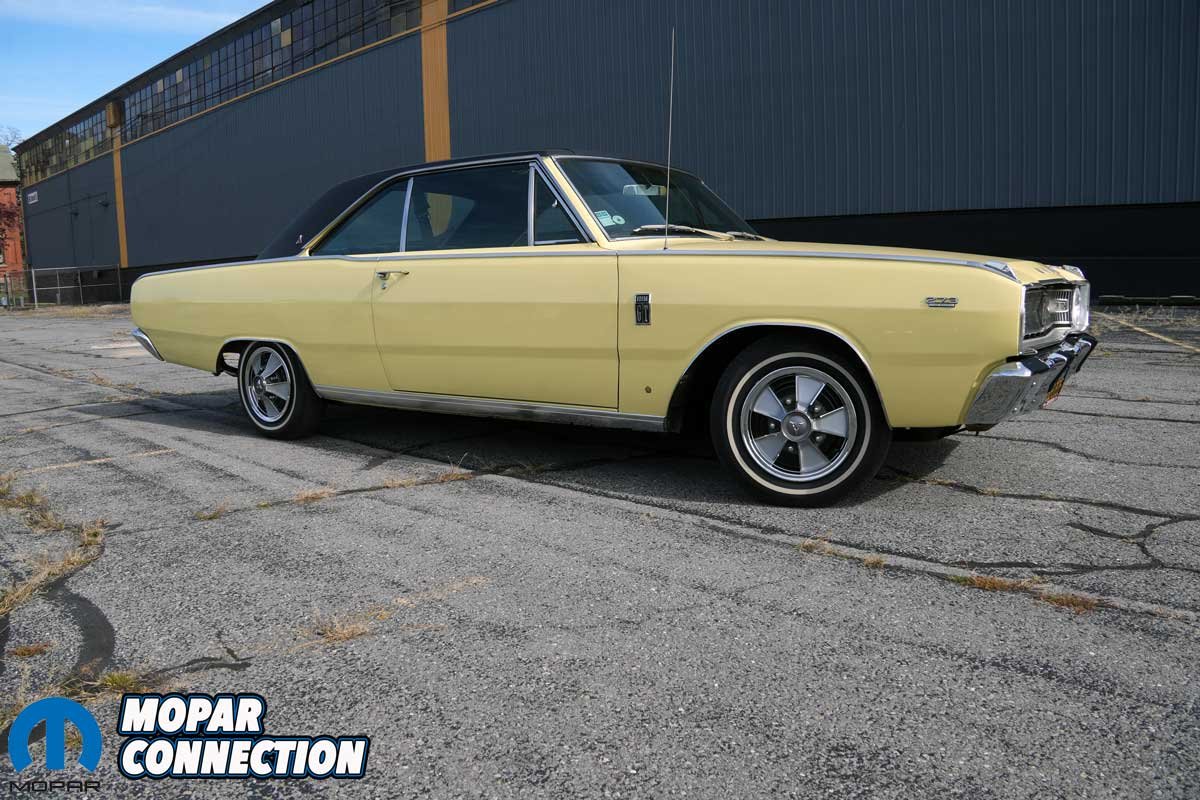
Above: A before-and-after shot of the Dart. The Dodge “Mag” wheel covers certainly improve the Dart’s performance look. One onlooker during the photoshoot stated the new wheel covers gave the Dart a ’70s Hot Wheels appearance. We agree.
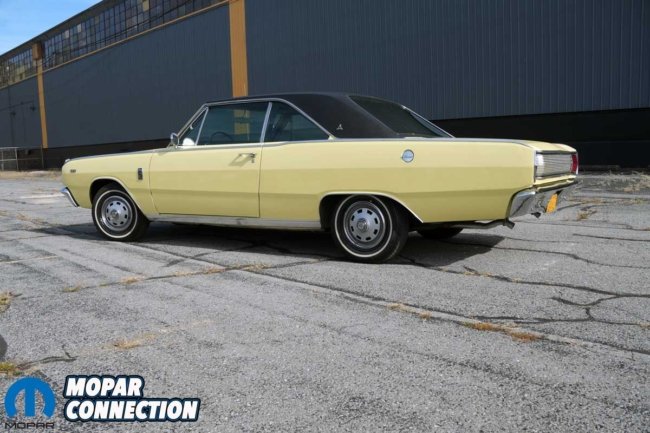
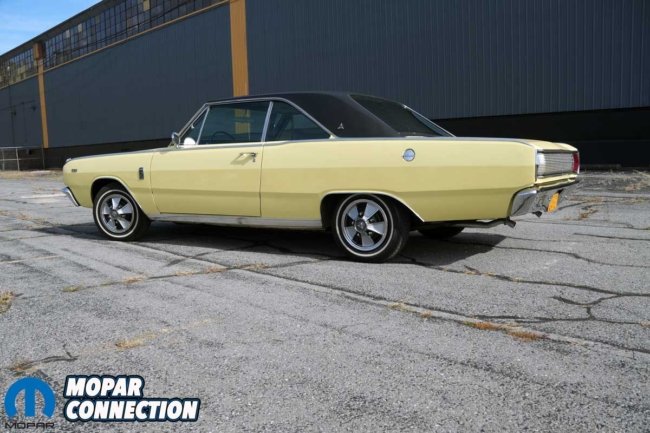
Above: Whether coming or going, the Dart’s appearance has transformed from a grandma’s grocery getter to a boulevard cruiser with nothing more than a set of hubcaps. Interestingly, the old hubcaps (left) were restored and installed on the Dart in 2018 along with the 14-inch wheels. Before those caps, the Dart had the original 13-inch caps and wheels.
We probably could have purchased a set of Cragar SS or Keystone Klassic wheels for considerably more money. That does not mean this was an inexpensive project, though. Between the five wheel covers, paint, repair materials, and refinishing supplies, we invested more than $600. That is a fair amount of money to spend on wheel covers.
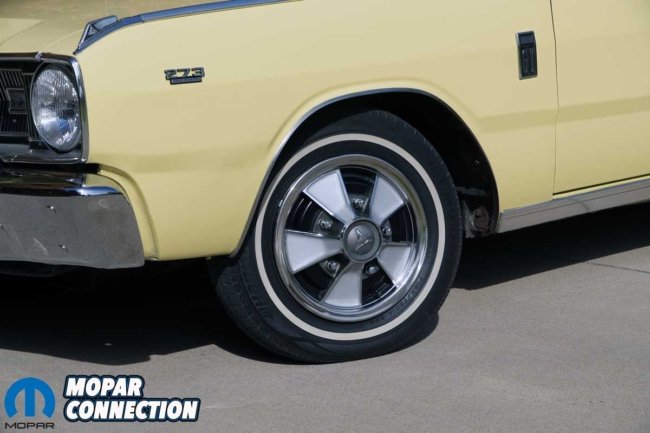
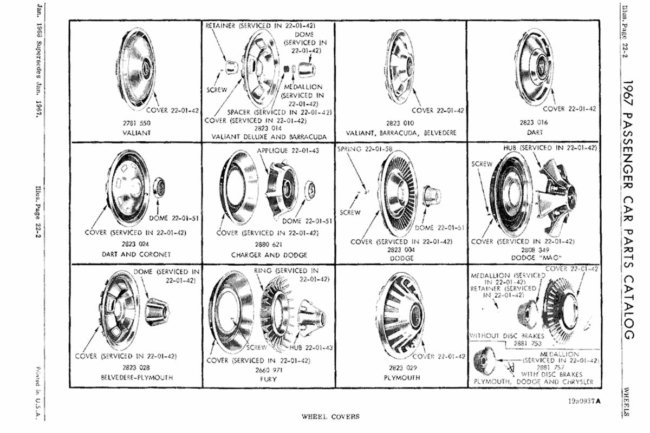
Above Left: Over the years, we added a Brawler four-barrel carburetor with a ’68 340 air cleaner, and of course, we added the 273 four-barrel badge. With the addition of 340 exhaust manifolds and dual exhaust, we had a Dart that sounded the part, and with the Dodge “Mag” wheel covers, we completed the performance upgrade. Above Right: Paging through a 1967 parts catalog, we found the Dodge “Mag” wheel covers (2nd row, 4th column). The original caps (1st row, 4th column) were 13-inchers, and we added the 14-inch wheels and caps (2nd row, 1st column) when we got the car.
But that was not really the point. We wanted something that looked right on the Dart, retained its factory character, and gave the car the appearance we had in mind. The Dodge Mags checked all three boxes. Sometimes a relatively simple change is all it takes to make an old car look the way you always pictured it. We think the Dart looks a whole lot better, and that makes the time and money spent on the project worthwhile.