There is an old saying; one man’s trash is another man’s treasure. Recently a friend called to inform us that he would soon be pulling the Slant-6 from his 1971 Dart Swinger. He bowed to the pressure of installing a V8 in his Dart to satisfy the never-ending quest for more power and was going to scrap a lot of the Slant-6 parts. Luckily we had use for them and would be free.
Most of the parts he was going to He was going to scrap the exhaust but knew we might Most people would not think twice and tell him to scrap it. We knew the story behind his Slant-6 and knew it would be a golden opportunity for some parts for our 1967 Dart.

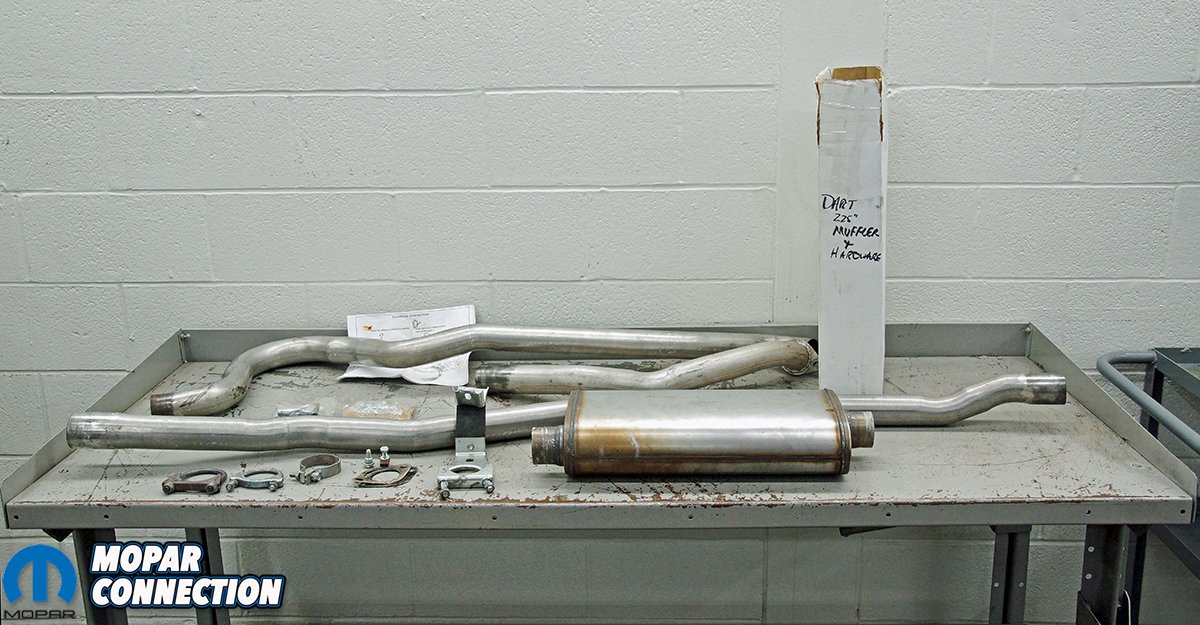
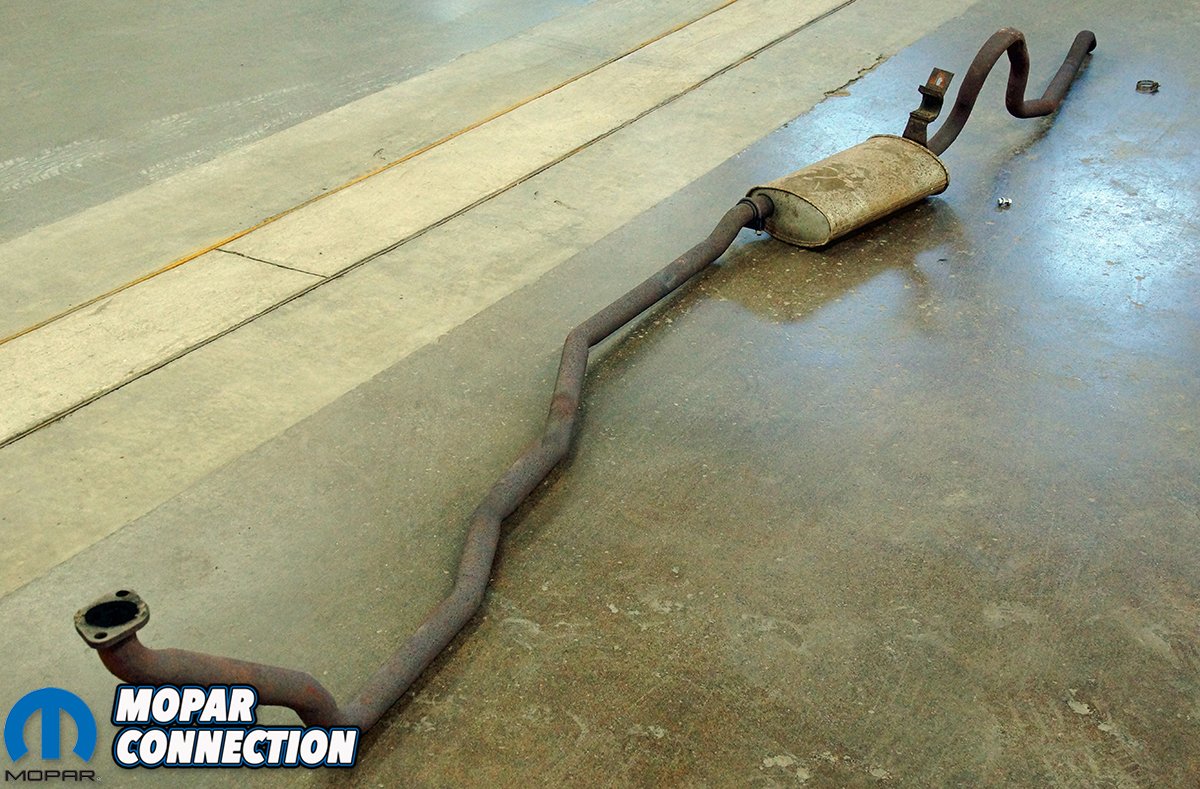
Above: A friend no longer had a need for the exhaust, so he took the time to remove and label all the exhaust parts, including clamps, gaskets, hangers, and the instruction manual. The exhaust is a complete 2.25” Accurate Exhaust Products ’67-’73 A-body 111” wheelbase exhaust system (part no. CAS6111TD, MSRP $482.90).
Our friend spent several years of modifying his slant six for more power. He finally decided that for the power he wanted that a V8 would be a lot better choice. Luckily for us many of the parts he was taking off his Dart would not work with the V8 that he was installing. One of the parts he offered us was a complete 2.25-inch Accurate Exhaust Products part no. CAS6111TD, that was only two years old. The only stipulation was we had to pull the exhaust from the Dart, because he did not want to struggle with its removal.
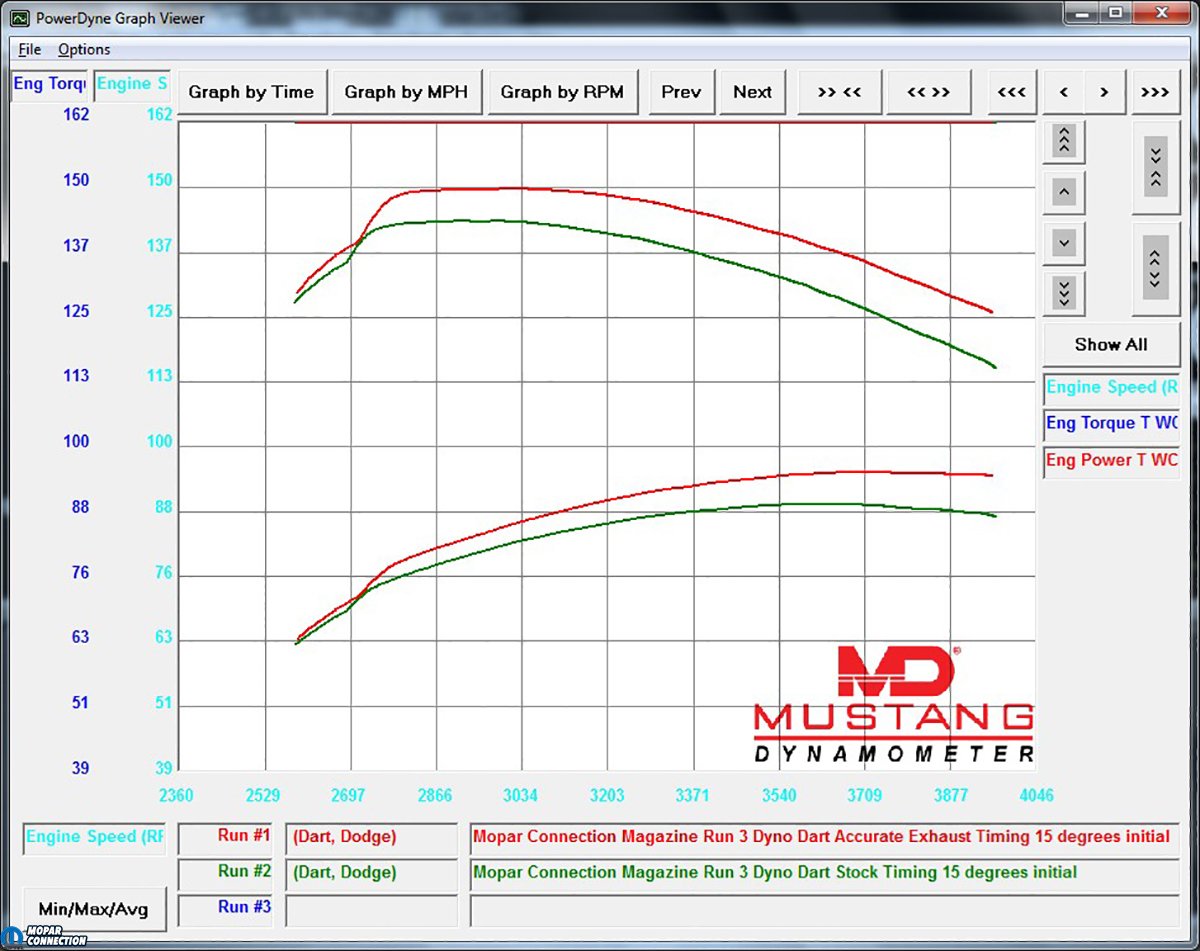
Above: We made a series of baseline runs on the stock slant six exhaust. The stock performance had a peak of 143 lb-ft of torque at 3000 RPM and 89 horsepower at 3700 RPM.
We knew that the exhaust would fit our 1967 Dodge Dart GT, so the requirement to remove the exhaust from his Dart did not deter us from jumping at the chance to get a free performance exhaust system. We made our plans, set a date, and when the day finally arrived, we showed up with tools in hand.
Within moments of arriving, we stood slack jawed, gawking at a snake of pipes laying on the garage floor. Since our friend was ahead of schedule, and he wanted to test fit his new 440 in his Dart, he had removed the exhaust. Not only had he meticulously removed each pipe of the exhaust, he took the time to bag and label all the small parts, and he even included the instruction packet. That is the kind of friend everybody should have.
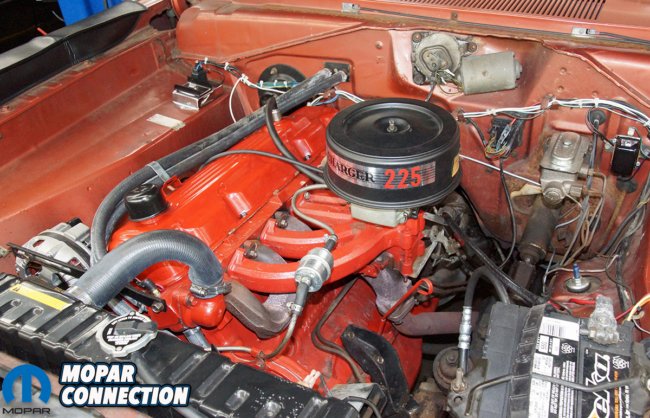
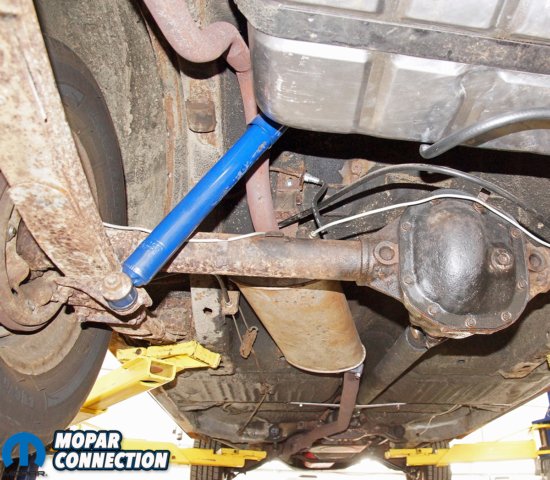
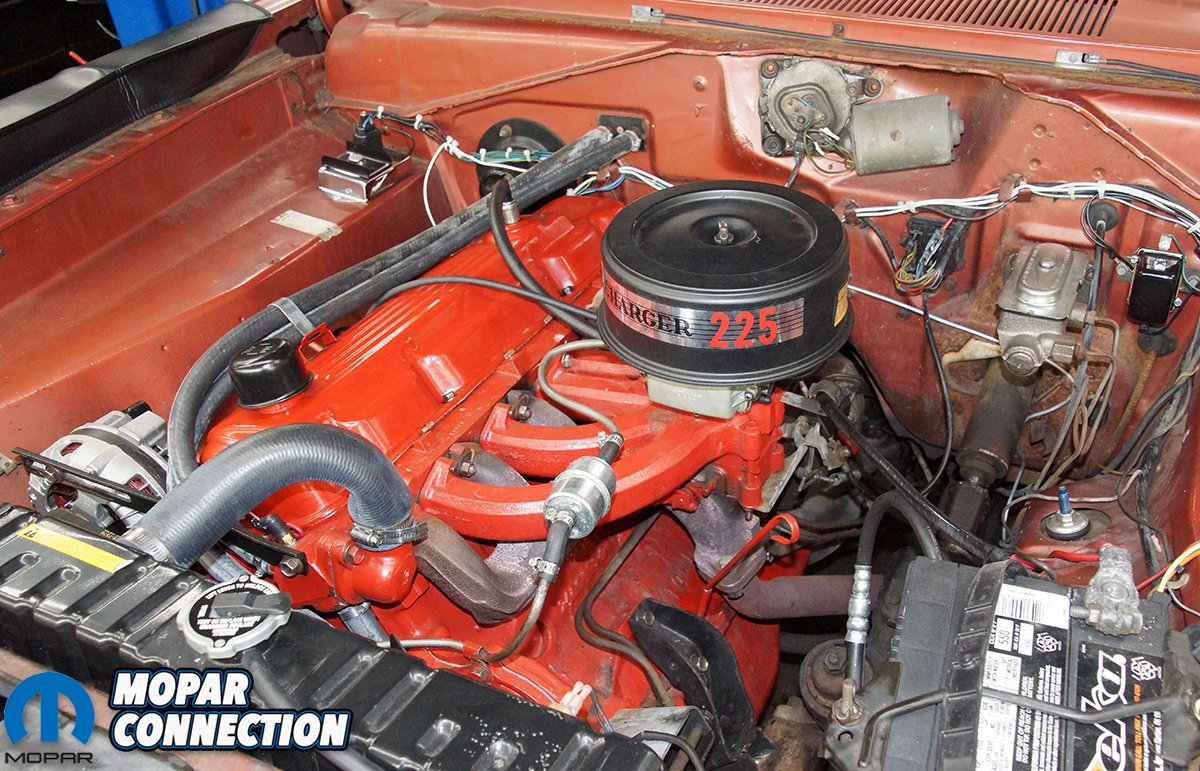
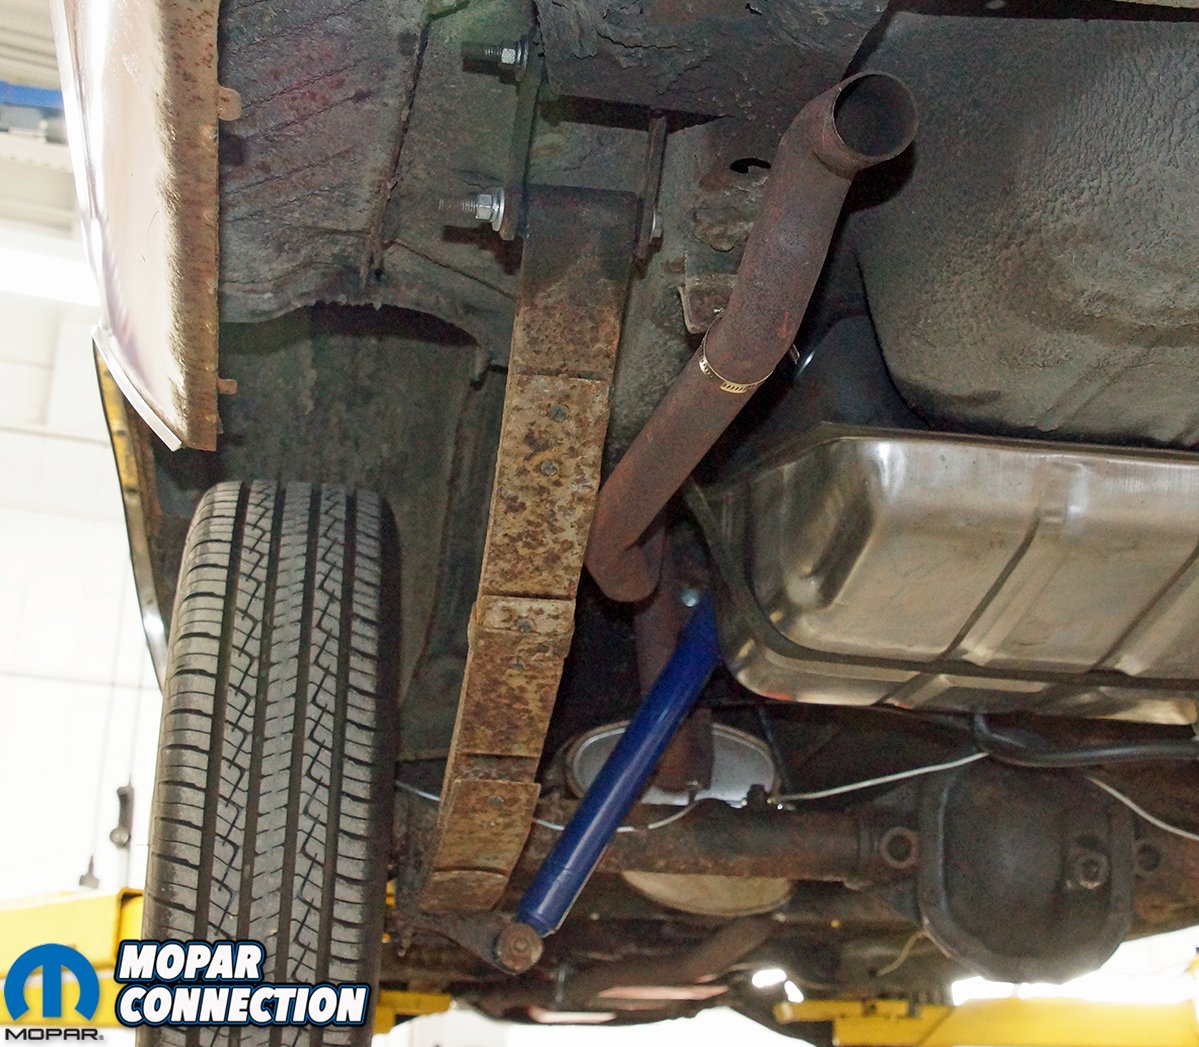
Top: The Slant-6 has a .030” overbore, the head/block have been milled a total of .090”,compression ratio of 9.37:1 and to a Mopar Performance electronic ignition. Bottom Left: The entire exhaust was rusty, but complete and in good operating condition. Bottom Right: The factory exhaust tailpipe hanger remained in place, but the clamp had been replaced with a radiator hose clamp
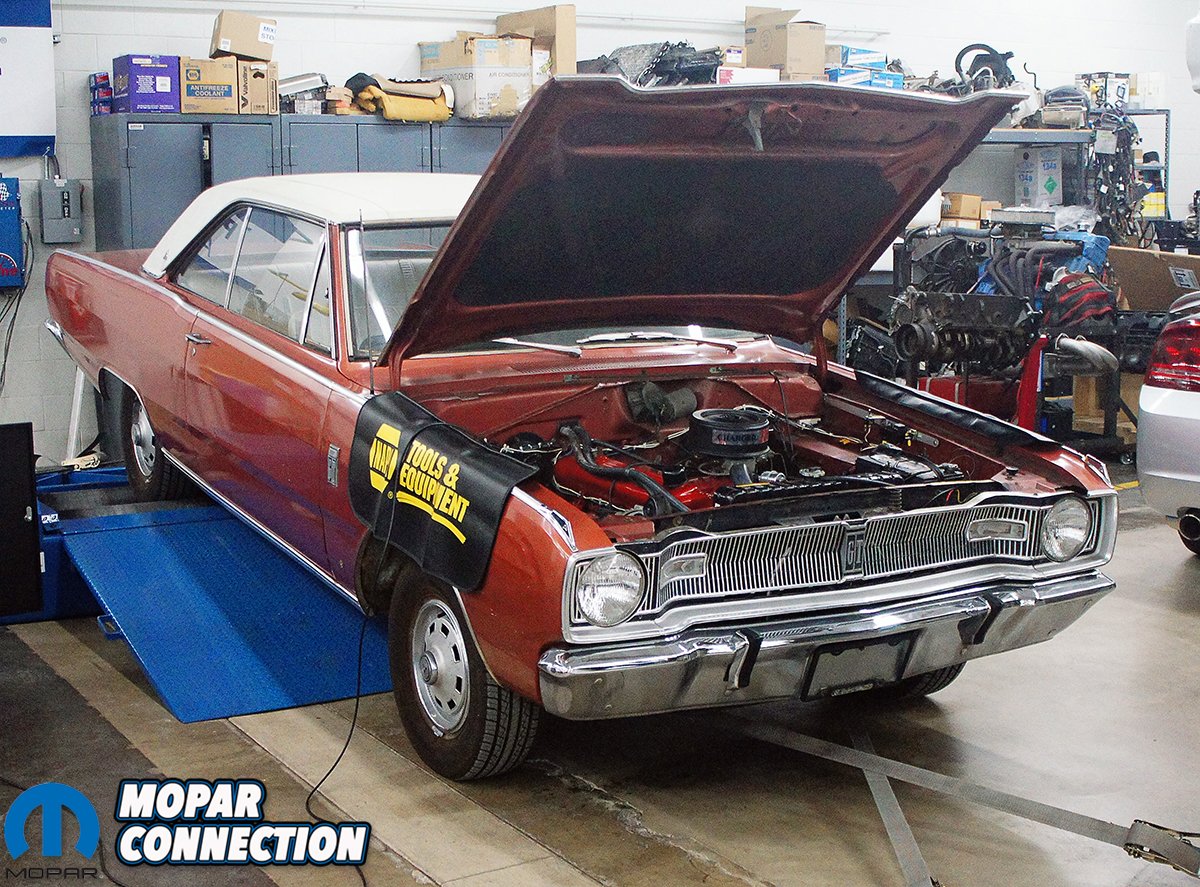
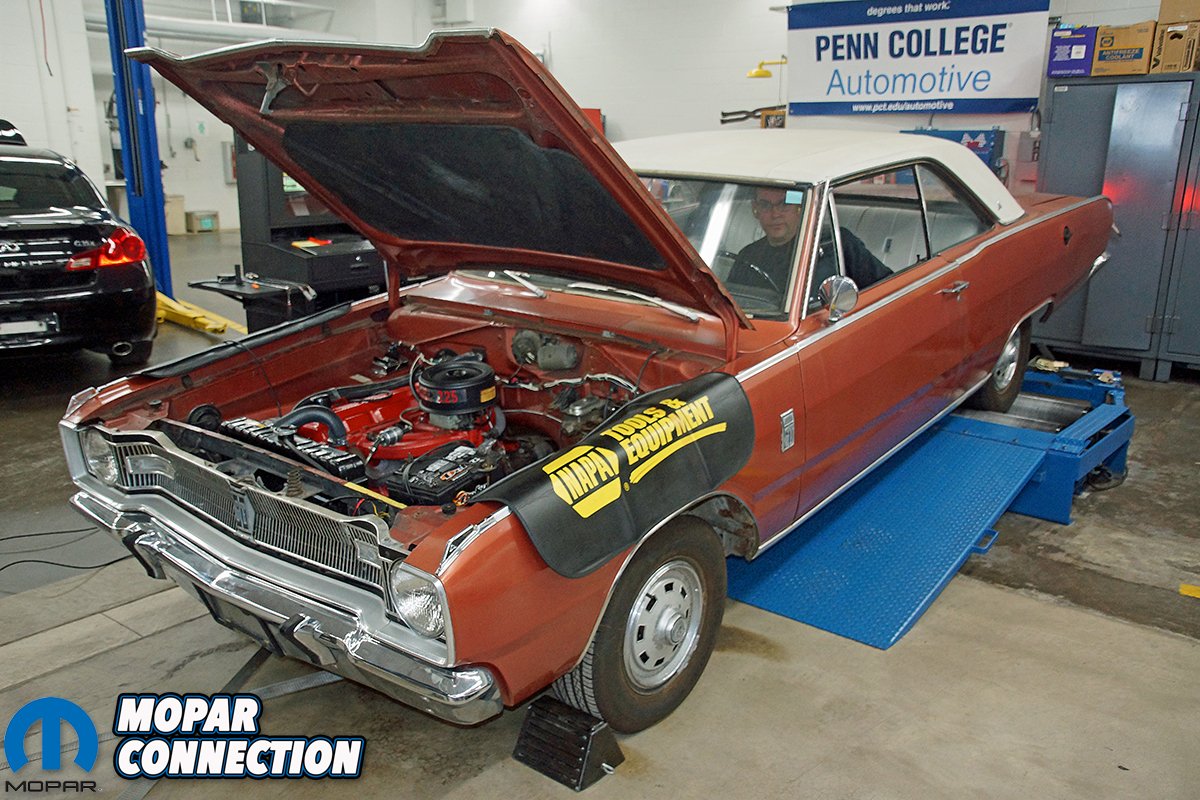
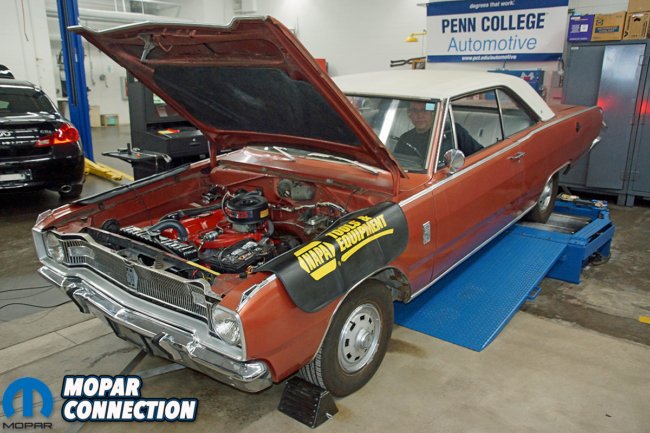
Before the installation of our new-to-us exhaust, we decided to run our genuine 22K-mile Dart on Pennsylvania College of Technology’s Mustang chassis dyno to see what kind of performance difference we could achieve from adding the Accurate Exhaust. We made a series of baseline runs on the stock Slant-6, with the spent hydrocarbons exiting via the factory original exhaust piping.
While we cannot say for certain the muffler is the original, the rest of the exhaust is original. After spinning the rollers, the results were a peak of 143 lb-ft of torque at 3000 RPM and 89 horsepower at 3700 RPM. With each additional run, the dyno results were within 1% of the others, so we had established a repeatable baseline.
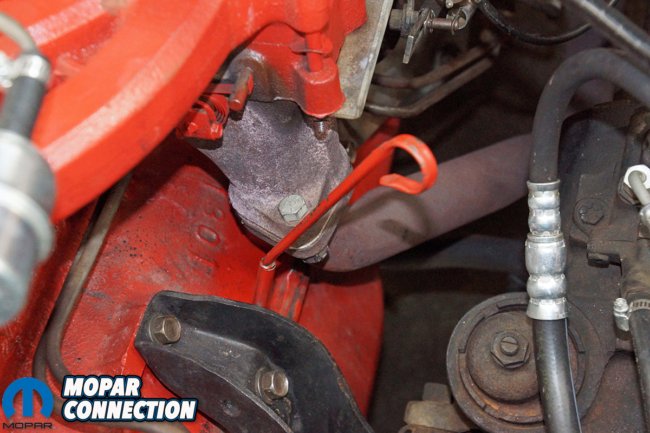
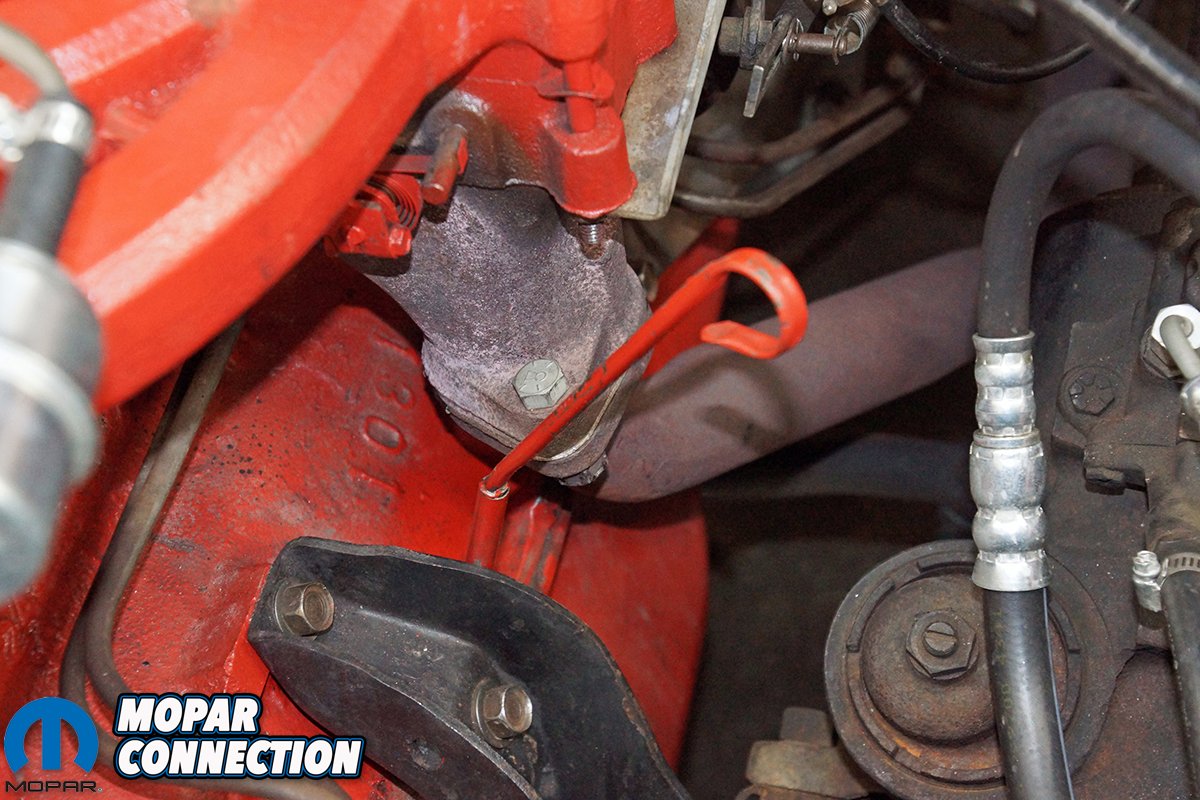
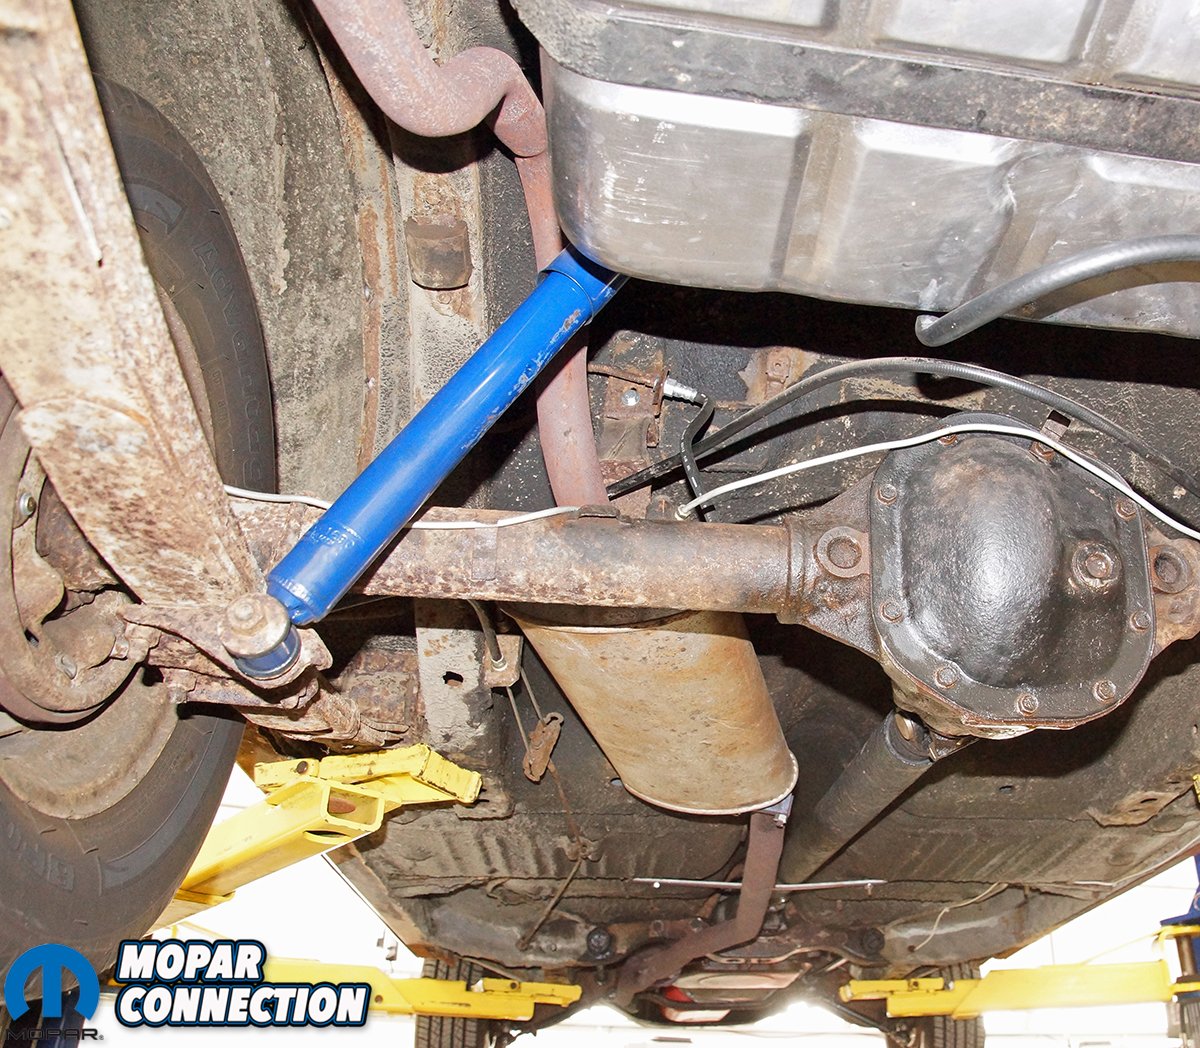
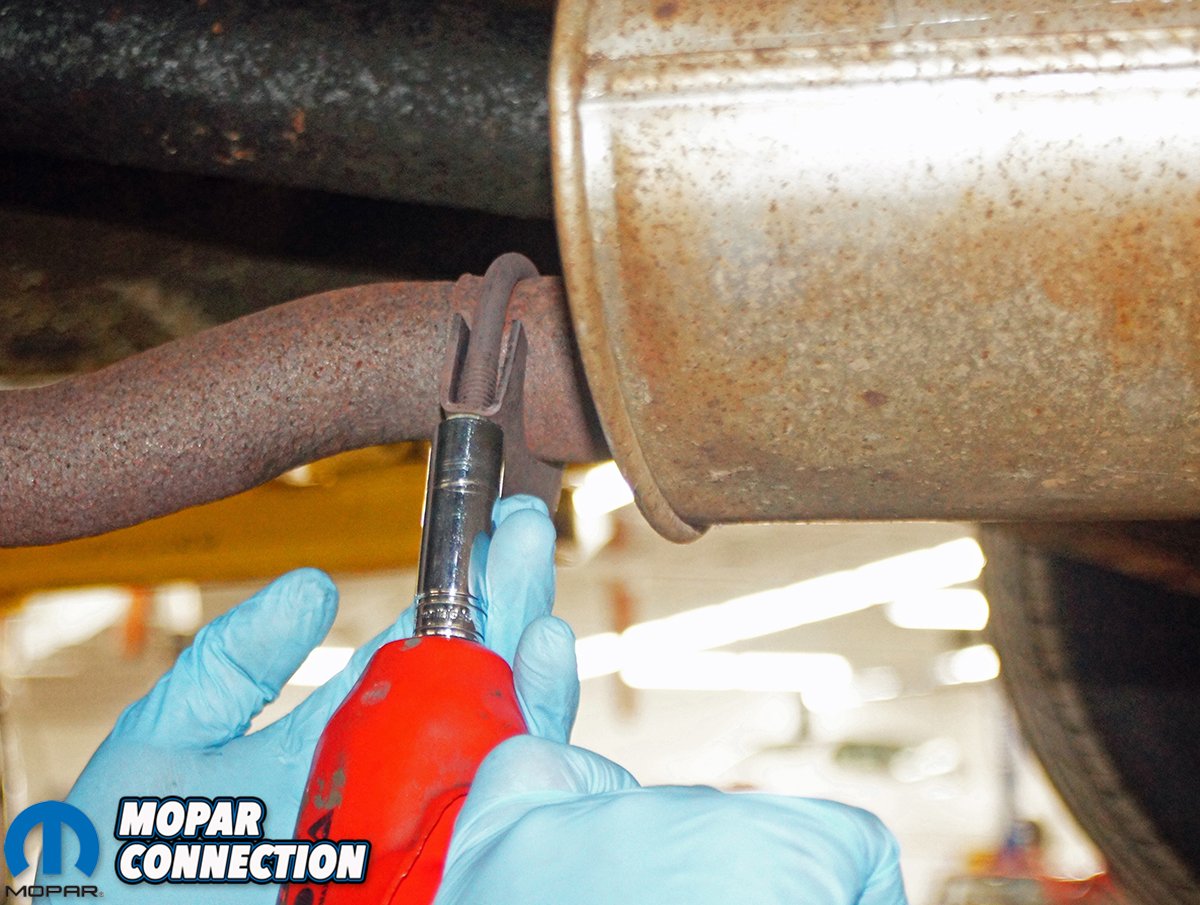
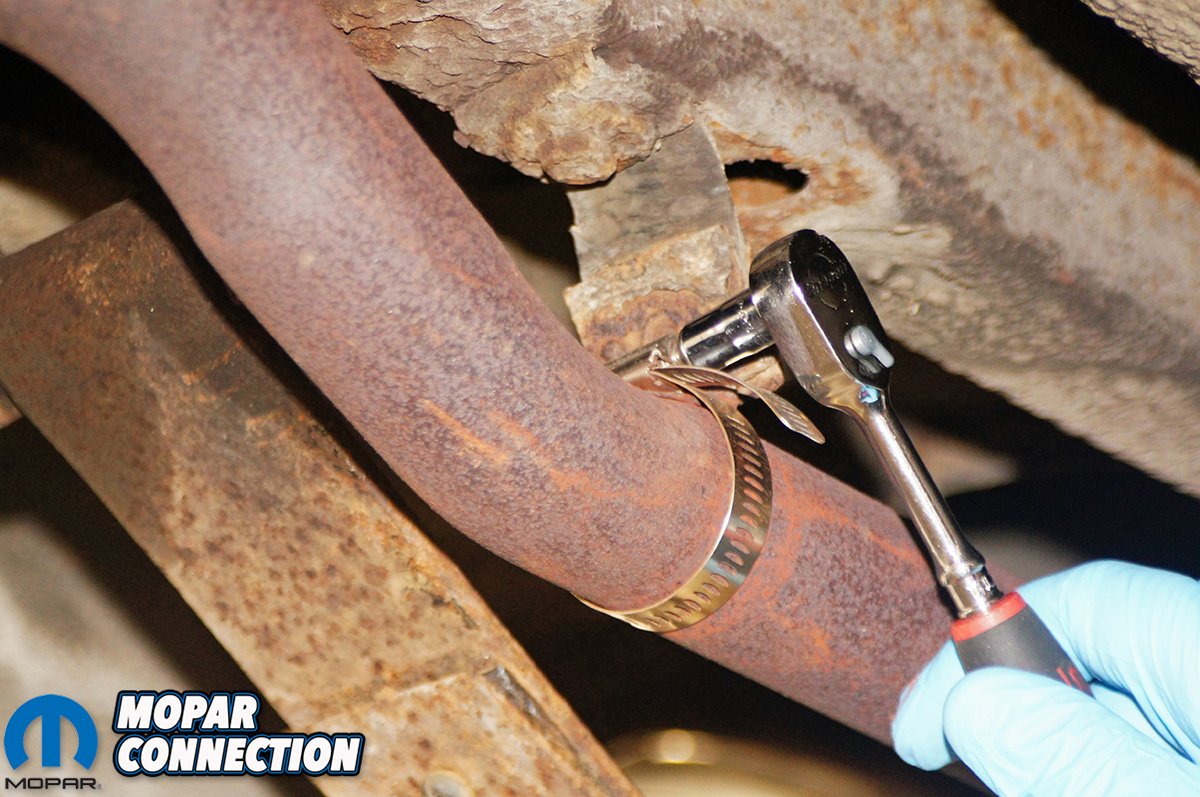
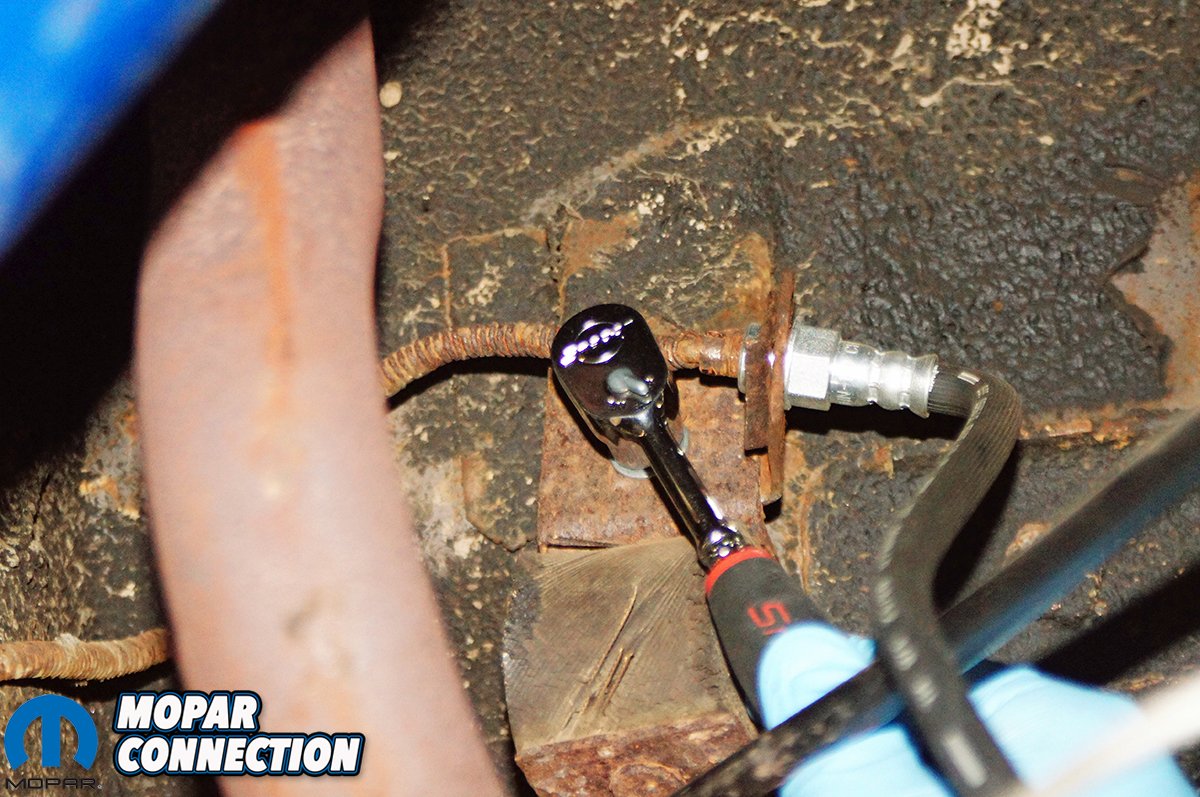
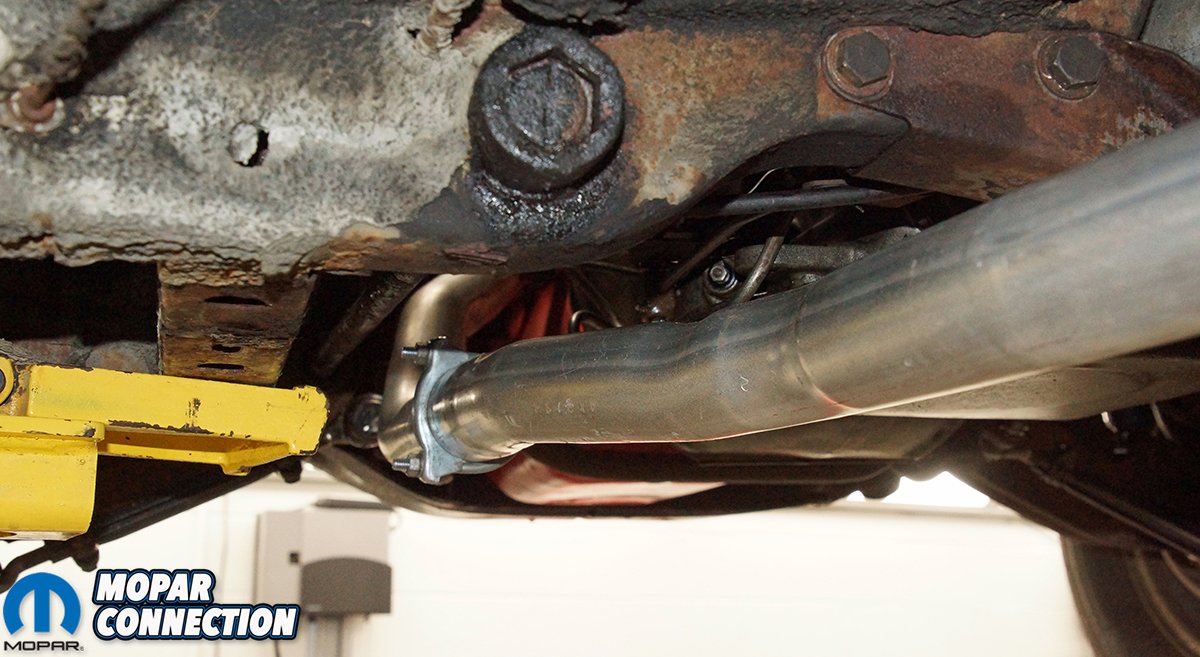
Top Left: Although rusty on the surface, the factory exhaust appeared to be in decent shape. Top Right: The head pipe extended from the exhaust manifold to the muffler. Bottom Left: We elected to leave the factory tailpipe hanger in place because the hanger had factory undercoating on it that we did not want to disturb. Bottom Right: The muffler bracket bolt was removed from the chassis, and the exhaust dropped onto the rear axle.
Seeing the Dart had been in central PA its entire life and the exhaust was rusty due to its exposure to the harsh winter elements, there was an expectation of plenty of broken bolts and damaged exhaust parts. Yet our objective was to remove the exhaust without cutting or damaging it. We moved the Dart to a vehicle lift in the shop and proceeded to systematically disassemble the exhaust.
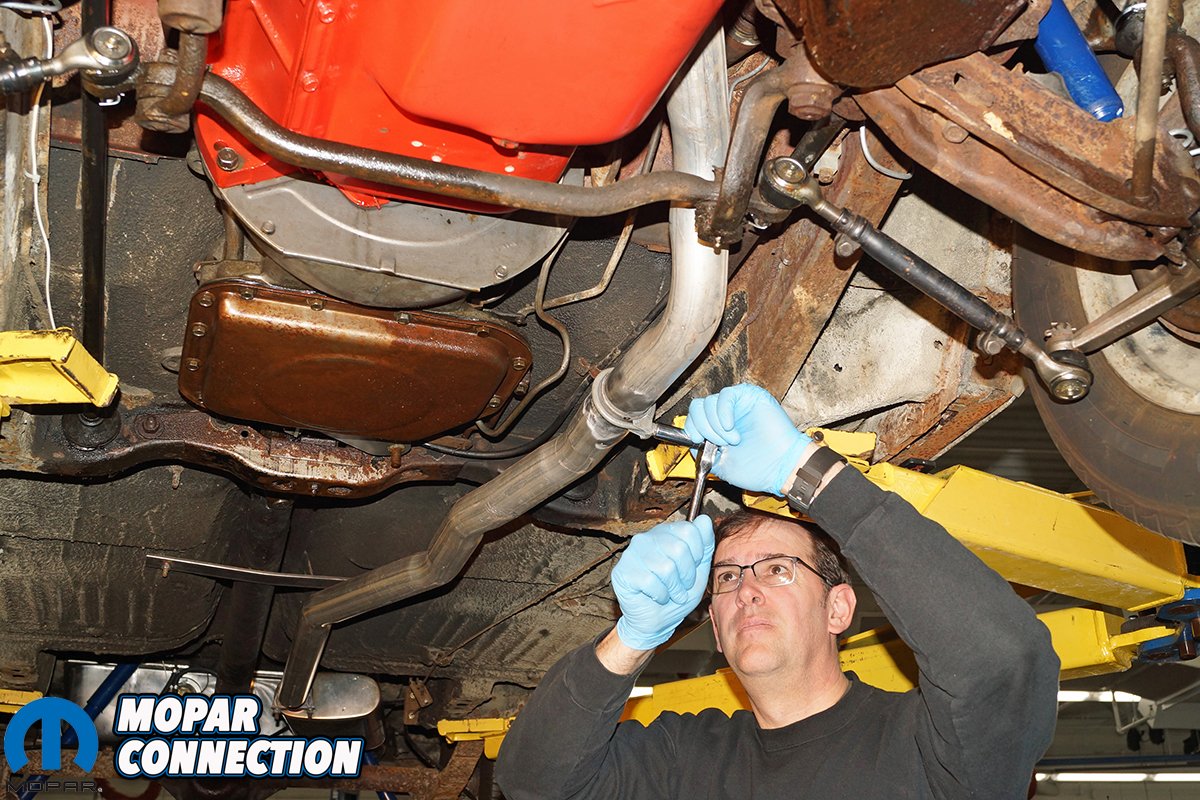
The head pipe ran from the exhaust manifold to the muffler without a slip-joint or mid-pipe, so removing this pipe appeared to be a challenge. However, the exhaust manifold flange bolts and nuts separated with the aid of air tools without any difficulty at all. We moved to the muffler where we were able to remove the inlet muffler clamp without breaking it. The removal of the head pipe from the muffler looked like a formidable task.
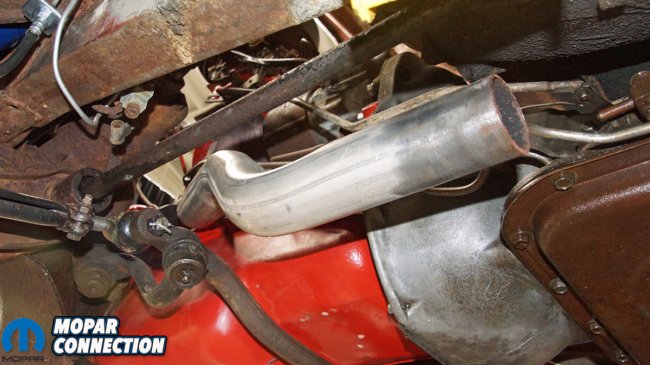
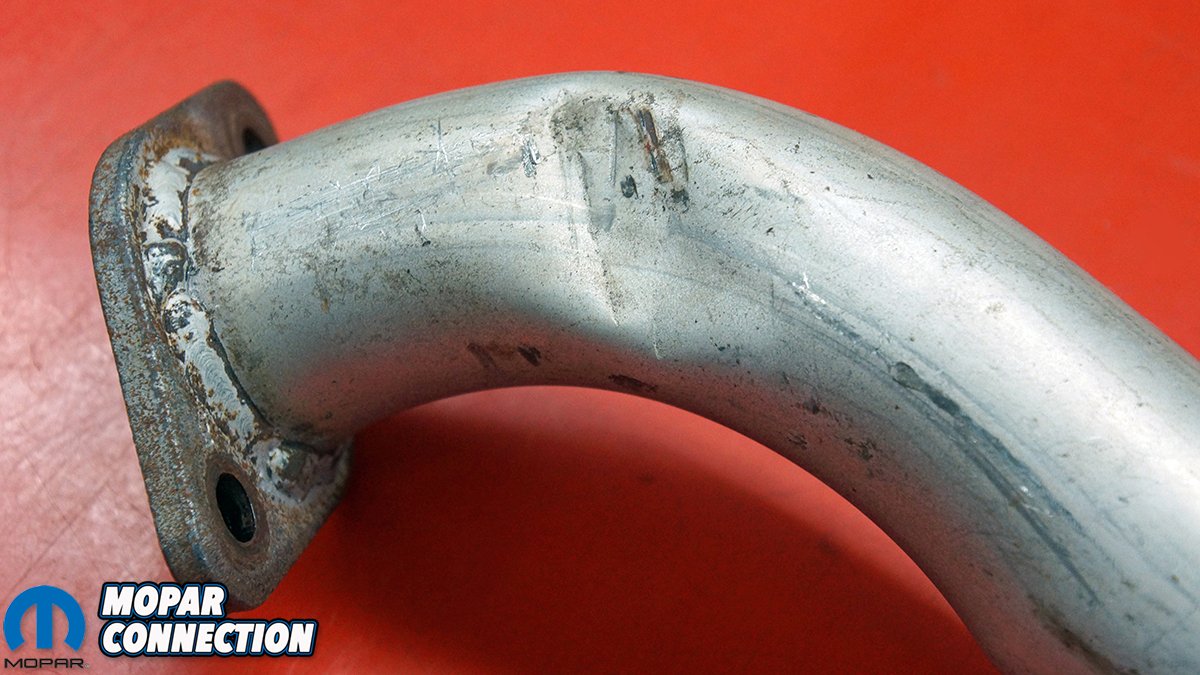
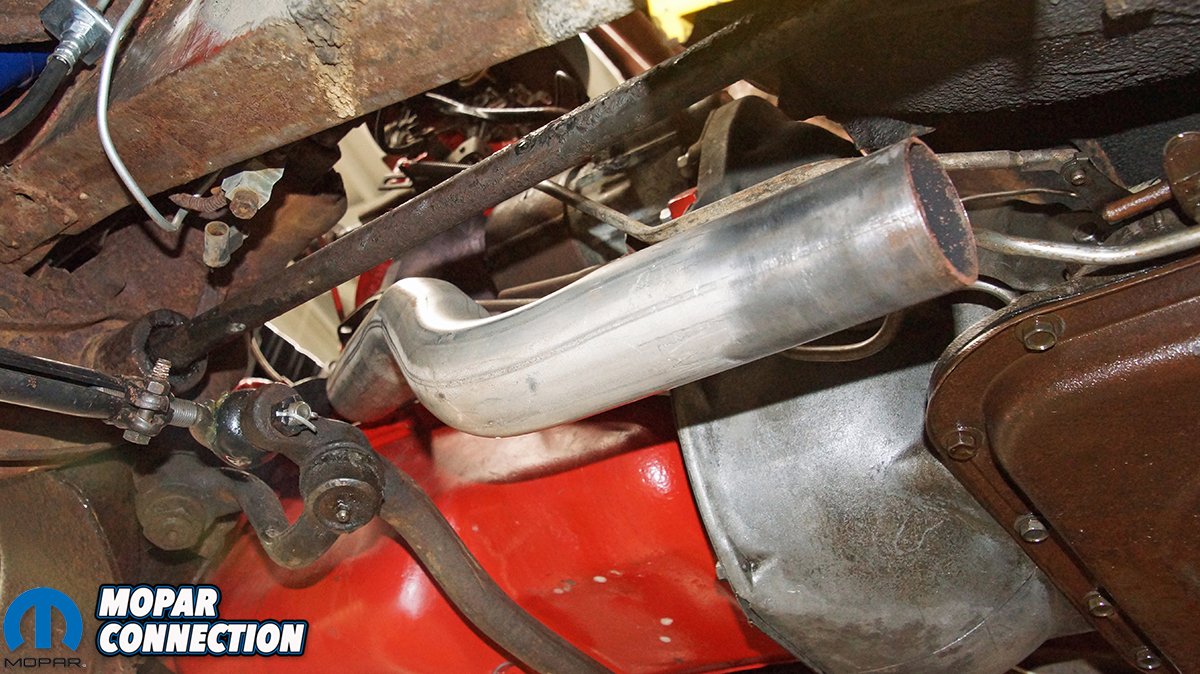
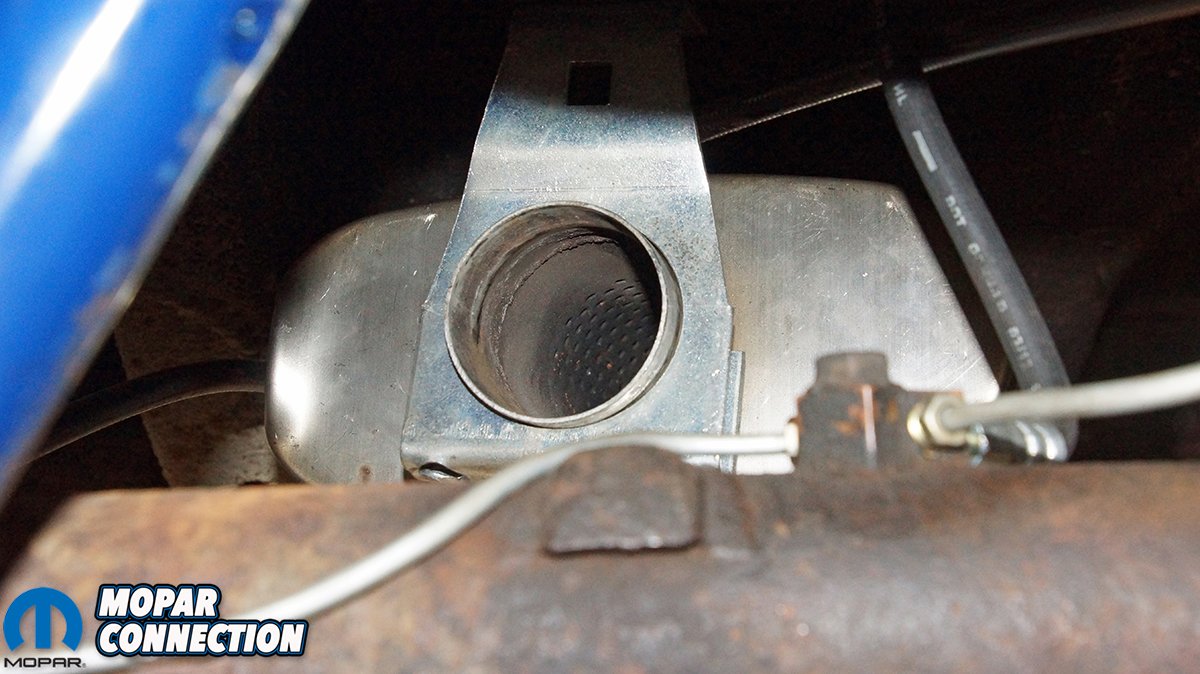
Above Left: Accurate Exhaust provided this clearance in the 2.25” head pipe during the construction of the pipe for the reason of clearing the Slant-6 oil pan rail. Above Right: We loosely installed the pipe, so we could complete the installation of the rest of the exhaust.
The combination of pipe wrenches and ample amounts of PB Blaster twisting in opposite directions should have broken the head pipe free from the muffler. After an hour of sweating and thoroughly frustrated with the rusty exhaust, we entertained the thought of cutting off the original exhaust. With the torch rolled over to the lift, we tried one last time to free the head pipe from the muffler. This time we were able to twist the head pipe out of the muffler.
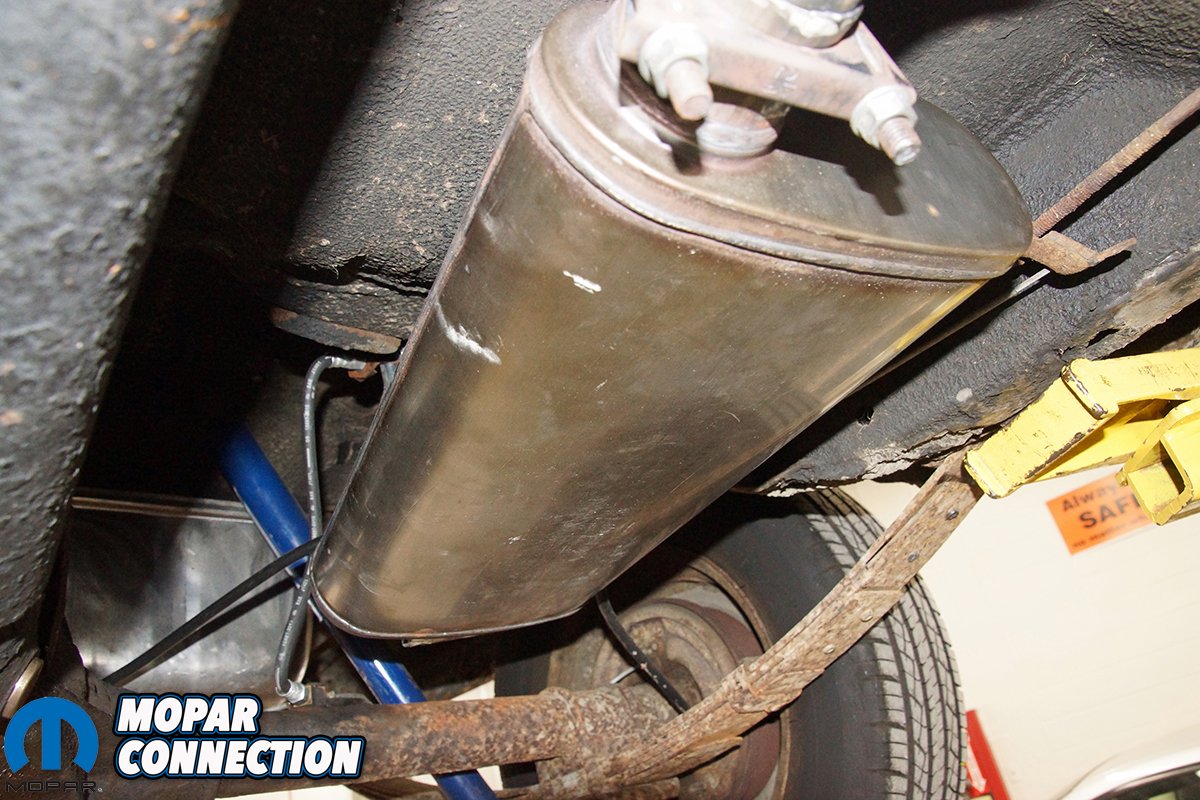
With the head pipe removed, we focused on removing the muffler and tailpipe as a unit. First, we removed the tailpipe hanger clamp near the rear bumper. This freed the rear of the tailpipe allowing the tailpipe to be suspended from the muffler hanger just in front of the rear axle. We unthreaded the muffler hanger bolt from the chassis, and the tailpipe dropped onto the rear end housing.
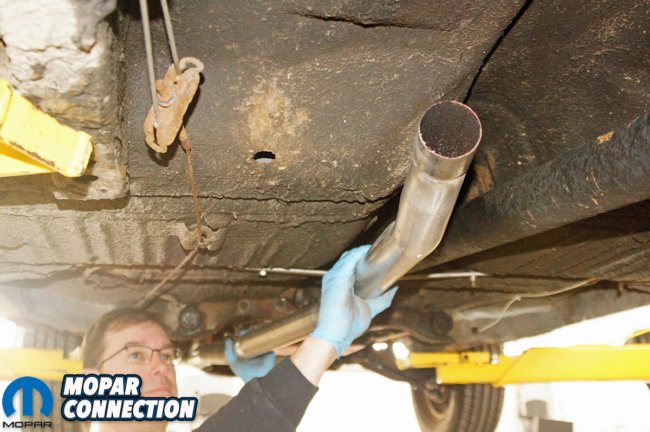
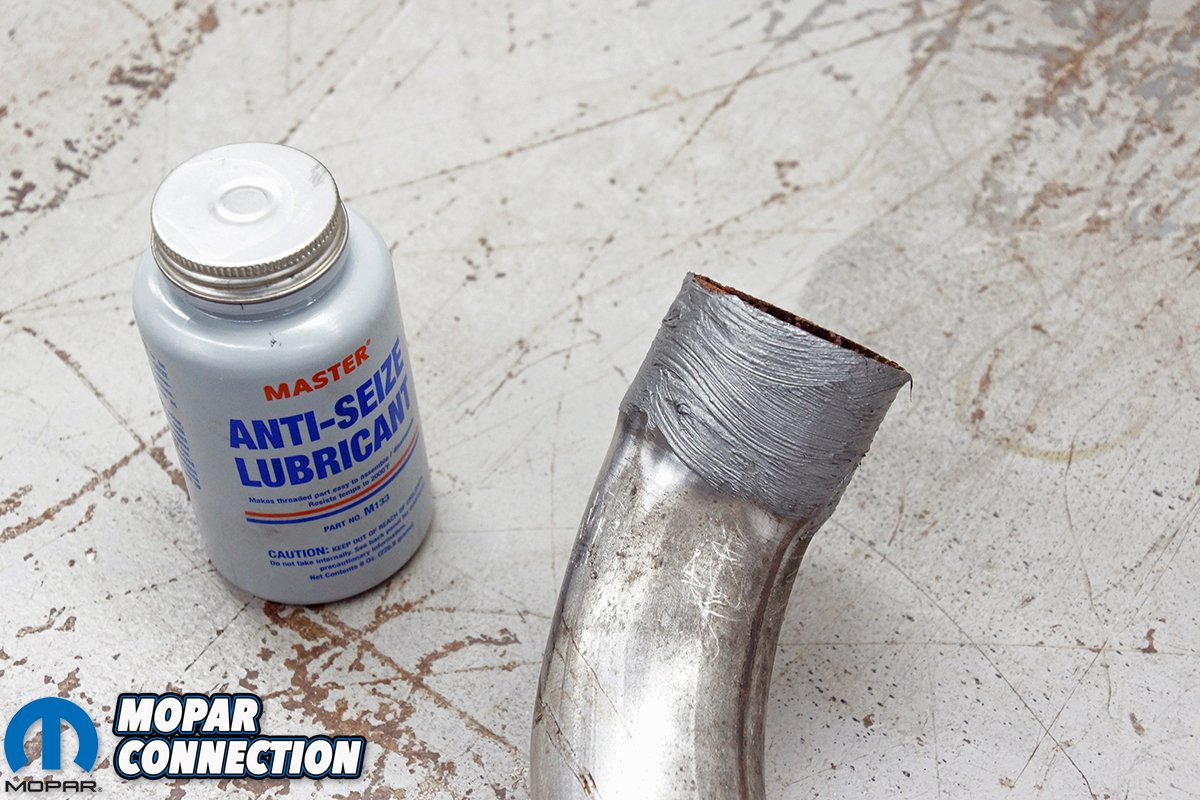
Above Left: The anti-seize allowed the exhaust to slip together without much hassle. Above Right: The mid-pipe was twisted into the head pipe, and the fit was perfect. The pipe was rotated until the bends of the pipe matched the contour of the Dart’s floor.
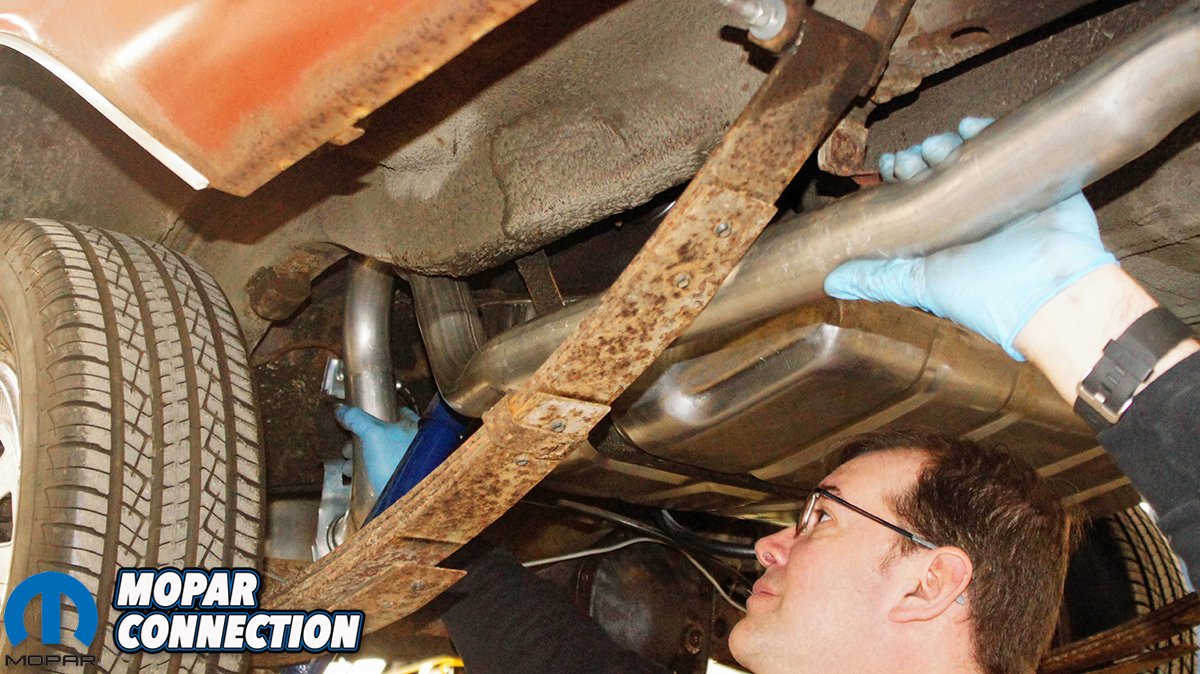
After some tussling with the tailpipe and muffler, we were able to push the tailpipe toward the front of the Dart, and up and over the rear axle to free it from the Dart’s under chassis. We were impressed with the factory exhaust, while rusty, we had removed a 50+ year old exhaust without breaking anything or having to use the torch.
Prior to installing the Accurate Exhaust, we took the time to clean all the slip joints with our bench grinder wire wheel to ensure ease of installation and a properly sealed system. We also polished the mounting flange on the head pipe to guarantee the new gasket would properly seal the head pipe to the exhaust manifold. We looked over all the muffler clamps, and while most of the clamps were in good condition, we ended up replacing all the clamps as cheap insurance.
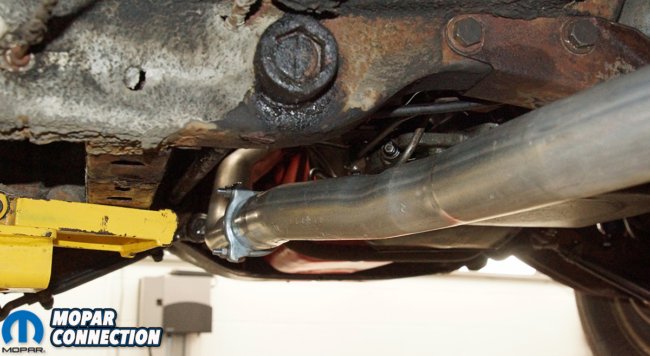
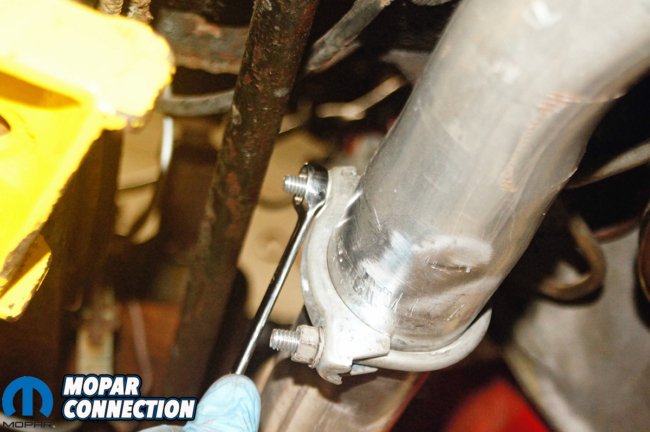
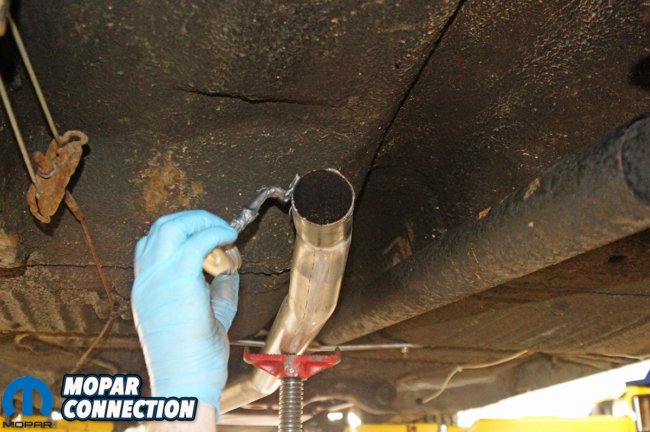
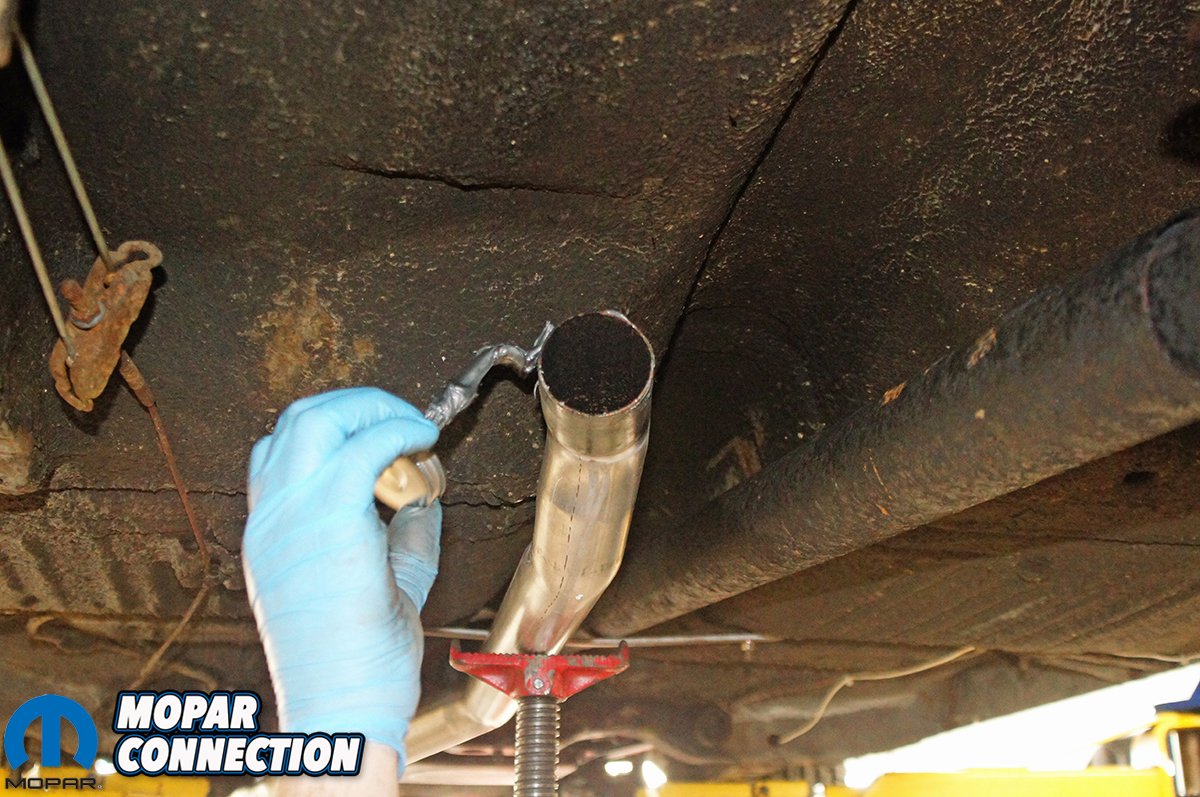
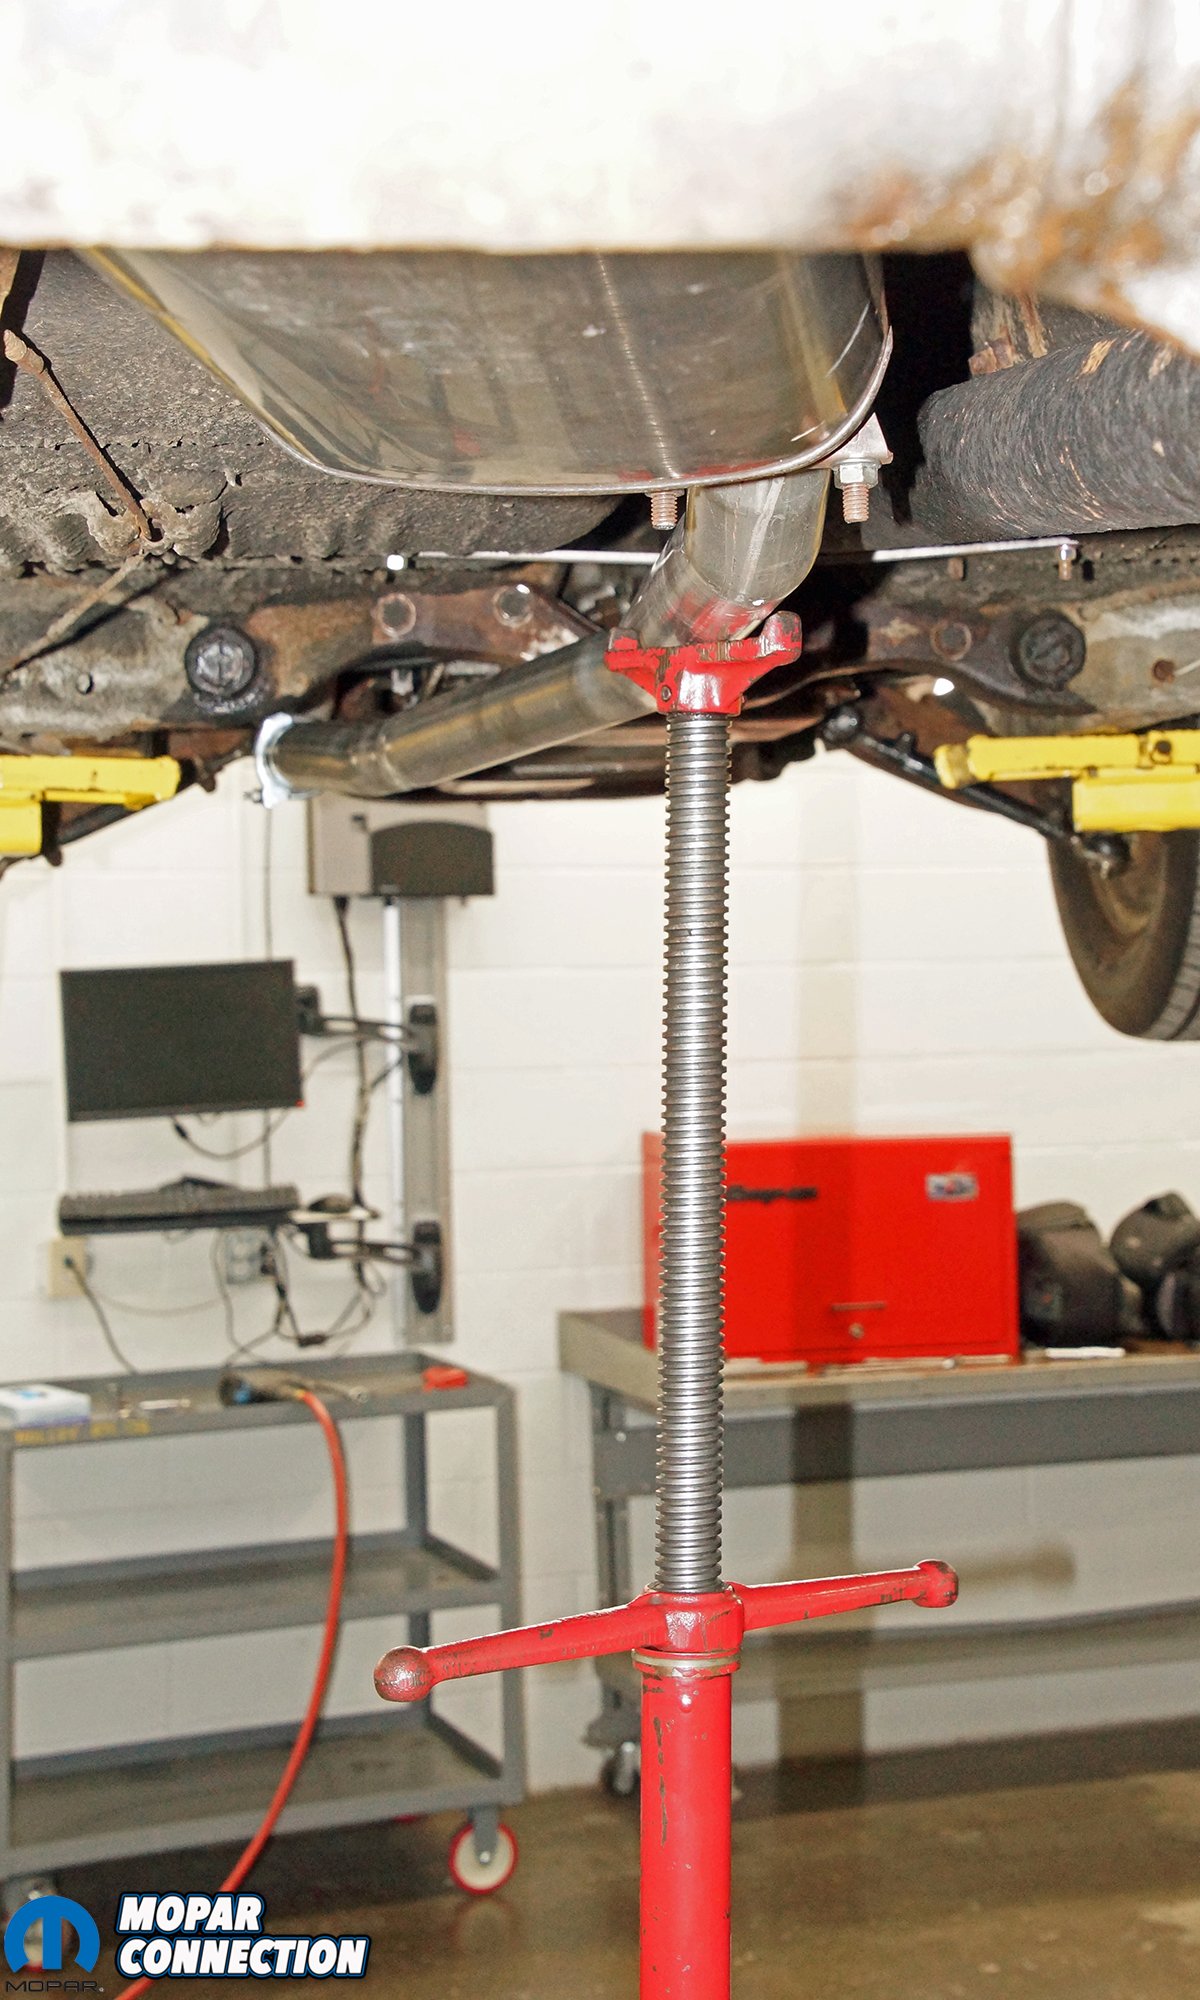
Top: The mid-pipe routed around the torsion bar support and the transmission. Bottom Left: New muffler clamps were employed for our Accurate Exhaust installation. Bottom Right: We used a screw jack to keep the mid-pipe in the position for the assembly of the muffler and tailpipe.
While examining the newly cleaned exhaust, we found a dimple (more like a seam) in the head pipe. We asked our friend if he had done this, and he responded, “it came that way.” Apparently, Accurate Exhaust provided this clearance in the 2.25” head pipe during the construction process for the expressed reason of clearing the oil pan rail.
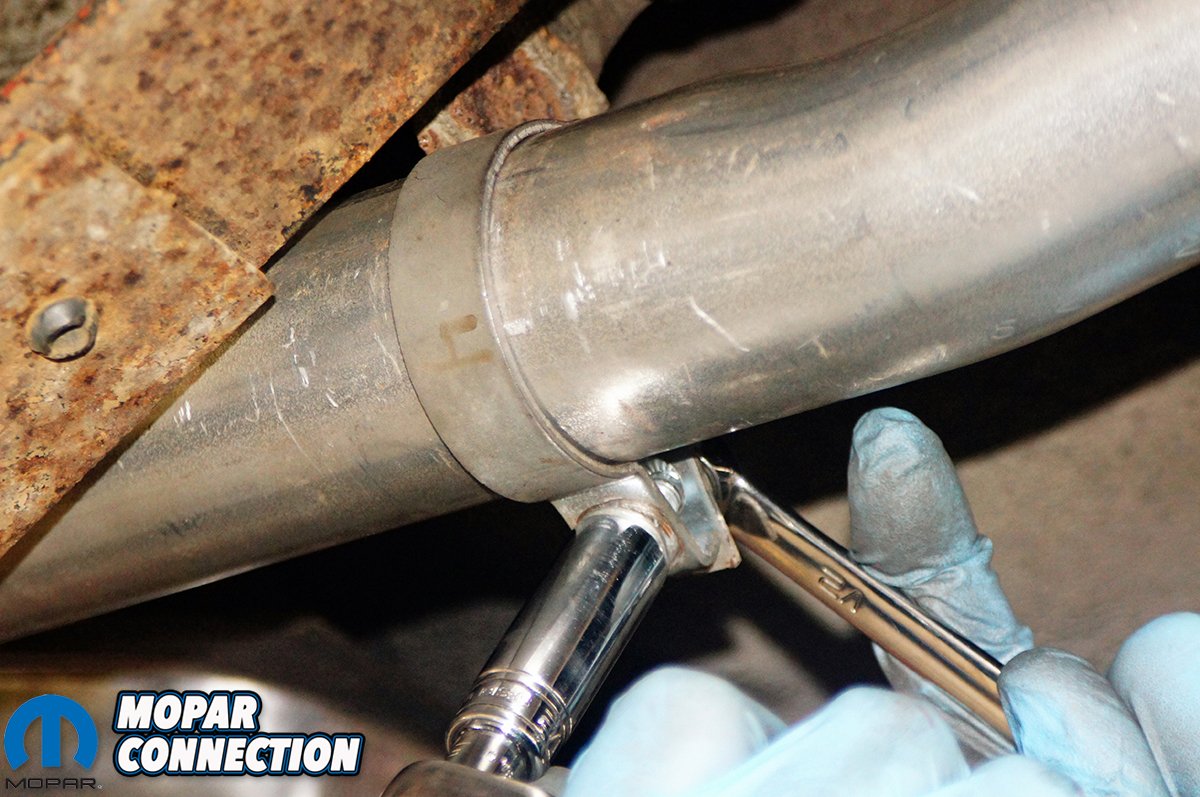
We started the exhaust installation by snaking the head pipe into the engine bay from below the Dart. It was more difficult to get an extension and socket slipped onto the fasteners of the head pipe, because the pipe was substantially larger in diameter. We were able to loosely tighten the head pipe fasteners, but we did not torque them. We applied anti-seize to the outside of the head pipe outlet and slipped the mid-pipe onto the head pipe. We loosely installed a muffler clamp onto the mid-pipe inlet to hold it to the head pipe.
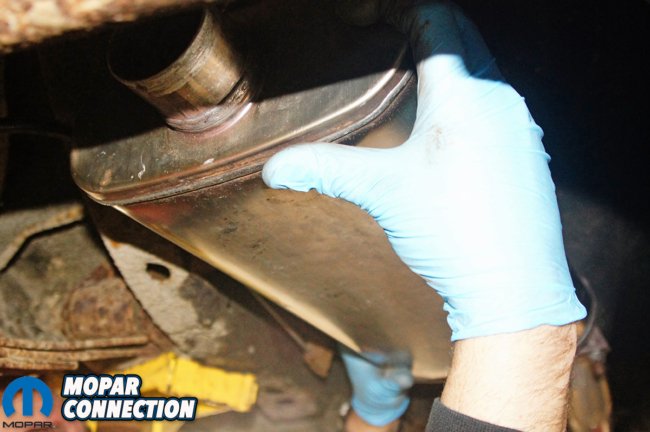
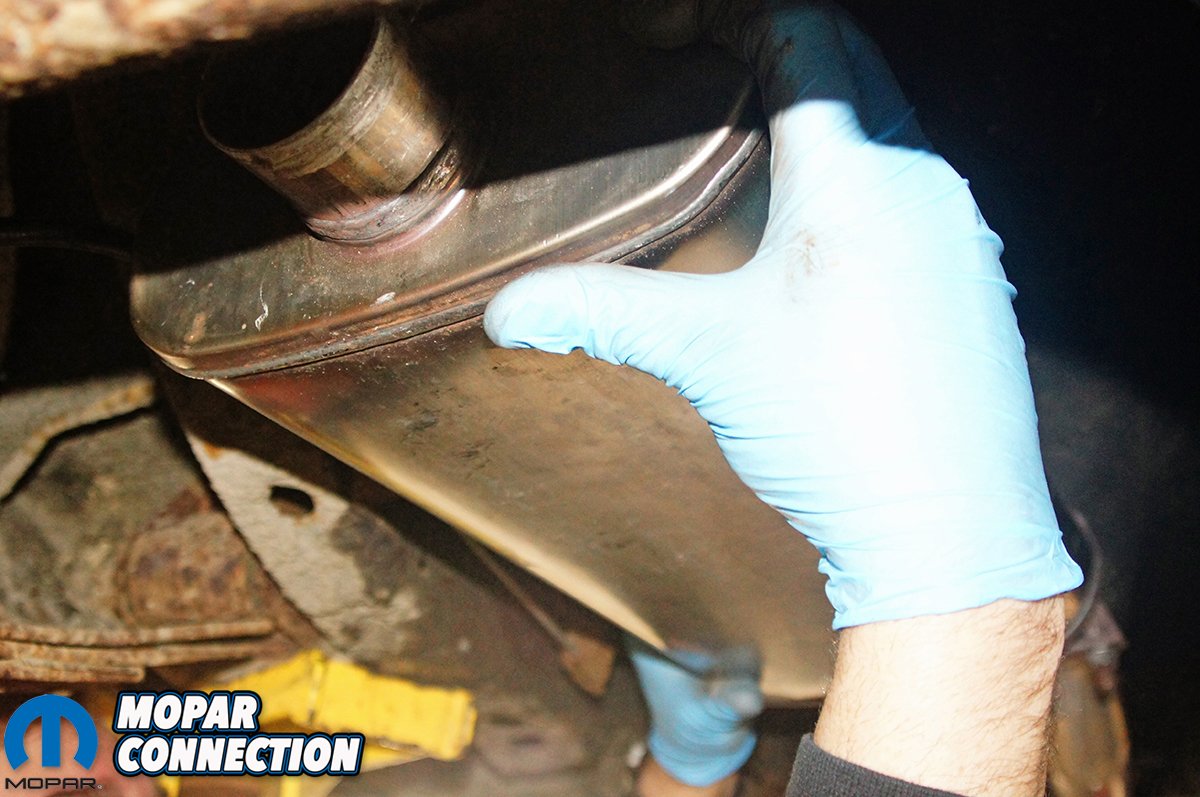
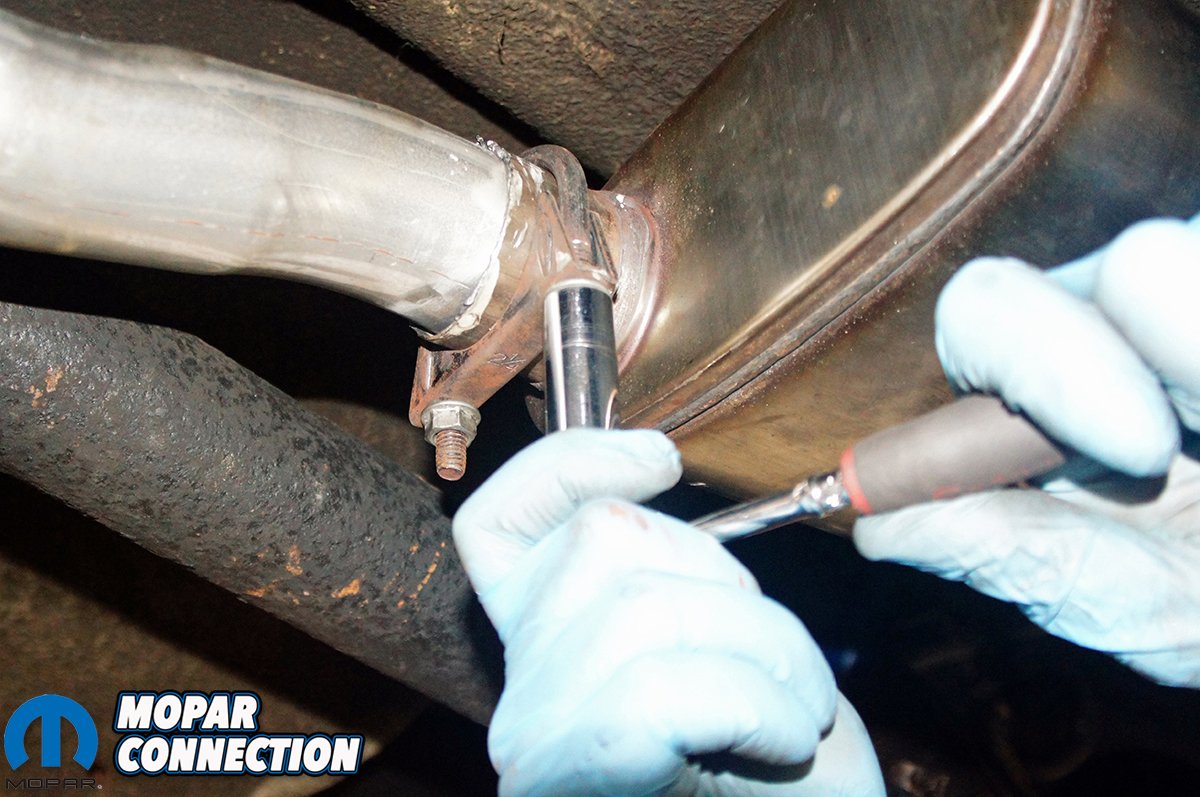
Above Left: It slipped onto the mid-pipe easily, and we were able to rotate it to an angle that provided clearance around the driveshaft, brake line, and the parking brake cables. Above Right: This clamp located the muffler, so we could assemble the tailpipe and attach the muffler clamp and bracket to the outlet of the muffler.
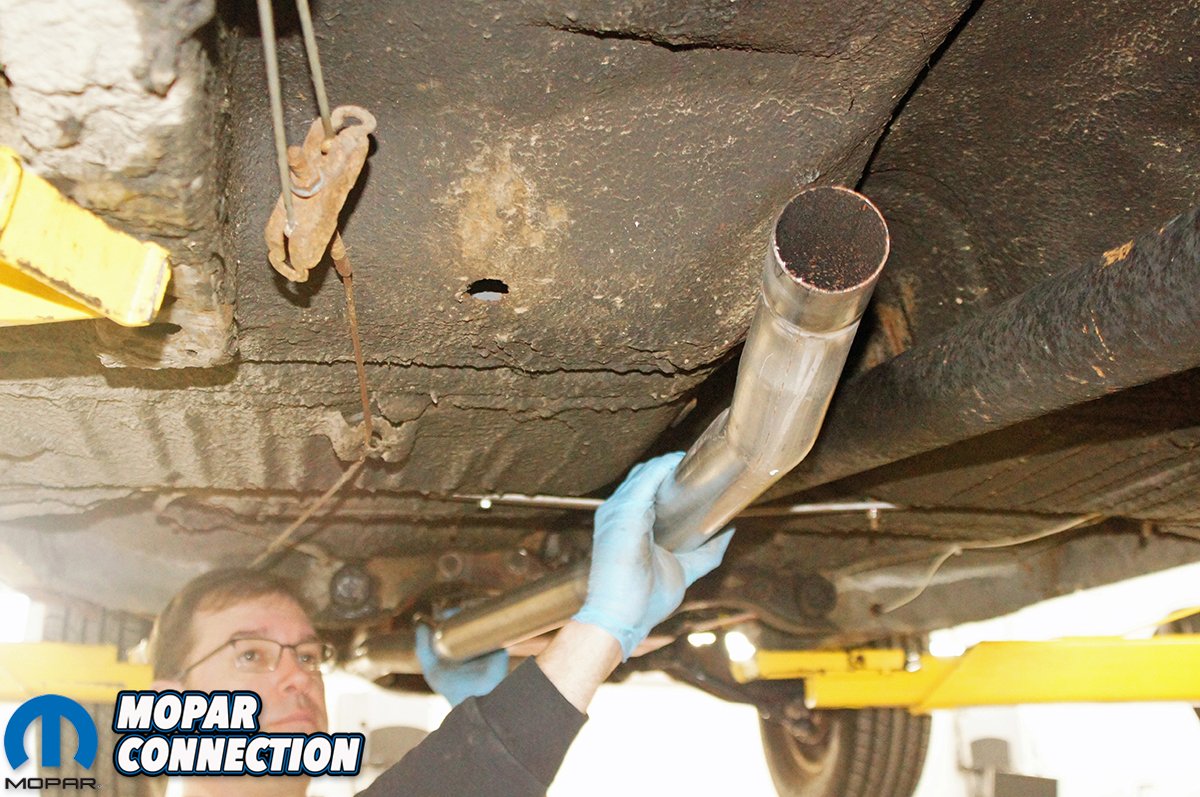
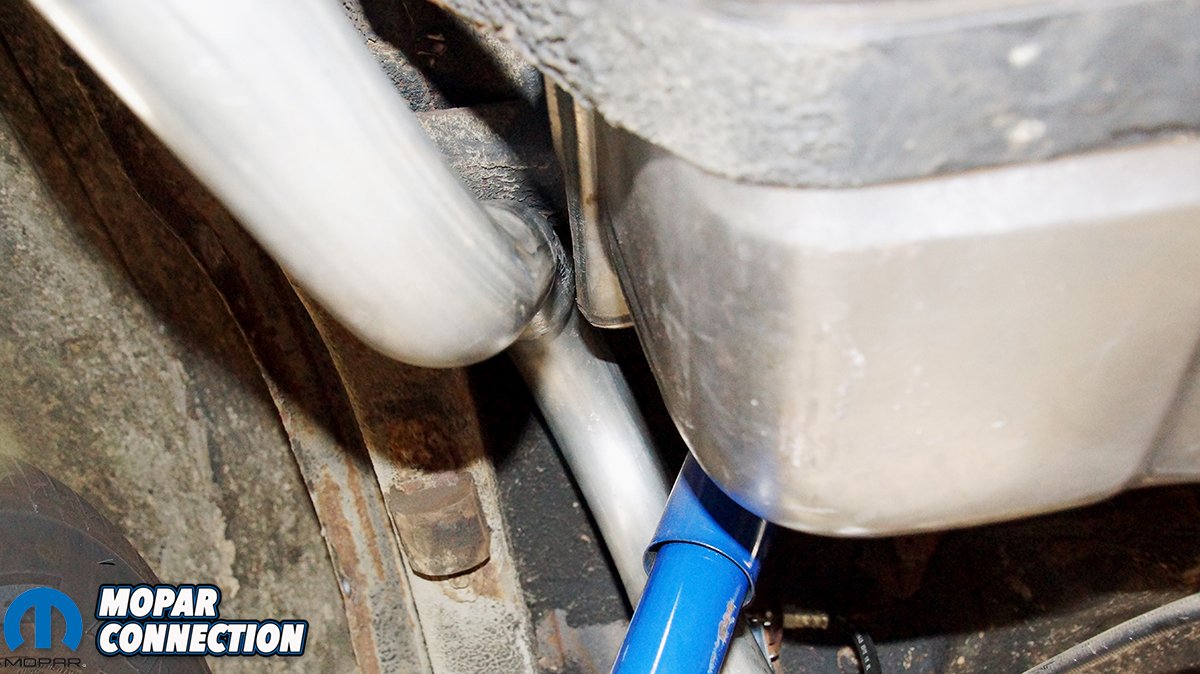
Before we attempted to install the muffler, we employed an adjustable stand to support the mid-pipe. We coated the mid-pipe outlet with anti-seize, and with some effort, we pushed the muffler onto the mid-pipe. We lightly installed a muffler clamp on the inlet pipe to the muffler. The tailpipe proved to be somewhat difficult for us. No matter how we tried to install the pipe, it would either hit the uni-body frame rail or it contacted the flange joint between the top and bottom stamped halves of the aftermarket gas tank.
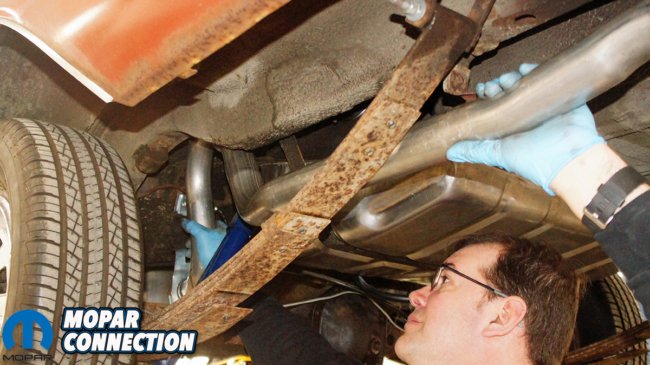
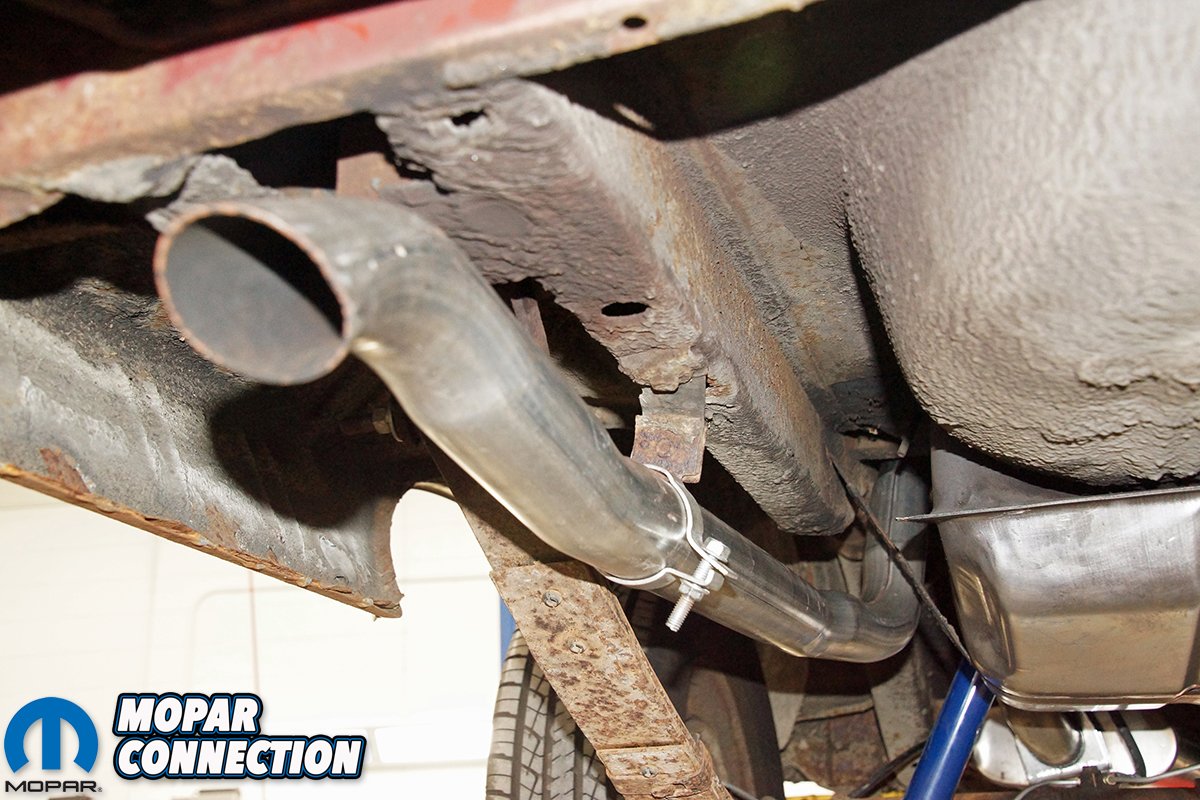
To remedy this problem, we used pliers and then a hammer and punch to bend the lip upward and out of the way of the Accurate Exhaust tailpipe. With the flange bent out of the way, the tailpipe fit up into the factory location, although the fit was tight. We slipped the muffler bracket and clamp onto the outlet of the muffler, and with the outside diameter of the inlet to of the tailpipe lubed with anti-seize, we slithered the tailpipe over the rear axle and into the muffler.
Left: The larger diameter pipe and the aftermarket fuel tank interfered with each other, so some modifications to the gas tank were required. Right: To allow the tailpipe to fit, we bent the seam flange of the gasoline tank up and out of the way. We used a drift and hammer and a pair of pliers to bend the flange away from the exhaust. Enough clearance was attained to allow the exhaust to fit into place without interference from the tank or the frame rail.
Moving to the back of the Dart, we installed the tailpipe hanger clamp onto the tailpipe and the factory tailpipe hanger. We loosely tightened the tailpipe hanger clamp. We now had the exhaust supported by the tailpipe hanger and the adjustable stand under the mid-pipe. With our support stand, we adjusted the mid-pipe to the correct height, and we connected the muffler hanger to the factory mount on the chassis.
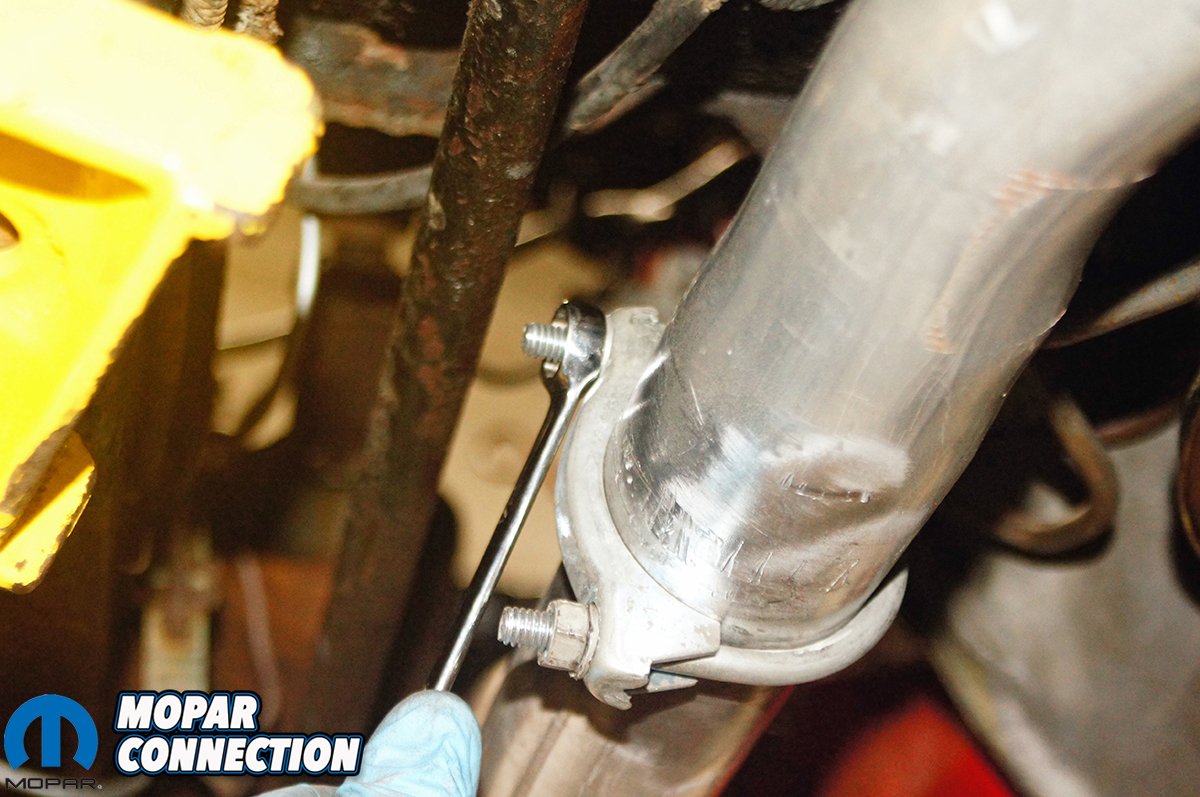
With the addition of a muffler clamp attached to the muffler hanger and around the outlet of the muffler, we had the entire exhaust on the Dart. Beginning at the rear of the Dart and working forward, we torqued all the hangers and clamps to 100 in-lbs. We made sure the exhaust remained close-fitting to the under chassis of the Dart while still having clearance around the gasoline tank, the axle housing, the rubber brake line, the park brake cables, the uni-body frame rail, and the floor pan.
Above Left: There were some tailpipe fitment concerns because the 1967 Dart used a gas tank strap that attached from the left unibody frame rail to the right unibody frame rail (side-to-side), but luckily it all fit. Above Right: Once we had the clamp in place, we checked the alignment of the exhaust and proceeded to torque all the muffler clamps starting at the rear of the Dart and moving forward to 100 in-lbs. We torqued the head pipe to the exhaust manifold to 30 ft-lbs.
Moving to the head pipe at the exhaust manifold, we torqued the fasteners to 30 ft-lbs. The exhaust was final checked, the Dart lowered to the ground, and we started the 225. The exhaust sounded great. There were no audible leaks, and overall, the pitch of the exhaust was deeper and more mellow than the factory exhaust.
Pleased with the exhaust installation, we put the Dart back on the Pennsylvania College of Technology’s Mustang chassis dyno to see if the nicer sounding exhaust had also improved the torque and horsepower numbers of the slant six. We tied the Dart down and warmed up the engine and drivetrain.

Above: Not only were the wide-open-throttle numbers up, the drivability of the Dart was improved, and there were no rattles, harshness, or drones felt or heard while driving the Dart at part throttle.
We pushed the Slant-6 through the same RPM range as the baseline, and when the three runs, all within 1% of each other, were completed, the 225 was putting down more power to the rear wheels. The torque had increased to 149 lb-ft @ 3100 RPM, and the horsepower was up to 95 hp at 3800 RPM.
The increase of torque over the baseline was 6 lb-ft, and the horsepower was up 6 horsepower over the baseline. Throughout the entire RPM range, the average torque was up 8 lb-ft over the baseline, while the average horsepower was up 5 hp over the baseline. The Accurate Exhaust provided an impressive increase of torque and horsepower, and in our case, it was a free increase of performance.
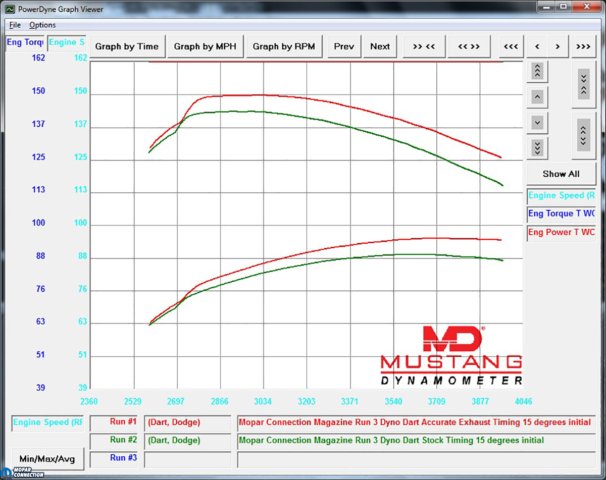
Above: The peak torque jumped up to 149 lb-ft @ 3100 RPM, and the peak horsepower rose to 95 hp at 3800 RPM. The increase of torque over the baseline was 6 lb-ft, and the horsepower was up 6 hp over the baseline. Throughout the entire RPM range, the average torque was up 8 lb-ft over the baseline, and the average horsepower was up 5 hp over the baseline.
The dyno results of the Accurate Exhaust Products speak for themselves. We experienced an increase in peak torque and horsepower, and significant average increases in torque and horsepower throughout the entire RPM range. While the Accurate Exhaust picked up wide-open-throttle power, the exhaust had no concerns with drones, harshness, or rattles at part-throttle cruising speeds.
The Slant-6 felt more energetic, and we were impressed with the overall pipe fitment, the smooth sporty exhaust tone, and of course, the performance improvements. The old saying appears to be true. Our friend’s useless bent metal trash turned into our priceless treasure of precious metal.


