


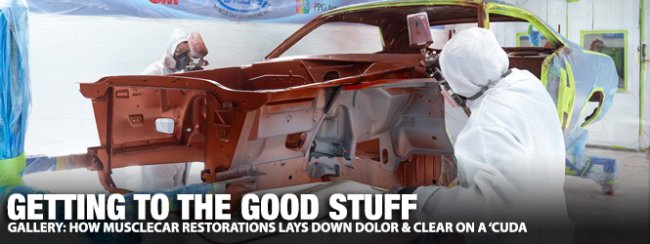
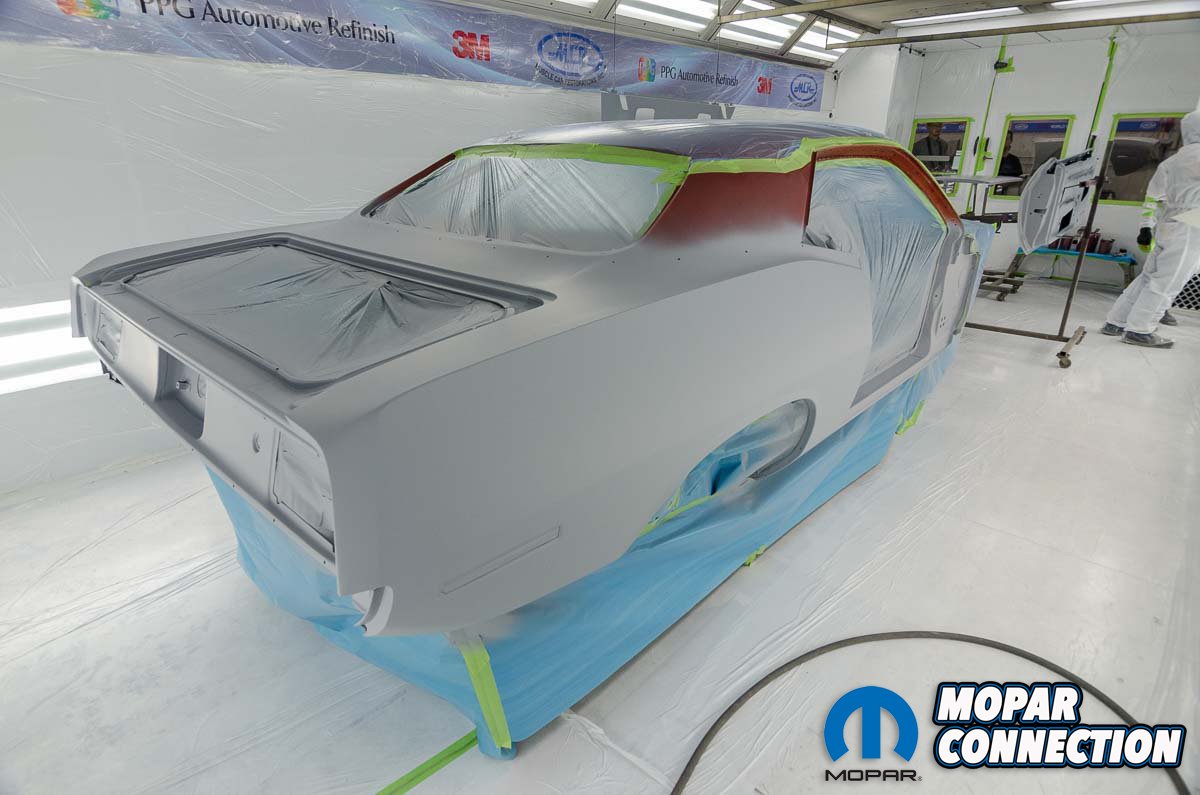
Everything so far has built up to this moment! This is where things start to really get exciting. All of the metal and bodywork have led to this moment when the sheet metal gets pretty. Applying the color is of course a critical phase of any restoration and while there have been updates to materials, equipment, and techniques, the foundations remain the same.
Number one is well-trained experienced painters. There just is no substitute for knowing how to lay down color on broad panels, inside corners, and in tight spaces and that is done exclusively with the best SATA guns.
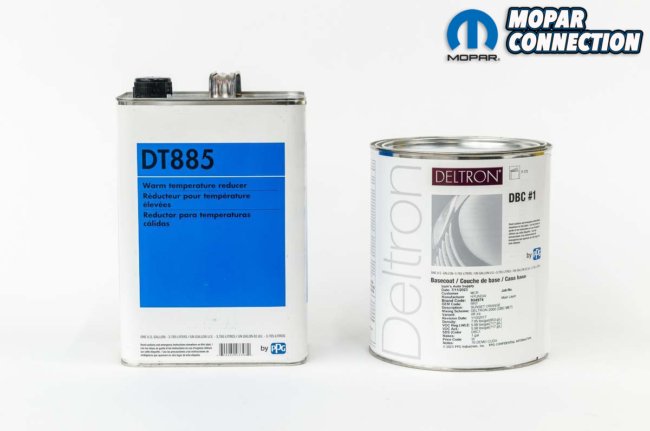
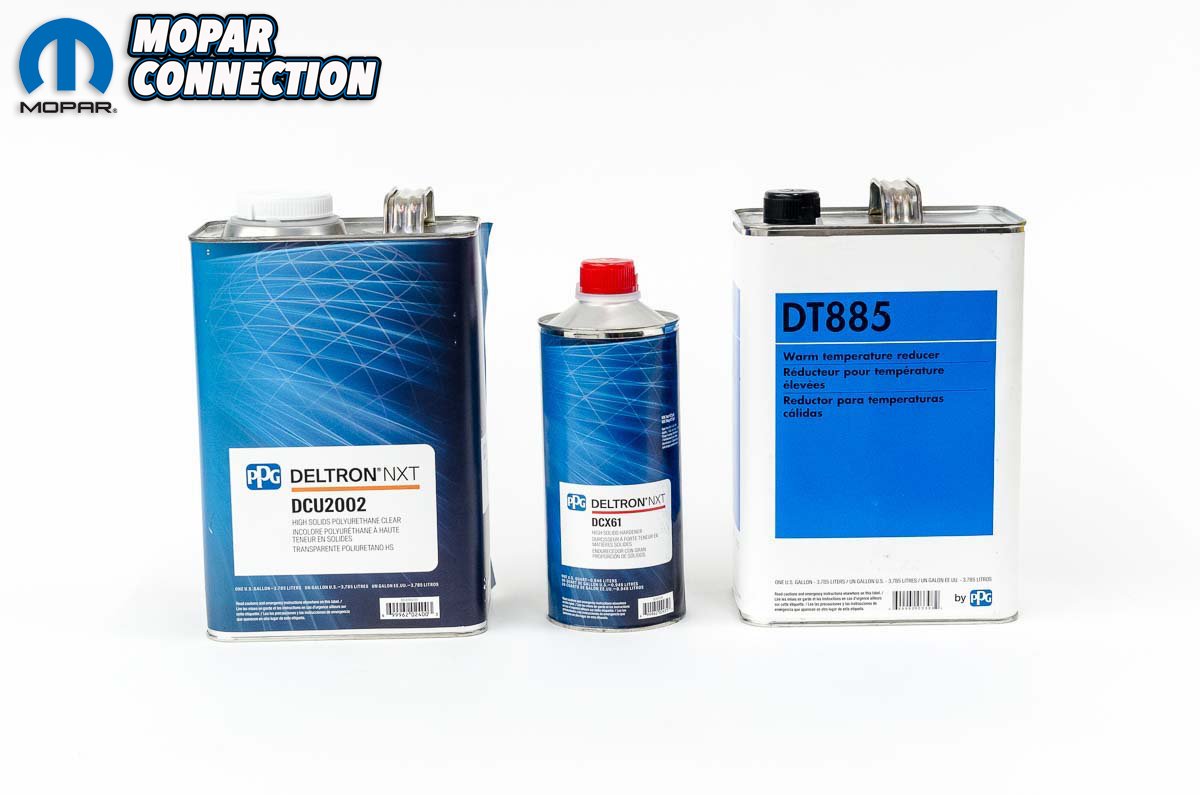
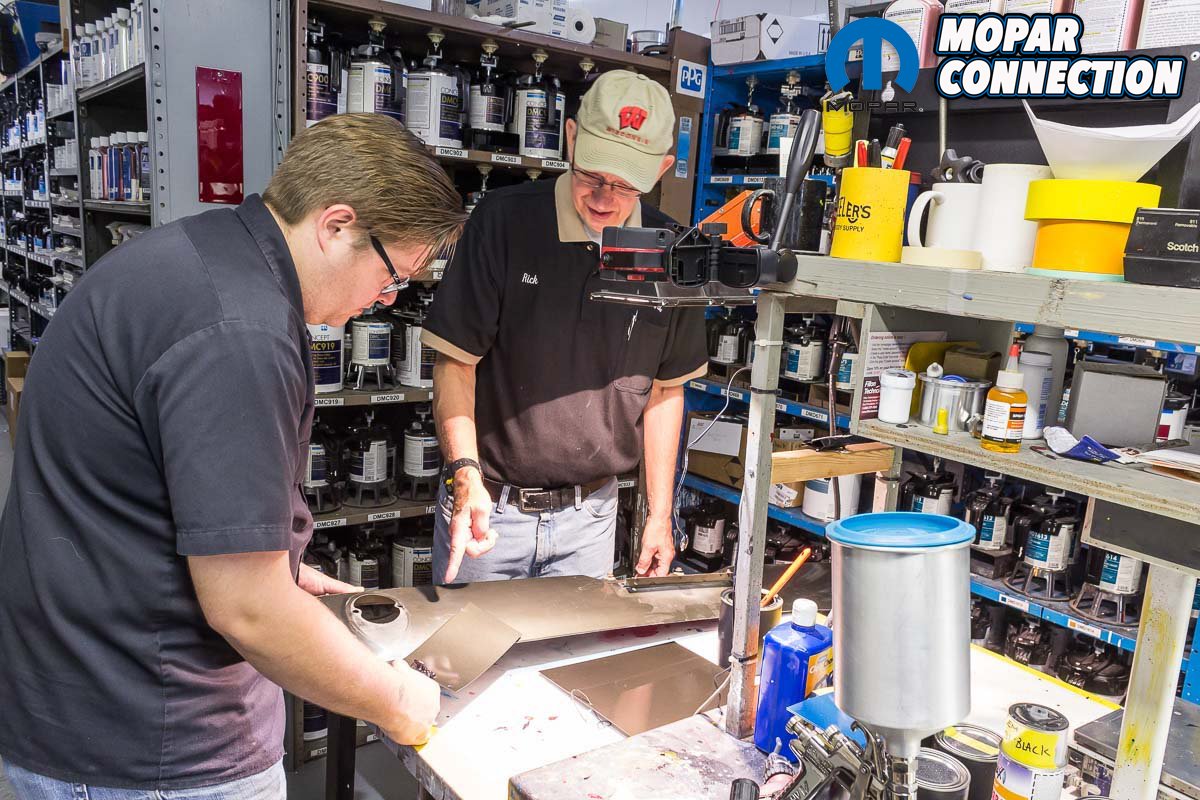
Above: MCR uses PPG products exclusively. Keeping all of the paint products within the same family ensures predictable, repeatable outcomes.
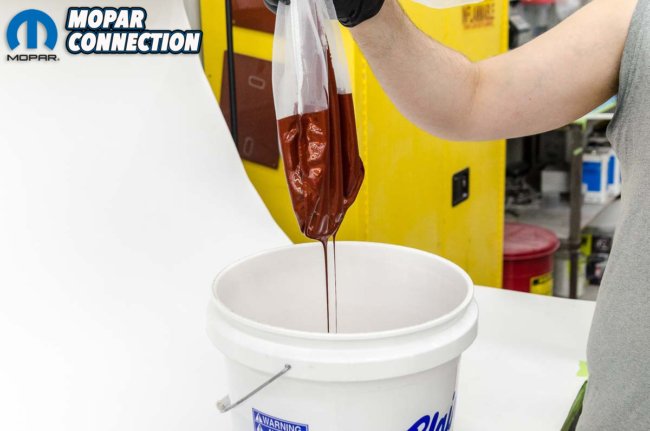
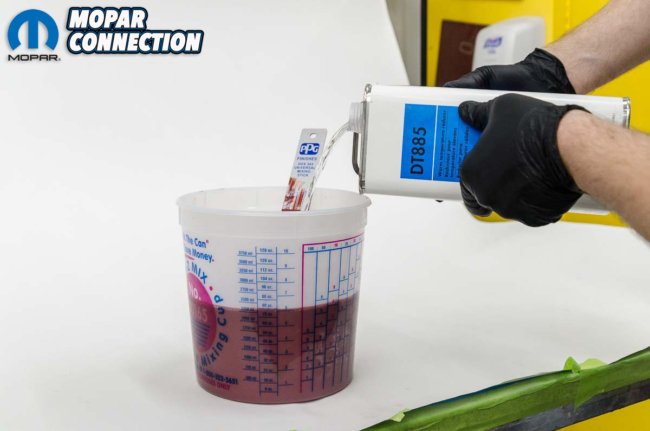
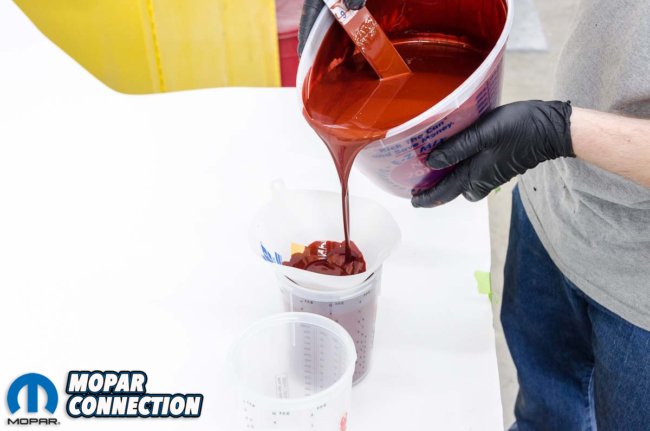
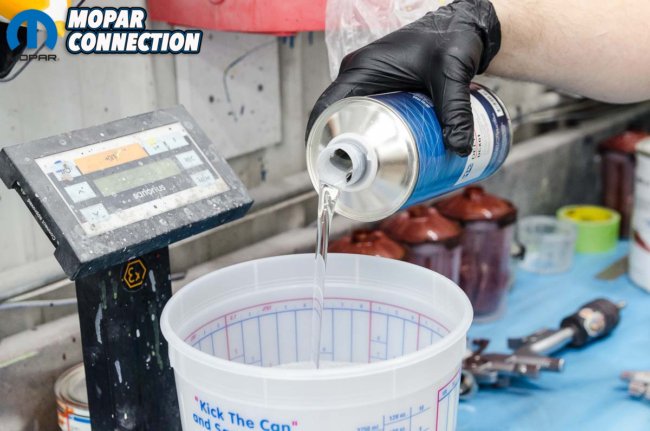
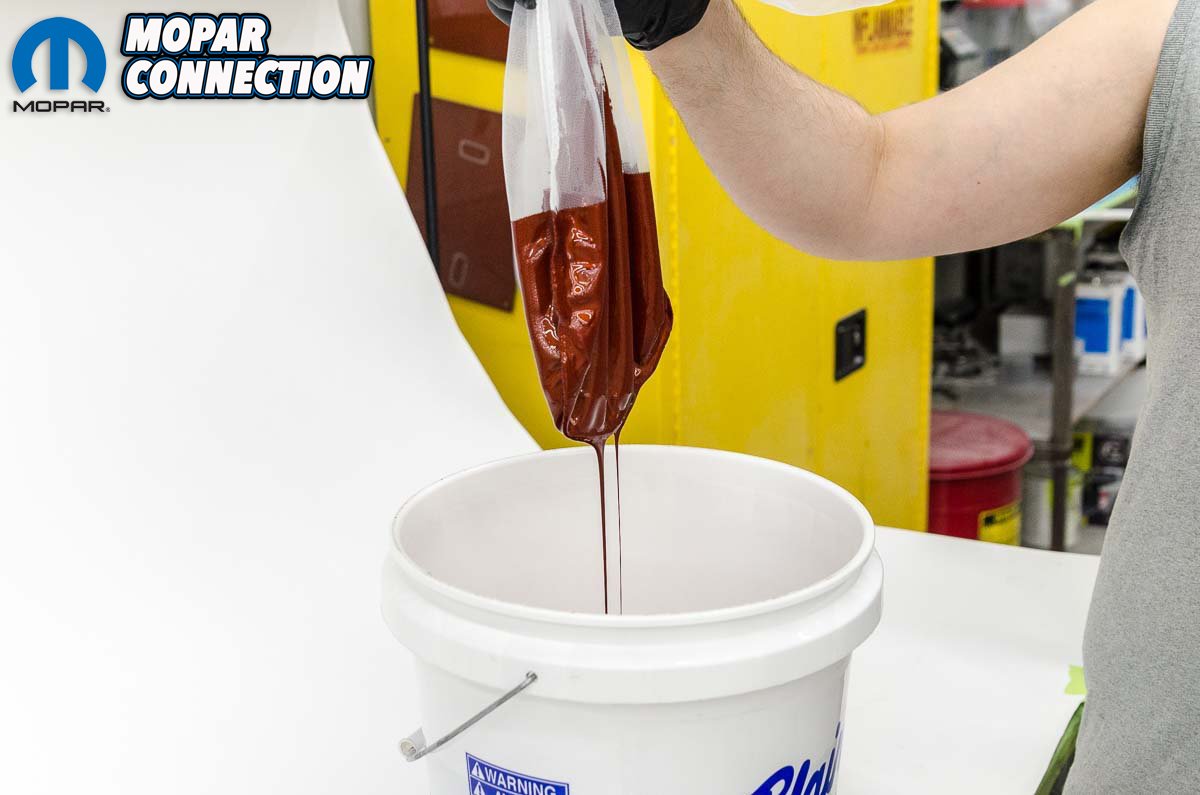
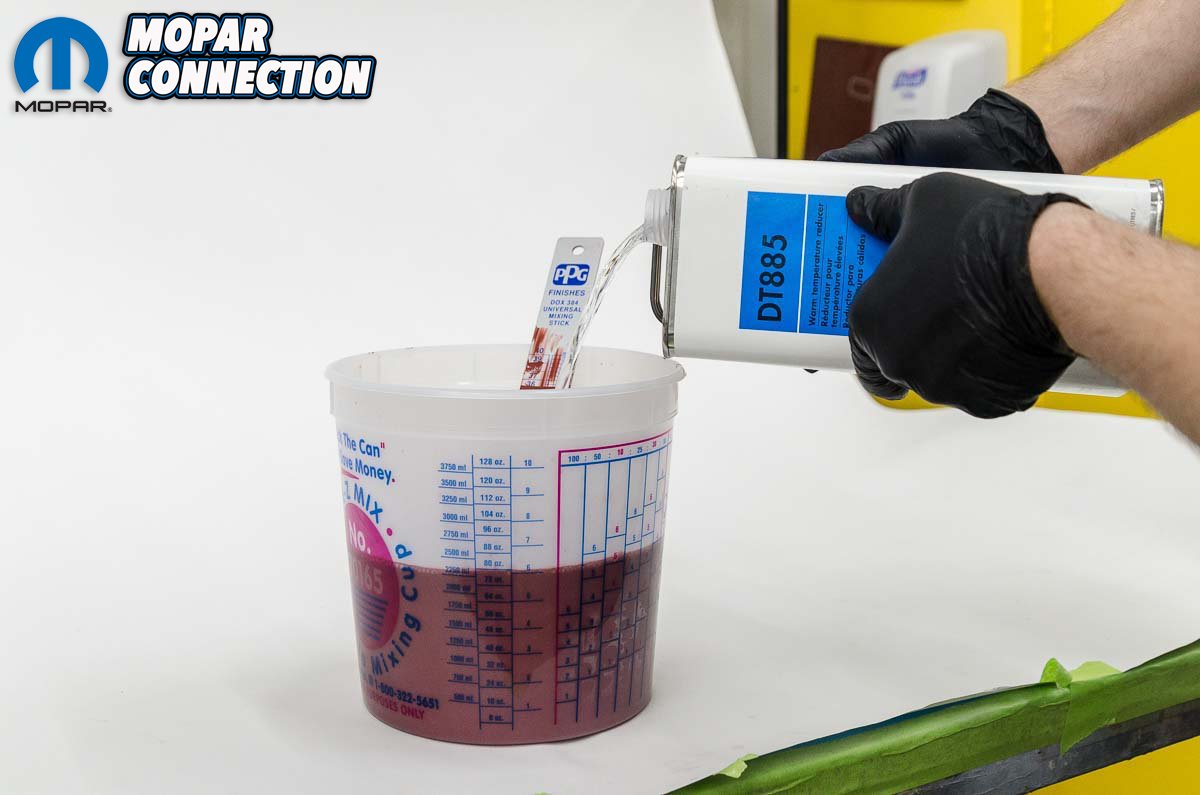
Above left: All of the product to be sprayed is mixed into a single container to ensure that the color remains absolutely consistent from beginning to end. It is strained to be sure that any possible clumps of metallic material are removed. Above center: Mixing is done strictly according to PPG’s instructions. Above right: The paint is strained yet again as it is poured into the paint cups. Enough paint is brought into the booth so that the coat can be finished without anyone needing to leave before it’s completed.
Equally as important is using the right materials. MCR has had a long (read decades) relationship with PPG and their local paint distributor. EPA regulations have not only forced changes in the chemical makeup of the products used today they have also affected the toners that can be used to create all those wonderful classic colors. MCR’s connections in this area ensure that you’ll get precisely the color you’ve been dreaming about.
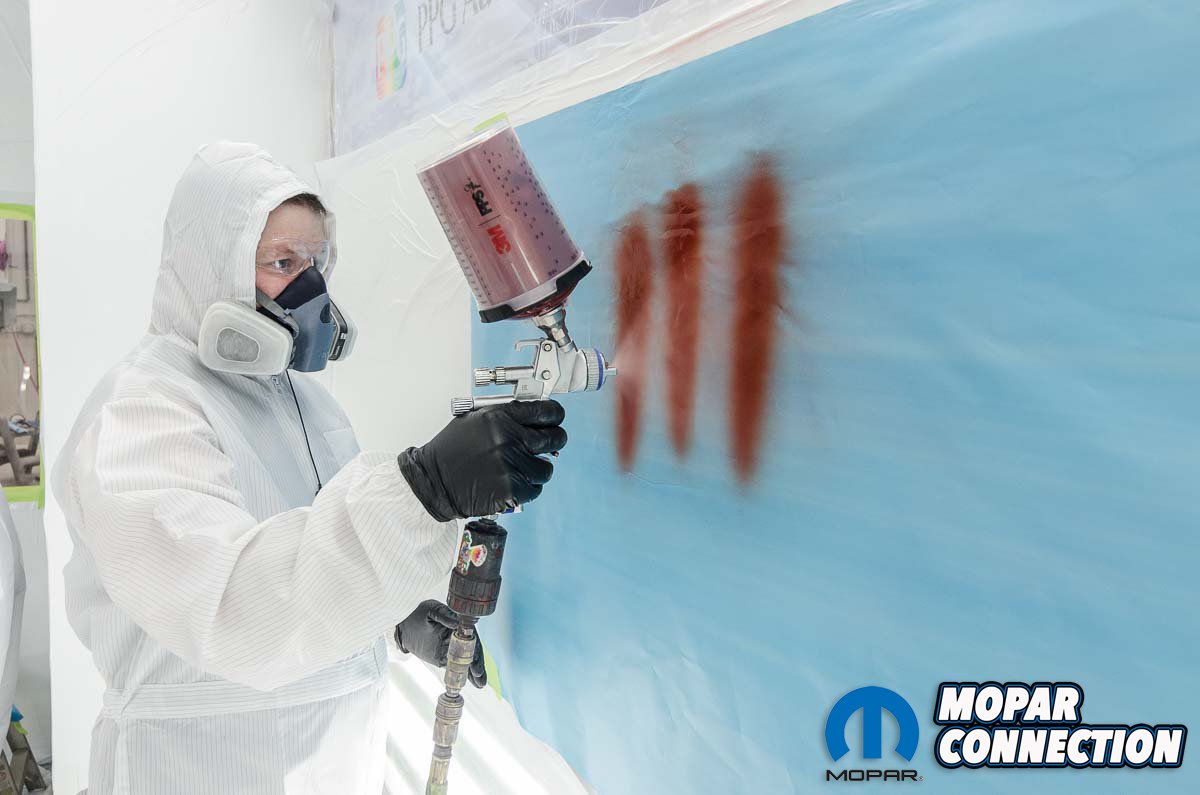
Colors are test sprayed onto three-dimensional speed shapes that mimic the curves of a real car thus allowing the paint highlights and shadows to be evaluated from multiple angles at the same time. Flat panels or color cards just can’t do this.

Above: The booth is completely lined and cleaned to remove anything that would like to find its way into the paint.


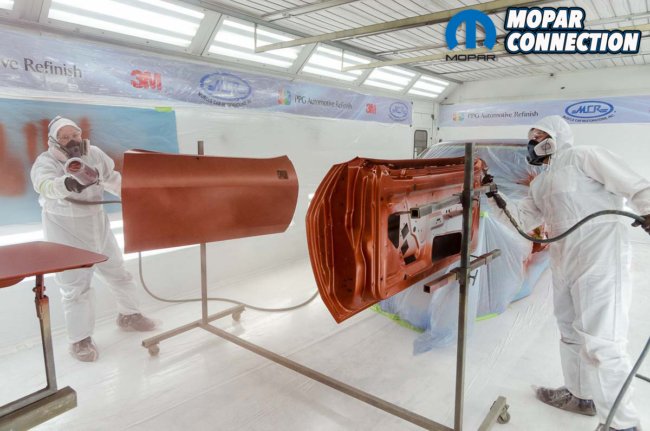
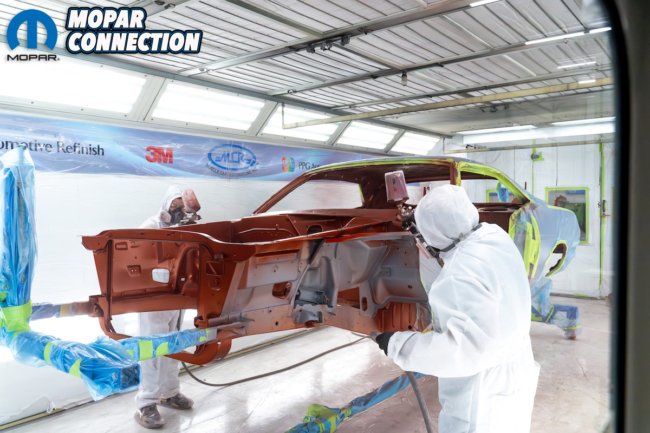
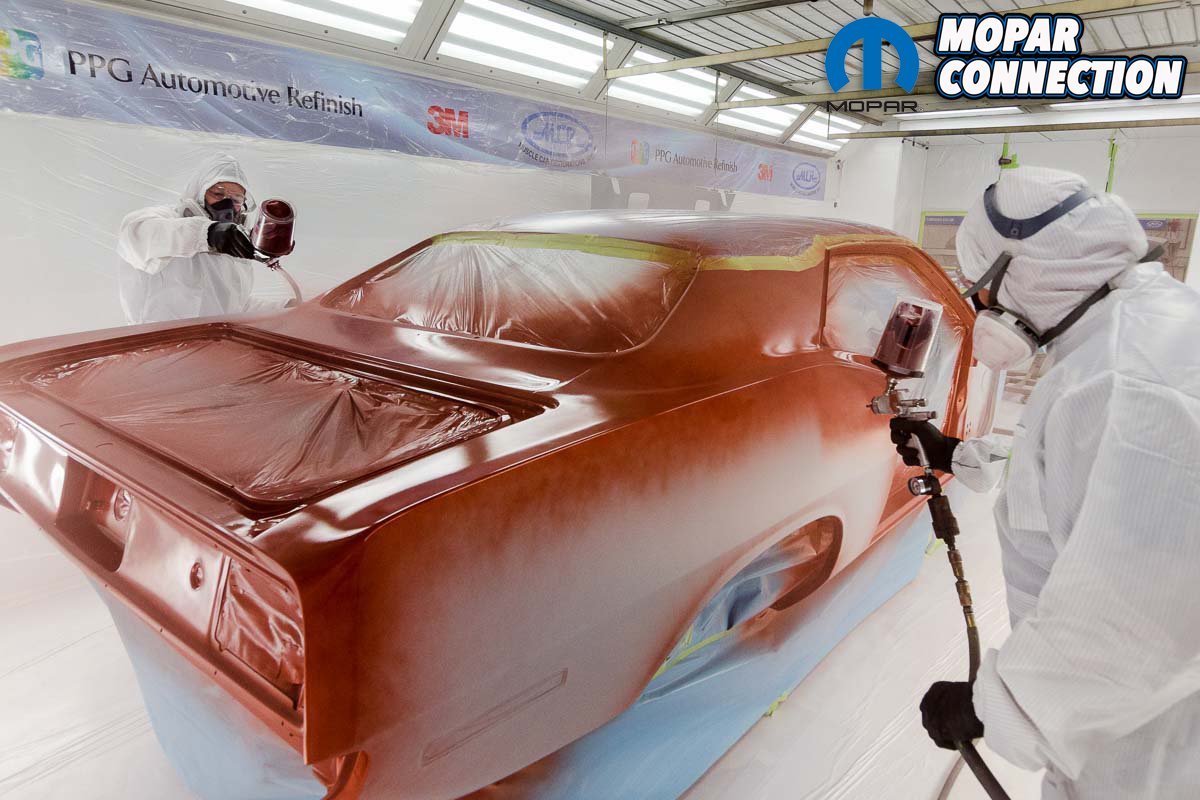
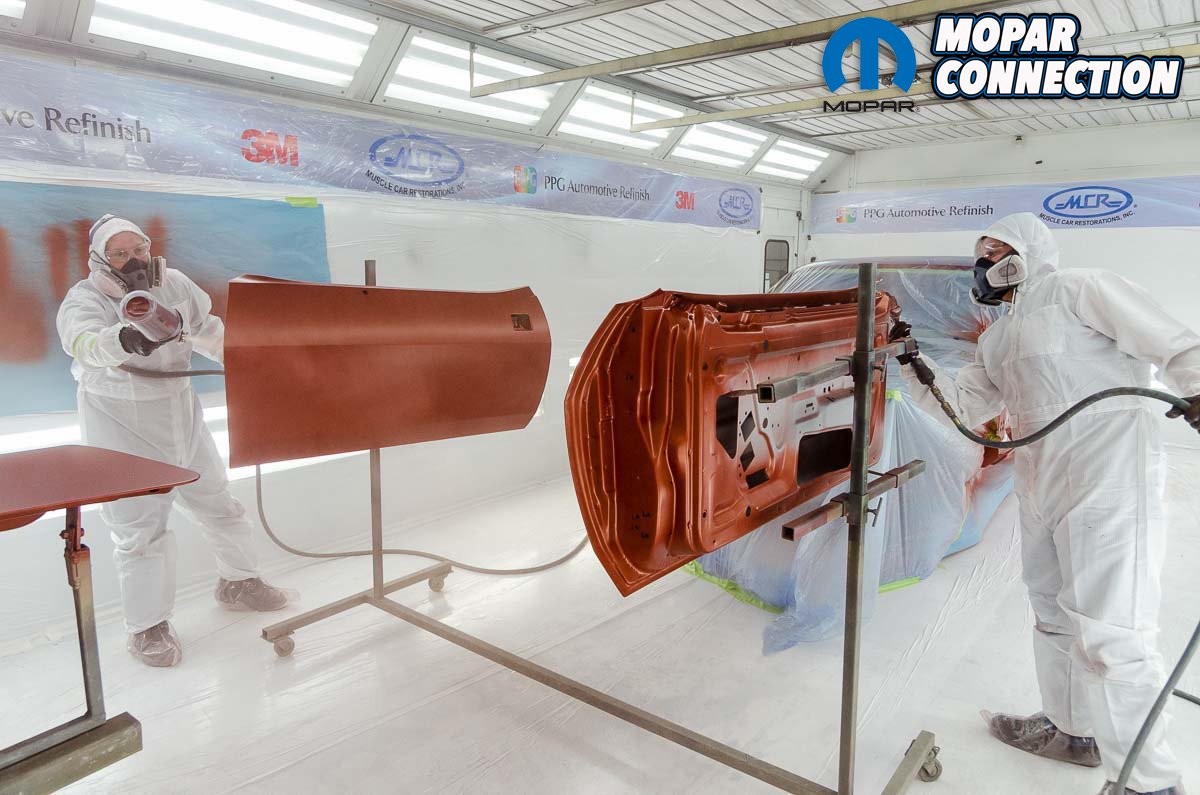
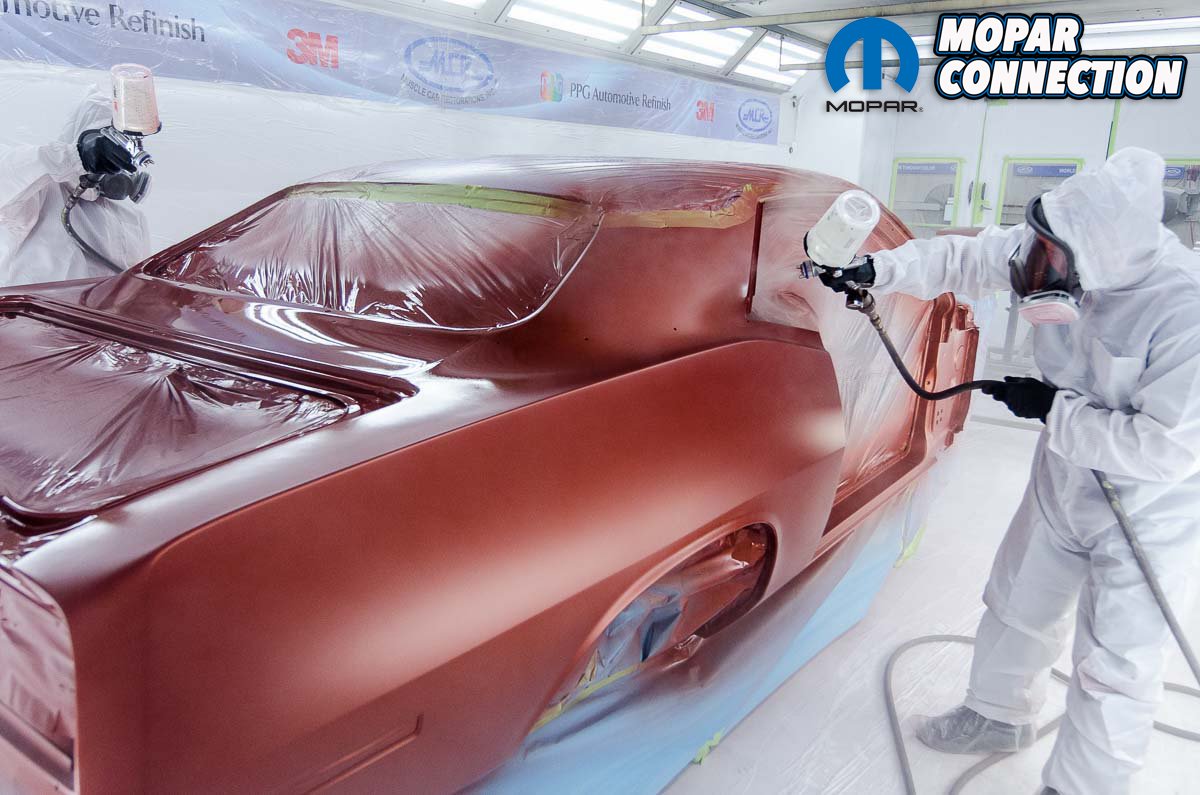
Above left: Paint guns are tested and adjusted if necessary for the perfect pattern before each coat is applied. Above center: MCR always uses two painters in the booth. Not only is it more efficient, but it also guarantees that a paint edge can’t get too dry and not flow and blend correctly by the time a single painter could work his way around to the other side. Three, sometimes four coats of color is required. Above right: The doors and other panels are supported by custom jigs designed to hold them in the best positions. This allows all the jambs on both the panels and the body to be painted at the same time to ensure perfect coverage and consistency all around. This way there are no blending issues from the panels to the jambs and no, this doesn’t create matching issues across panel gaps. Improvements in paint materials and skilled consistent painters have eliminated that concern.
Also, MCR uses only PPG products from the first coat of primer to the last coat of clear. They chemically engineered all their products to work together so to get the very best possible finish their instructions are followed to the letter. The results speak for themselves.
The final decision for MCR’s president, John Balow to make regarding the paint, besides choosing the deep burnt orange FK5 color of his original dream car, is whether to leave the final clear coat as is for a factory-like finish or to have it cut and buffed to a very mirror-like high gloss. Last heard, he hadn’t decided yet but he did have extra clear coats applied to keep the option open.
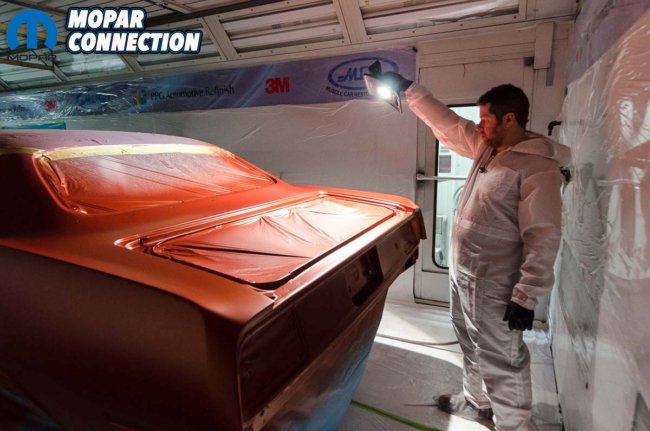

Above left: After the 3rd coat has been applied, a sunlight is used with the booth lights off to check for consistent coverage and uniform metallic (if used) application. If there were to be any irregularities, another coat could still be applied to get it just right. Above right: It’s common for MCR to work with their PPG paint distributor under controlled lighting to verify that they have the precise color desired. Test spray-outs are regularly done to see the actual color on a test panel.
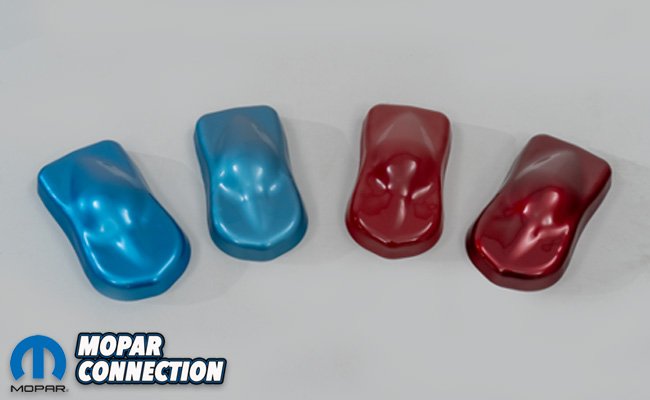
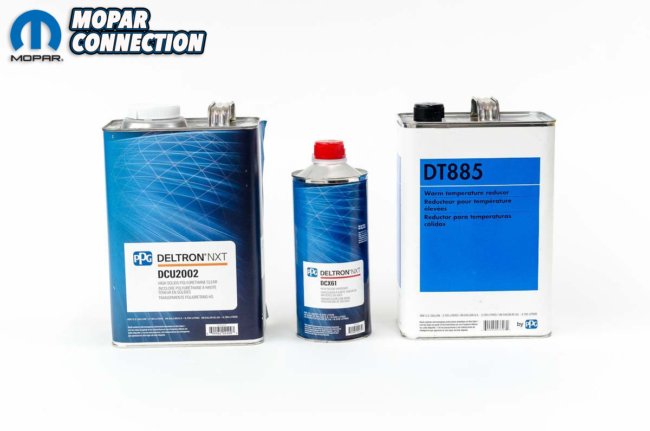
Above left: Speed shapes are also used to show the test colors in a three-dimensional form. Your car is not a flat object. These shapes not only show the highlights/shadows but also how metallics/pearls/etc look in three dimensions so there are no surprises once it’s on your car Above center: The clear coat utilizes a hardener as well as a reducer. Above right: The hardener and reducer are mixed by weight, not by volume. PPG provides very specific data on how to mix these products to achieve the best results.

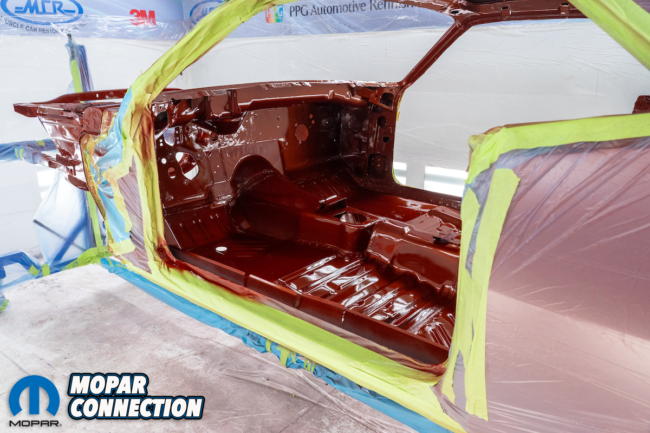
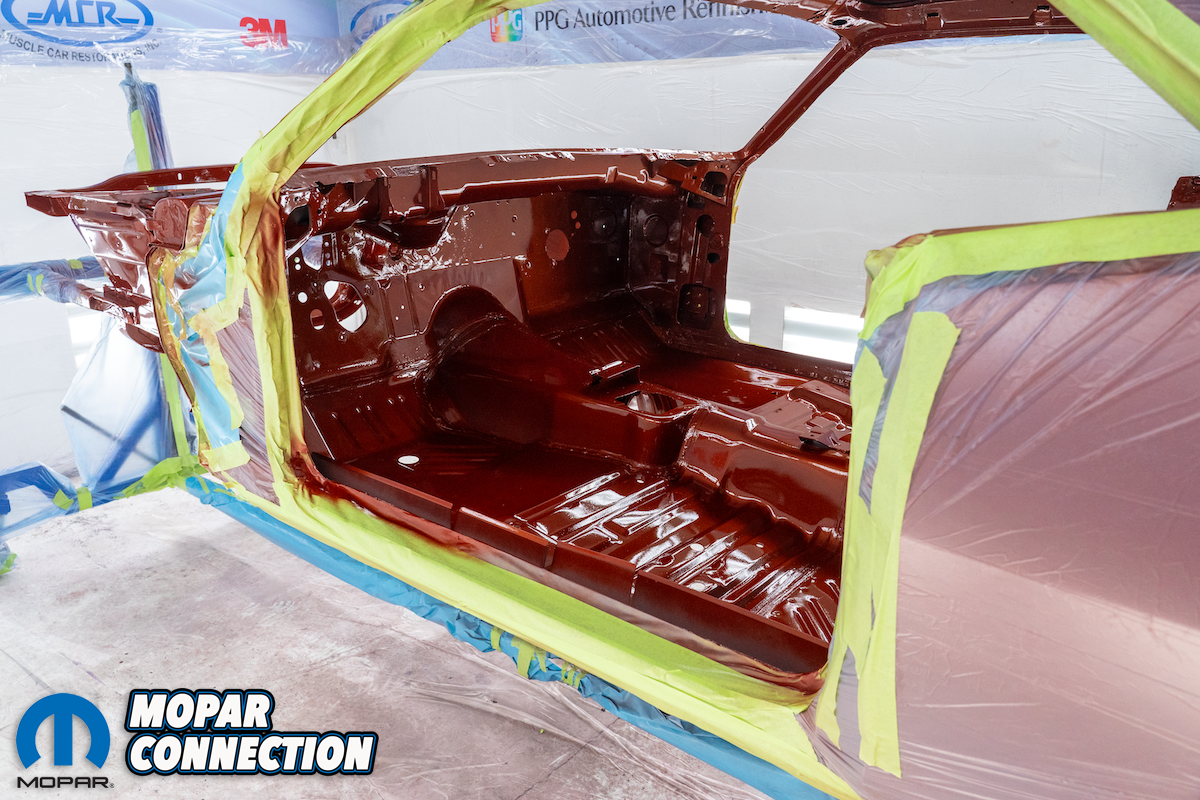
Above left: Just as with the color, two painters apply the clear to be sure that all of the pattern edges flow perfectly together. Note that the top was painted earlier with a single-stage product as John’s car will be getting a vinyl top. Three coats of clear generally suffice if the owner wants a factory-looking finish. Above center: Four coats would be sprayed if the clear coat is cut and buffed to a high gloss mirror finish. Now that the exterior panels have been sprayed the car is given time to cure before getting masked off. This lets us spray the interior, undercarriage, and engine bay. Above right: The undercarriage on this ‘Cuda receives the same three coats of both base coat and clear coat to ensure the best coverage all around.
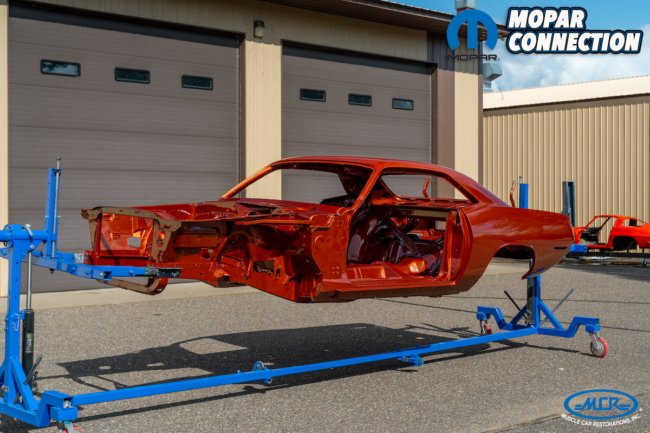
Above: Now the ‘Cuda has been unmasked and put out in the sunlight we can see that beautiful FK5 Deep Burnt Orange!


