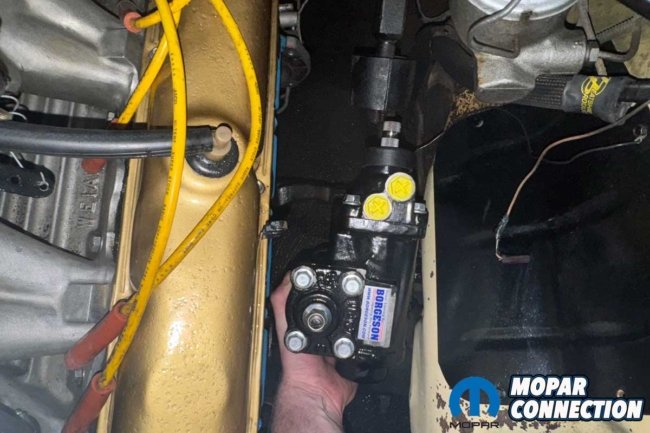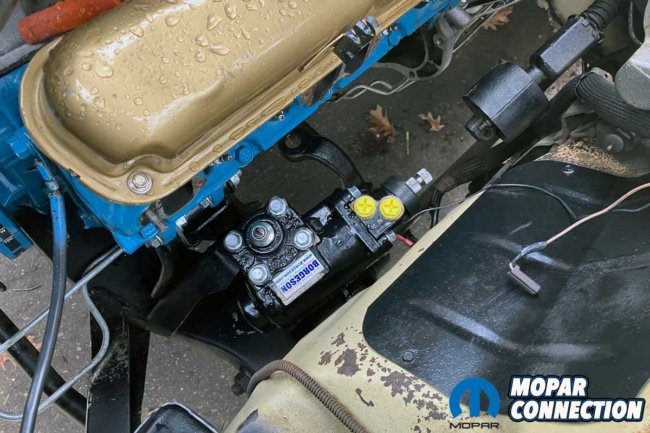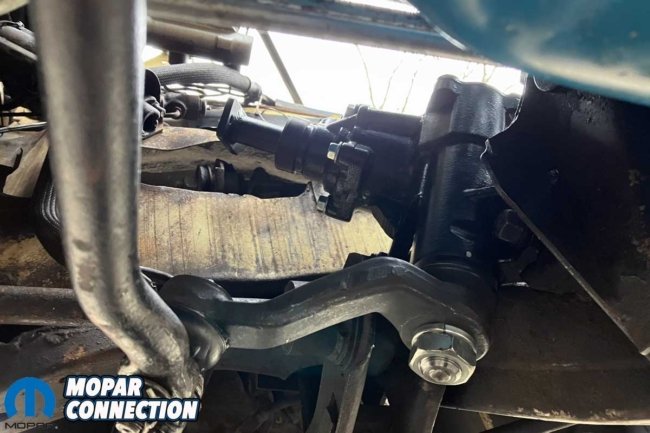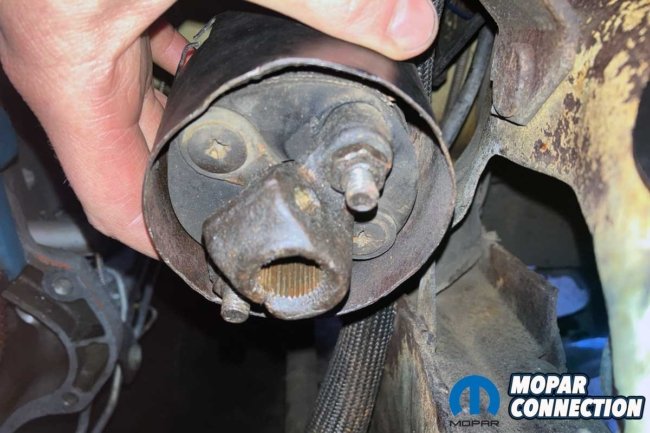
An older car will always require attention as components age and fail. Our 1973 Dodge Charger project is no exception. To rectify the steering problems, which included vehicle wander, lack of steering wheel returnability, and an overall feeling of looseness, we installed new tie rod ends, an idler arm, and a pitman arm, but after constantly having to readjust the steering box sector shaft setting, we finally reached the point where replacing the box was a safer option.
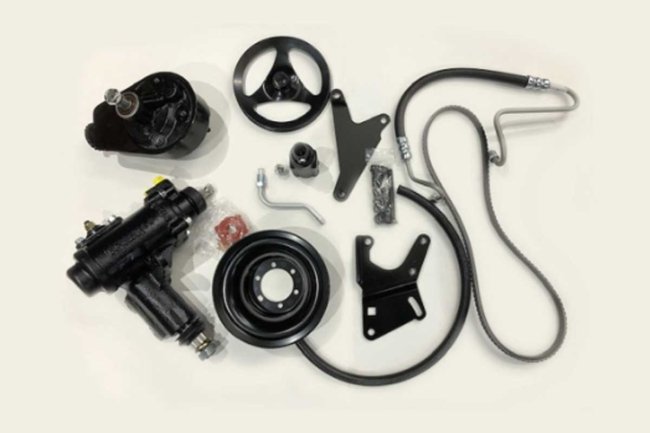
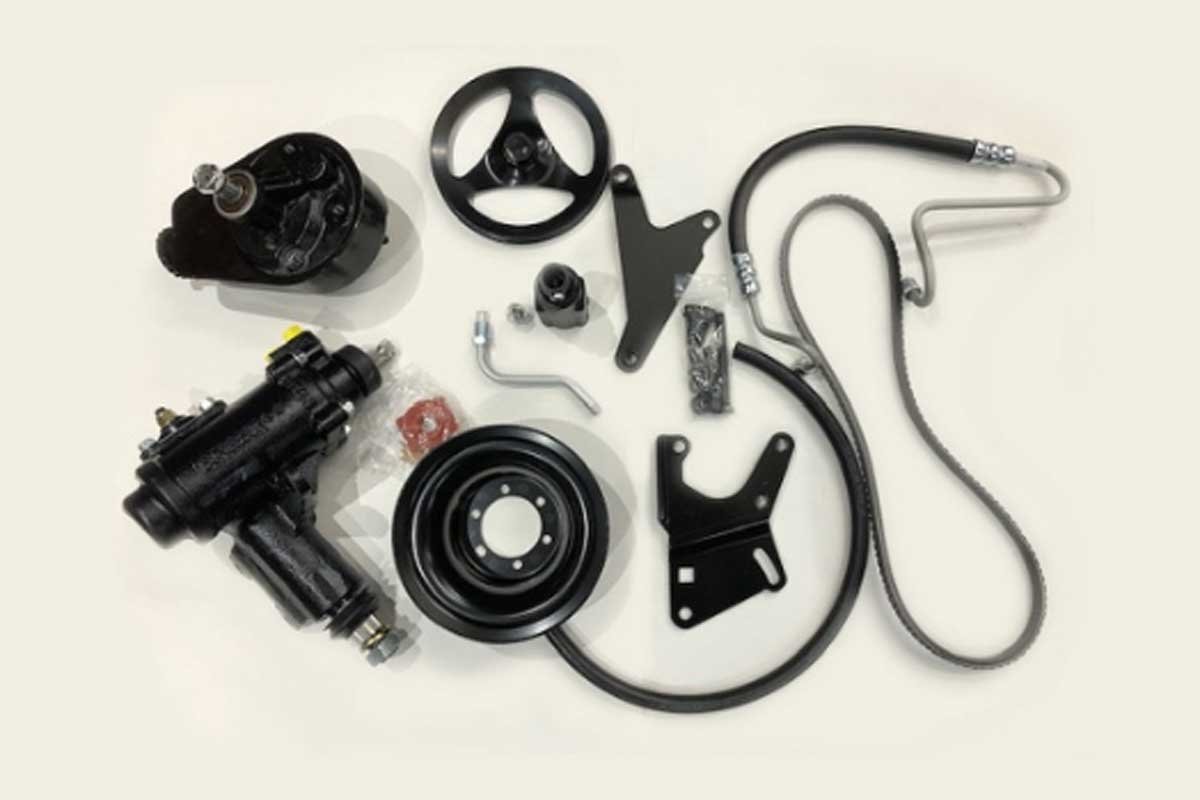
Above: The factory power steering has caused our Charger plenty of difficulties. We chose a power steering kit from Bergman Auto Craft that included a Borgeson steering box, a Saginaw pump, pulleys, mounting brackets, hoses, and a belt.
We could have had the box rebuilt or purchased a re-manufactured unit, but we elected to work with Borgeson and Bergman Auto Craft to end our steering box problems permanently. In 1973, Chrysler changed the B-Body pitman arm sector shaft to a 1 ¼-inch diameter rather than the 1 1/8-inch found on the pre-1973 models.
To maintain uniformity, we selected a Bergman Auto Craft Steering Box Conversion Master Kit (Part No. 7-0002), which included a Borgeson Late B-Body Steering Box (Part No. 7-0003). Additional components in the conversion master kit included:
- Direct fit coupler with a rebuild kit
- Hydraulic pressure fitting and return tube
- Borgeson 14:1 steering box, available in a small or large sector
- Keyway style Saginaw pump with specific pressure and flow calibration
- Pump bracket (available for 1970 and later small block and big block engines)
- Original style pump pulley
- Two-groove crankshaft pulley
- Pressure hose
- Return hose
- V-belt
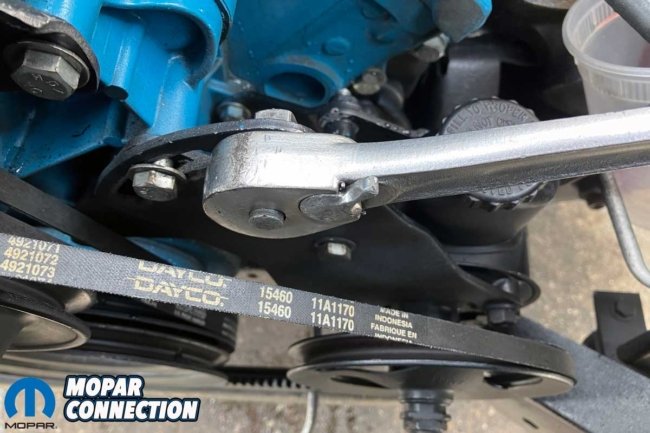
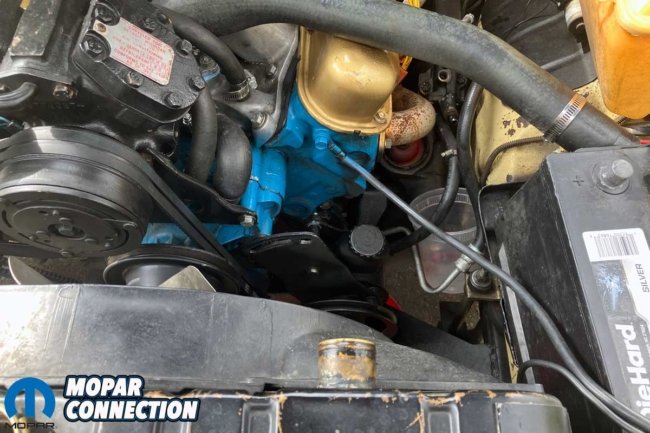
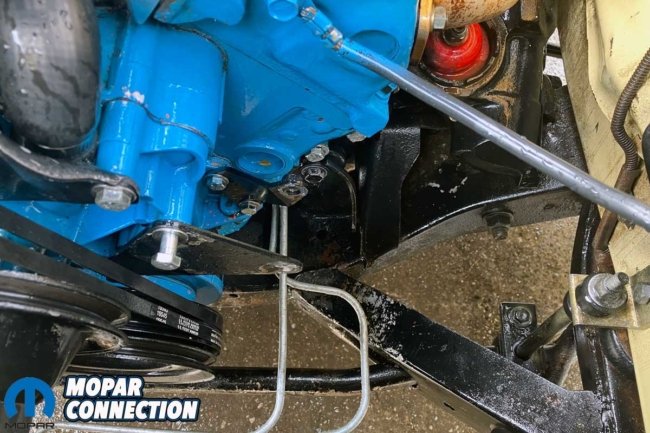
Above Left: The disassembly of the power steering assembly started with the loosening of the power steering pump fasteners. Above Center: With the pump fasteners loosened, the belt was removed. Above Right: After removing the remaining bolts and the power steering lines, the pump was pulled from the engine bay.
To start the steering box installation, we removed the negative battery cable from the battery. We drained the coolant and the power steering reservoir. With the fluids emptied, we loosened the power steering pump pivot bolt and removed the power steering belt. Then, we removed the power steering lines from the steering box. We continued the disassembly by removing the power steering pump and brackets.
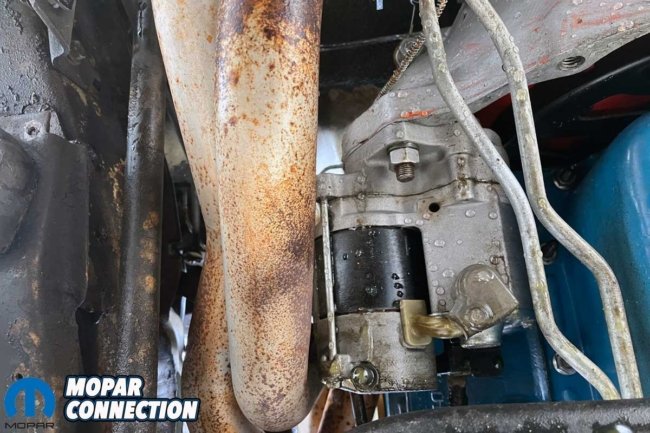
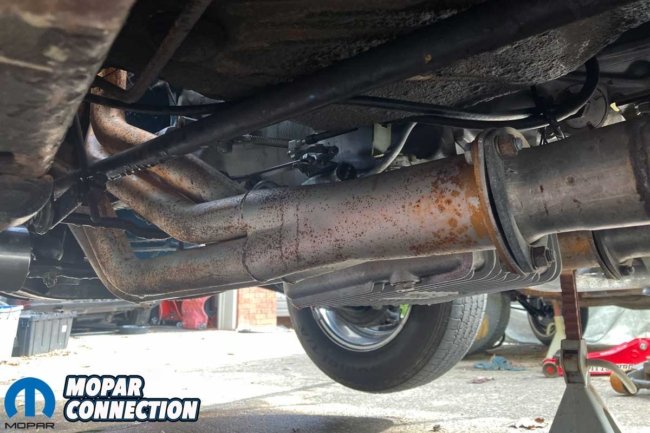
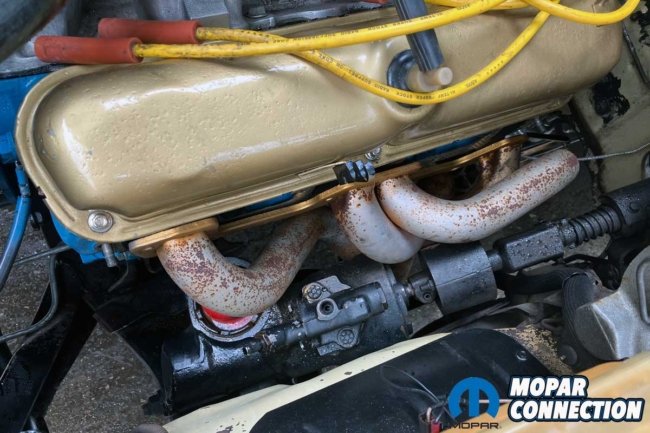
Further dismantling was required because we had some aftermarket components on the Charger. First, we unplugged the driver’s side spark plug wires and backed out the four plugs in preparation for the removal of the Hooker Hedder header. Additionally, we removed the mini starter, and because the Charger is a column shift, we needed to detach the shifter linkage for additional clearance.
Above Left: The starter had to be pulled from the bellhousing to allow the header to be removed to gain access to the power steering box. Above Right: The header collector needed to be disconnected from the header pipe.
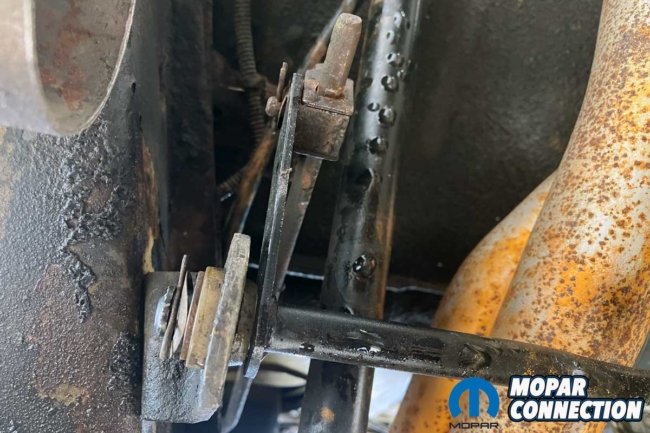
Above Left: Because the Charger is a column shift automatic, the shifter linkage mount had to be removed. Above Right: The linkage, just like nearly everything else, was in the way of the header.
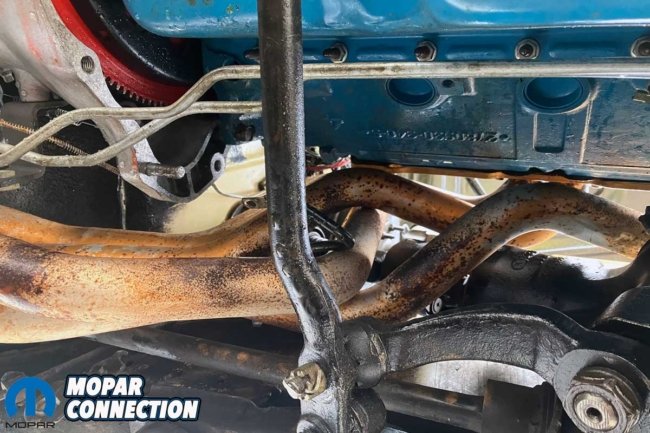
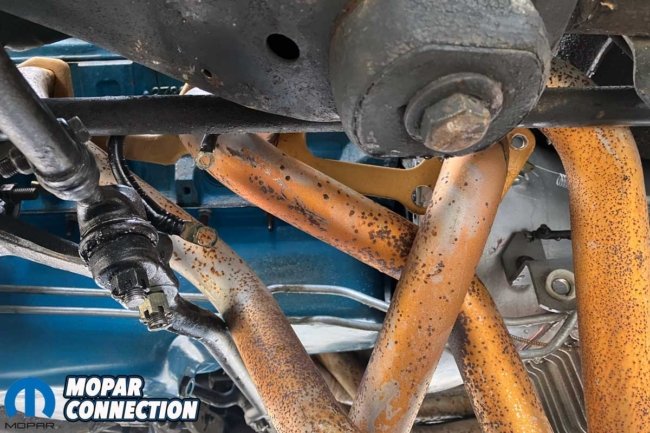
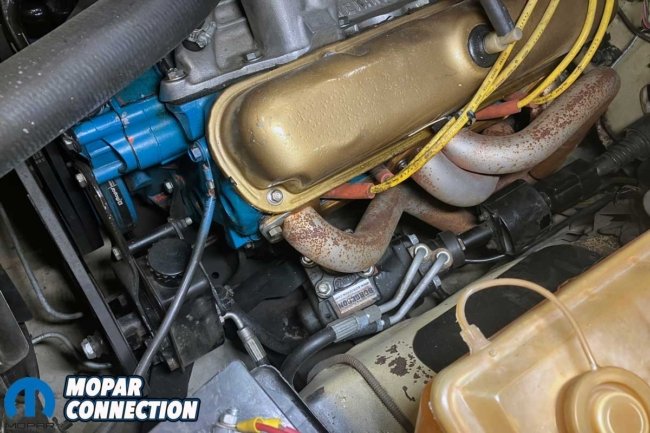
The cylinder one primary header tube made constant contact with the factory steering box, making it challenging to pull the header from the engine bay. Swapping a more compact Borgeson unit would eliminate future contact concerns. Because we were worried about damaging the old and brittle windshield washer reservoir, we unthreaded the securing fasteners and placed the reservoir aside.
Above Left: We removed the power steering lines from the steering box. The cylinder one header primary tube contacted the steering box all the time. Above Center: We fought to get the Hedman Hedder header out of the chassis for some time. Above Right: After turning the steering wheel, the center link moved enough to allow us to remove the header. In hindsight, we should have removed the pitman arm at this disassembly stage. It would have given us more clearance to remove the header.
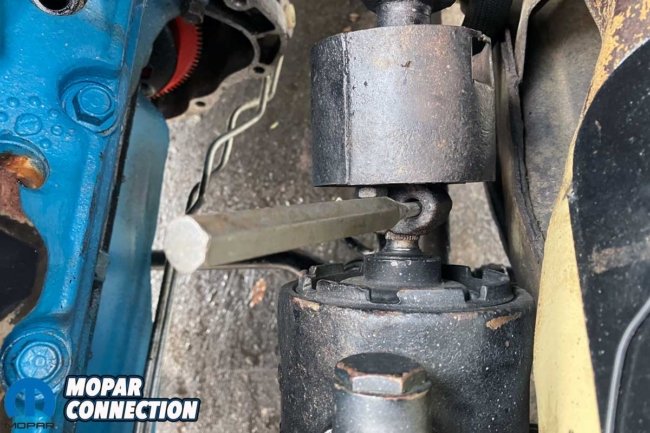
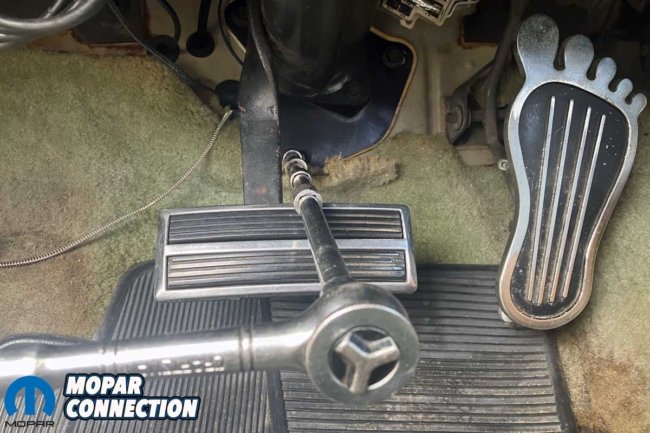
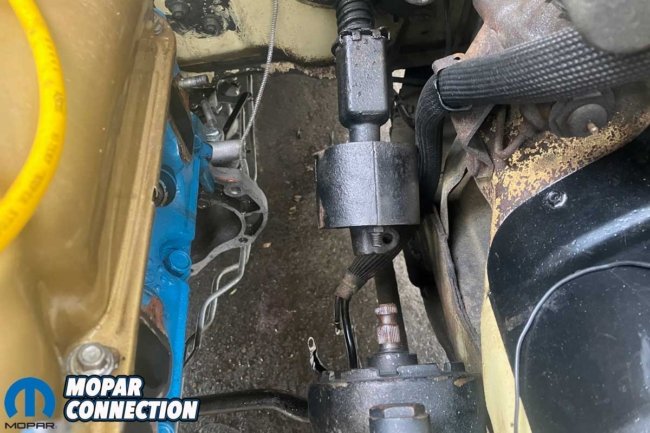
With the components removed, we accessed the roll pin in the steering shaft coupler at the steering box input shaft. The roll pin was driven out with a 1/4-inch drift. Moving to the interior, we located the three bolts that secured the steering column to the bulkhead (firewall). All three bolts were unthreaded and set aside.
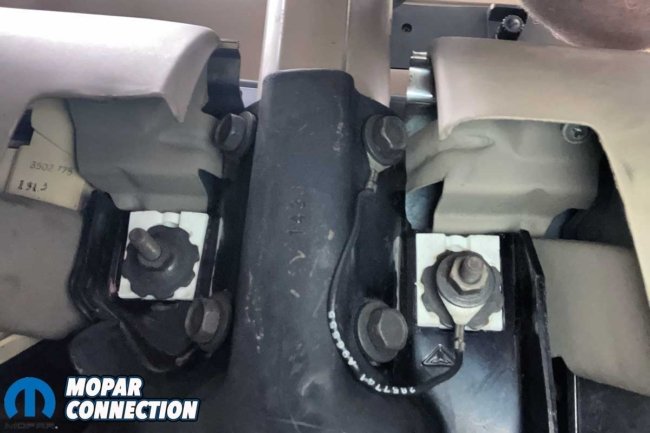
Two additional fasteners located the steering column to the under-dash area of the Charger. One of the fasteners also positioned a column ground wire, so we took note of its orientation for reassembly. After removing all the fasteners, we could maneuver the column shaft coupler from the steering box input shaft. The steering column was temporarily rested on the driver’s seat.
Above Left: There was a single roll pin that we needed to remove. The pin held the steering shaft coupler to the steering box input shaft. The roll pin was set aside for reuse. Above Right: At the base of the steering column, three bolts needed to be removed to allow the steering shaft to be pulled from the input shaft of the power steering pump.
Above Left: The steering column also has a couple of nuts that need to be unthreaded, allowing the column to drop and slip further into the interior of the Charger. Above Right: The steering shaft coupler has been separated from the power steering pump input shaft.
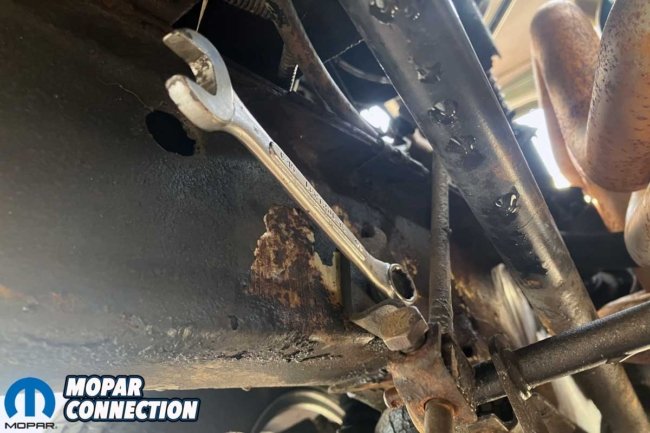
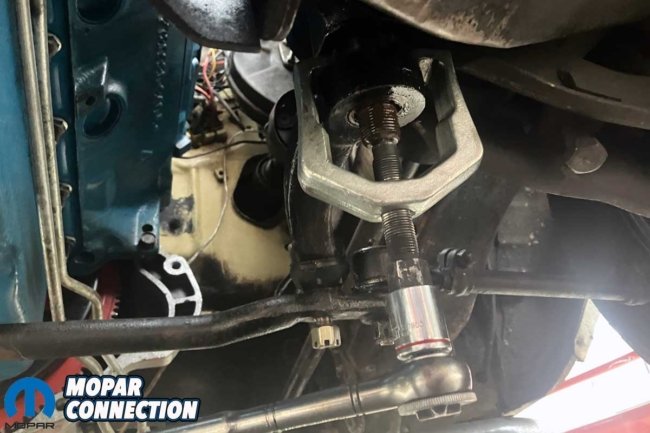
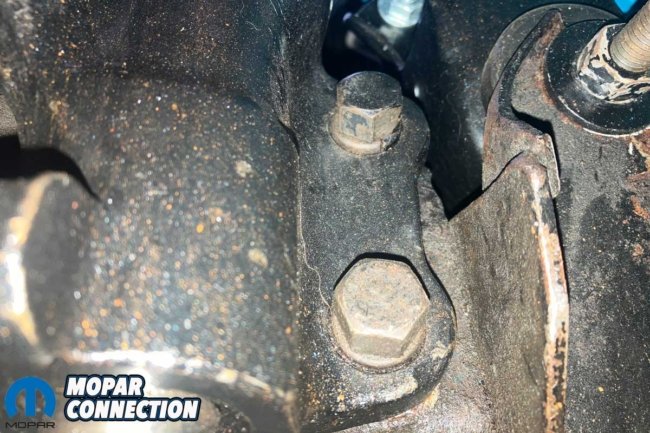
The pitman arm needed to be detached from the steering box, so we used a puller to disconnect it from the sector shaft. Once freed, we tied the pitman arm (still attached to the center link) out of the way. Our last step in the steering box removal was to unthread the lower two bolts securing the steering box to the K-member.
A single upper steering box bolt was unthreaded while we braced to wrestle the 36.5 lb. box out of the chassis. Once the old steering box was removed from under the chassis, we laid it beside the new Borgeson unit. The Borgeson steering box was nearly four inches thinner and weighed 23.5 lb., a 13-lb weight reduction at the Charger’s most optimal location.
Above Left: We pulled the pitman arm from the steering box sector shaft with a puller tool. With the pitman arm removed from the steering box, the steering linkage could be moved out of our way. Above Right: The steering box is attached to the K-member by three bolts (only two are shown). When removing the last bolt, be ready to secure and maneuver the 35+ lb. steering box out of the chassis.
Before we installed the Borgeson steering box, we centered the sector shaft by turning the input shaft and counting the rotations from lock to lock. There were seven total rotations, so we rotated the input shaft 3.5 turns to locate the center position.
The Borgeson steering box was so much smaller than the stock unit that we could install it from above rather than from underneath. With the box resting on the K-member, we dabbed each bolt with thread lock, installed the three bolts, and torqued each to 120 ft-lbs. After installing the steering box, we reinstalled the pitman arm, which was torqued to 150 ft-lbs.
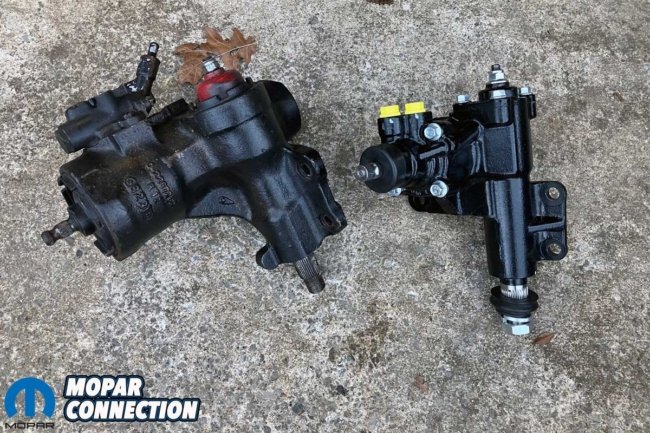
Above: The differences between the factory box (left) and the Borgeson unit (right) are readily apparent. The Borgeson unit is more compact and substantially lighter than the factory steering box.
Above Left: The Borgeson power steering box was so tiny we could install it while leaning over the fender rather than the underside of the chassis as we would have with the factory unit. Above Center: Our steering coupler did not reach the shorter input shaft of the Borgeson steering box. The kit has a linkage to make the connection, but it requires permanent modifications to the steering shaft, which we did not want to do. We came up with a solution (described in later photos). Above Right: The original pitman arm quickly slipped onto the Borgeson sector shaft splines. We torqued the pitman arm to factory specifications.
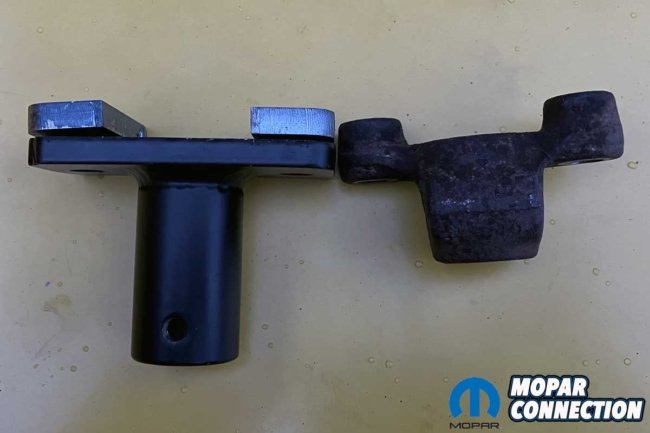
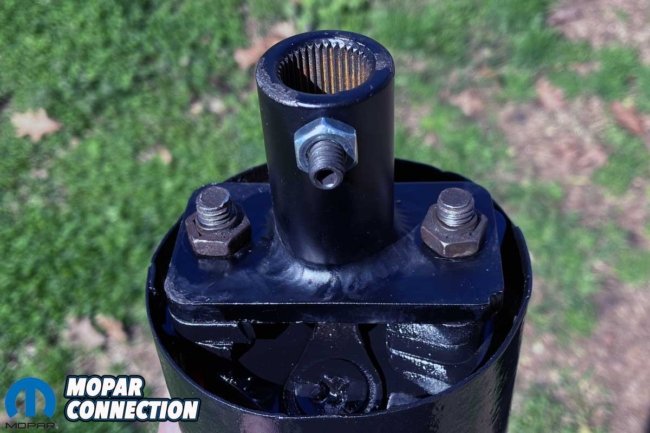
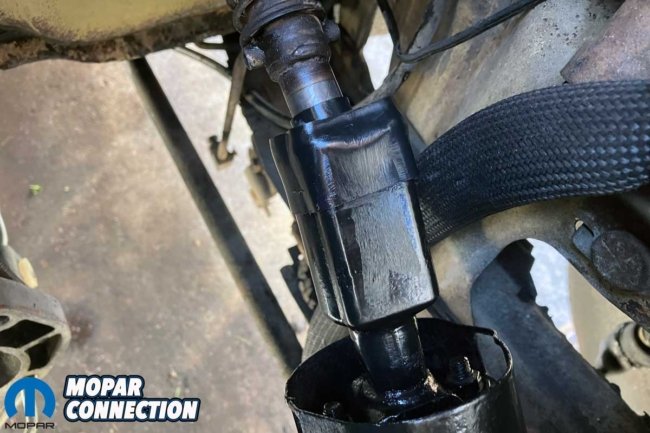
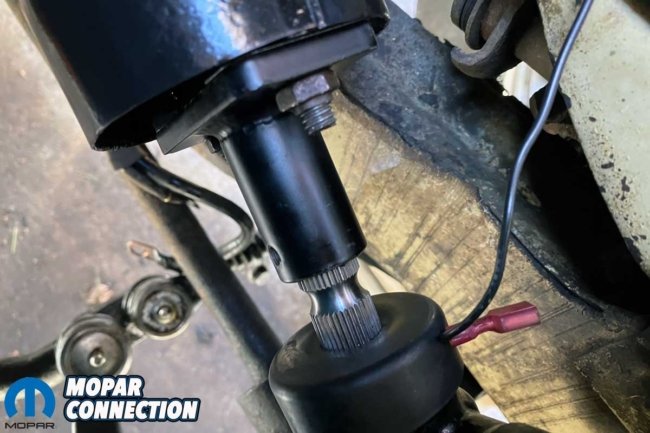
Not only is the Borgeson steering box smaller in size, but it is also shorter than the factory box, so the steering column shaft would no longer reach the steering box input shaft. An adapter comes with the steering box, but modifications to the steering column would be difficult to reverse if a future desire to return to a stock steering box arose. To address this concern, Bergman Auto Craft has an adapter (Part No. 5-0008) that fits between the steering shaft and the box.
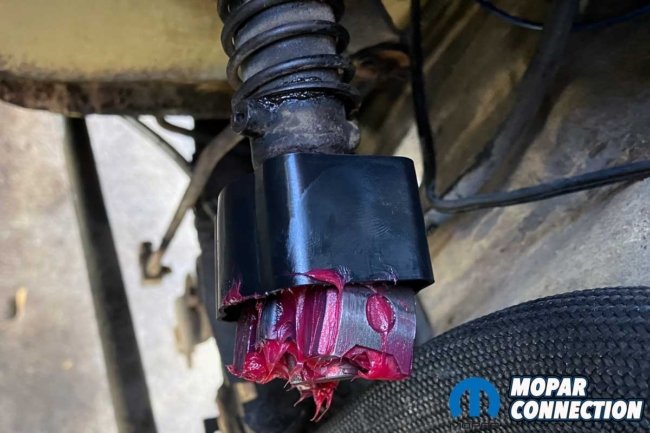
Before we installed the coupler adapter, we checked the stock coupler shoes, shoe spring, seal, and cover. Since we had previously serviced the coupler, everything looked good, so we cleaned the pieces, regreased the shoes, and reinstalled the assembly into the housing.
Above Left: The steering coupler was too short to reach the Borgeson steering box input shaft. Above Center: Bergman Auto Craft has an adapter extender (left) that makes up for the original adapter’s shortness (right). Above Right: The adapter was shimmed to achieve the proper length we desired for our application. The set screw was oriented so it would be facing nine o’clock position (viewed from the front of vehicle) when the column was installed. The set screw orientation would make securing it less challenging.
The Bergman adapter was a bolt-on component. We followed the instructions, made a few measurements, and added shims to obtain the proper engagement between the column and the steering box input shafts. To reduce the difficulty during the final assembly, we made sure the set screw was facing the nine o’clock direction (viewed from vehicle front) for easier access.
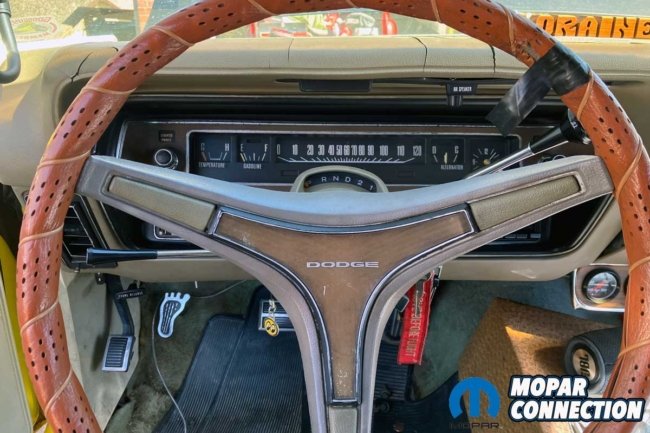
Above Left: We repacked the stock coupler with fresh grease. Above Right: We ensured the steering wheel was centered by fitting the column into its operating location.
Above Left: The coupler had been rebuilt before the power steering box swap. After repacking the coupler, we slipped the cover over it to protect the internals from water and debris. Above Right: We needed to wiggle and push the adapter over the splines of the Borgeson input shaft. Once we lined up the set screw hole with the recessed area of the input shaft, we added the set screw.
Before installing the column, we confirmed the steering wheel was centered. We worked the adapter coupler splines over the steering box input shaft. Some coaxing was required to engage the splines. By pushing the column into place under the dash, the splines slipped into place. Satisfied with the spline engagement, the three bolts at the base of the column were reinstalled, and the column fasteners (and the ground strap) were torqued in place.
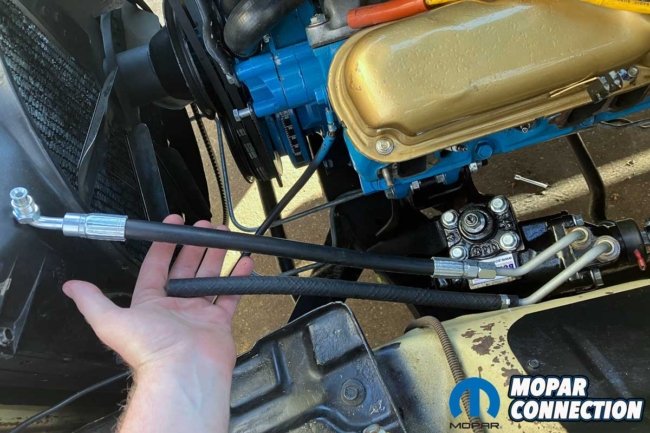
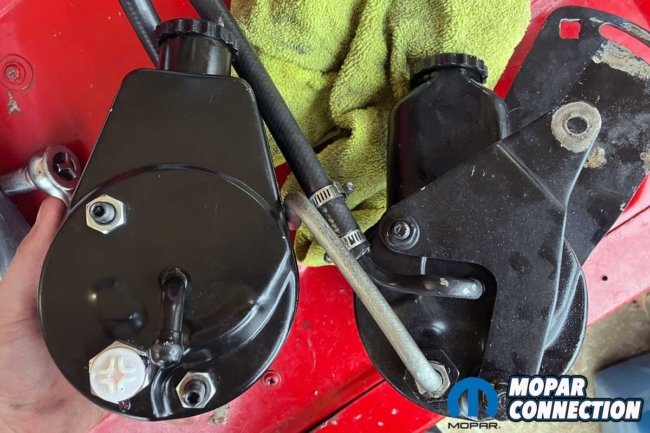
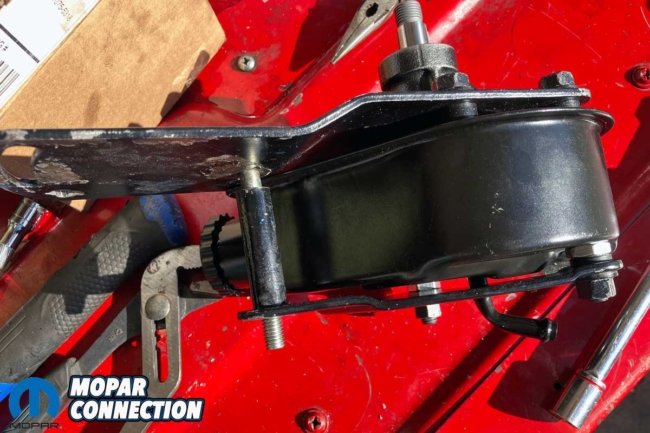
Above Left: We followed the detailed instructions and installed the power steering hoses on the steering box. Above Center: Saginaw designed the new power steering pump. The reservoir design on the new unit (left) had a slightly different orientation for the low-pressure return hose. Above Right: We swapped all the factory brackets to the new pump. Everything fit perfectly.
With the steering box installed and the set screw fastened, we moved to the power steering pressure hoses. Two hoses are included in the kit: a high-pressure line fitted with metal fittings on each end and a low-pressure hose with a metal fitting on one end and a cut-to-fit end that attaches to the power steering reservoir.
The conversion kit included a new Saginaw-style pump and reservoir, just like the original. We chose a new pump, but we could have sent the original to a re-manufacturer to be professionally rebuilt. Borgeson does not currently make a small-block Mopar power steering bracket set for the 1970 and newer engines with an aluminum water pump housing, so we re-used our originals. The factory 1973 power steering brackets slid right onto the new pump, and we installed the new pump with no issues.
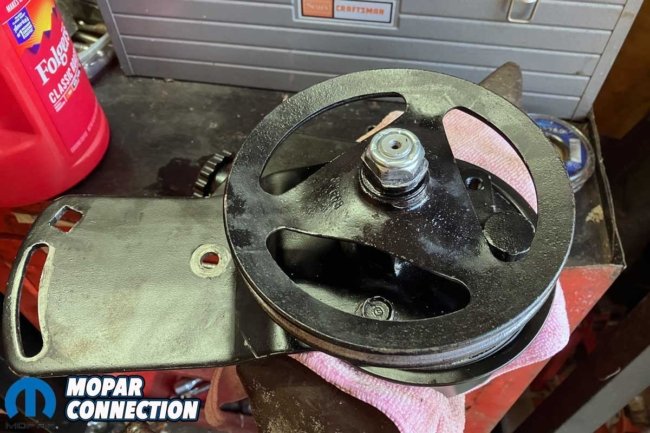
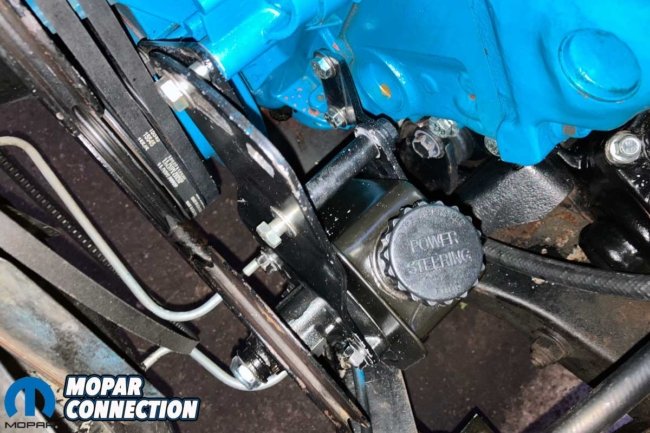
Above Left: We installed the new pump pulley to the Saginaw power steering pump. Above Right: We mounted the new pump and finger-tightened the fasteners until we added the belt and the power steering lines.
After installing the reservoir and pump assembly, we finished the line installation. The high-pressure hose was threaded onto the back of the pump, while the low-pressure line was cut to the desired length and fitted onto the hose barb on the reservoir. A hose clamp secured the hose to the reservoir.
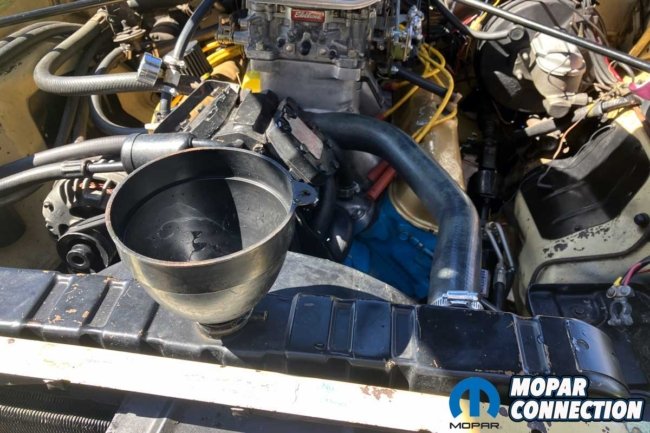
We reinstalled the power steering belt, remounted the washer jug, and added power steering fluid and coolant. We cleaned the cylinder head exhaust sealing surfaces, added a new Remflex header gasket onto the exhaust studs, and reinstalled the header from the underside of the chassis. Utilizing the compact Borgeson steering box design, we quickly slipped the header onto the exhaust studs and torqued the ARP fasteners.
Above Left: After finishing the power steering box and pump installation, we began the reassembly by adding coolant and power steering fluid. Above Right: We still had to reinstall the header, starter, and the shifter linkage, but before we did that, we observed how compact the new Borgeson unit was.
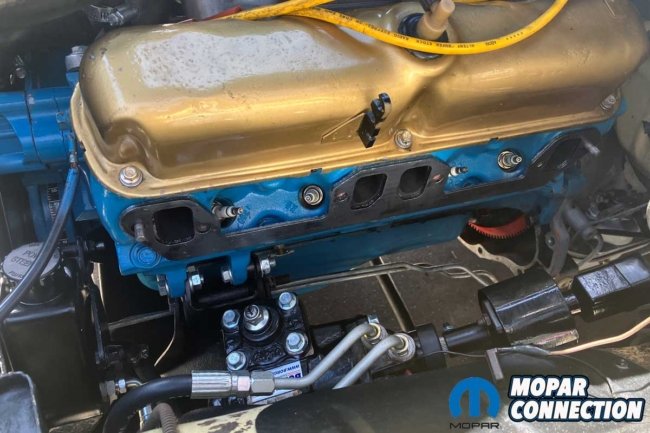
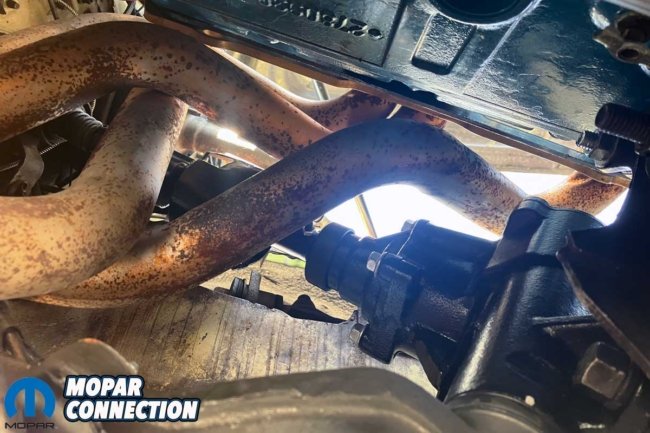
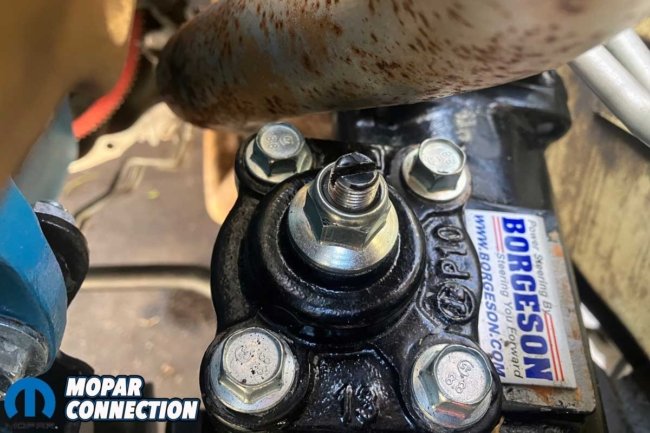
Above Left: The header efficiently cleared the Borgeson steering box. When viewed from the underside, the cylinder one header primary tube has plenty of clearance. Above Right: The header tube has plenty of clearance around the box in all directions.
Lastly, we threaded in the spark plugs, reconnected the plug wires, added the starter, reattached the shift linkage, secured the header to the H-pipe, and reattached the battery negative cable.
After the installation, we drove the Charger on the back roads around our shop to assess the new Bergman Auto Craft power steering conversion kit. Pleased with the responsiveness, we decided to evaluate the steering performance on the highway. Again, we were happy with the results.
Above: The Bergman Auto Craft power steering kit was well-designed—every part fit without necessitating modifications or additions. The addition of the kit has been one of the most beneficial upgrades to the Charger thus far.
The looseness and leaks we experienced with the factory steering components were gone. Although several components needed to be removed to install the Borgeson power steering box, it has been the single most transformative modification to the Charger thus far.
Bergman Auto Craft and Borgeson have plenty of steering, suspension, braking, and chassis stiffening components, which will benefit your Mopar. Check out both companies online and contact the helpful representatives to get the products you need for your ride.


