


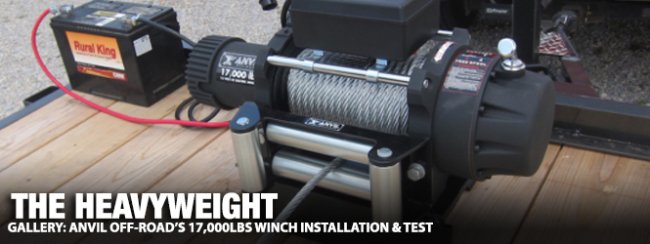
Pulling a project car on the trailer for the first time brings a rush of delight in what could be. Maybe it’s fresh from a field, a forgotten restoration, or a low-mile survivor peeking out of a barn for the first time in decades. Either way, the last thing you want to do is ruin that glorious moment of Hemi-powered daydreaming with the struggle of getting it loaded up. Sure, we’ve all gotten by with a rickety hand-crank winch or a rusty old come-along or a strategically-placed hill and a rolling start. Why not skip the stress, strain, sweat, and overall lack of safety and get yourself a winch from Holley’s off-roading performance brand, Anvil Off-Road?
Holley brands have long been trusted for rugged reliability and powerful results, both of which are vitally important in a winch installation. The benefits and brute strength of Anvil products, backed by Holley’s decades of pavement-pounding performance, were all we needed to know to skip right to Anvil Off-Road for all of our winching needs.
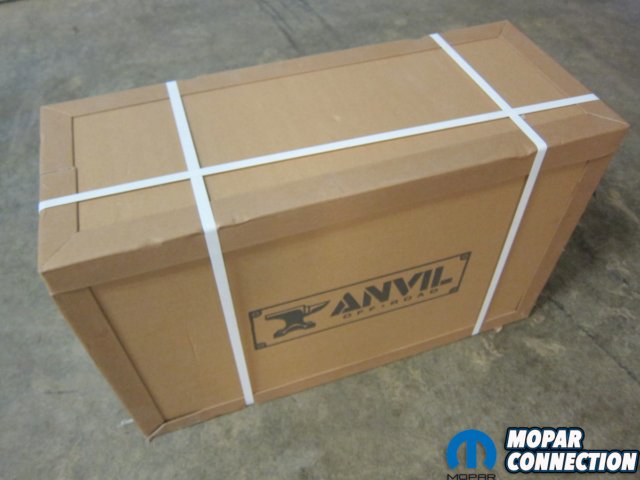
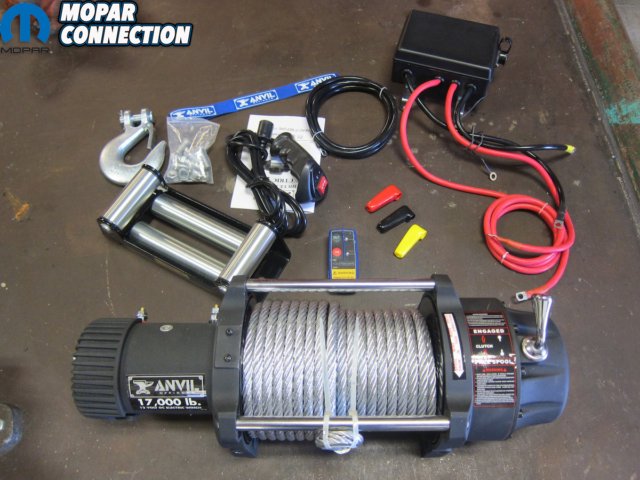

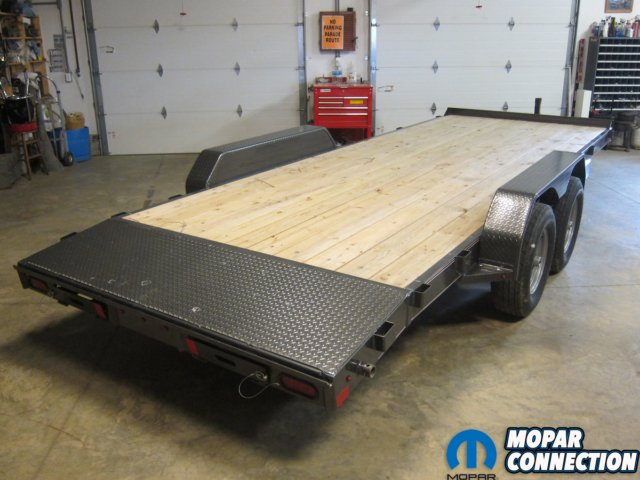
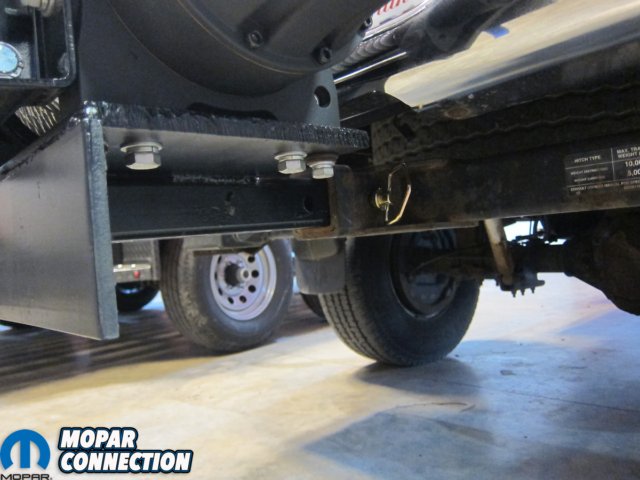
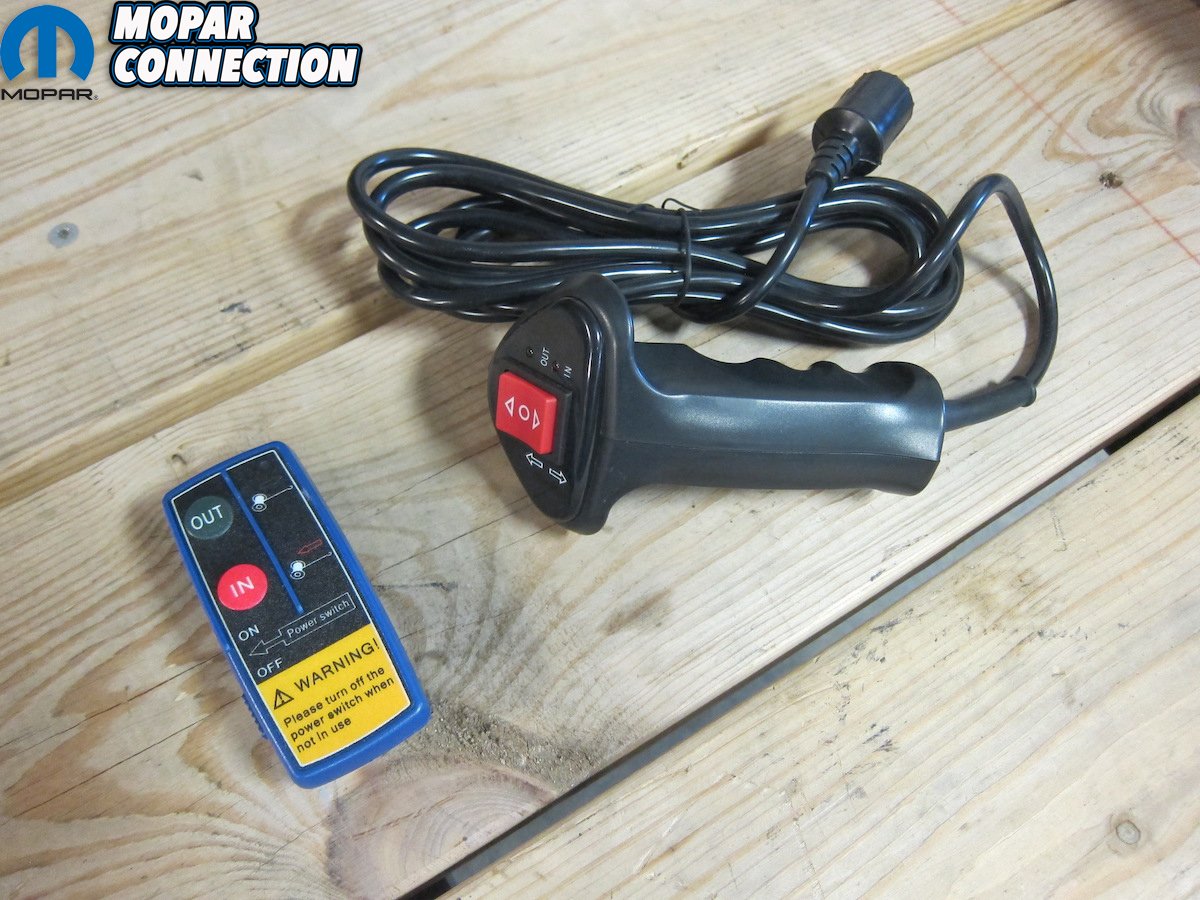
Top: The entire package came in a rugged, reinforced crate. Everything arrived in perfect condition. Bottom left: Both wired and wireless remotes are included for maximum versatility and visibility. Bottom right: The brand new Diamond C trailer was lacking a factory winch mount, so some custom surgery was necessary underneath the floor.
In this case, the recent purchase of a 20-foot, 10,000 lbs GVWR car trailer quickly left us with the unexpected dilemma of wondering just how in the heck we were going to load it. While our 5.9 Magnum-powered 1999 Dodge Ram 2500 serves as the go-to tow rig for now, it’ll soon make its way to project status with an upcoming Cummins swap. With the diesel powertrain, total weight could surpass 7,500 lbs and there are sure to be some non-running moments where it needs a lift. Plus, the amount of messed-up Mopars we’ve drug home with flat tires and locked-up brakes is substantial enough that we need something with plenty of excess capacity.
Always proponents of the old “go big or go home” adage, we went for the biggest and baddest Anvil had to offer. Rated at 17,000 pounds, the 17000AOR is the highest capacity winch in their catalog, outweighing the none-too-puny 4,500 lbs, 9,500 lbs, and 12,000 lbs versions. Pulling power is generated by a 7.0 horsepower, 12-volt motor tugging 91-feet of monster 11mm diameter metal rope. As the brand name indicates, this thing screams unrelenting brute strength.

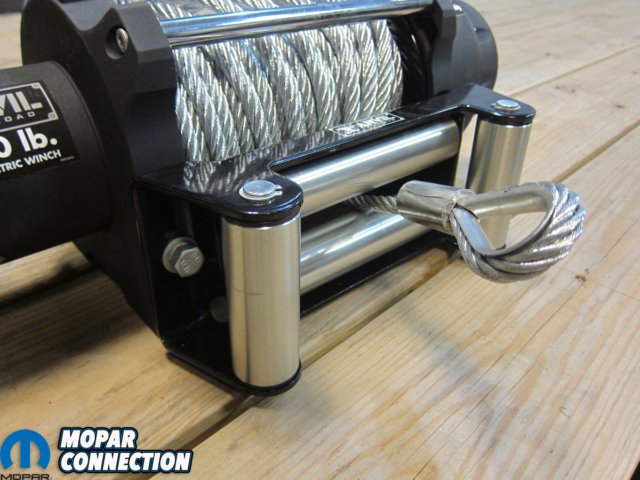


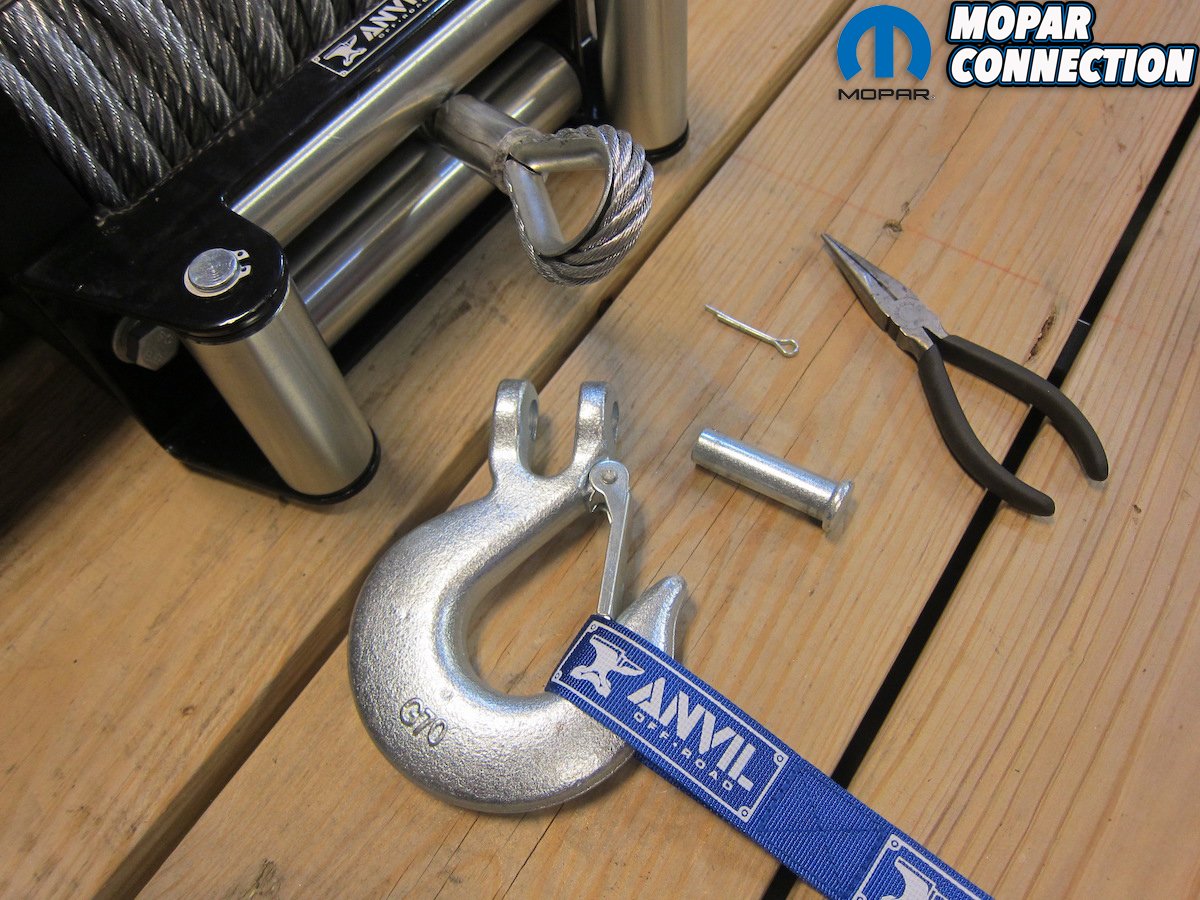
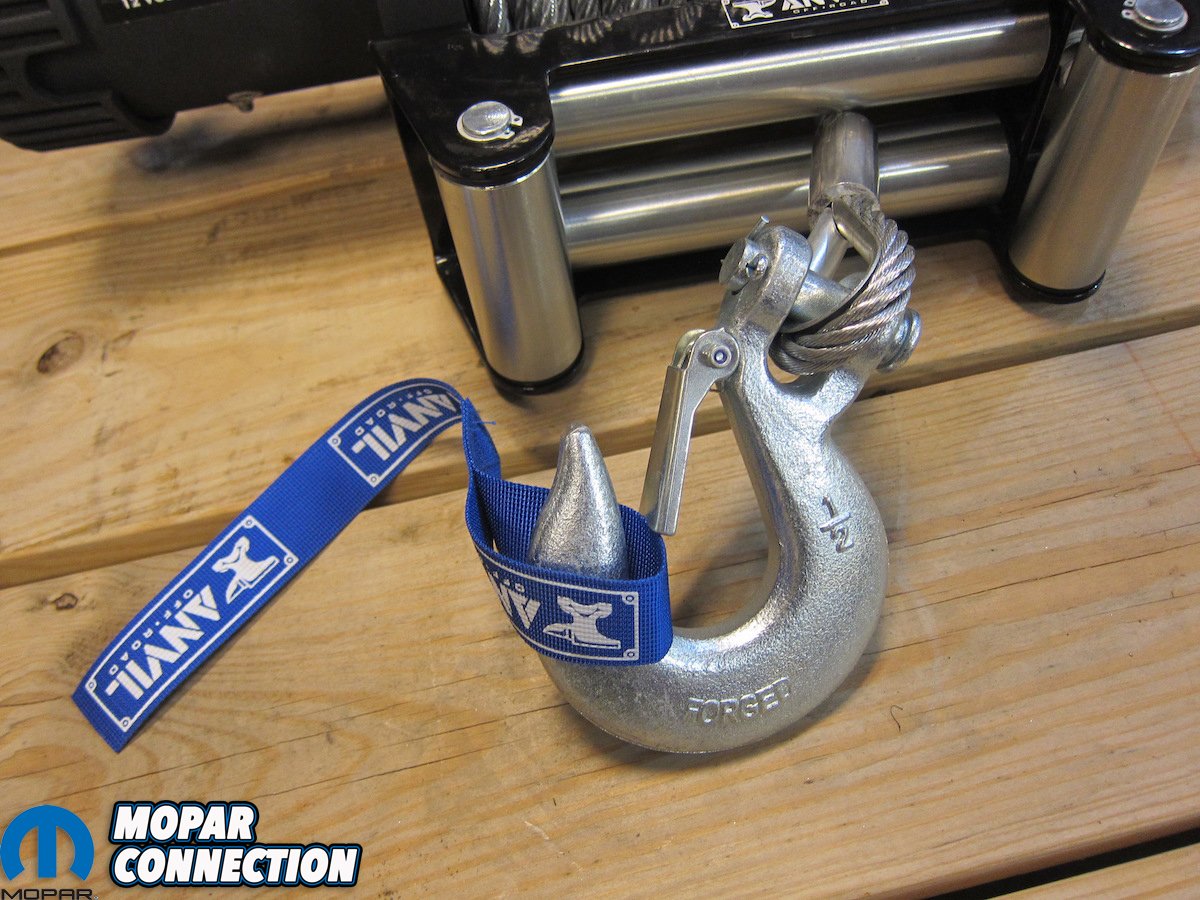
Top right: The supplied roller fairlead was attached with a pair of bolts. It needs to be installed with the warning sticker readily visible on top (we had to flip it over later). Bottom: The hook was disassembled, attached, and reassembled on the wire rope. A hook strap keeps hands away from pinch points and metal splinters.
The inner workings of a winch are fairly simple. An electric motor turns a gear box that multiplies torque. That torque turns a drum wrapped in cable or rope which moves the load. Depending on horsepower and gear reduction, rated capacity can range from 1,000 lbs to nearly 20,000 lbs. A basic control box receives a signal from a wired or wireless remote control to activate the forwards or backwards motion of the motor.
So, what’s in the box? For starters, it’s more of a heavy duty crate than it is a cardboard box, but we were more than happy to deal with the heft when we opened it up and saw that everything arrived safely. The big ol’ winch assembly was the bulk of it, weighing in at 121 lbs by itself. Right away, we noticed a classic matte black finish, an Anvil sticker with the rated capacity, and a handy label to show how to activate the clutch. Also inside the crate were a beefy four-roller fairlead, hook, hook strap, control box, wiring, instructions, and mounting hardware. Wired and wireless remote controls were both included. While the wired remote has a cable length of nearly 10-feet, the wireless signal can stretch to almost 100.

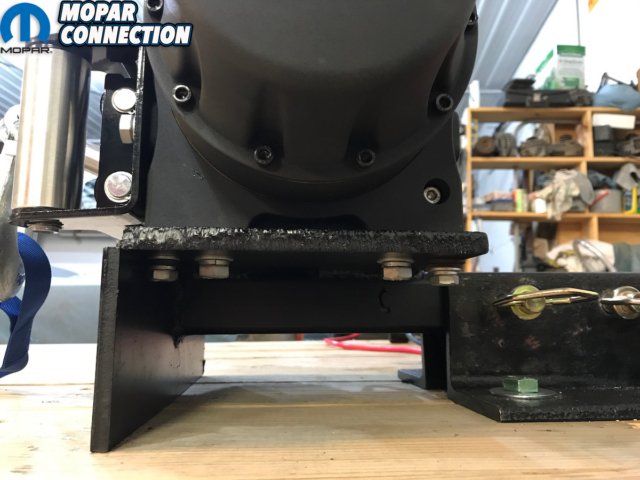


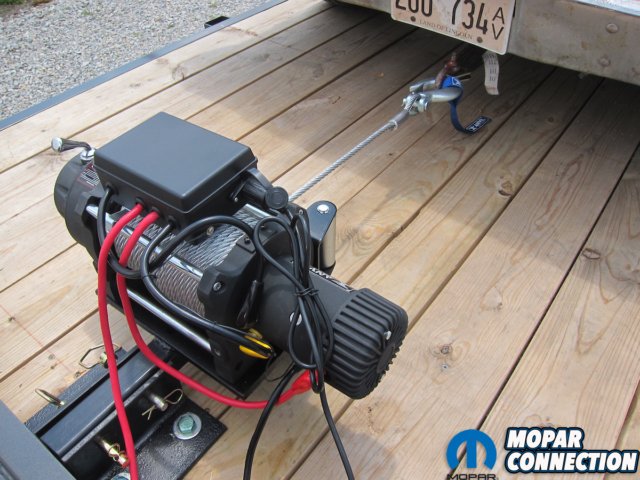
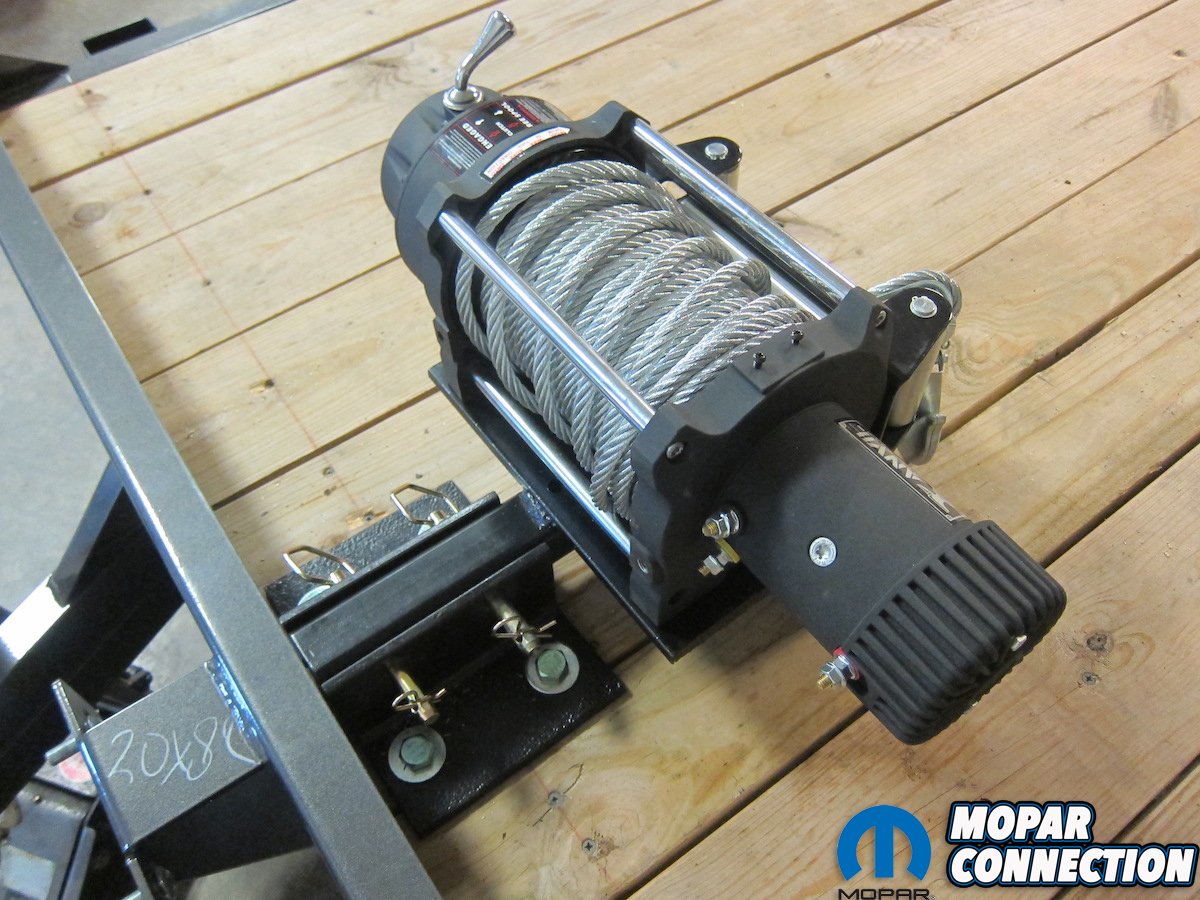
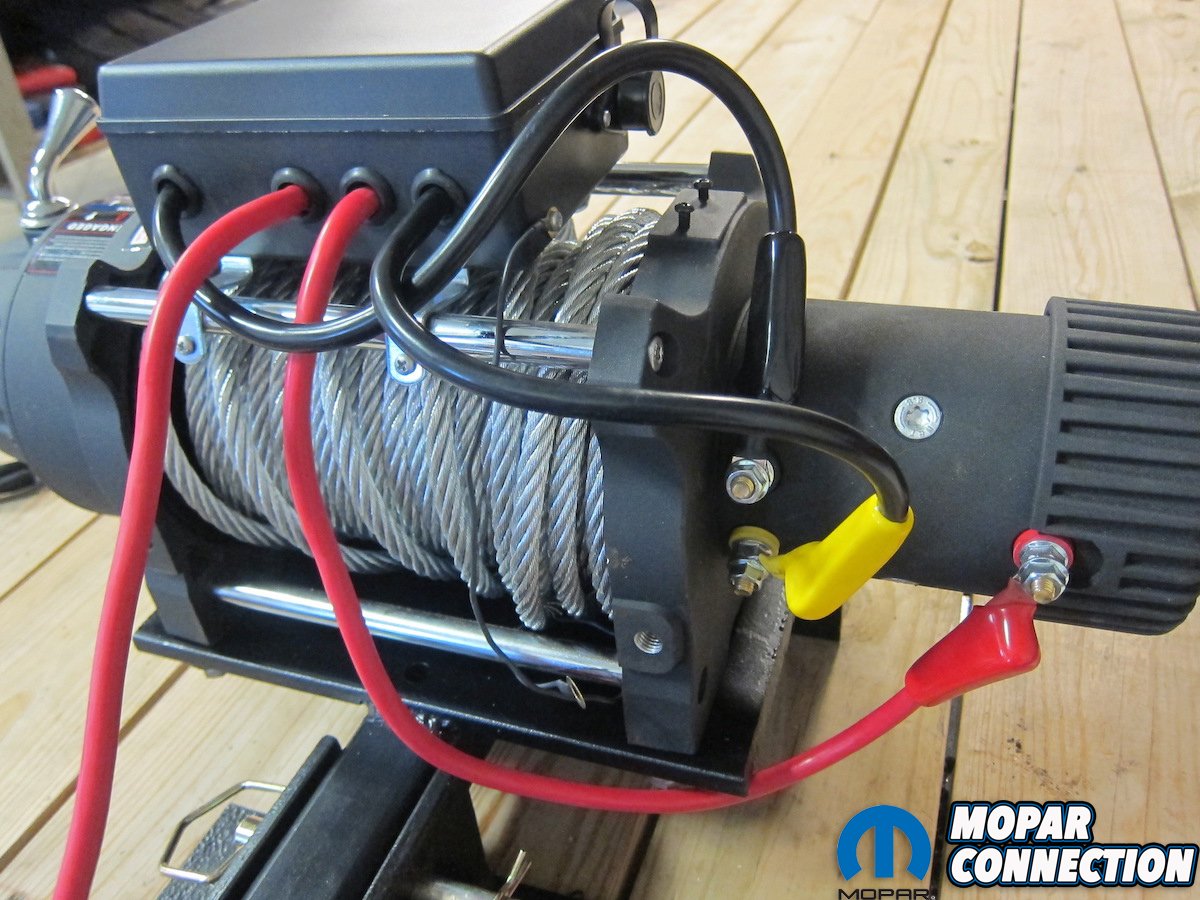
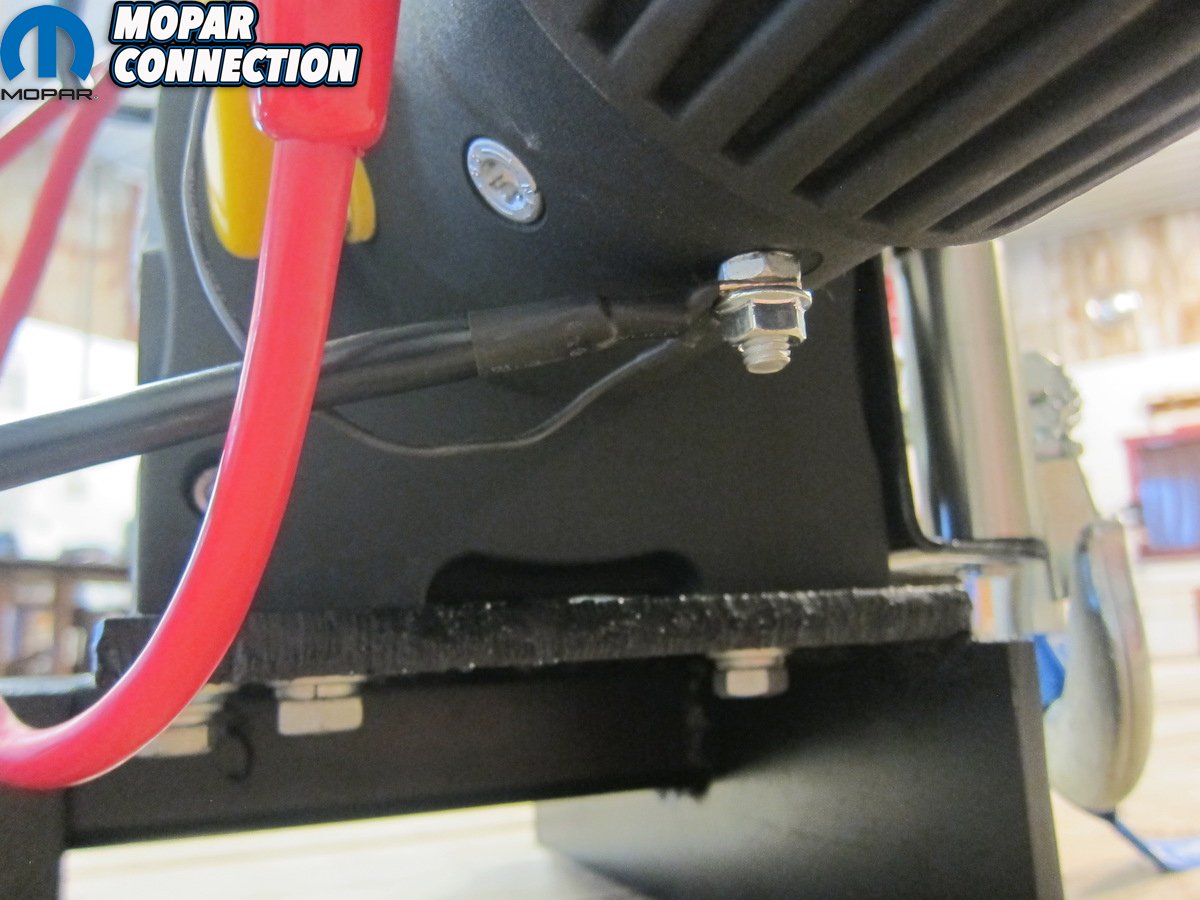
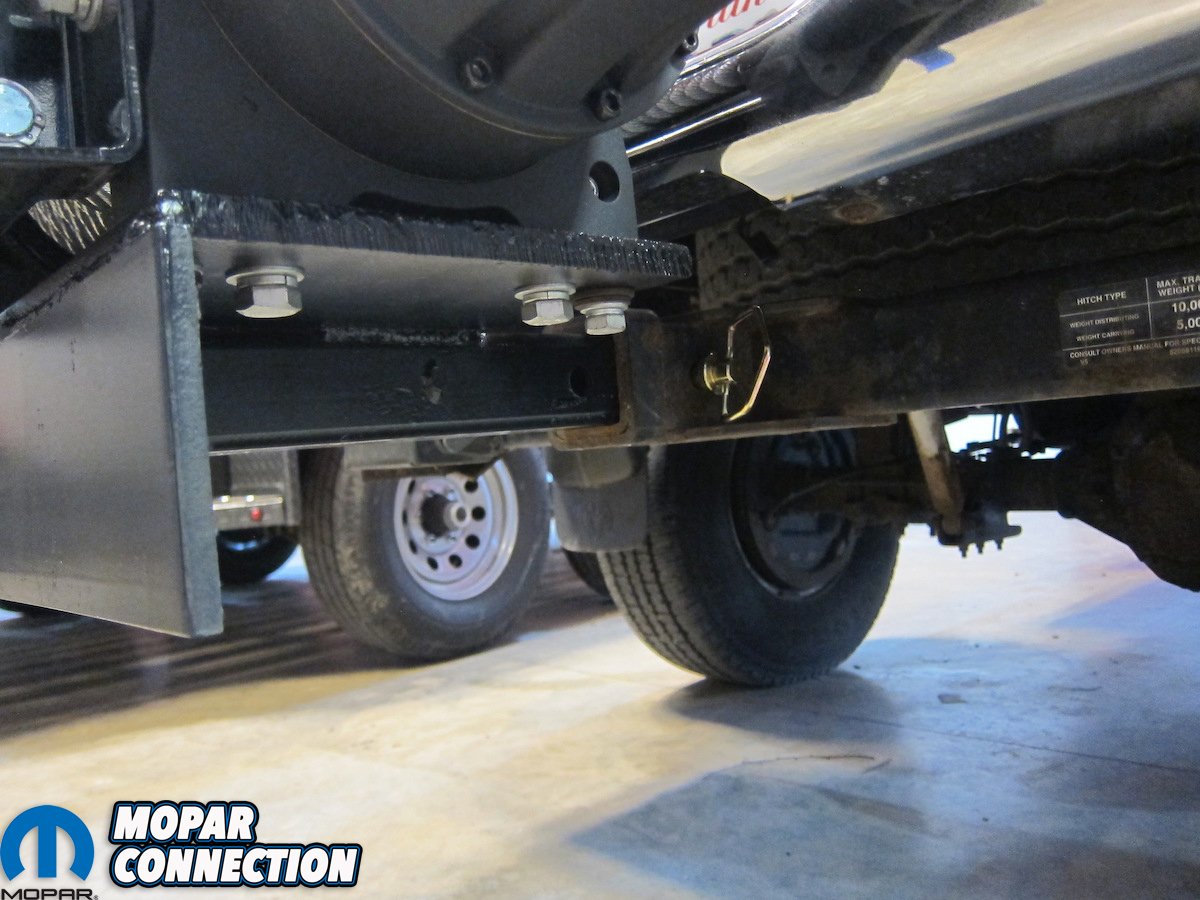
Top: Once the bolts from the mounting plate to the winch were torqued, a pair of hitch pins affixed the assembly to the trailer and supporting frame. Bottom: Cables and terminals were color-coded for easy identification. The ground terminal was hiding on the bottom side of the motor.
Before starting any installation, realize that winches can be very dangerous. Read and follow any and all safety instructions. Once it’s installed, avoid side pulls as this can put stress and strain on things that weren’t mean to be loaded in that direction. Also, never hook the wire rope back onto itself as it could fray and eventually cause breakage. Some heavy leather gloves are a must when handling the cable.
Mounting location is key, especially with a winch of this astronomical capacity. The winch itself is fairly straightforward with threaded bolt holes in the bottom of the casing. However, the framework to which the winch is bolted must be undoubtedly structurally sound and rated for at least the same capacity as the winch itself. In the case of a trailer, it’s usually best to contact the manufacturer for mounting recommendations. If a mounting plate is needed, Anvil has them for both smaller (P/N 1035AOR) and larger winches (P/N 1030AOR). They even have a super trick receiver hitch mount with handles (P/N 1038AOR) for the smaller units.

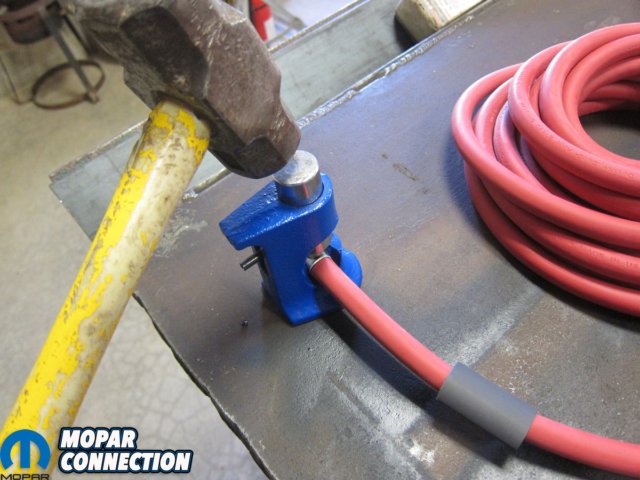

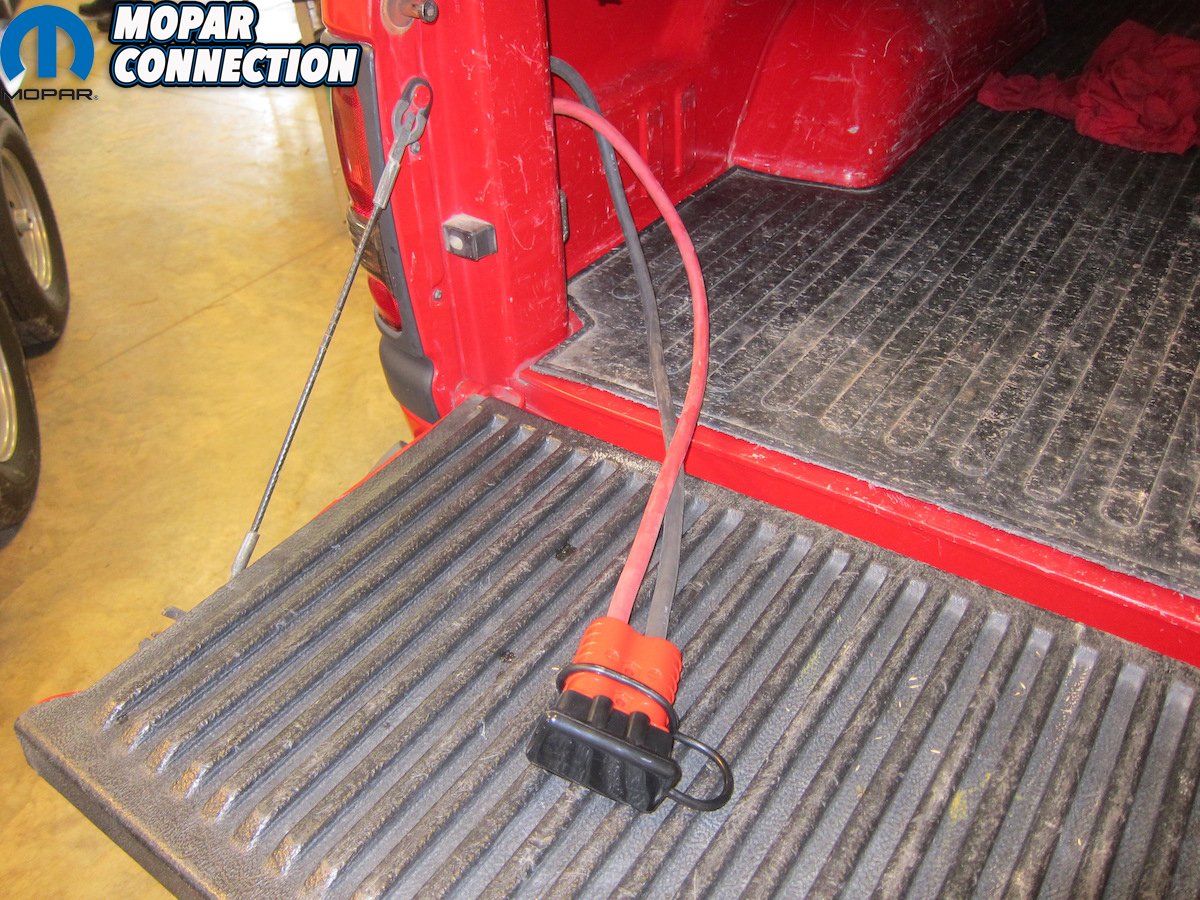
Top left: Quick disconnects from the truck battery to the winch alleviated the need for a separate battery. Top right: Nearly 25-feet of heavy cable were run from the battery on the truck to the inside of the bed where one end of the quick disconnect would reside. Bottom left: A hammer crimper made quick work of the big terminals. Bottom right: Cable was fed in through the frame rail of the truck and out through a couple of drilled holes with grommets behind the taillight.
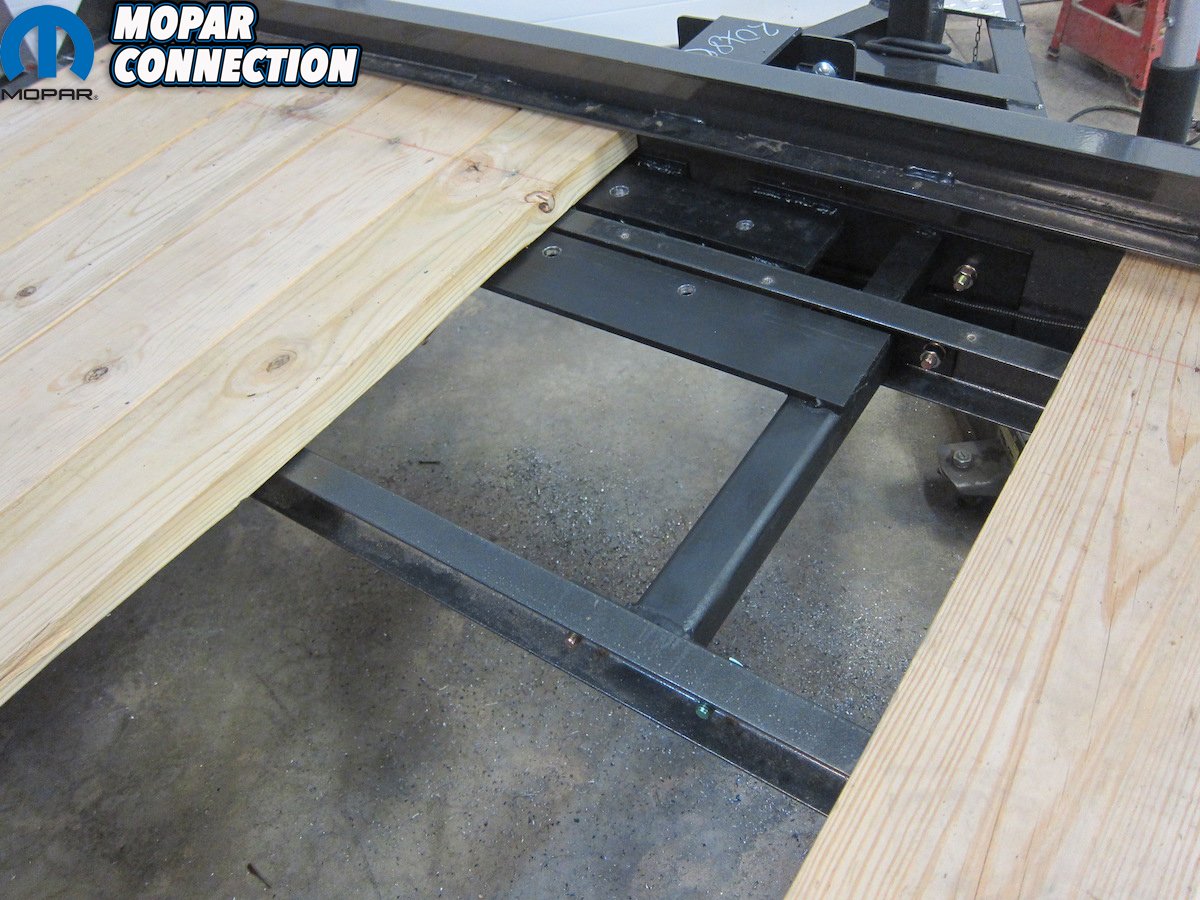
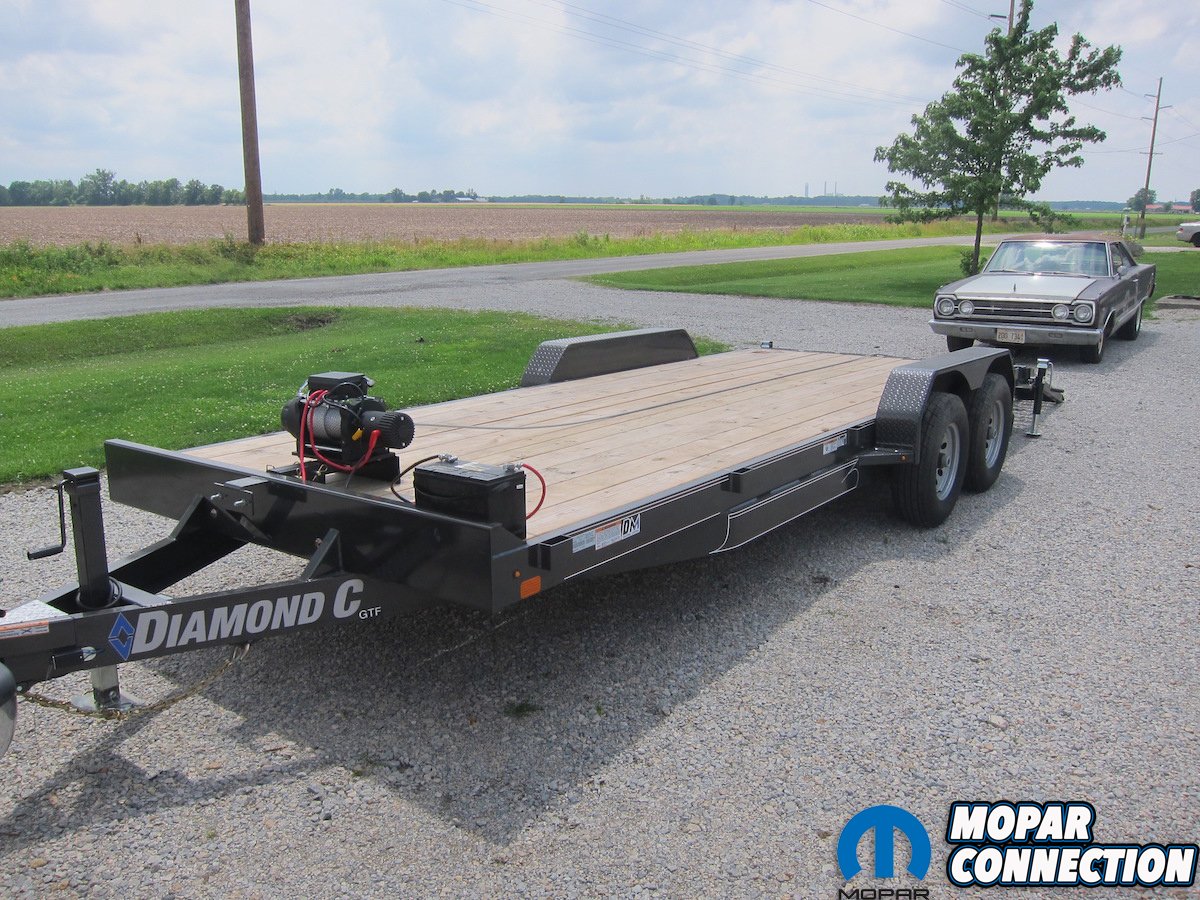
We went the custom route with the help of a local fabrication shop. With the floor boards pulled off of our Diamond C GTF252-20X82, we were able to access the 3” C-channel frame and front header to add some structural integrity. Anvil’s directions recommended a minimum thickness of 1/4” for any mounting plate, so 1/2” was used throughout to be safe. Some thick-wall square tube and a handful of grade 8 bolts strapped all of the underpinnings together.
Maximum utility is the name of the game, so we came up with a simple receiver hitch design that would allow us to use the winch with or without the trailer as long as a receiver was available. On the trailer, the floor boards went back on with a few extra rows of screws. A pair of 4-1/2” angle iron pieces bolted on top were the final touch. Don’t be fooled by the pictures; even though it looks like the angle iron is simply bolted on top of the wood, that kind of mounting scheme would never hold a substantial load. Those bolts run all the way through to the aforementioned fabricated frame supports underneath. The truck already had a receiver hitch, so it was ready to go. With this mounting scheme, the winch is easily moved from the trailer to the truck’s receiver for general duty like freeing up a stuck car or maybe even removing overgrown greenery from landscaping.
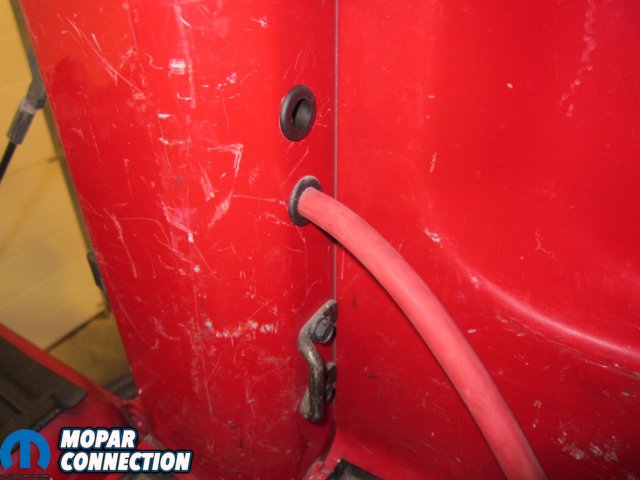


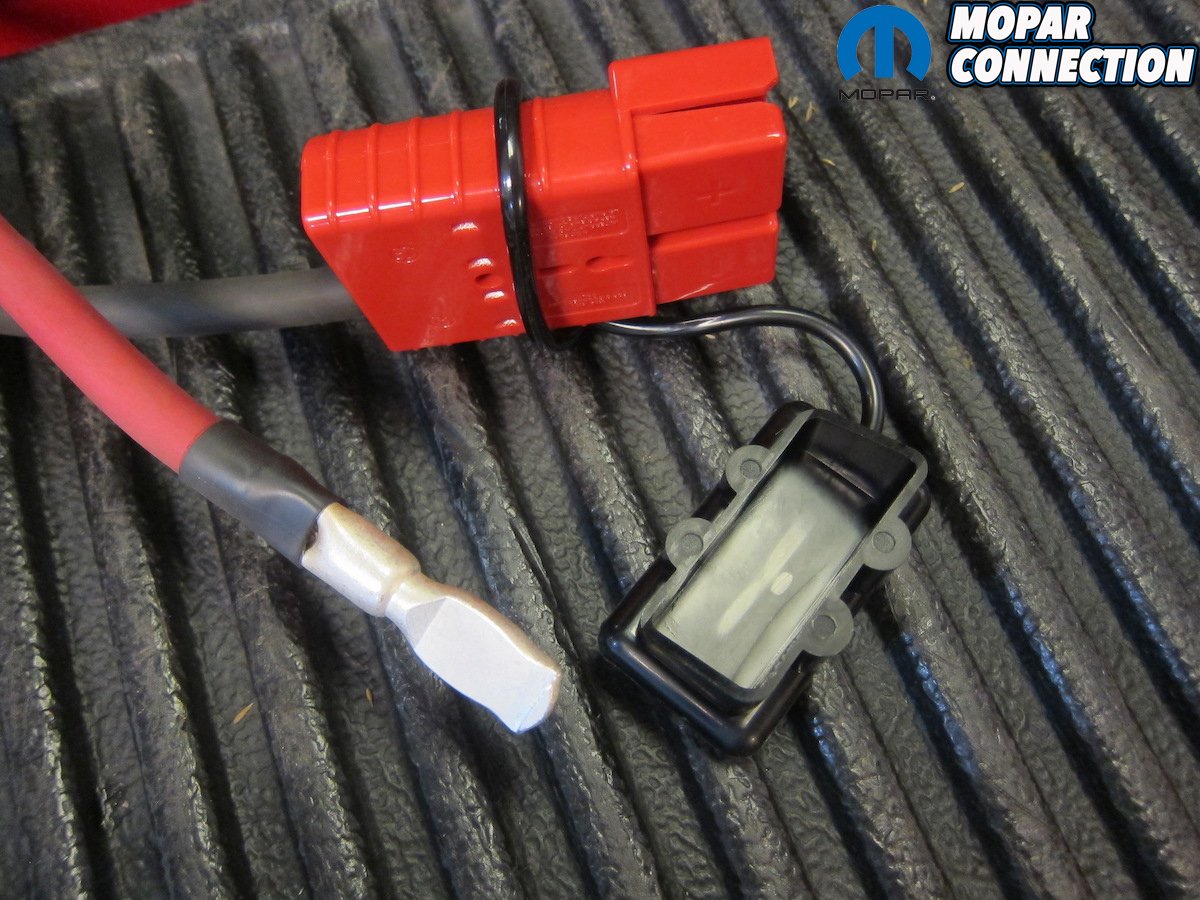
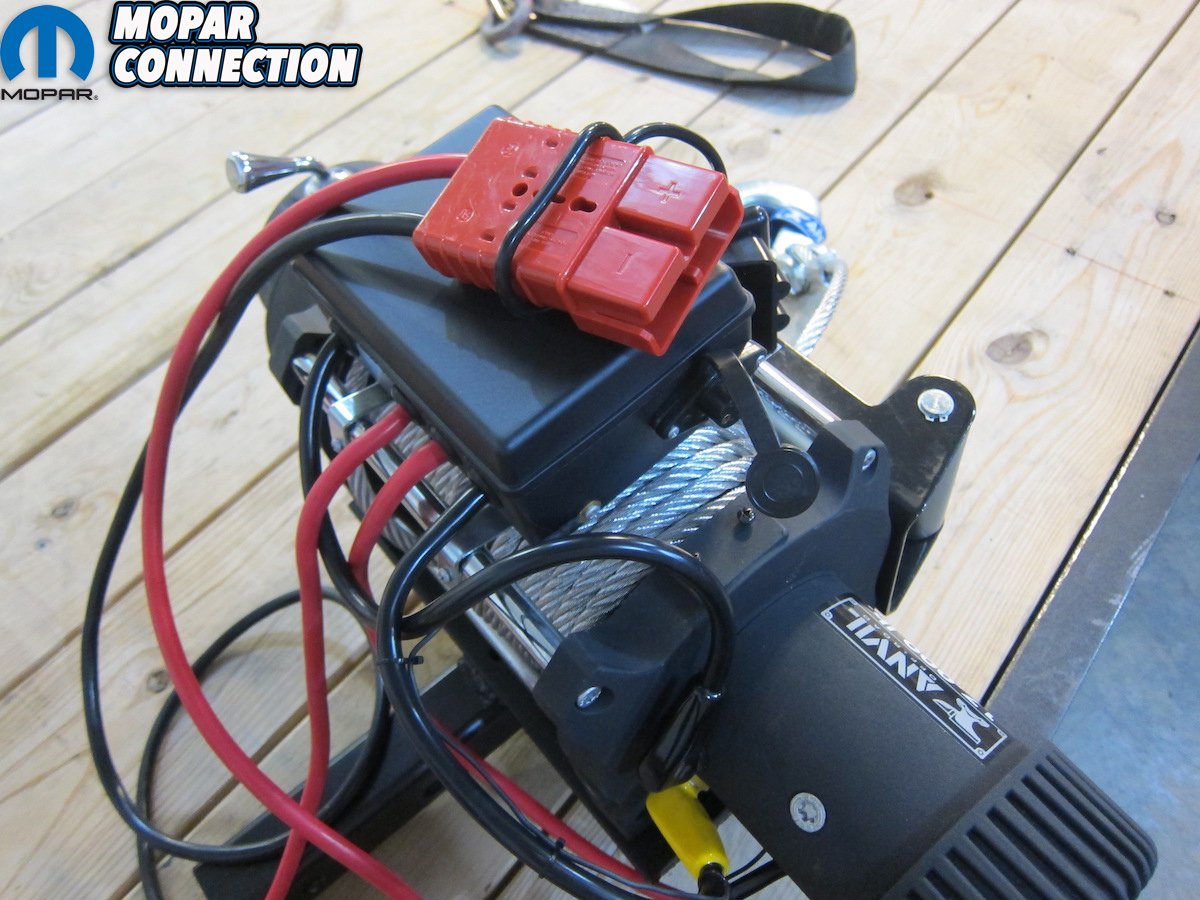
Top left: Cable was fed in through out through a couple of drilled holes with grommets behind the taillight. Top right: Quick disconnects from the truck battery to the winch alleviated the need for a separate battery. Once the disconnect terminals were crimped on, they snapped in to place within the plastic housing. Positive and negative sides were marked. Bottom right: The winch got the other end of the quick disconnect.
Just four wires needed to be connected from the control box to the motor, plus the positive and negative cables going to battery power. Of course, everything was neatly diagrammed within the instruction booklet. Even the protective terminal boots and heat shrink were color-keyed. The connection to battery power can be done several different ways. For example, an extra battery can be carried around for dedicated winch use or cable can be run from the tow vehicle’s existing charging system to the back with some kind of disconnect on the end. We decided to test both.
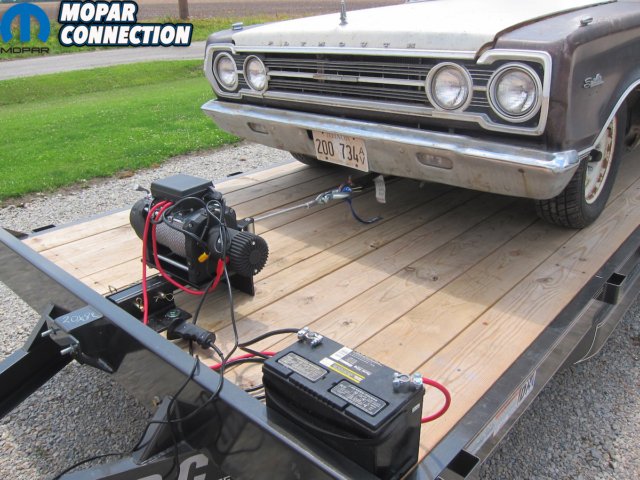
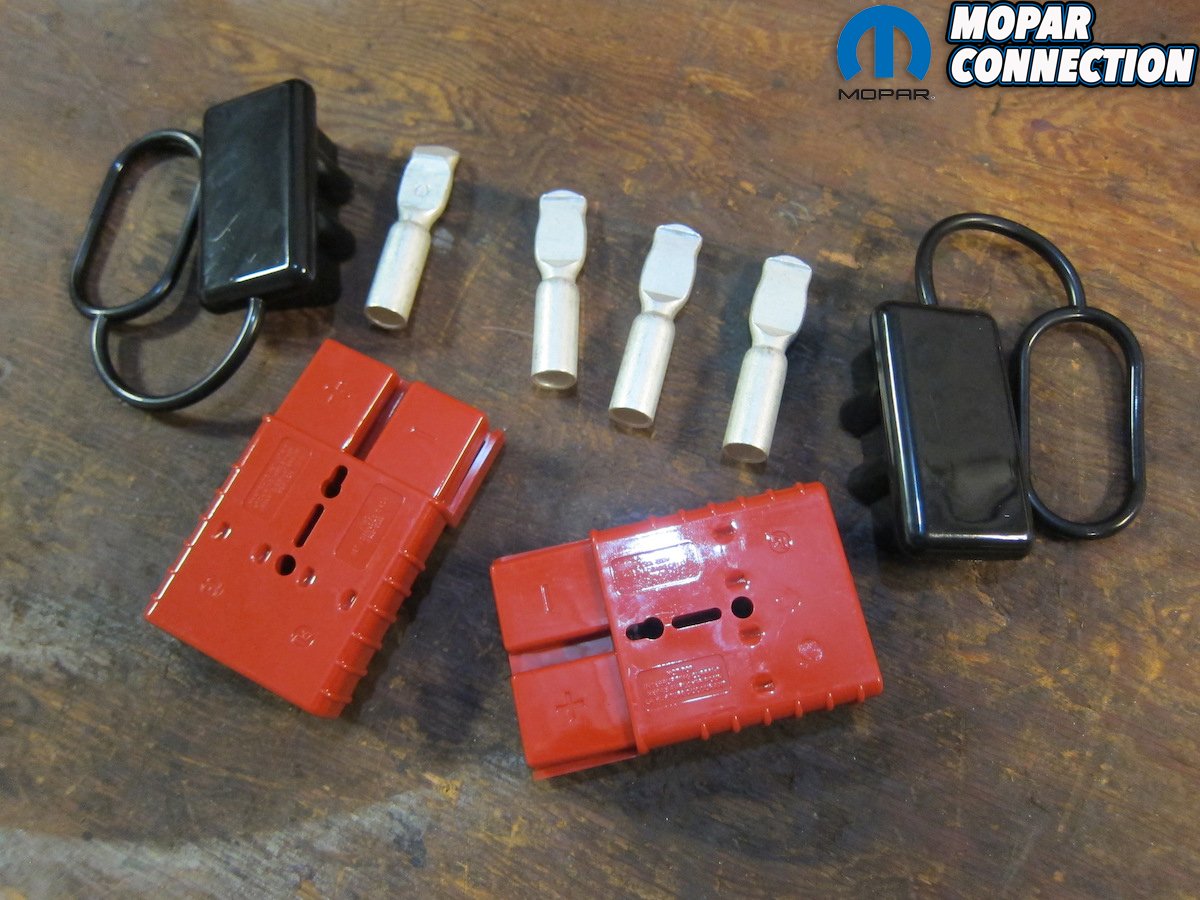
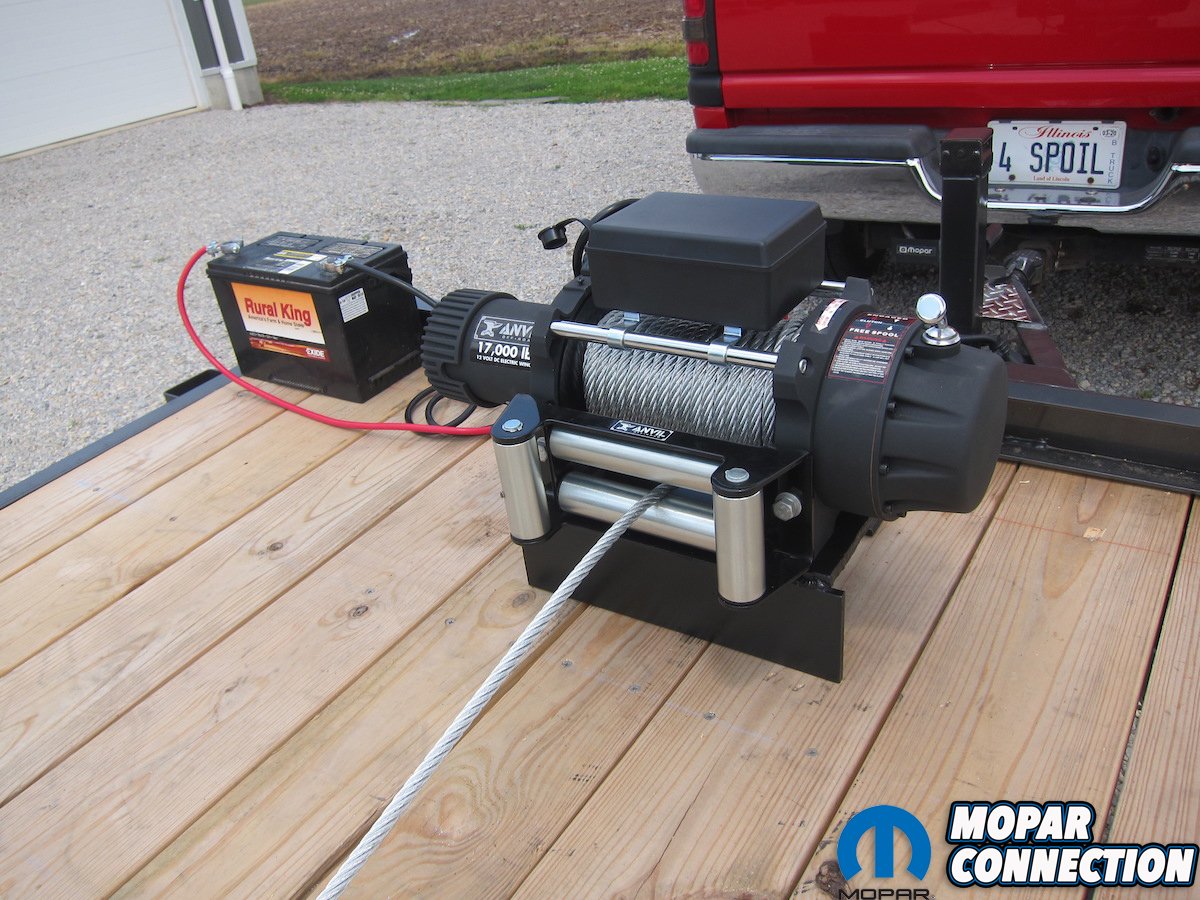
For the maiden voyage, battery terminals were clamped on the ends of the factory winch cables with a standalone battery sitting on the front of the trailer. Once it was deemed a successful install, we decided to go with a little cleaner approach that wouldn’t require the headache of charging and carrying another battery. Anvil has handy quick disconnects in both 50 amp (P/N 1041AOR) and 175 amp (P/N 1040AOR) continuous ratings. Winch capacity will dictate which version is required. A pair of rubber connector covers keep the elements out.


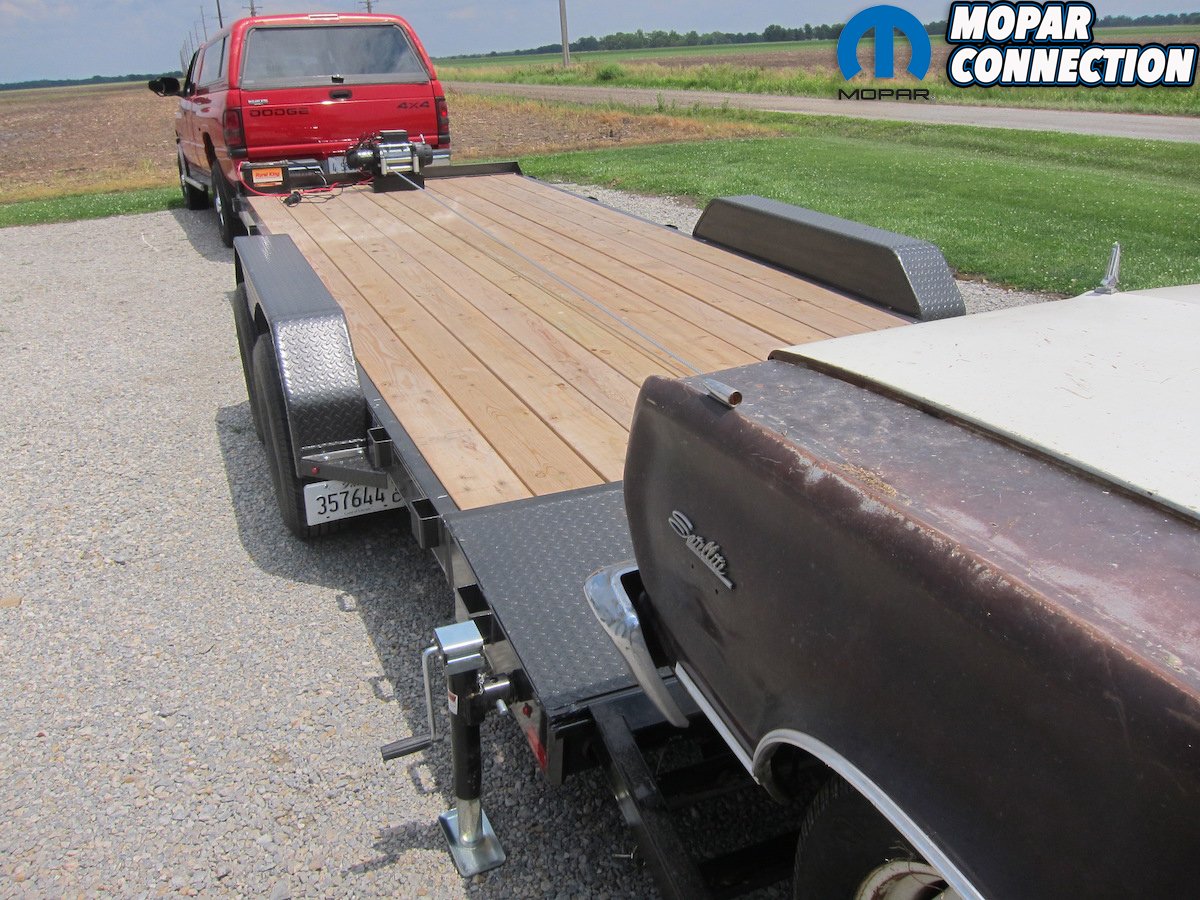
Top: Initial tests were done with a standalone battery. Everything performed flawlessly. Bottom: Our ’67 Satellite was the first test subject.
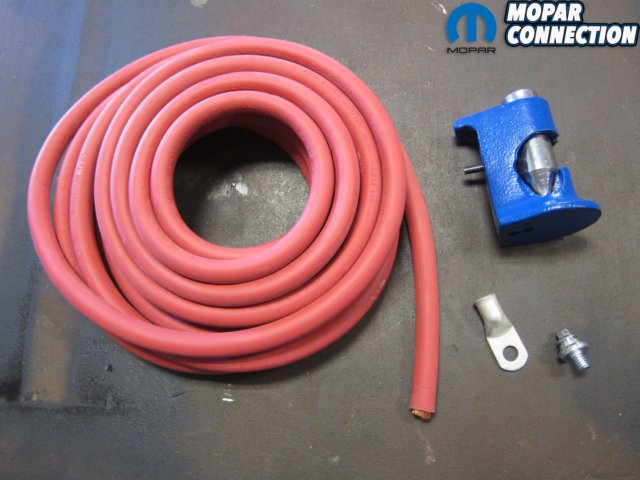
A trusty hammer crimper handled the big terminal crimps. Flex-A-Prene® cable is usually our heavy duty cable of choice for its flexibility and quality. Just make sure to get something that is appropriately sized for the application’s amperage load. Heat shrink tubing on all connections helps keep moisture and dirt out. Both positive and negative cables were run from the truck’s battery, through the frame, and into the bed with 3 feet of extra cable in back to act as a connection pigtail. The mating end of the quick disconnect was installed on the winch’s existing cables.
A detailed list of pre-operation checks were completed before the first use, including checking mounting bolt torque and wiring connections. Additionally, the directions recommended pre-stretching the wire rope under load before using. This involves pulling most of the rope out, hooking up a moderate load, then winding it all back in. A tight wind and pre-stretched rope reduces the chance of kinks or binds in the spool. From there, it was as simple as throwing a strap on the car, latching the hook, and hitting the “In” button.
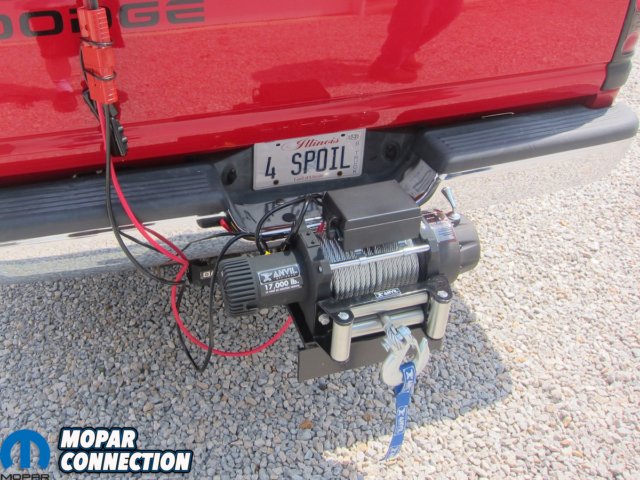
Top: She pulled on with ease as the Anvil winch could barely tell a load was even present. Just don’t try to use the winch as a tie-down. Shock loads can damage it. Bottom: Our custom mount also allowed for the winch to go in the truck’s receiver hitch. The quick disconnect made hookup a cinch.
As any good supplier will do, Anvil has full inventory of accessories and service parts like replacement solenoids, switches, hooks, and more. Go for the entire accessory kit (P/N 1020AOR) to get you started. If your Anvil winch is going to be stuck in the elements for extended periods of time, a canvas cover (P/N 1130AOR) can provide some much-needed protection.
Overall, the absolute brute strength of the 17,000 Anvil winch cannot be understated and we were flat-out impressed with the heavy duty quality of the components. It’s great to have the peace of mind that for any situation, we have a winch that’s both reliable and powerful beyond what we’ll ever need. On top of all that, installation was a breeze. Now, if we can just find a Hemi Superbird to hook up to it…


