


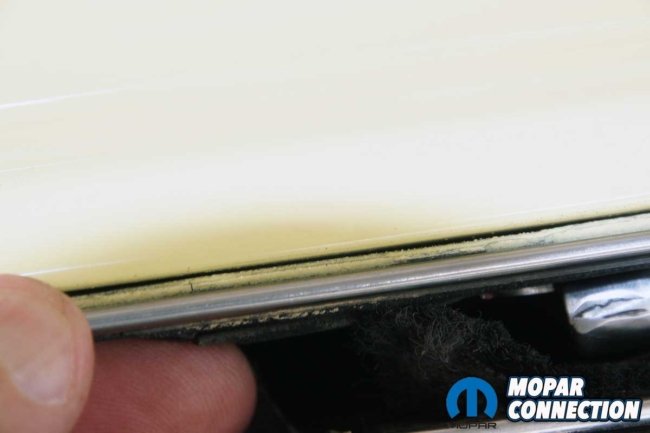
Call them what you want – glass seals, window weatherstrips, cat whiskers, dew wipes – they all fail eventually. Our 1967 Dart still has the original inner felts and outer V-shaped weather seals that had been installed at the Los Angeles assembly plant in May ’67. After three decades in the California sun and nearly three more on the east coast (Rhode Island, New York, and Pennsylvania), the weatherstrips were all still intact, although appearing a bit haggard.
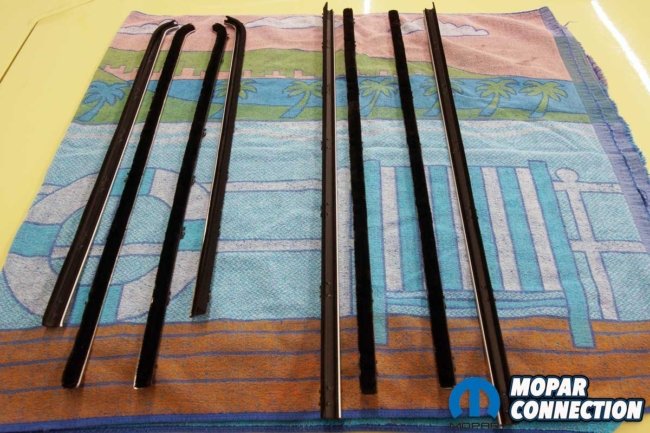

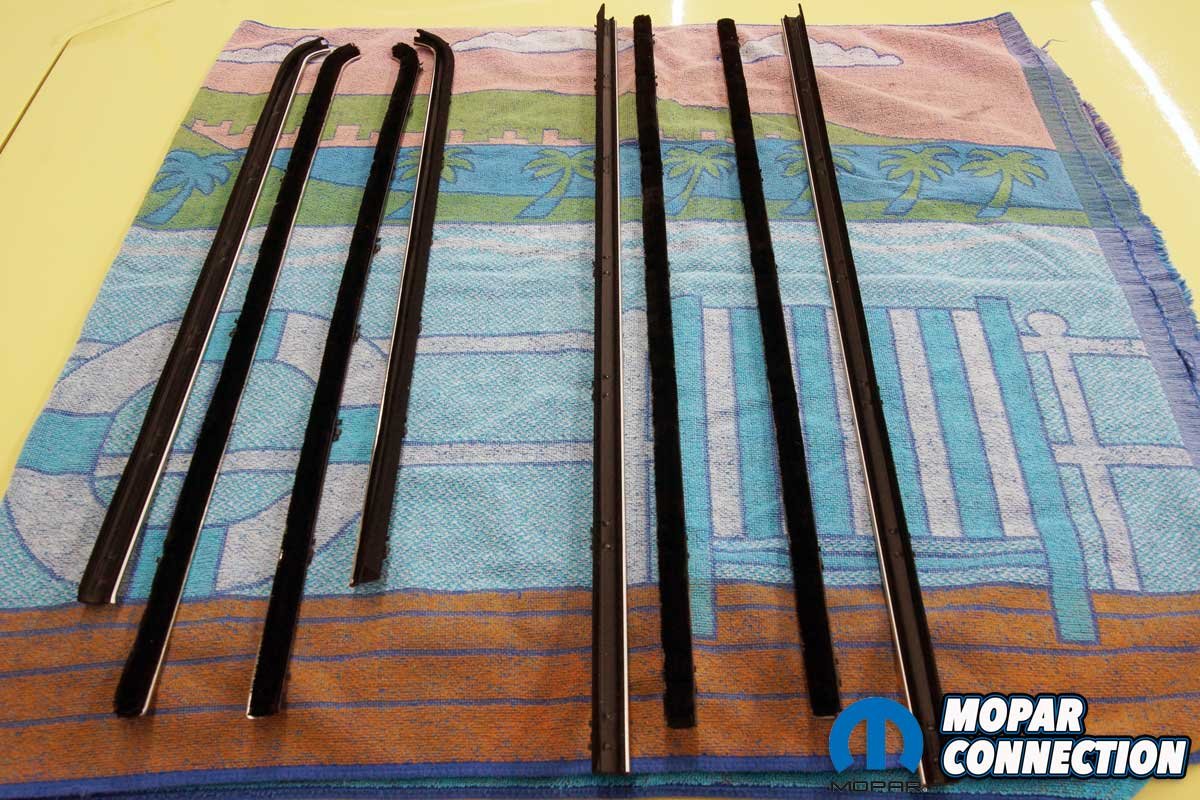
Above Left: We picked up an 8-piece premium side-glass sealing weatherstrip kit for our 1967 Dart. It consisted of four V-shaped weatherstrips and four felt strips. Above Right: Each weatherstrip has multiple clips that snap into holes in the inner door frame and outer door skin.
Fortunately, Year One has a complete line of standard and premium side-glass sealing weatherstripping for A-body models from 1963-1976. Hardtops, coupes, two- and four-door sedans, and convertibles are all covered by Year One. For our Dart, we selected an 8-piece premium designed kit for 1967-1969 two-door hardtop Darts and Plymouth Valiants (part no. P8112).


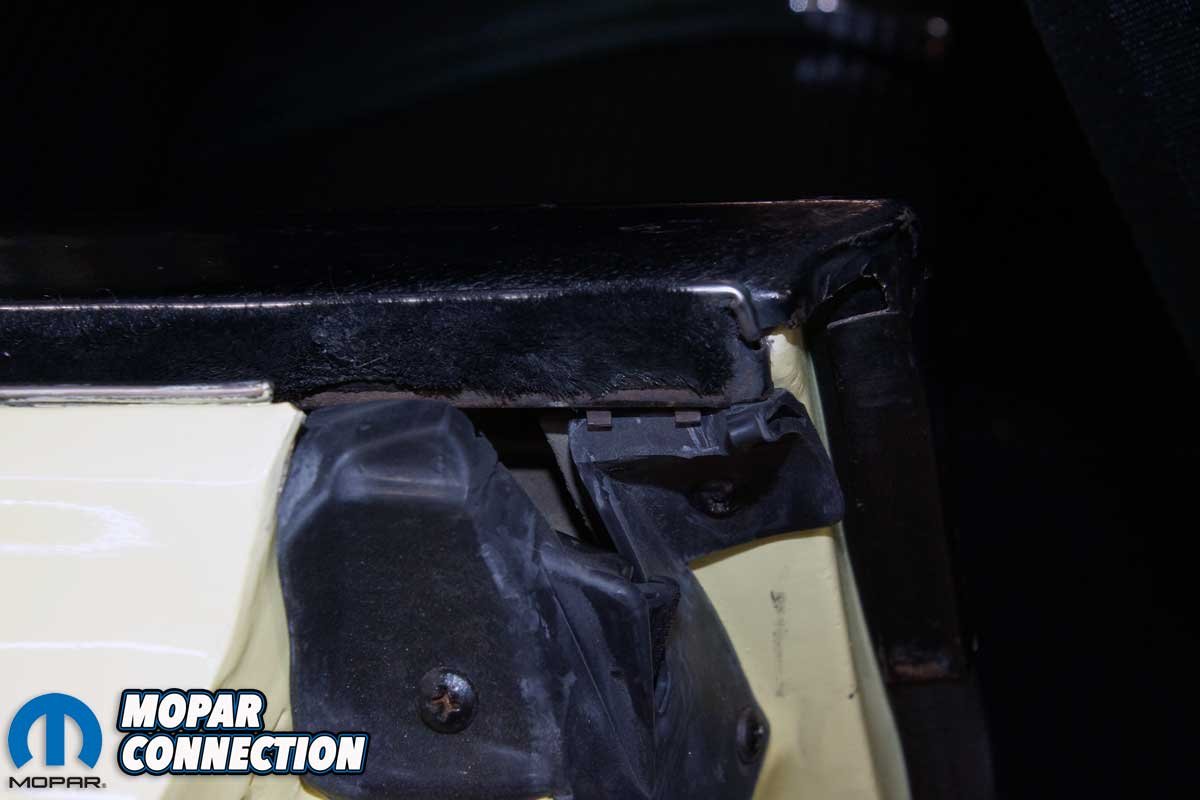
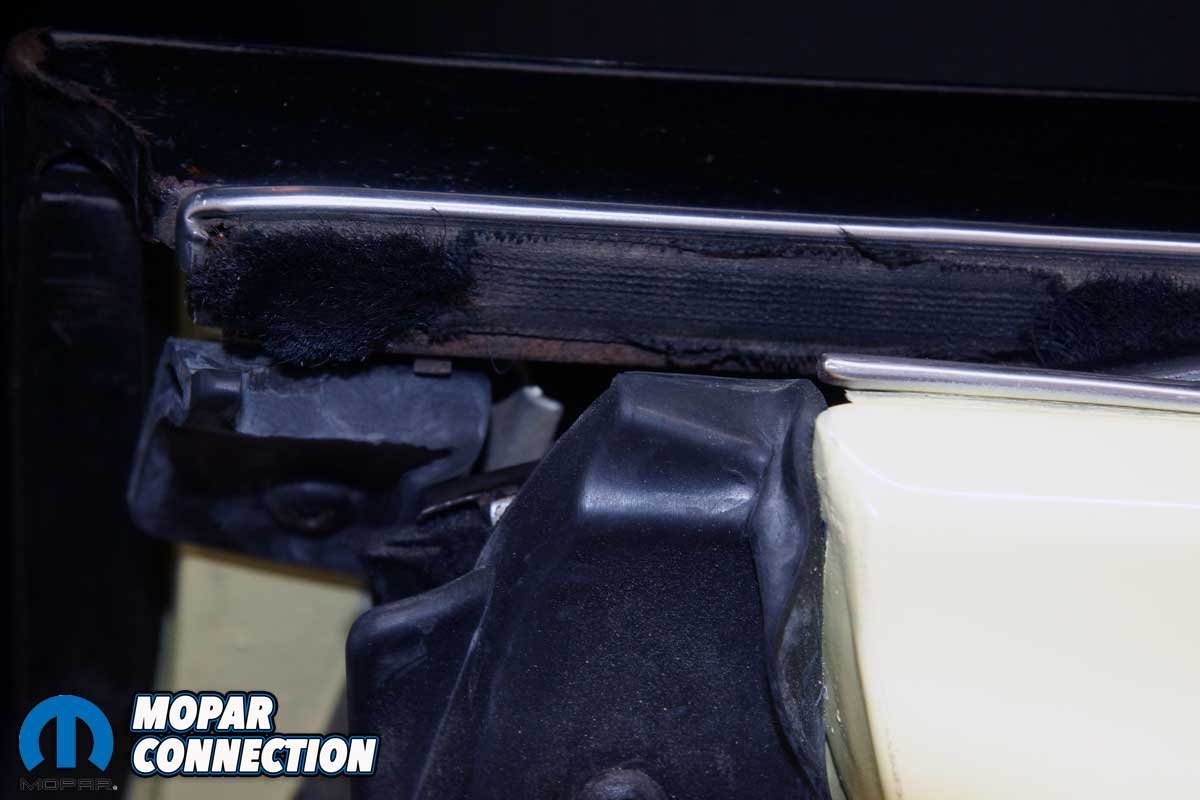
Above Left: The passenger side outer V-shaped seal had a missing chunk but did not appear excessively damaged. All the outer weatherstrips were in similar conditions. Above Right: The inner felt on the passenger side rear window glass was missing plenty of material where the window’s frame slid by for nearly six decades. Some felts were worse than others.
While removing and installing the weatherstrips would be easier if each window glass was removed from its channels, we have succeeded in the past with the glass remaining in place. However, if the glass remains in the door, the inboard side felt weatherstrip is always more challenging to fit into the door frame, so it should be the first piece to install on each window.
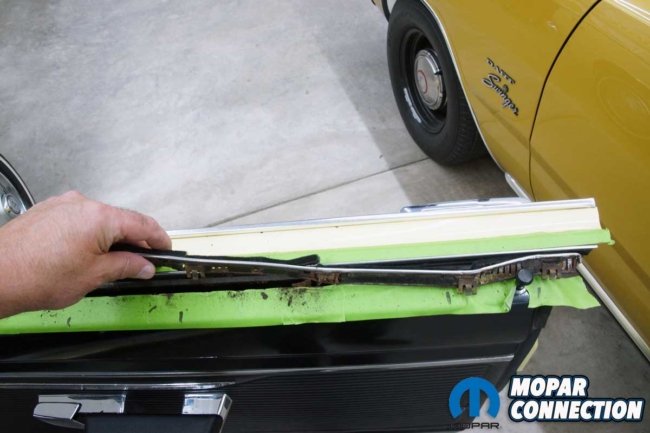
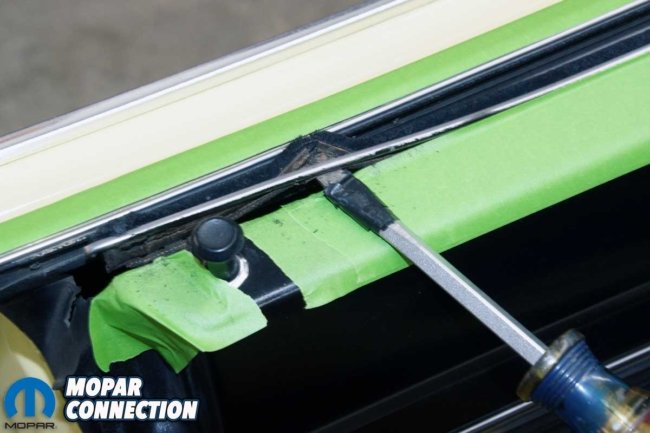
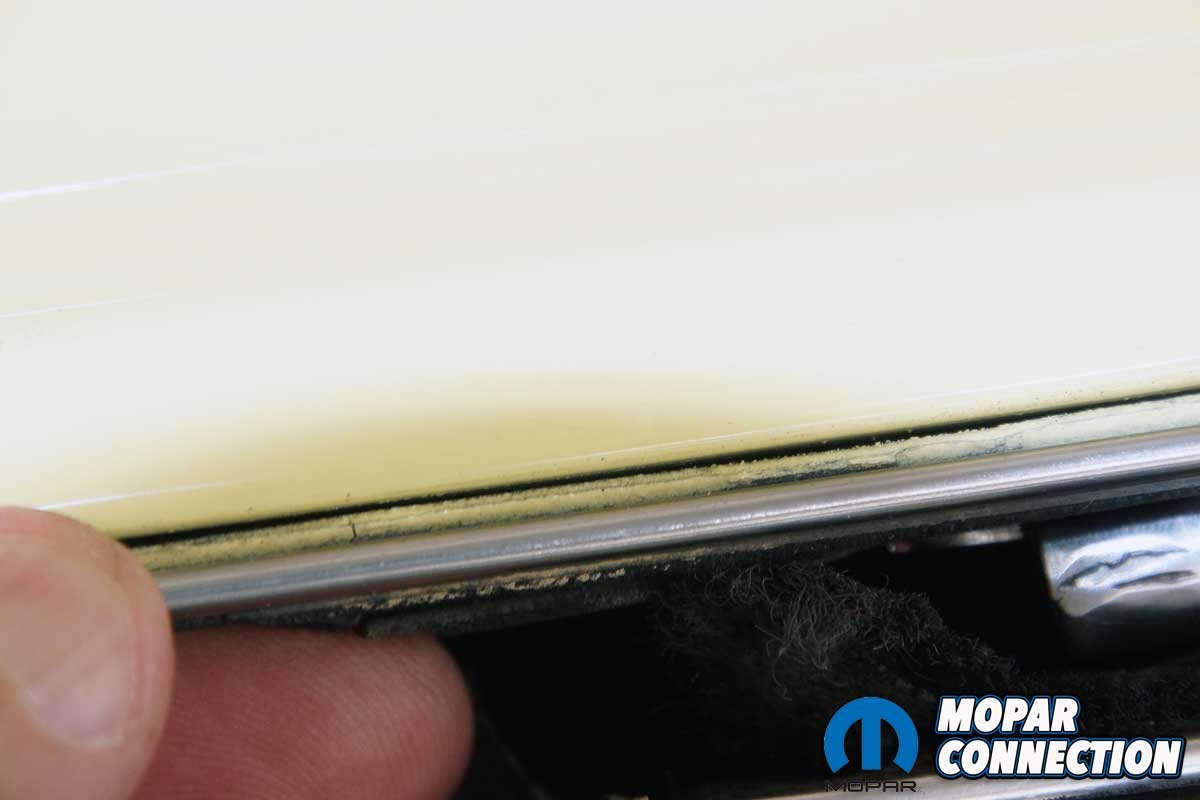
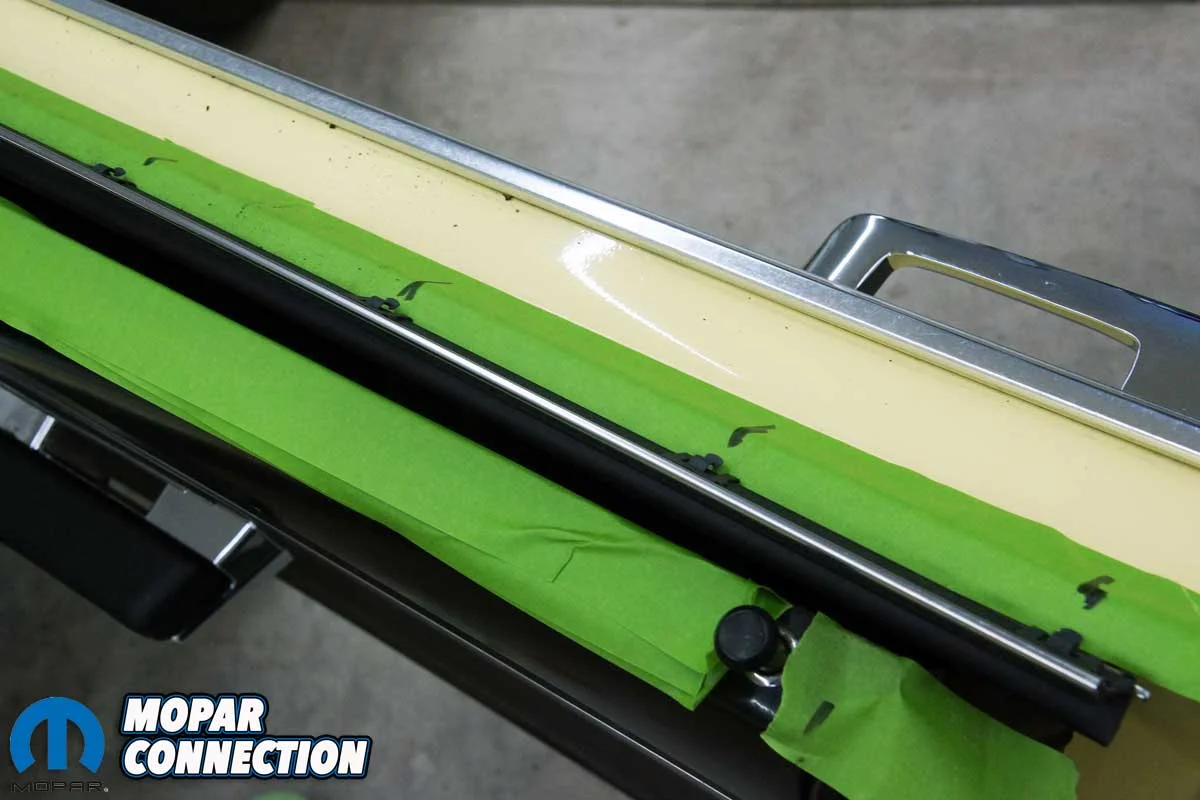
Before we started the removal process, we lowered each side glass to its lowest position. Because the Dart had been repainted at some point, and the painter did not perform a professional job of masking the trim, some paint was on the chrome body of the weatherstrip. We carefully guided a razor down the length of the chrome to “break” the paint between the top of the outer door skin and the weatherstrip. The procedure would reduce the chances of lifting paint when the chrome of the weatherstrip was removed.

Above Left: The weatherstrip had been painted when the Dart was repainted. A razor run down the length of each V-shaped weatherstrip broke the paint free from the chrome of the weatherstrip. Above Right: The driver’s side rear window felt weatherstrip was the worst of the four felt strips.
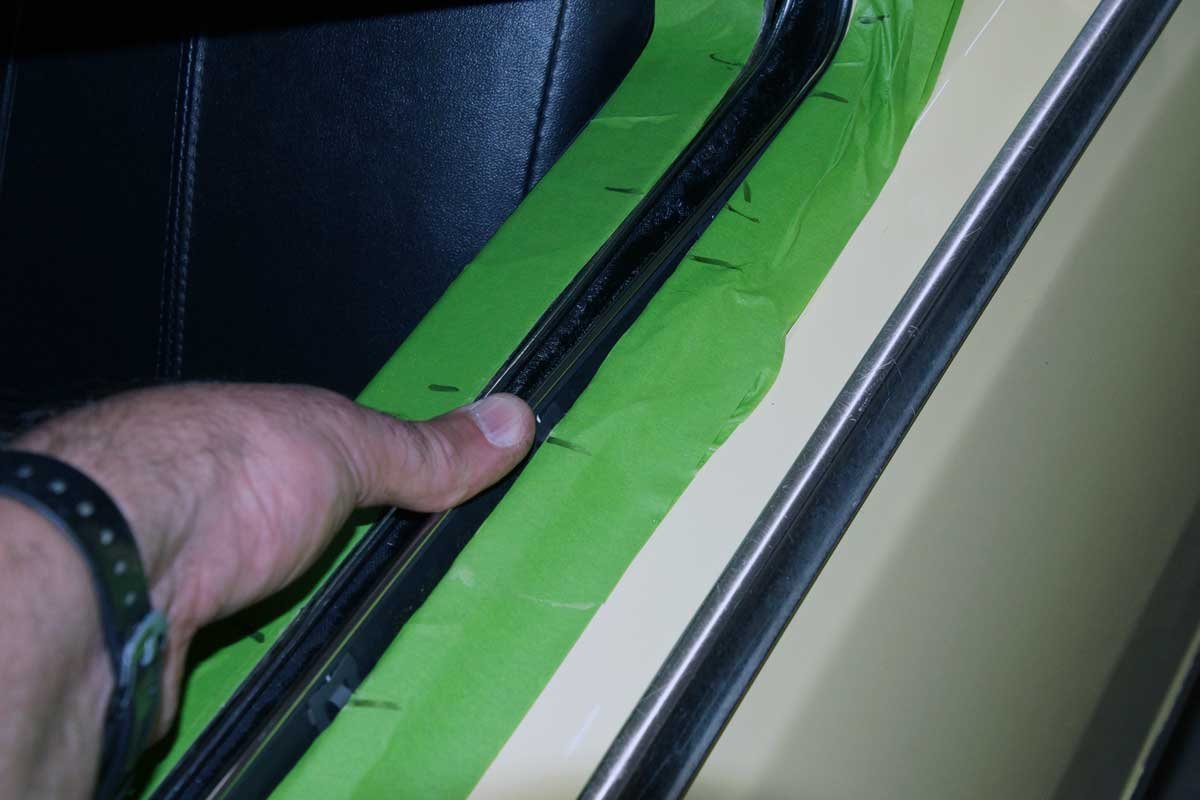
It does not matter which side glass is the starting point, so we selected the passenger door. Before the removal of the inner and outer weatherstrips, we applied numerous layers of tape to the painted areas around the window on both the inner and outer portions of the door. For the first layer of tape, we tamped it on our t-shirt (sweatshirt) to pick up lint and reduce its tackiness and the chances of lifting the paint when the tape was removed.


Above Left: To protect the paint, we applied several layers of tape. The first layer of tape was tamped on our clothes multiple times to collect some lint and remove the tackiness of the tape. The idea is a less tacky tape will reduce the chances of “lifting” any of the repainted paint from the door. Above Center: We applied tape to the tops of the inner frame and the outer door skin. We laid a new inner felt onto the top of the door to mark the locations of the clips. Above Right: We used a flat-tipped screwdriver and vise grips to pull the felt from the door. It completely fell apart during the removal process.
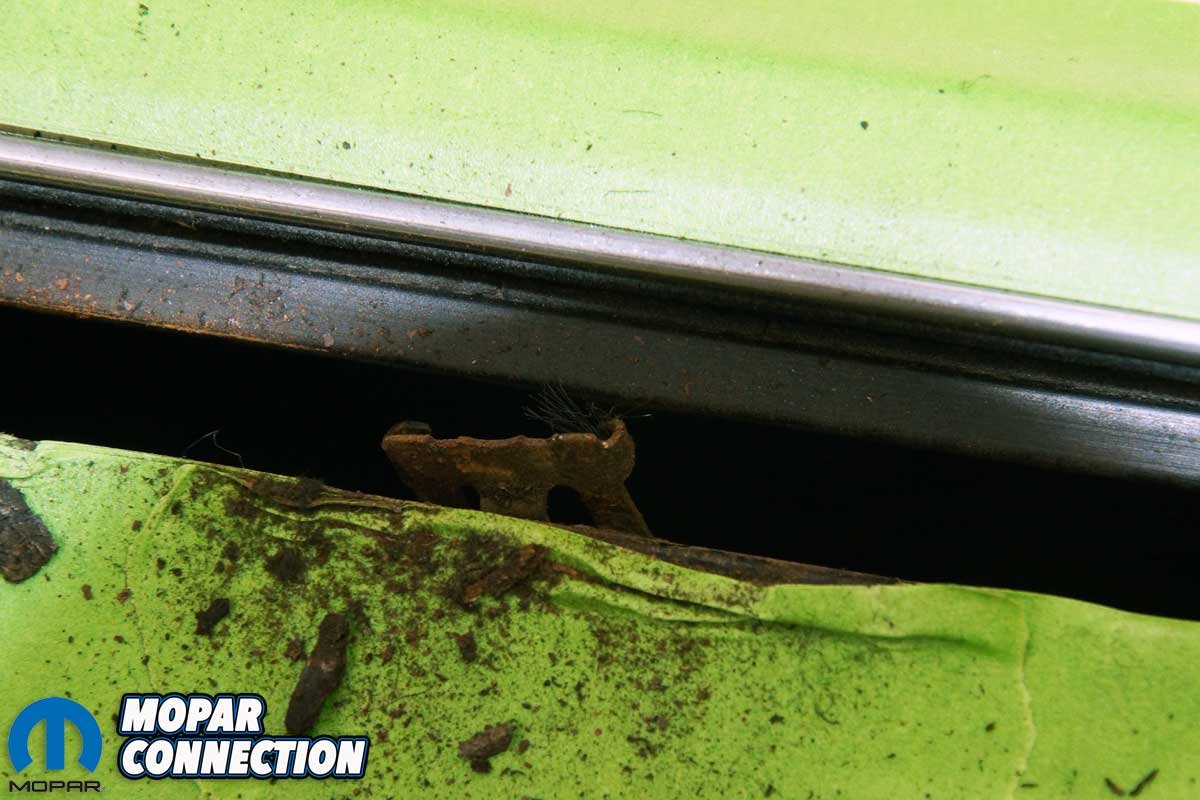
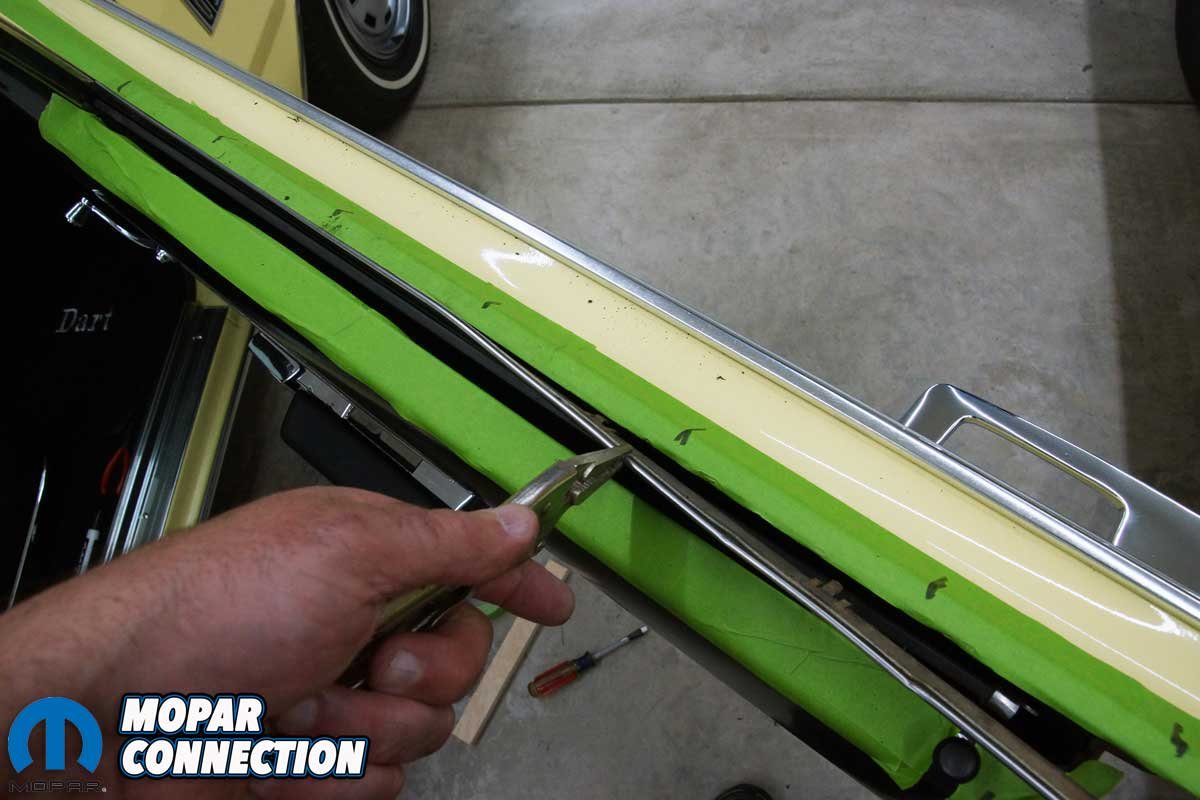
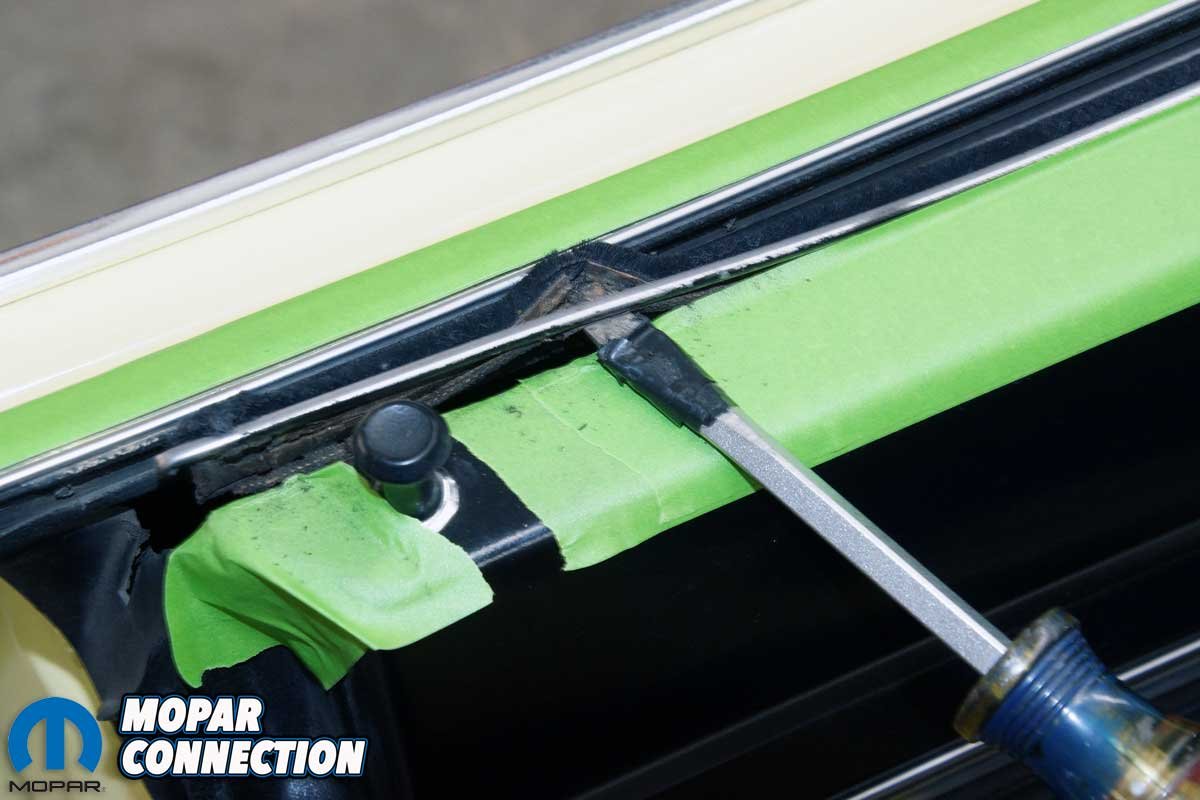
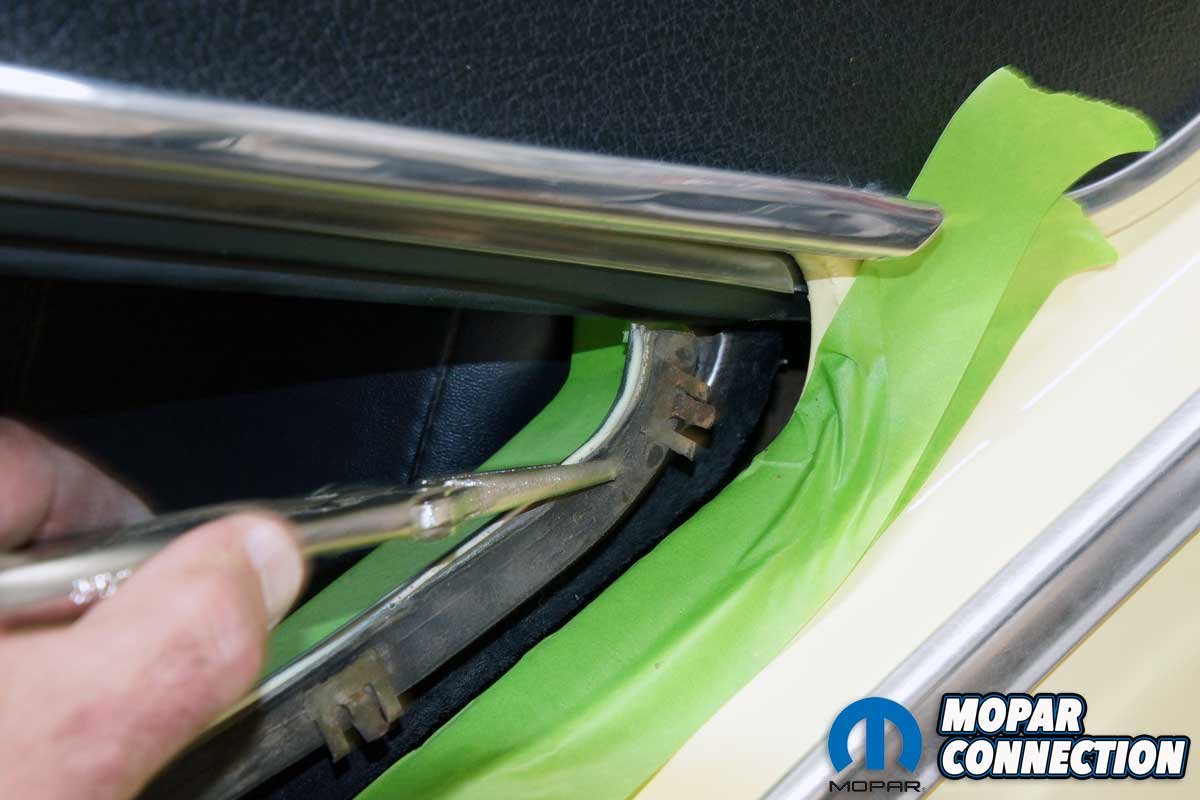
Once the tape was in place, we gently pushed the chrome portion of the inner felt weatherstrip inward toward the glass. The movement helped to loosen the multiple clips holding the strip. Starting with a flat-tip screwdriver at the door opening end of the weatherstrip, the chrome trim lip was gradually pried upward to release the clip. Once a portion of the trim was pulled up, a pair of vise-grips attached at the following clip popped it free. The process continued from one end (working toward the vent window frame) to the other for each clip until the weatherstrip was freed.
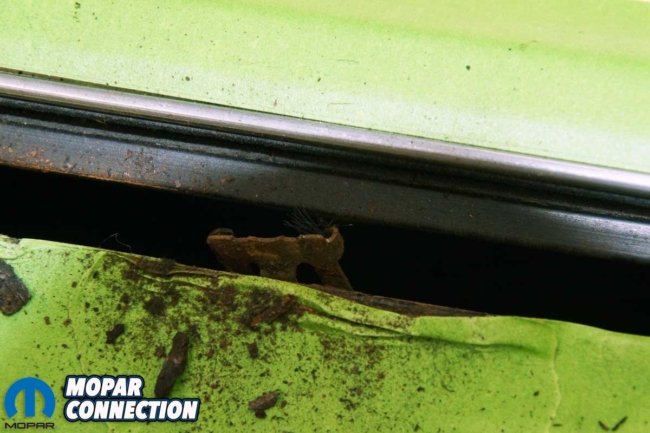

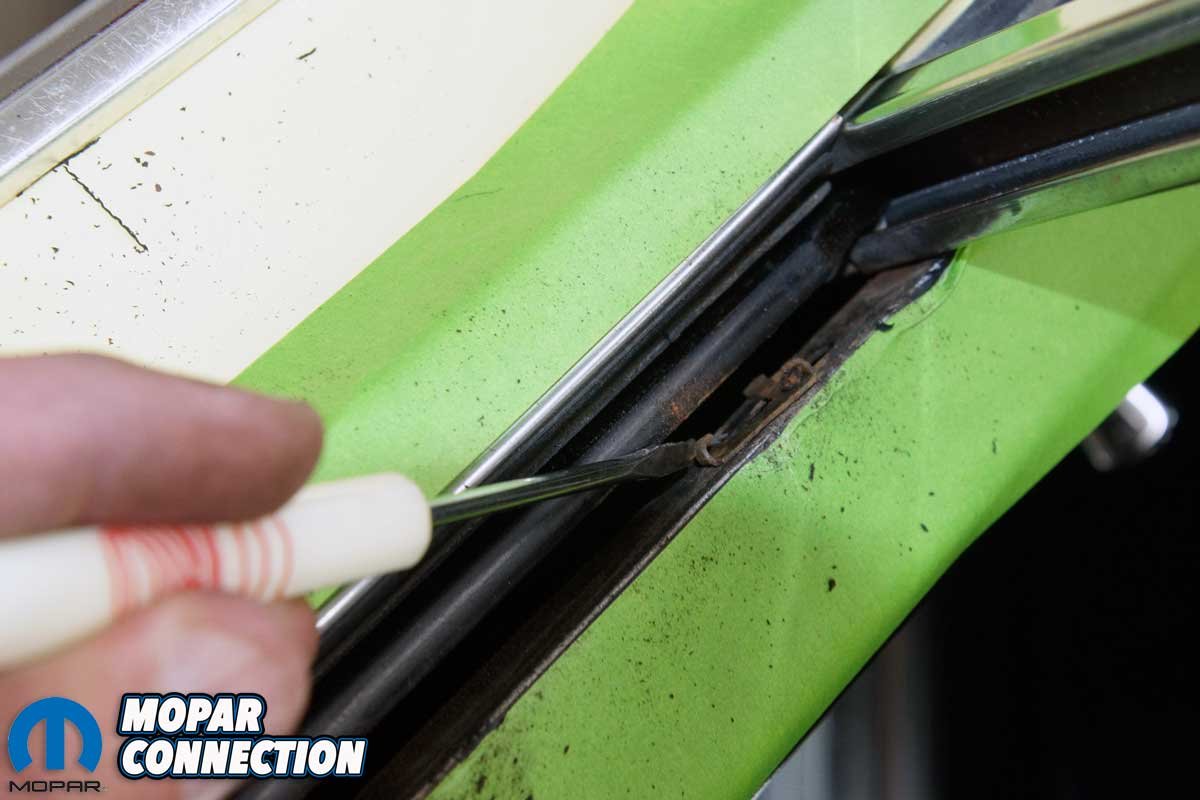
Above Left: Some of the clips were ripped from the weatherstrip. We used vise grips to pull the rusted clips free from the door. We did our best to limit the dirt and debris falling into the door. Above Right: The outer weatherstrip was removed similarly. Again, we marked the location of each clip. We also applied new tape on the inner door frame after we cleaned up the debris from the felt weatherstrip.
During the removal process, the felt weatherstrip broke apart. We took great care to ensure the debris did not fall into the door. The last thing we wanted was for the door drains at the bottom of the door to be blocked. Any debris could restrict water from exiting, which, if the vehicle was washed often or driven in rain/snow conditions, may lead to door damage (rust).
The V-shaped outer weatherstrip was removed similarly. We pushed the chrome body inward toward the inside of the door. The clips relaxed, and as before, a screwdriver was used to pry the chrome trim lightly. After lifting the end, we used vise-grips to lift each successive clip. The V-shaped weatherstrip had better integrity, so we were not as concerned about it breaking apart and falling into the door.


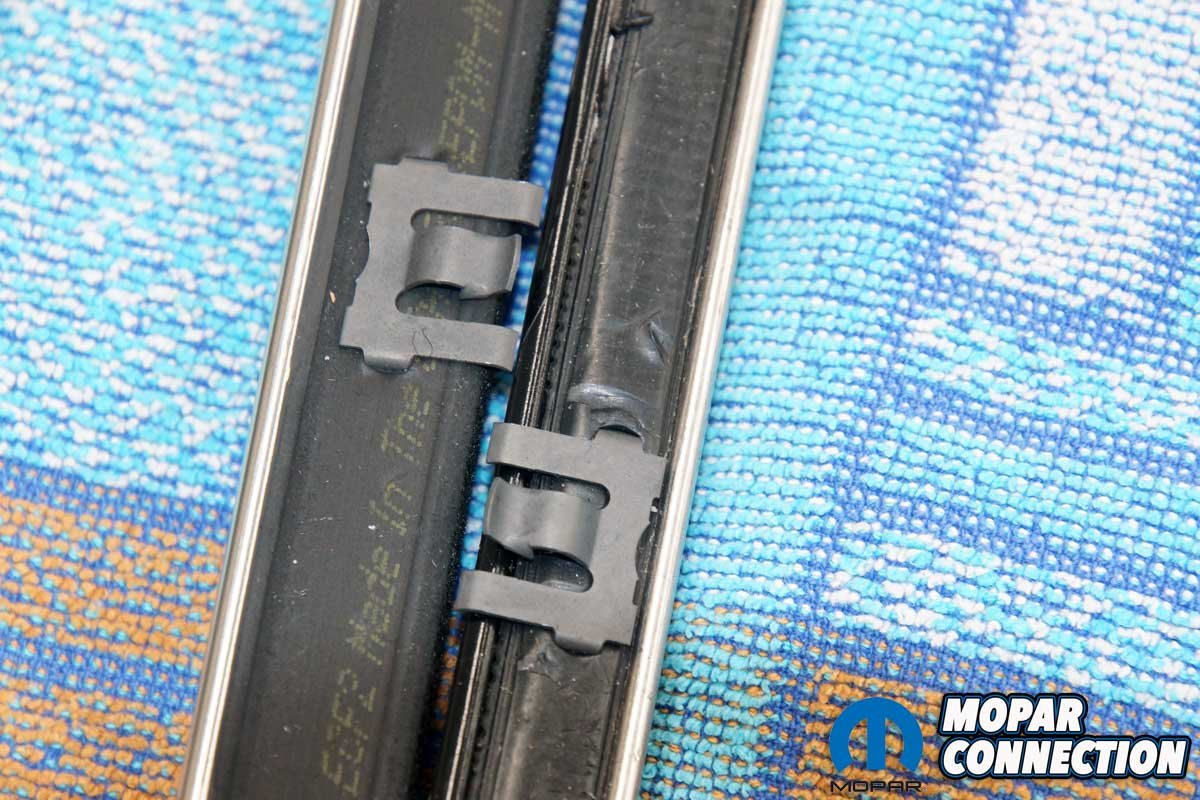
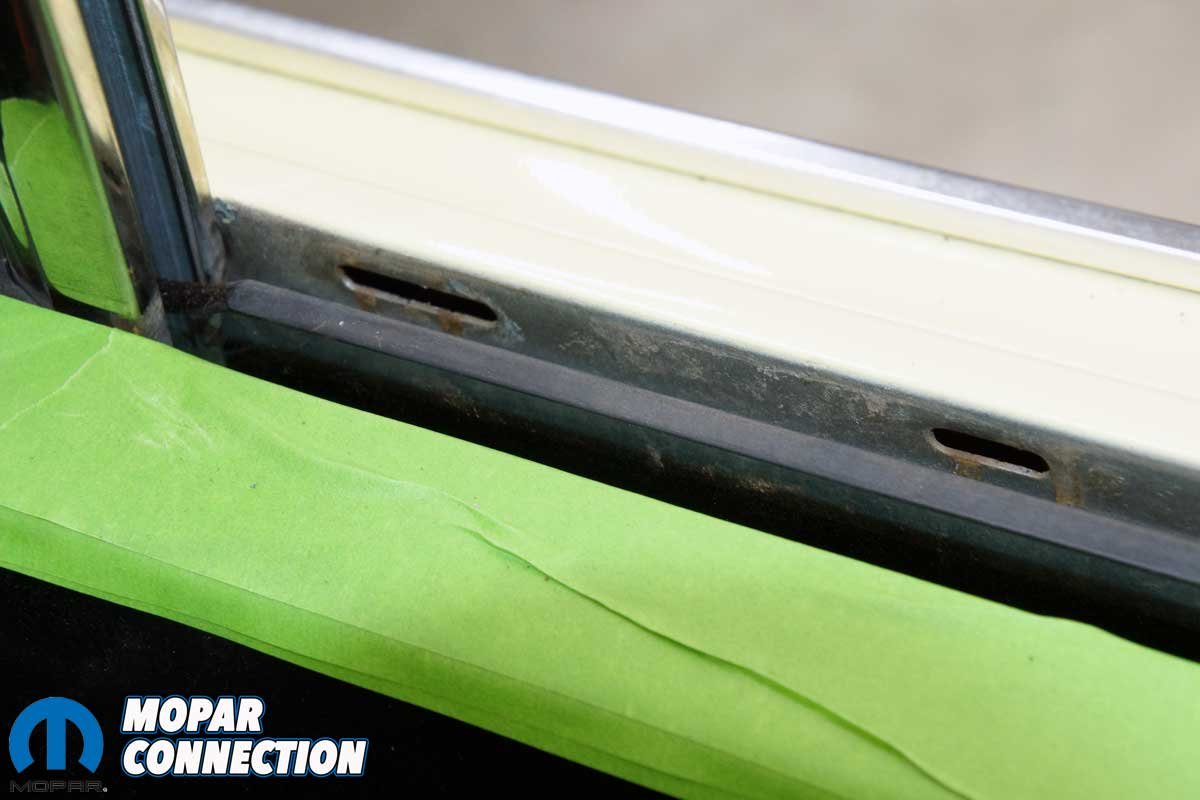
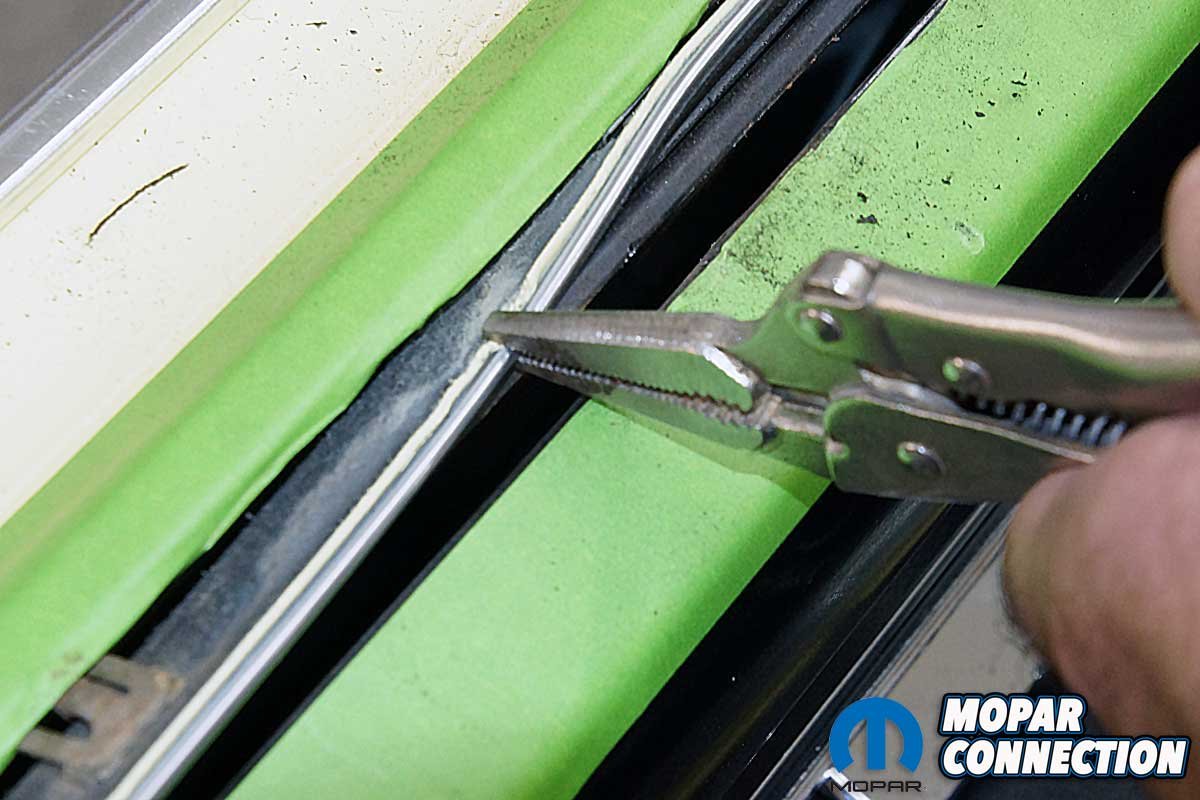
Above Left: Each weatherstrip’s clips engage in oblong holes in the door skin (shown) or door frame. Above Right: We applied new tape and marked the clip locations onto the tape. All the clips and holes lined up perfectly.
Before we began the installation of the passenger door weatherstrips, we checked the mounting holes in the inner door frame and outer door skin to which the weatherstrip clips attach. While all the clips and holes lined up, we had to bend the sheet metal slightly inward at two holes to line each up for an easier installation of the weatherstrips.

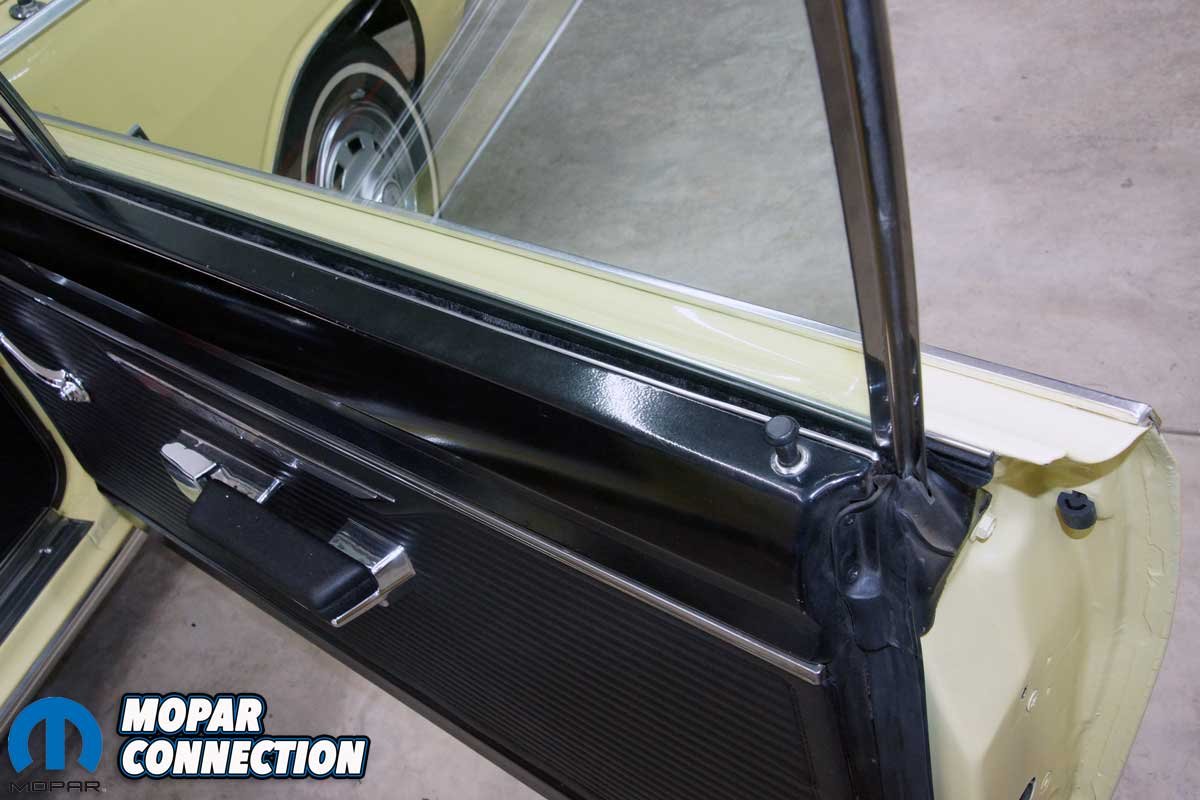
Above: We got a little ahead of ourselves. The door was quickly assembled. We started with the inner felt, snapping it in place while working from the vent window frame to the door opening. Then we installed the V-shaped weatherstrip in the same fashion.
The first weatherstrip to install was the inner felt because it is less compressible. We engaged a clip at the end nearest the vent window frame and progressed toward the end of the door, engaging each clip as we moved. We took great care to ensure each successive clip did not catch the top of the door frame and rip through the tape, possibly damaging the paint beneath.

Above Left: Like the passenger’s side, we used a screwdriver on the driver’s side to lift the felt up. We followed with a pair of vise grips to pull up the weatherstrip at each clip. Above Right: Again, just like the passenger’s side, some clips remained stuck in the door, and there was plenty of debris to clean up.
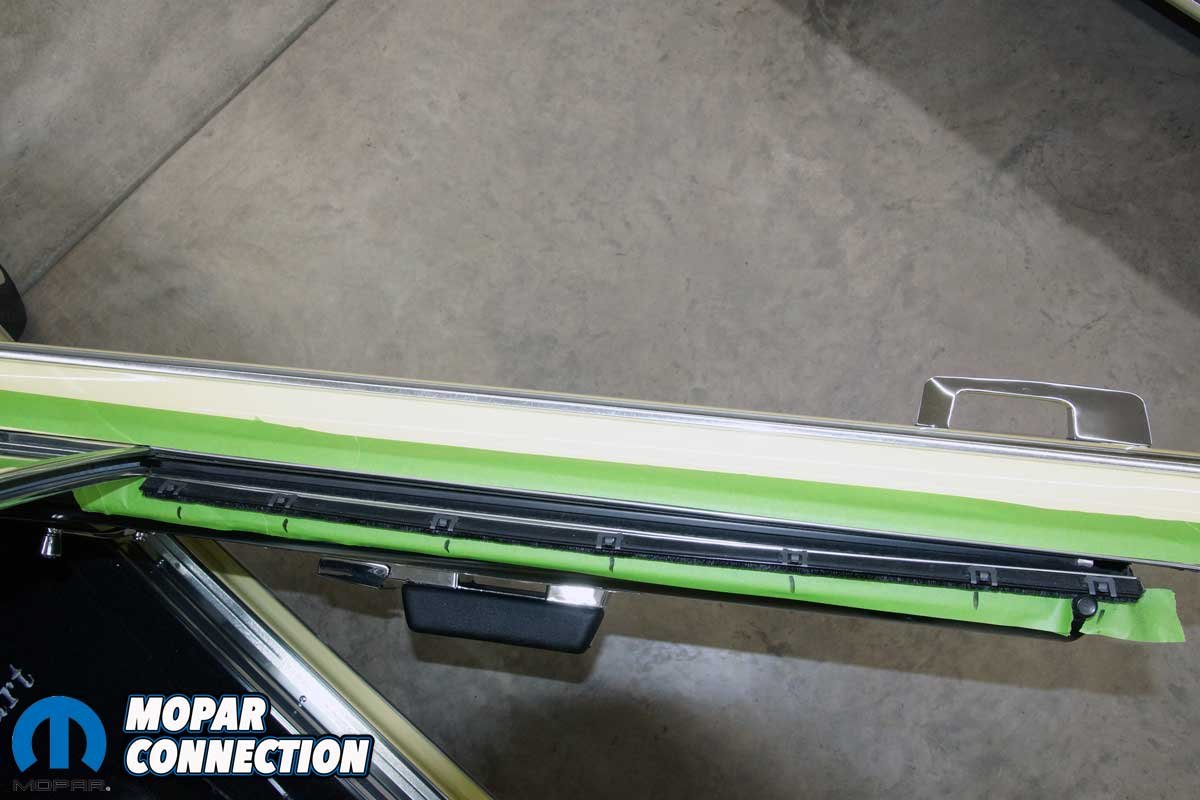
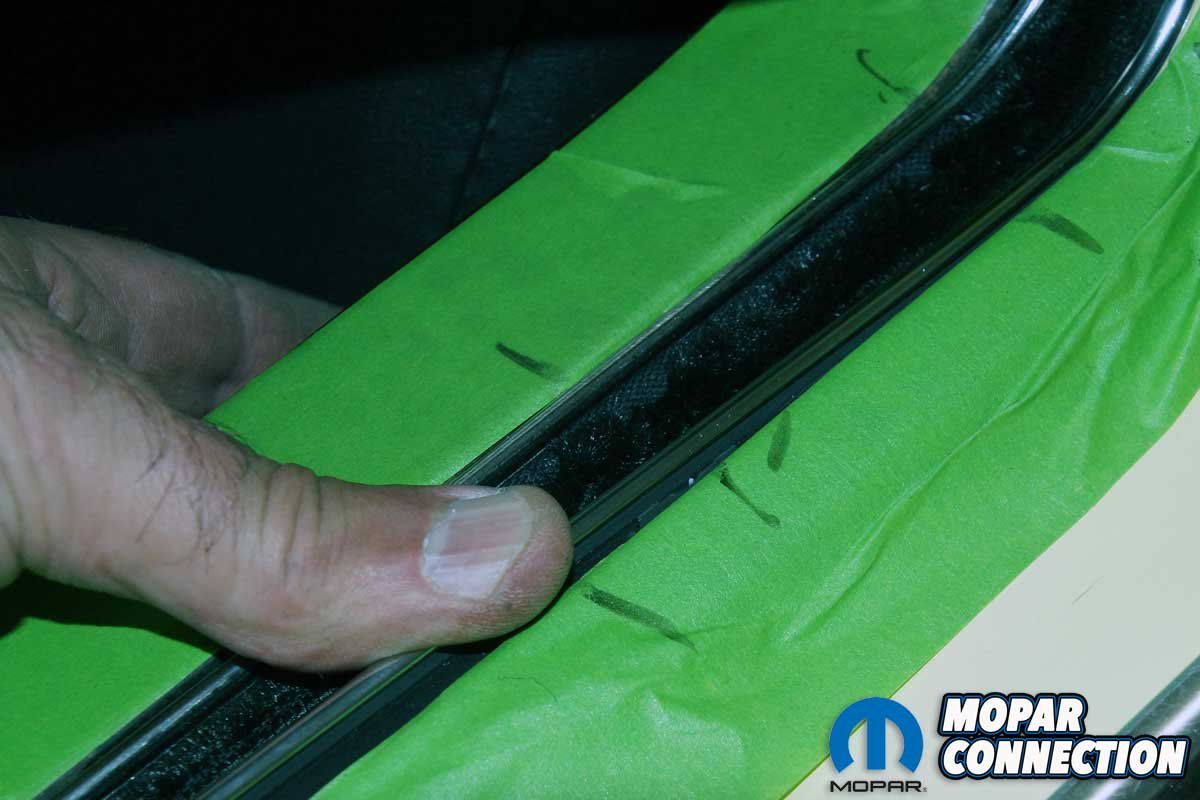
With the inner felt trim properly seated, the outer V-shape weatherstrip was pressed into the door skin, again working from the vent window to the end of the door. As we did with the inner felt, we used great caution to guarantee the mounting clips did not damage the painted area of the door. Once completed, we checked for proper window movement, which we had.

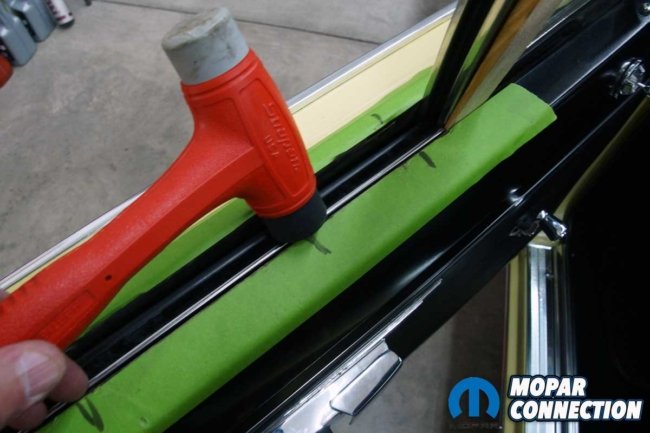
Above Left: The outer V-shaped weatherstrip was lifted from the door skin one clip at a time. We worked from the end of the door toward the vent window frame. Although it appears we are prying against the glass, we pulled in an upward direction. The vise grips were laid over for illustration purposes. Above Right: Working from the vent window frame to the end of the door, we lined up each clip and gently pressed them into place. We did not swing the hammer but used it to apply pressure forcing the clip into the door frame.
We moved our attention to the passenger rear window. The process was employed to remove the strips. We started with the outer weatherstrip by lifting one clip at the door opening area and gently proceeded rearward, removing each successive clip. The inner weatherstrip felt was released the same way.


Above Left: We moved from the B-pillar toward the C-pillar to remove the rear side glass weatherstrips. Above Right: We pressed the V-shaped weatherstrip into the frame with the inner felt already installed. The rearmost clips are angled in the curved area, so be sure to engage those clips properly before moving forward.
The installation was a reversal of the disassembly process. Starting with the inner felt, we worked from the rear toward the door opening, pressing in each clip as we proceeded. The V-shaped weatherstrip was installed in the same manner. Once complete, we rolled the window up and down several times to confirm the weatherstrips were properly seated.
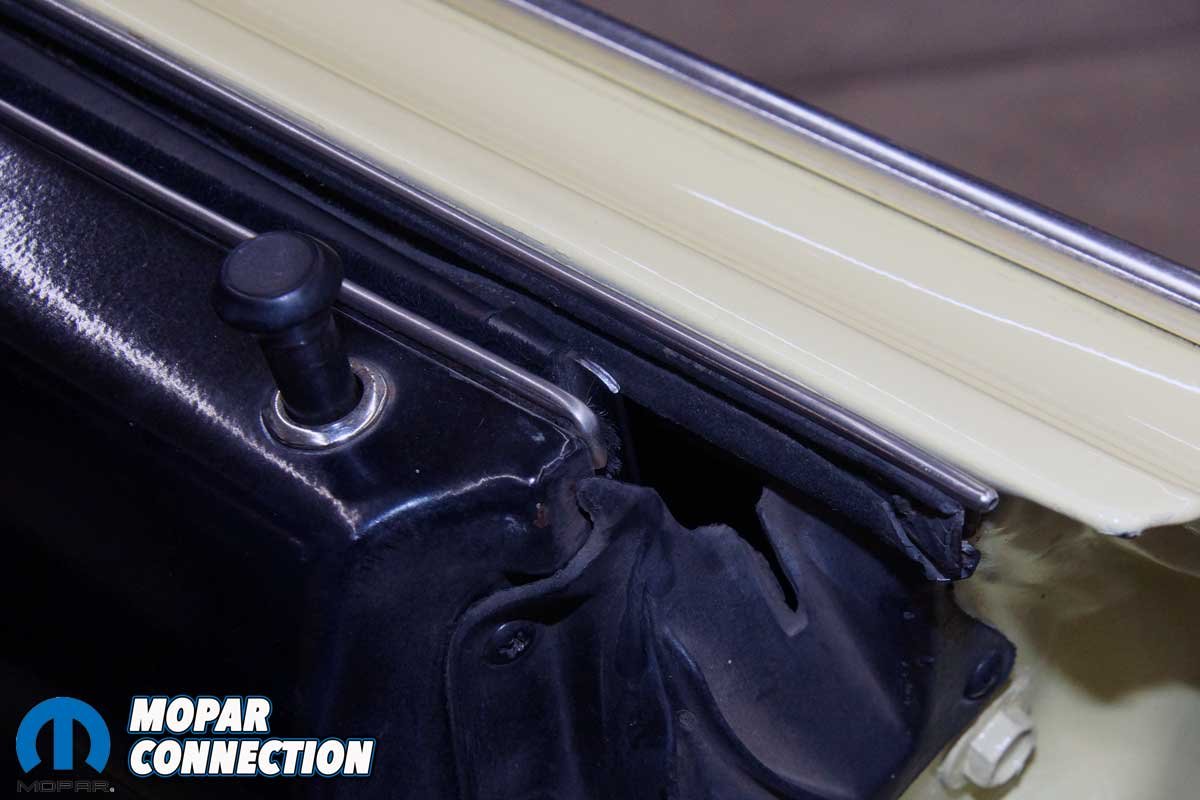
We utilized the same processes previously discussed to complete the installation on the driver’s side of the Dart. Unfortunately, when removing the protective masking tape at the rear glass, we lifted a ten mm-sized area of yellow paint. Luckily, we had the proper colored touch-up paint. After a number of applications of color followed by wet sanding, the area looked factory fresh.
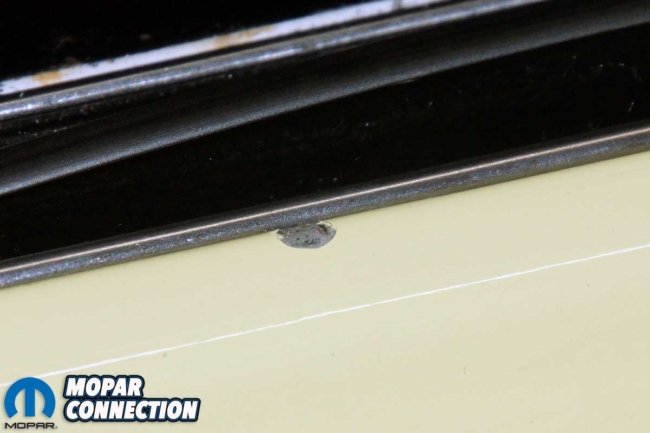

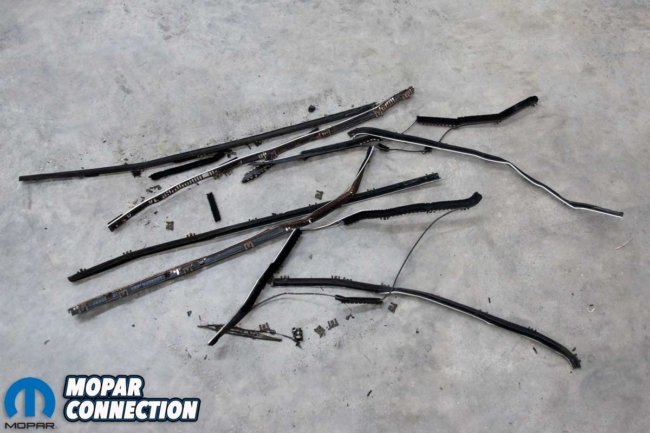
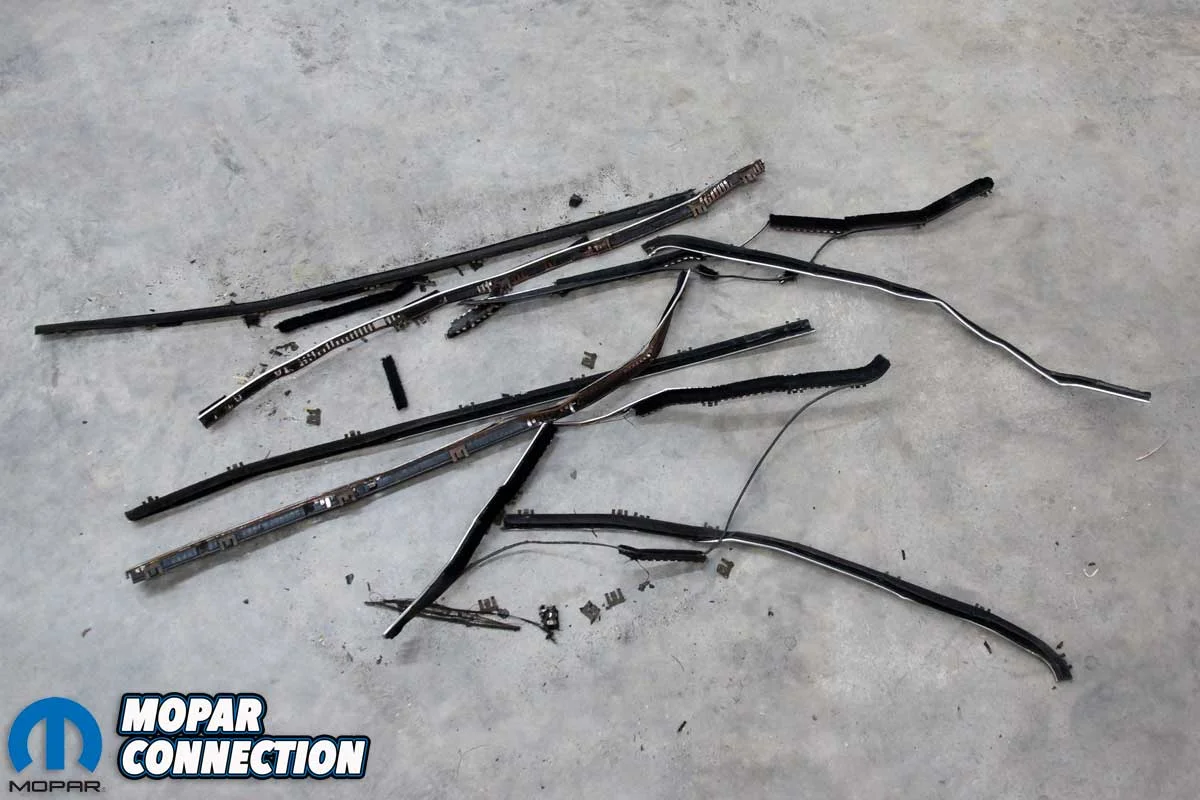
Above Left: Even with all our care, the tape lifted a small paint chip, exposing the factory silver color underneath. Above Center: We had the touch-up paint we needed from a previous Year One weatherstrip story. The damage is almost indetectable after a few coats of paint and some wet sanding. Above Right: The old weatherstrips were damaged beyond repair. If attentiveness is not taken during the installation of the new parts, the same damage can occur, so work slowly and carefully.
With everything installed, the windows are more difficult to move through the weatherstrips, but after several rotation cycles, everything should return to normal. Some individuals use paste wax to increase the slipperiness of the windows, but if the resin is used, we suggest using spray wax, which will not have residual debris that could collect on the weatherstrips.
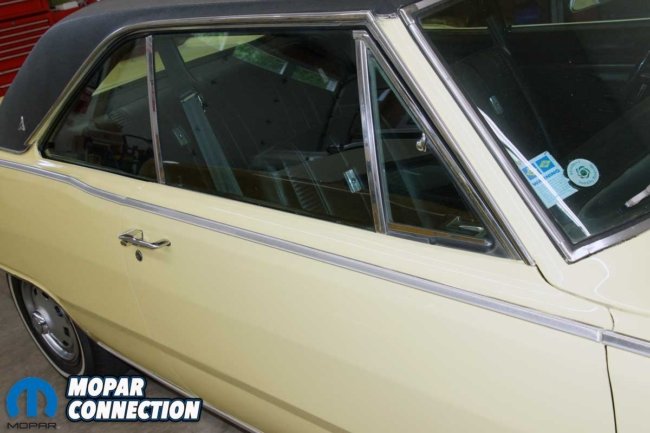
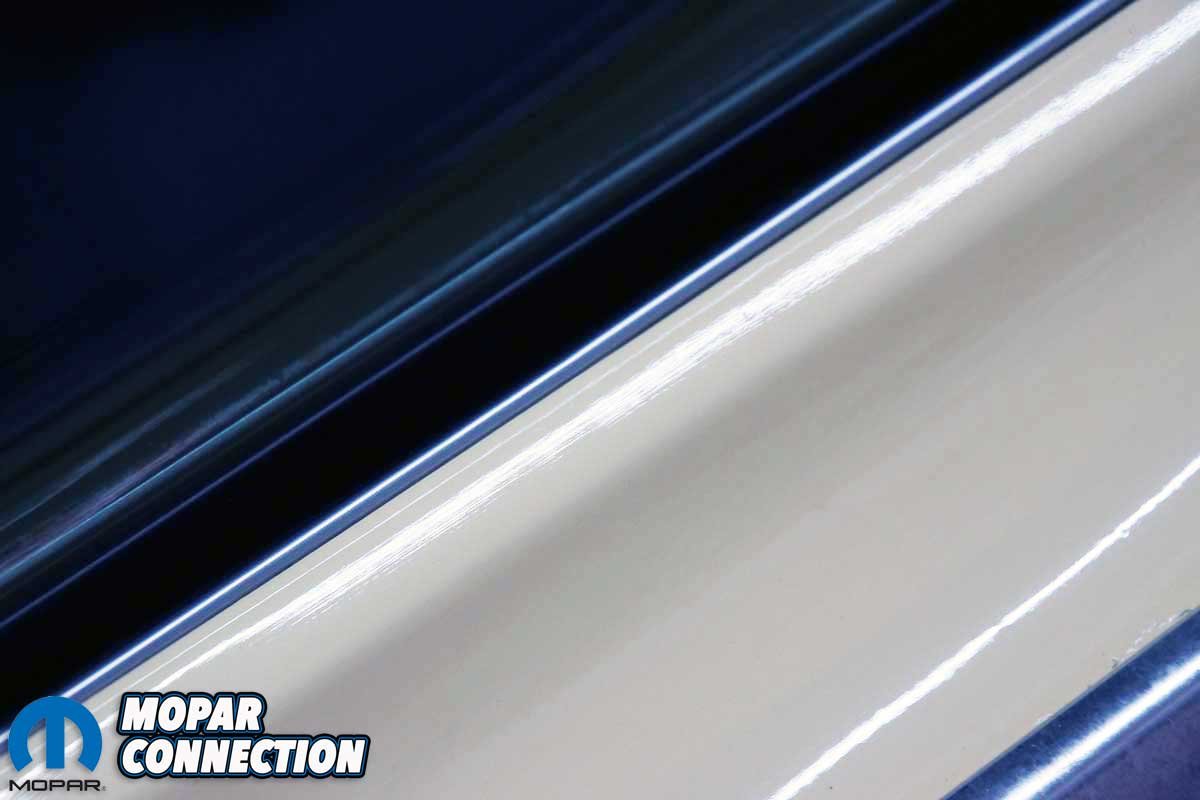
Above: Even though nobody will know we have new weatherstrips, we can rest easy knowing we have the best window sealing possible. The Year One parts fit perfectly; no modifications were needed.
It took us about three hours (excluding the touch-up paint) to install the 8-piece kit, which looks great. The Year One weatherstrips fit properly and did not require any installation modifications. Be sure to check out Year One for all your A-, B-, and E-body Mopar-related needs, including weatherstrips.


