


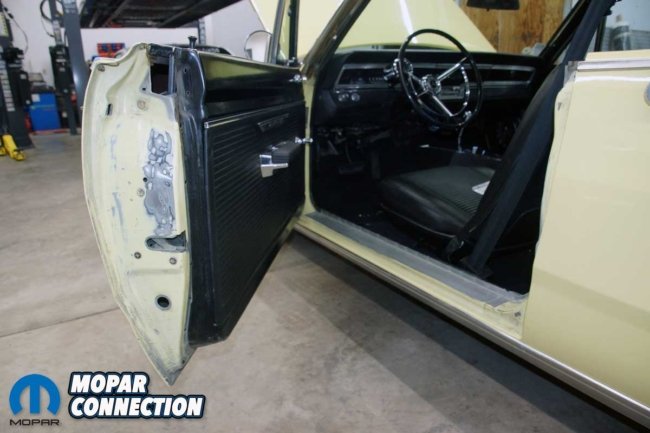
In August, Mopar Connection magazine covered installing a door jamb repair plate on a ’67 Dodge Dart. After the door jamb plate installation, the plan was to restore both door jambs with fresh paint, new door seals and weatherstrips, rubber bumpers, door ajar switches, door strikers, and a door jamb sticker, all from Year One. However, through no fault of Year One, the parts we needed arrived sporadically due to production and supply chain problems.
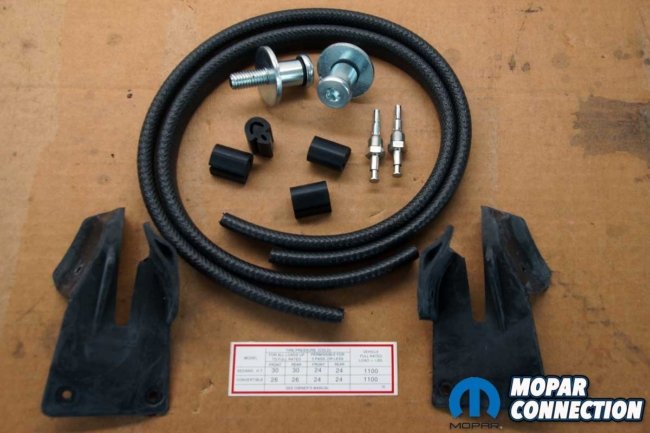

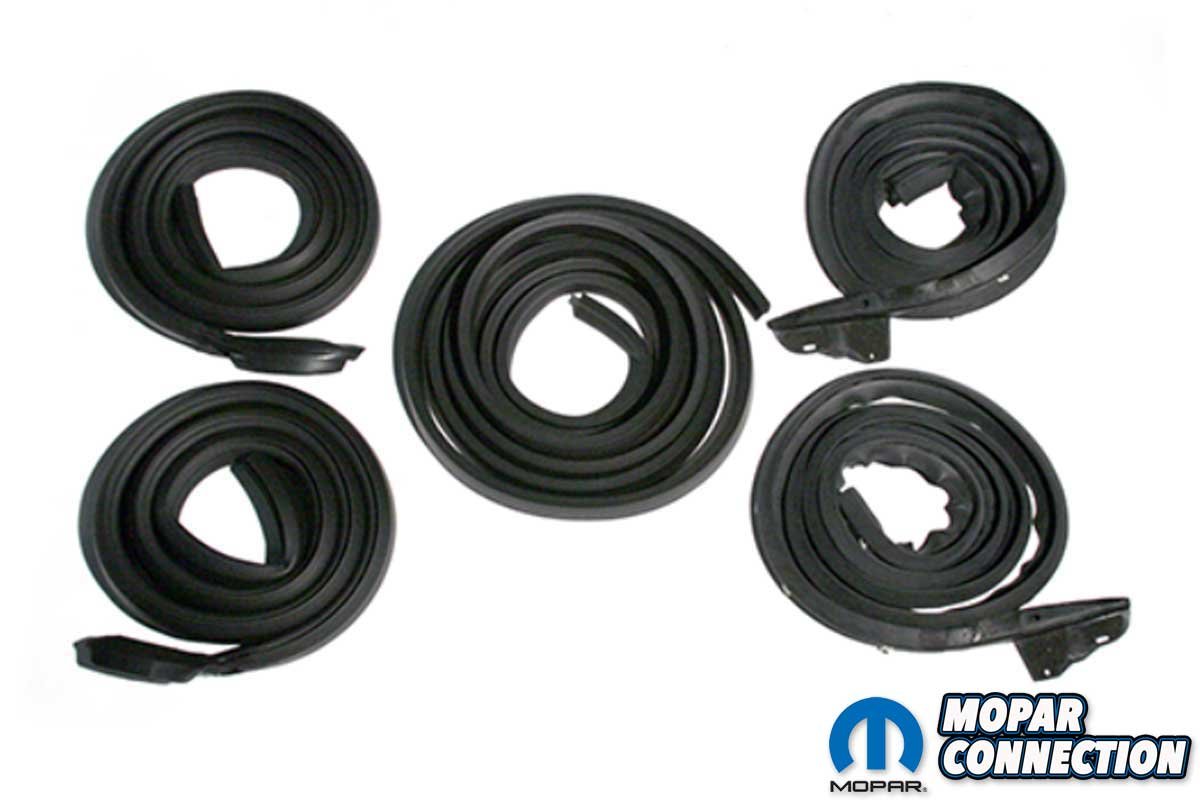
Above Left: Year One provided door bumpers, door jamb switches, striker posts, pillar seals, windlace, sill plates, and a tire pressure maintenance sticker. Above Right: Year One also provided a mini weatherstrip kit. We used the roof rail and door weatherstrips, but because the trunk seal was in great shape, we did not use it.
For the last four months, we enjoyed the Dart, and the door jamb repair has held up perfectly. As the parts arrived from Year One, we adjusted our timeline, and with most of the pieces in the garage, we pulled the trigger and started the update. We picked up the following parts from Year One to complete the door jambs:
Mini weatherstrip kit for 1967-1972 A body coupe – (Part No: MK1)
A-Body Door Bumper – (Part No: FD5231S)
A-Body single-terminal door jamb switch – (Part No: 9477N – two per car)
Door Striker Posts – (Part No: FD54485P)
Door Jamb Pillar Seals – (Part No: FR206)
Door Jamb Windlace – Black – (Part No: WLM67BLK)
Sill Plates – (Part No: EP43P)
Sill Plate Screws – (Part No: XA83) not available at the time of the story
Dart Tire Pressure Maintenance Sticker – (Part No: TP1)
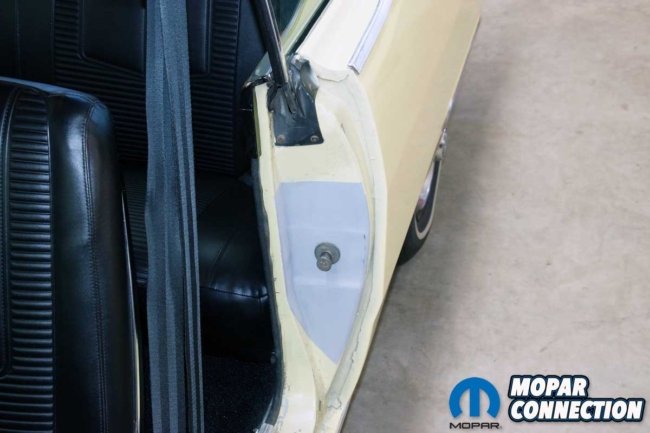

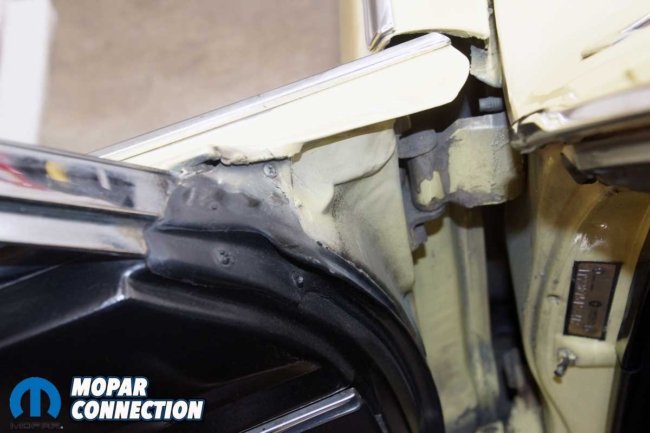

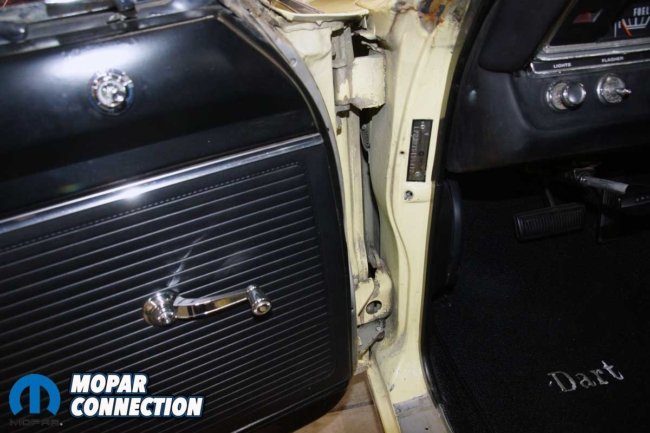
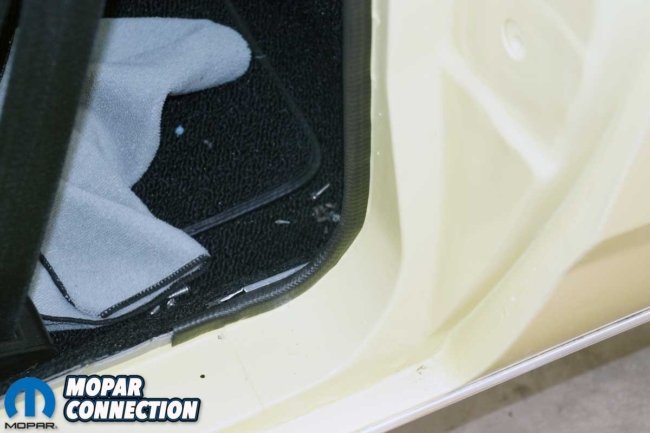
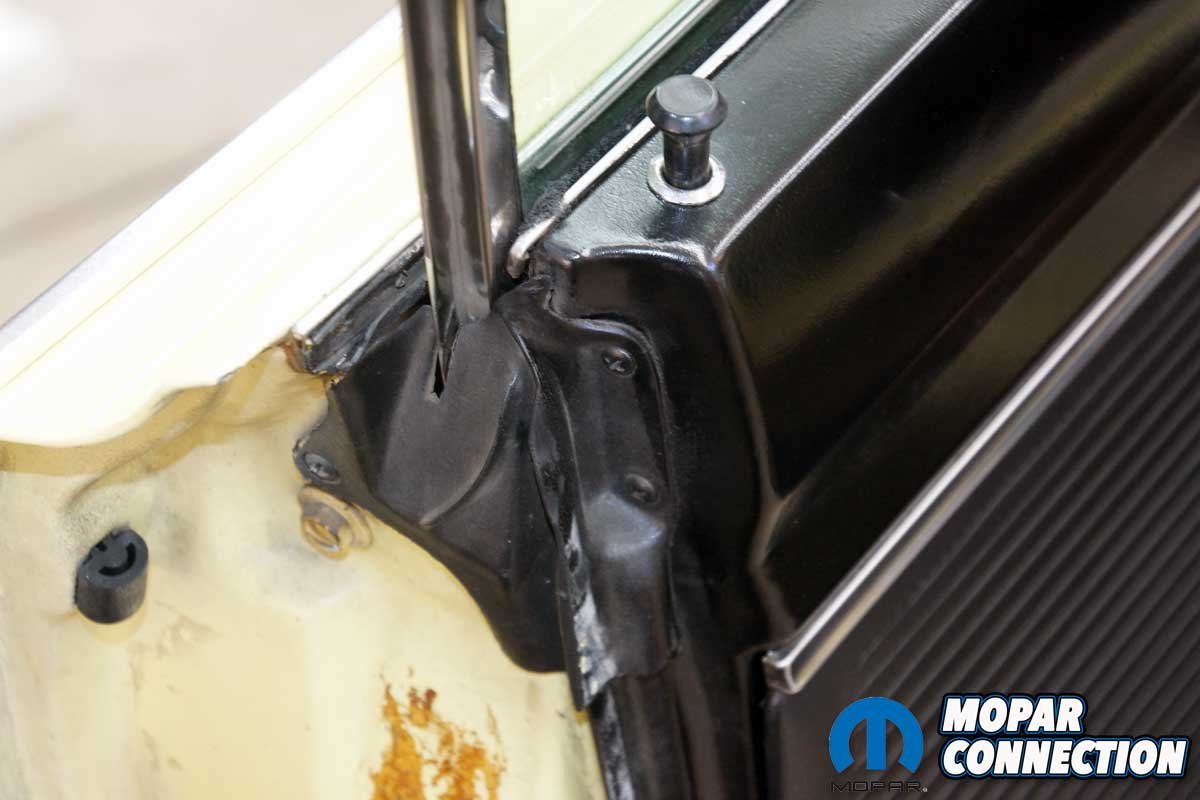
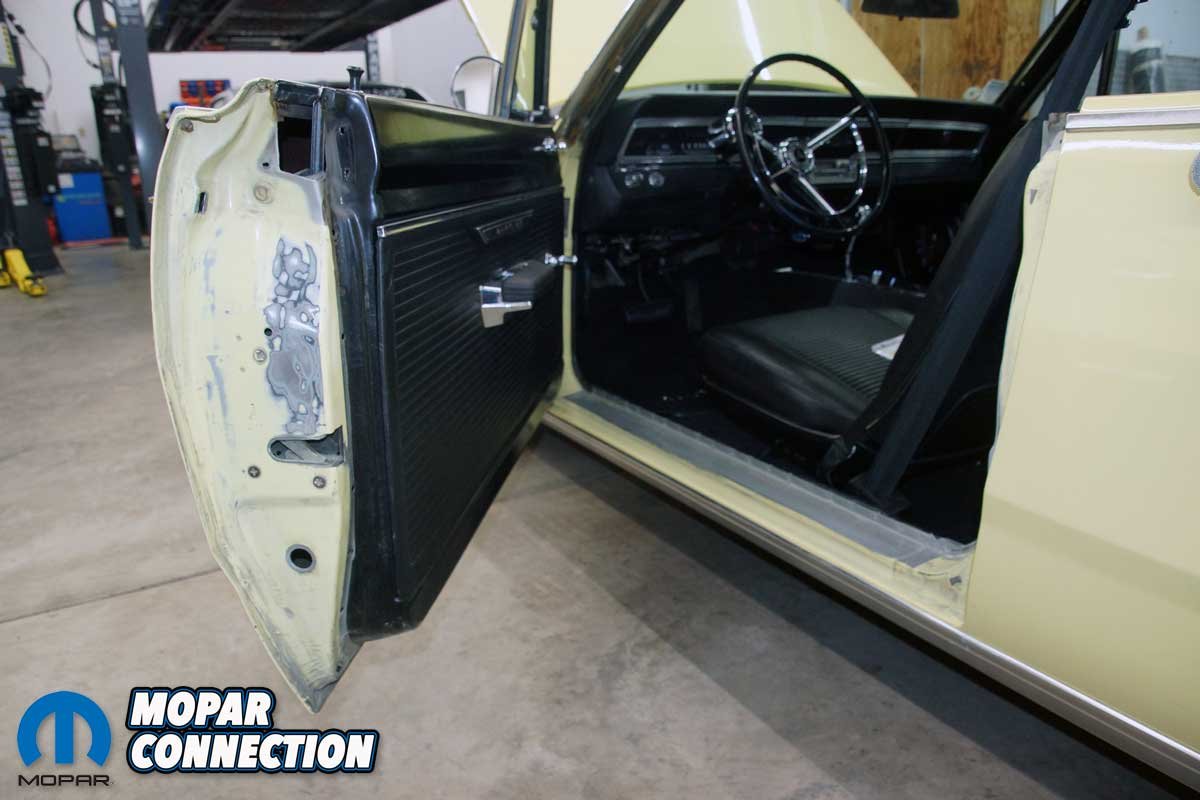
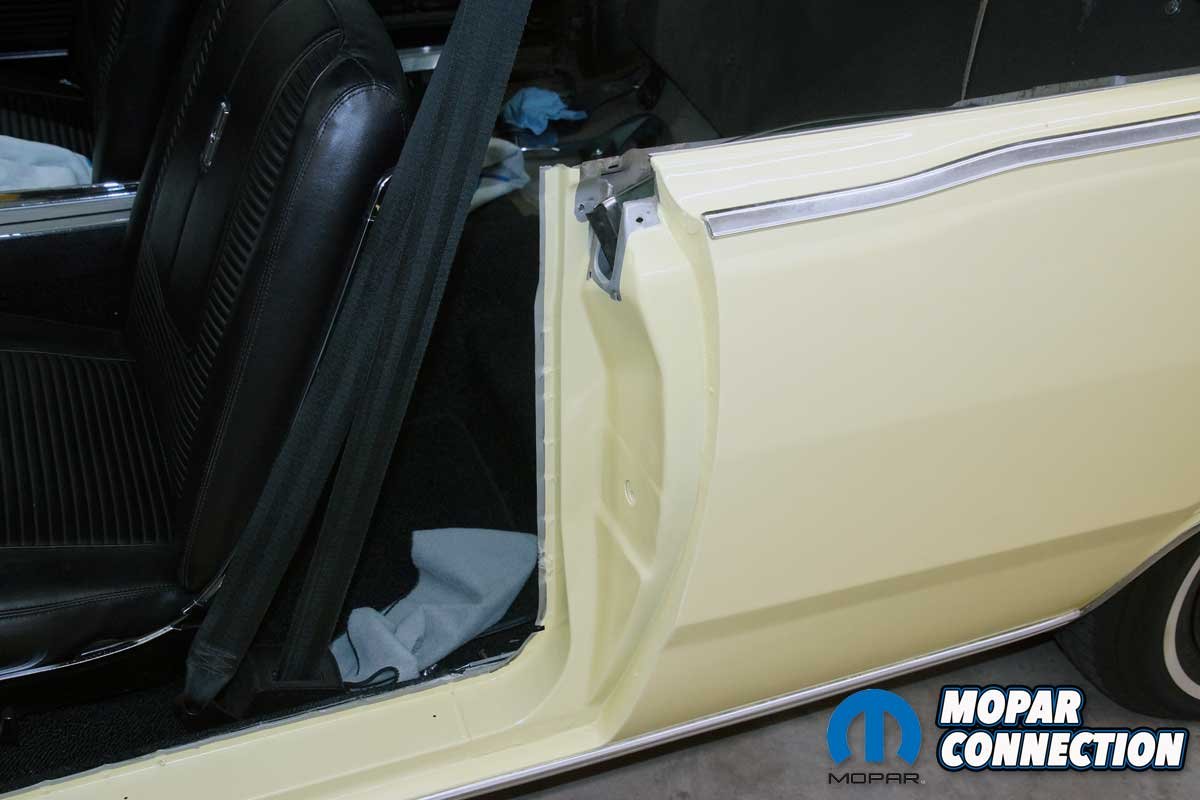
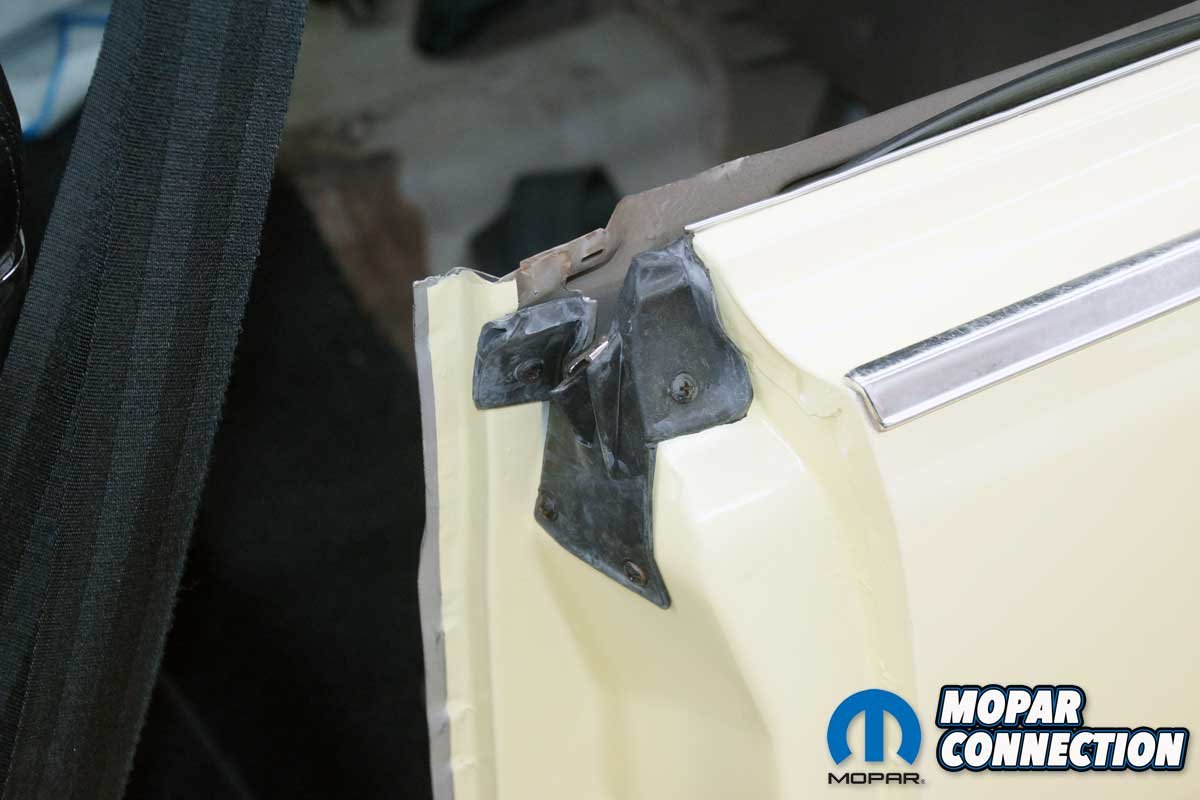
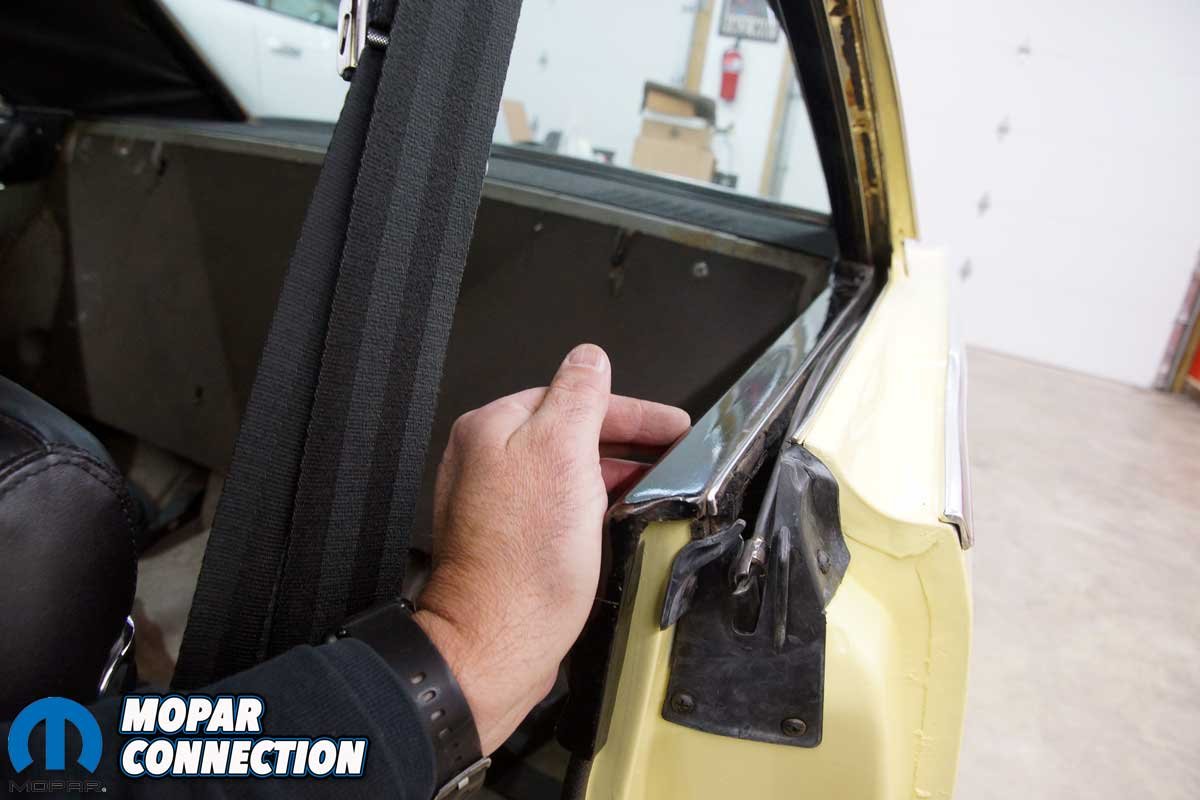
Top Left: The door jamb at the striker had failed. We repaired it in a previous story. Top Right: The weatherstrip end cap would be reused after we cleaned it. Bottom Left: The door hinges and jamb needed some cleaning before painting. Bottom Right: The rocker sill plates would also need to be replaced.
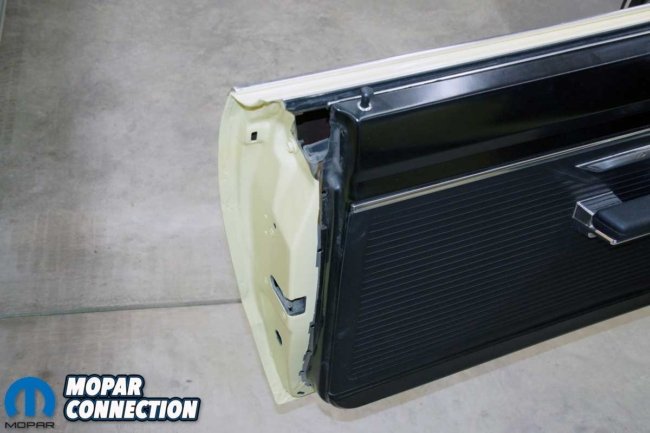
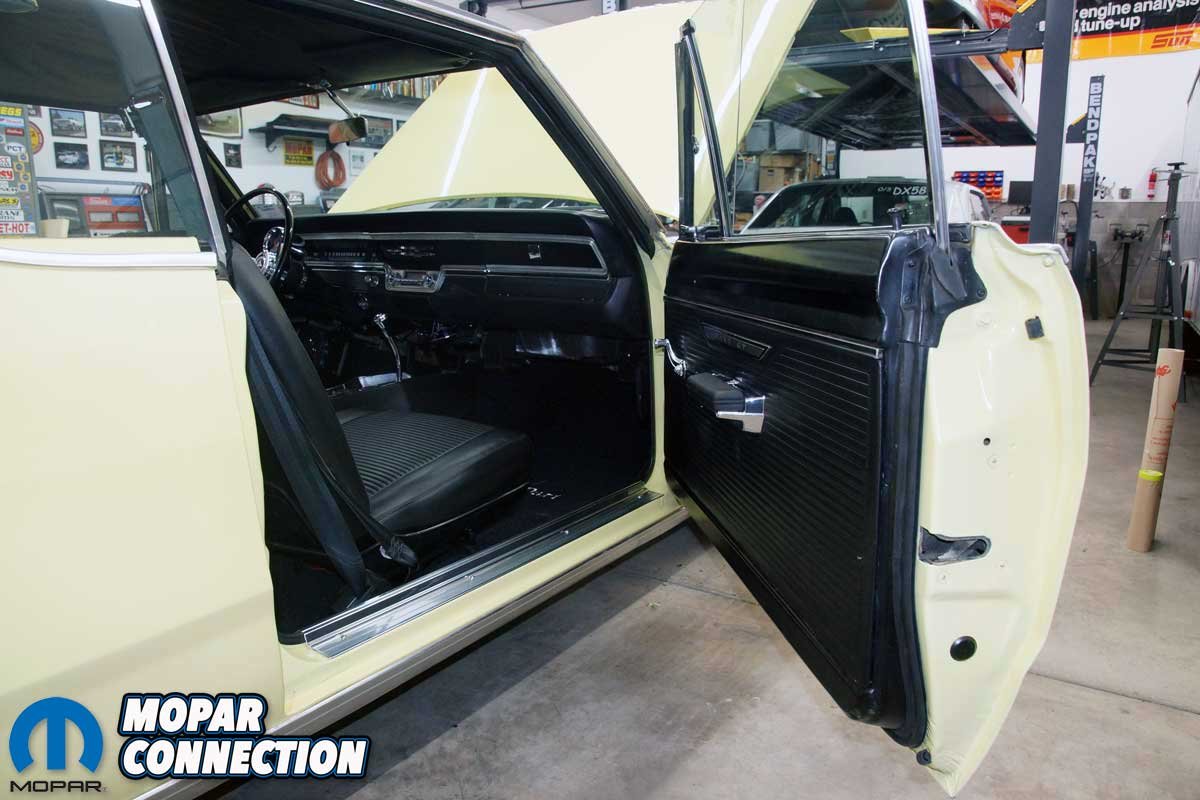
Although a door jamb seems like a simple area to repaint and install the new Year One parts, many pieces had to be removed to prepare for paint. First, on the passenger’s side jamb, the door striker and door sill screws were easily unthreaded and set aside along with the door sill plate. Afterward, we pulled the door jamb pillar seal screws and seal. Additionally, we removed the two rubber bumpers from the door.

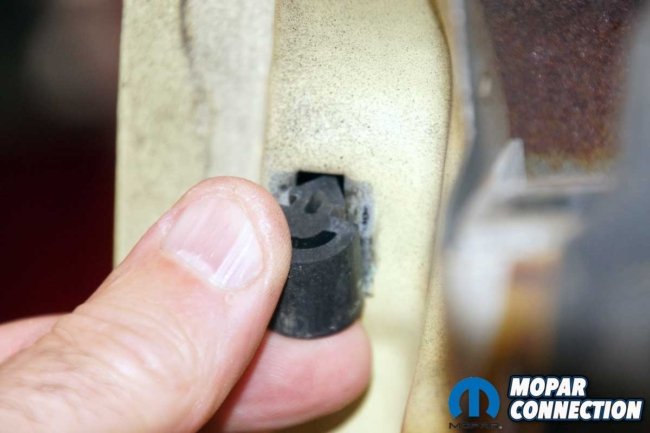
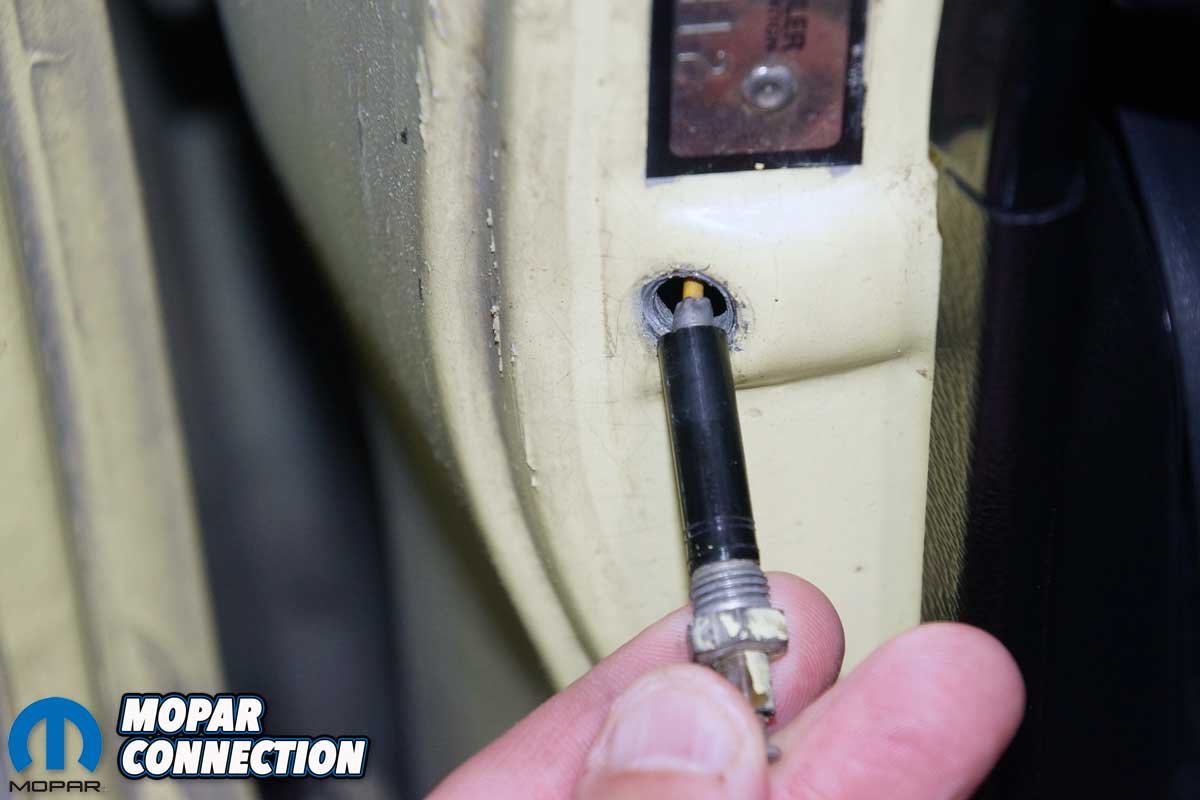
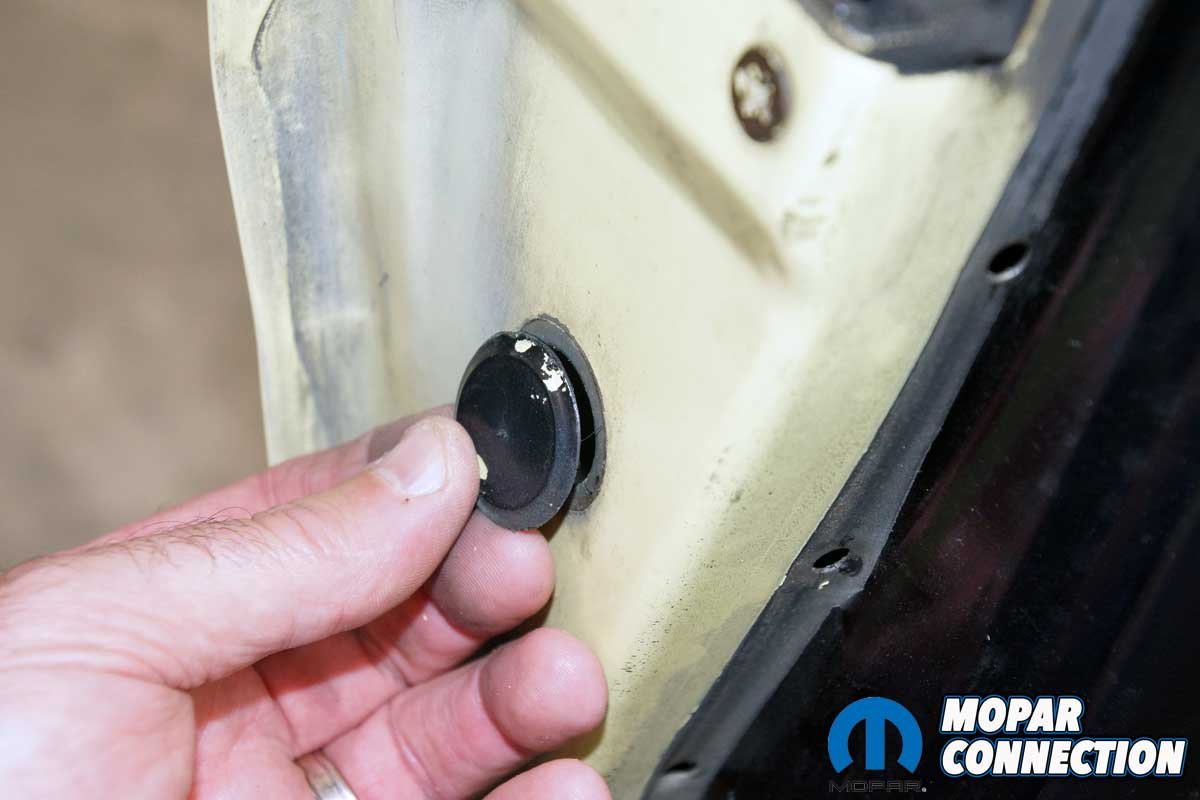
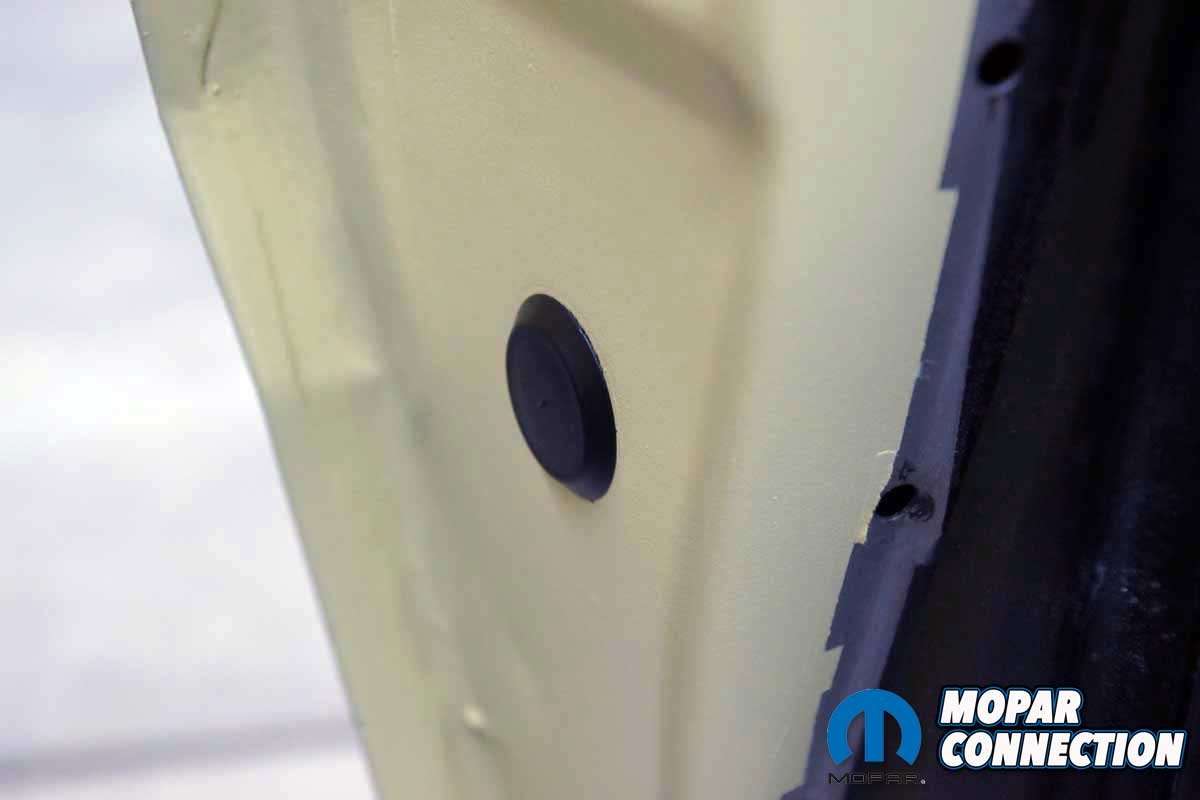
Top Left: The weatherstrip end cap was removed and cleaned for reuse. Top Right: The door ajar switch had been painted during a previous repaint. A new unit would restore the correct appearance. Bottom Left: The rubber door bumpers slipped out of the door. Bottom Right: There were three plastic plugs in each door. We removed and discarded them.
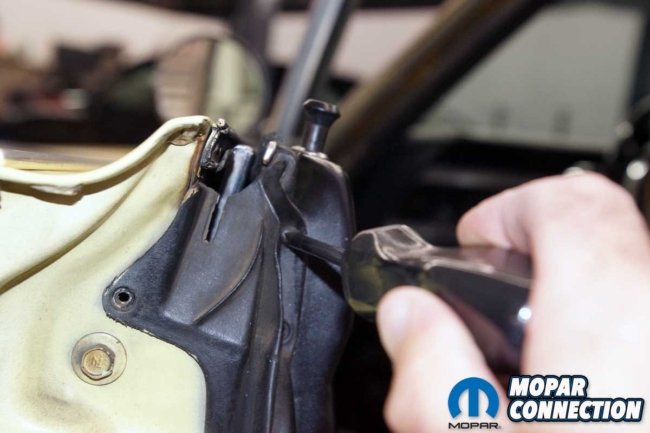
The door seal screws, cap, and weatherstrip were removed from the parameter of the door. Great tact was administered when unfastening each plastic clip of the factory weatherstrip from the holes in the door. The roof rail weatherstrip was removed and set aside, and because the interior a-pillar trim needed to be removed, the roof rail trim was unscrewed from the Dart. After that, the passenger-side kick panel was removed, and then the a-pillar trim.
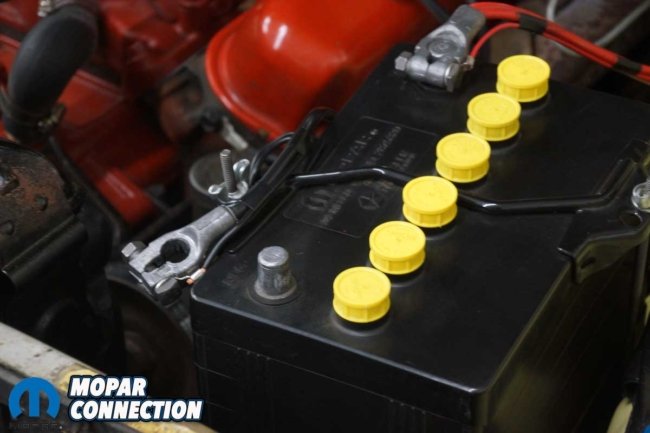

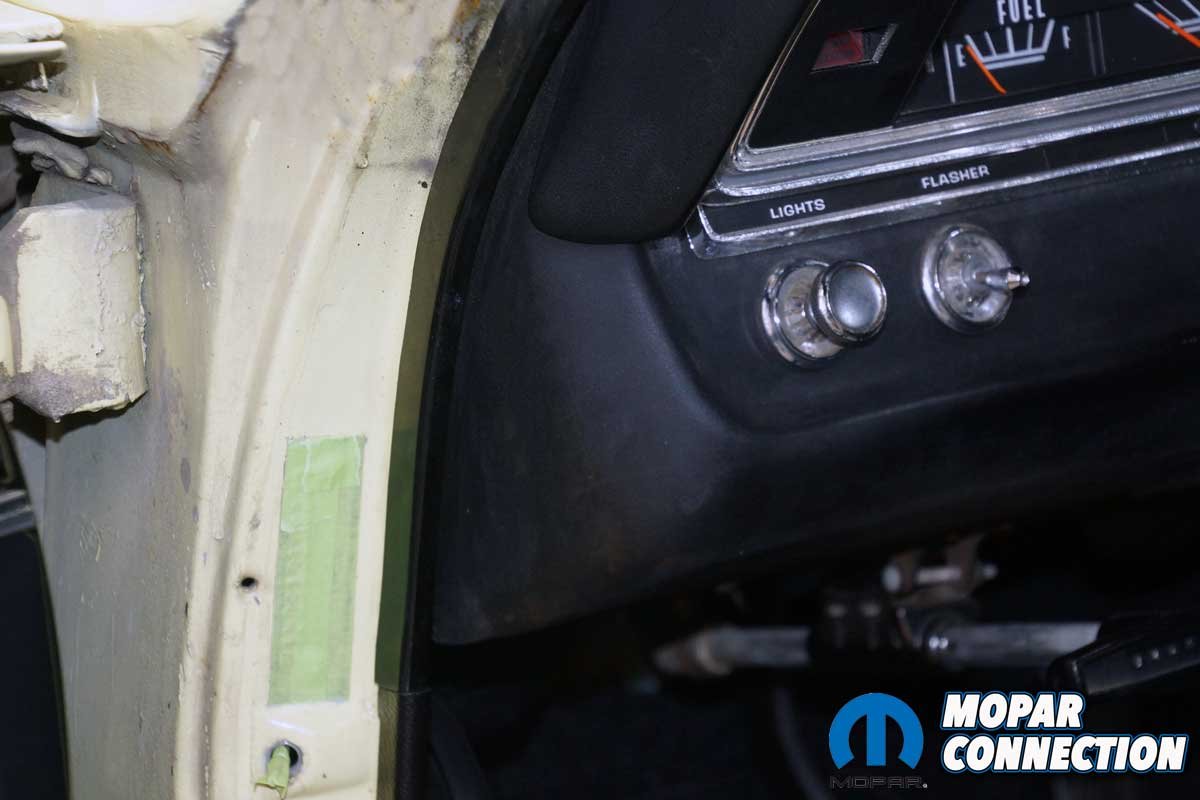
Left: With the door ajar switches removed, the interior dome lap remained on, so quick removal of the negative cable turned off the light. Right: Instead of a plastic plug, one hole on the passenger side door had years-old tape covering it.
Both rear window crank handles and armrests were detached, and we pulled the back seat bottom from the Dart. Both rear (door) panels were unsnapped from the unibody. The chrome door panel retaining strip was unscrewed, and the inner cat whisker support was removed. Finally, we slipped the windlace off the door jamb pinch weld with everything out of the way.


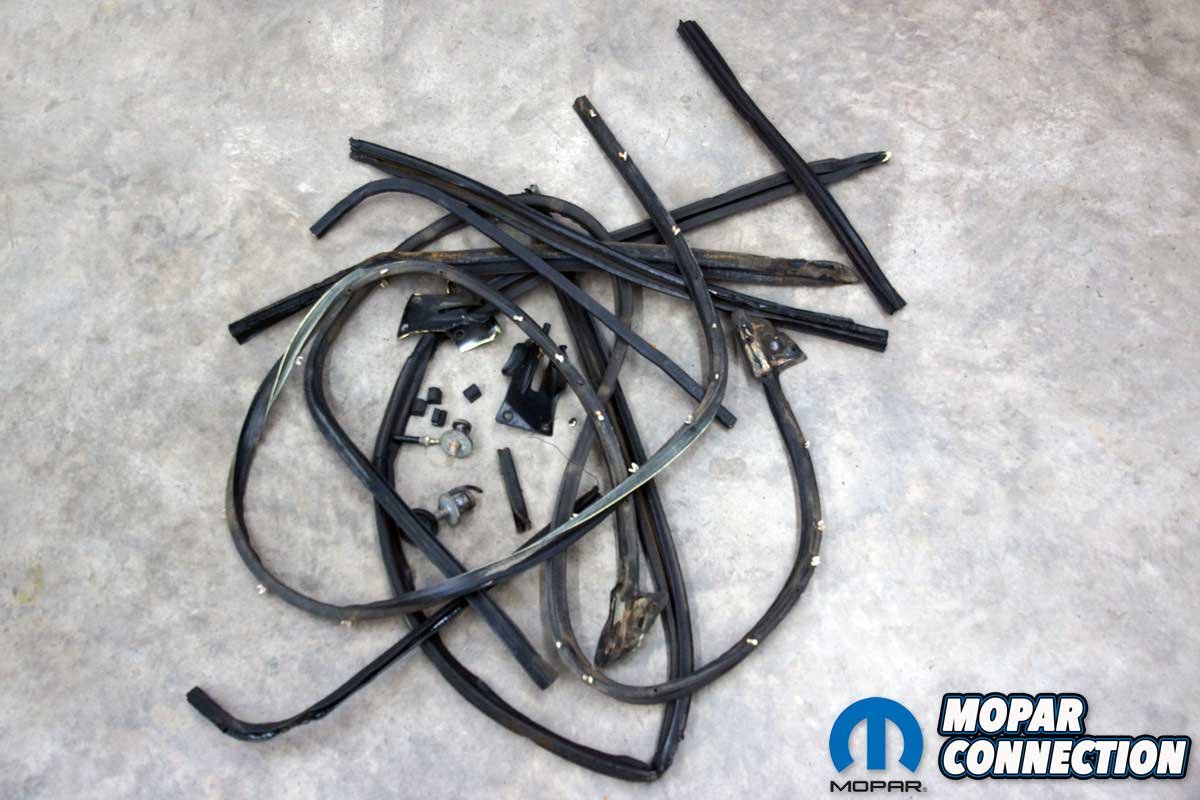
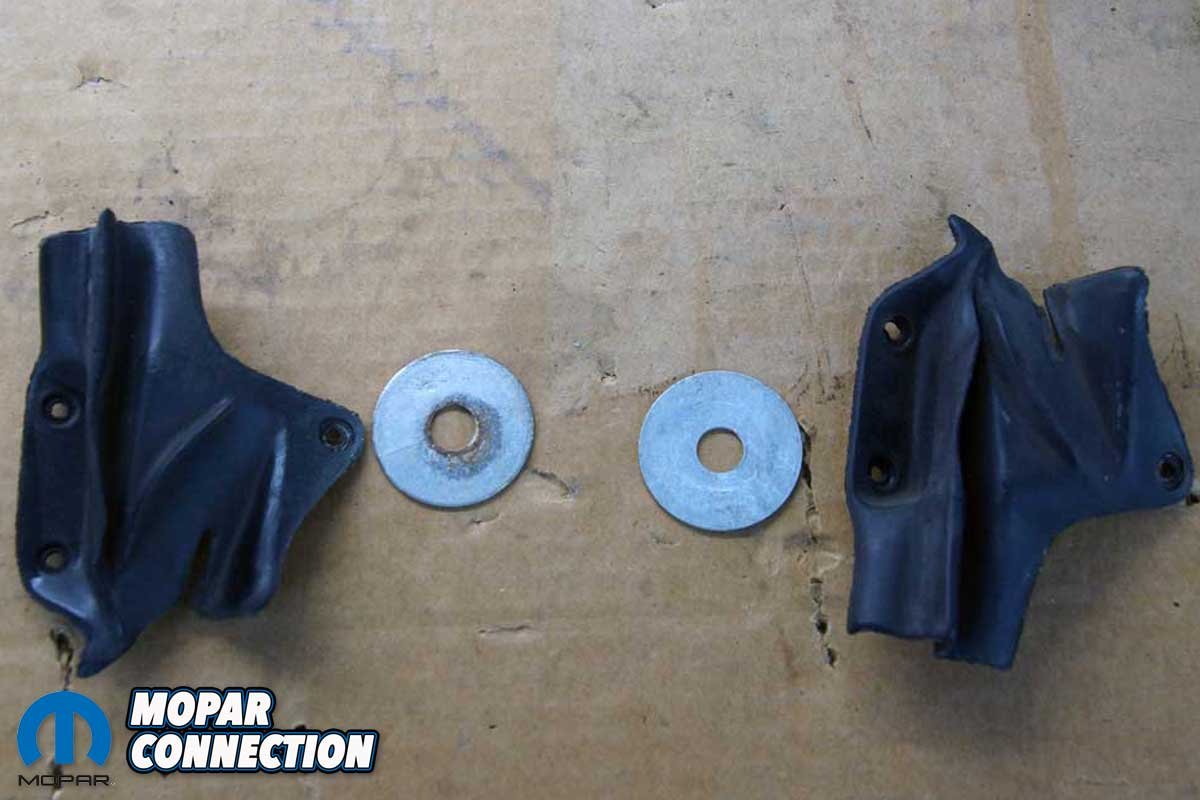
Left: We ended up with a pile of old parts to discard. Many of the components were original 1967 pieces. Right: The door weatherstrip end caps, the door striker post washers, and all the factory fasteners would be reused.
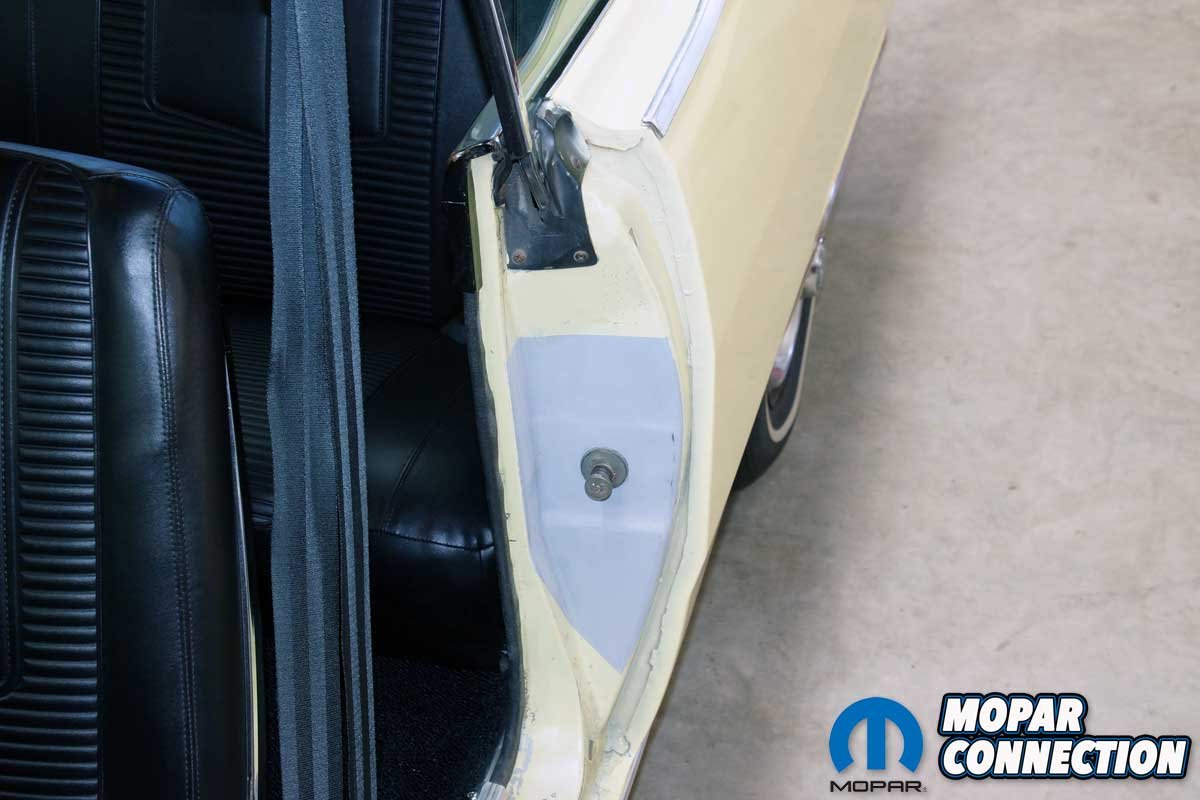
On the driver’s side, we plucked the worn tire inflation sticker from the door jamb at the striker area. Except for the tire inflation sticker, the driver-side disassembly was the same process. At this time, we also cleaned the door jambs and took exceptional care to tidy the hinge area. Additionally, we scrubbed the roof rail chrome trim (both sides already removed) to eliminate overspray from a previous repaint before our ownership.
Left: We scraped off several service station oil mileage reminder stickers. A Scotch-Brite pad roughed up the door jamb paint. Center: The door jambs were cleaned and degreased. Right: The striker area was scrubbed with a Scotch-Brite pad before painting.
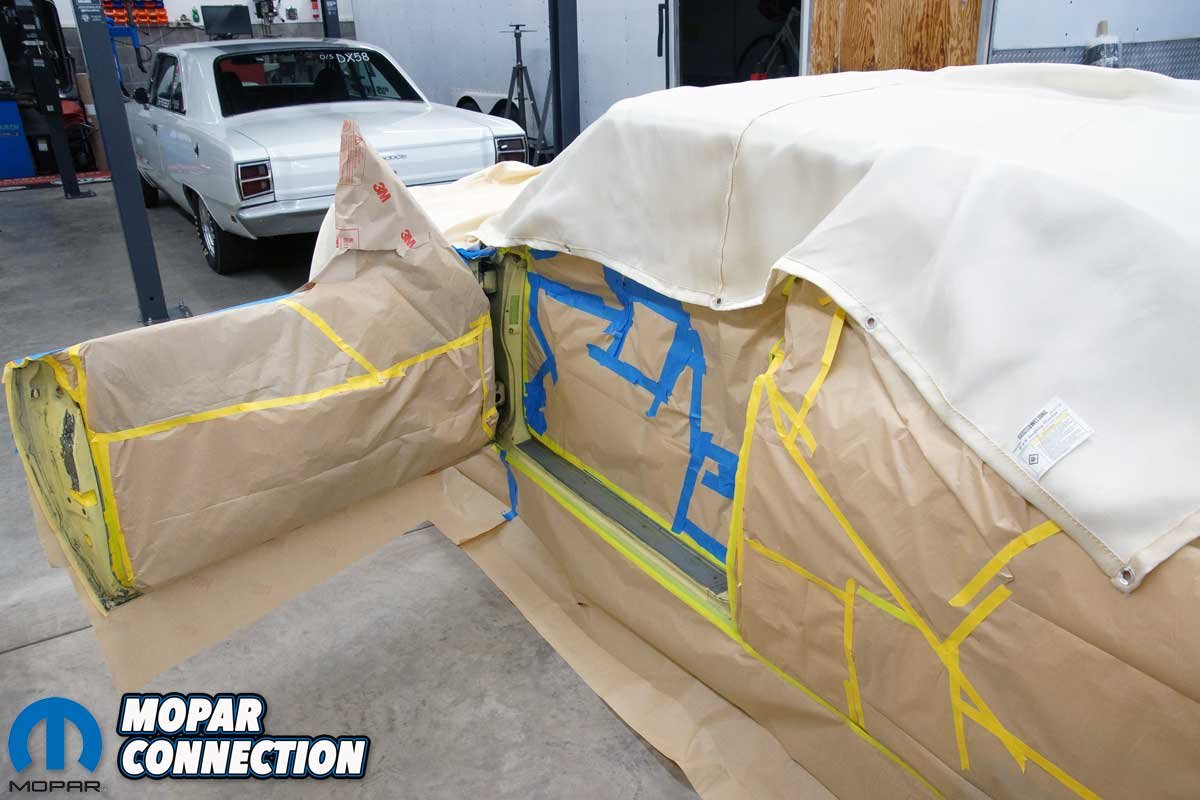
Upon cleaning the passenger side door jamb, we used a Scotch-Brite pad to lightly rough up the surface for the paint. Afterward, the area was cleaned and taped off for painting. The tape setup took about three hours to complete, but we wanted to ensure we did not have any overspray onto any interior (or exterior) parts.
For the paint, we selected a complete spray paint kit from Paint Scratch Automotive Touchup Paint. Our yellow Dart was painted silver from the factory and now wears a non-original yellow, but we have had great luck with Paint Scratch’s 1967 Chrysler Yellow (code R) basecoat closely matching the paint on the Dart. The kit came with four 12ozs cans; one can of each – adhesion promoter, primer, basecoat paint, and a clear coat. Additionally, a pair of spray can spray triggers were included. We purchased two kits.


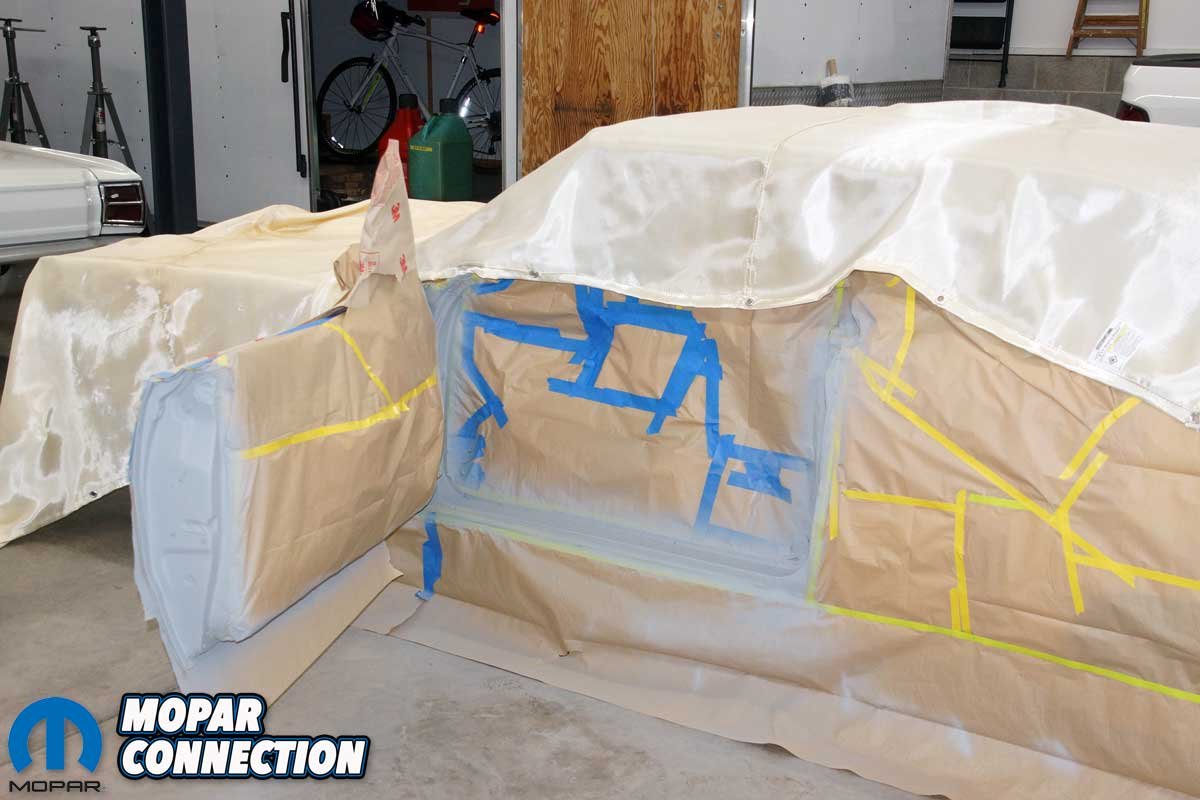
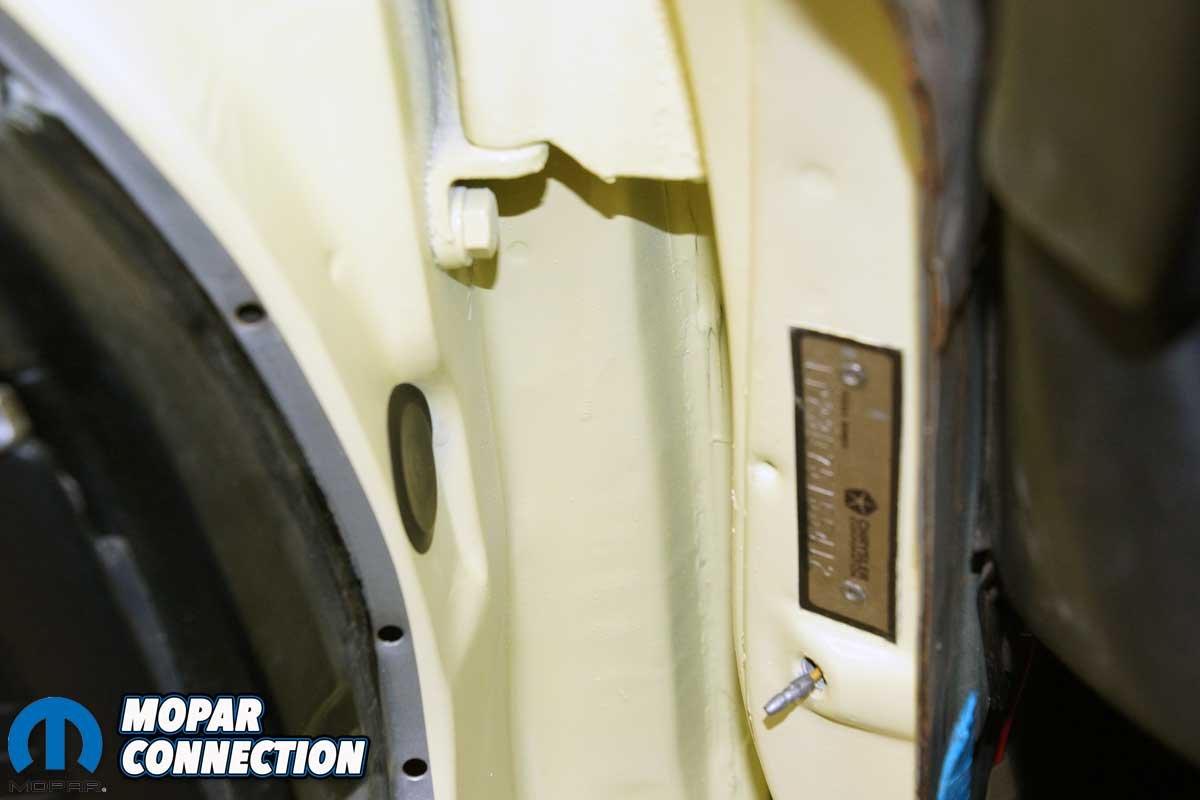
Top Left: We started taping by covering the VIN. We still needed to remove the a-pillar trim and kick panel. Top Right: We taped off the entire door opening and the door. We laid welding blankets over the top and the hood. Bottom Left: We sprayed several coats of primer after the adhesion promoter had dried. Bottom Right: After sanding with 400-grit sandpaper, we laid down several coats of yellow paint and several more layers of clear coat.
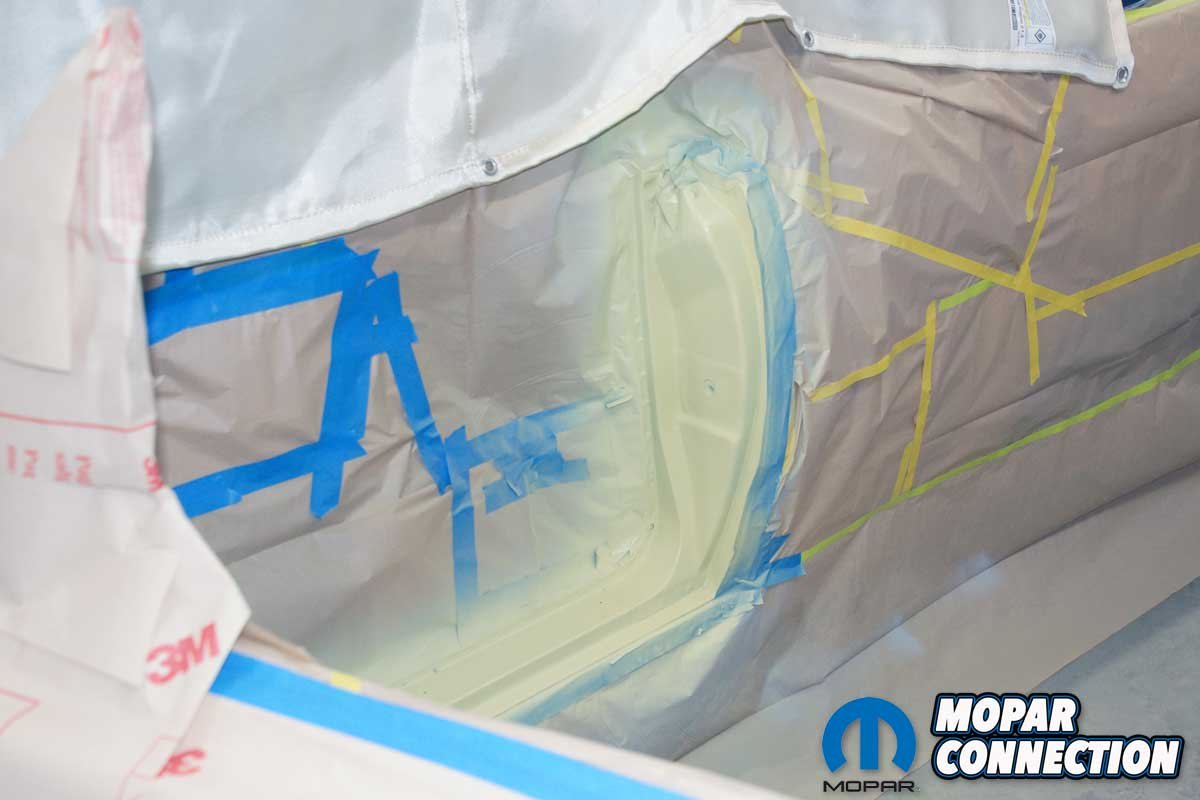
After one additional wipe down of the area, we sprayed a layer of adhesion promoter onto the door jamb. We followed with three layers of primer. The primer was sanded with 400-grit sandpaper, and we cleaned the area again. Once cleaned, we laid down several layers of yellow basecoat.
Satisfied with the basecoat, we wet sanded it to remove the paint edge at the base of the door jamb. Then, with the area smoothed, we prepared it for the clear coat. Lastly, we applied numerous coats of clear to the repaired area.
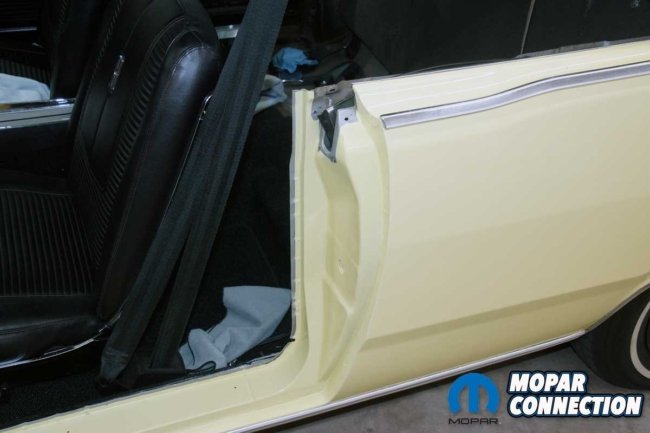

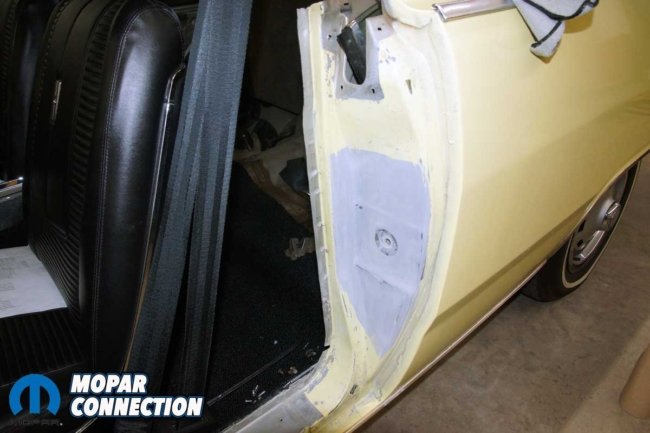
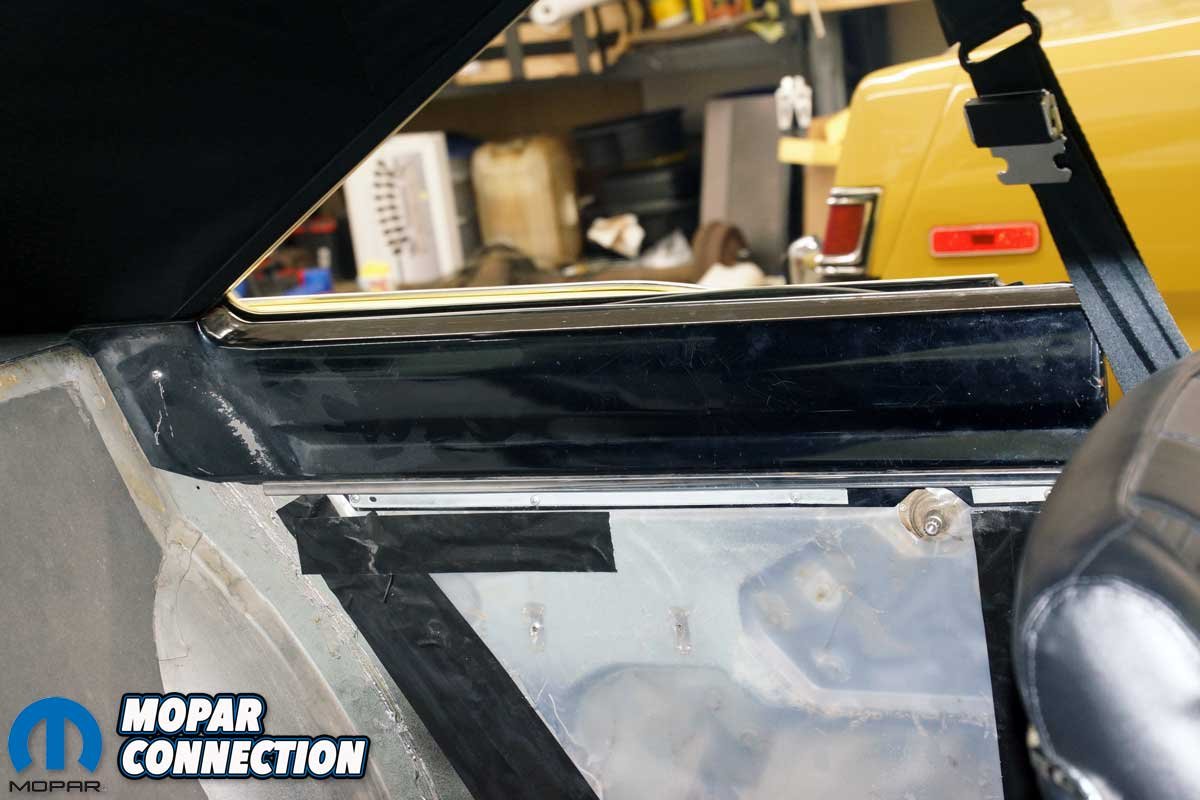
Top Left: We peeled back the masking tape and paper and were pleased to find no overspray concerns. Top Right: Since our ownership, the door has never looked this good. Bottom Left: The door jamb looks equally great. The paint matched perfectly. Bottom Right: We started the installation of the parts with the door seal. The factory screws held it in place.
After the clear had cured, we removed all the masking paper and tape. The masking did its job; there was no overspray to be found. The Paint Scratch yellow paint matched nicely and looked factory original.
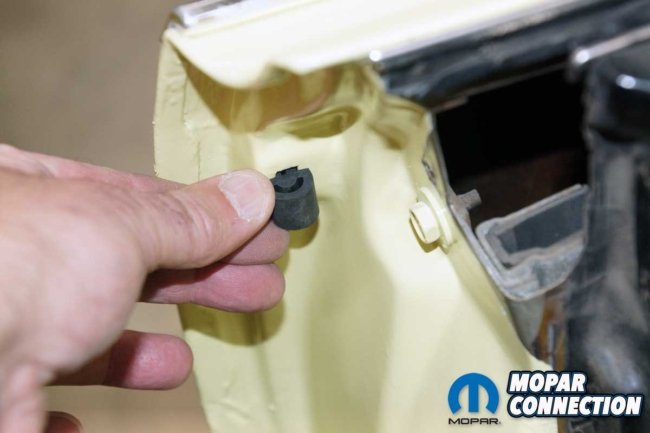

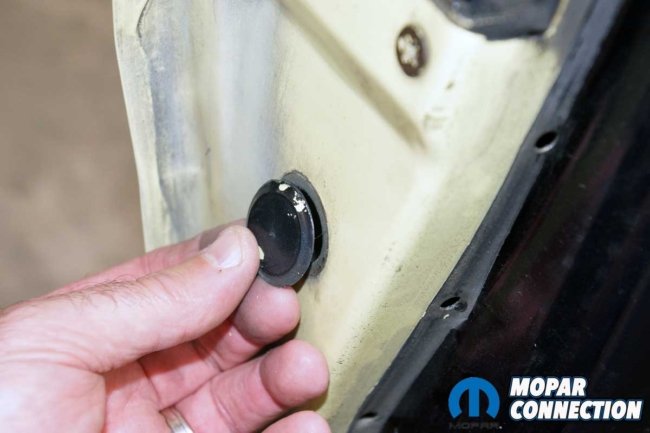
Left: The rubber bumpers popped into the door and fit snuggly. Center: The second bumper was installed on the lower door. Right: Three new plastic plugs were installed on the door. The same company that made the plugs in 1967 makes them today. However, I wonder if they are still made in the USA.
Before we started the reassembly, we let the paint cure for a few days. Then, we began the reassembly by fitting the three plastic plugs into the passenger side door. Following the plugs, we installed two rubber bumpers into the same door. Next, the a-pillar trim was fastened to the a-pillar and clipped to the roof rail trim. After fitting the chrome roof rail channel, which extended from the a- to c-pillar, we reattached it with the original screws.


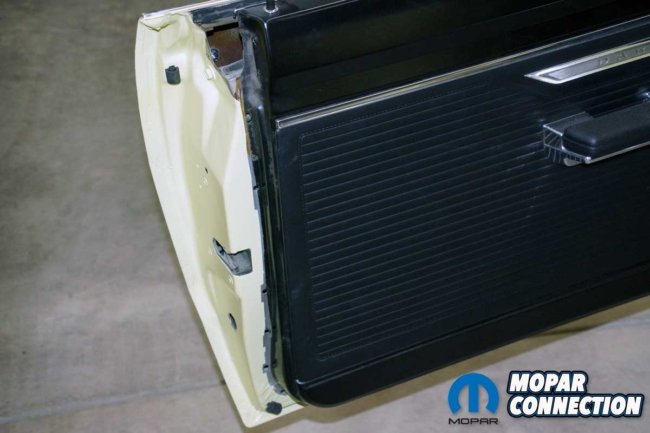
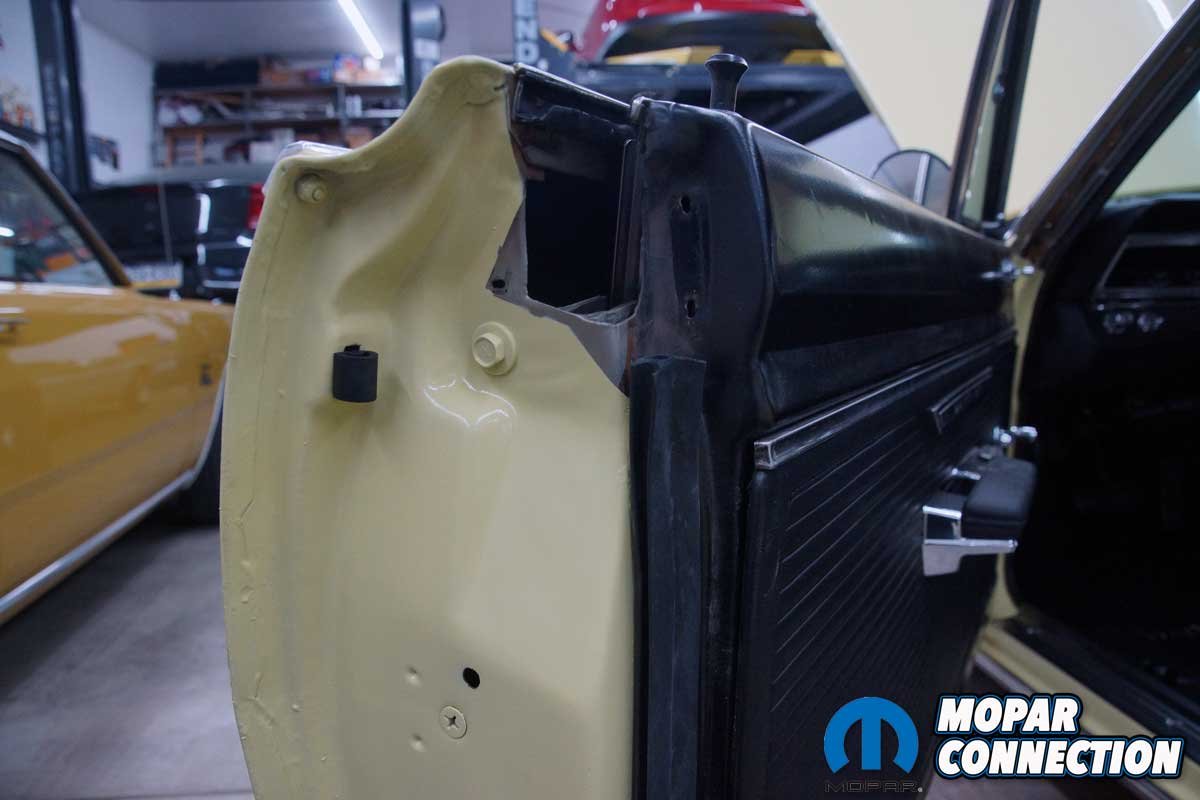
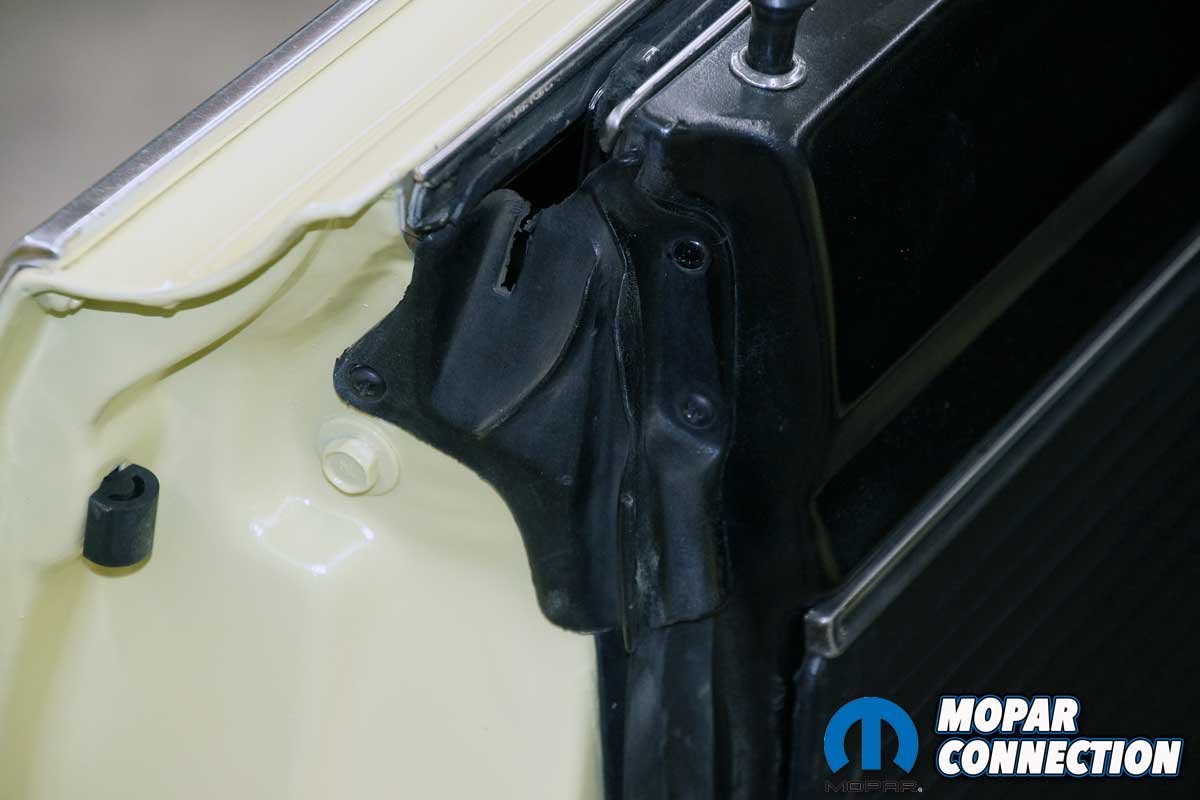
Above Left: The plug on the door near the hinges had to fit the contour. The hinges cleaned up nicely. Above Right: The windlace fit over the pinch weld from the top of the door opening to where the sill plate will be. Bottom Left: The cat whisker plate was reinstalled over the windlace. Bottom Right: Five screws secured the plate to the Dart. The plate could use some new paint – a future project.
Once we installed the Year One windlace, we reinstalled the inner cat whisker support plate. Next, the new door jamb pillar seal was fitted and secured with four original equipment manufacturer (OEM) fasteners. The door weatherstripping was clipped around the parameter of the door, and the seal’s end was connected with the factory screws. The door seal cap was also fastened with OEM screws. Lastly, we installed the new door-ajar switch.


Left: The door weatherstrip end was screwed to the door. Right: The plastic clips were pushed into the anchor holes in the door’s parameter. The weatherstrip stretched into place and fit well.
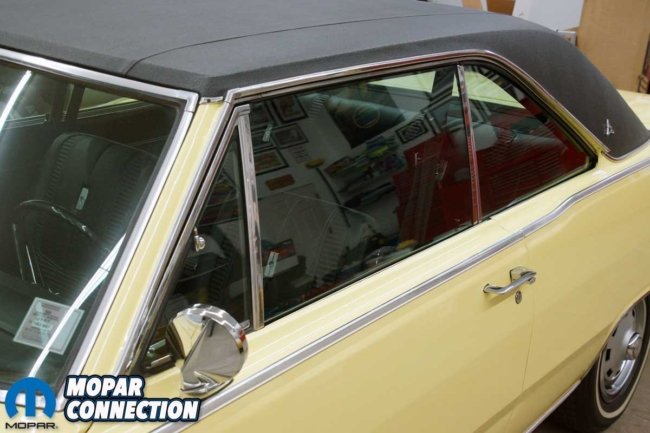
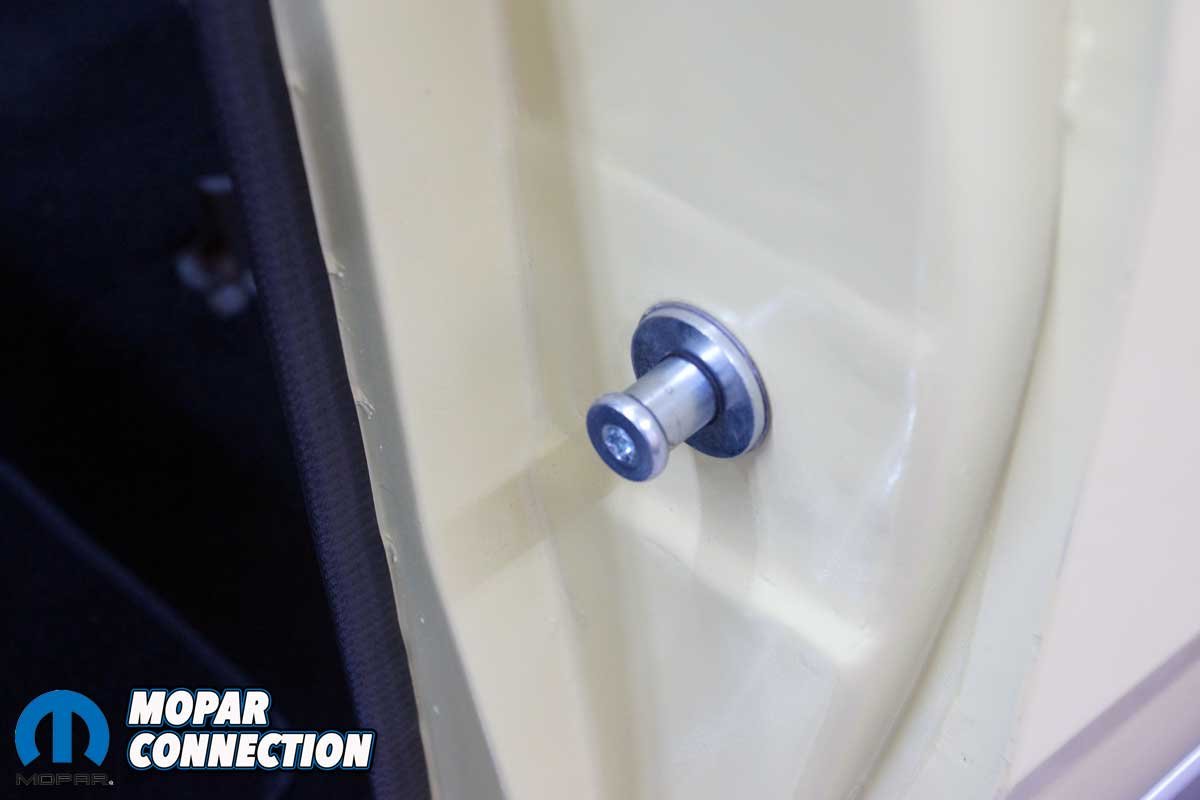
We moved to the roof rail weatherstrip. It fits exceptionally well but getting the weatherstrip into the chrome roof rail’s channel was a real fight. With the door and roof rail seals installed, we carefully positioned the door striker post. After that, we rolled up the windows on the passenger side of the Dart. We closed and opened the door several times while fine-tuning the striker’s location before we torqued it to the manufacturer’s specifications.

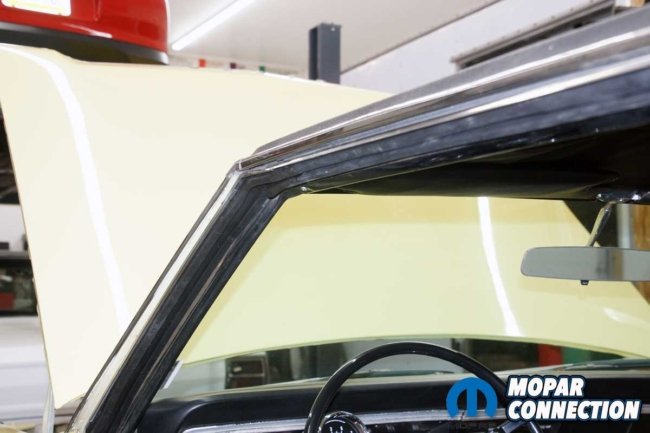

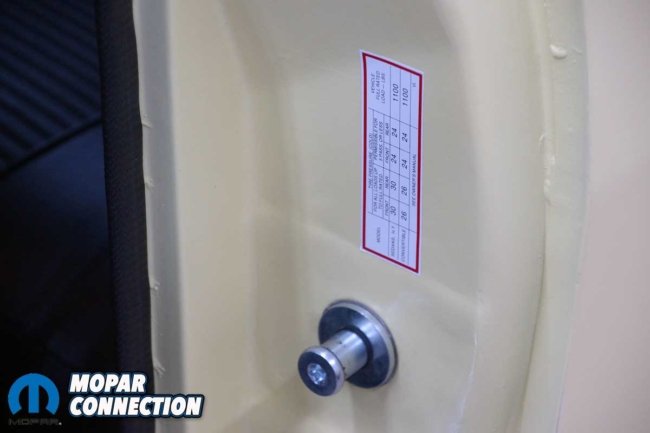
Top Left: The factory’s original weatherstrip end cap was cleaned and reused. Top Right: The roof rail weatherstrip took significant time to install, but it is snug and seals the windows well. Bottom Left: The door striker pin was adjusted and tightened. It is a Torx design instead of the Allen type found on a ’67. Bottom Right: We added the factory tire inflation sticker in the factory location.
With all the components installed, we moved to the driver’s side and performed the same reassembly procedure. The only difference was the addition of the Dart Tire Pressure Maintenance Sticker, which we placed in the original location.
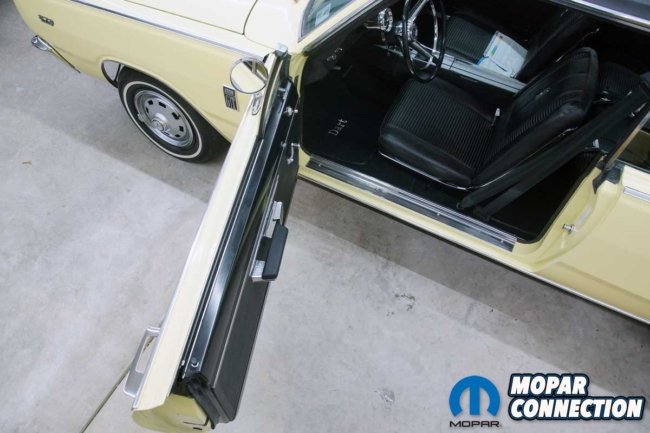
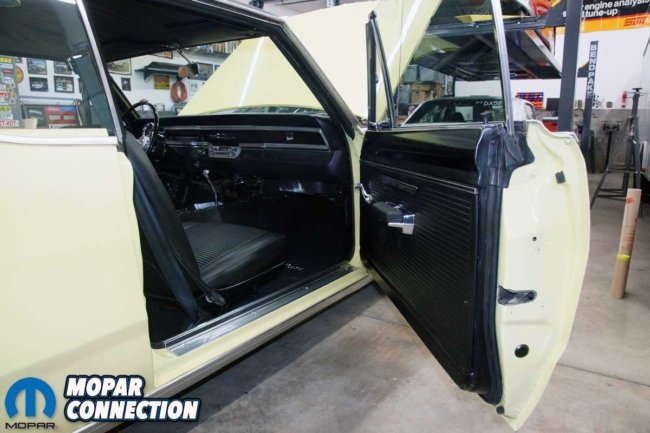
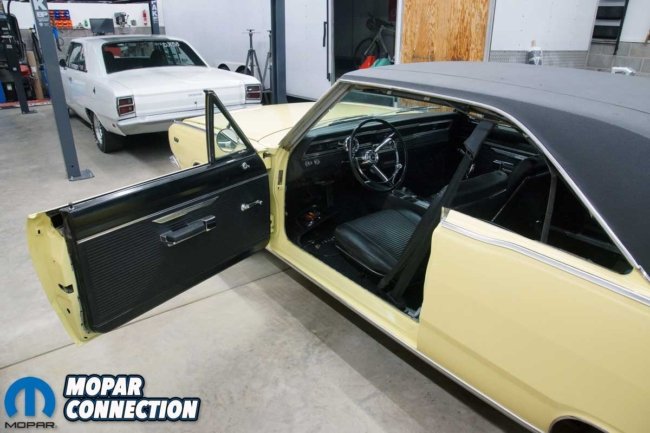
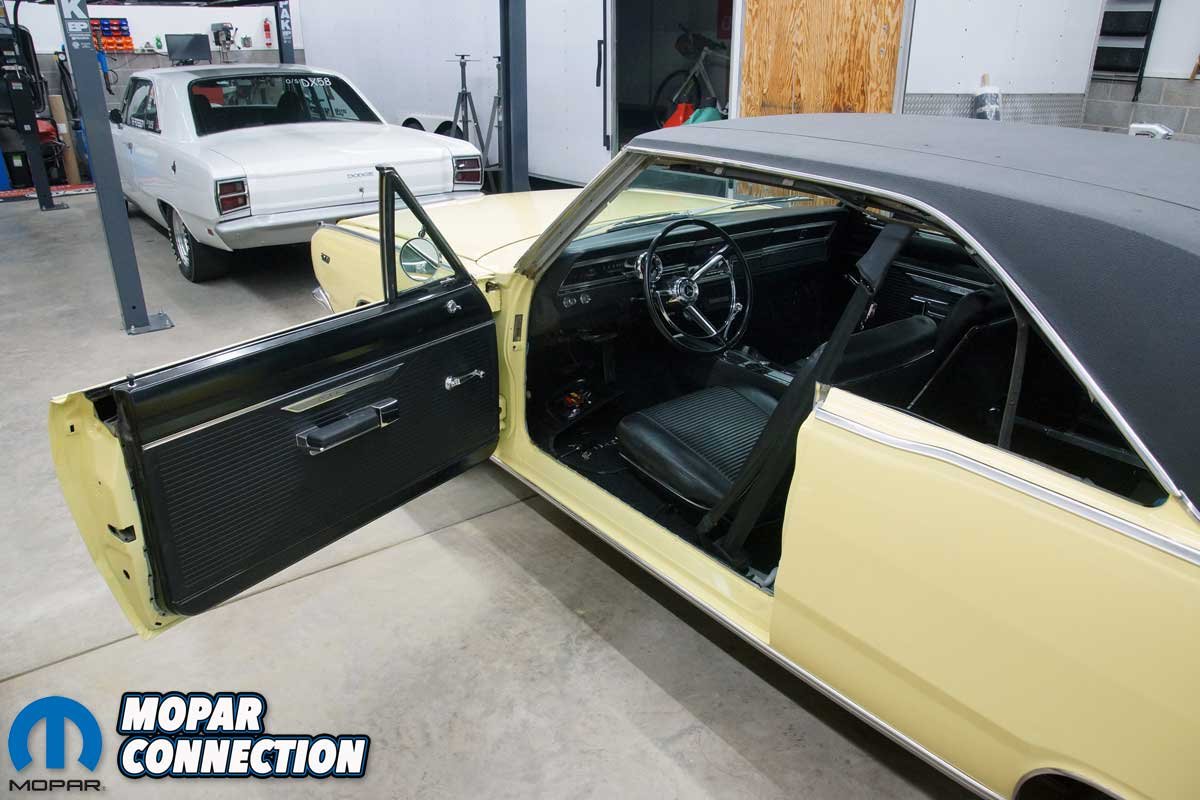
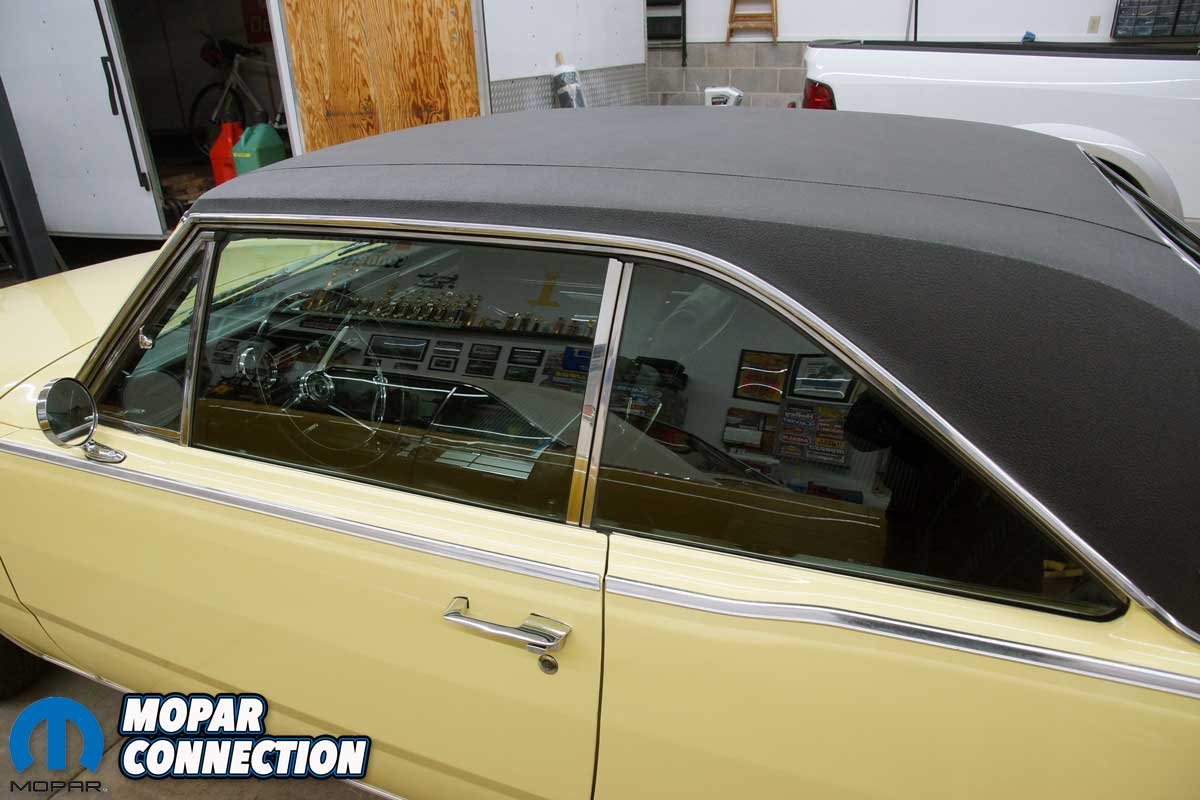
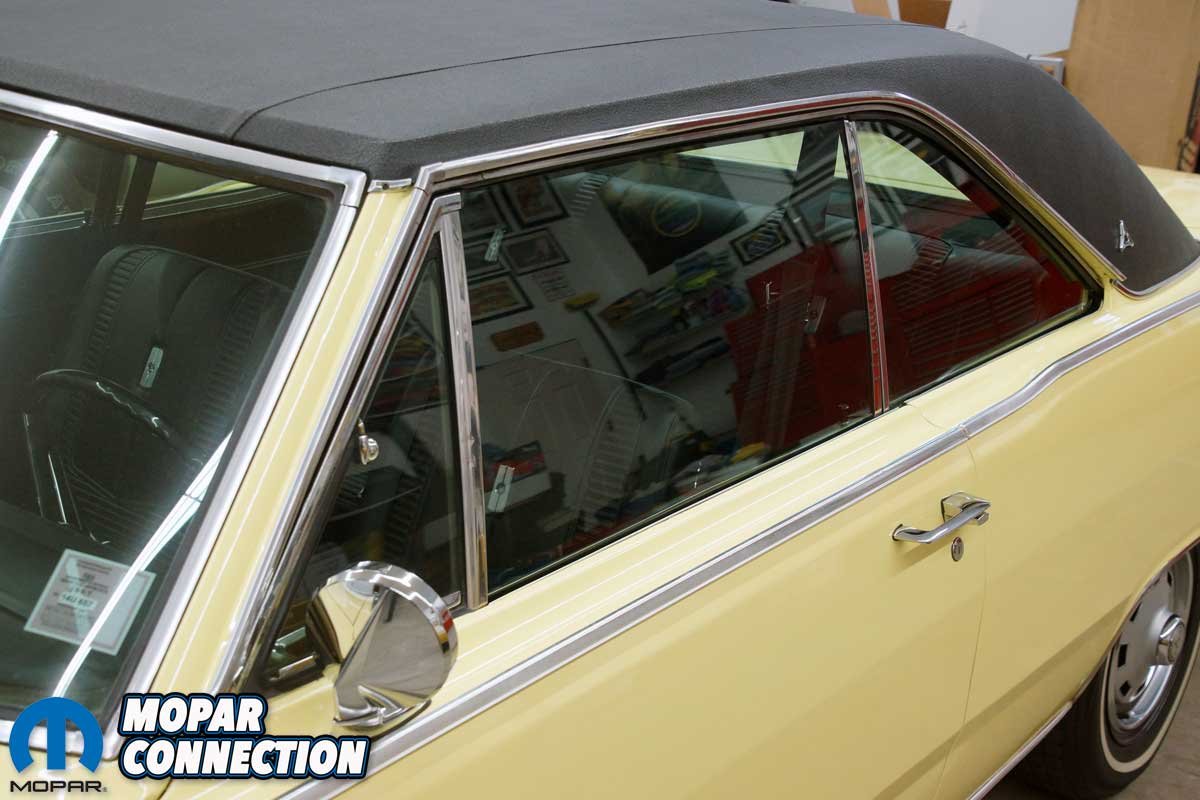
Left: The door jamb update was a bunch of work, but the results are awe-inspiring. Center: The windows seal against the weatherstrip. Wind noise and water leaks are a thing of the past. Right: The passenger side door jamb turned out just as lovely as the driver’s side.
The Year One parts fit perfectly, and we were pleased with the quality of each component. Each door closes without substantial effort, yet both are weathertight. For the first time since we have owned the Dart, the door jambs are damage free and painted the same color as the rest of the body. Best of all, there are no wind noises or water leaks thanks to the quality components from Year One.


