


Fixing old mistakes can be as much of a part of building a project car as the building itself. Many of these machines are half a century old, and over the course of that lifespan, typically several sets of hands (of varying degrees of skill level) have likely tooled on any one particular car. Having personally owned this specific 1969 Dodge Charger – that we call “Brazen” – for the past 18 years, I am now at the stage where I can circle back and begin correcting the errors, poor craftsmanship or just cut corners of my youth.
One major shortcut I had made was in regards to the Charger’s tail panel. Originally, this car was not a true L-code R/T, meaning it did not come with the optional 375-horsepower RB 440 motor. Rather, in the 5th spot of the Charger’s VIN number is a “G”, meaning it came equipped with a short deck 383 motor. (Interestingly, there were two 383 variants under the G-designation, a 290-horsepower 2-barrel carburetor, and a 330, 4-barrel option. Ours was the less glorious option built in Hamtramck, Michigan.)
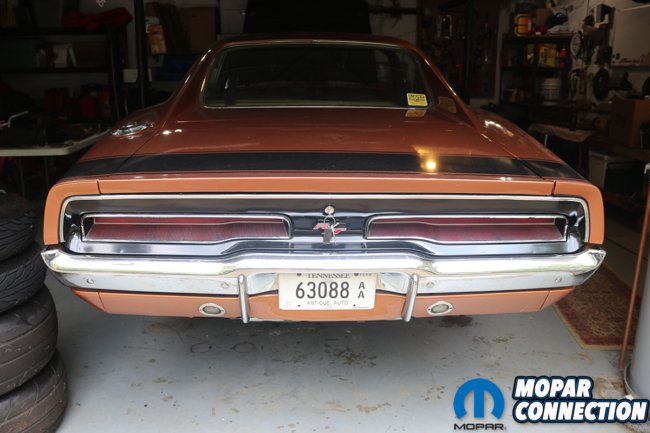
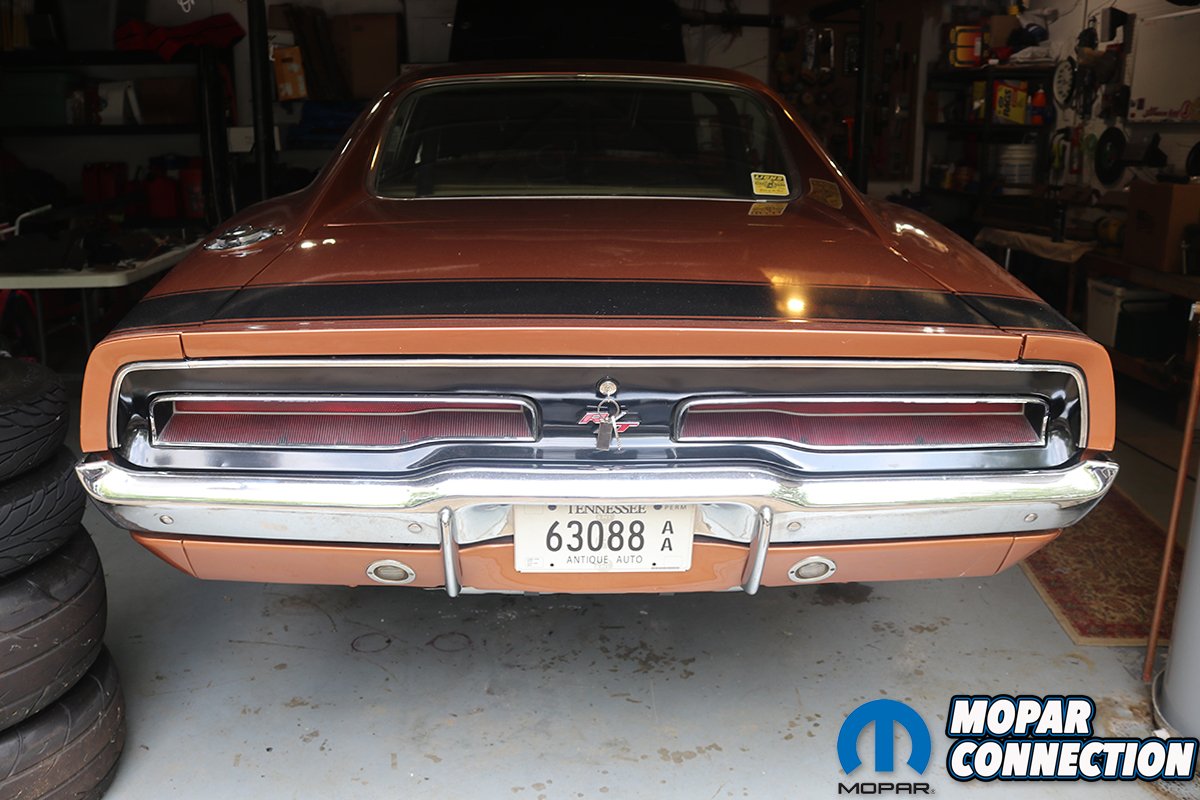
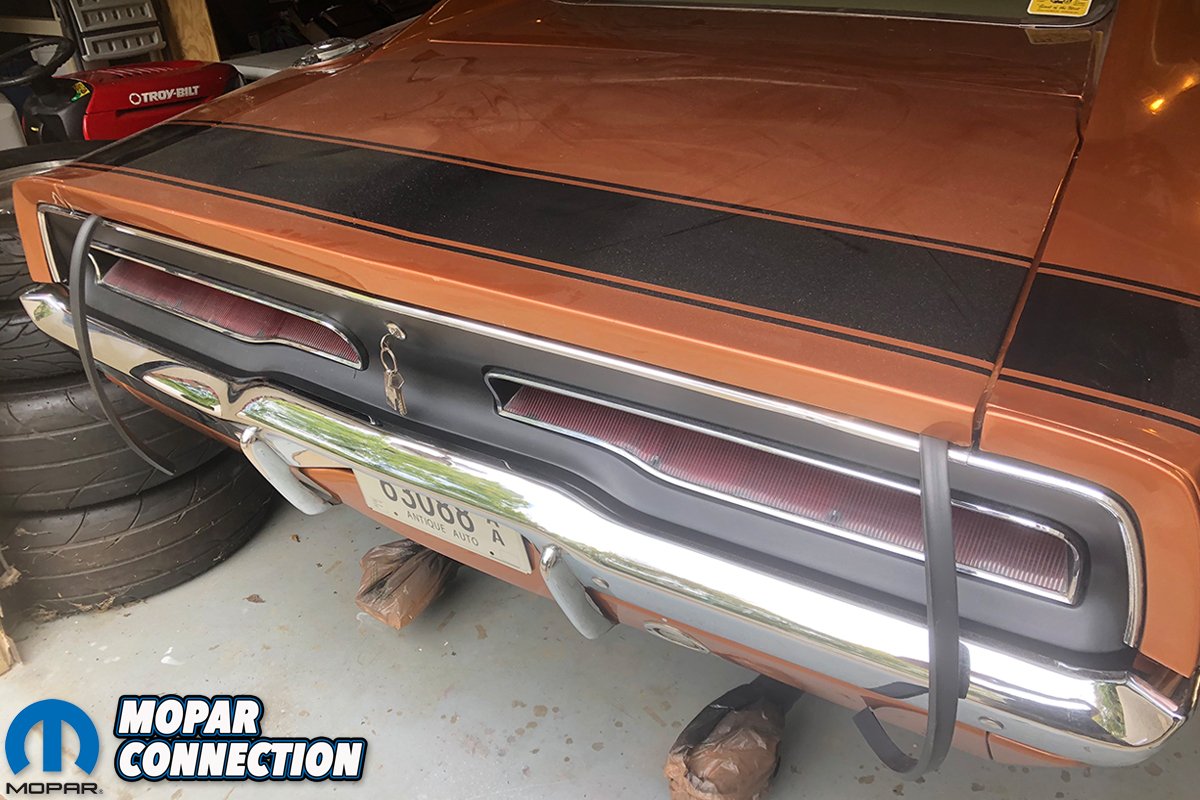
Above: To the layman, the tail panel of our 1969 Dodge Charger “Brazen” looked well enough, but we had grown tired of staring at many of the shortcuts we taken over the years; semi-gloss paint and a glued-on R/T emblem were particularly obvious eyesores.

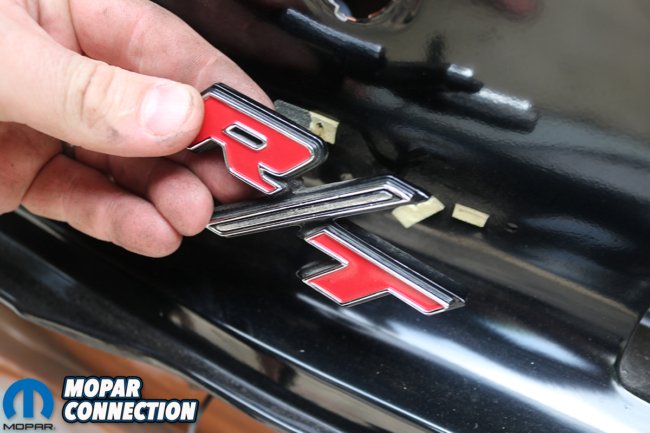
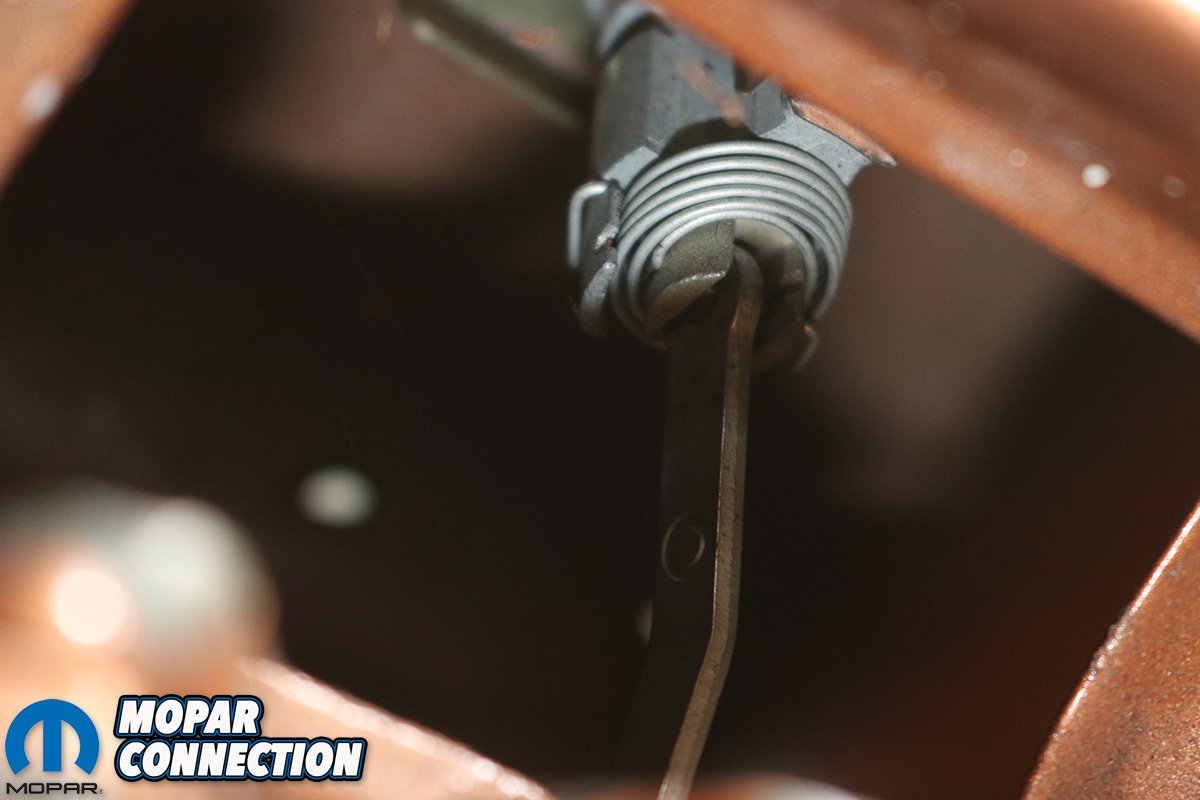
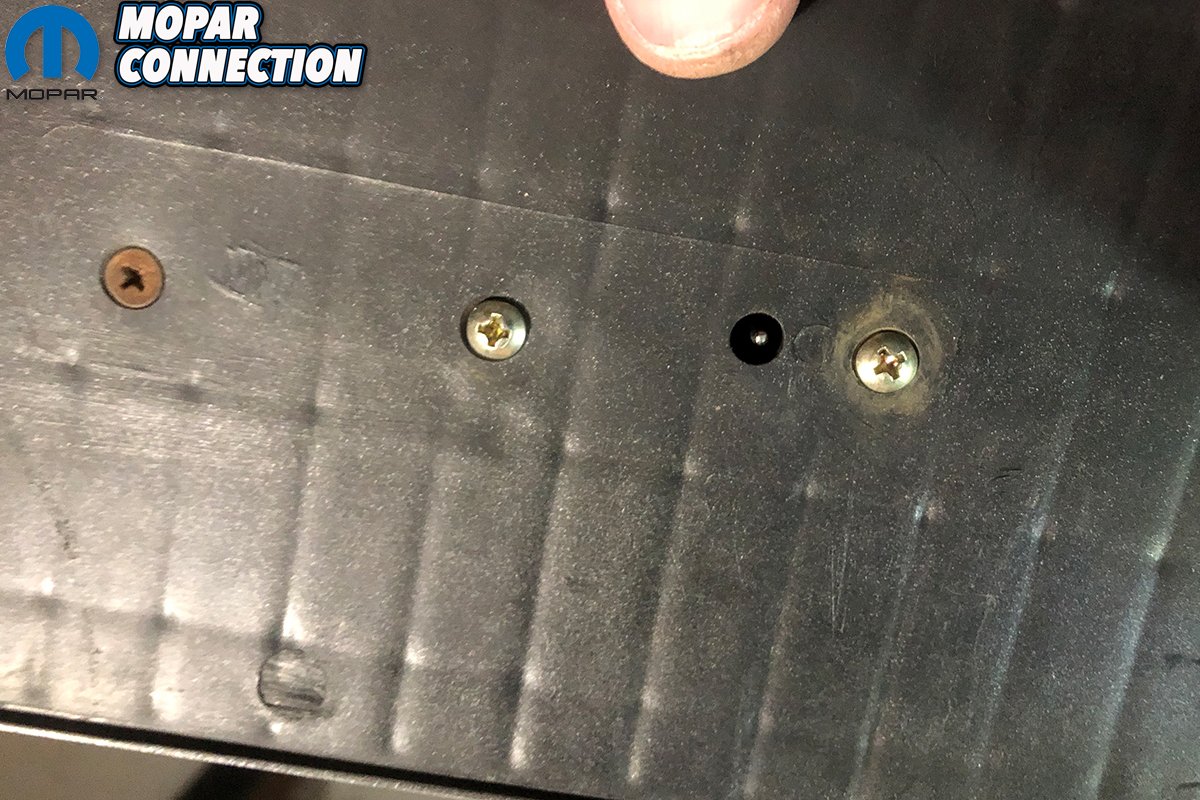
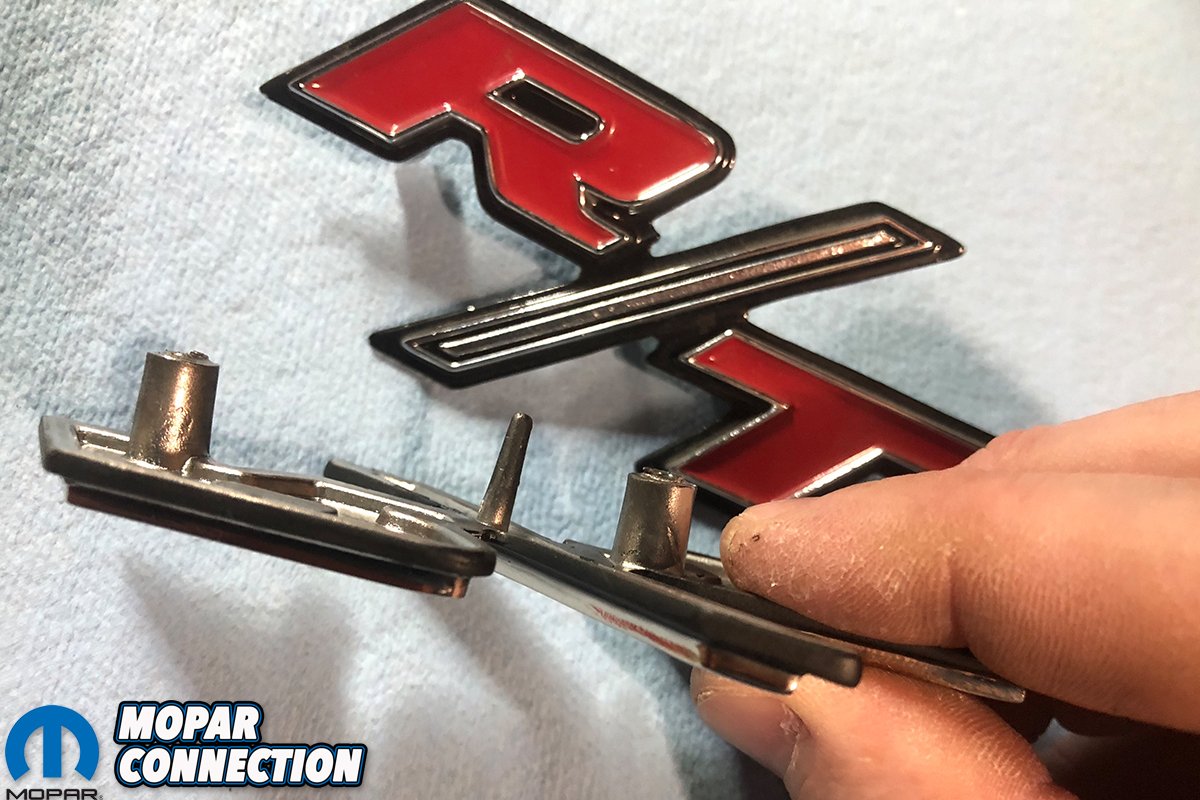
Above left: In preparing the tail panel for bodywork and paint, we had to disassemble pretty much everything that wasn’t welded on, including the truck lock mechanism. Above right: In case you didn’t believe the part about 3M double-sided tape, here’s what was hiding behind our R/T badge.
This meant that the tail panel was drilled for the long script “Charger” emblem instead of the “R/T” badge, and no, the two emblems did not share the same hole pattern (although, logic would think it should’ve). Prior to having the car painted in 2007, this thought hadn’t really crossed my mind so I failed to smartly weld up and re-drill the tail panel to accommodate the R/T badge that I knew I would eventually install. Rather, I went forward with painting the car.
A second less-critical mistake was failing to paint the tail panel the correct (or even somewhat close) shade of textured Organisol. Rather, we quickly found some semi-gloss black and sprayed the tail panel. And while I was content at the time, seeing properly restored Chargers with their tails in nearly flat-black, textured Organisol quietly ate away at me. Worse off, I had lazily shaved the back of my R/T emblem flat and adhered it with 3M double sided tape. (Not my proudest moment.)

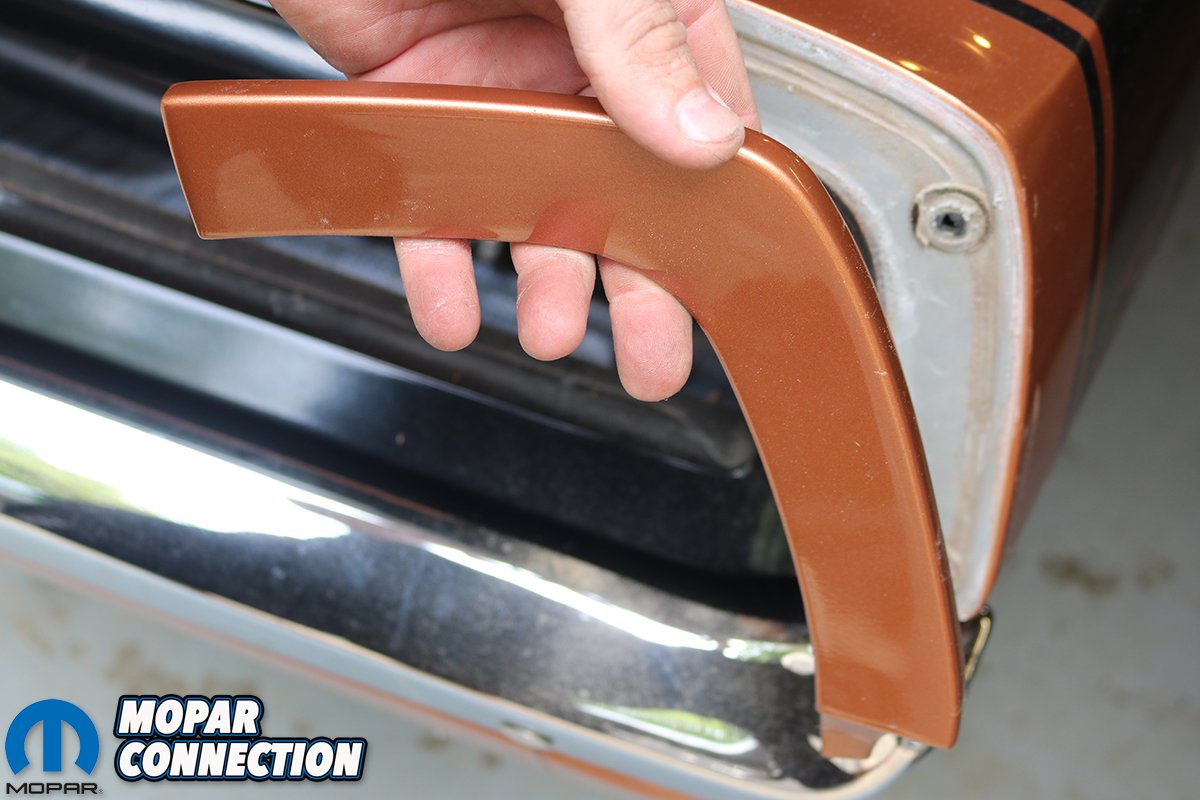
Above left: The bumper, tail panel trim, tail lights, and the quarter panel extensions needed to be removed. Above right: Chrysler could’ve saved a few bucks by having all of the emblem holes match up; instead the base-trim Charger and the R/T models had differing holes.


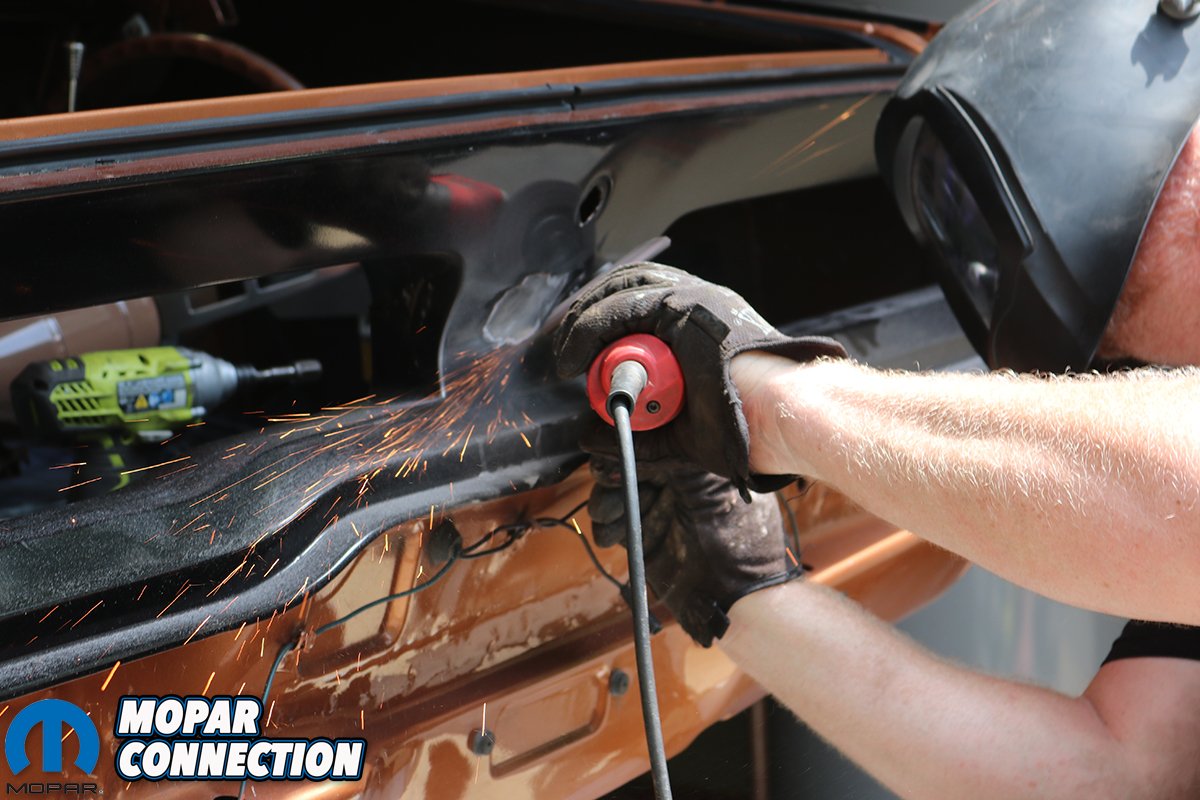
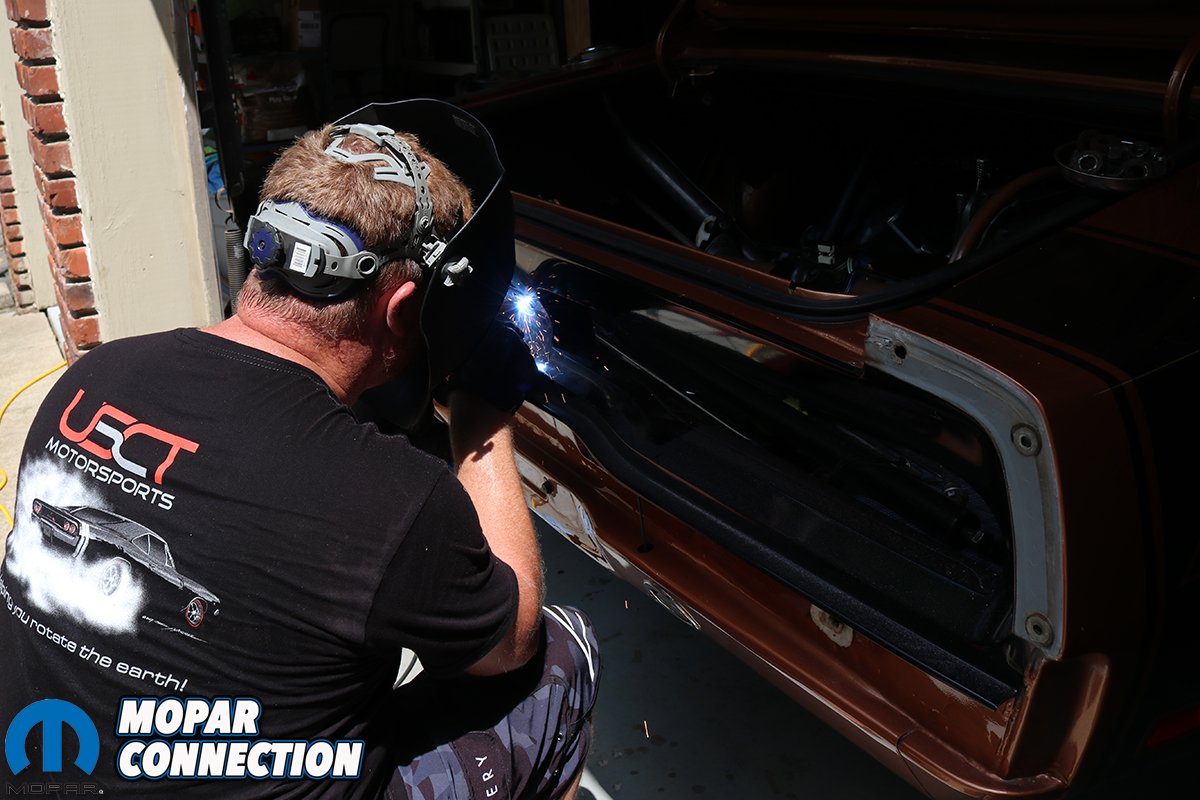
Above left: After a quick pass with a wire cup wheel on an angle grinder, we welded up the original non-R/T holes with our Miller Electric Millermatic 211 MIG. Above right: A flap disc was quick to knock down our welds filling the holes.
Now in a position to correct the missteps of my youth, I sought about sealing up the old emblem holes, measuring and drilling the correct R/T holes, and repainting the tail panel with Organisol. The first steps were easily: remove the old glued-on R/T emblem, and unbolt the rear bumper, panel trim, lock mechanism and tail lights. Next came the painted corner extensions before masking off the inside of the trunk and basically everything else. The car was stationary in the garage, so I constructed a makeshift paint booth where it sat.
With a wire cup wheel on a hand grinder, the paint around the emblem holes was ground away, exposing raw metal. A few short zaps from our Millermatic 211 MIG welder and the holes were sealed up. (Although not necessary, a copper backing bar against the back of the hole will keep the weld from protruding too far behind.) Next came the flap disc to grind the welds smooth. While not needing much, I spread on a thin layer of body filler, careful to glide over the convex curve of the tail panel.

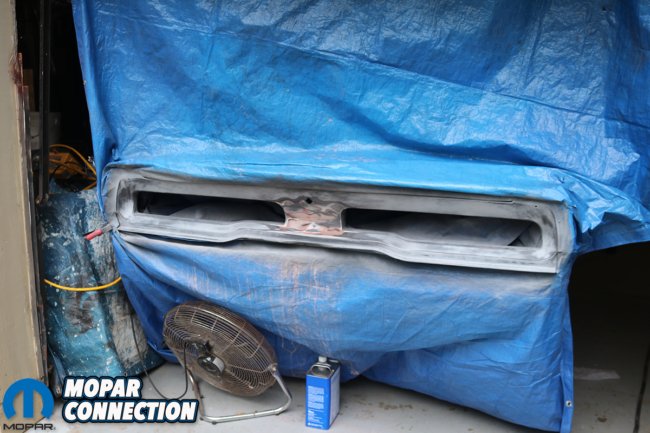
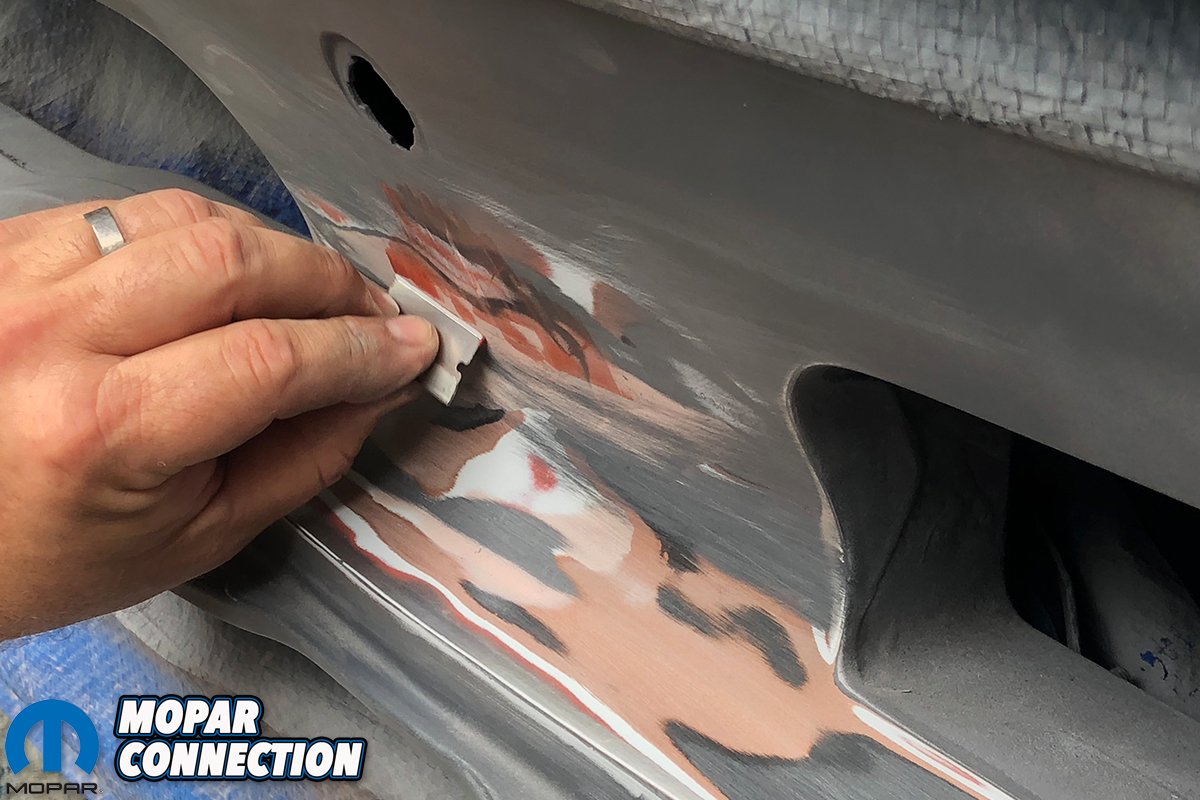
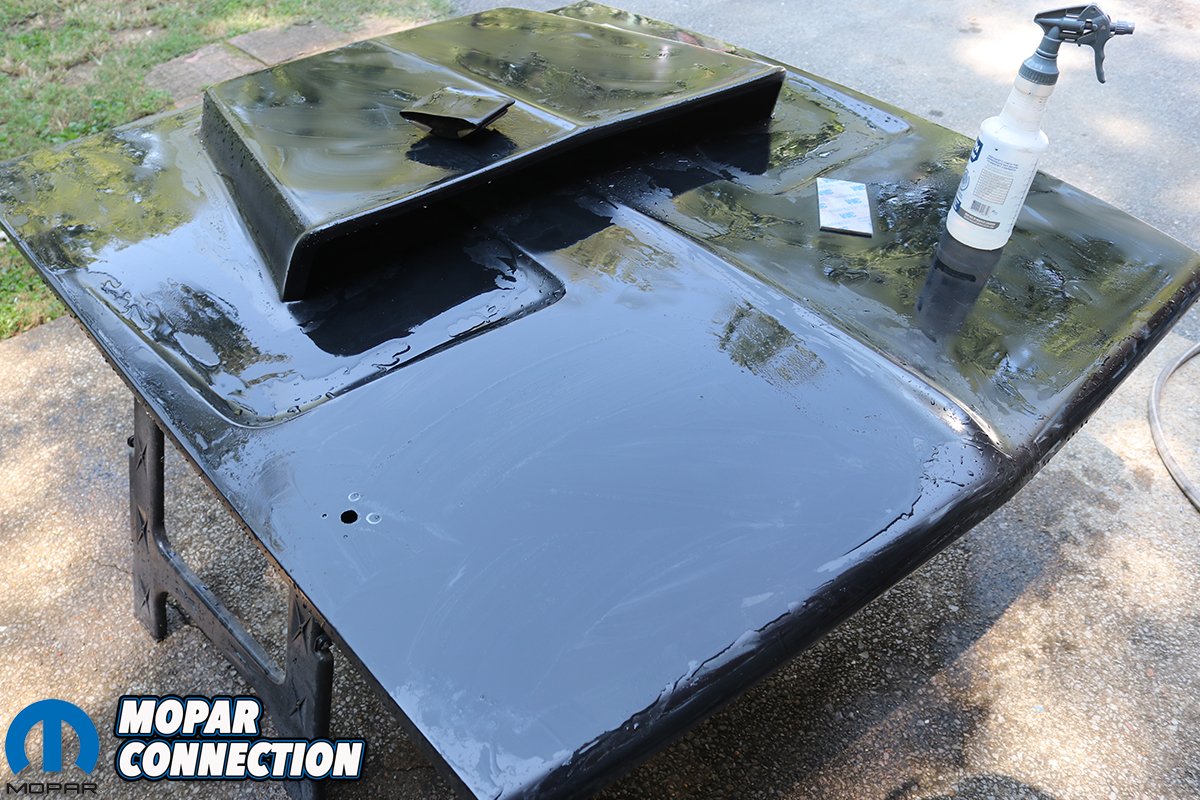
Above left: After a quick scuff and a light dusting of etching primer, we skimmed the tail panel to ensure a smooth surface. Above right: Readied the tail panel for a heavy coat of urethane primer. The Charger’s tail panel features many compound curves and surfaces, so it’s imperative to sand evenly and not “dig in” too deep in the corners.
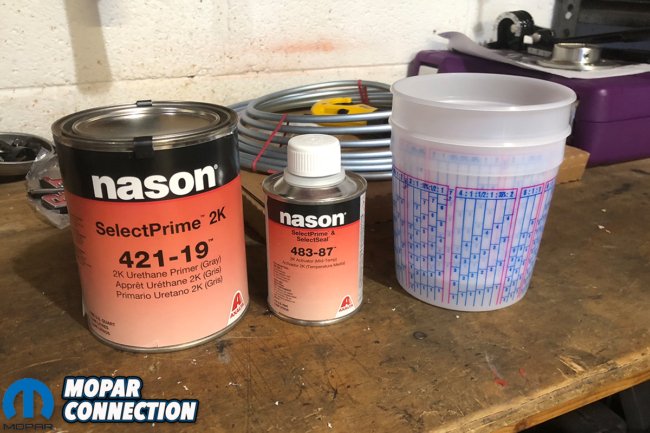

Above left: We used a 2K urethane primer-surfacer and activator to lay down a thick coat of primer. Above right: This is what we’re talking about! A near-flawless surface to paint in factory-correct-appearing Organisol.
After an hour of sanding and touching up a couple spots with spot putty, the surface looked smooth enough for primer. I bought a quart of 2K urethane primer-surfacer and activator to spray down a heavy layer of primer. (Rattle can primers simply won’t cut it here, you need a primer that will fill in smaller irregularities and lay smooth, so don’t cheap-out on using the right stuff.) Another finer passes of the scuff pads and our tail panel was ready for final paint.
Now, Organisol is a little tricky. The original stuff is no longer available. Any PPG dealer will have it listed as DDL 9355, but even if they can mix the lacquer formula, they won’t have the original texture additive. The original additive’s particles were larger than what they have nowadays. Now, you can also buy DCC 9355; it’s a urethane-based paint and doesn’t have any texture additive, and is a little more sheen than the lacquer paint. Now while PPG might not have it, Frank Badalson and Chas Dallas at 8774paint1.com do.


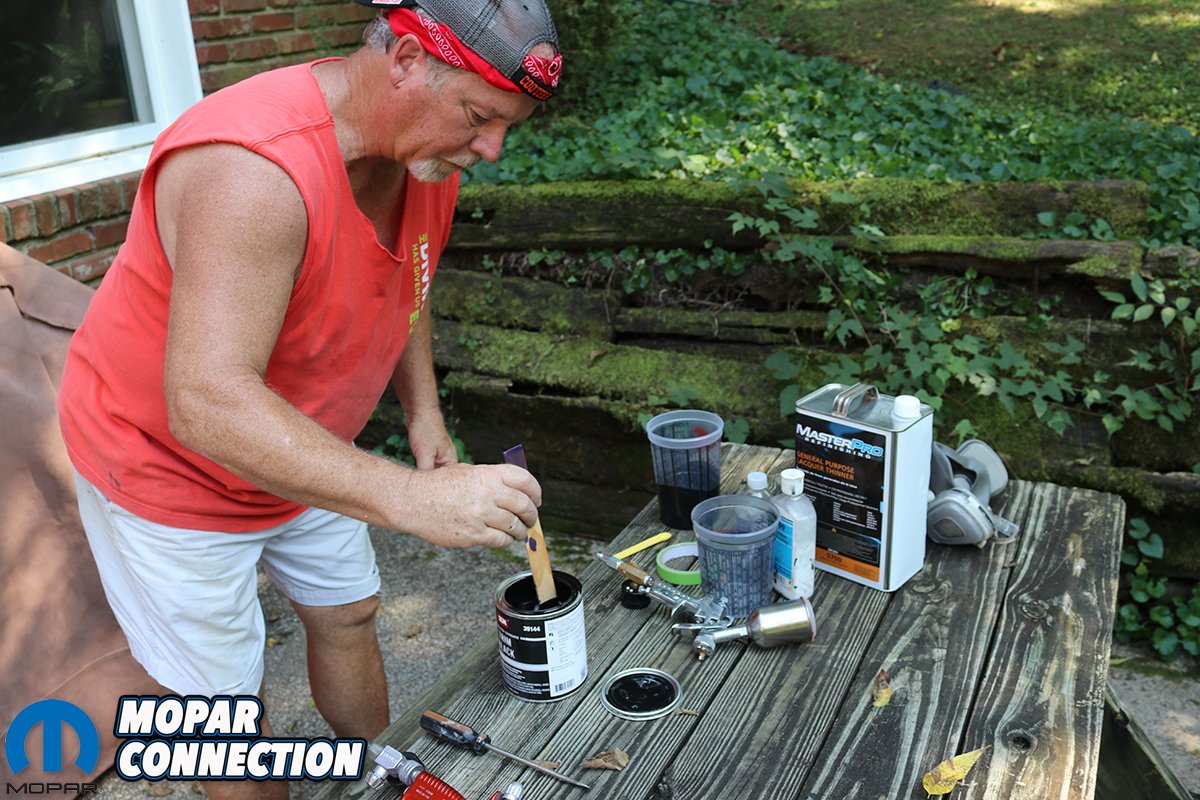
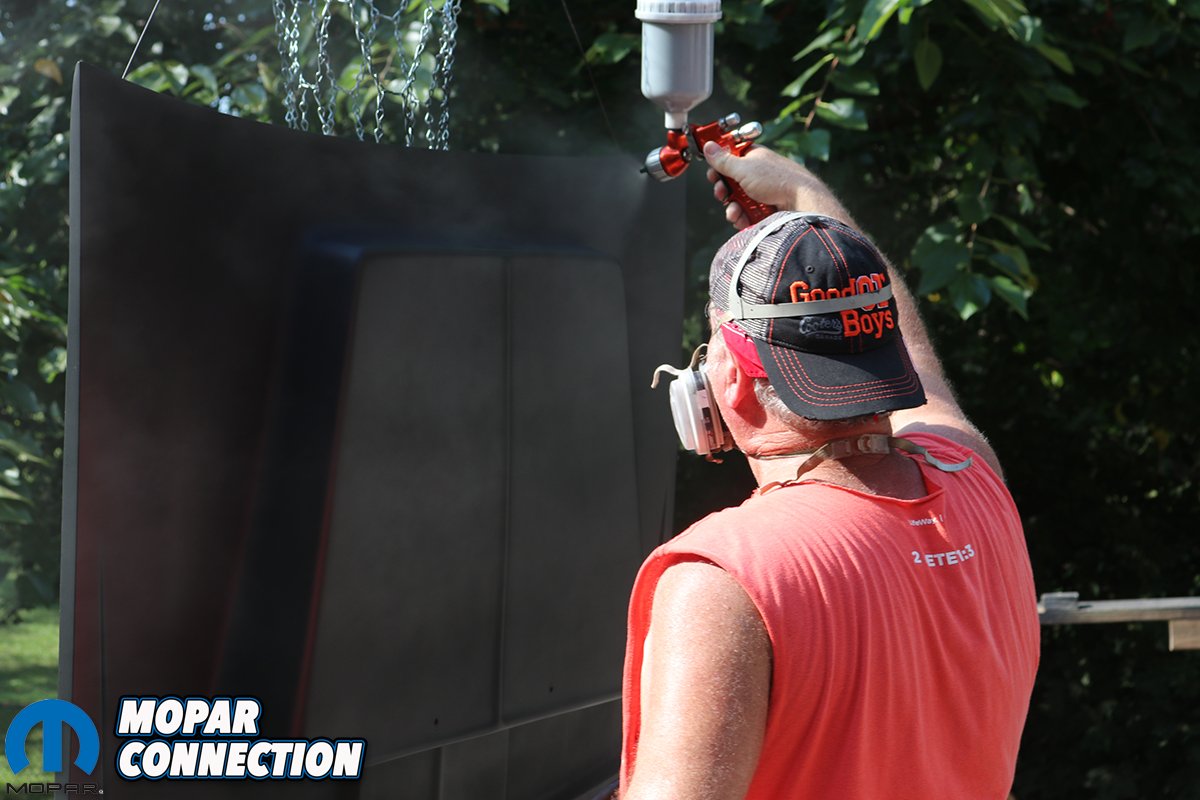
Above left: Mopar Connection’s Tech Editor Mike Wilkins was happy to put on his best Tennessee formal wear and help us mix and paint the tail panel in single-stage urethane Organisol. We included the secret formula below. Above right: Mike applies a quick “test pass” to make sure the gun and paint are spraying correctly before donning his respirator and laying it on over several passes.


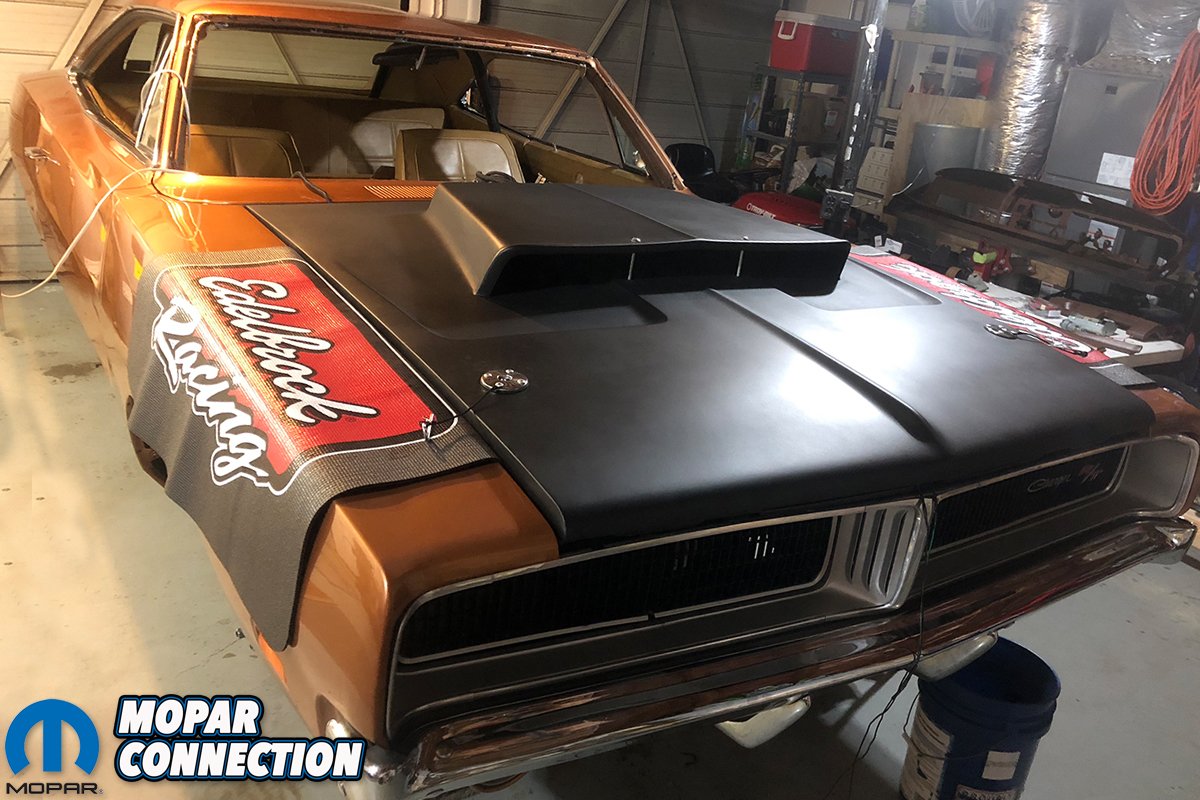
Above left: Since we had plenty of Organisol on hand, we pulled off Brazen’s super-cool A023-inspired barn door scooped fiberglass hood, and gave it a quick wet sanding before paint. Above right: Mike shot the hood careful to attack from several angles given the complex corners and angles of our VFN Fiberglass hood. Mike allowed each pass close to 30 minutes to dry before applying a new coat.
Now there’s an easier solution to get the same factory Organisol look and texture. A while back Mopar Connection found that a single stage urethane – DCC9355 urethane – when mixed right, will replicate the factory Organisol look and feel better than anything else. The rule-of-thumb regarding texture is that it should be gritty enough to catch a rag when dragged over the surface, but not enough to let it hang from it. Here’s the mixture formula:
- 4 parts DCC9355
- 3 parts DT reducer
- 1 part DCX61 hardener
- 1 part DX685 flattening additive
- ¼oz. (per pint of mixed paint) of DX1999 texture additive
To shoot the car’s tail panel (and the fiberglass hood, since I had enough paint to go around), I called Mopar Connection’s Tech Editor, Mike Wilkins who is an old hat at this stuff. Using a gun with a tip of 1.6mm or larger, Mike shot three-to-four wet coats of Organisol thinned with the slowest reducer I could find, allowing each coat to dry for about 30 minutes. Once dry, Mike counseled, “You can’t use polish or wax on this stuff. It’ll ruin it completely. Instead, clean with Windex and use a rag (not a terry cloth or microfiber towel) with Lemon Pledge on it. Wipe uniformly so you don’t have any streaks.”


Above left: Once our Organisol was dried, we needed to replace our trunk lid weather stripping since we had to peal most of it off to paint the top of the tail panel. YearOne came to the rescue with their better-than-factory , super soft trunk kit. Above right: Using 3M weather stripping adhesive, we glued our new trunk lid gasket in stages, letting it cure with the trunk applying pressure. This is a far slower process than what Chrysler did, but we’d rather have it look right rather than having it done right now.

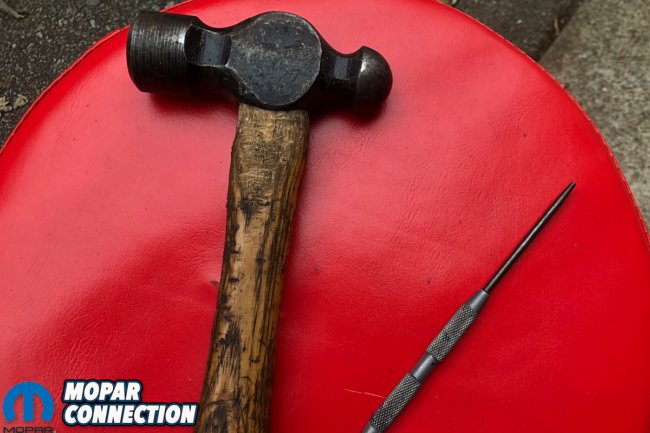

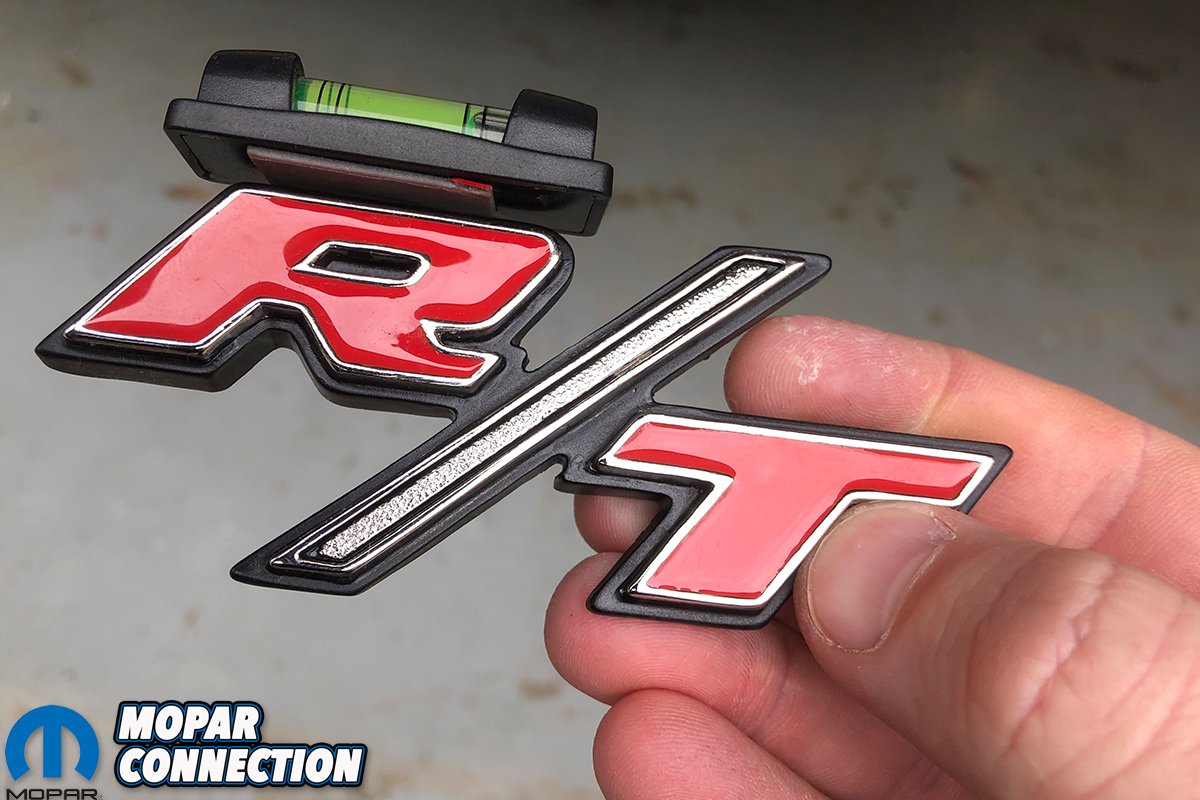
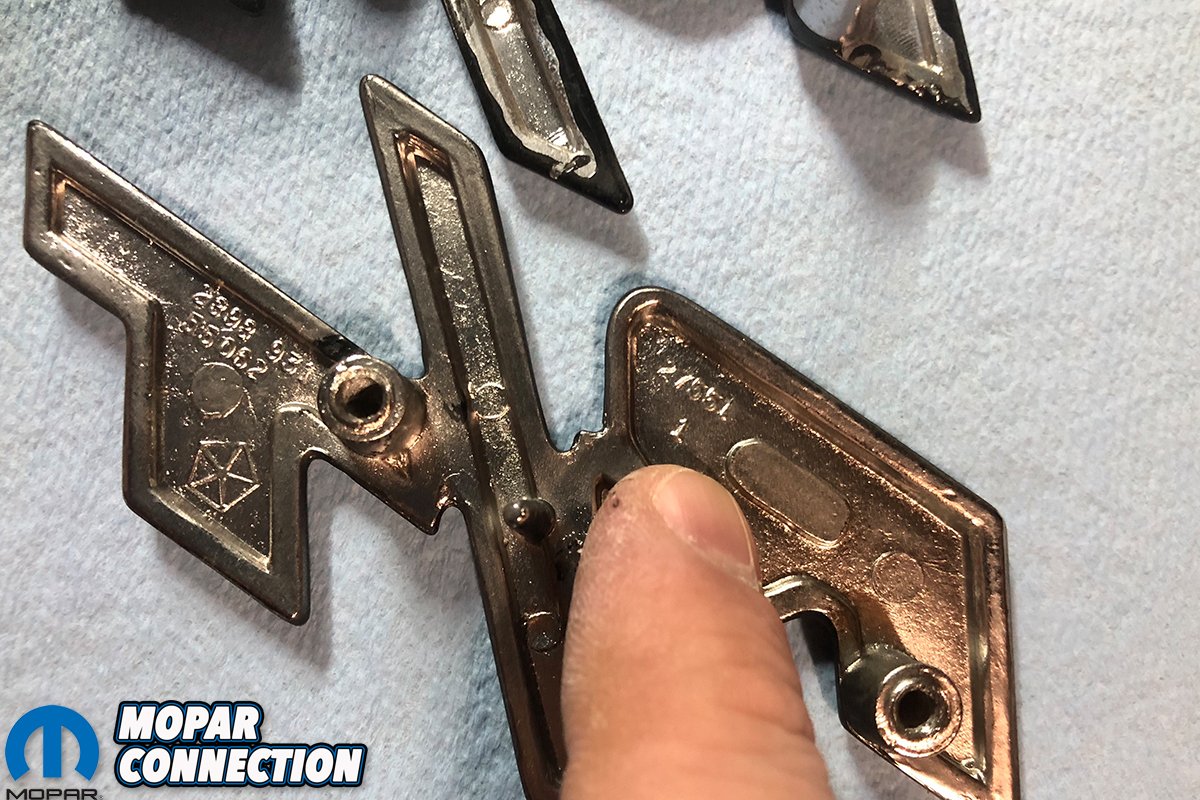
Above left: YearOne’s newest batch of OE-correct emblems are exactly that: correct. The paint, polish and casting is spot-on to original examples we’ve handled before. We were very impressed. Above center: Besides a drill and two drill bits, the other two tools we needed were a punch and ballpeen hammer. Above right: We also used this handy little magnetized bubble level we picked up for a dollar (and change) at NAPA. This would help us properly align the emblem so we could make our marks before drilling new holes into our fresh tail panel.
By this time, the new R/T badges had arrived. YearOne recently commissioned a new supplier for their OE-level restoration emblems. These are perfectly matched to the originals, with the proper casting numbers, insignia and mold flash marks. Frankly put, they’re perfect. Since I was upgrading our tail panel’s emblem (PT# VC2389), I figured I’d swap out my old flimsy grille emblem with a new YearOne piece (PT# VC8931) too. I reached out to the Mopar community online and also got the correct measurements for our emblem’s holes.
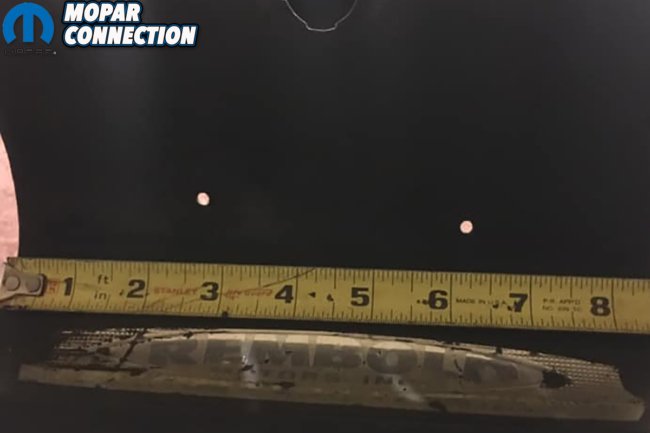
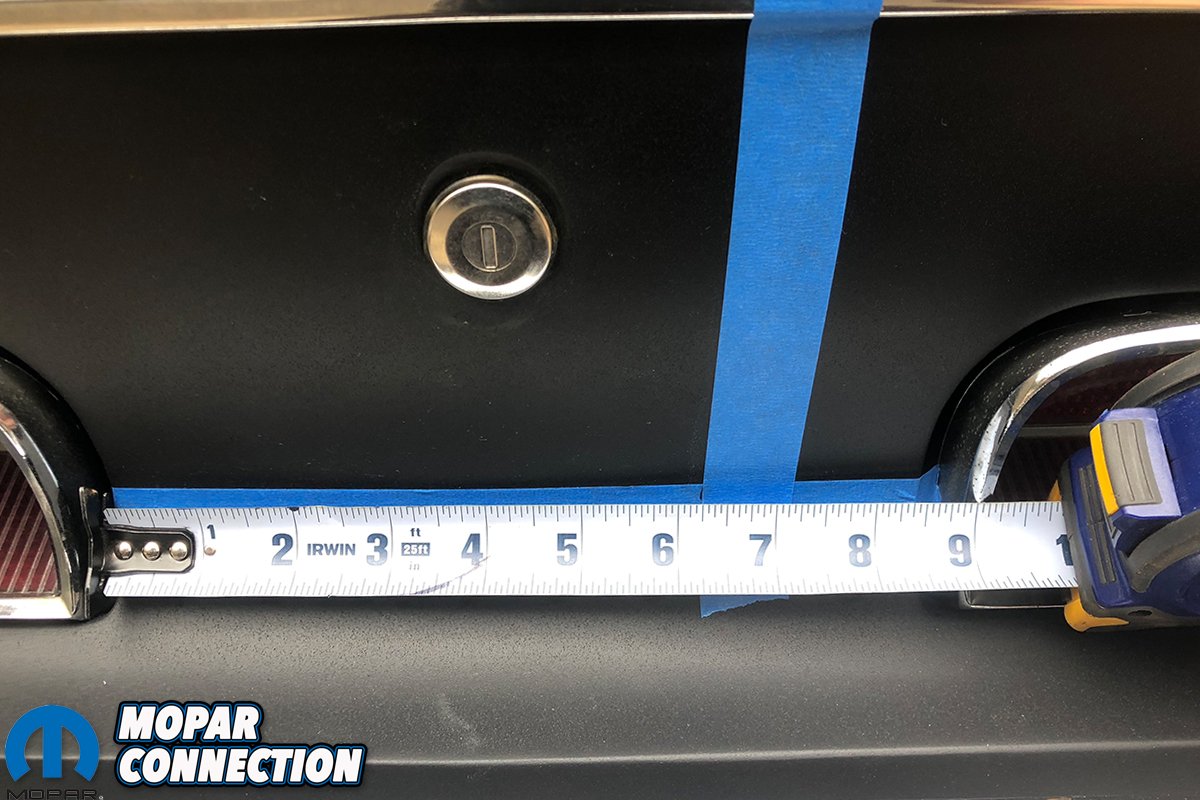
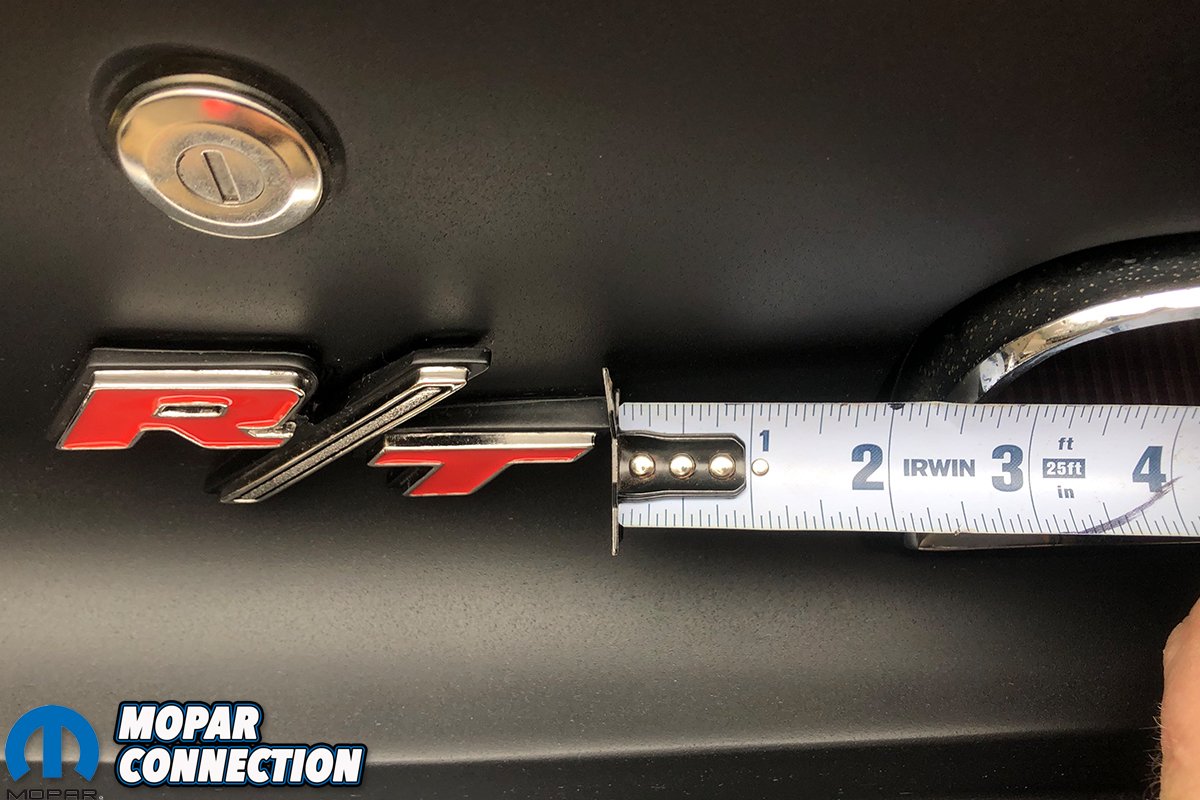
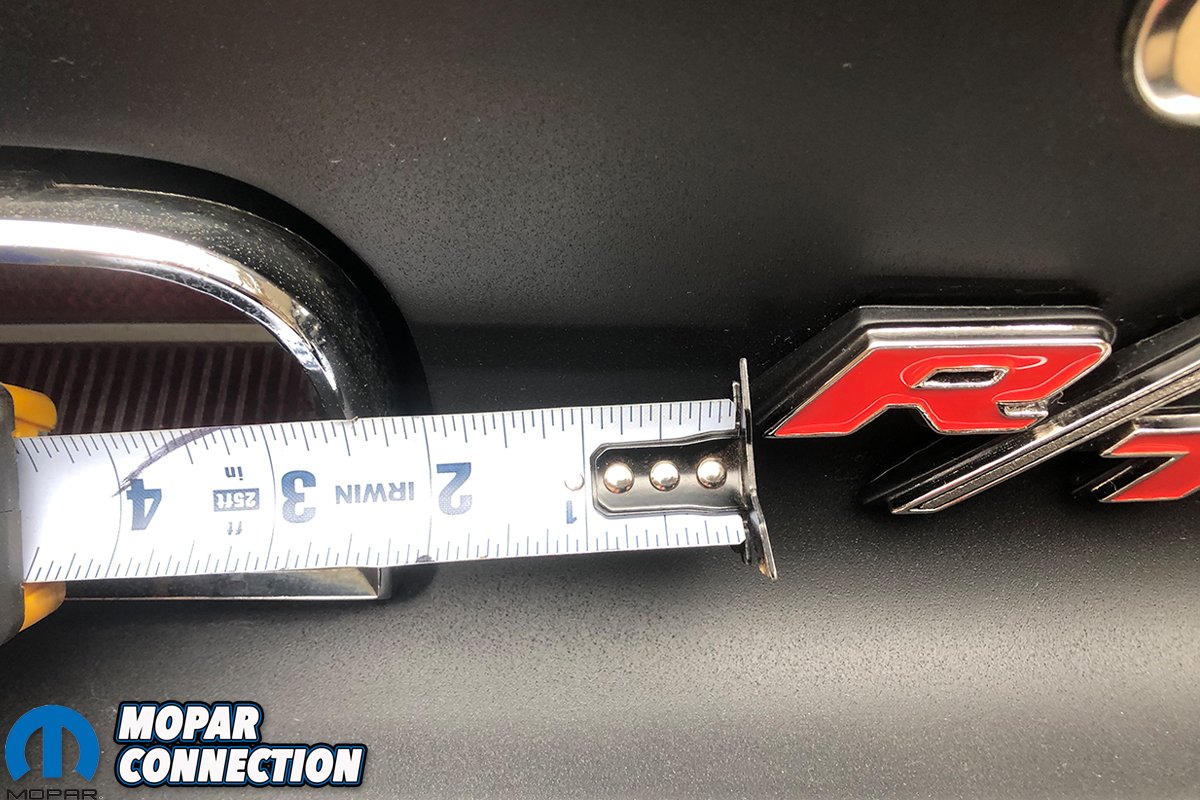
Measuring exactly 5-inches down from the panel’s edge, and 6.25-inches from the right hand side edge of the left side’s tail light, I made the first mark. From here, I attached a small bubble level to the emblem, and mocked up the badge to mark the second hole’s location. Careful to remeasure prior to drilling, I marked my spots with a dowel, and punched the marks. I began drilling a smaller pilot hole and then a larger to fit the emblem’s bosses.

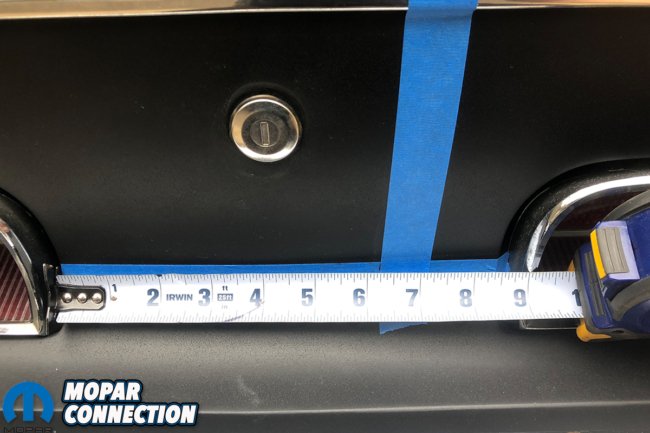
Above: A wise man never hesitates to ask for help when needed; we reached out to the B-body group on Facebook for help getting the correct measurements for the R/T emblem holes. Almost overnight we received private messages telling us the correct height and width measurements for the bottom-right hole (5-inches by 6.25-inches). From there we could measure, mark and drill the second, left side hole.

Above: Even with it loosely placed in (no speed nuts installed yet), the emblem looks perfect. Yes, the corner of the two tape strips mark exactly where the first hole was made. The second hole was made by mocking the emblem (with the bubble level attached) up to the tail panel and marking the point with our dowel.
When installed, the emblem should be equidistant from both tail light opening edges (2-inches). Additionally, the tail panel emblem is concave, so its curve edge should perfectly match the curve of the panel. If not, you’ve done something wrong. Thankfully, I was looking good. With that done, the tail lights went back in, the bumper back on and so on with the tail panel trim and locking mechanism. The final step was installing new weather stripping, as we had to remove our old rubber to paint the upper lip of the panel when shooting the Organisol.
Replacing the headlight door’s emblem was a bit of a chore, only because the screws are countersunk into the back panel. Believe it or not, it was simply easier to remove the headlight door and exchange the badge than to do so with the door installed. So after some fidgeting and some unsavory language, the emblem was traded out to the new OE-correct Year One piece. And with that, some very nice bits of factory-correct restoration was applied to our very factory-incorrect 1969 Dodge Charger.


Above: Double checking our work, we verified that our R/T emblem was properly centered between the tightlights – with 2-inches separating it from the tail lights on either side.


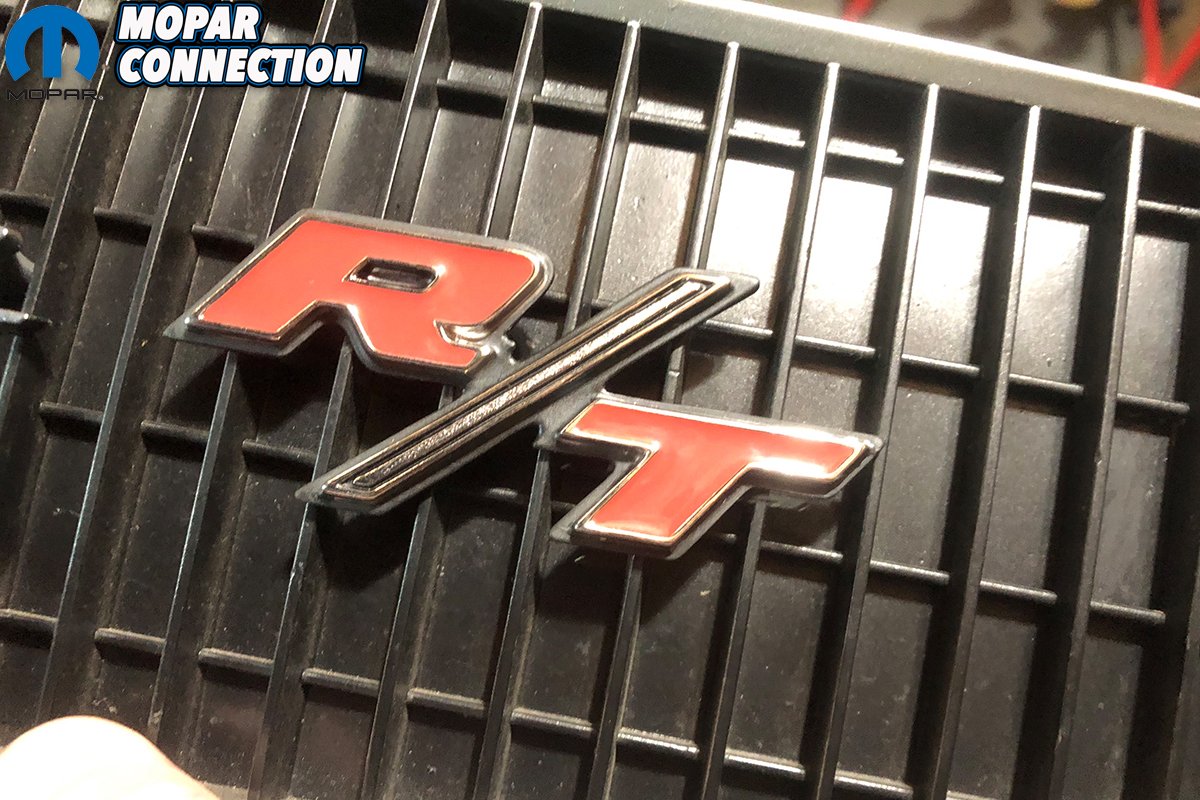
Above left: It took considerable effort, but YearOne perfected its OE-style emblems and badges. Notice the Pentastar logo, mold number and casting points – all correct to factory-specs. Above right: Our previous headlight door emblem was conspicuously flimsy and showed thin points that we certain to become brittle and break over time. The replacement emblem is cast thicker per factory.


Above left: Replacing the R/T emblem on the headlight door proved to be a chore, so we found it easier to reach the screws after simply removing the headlight door completely. Above right: YearOne’s factory-correct emblems look demonstrably better than the cheapo “repops” we picked up a decade earlier.
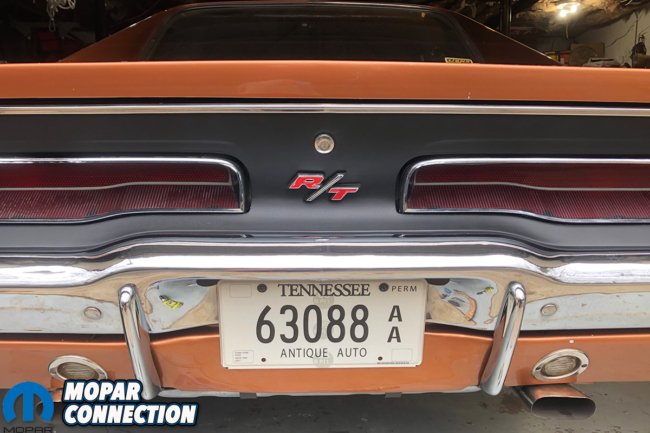
Above: The final result turned out better than we expected. Not only does our new OE-correct R/T badge look perfect, but our Organisol paint job has the right dull sheen and gritty texture like the car came with from the Hamtramck plant so many years ago.


