


Many car enthusiasts get the go-fast part of the performance build completed, or at least in the works, long before tackling how to stop safely. The vintage muscle cars often had front drum brakes, which were marginal at best.
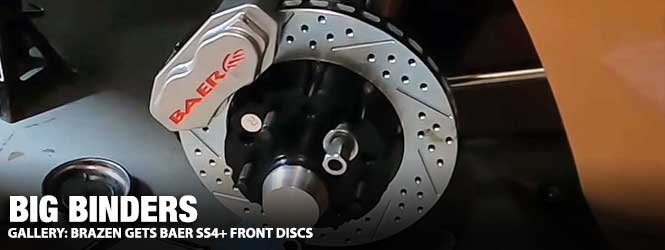
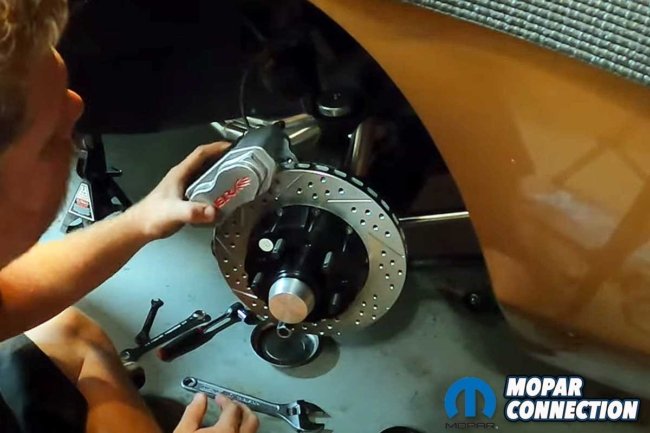
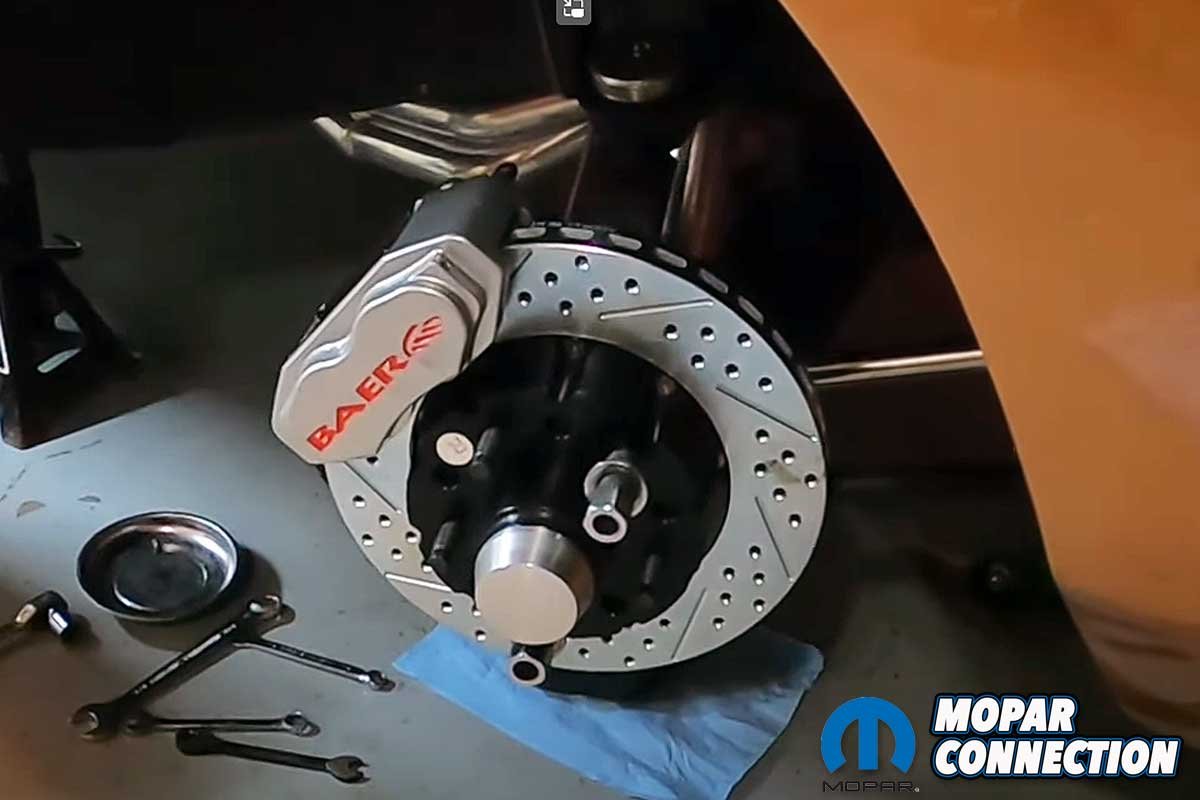
Above: Baer Brakes developed the SS4+ front disc kit to fit factory drum or disc front spindles. The rotors are 11-inch units, and the fixed calipers are a 4-piston design.
Countless Mopars were fitted with junkyard disc brake upgrades in the late ‘70s and the ‘80s. Unfortunately, even those parts left something to be desired, particularly if the vehicle’s speed potential was substantially increased compared to stock.
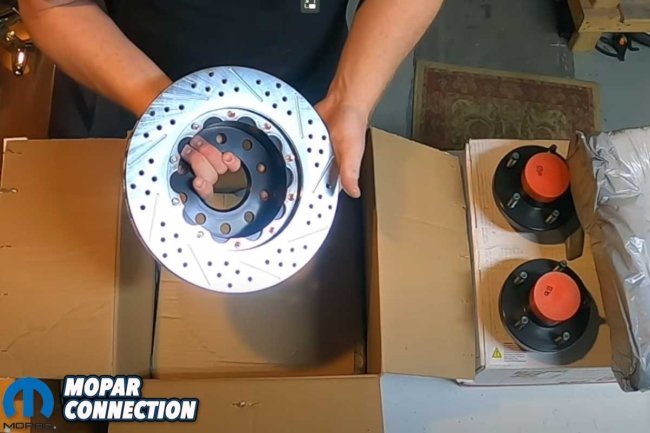
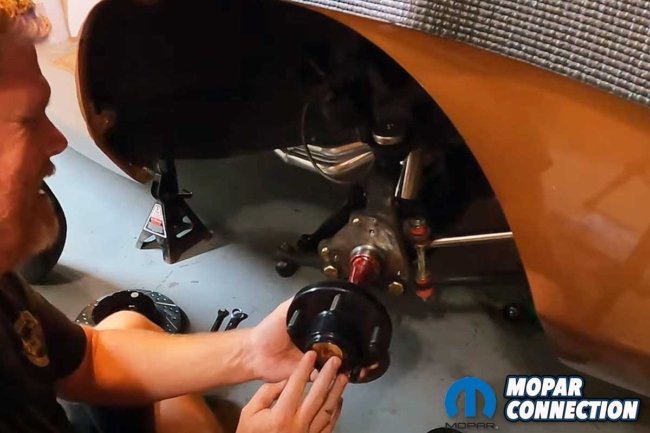
Above: The rotors are slotted, cross-drilled, and vented. Each front rotor is directional and is labeled accordingly. The hubs come ready to install.
The above scenario is like our project car, Brazen. The ’69 Charger started as a drum/drum (front/rear) car, and as performance mods were made to improve acceleration, the front drums were ditched for a pair of junkyard ‘75 A-body spindles, discs, calipers, and the mounting hardware. The discs performed adequately, but there had to be something better.

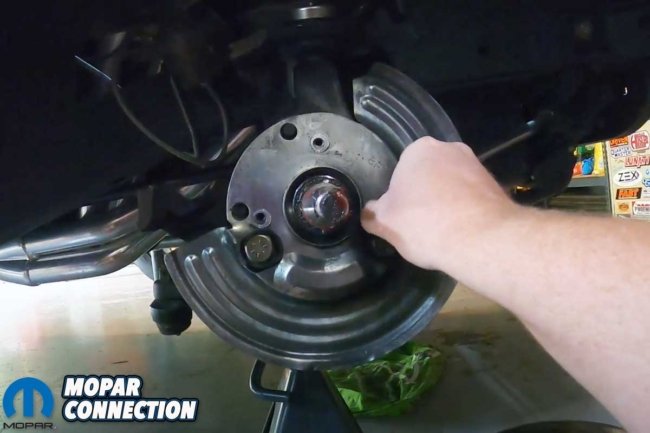
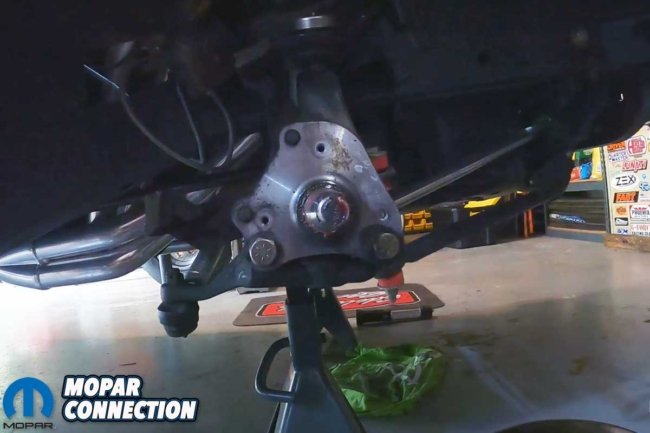
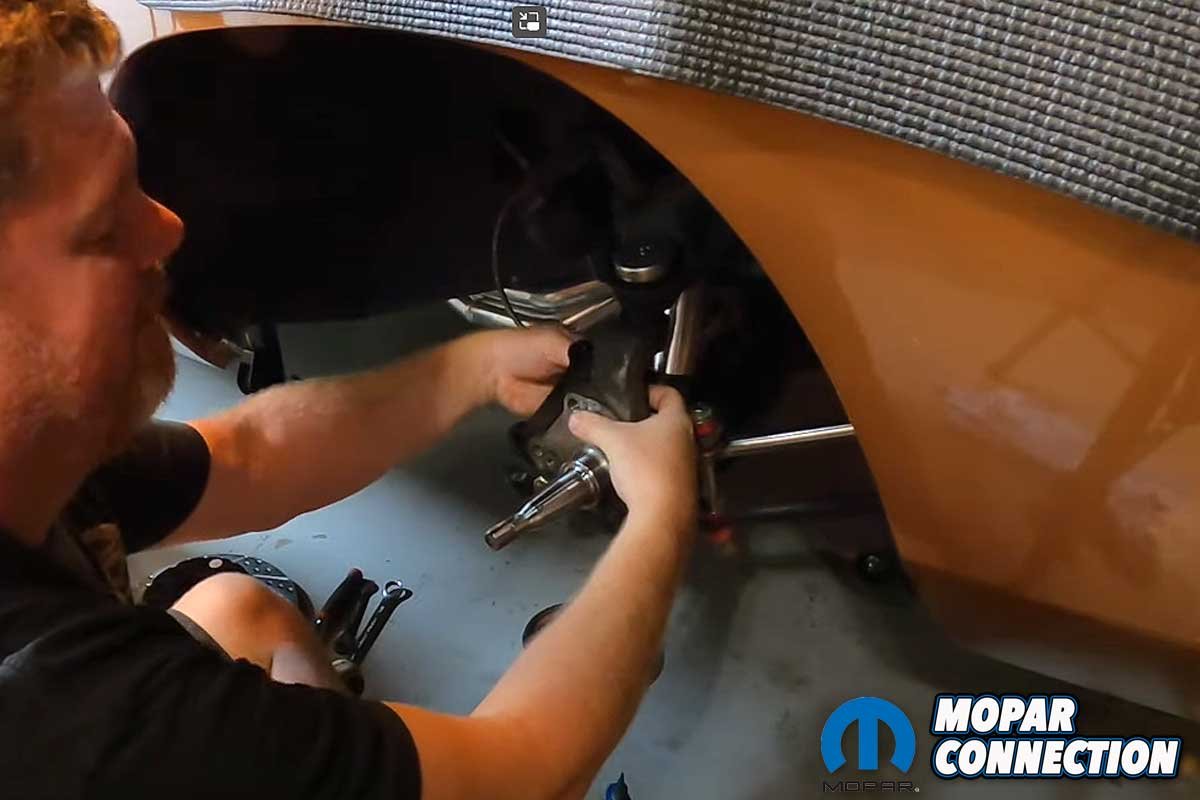
Left: The front drum brakes had been replaced with ’75 A-body spindles, rotors, and calipers. The spindle nut, bearings, and rotor were removed to install the Baer brakes. Center: The splash shield needed to be removed as well. Right: The anchor bracket was pulled, and the spindle was cleaned and inspected for damage.
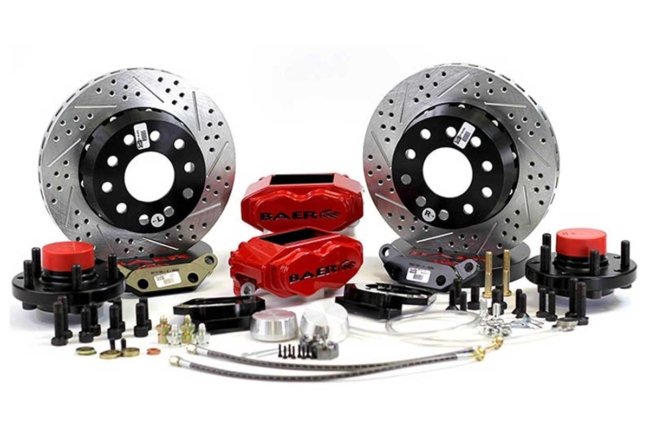
That something better comes from Baer Brakes, which offers 21st-century technology for the old Mopars. Baer has the SS4+ Brake System that includes a pair of 4-piston calipers and two 11-inch, two-piece slotted, drilled, and zinc-plated rotors. Each caliper has Department of Transportation (DOT) compliant dust and piston seals.
The bearings are pre-packed with Redline synthetic grease, and each hub receives a billet dust cap. In addition, the kit has mounting brackets, stainless braided hoses (DOT-approved), and stainless hardware. Lastly, each entire brake assembly will fit into a 15-inch wheel.


Left: The hubs arrived pre-greased with Redline grease. Unfortunately, the hubs had the incorrect bearings. Baer quickly sent the correct bearings, also pre-greased. Right: The caliper brackets required some machining to provide the proper location of the caliper over the rotor. Brazen was a rare situation that required the caliper bracket grinding because of the A-body spindle.
To work with the SS4+ kit, a Baer Remaster master cylinder was a perfect match. The master cylinder has a one-piece 6061 T6 billet aluminum body, a 15/16-inch bore with driver- and passenger-side ports for ease of installation, and a Mopar four-bolt mounting flange.
The mounting flange arrangement allows the Remaster master cylinder to be installed onto a power booster (power brakes) or to the bulkhead (manual brakes). The top plate comes with screw-on caps to allow spill-free filling. Baer also has a proportioning valve option to fine-tune the brake balance, front to rear.


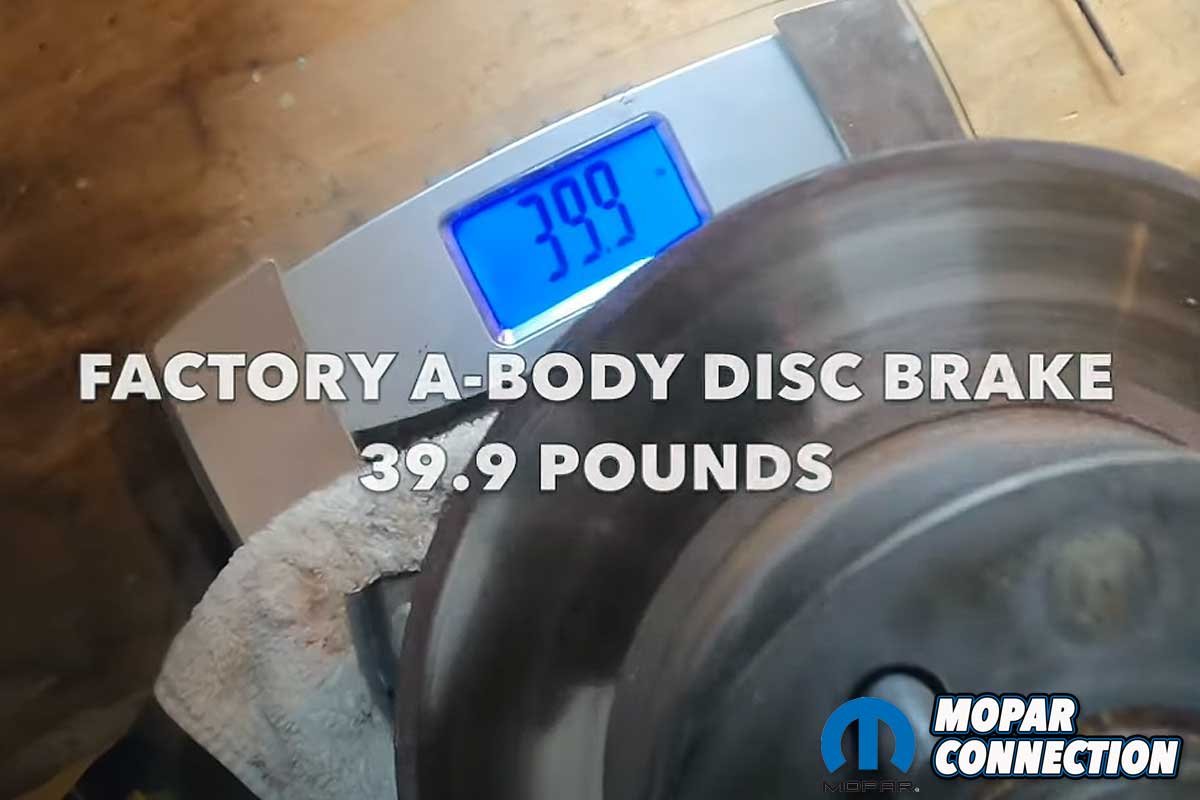
Left: The Baer SS4+ brake assembly (one side only) came it at 22.7 lbs. Right: The A-body single side assembly weighed 39.9 lbs. Brazen will benefit from the reduction in unsprung weight.
Before we started the installation of the Baer SS4+ brakes, we removed the sliding calipers and brake lines, rotors and bearings, anchor plates, and splash shields. Next, we cleaned the spindles and inspected them for damage. Luckily, we found none, so we were ready to start the installation.
After a little hiccup, we received hubs fitted with the smaller inner diameter bearings, but Brazen had a larger-sized spindle from our two-decades-old drum-to-disc swap. Baer quickly sent the correct bearings out to us.
Our second modification resulted from the caliper location. Baer supplied plenty of shims to locate the fixed caliper over the rotor. Still, because of casting anomalies of the factory spindles and the machining of the brake caliper anchors, the caliper would be significantly off centered.
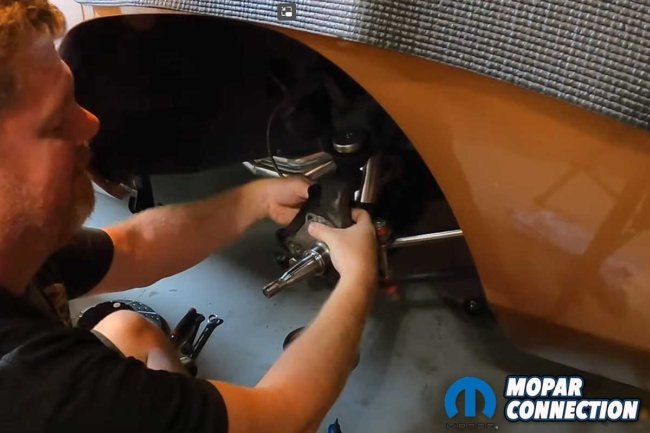

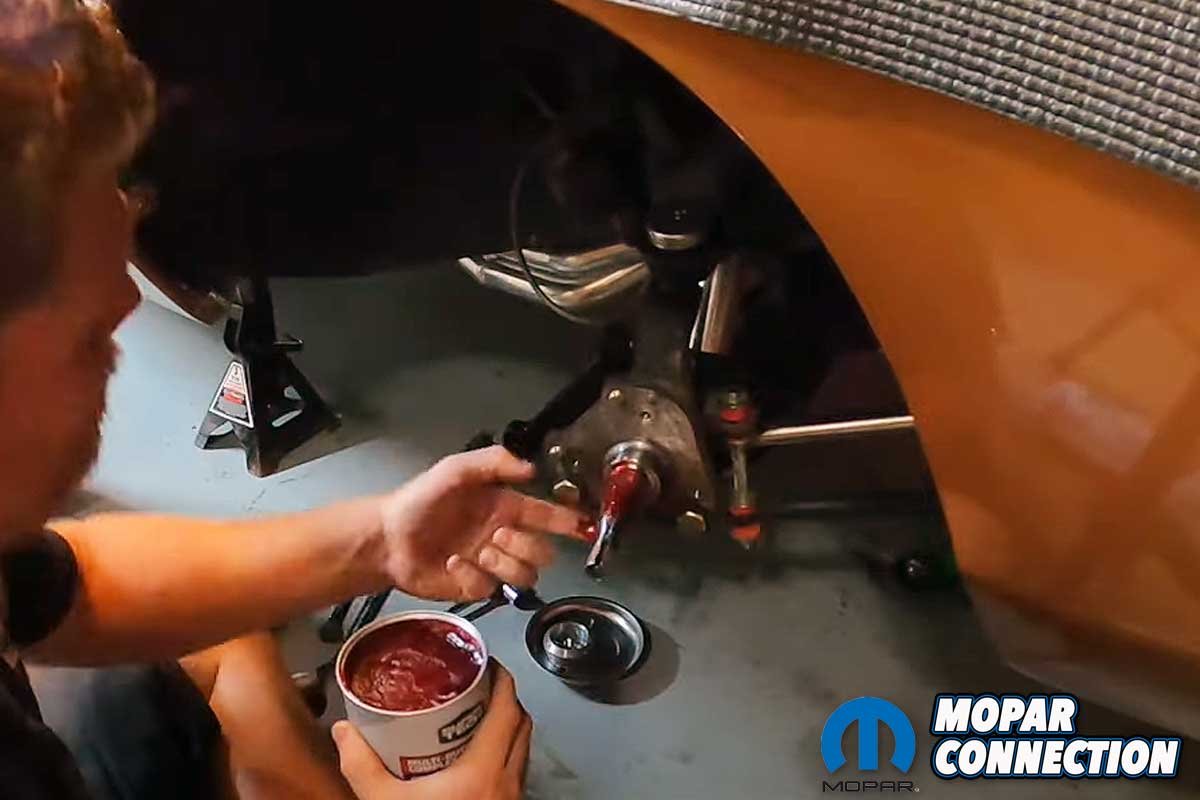
Left: The modified caliper bracket fits the contours of the spindle. It was attached with two fasteners coated with a thread locker. Center: The spindle was covered with a small amount of red grease. Right: The hub with the greased bearings slipped onto the spindle. The outer bearing washer key engaged the spindle.
Our fix was to “machine” the caliper anchor brackets to center the caliper over the rotor without needing excessive shims. After massaging each bracket, we test-fitted the calipers, and the caliper’s centerline aligned with the rotor’s centerline. Each vehicle is different, so using shims may be all that is necessary for most applications.
Before we installed the Baer brake assemblies, we took the time to weigh one factory brake assembly and one Baer assembly, and the Baer unit was appreciatively lighter (39.9 lbs vs. 22.7 lbs). As a result, Brazen will benefit from the 34 lbs (17 lbs per side) reduction in unsprung weight and have an improved response from the shock absorbers to keep the tires in contact with the ground more efficiently.

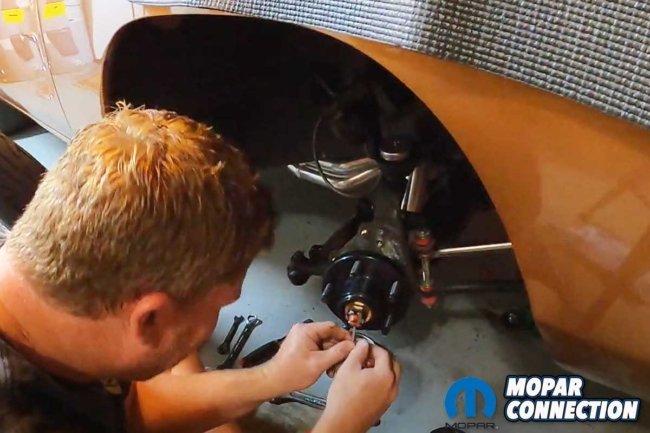

Left: The spindle (castle) nut threaded onto the spindle against the washer. The nut was torqued and then backed it off until the hub rotated freely. Center: A cotter pin slipped through the castle nut to ensure the nut would not back off. Right: The Baer dust cap sealed the hub assembly. It keeps dirt and debris from contaminating the bearing grease.
The assembly of the new front brakes was simple after the caliper bracket modifications. Starting on the passenger side, we installed the caliper anchor brackets. The anchor’s bolts were torqued to spec after applying a thread locker.
With the anchor bracket installed, we smeared a thin layer of Redline grease onto the spindle. Next, we slipped the hub with its pre-packed bearings onto the spindle. The spindle nut was torqued and backed off until the hub rotated freely. Finally, the nut was secured with a cotter pin.

Left: A pair of lug nuts threaded onto the lugs held the rotor in place. The caliper slipped over the rotor. A few shims properly located the caliper over the centerline of the rotor. Right: Two caliper bolts secured the caliper to the modified caliper bracket. The 4-piston fixed caliper design is a significant improvement over the single-piston sliding factory piece.
The rotor was installed onto the hub, and we tightened two lug nuts to secure the rotor to the hub flange. The caliper with the pads installed was placed over the rotor. We used a minimal number of shims to center the caliper properly. The caliper bolts were coated with a thread locker and tightened. We performed the same procedure on the driver’s side of Brazen.
With the front discs completed, our focus moved to the Remaster master cylinder. Mounting the master cylinder would not be a problem. Yet, the Remaster’s proportioning valve, located under the master cylinder’s body, would require the stainless-steel brake lines on Brazen to be cut, bent, and re-flared to line up with the valve.
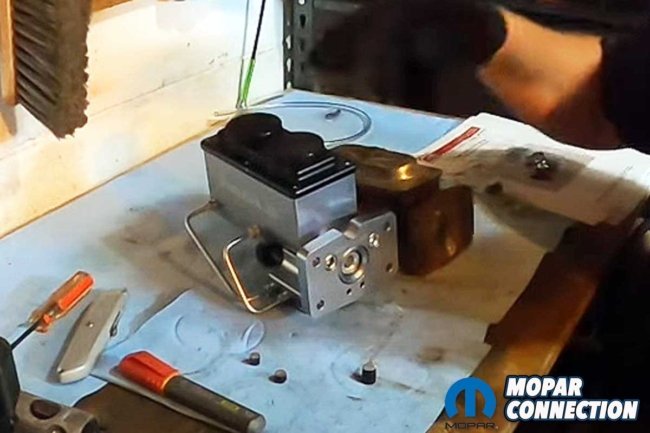
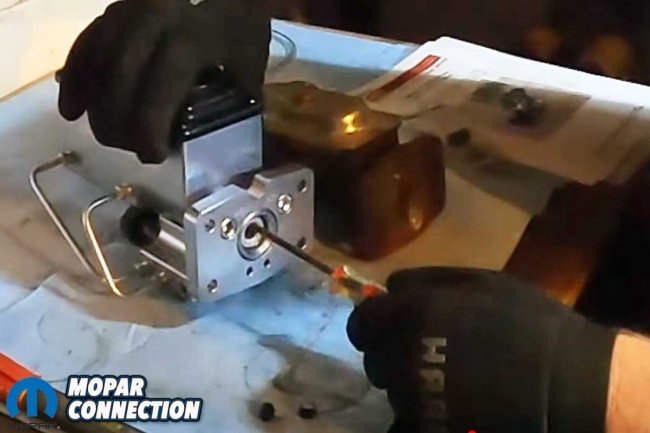
Left: The Remaster master cylinder is an excellent upgrade over the factory cast iron master cylinder. The Remaster has the same 4-bolt mounting flange as the original. On the underside of the Remaster, Baer located the proportioning valve. Brazen did not need the proportioning valve. Right: The Remaster’s primary piston had a deeper pedal pushrod hole than the factory piece. A series of cuts of an insert included with the kit got the pedal pushrod hole to the same depth as the factory unit. At the bottom center of the photo, insert trimmings can be noticed.
Before we installed the master cylinder, we made several measurements to ensure the pedal push rod length was correct. The factory pushrod was too short. However, Baer provided a pushrod insert, which was close to what we needed. After repeated trimming and testing, we established the correct length for the insert to provide us with the proper dimension.
After fighting to cut, re-bend, and flare the stainless-steel brake lines on Brazen, we finally removed the stainless lines. Afterward, we installed a pair of more easily manipulated steel brake lines (unfortunately, with an unattractive, green-colored coating).


Left: To fit the aftermarket stainless-steel brake lines to the Remaster, attempts were made to cut, bend, and flare each line. Center: The stainless lines proved to be challenging to re-bend. After we manipulated the lines to fit, they continued to leak. Right: The fix for the leaking stainless-steel lines was to remove them and install steel brake lines. The steel lines were easier to manipulate into the shape desired.
Although we had planned to use the proportioning valve, we ended up leaving it off our installation. Brazen is not raced on road courses or at auto-cross events, so we felt the braking system would be acceptable without it, and of course, we could always add it later if necessary.
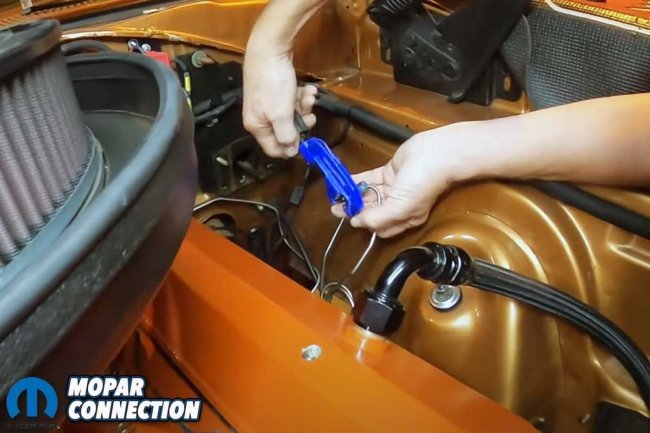
The last step of the disc brake upgrade was bleeding the brakes. We bench-bled the master cylinder before the installation, so it was reasonably free from air, but the new brake lines and calipers needed to have the air purged.

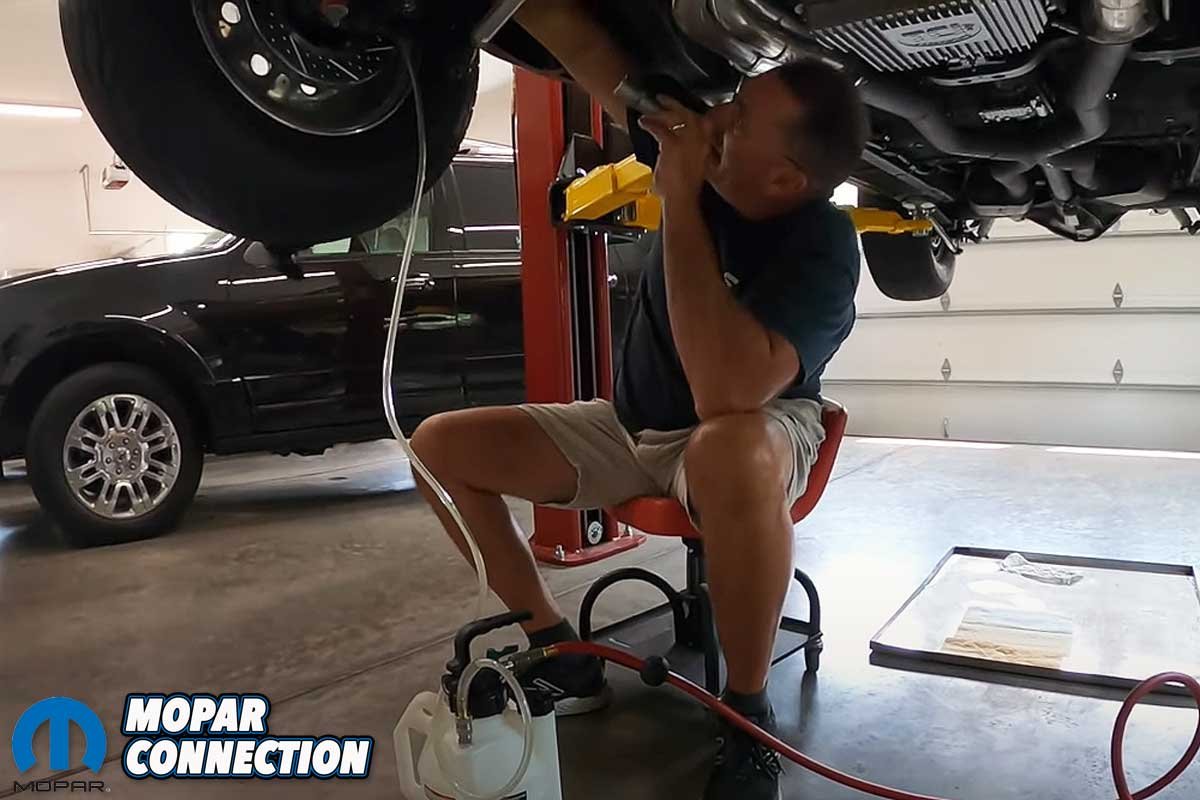
Above: After bench bleeding the master cylinder and manually bleeding the brakes several times, the brake pedal continued to remain soft. Finally, a friend offered his vehicle lift and vacuum bleeder. The use of a vacuum pump helped extract additional air from the system. A mallet was gently tapped on the caliper during the vacuum to free any air bubbles from the calipers.
To remove the air, we pumped the brake pedal several times, then held the pedal to the floor while a helper opened the inner bleeder screws on the right front caliper. Next, we continued the process at the left front caliper. The procedure was repeated several times because we still had a “soft” pedal, which meant we did not successfully have all the air out of the system.
Help with the situation came from a friend with a vehicle lift and a vacuum bleeder. The lift made the job more comfortable, and the vacuum bleeder helped extract the air from the system. Because the calipers were machined aluminum, gently tapping the caliper with a mallet helped dislodge any air stuck to the machined surfaces.
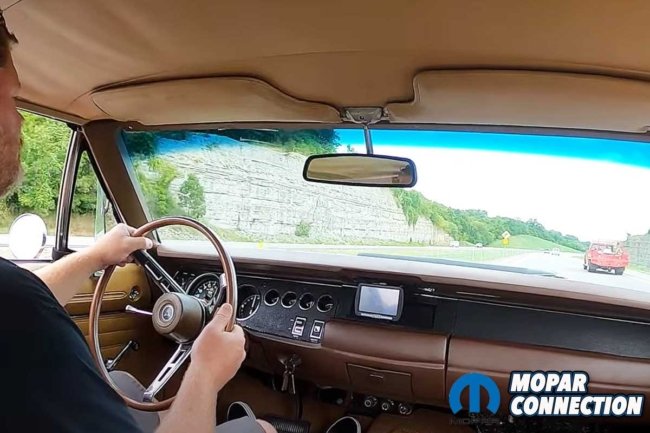
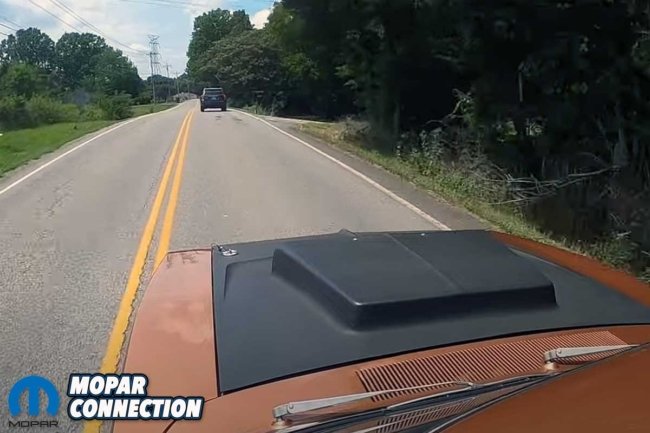
Above: After vacuum bleeding the brakes, the Baer break-in process was performed to ensure the brake pads were bedded correctly to the rotors. The break-in procedure required driving on the highway and back roads.
With the braking system bled, we test-drove Brazen. We followed the break-in procedure (bedded the pads) described in the Baer instruction booklet. After the break-in was completed, Brazen’s stopping power was reliable and consistent.
We noticed the brake pedal still felt soft, so we will likely attempt one more brake bleeding session. Besides a slightly different pedal feel compared to the factory discs, we are pleased with the Baer kit. We did not think adding the adjustable proportioning valve was necessary after several hard-braking tests.
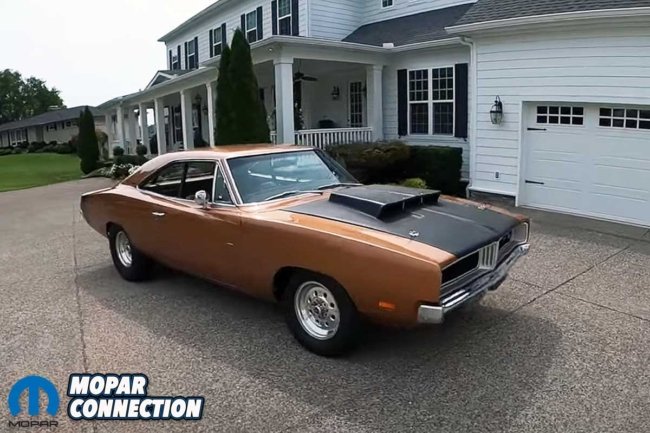
Above: Brazen’s latest upgrade moves the braking of the Charger from the ’70s to the modern era. Because of previous modifications, a few Baer parts required some massaging, but the effort was worth it. The rotors fit perfectly inside the 15-inch Weld Wheels.
Suppose a brake upgrade is necessary on your Mopar. Whether a swap from factory drums or an upgrade from stock disc brakes, Baer has the kit to complete the conversion. Baer also offers plenty of Remaster master cylinders with the proper bore sizing for your application.
For the best braking results, the recommendation is to contact the Baer representatives with the information about your Mopar and make all the necessary measurements they request. The result will be a braking system that will exceed anything Chrysler made during the muscle car era.


Great article and worth considering.