


The first step of any restoration is evaluation, disassembly, and chemical stripping. This is where the MCR team learns what’s good, what’s bad, and what can be repaired. It involves the complete disassembly of the entire car. Every last nut and bolt is removed, photographed, labeled, bagged, and carefully stored. Many of these parts are rare and valuable, so it is vital they are properly identified and restored to like-new condition.
While much will be learned during disassembly, the true condition of the body is revealed only after everything has been stripped away. A good percentage of the cars that MCR sees have been “restored” once already, perhaps as far back as the 1980s or 90s. What’s often found under the previous work, however, is much closer to collision repair than legitimate restoration work.


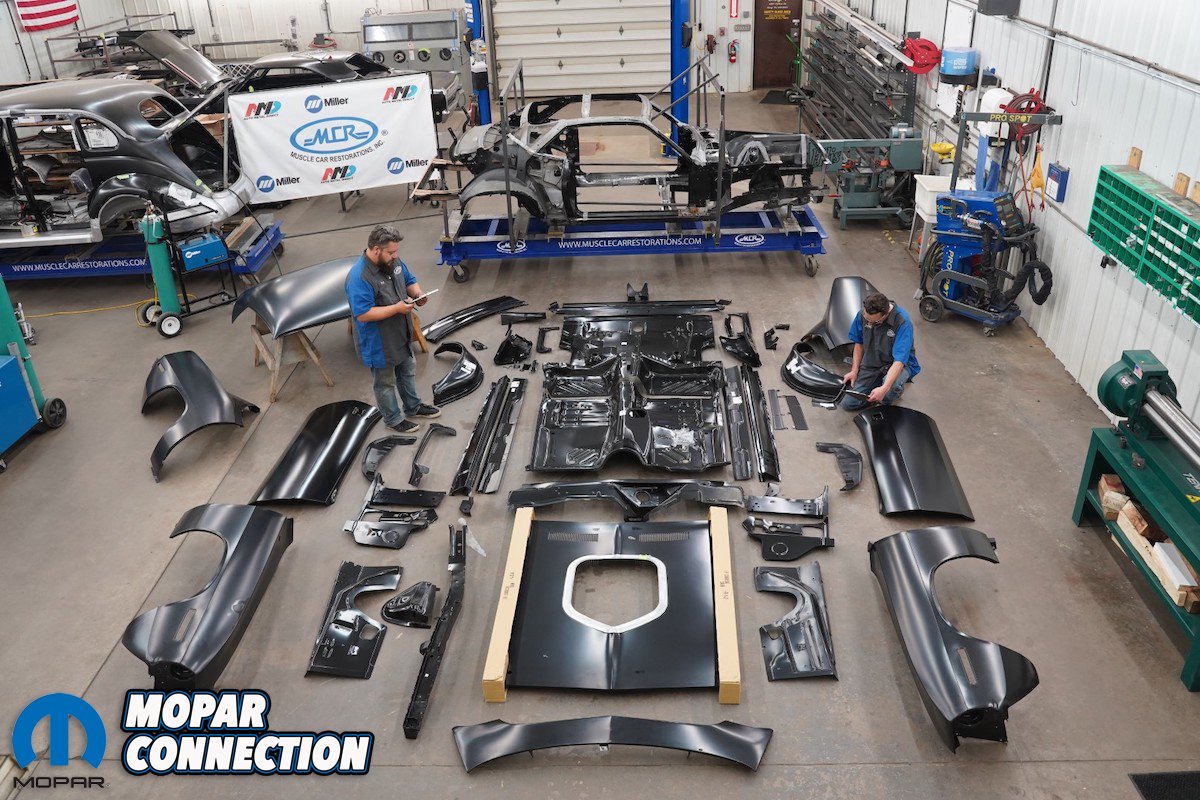
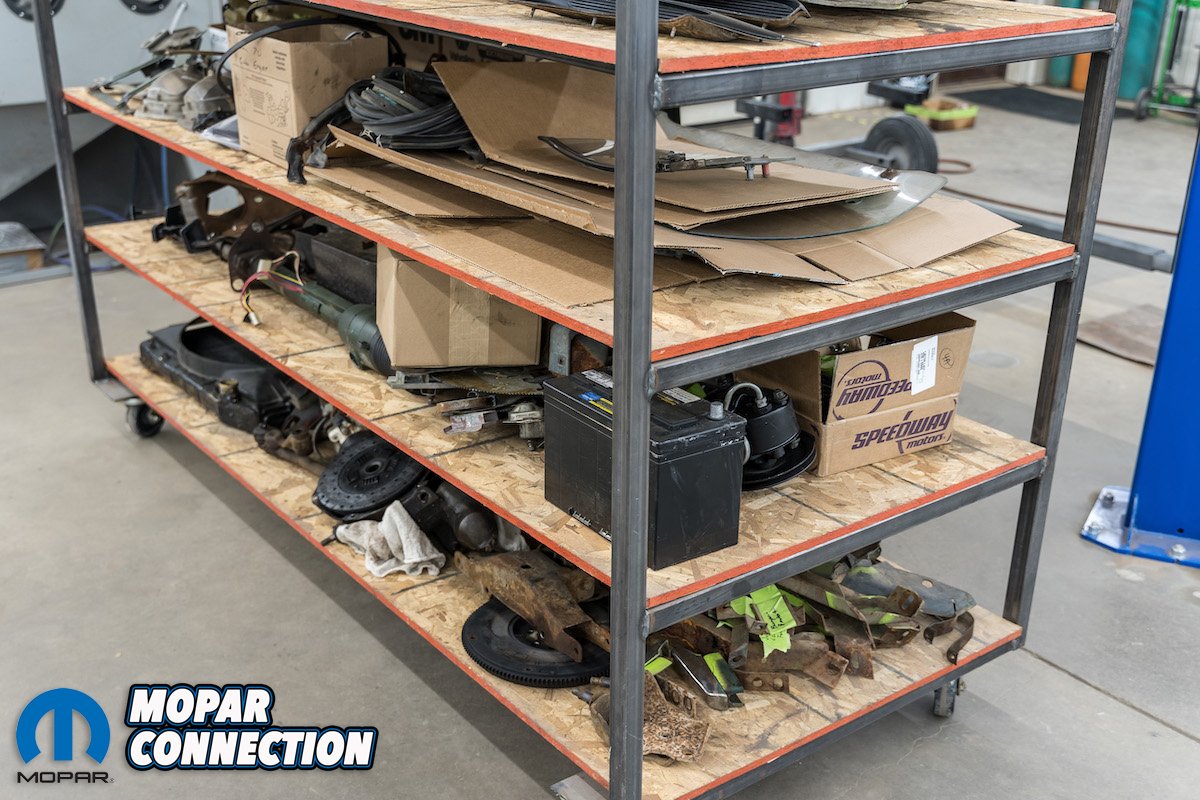
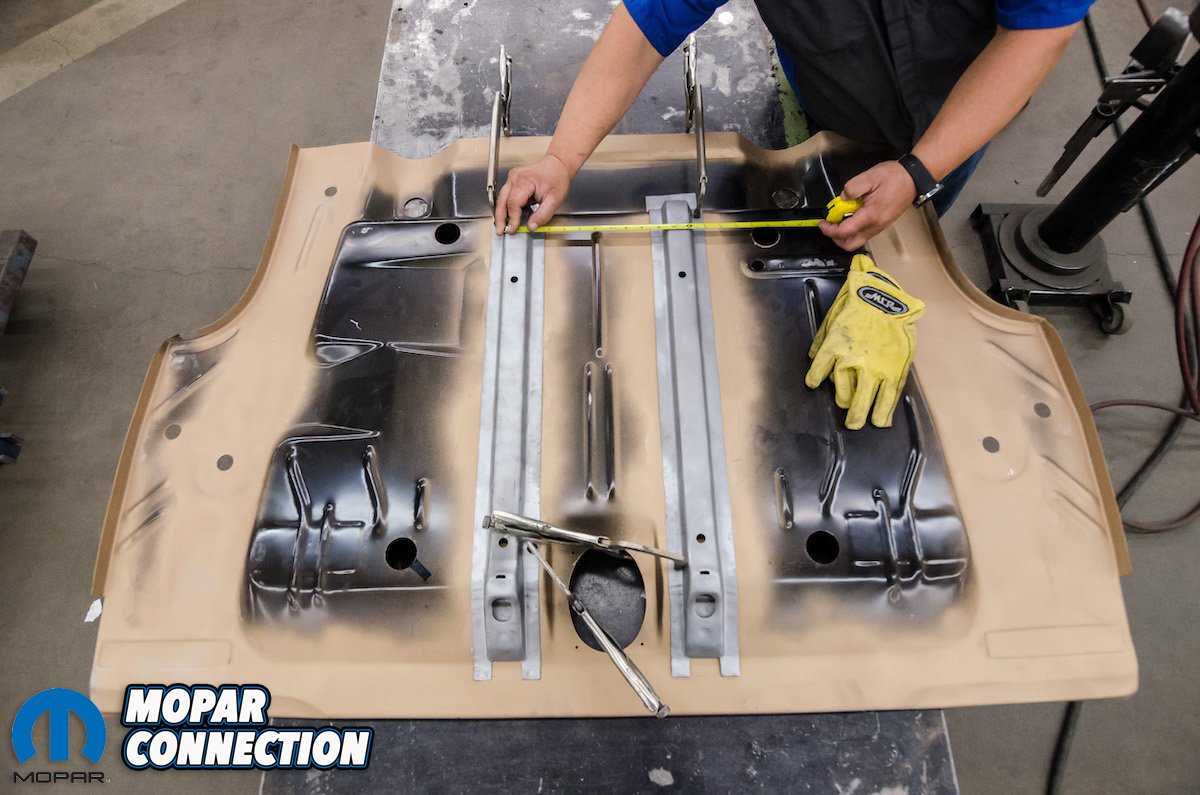
Above left: As each sub-assembly is removed, it is evaluated, photographed, bagged and stored. Everything is kept though not everything will be reused. The default is to always restore and reuse when practical but many times it’s simply more efficient to replace items that are accurately reproduced. Owner preference has the priority here. Above right: It’s vital that everything is kept together so each car has its own parts cart. This keeps everything in one location. Larger parts such as engines, transmissions, rear ends, hoods, doors, fenders etc. are labeled by owner and stored on warehouse style racks.


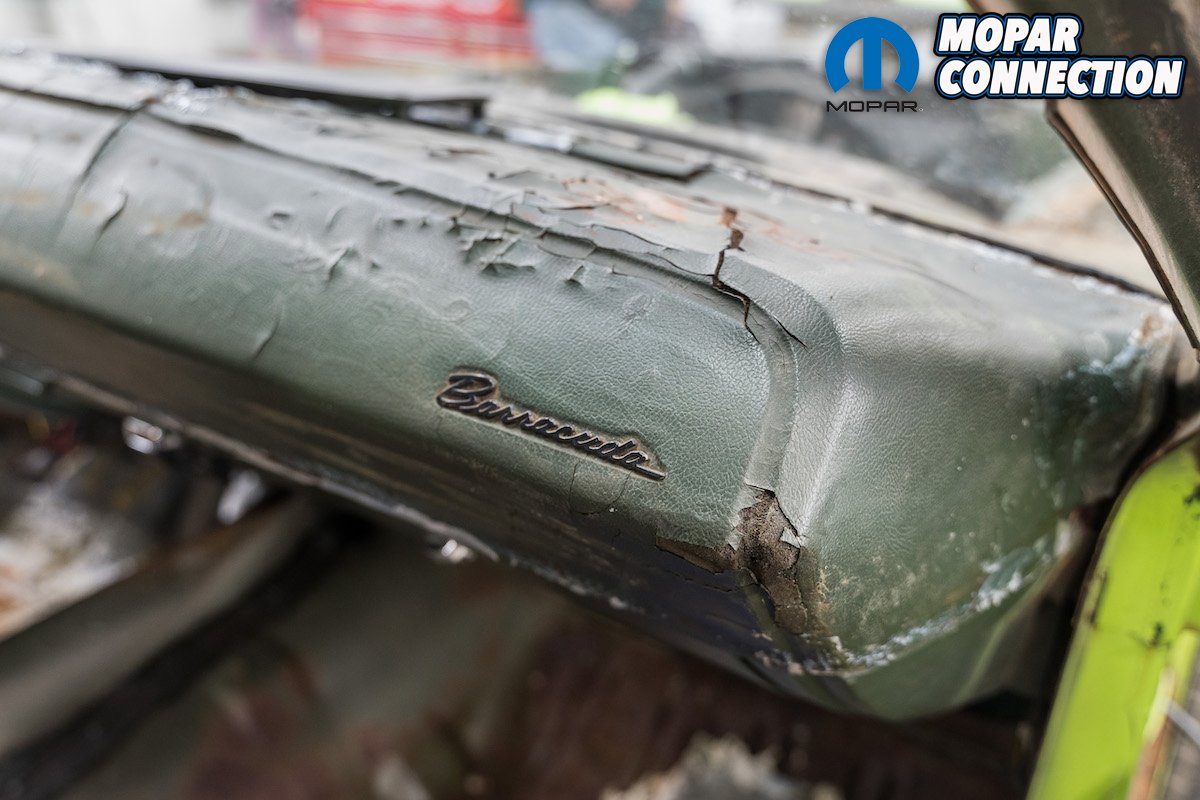
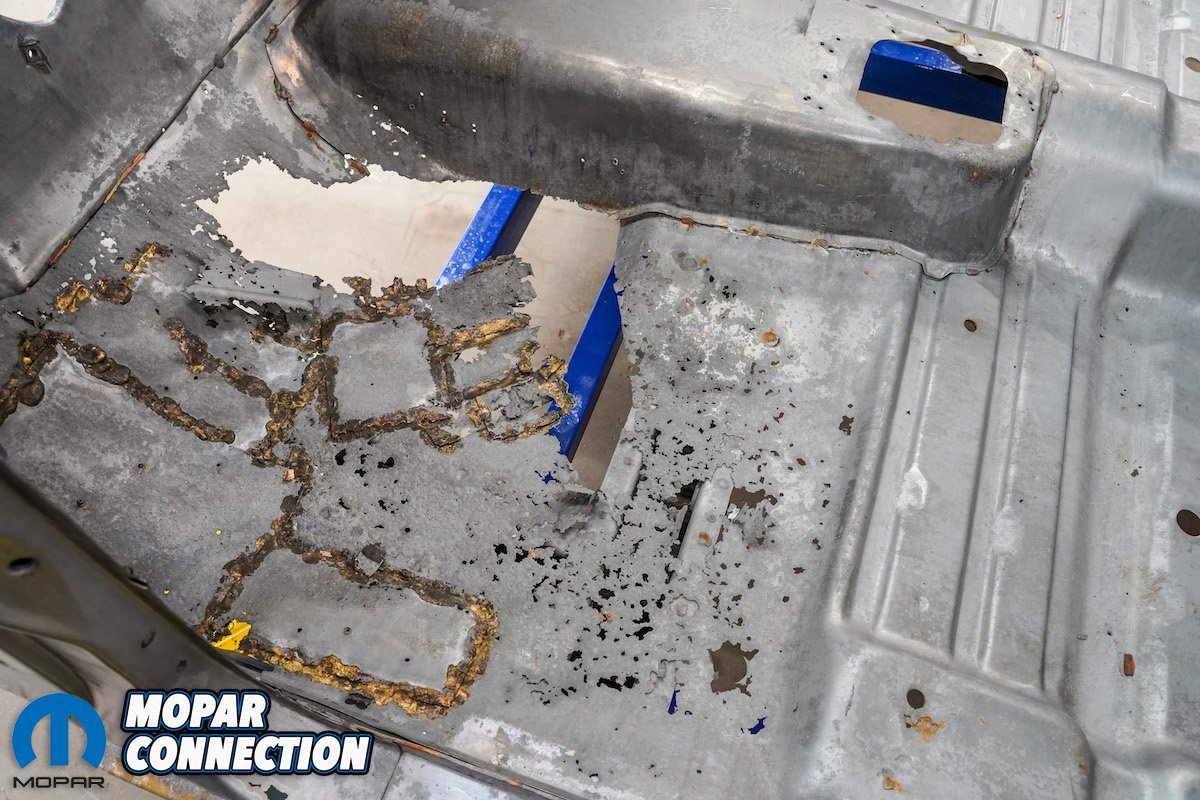
Above left: Likewise, dash pads are usually damaged from exposure to the sun and John’s is no exception. Most are not this bad but even if it’s just faded or warped, it’s almost always best to replace it with a new one. Above right: This is never a good sign. With the carpet removed, this large patch panel was revealed. One can only imagine what’s hiding under it.
The short version of the story is that there is usually much more damage to the sheet metal than can be seen during an initial inspection. None of this concerns the metal team because they’ve dealt with it for many years. The vast majority of the sheet metal parts that are needed are readily available, and those few that aren’t will simply be rebuilt by hand.
John’s ‘Cuda is fairly typical of the condition that MCR finds in most of the cars that come into the shop. Once back from being chemically stripped, extensive rust damage was found throughout the body. Now that the body is stripped completely naked, the team in MCR’s metal shop can accurately determine what will be needed to put it all right again.


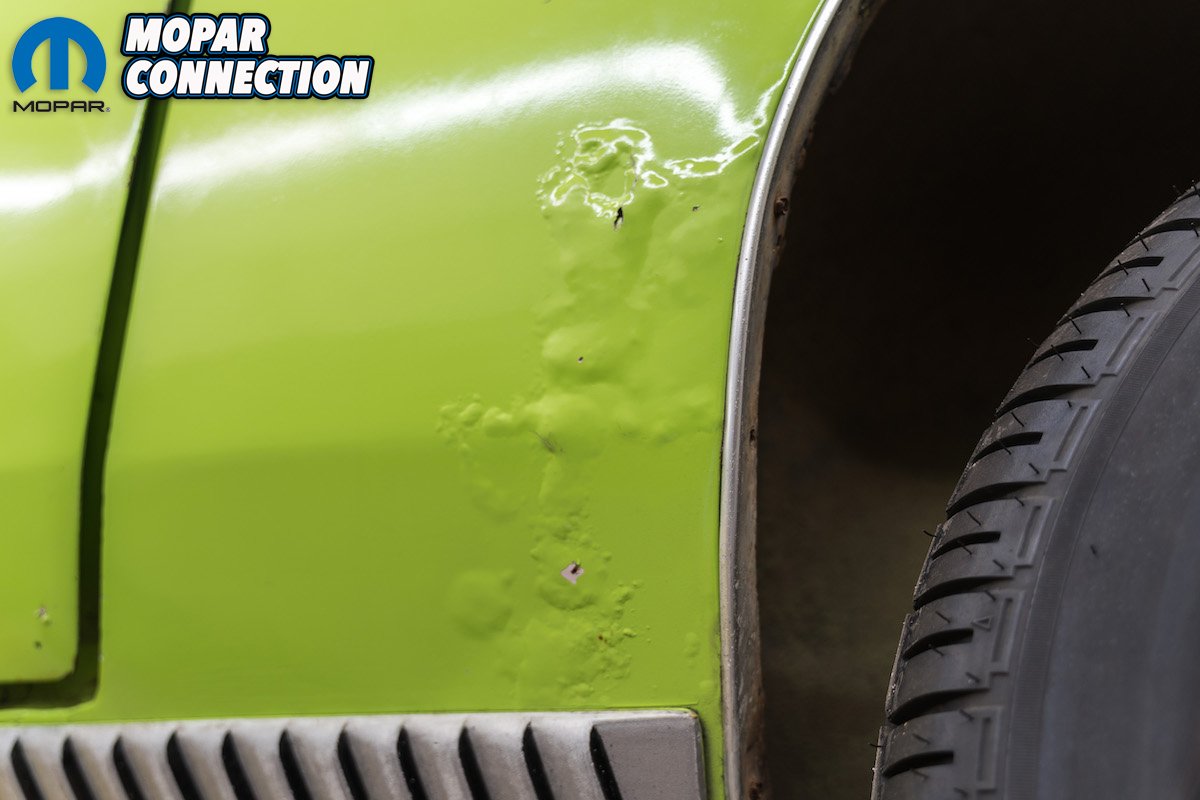
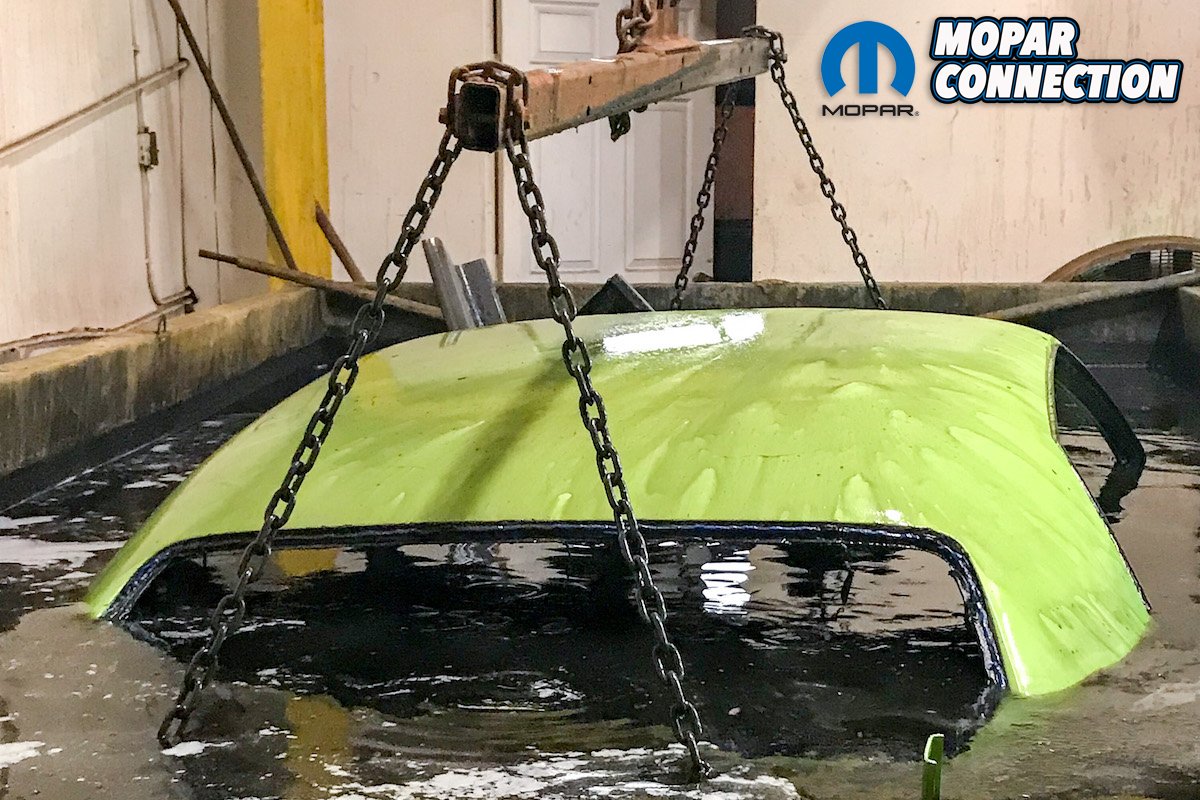
Above left: Obviously there is some rust damage about to come through the paint on this part of the quarter. Maybe it’s not too bad underneath. Above right: The only safe way to remove all the paint and body filler from the body shell is through chemical stripping. MCR uses an alkaline process that does not etch or harm the sheet metal in any way like an acid bath would.


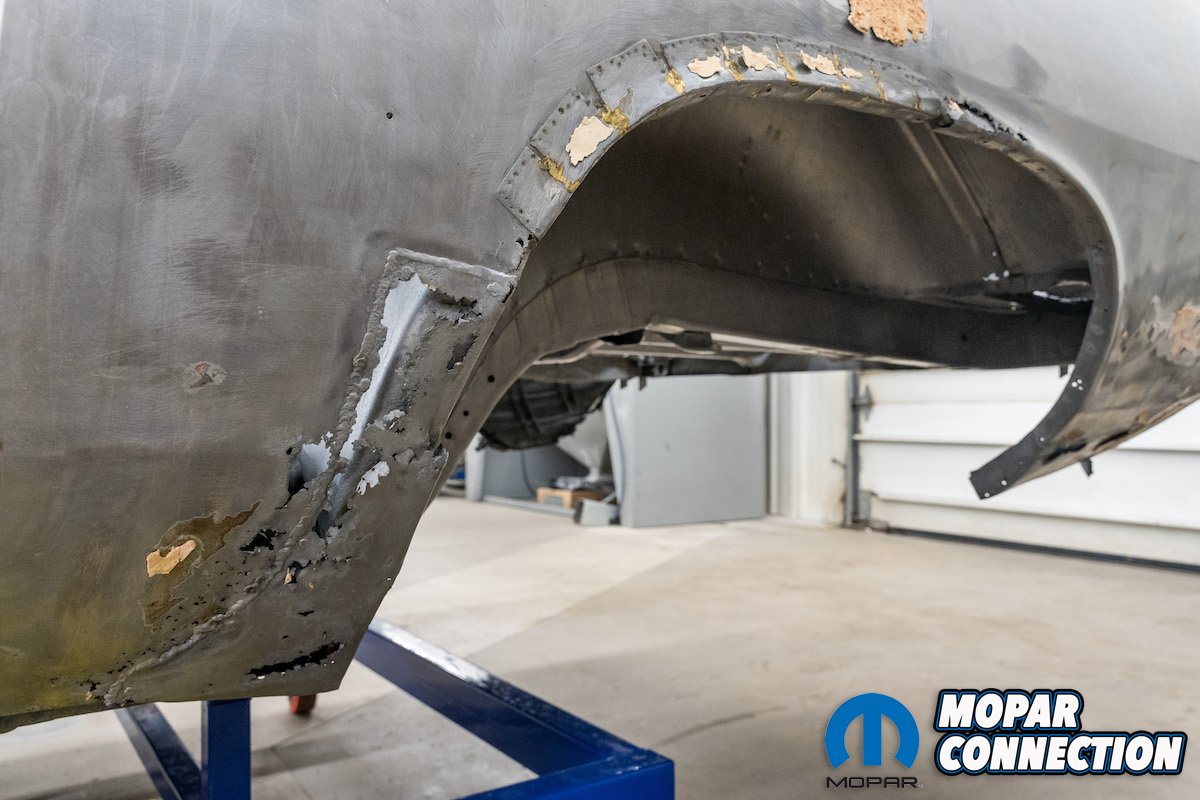
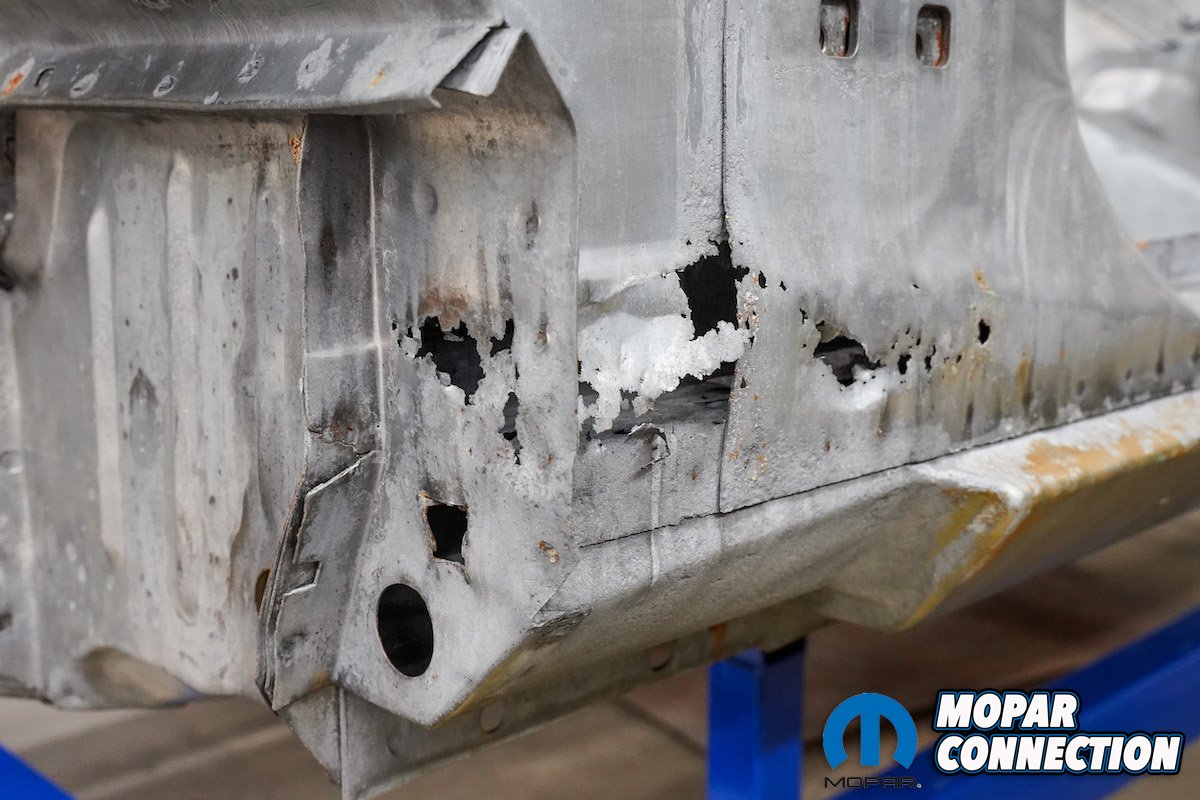
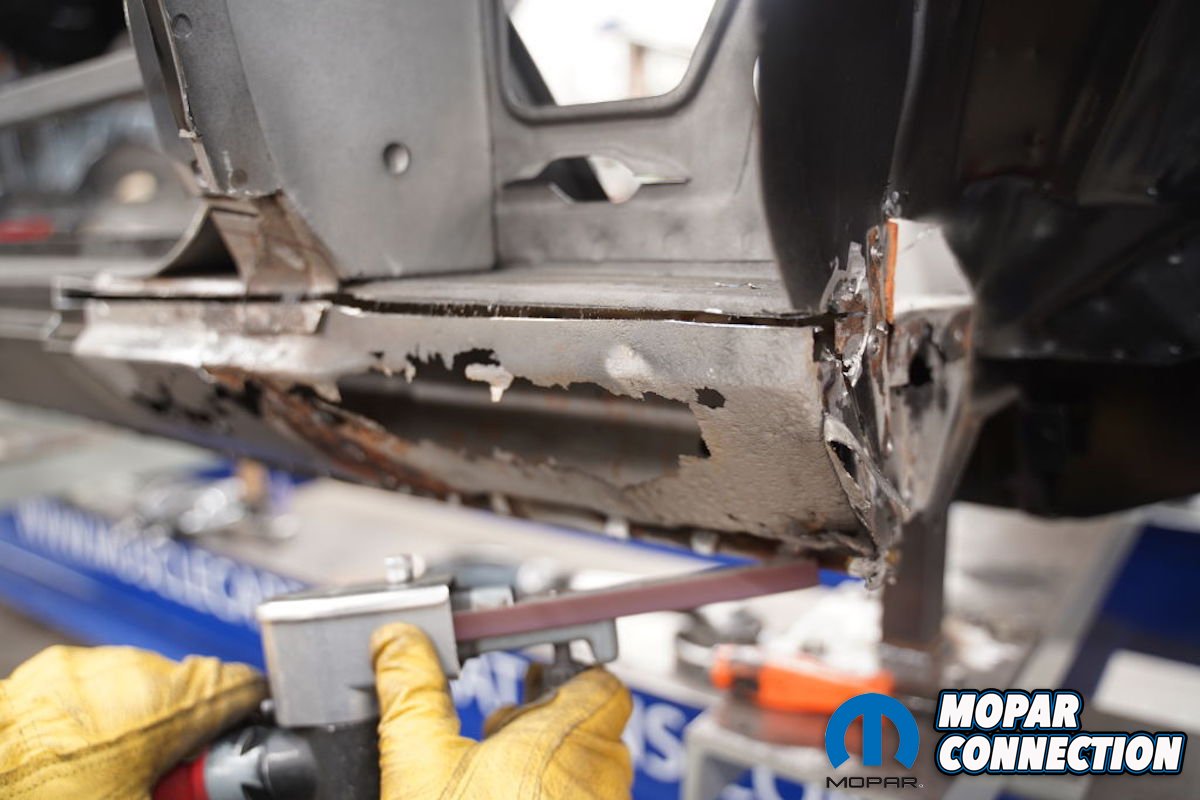
Above left: Once back from chemical stripping, it’s clear why that large patch was used. This section of floor has rusted out, been patched, and then rusted out at least once more. Above right: Would you have guessed that there was this much damage hiding under the paint around this quarter? This was not immediately obvious what the car came in.
They start by creating a list of sheet metal parts that will be ordered new and those that are best repaired in place. This leads to formulating a plan of how to approach the process of returning this particular car’s sheet metal to factory spec.
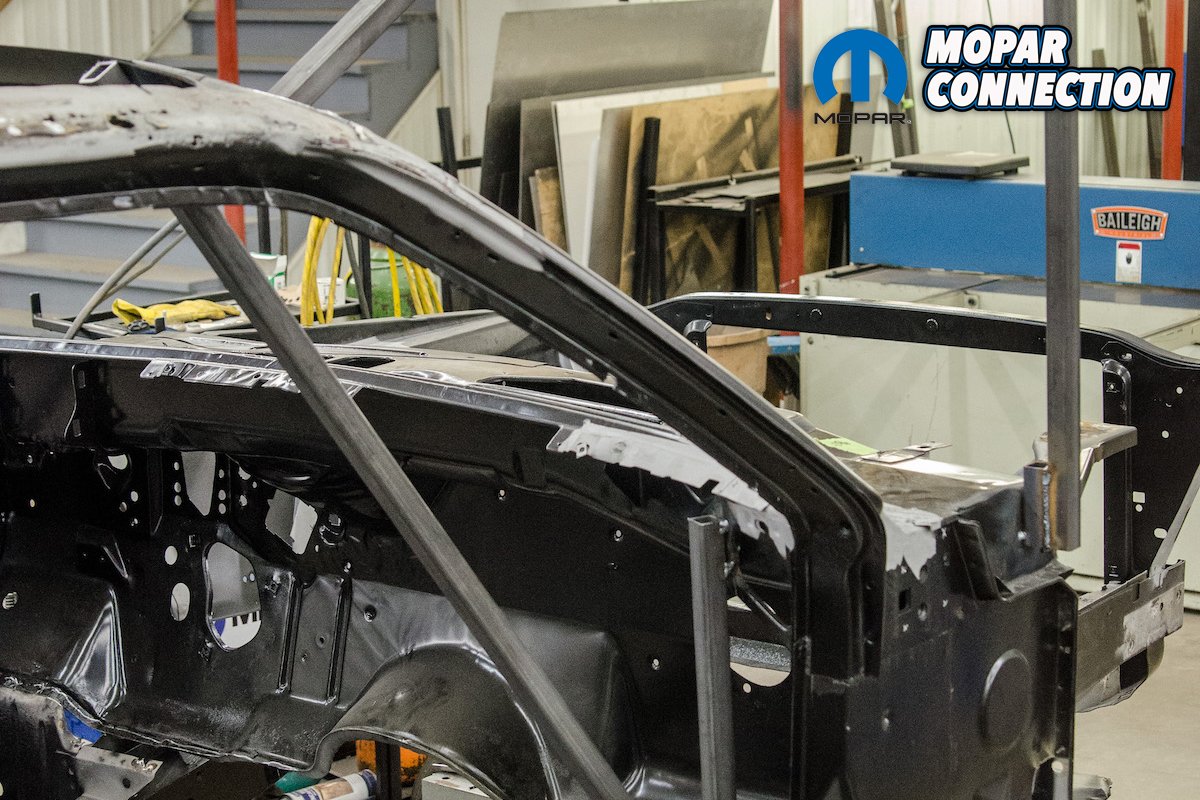
Unlike hanging a set of quarters, removing many of these parts to either repair or replace them can seriously affect the structural integrity of the body. With any vehicle body, but particularly with uni-body constructed cars, everything from the roof to the floor relies on each other for support.


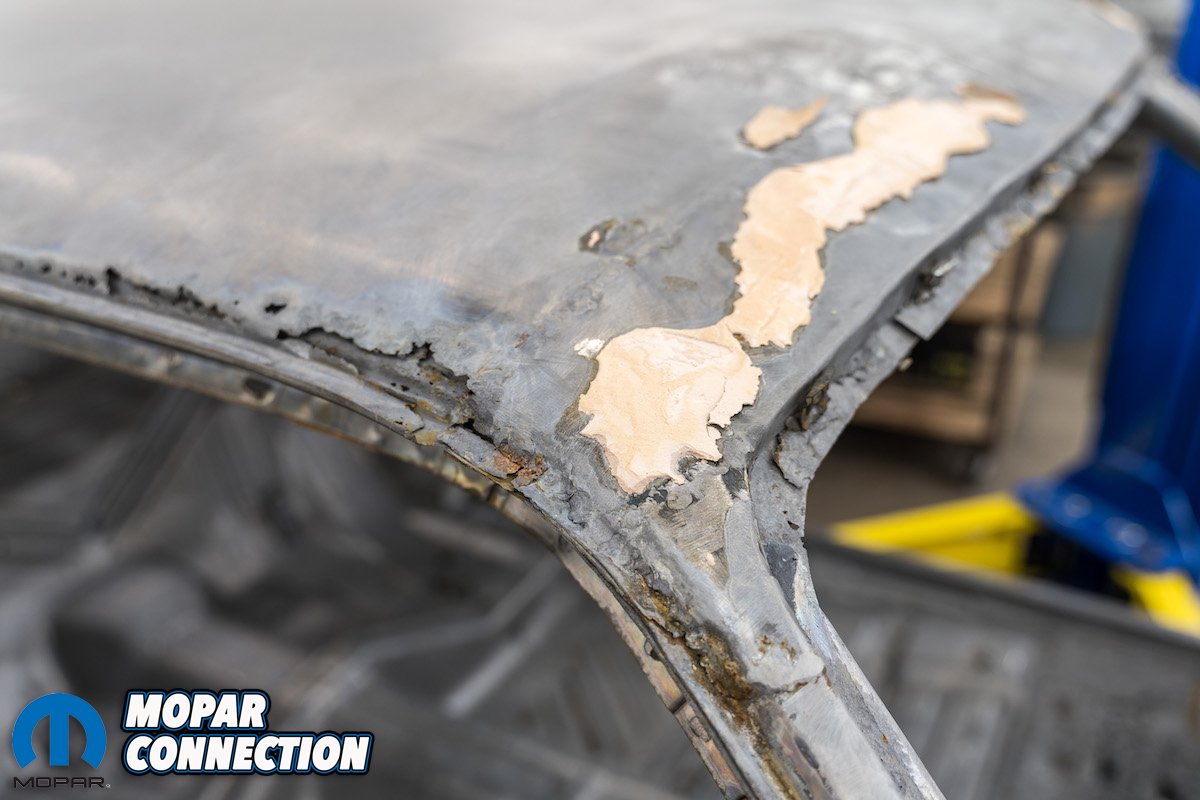
Above left: This damage was hiding behind the door and front fender so it’s tricky to spot this until the car has been disassembled. This will require a more complex multi-layer repair. Above right: This roof damage is a bit unusual. This top down sort of rust is most commonly found in coastal cars exposed to salt air. The roof, A-pillars, and drip rails will need to be replaced/repaired.

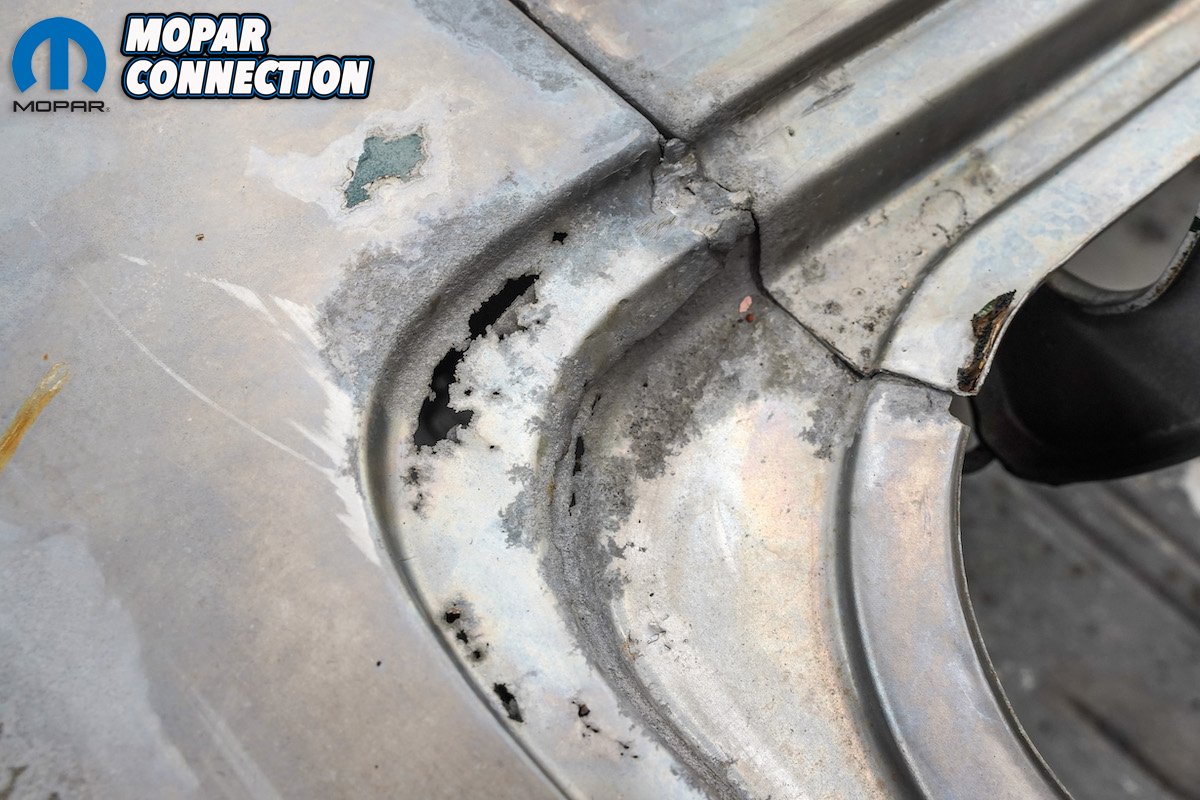
Above: These more subtle rust spots are hard to detect without chemical stripping because they are fairly easy to cover over during earlier restorations.
If one part gets out of place, everything connected to it will also be out of place, and that domino effect can cause major problems when the car goes back together. Imagine getting to the point of finally reassembling your car only to find that the doors don’t fit, the deck lid gaps are way off, and even some of the suspension parts won’t bolt on correctly.
Unfortunately, metalwork is not always considered hyper-critical and perhaps because many still believe that most metal imperfections can be fixed with body filler. Evidence of that is clear most every time MCR gets another car body back from being chemically stripped. The “repairs” that they see that were covered in body filler are sometimes nothing short of astonishing.


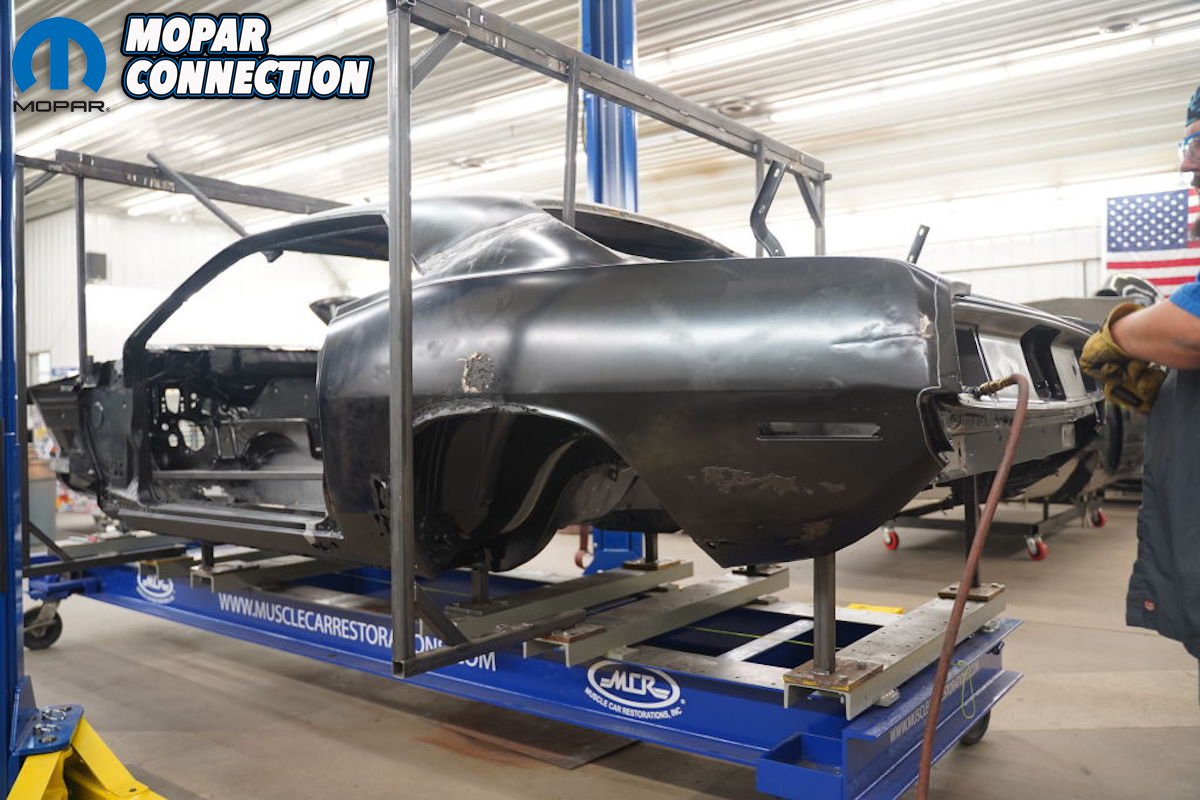
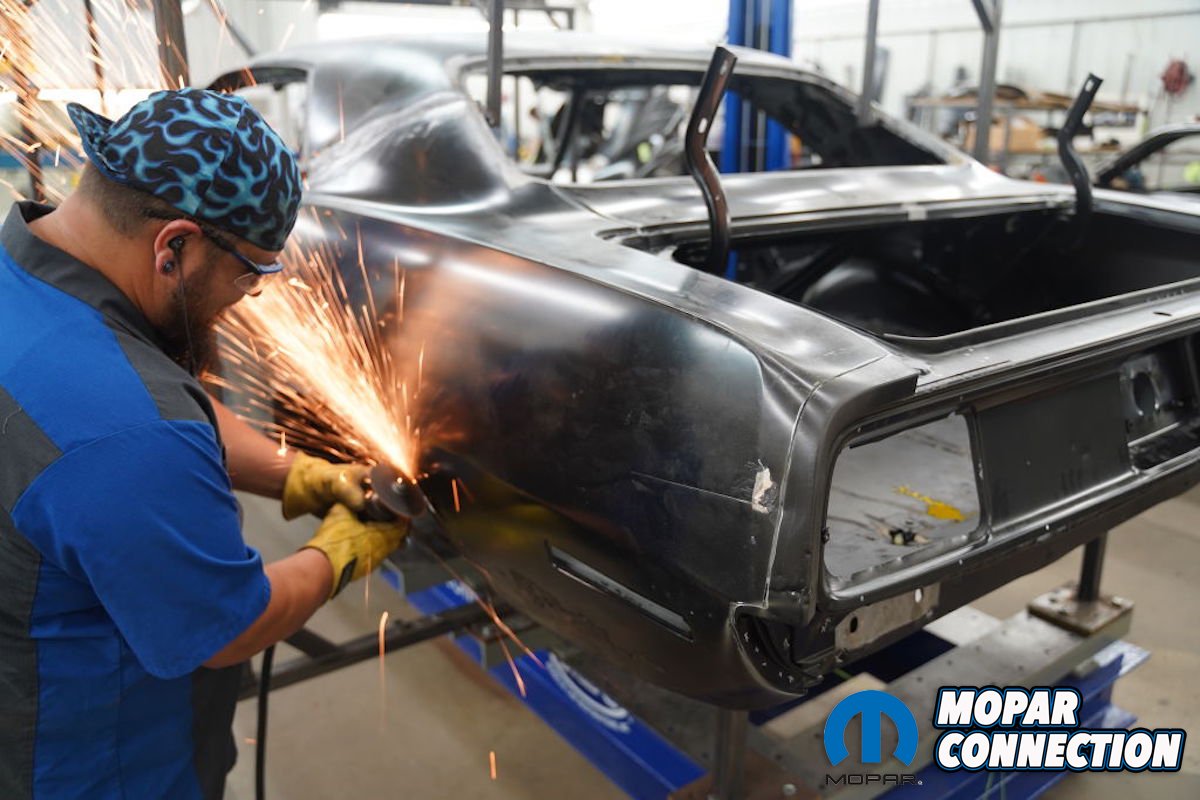
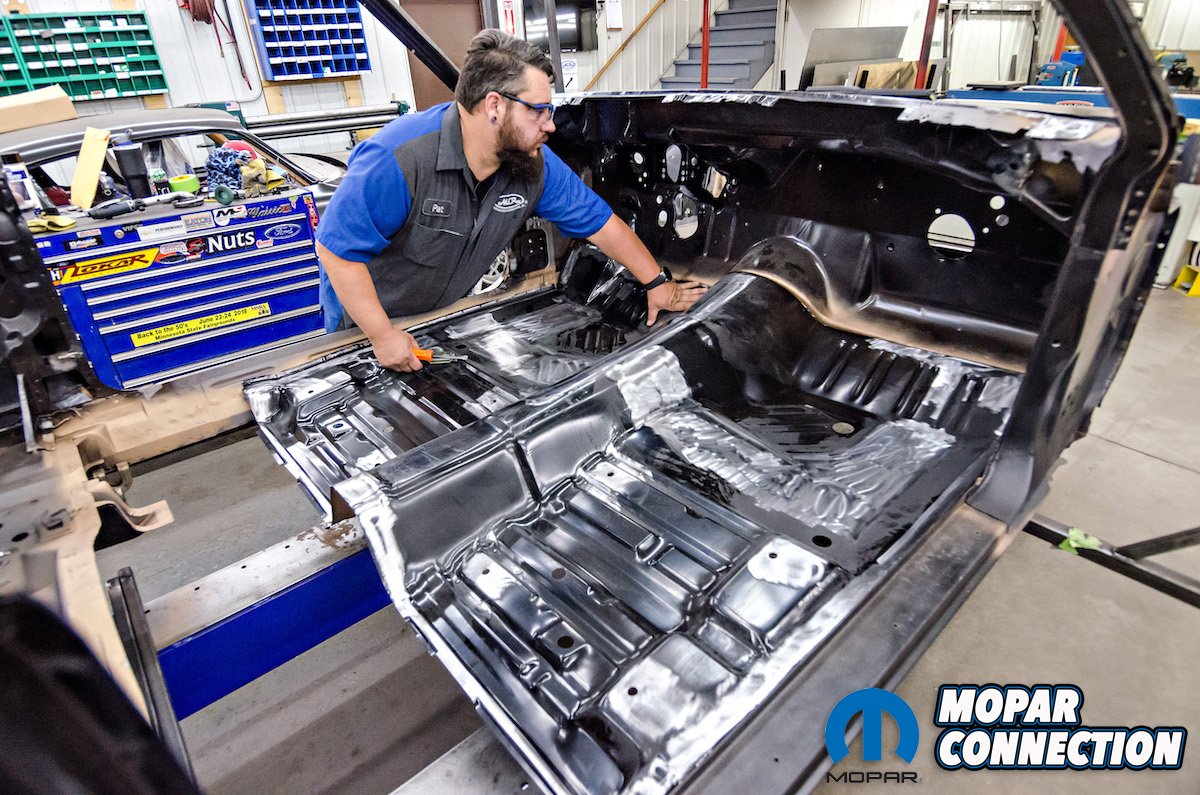
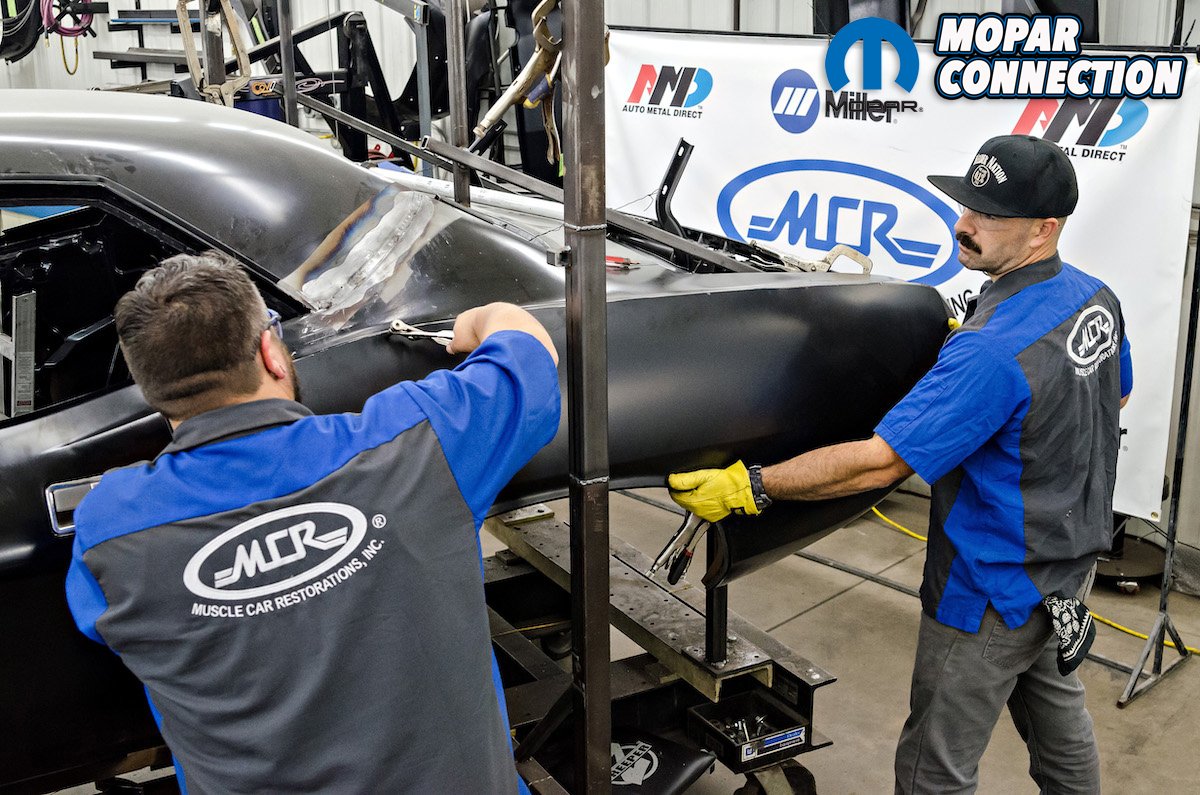
Above left: The body is then epoxied to avoid rust forming during the metal working process, then the car is put on a frame table with braces welded on to various places to keep all panels in alignment. Above right: Every piece of bad metal now must be removed from the body, leaving only the good bones. Only when every piece of bad sheet metal is removed can the team begin installing new sheet metal


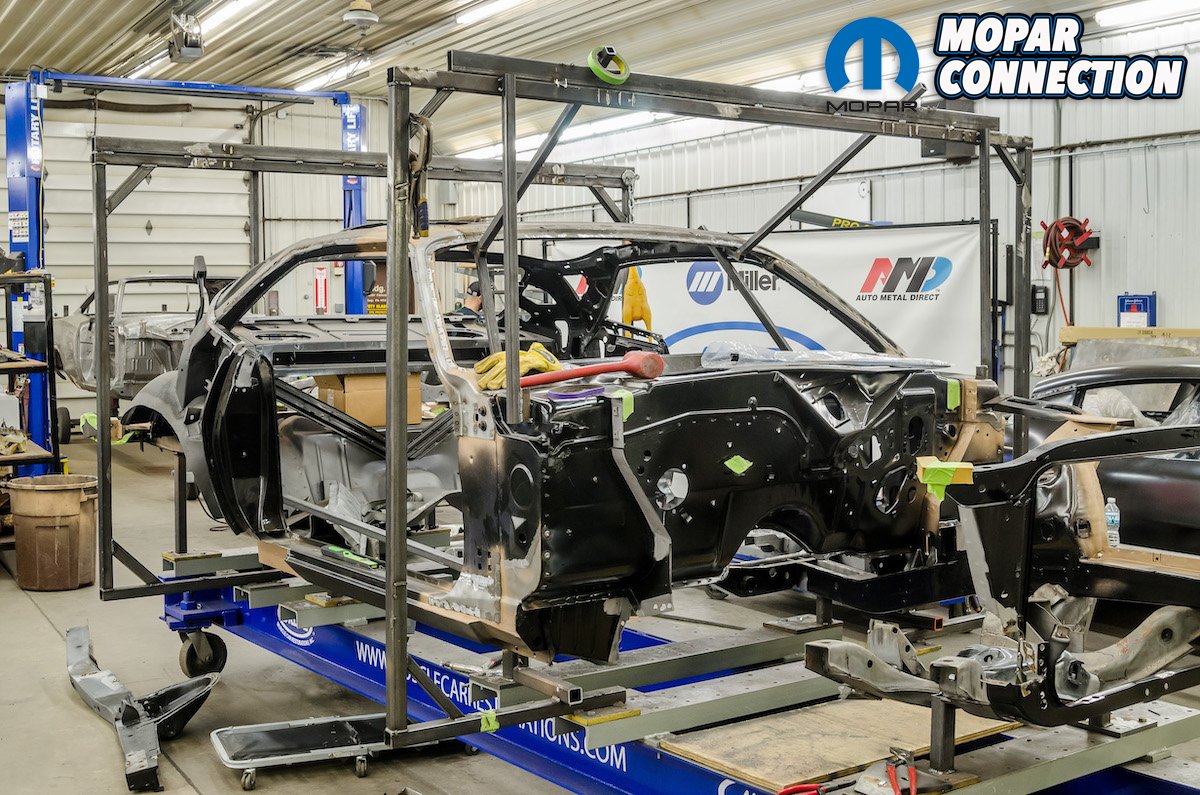
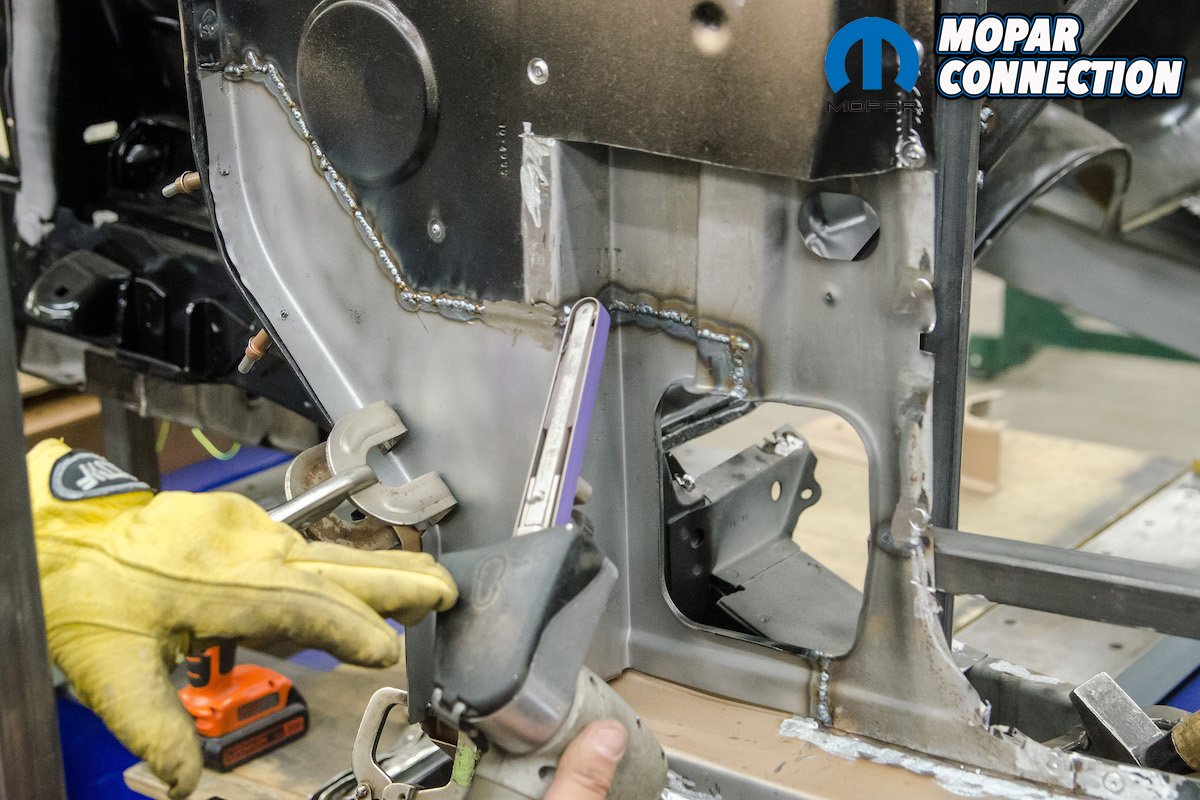
Above left: MCR used a cut-off wheel to remove the bulk of the panel works great, then transitions to an air file to remove individual spot welds in order to preserve the original panels that are to be reused. Above right: This shows just how much metal has to be removed before MCR can begin installing new sheet metal. Again, not only is the body set on posts that are welded to the frame table, note all the other braces that are welded in place to hold the body panels in position while the various parts are replaced. Braces are custom-built for each car depending on the extent of the work being done.
With very few exceptions, there is no place for body filler as part of metal repair. All metal repair and/or replacement should be essentially seamless. The body should appear to be in the same condition that it was when it originally rolled down the assembly line. Isn’t that, after all, what getting a car restored is all about? Not just cosmetically, but structurally, practically returning it to like-new condition.


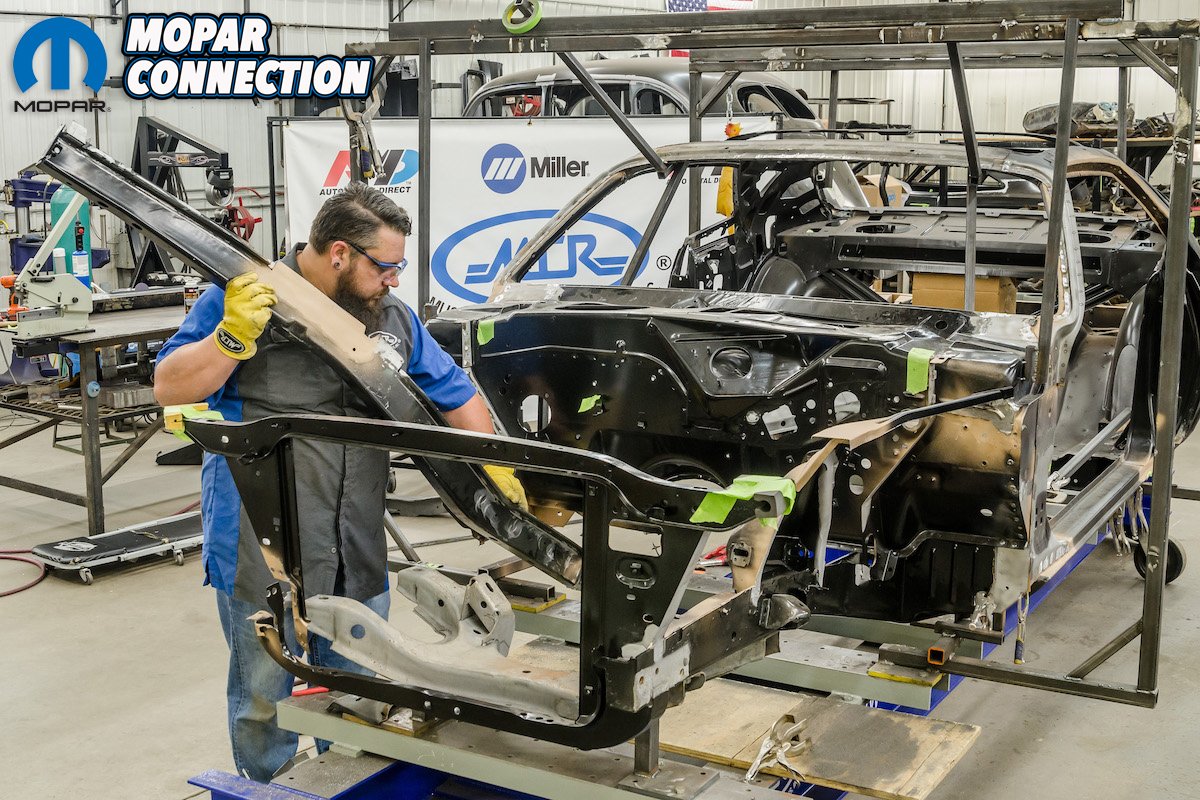
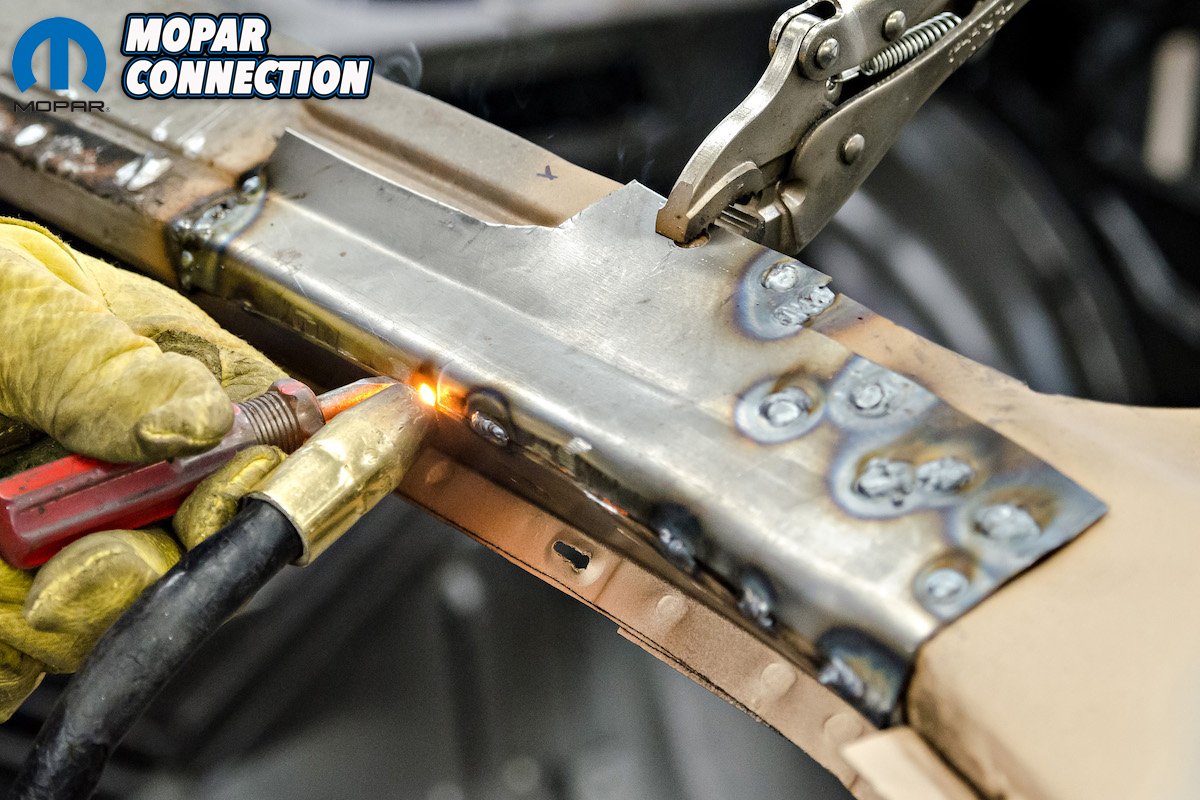
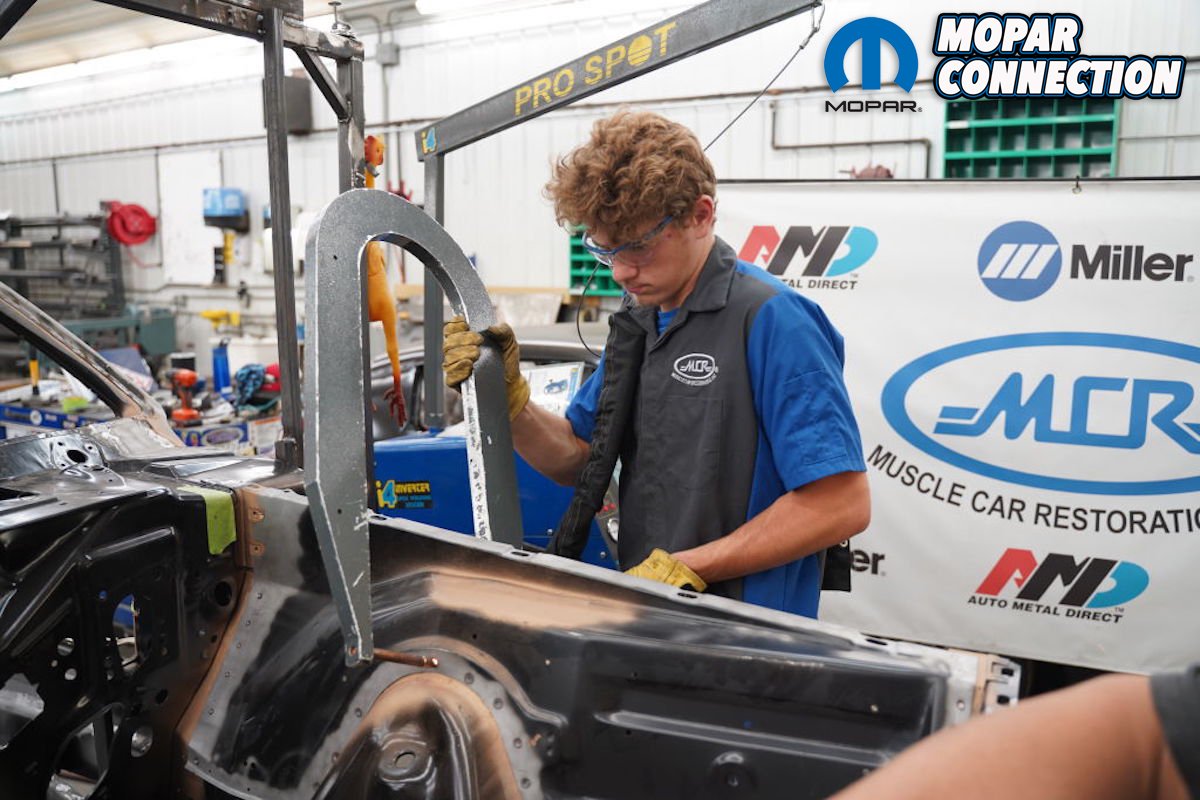
Above left: No where are these braces more important than when replacing frame rails. Exact replacement of frame rails is critical not only to the sheet metal panels around them but also to the proper fit of entire front suspension. Above right: In case you were wondering what all that was needed to be replaced on this ‘Cuda with fresh AMD sheetmetal, this shot should give you a good idea.


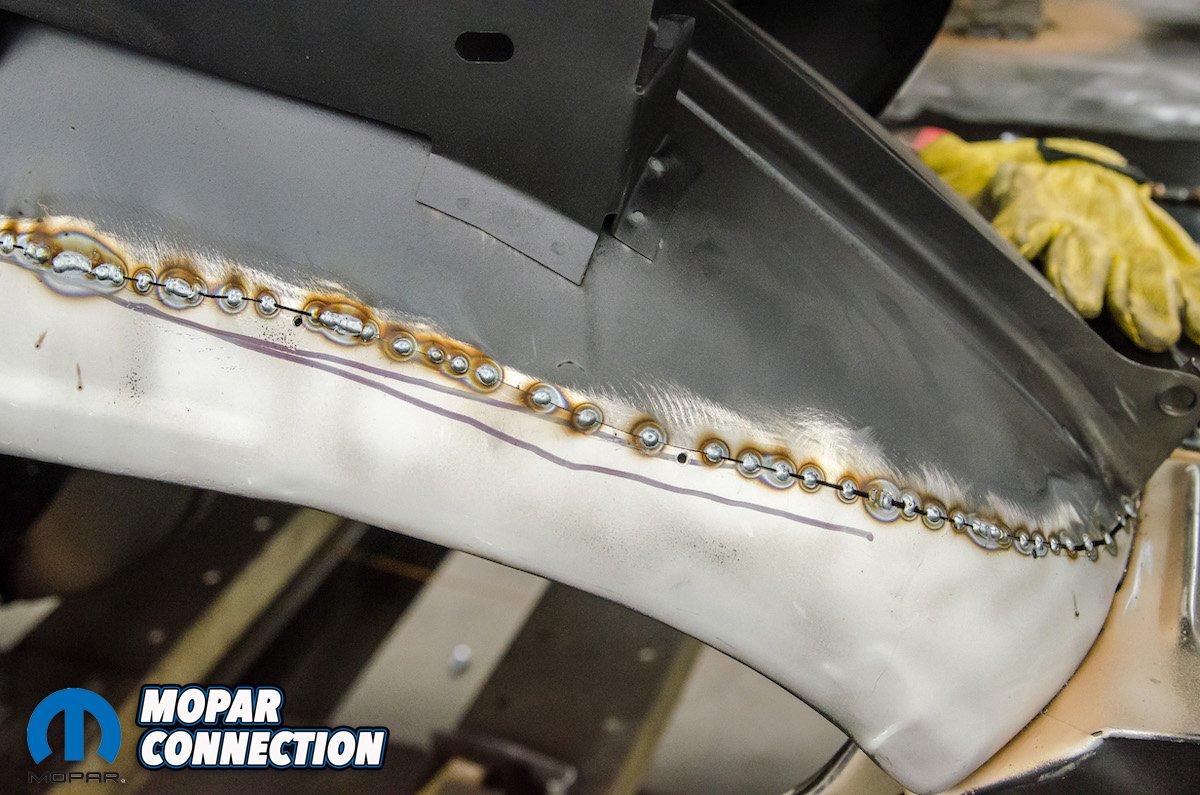
Above left: Floor pans are an example of a part that is commonly replaced as a whole panel. Above right: Wheel tub lips are good candidates for splicing on a partial panel as this will preserve a lot of the inner structures of the car. Splices are never attached with an overlapping seam. All parts are joined by MCR’s standard butt welding procedure which, when finished ground flush, produce virtually undetectable seams.


Above left: Quarter panels are also commonly spliced in place to preserve original body lines and door gap seams. Above right: Splicing the quarter just before where it connects to the tail panel preserves the original quarter to tail panel fit. This can be especially important if both panels are being replaced. Note the nearly invisible seam between the two panels.


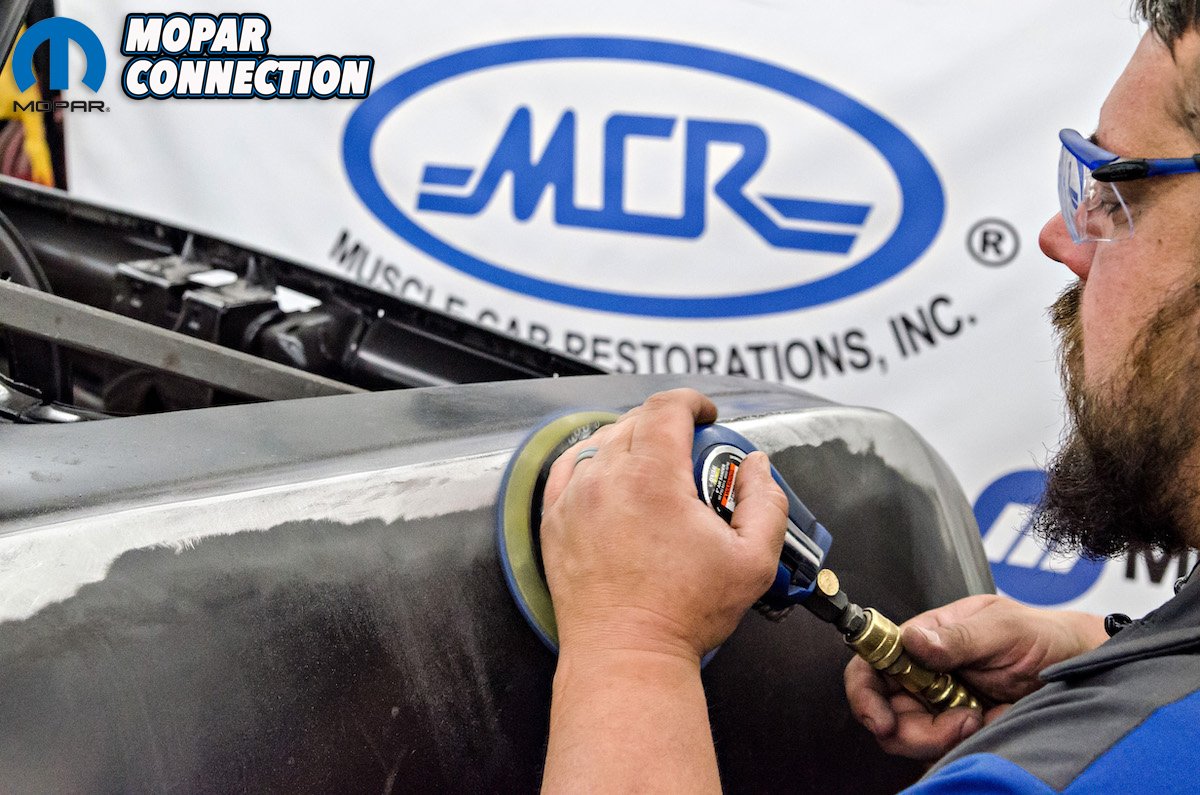
Above left: Quarter seams are finished with a DA and barely need a skim coat of filler to become invisible. Above right: Sometimes rust is not just hidden under excessive body filler, sometimes it’s hidden under other body panels. This damage was only revealed after the roof skin was removed. Since the damage is very localized, fabricating a new part is the most efficient way to go.


Above left: Areas like this lower door post may have rust damage that affects 5 or 6 parts that could be 2 or 3 layers deep. Above right: Sometimes parts such as these fuel tank mounts must be transferred from the old part, in this case the trunk floor, to the new panel.

Above: Whenever possible, a state of the art spot welder is used to duplicate the original factory look. It’s also much a much more efficient method than plug welding.


