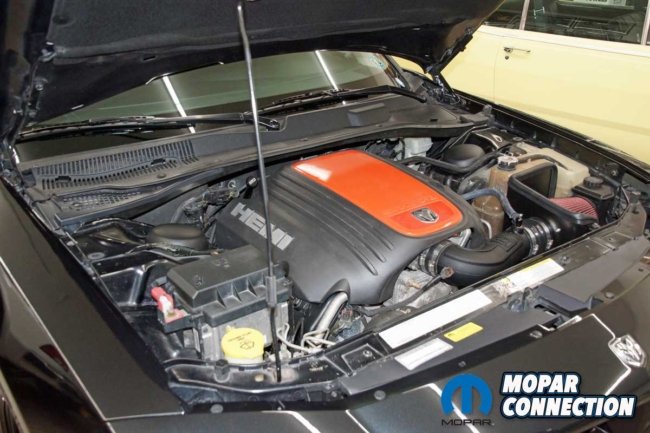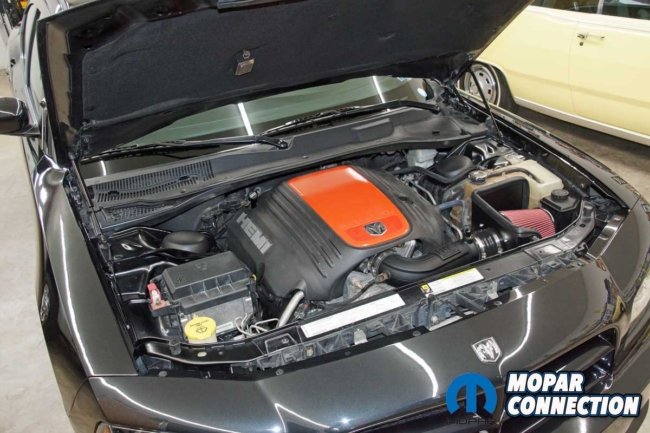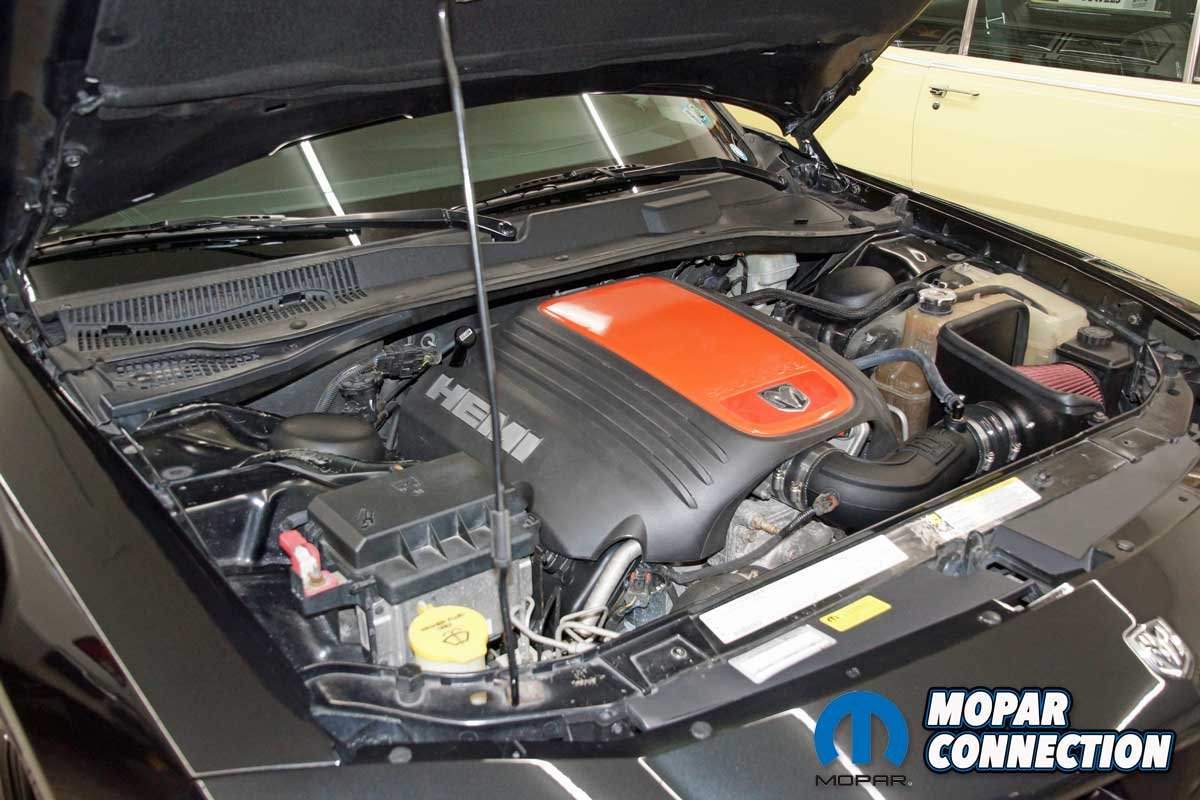
Many late-model Mopars, including the famous Challengers, Chargers, Magnums, and 300s, came equipped with a hood prop rod, which supported the hood when in the open position. It did the job quite well, but many owners did not care for the look, and if work was required in the engine bay, it always seemed to be in the way.
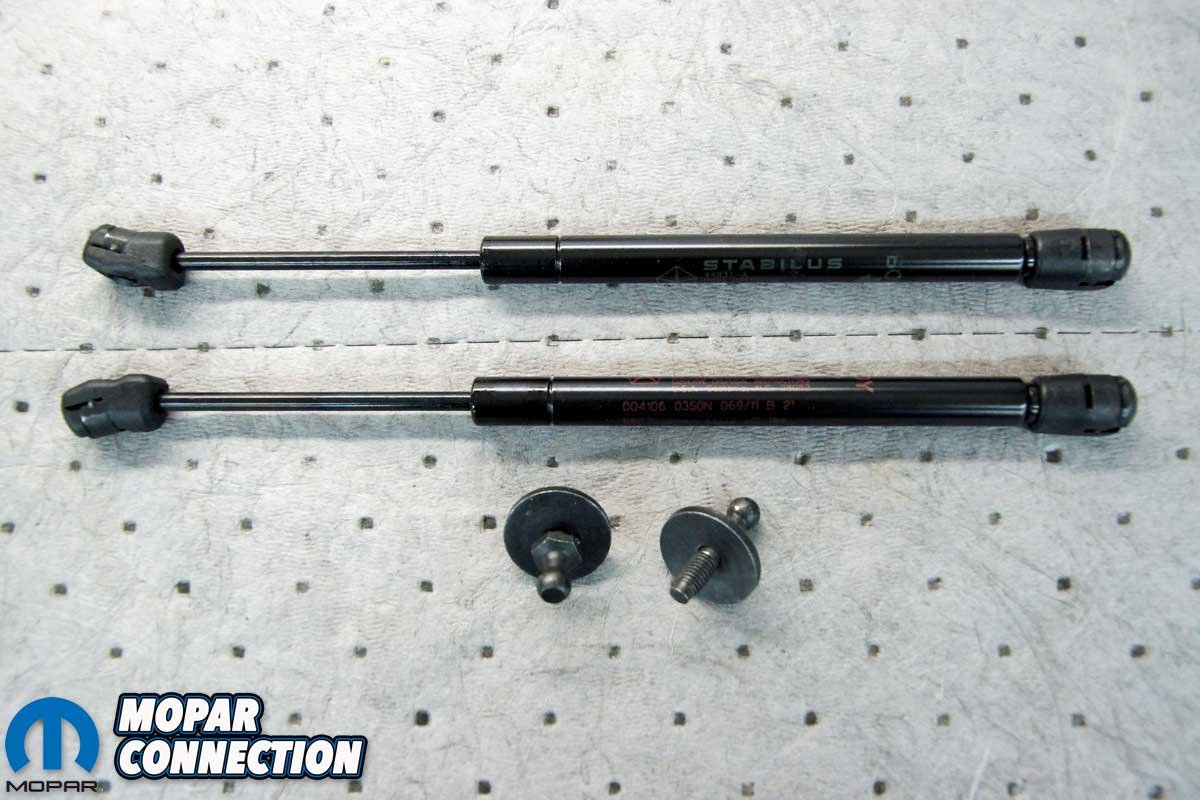
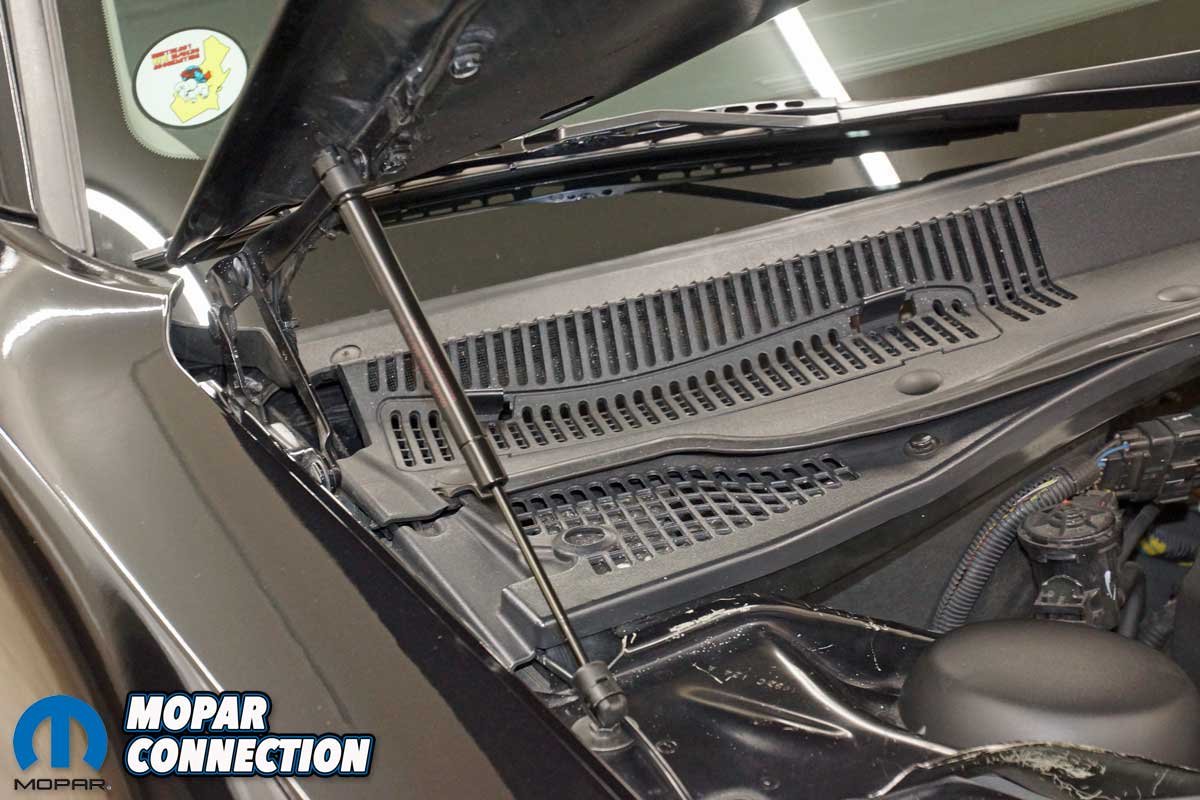
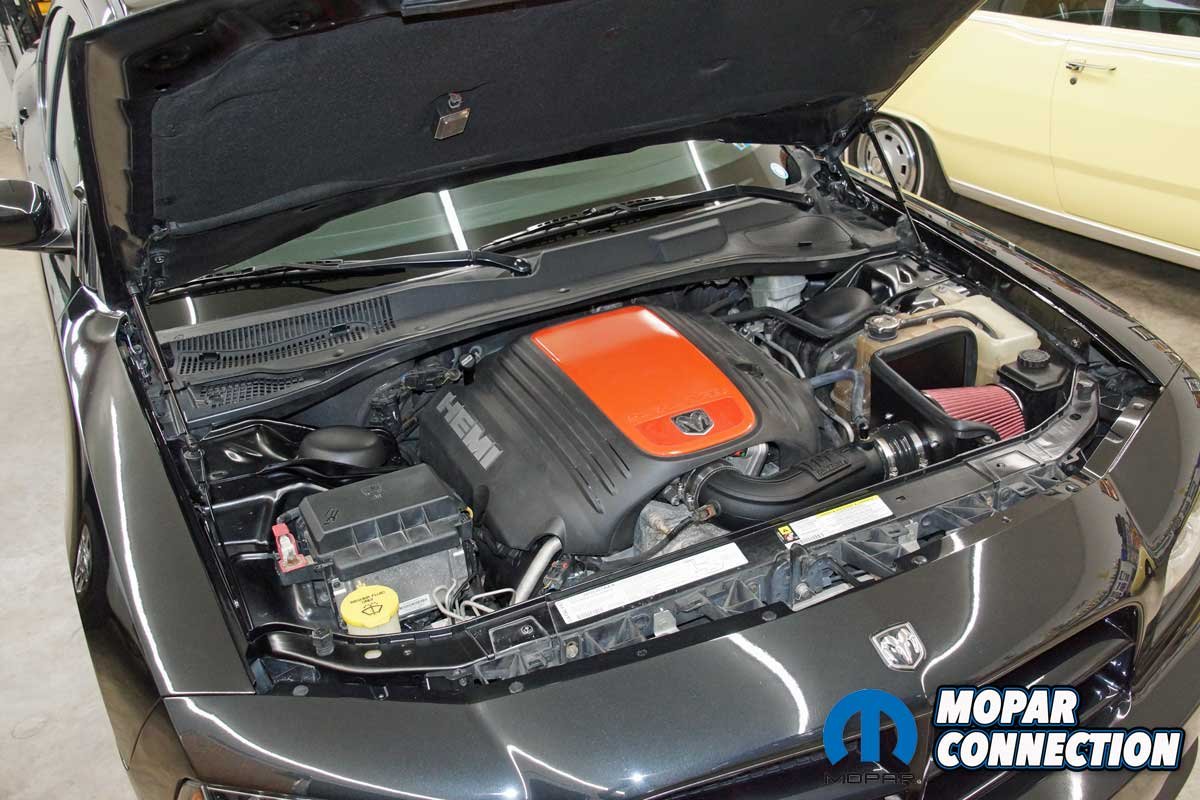
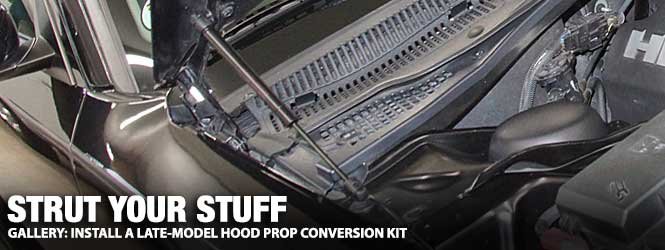
Our Police Pursuit Charger came with a prop rod, and after several years of working around it, we decided to replace it with a factory gas strut conversion kit (part no. 82212094). The conversion kit supports over 120 Chrysler products that did not come with struts.
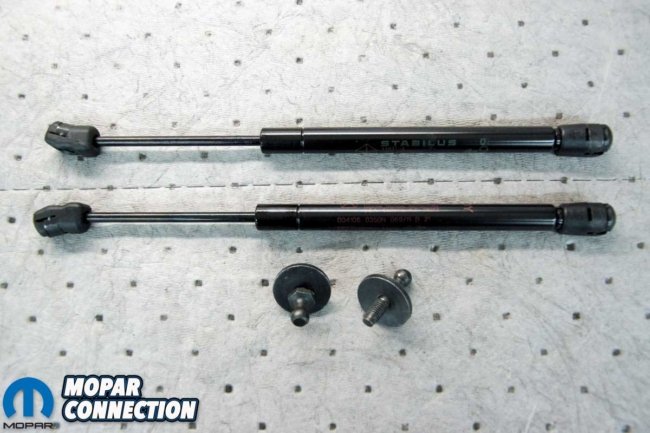
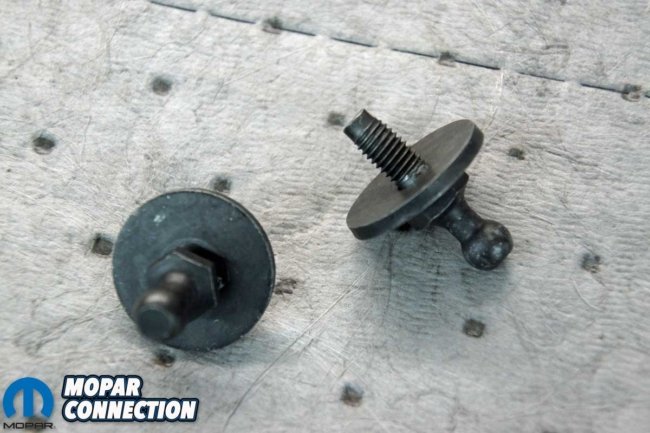
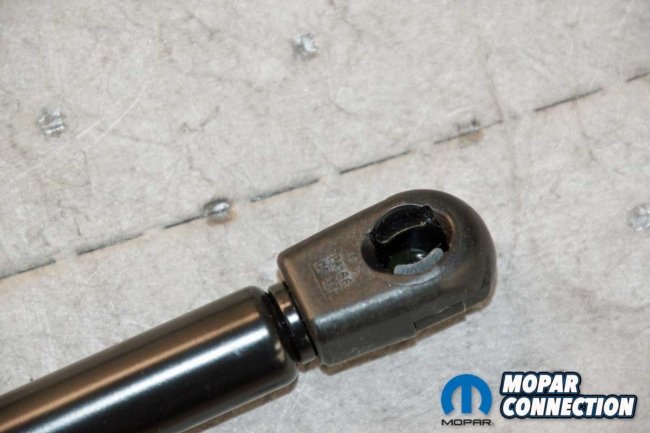
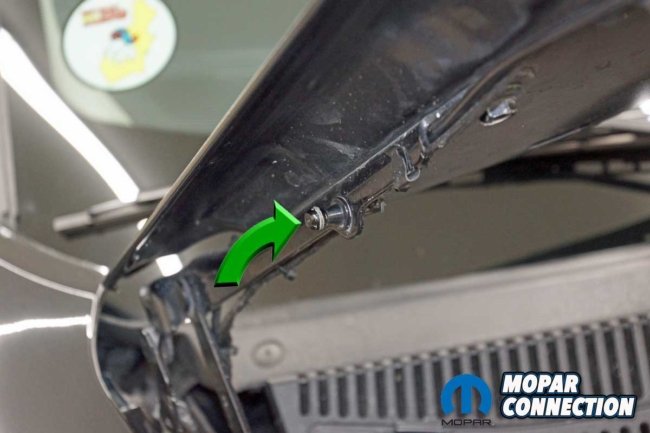
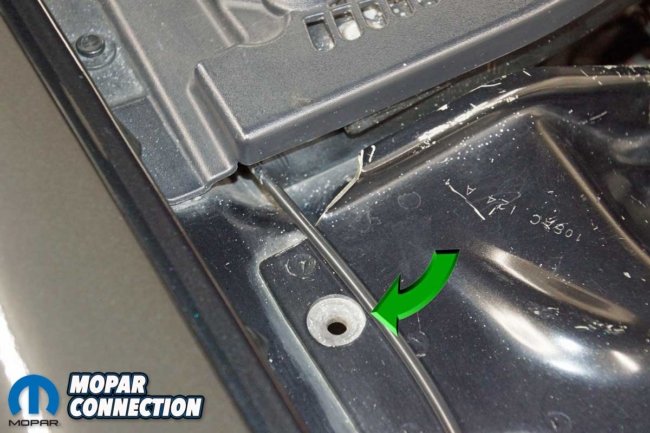
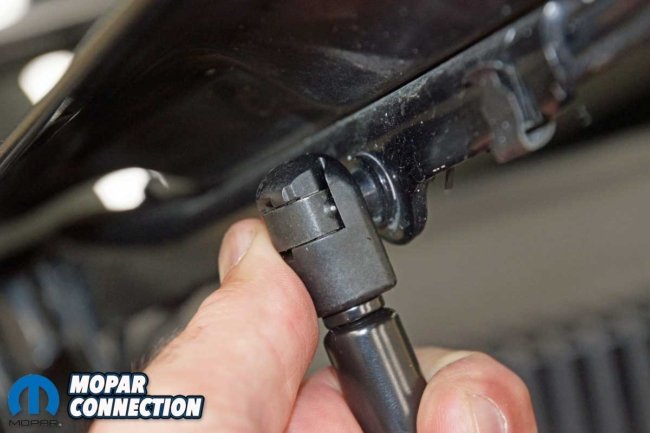
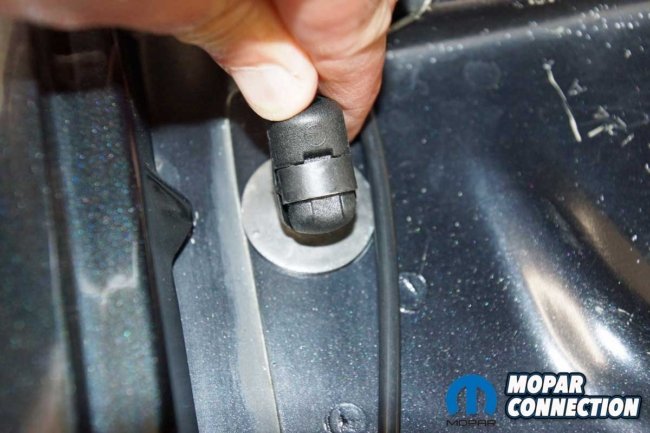
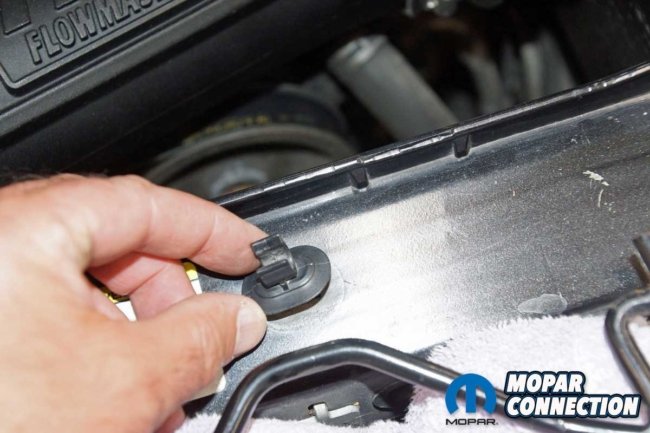
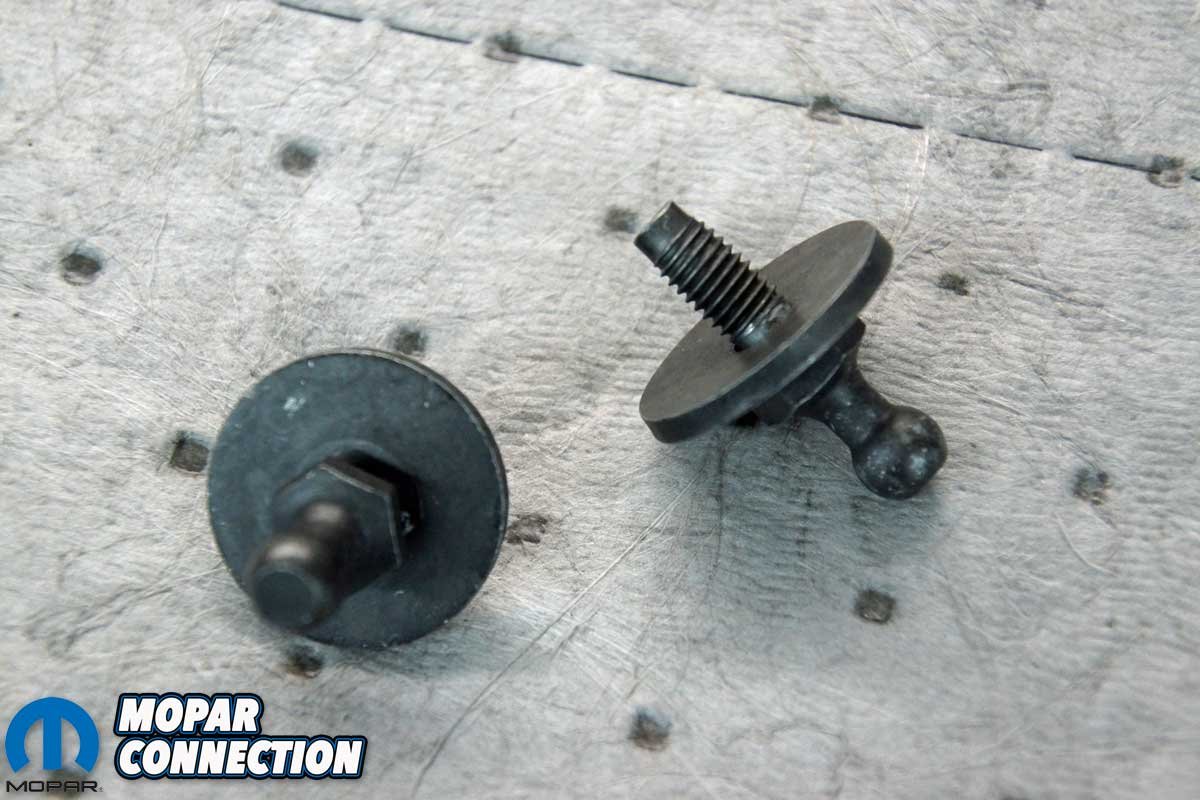
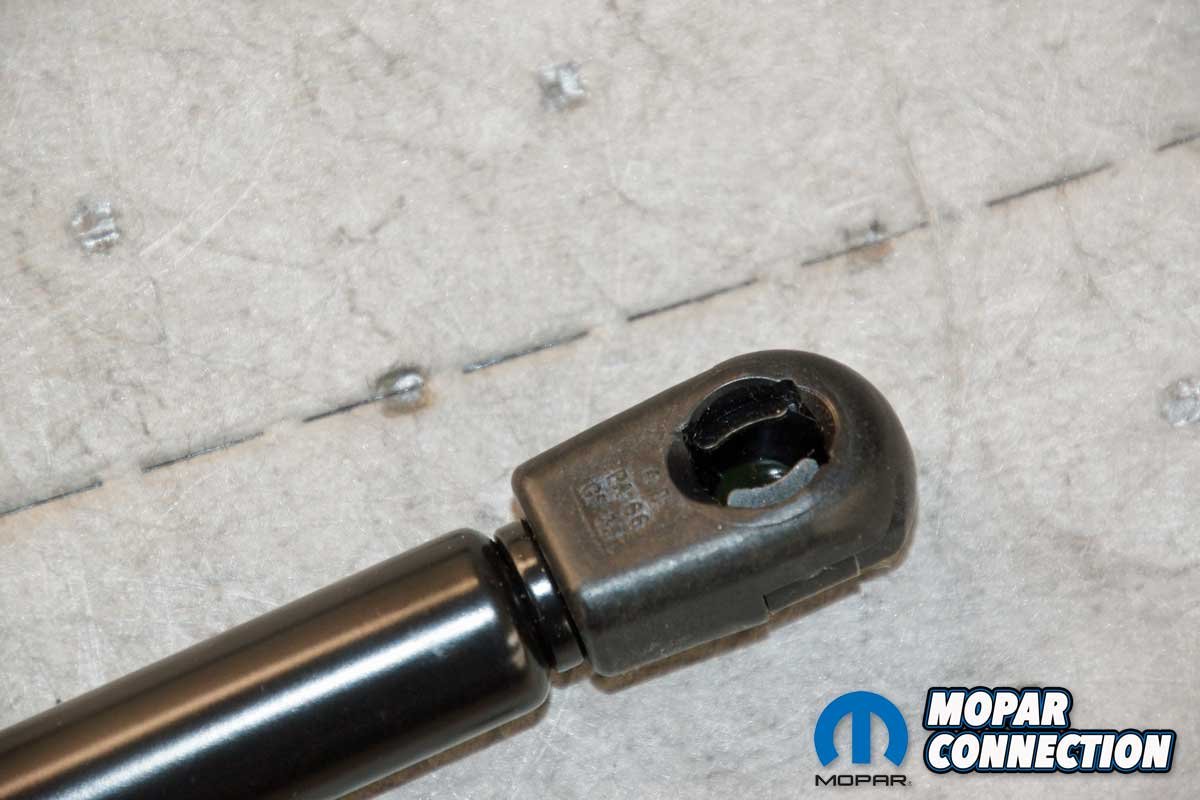
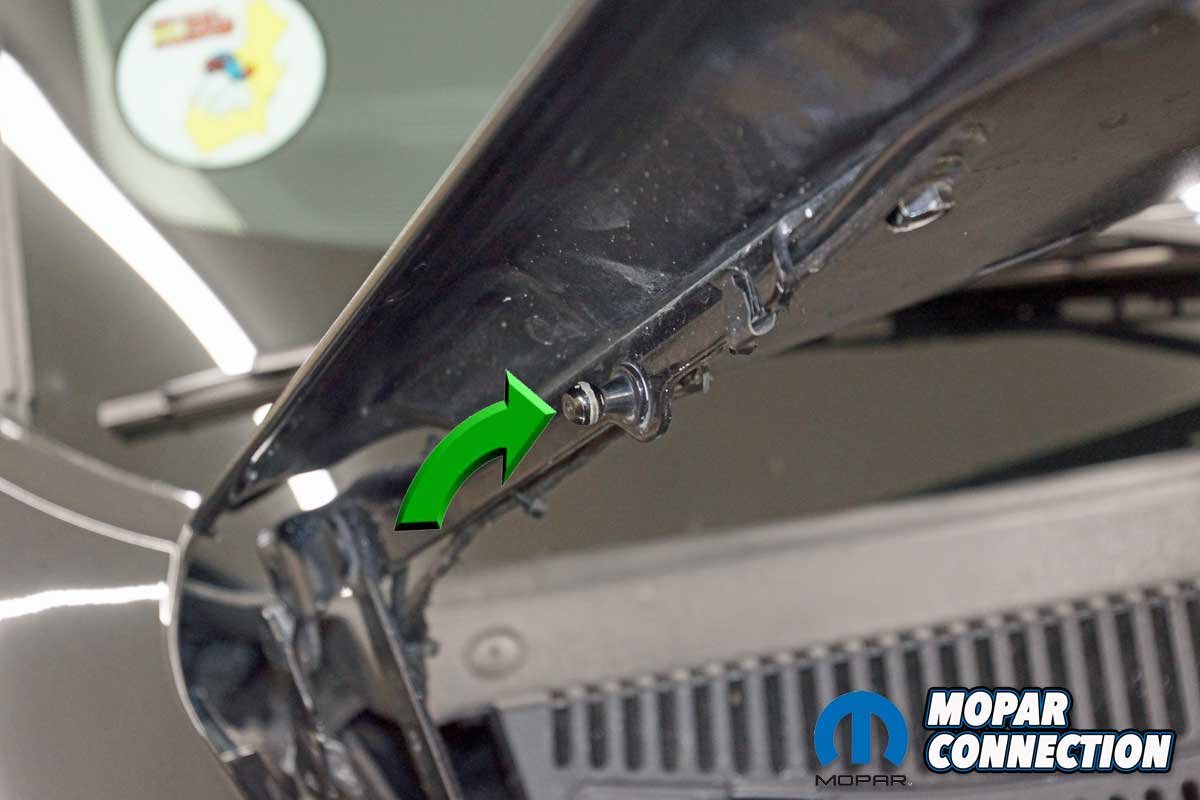
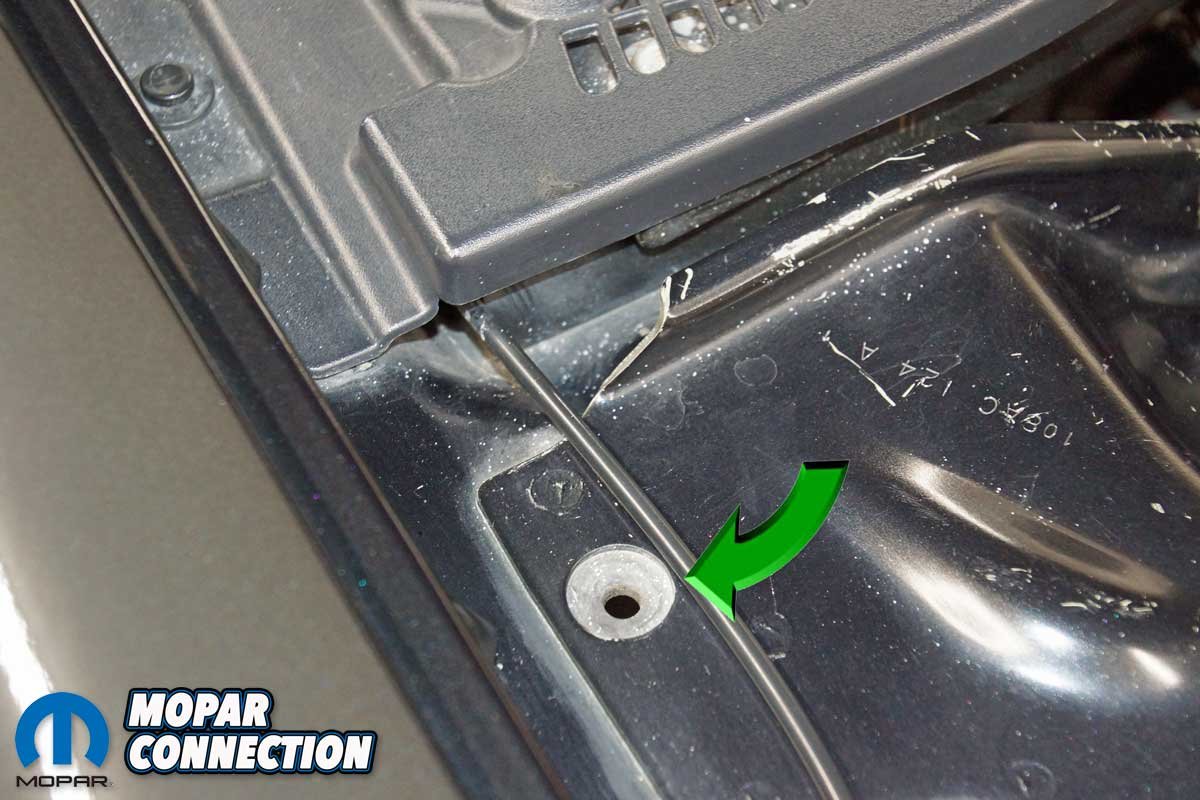
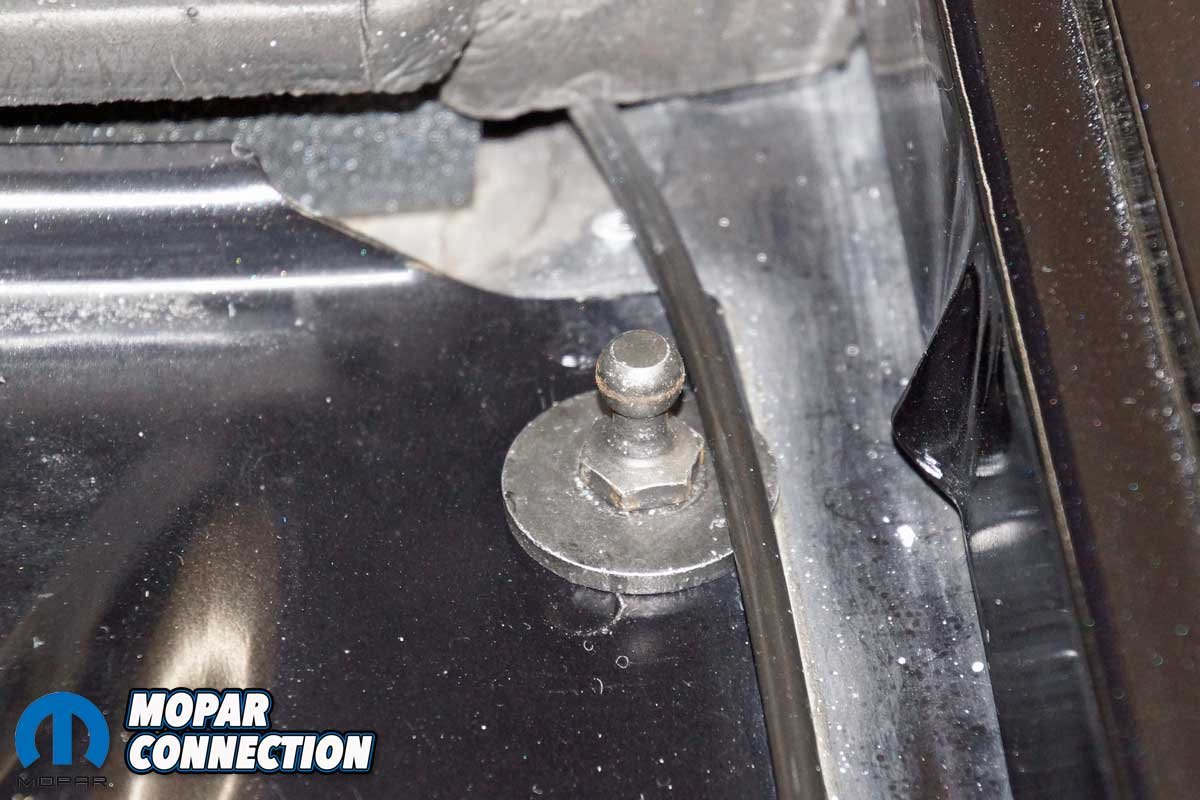
Top Left: The factory strut kit included two struts and two anchor bolt/studs. Top Center: The anchor bolt/studs screw into holes provided by the factory. The bolts are self-tapping, so there is no need to tap the holes. Top Right: The struts pop over the studs and are retained to the stud with a clip. Bottom Left: The hood prop does a great job, but it is unsightly and always in the way. Bottom Center: The stock hood hinges had an unused stud (green arrow) that we used for the conversion. Bottom Right: On each apron, the factory had a provision for the strut kit (green arrow).
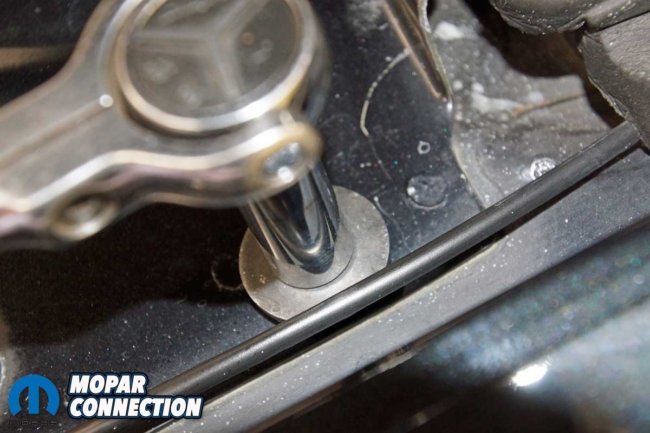
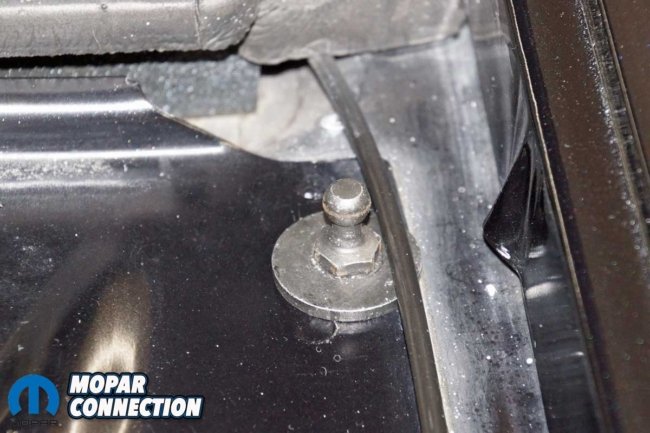
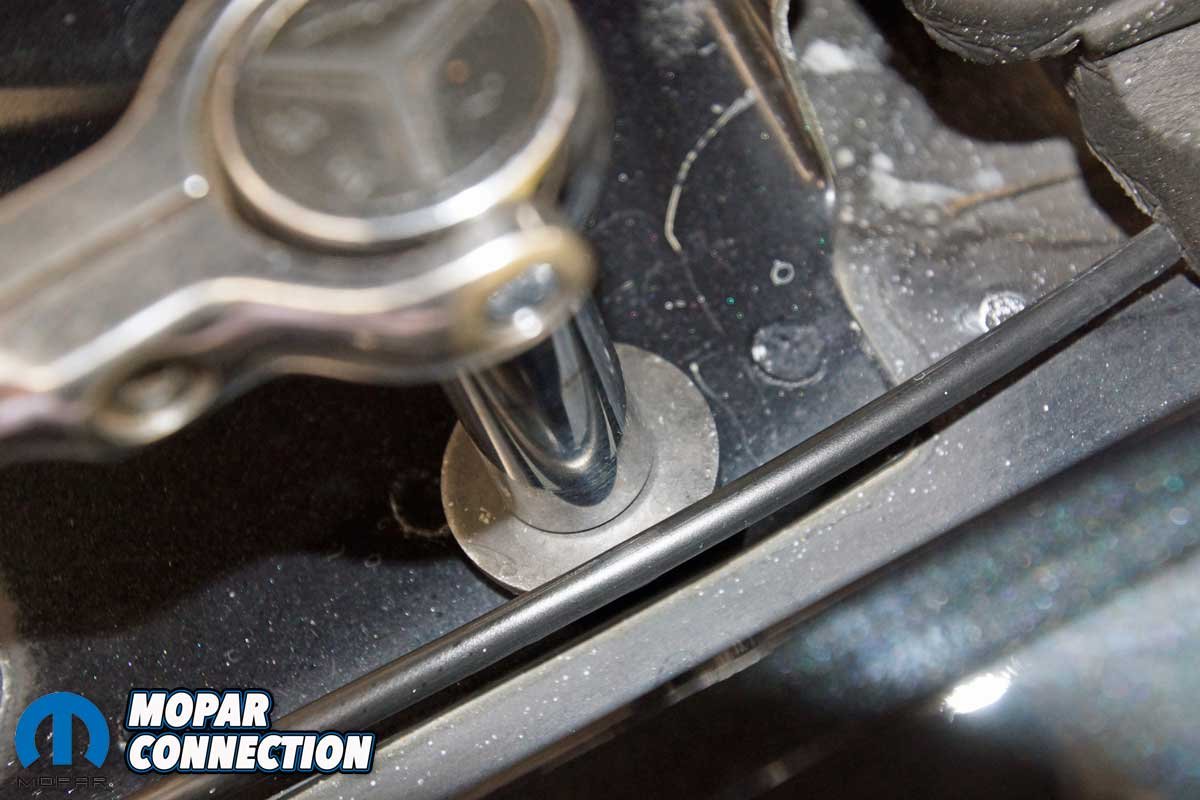
Our kit included two gas struts, two anchor bolt/studs, and a single page of illustrated instructions. With the hood supported by the prop rod, we started the installation by threading an anchor bolt/stud into a factory hole located in each fender apron. The studs required a 13mm socket or wrench to tighten them into place. Both stock hood hinges had a stud already installed.
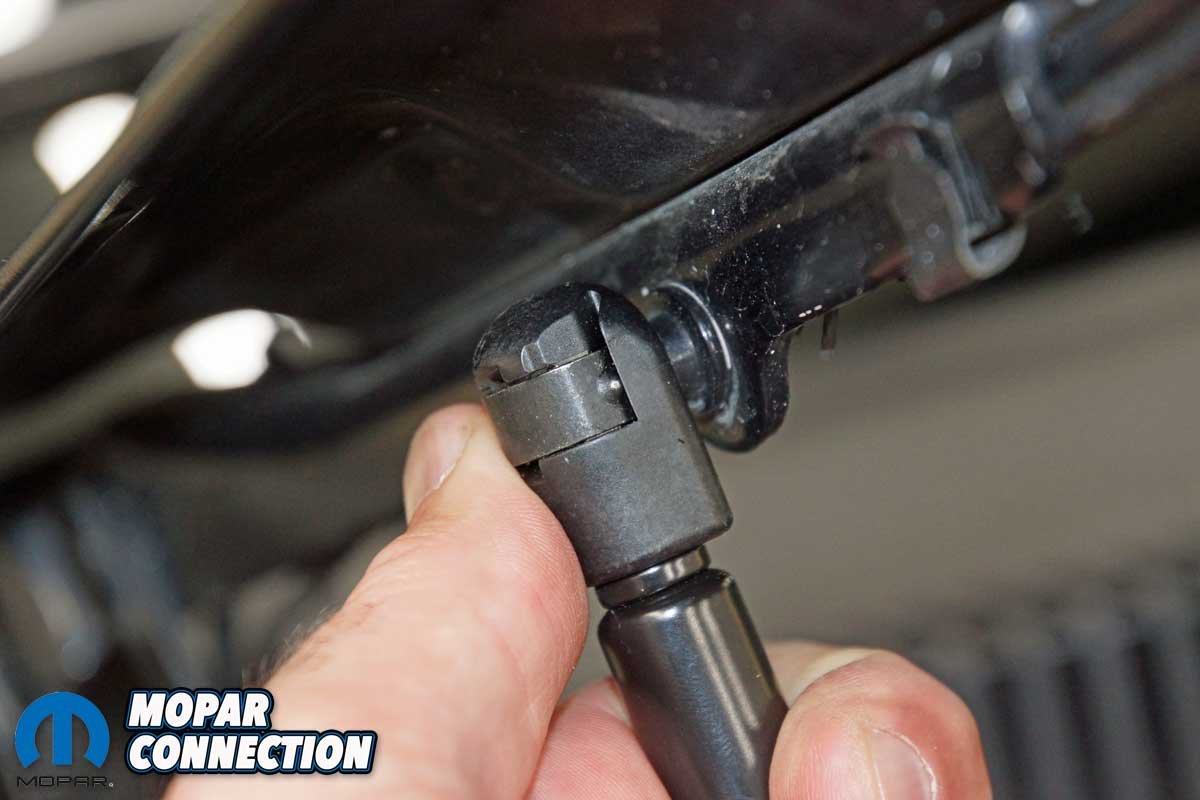
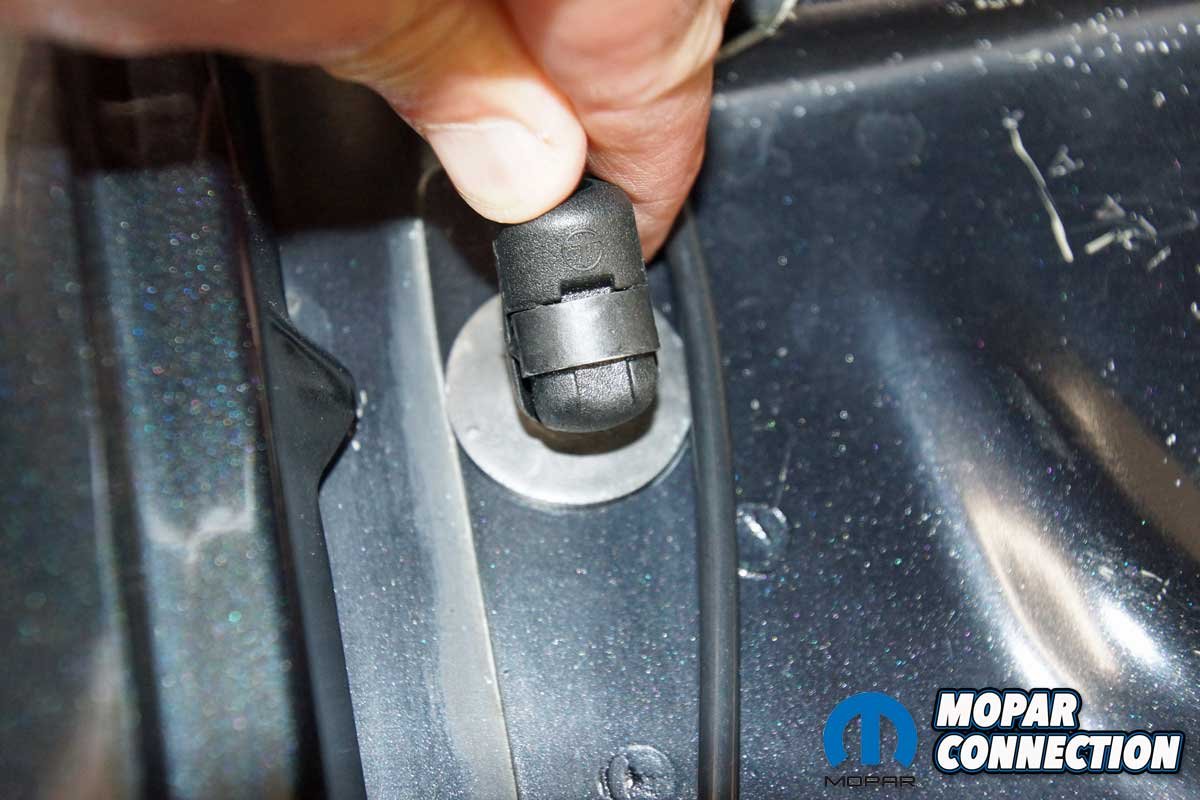
The struts were labeled left and right. We selected the left support (driver side) and oriented it with the housing end toward the hood stud and the extending rod in the downward direction to the apron stud. To install the strut, we pressed each end over its corresponding stud. With a solid click on each end, the support was in place. We installed the right-side strut in the same fashion.
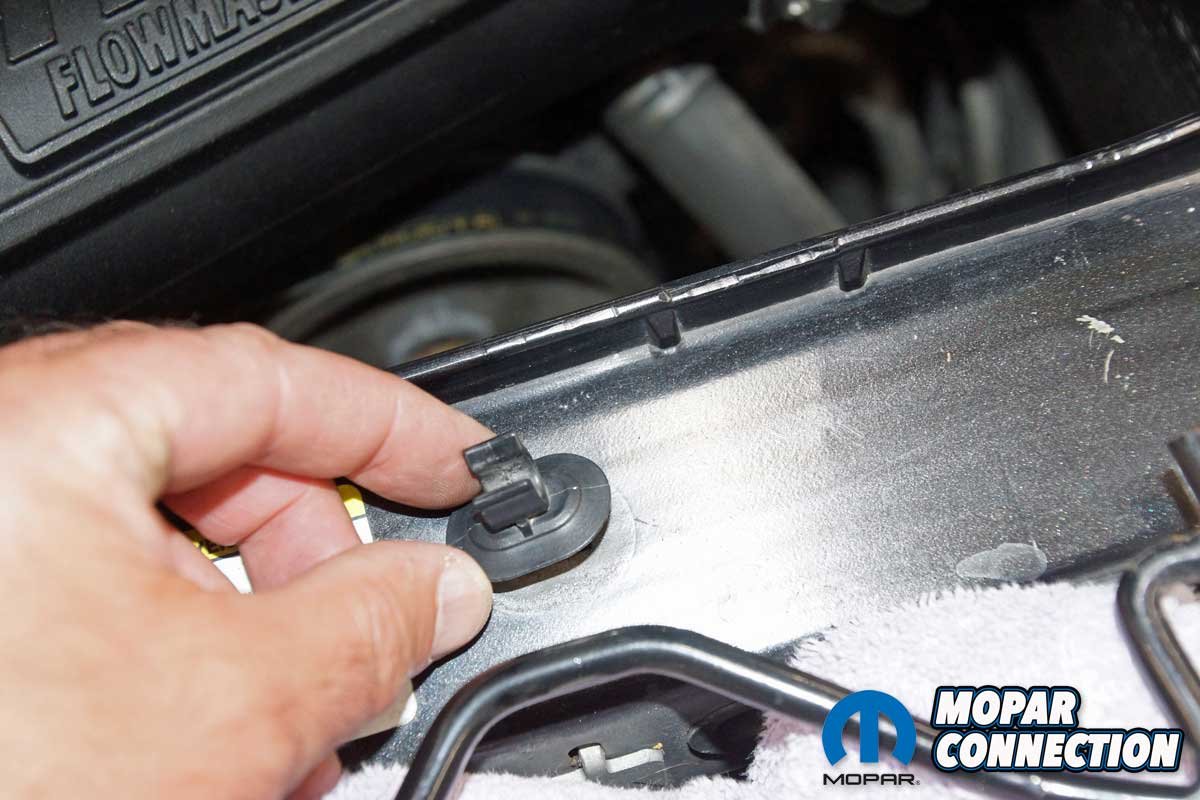
Top Left: Each bolt/stud was secured with a 13mm socket and ratchet. Top Center: The stud looked stock because it was a factory part. Top Right: The upper end of the strut housing was snapped onto the hood stud. Bottom Left: The lower end of the support was clipped onto the previously installed stud. Bottom Center: We repeated the same procedure on the other side of the hood. Bottom Right: Satisfied with the operation of the struts, we decided to remove the hood prop. We started with the removal of the hood prop clip.
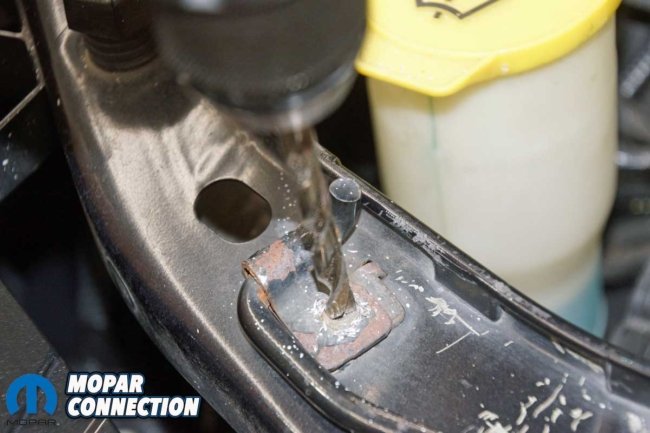
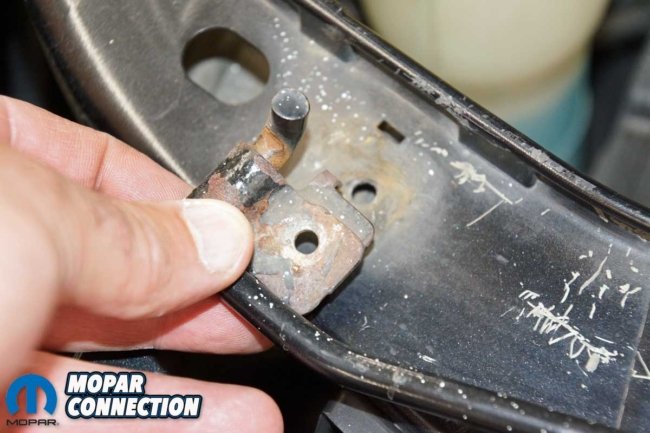
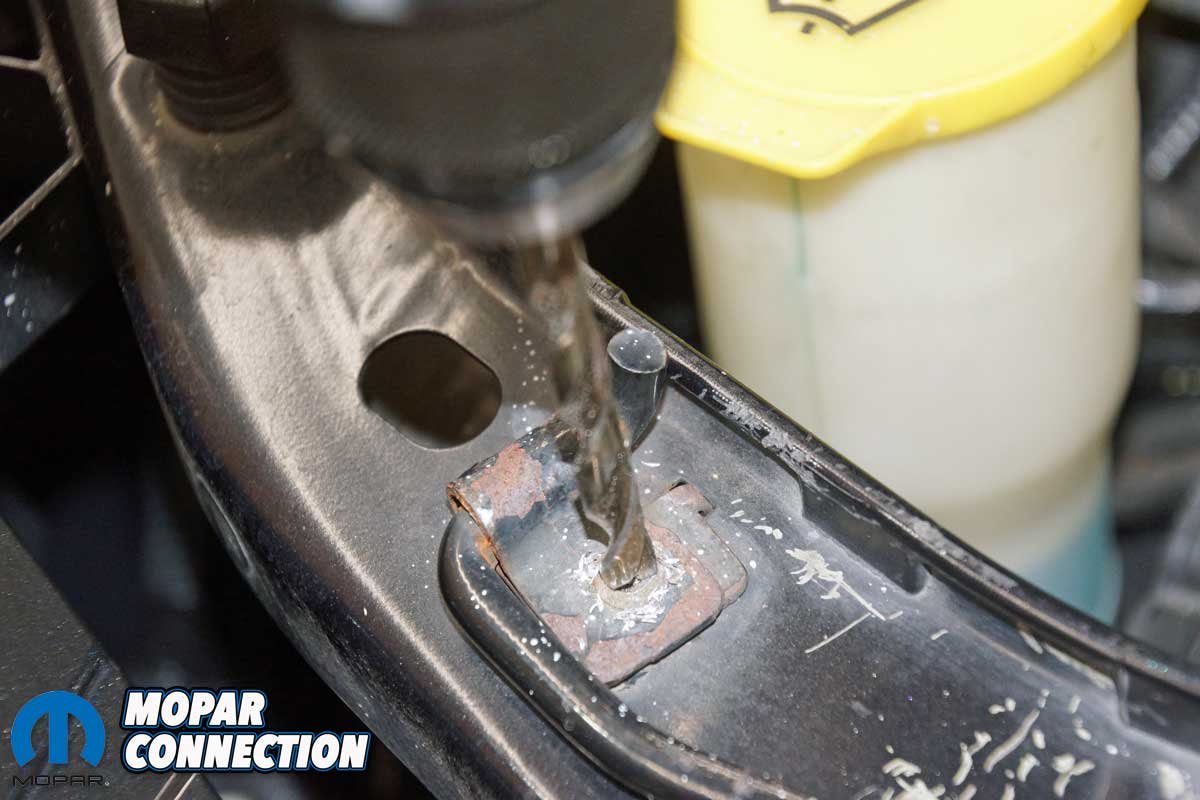
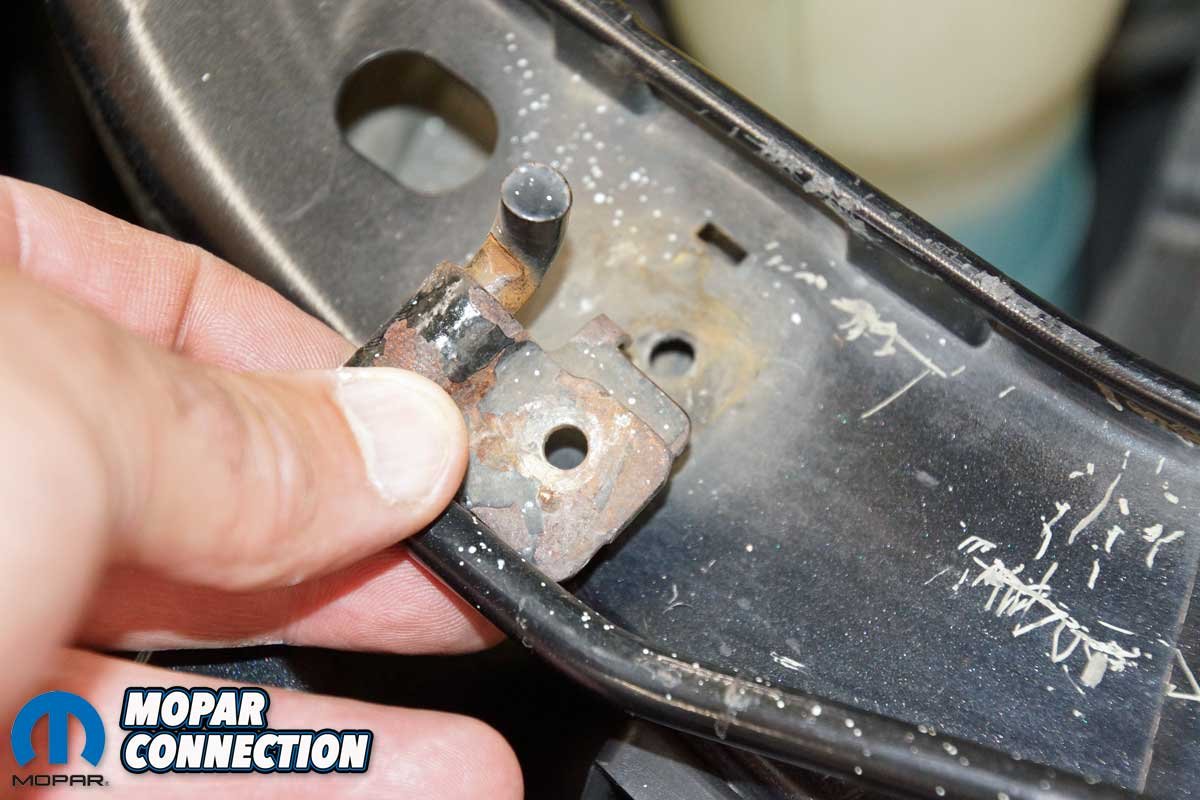
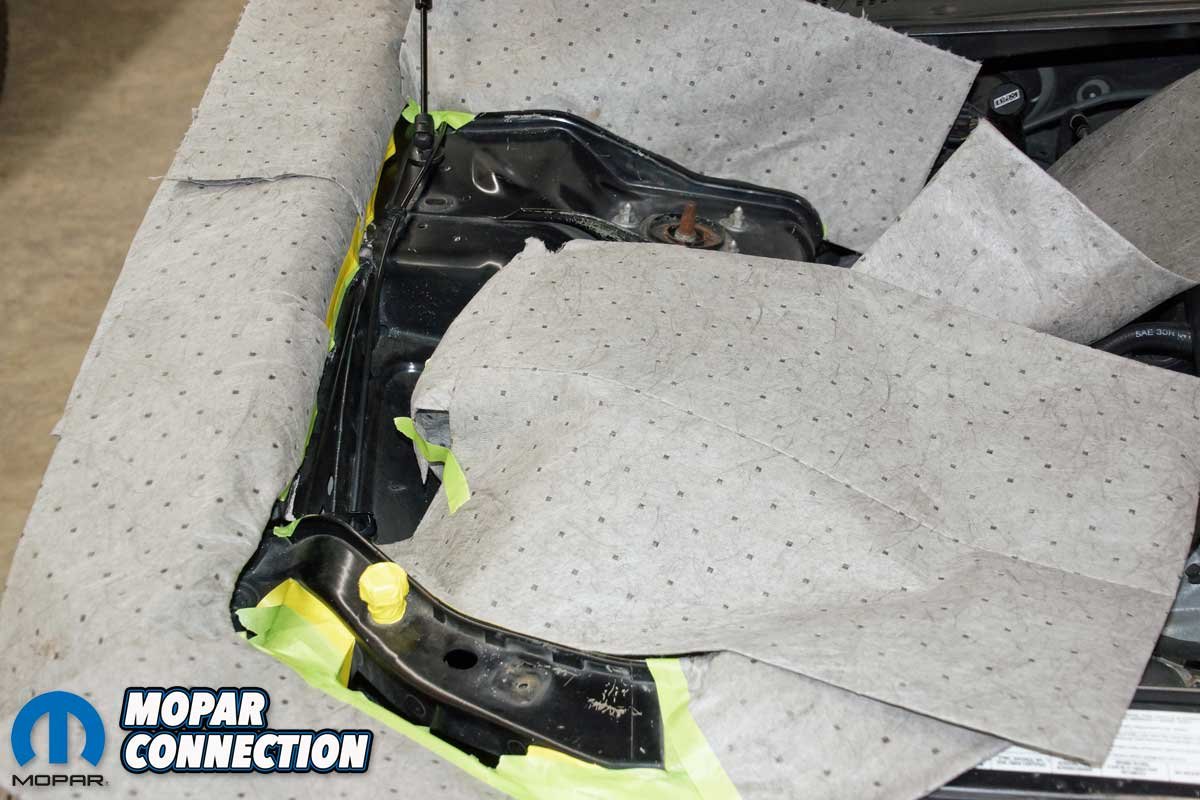
After testing the proper operation of the struts by closing and opening the hood, we elected to remove the factory hood prop by drilling through the rivet on the prop rod anchor. We also detached the hood prop clip from the radiator support.
After a bit of paint touchup to the underside of the hood and the radiator support, the task was complete. This $45 mod should fit even the tightest budget, and regardless of the owner’s mechanical level of proficiency, the swap can be completed in less than fifteen minutes.
Top Left: We drilled the hood prop rivet to free the anchor pivot brace from the radiator support. Top Right: By taking our time, we drilled the rivet head but did not damage the brace or support. We could reuse the prop in the future if we elected. Bottom Left: After removing the hood prop, we decided to touch up some of the under hood paint. Bottom Right: With the hood prop removed, we had a cleaner, more open area to work, and the struts do a great job supporting the hood.


