


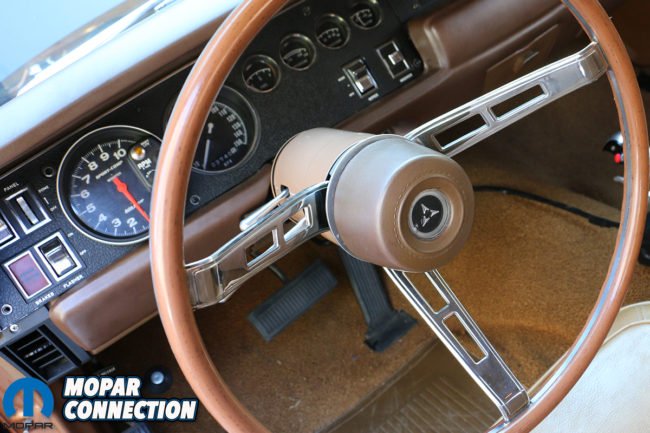
Admittedly, we were either too getting old or fat (or maybe both), but climbing in and out of our caged ’69 Dodge Charger project “Brazen” was becoming a bit more of an ordeal that years previous. The tight confines of the 6-point roll cage, the large diameter steering wheel, and fixed position steering column made wriggling in and out a pain enough to consider what options the aftermarket had to offer. Although Brazen was once a lowly yet comfortably-optioned 383-powered SE model, it did not include the addition of the 3-spoke wood grain R/T wheel, or tilt steering. A few years prior, we had replaced the thickly-padded wheel (with the semi-circular horn ring) for the sportier R/T wheel, but our column remained the same as from the factory.
In a conversation with John Jennings of Flaming River, he slyly suggested we made the switch to one of their new paintable columns. “We’ve got over 250 colors to match your factory column,” Jennings explained. “We send you a book of color swatches and you pick the right one. We then have everything powder coated (because it’ll last ten-times longer than paint) in our in-house facility, and back to you.” The color-matching offering was a new addition to Flaming River’s replacement steering columns, and not only provided our Charger the much-needed articulation of five points of adjustment, improved steering response, and updated crisp turn signal cancelling cam, but also the ease of a factory-replacement installation – something absent from several competitor’s steering columns.
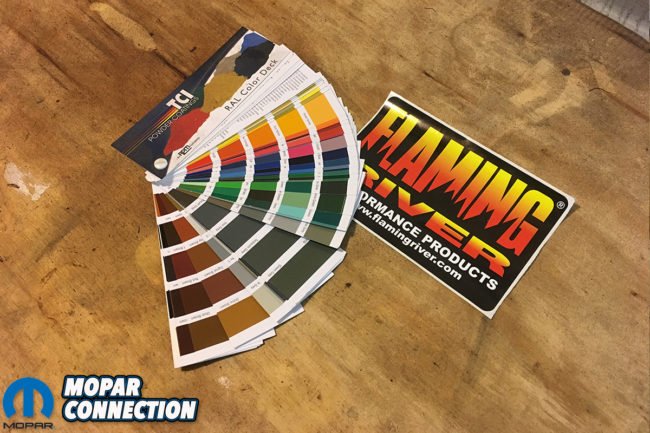

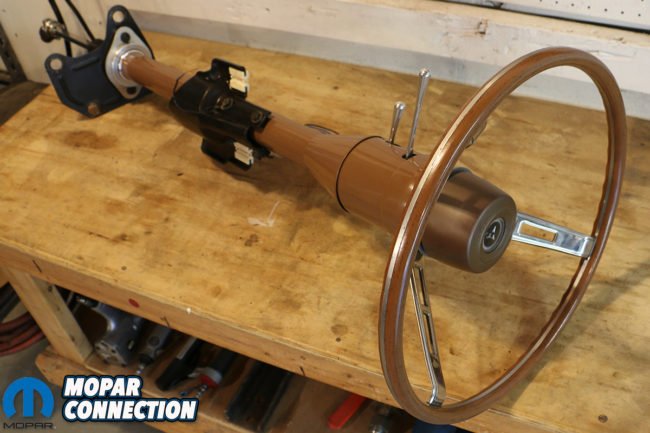
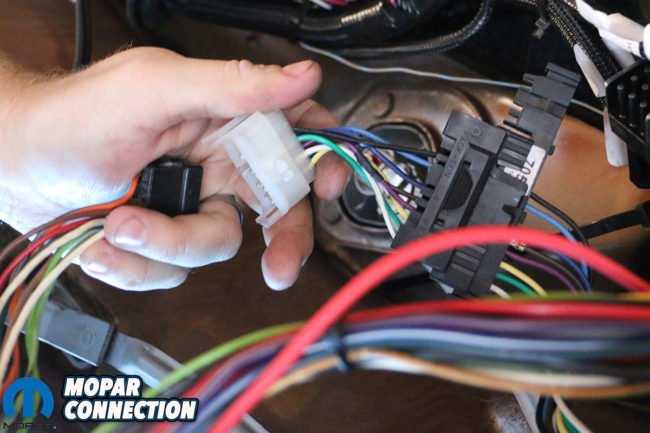
Above left: Prior to receiving our Flaming River Tilt Steering Column, we were provided a book of color swatches to match to our factory column. (The powder coated colors come a bit shinier than the factory matte colors.) Above right: The complete column kit comes with the finished column, a package of billet levers (turn, tilt and hazard), an adjustable universal joint, billet base mount, and a plug adapter to plug into the factory harness.

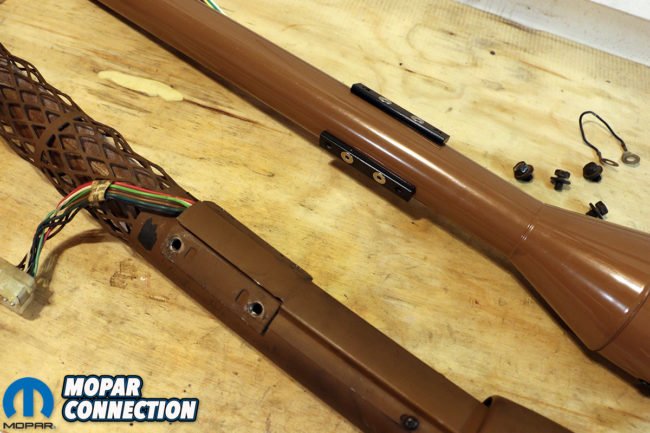
Above: Flaming River has taken great care to make sure that factory lengths are matched with their new columns, including the mounting points and locations for using factory brackets. The Flaming River column is more narrow in overall diameter (by 1/2-inch in the main shaft), and lighter by 1.30-pounds.


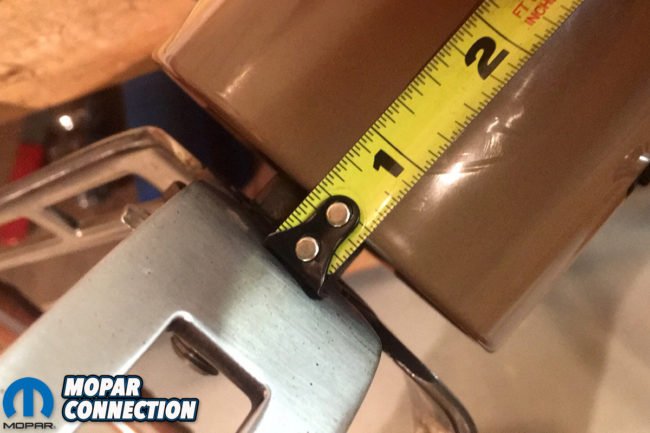
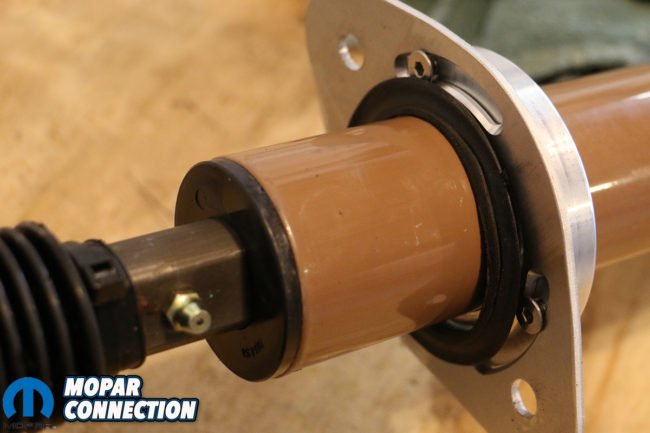
Above left: The Flaming River shaft has been machined with a keyway to align with the factory column, and comes with a GM-style horn relay, tensioner spring and lock-down nut. Above center: Hand tighten the nut – using too much grunt won’t make the wheel go down any further as the column and steering wheel are chamfered. Above right: When we discovered that we failed to supply Flaming River with the right information – they quickly sent out their longer shroud which ate up the 1/2-inch gap.
Proudly built in the United States, every Flaming River column is brand new – nothing is rebuilt. This allows the manufacturer to maintain strict quality standards, which has elevated them to become an industry standard over their past 20 years. All Flaming River columns are made from 304 grade stainless steel, and as Jennings mentioned, available as a paintable mill or can be delivered with a brilliant polished luster. Jennings boasted, “[Our columns] are chemically cleaned and will never rust,” something which is truly appreciated living in the South. Moreover, Flaming River has done their homework when it comes to Mopar applications. Although much of the column’s internals are pretty standard GM equipment, the length, mounting points and adaptation are all within Chrysler spec.
With our Charger’s factory column removed, we matched up the factory matte brown hue to a “Clay Brown” (color code RAL 8003) in our provided book of color swatches. From there, ordering was pretty easy: Flaming River has pre-measured their columns for manual or power steering box applications, although they do offer several length options (28″, 30″ 32″, 33″ and 35″). The shaft itself is an overall length of 45-inches (including an additional slipshaft extension), allowing for 1 1/2-inches of slip movement. With our Flaming River manual steering box already installed a few months earlier, we were happy to receive a universal joint included in the kit, ready for “direct connection” to steering box (get it? LOL). Although the column’s internal loom is GM, Flaming River includes female adapter plug that plugs right up to original wiring harness.
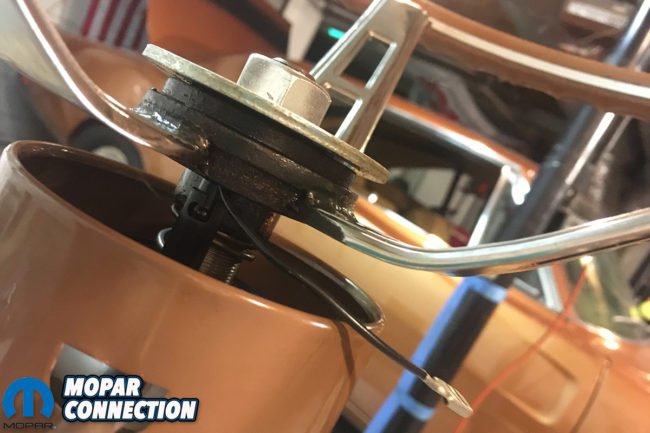


Above: Because of the tall stem on the horn relay, we needed to feed the wire through the threaded holes in the steering wheel (normally used for steering wheel/bolt-style pullers. Looks like we’ll be using pulley pullers, instead). With the wire fed through, we could install the horn spacer ring and contact pad, connecting it to the male tab.

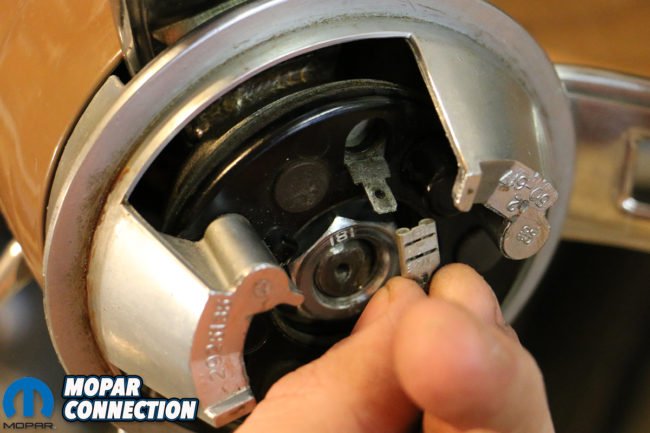
Above left: The emergency flasher/hazard switch included in the column does not override the in-dash flasher switch from the factory. Above center: The turn signal indicator is a little tough to reach especially without the cut-out in the steering wheel. Above right: The tilt left simply threads on.
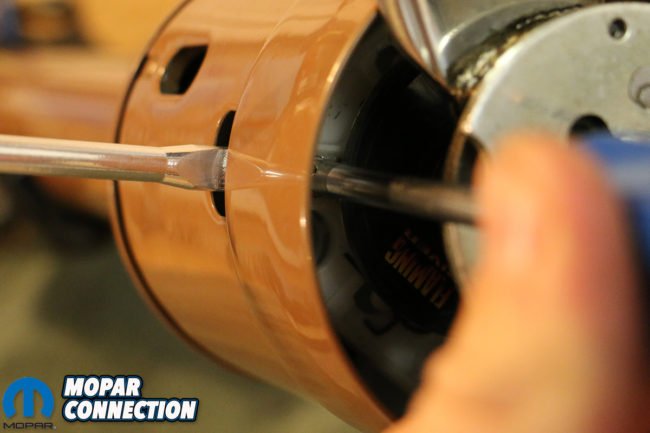
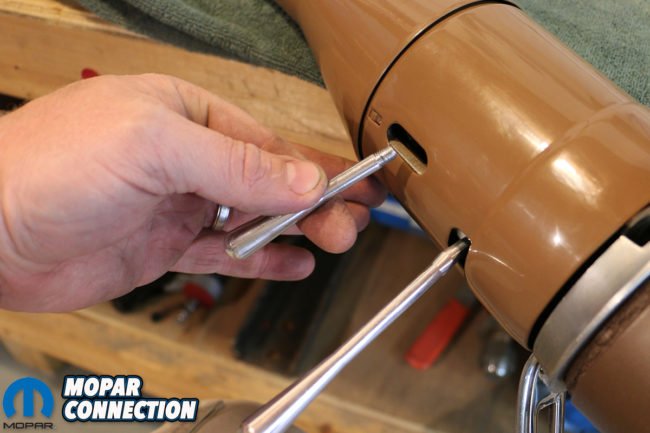
Upon arrival we realized that we had made one key error in ordering: we failed to alert Flaming River to the type of steering wheel we were using (besides saying it was a “factory wheel”). Most will know that Chargers came with three different kinds of steering wheels, and discovered that the three fit very differently from one to another. While a very basic black plastic wheel might have 3/8-inch of a gap from the base of the wheel to the column’s shroud, the R/T wheel has a deeper collar, and at least on the Flaming River column, didn’t have deep enough threads to allow us to suck up the gap. “Dude, we have a different shroud that’s about 1/2-inch longer,” Jennings teased. “I’ll send that right over.” So again, Flaming River to the rescue.
The shroud is merely pressed on, and replacing the shorter shroud with the longer one took only some minor coaxing to pop off and tap on the new piece – all without galling our powder coat finish. Also note that Mopar wheels – unlike GM or aftermarket wheels – have keyways cut into the grooves, so make sure to let them know this prior to ordering. Also note that the horn relay cam is a GM piece and has a stem where the horn button wire protrudes from. This needs to be fed through the threaded puller holes in the base of your wheel, so you’ll be using a pulley puller to remove your steering wheel from here on out. Mounting brackets accept the factory ignition switch bracket, and sliding on the billet collar that mounts the base of the column to the factory steering column support bracket is a breeze.
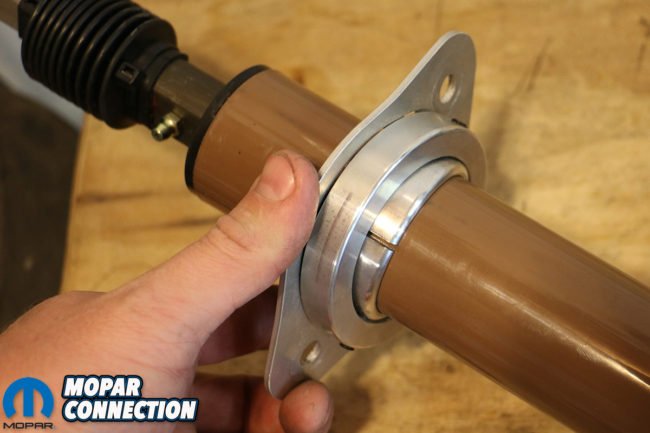
Top: The Flaming River billet base slides on to the column. (There’s fixture or tab to keep the base from sliding all the way up.) We used our factory gasket to seal the base to the factory bracket. Bottom left: The soft aluminum base will bend if/when tightened down too tight. Bottom right: Use an Allen wrench or driver to tighten the screws.


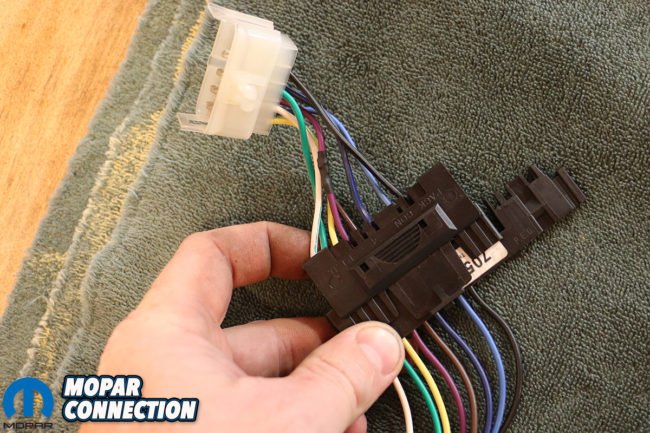
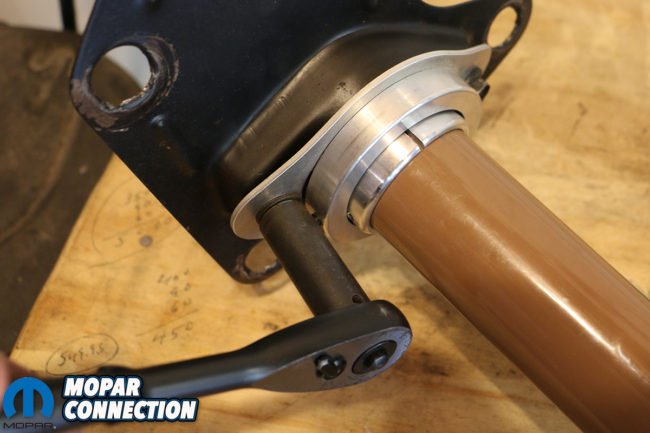
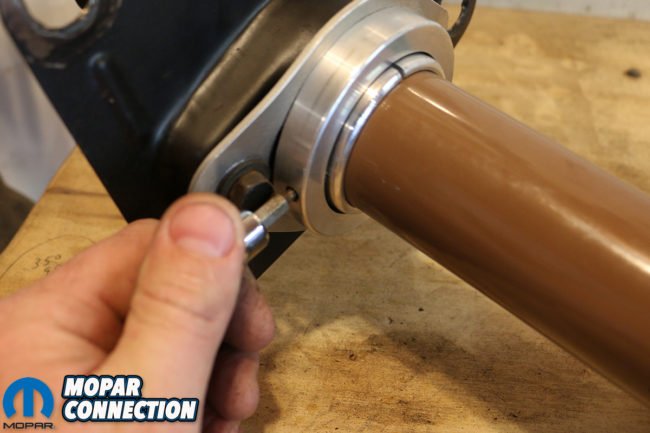
Above left: Flaming River includes this zerk fitting to grease the column’s bearing. Above center: We tightened down the universal joint to the base of the shaft, tightening down the Allen-headed all-thread, and then the 1/2-inch lock-nut. Above right: The plug adapter kit perfectly matches the factory plug and factory wire colors.
The Flaming River column requires only some minor assembly, as you prepare it for installation into your B-Body. The Flaming River column also came with a lever kit, including a billet turn signal lever, tilt lever and an emergency (“hazard”) light knob. Amazingly, the Flaming River column slid in without a fuss (we say “amazingly” because how often do “direct replacement” parts truly fit?), and we had our Charger up and running in the space of a couple of hours. Best of all, with the column tilted up, we could easily throw a leg over the down bar and slide into our seat. And, we finally found a position where we could drive comfortably without the rim of the wheel blocking our gauges. It’s a little “win” but one that’s very much appreciated.
Again, as a final thought: there is a lot of information needed to be gathered and shared prior to completing your order, so make sure you know exactly what type of steering wheel you plan to use, whether you’re running manual, power or rack-and-pinion steering, and (if you’re going to have your column color-matched) that you select the right color. All of these preparatory steps will ensure that your Flaming River column will come to you right the first time – although, as they’ve proven in our case, they can make it right if you don’t.


Above left: In installing the factory ignition switch bracket, we opted to replace our aged and broken retainers. Above center: The new column has all the mounting points perfectly-matched to the factory bracket. Above right: The final assembly prior to installation.
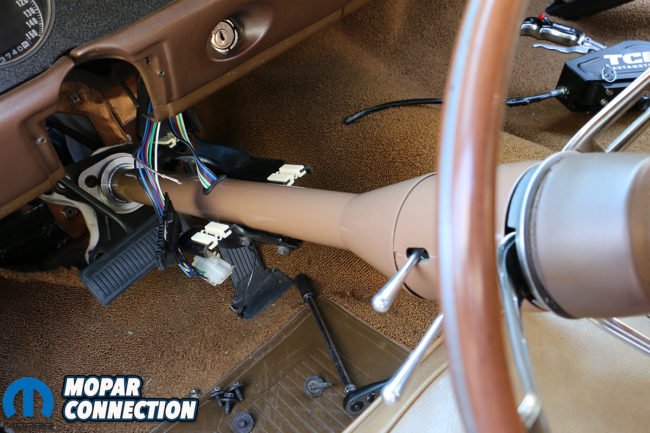
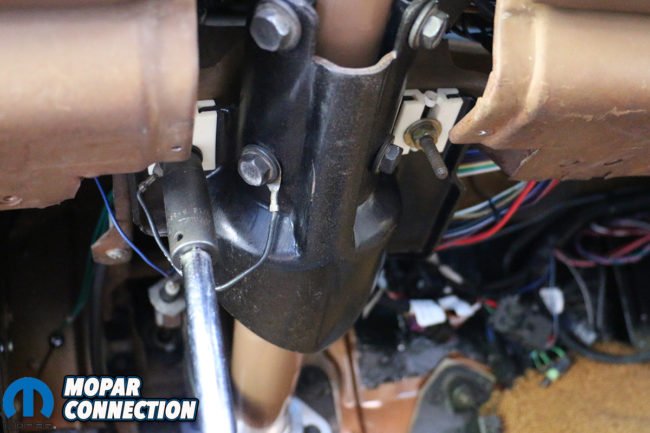


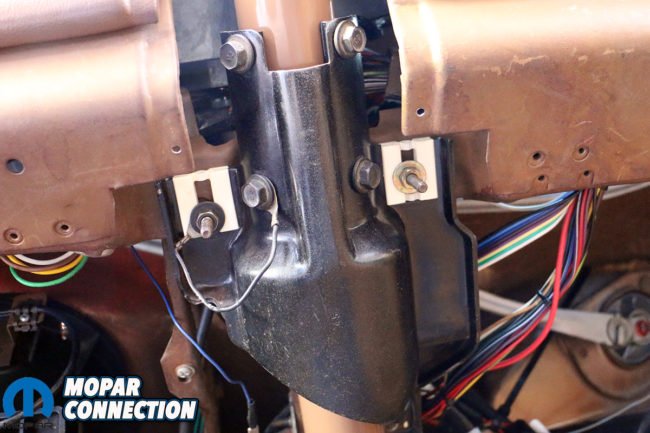
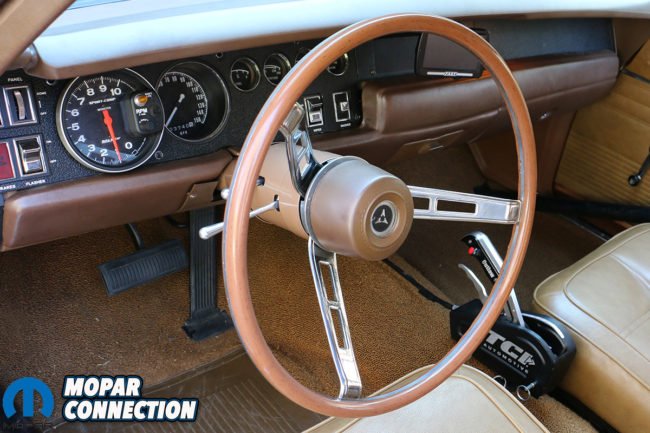
Top far left: With our Flaming River column in place we’re ready to start bolting things down. Top center left: We start by loosely tightening the ignition bracket down, allowing the column some back-and-forth room. Top center right: Neither the universal joint or the Flaming River steering box we installed months earlier have keyways, so getting the steering wheel centered is a tad easier. Top far right: With our universal joint tightened down, we can tighten down the mounting bracket to the firewall. Bottom far left: Because the harness is cut long for custom mounting applications, we needed to creatively reroute a little before plugging our loom together. Bottom center left: With everything in place, we could finally tighten down the ignition bracket. Bottom right: With five different points of articulation, the Flaming River column looks right at home in our “Brazen” ’69 Dodge Charger R/T.


