


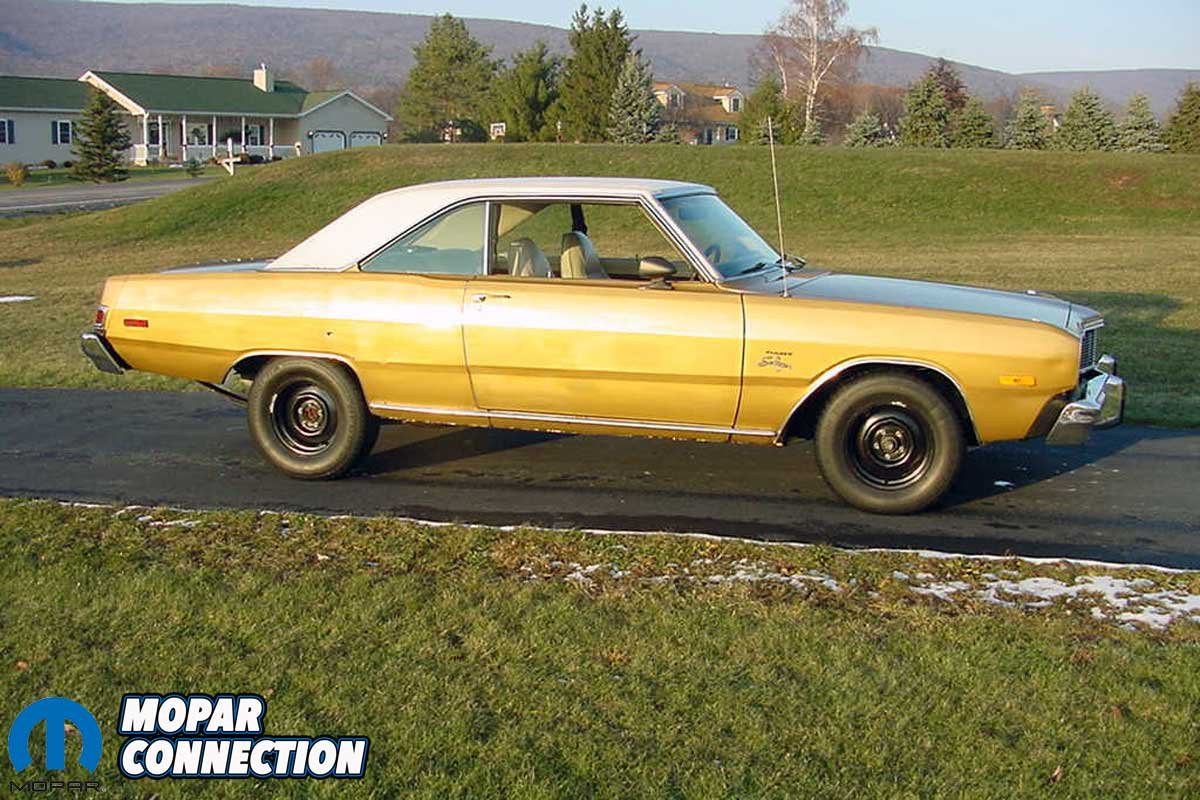
Buying a car sight unseen is a risky proposition. A few years ago, we found a ’75 slant six Dart on eBay near Philadelphia. We won the auction, loaded the truck and trailer, and drove east on a cold November “Black Friday.” The Dart was represented well online, and the owner was helpful, but when we laid eyes on it for the first time, we were less than impressed. However, we loaded it up, finalized the paperwork, and brought it home.


Above Left: Year One offers inner fenders (aprons) from Auto Metal Direct (AMD). Our ’75 Dart required a new driver-side apron. Above Right: The day of the purchase of the ’75 Dart. A set of steel wheels had already been added, but the rest of the car was in its as-purchased condition. The car was a little rough.
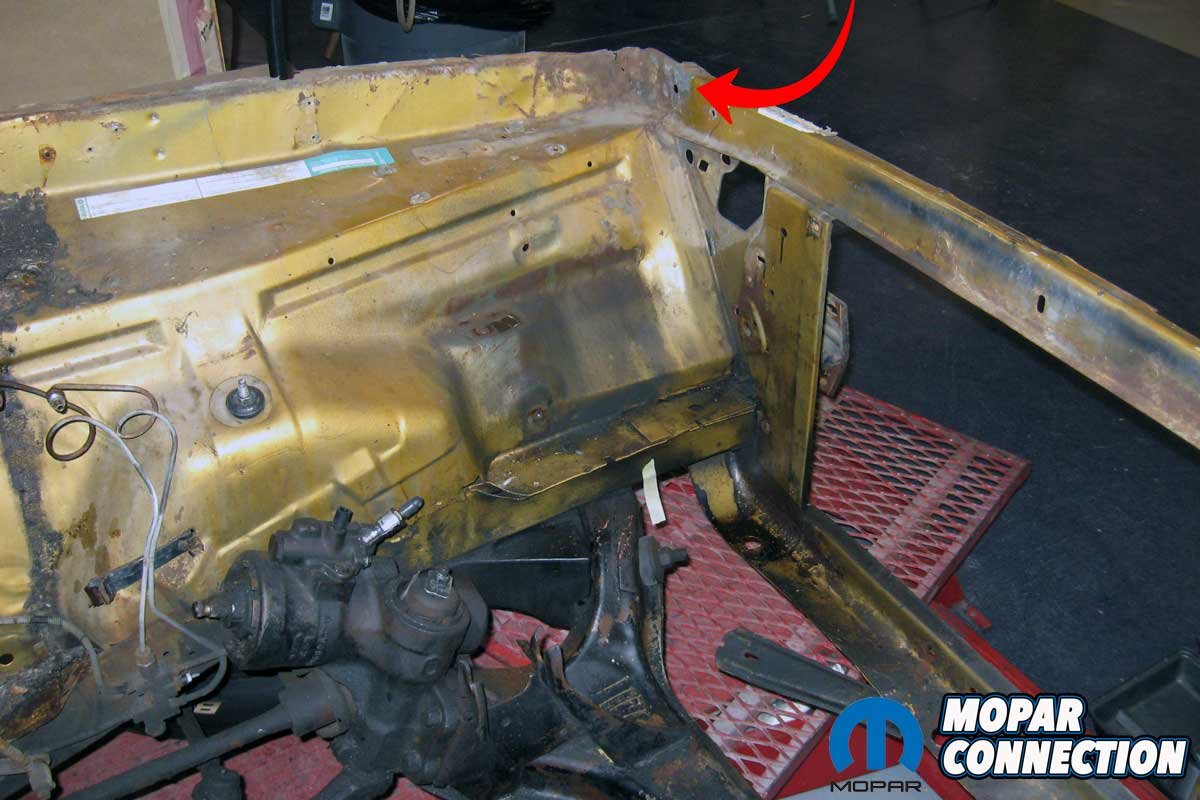
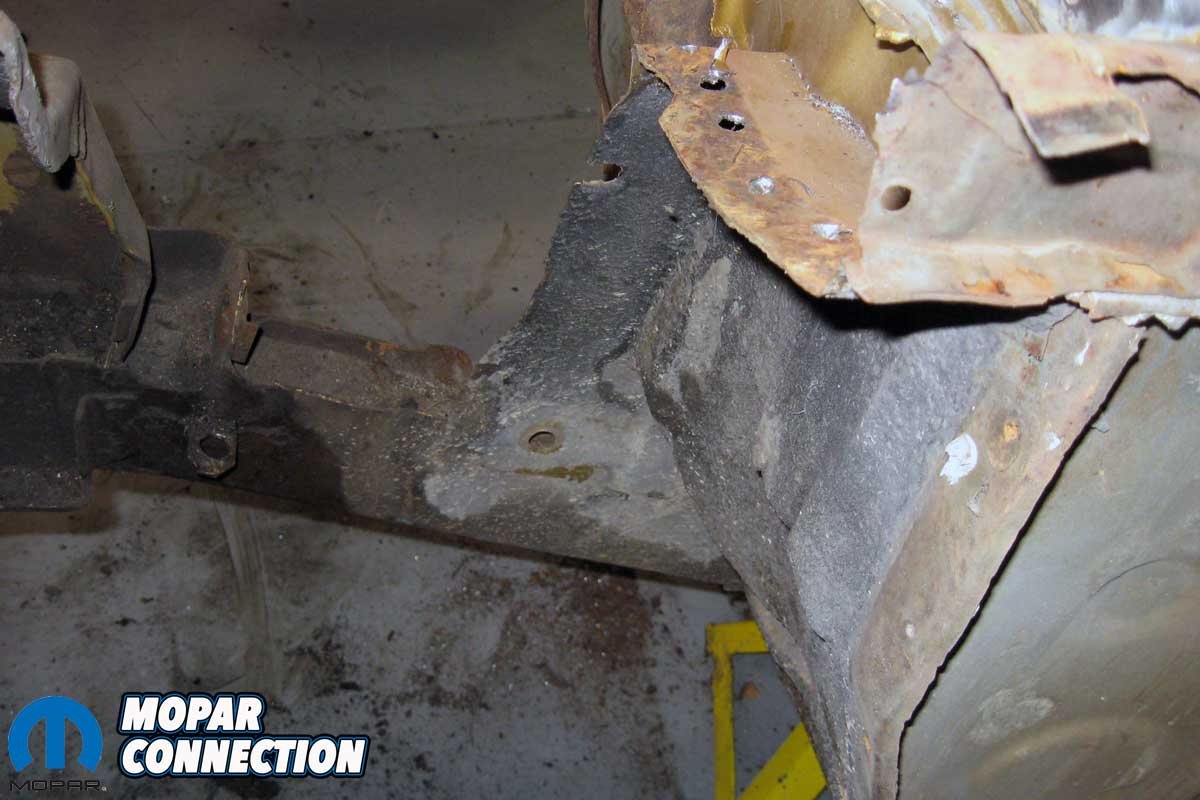
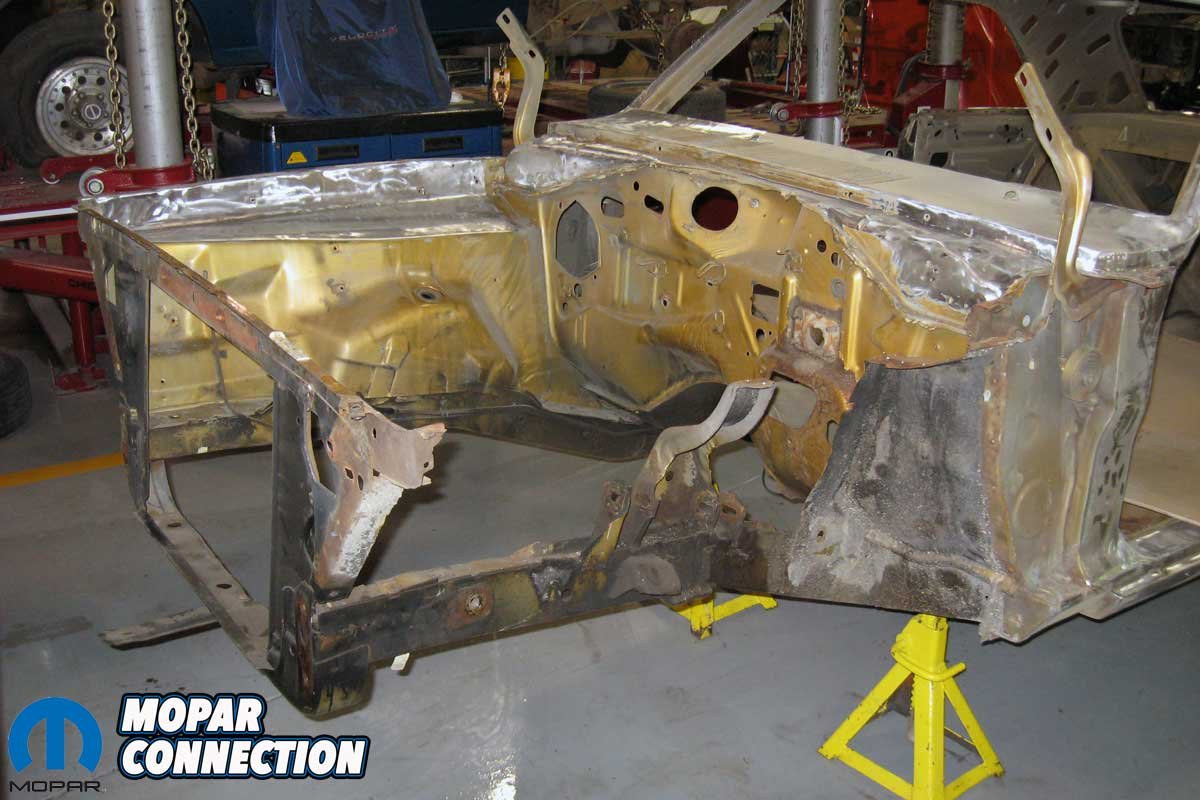
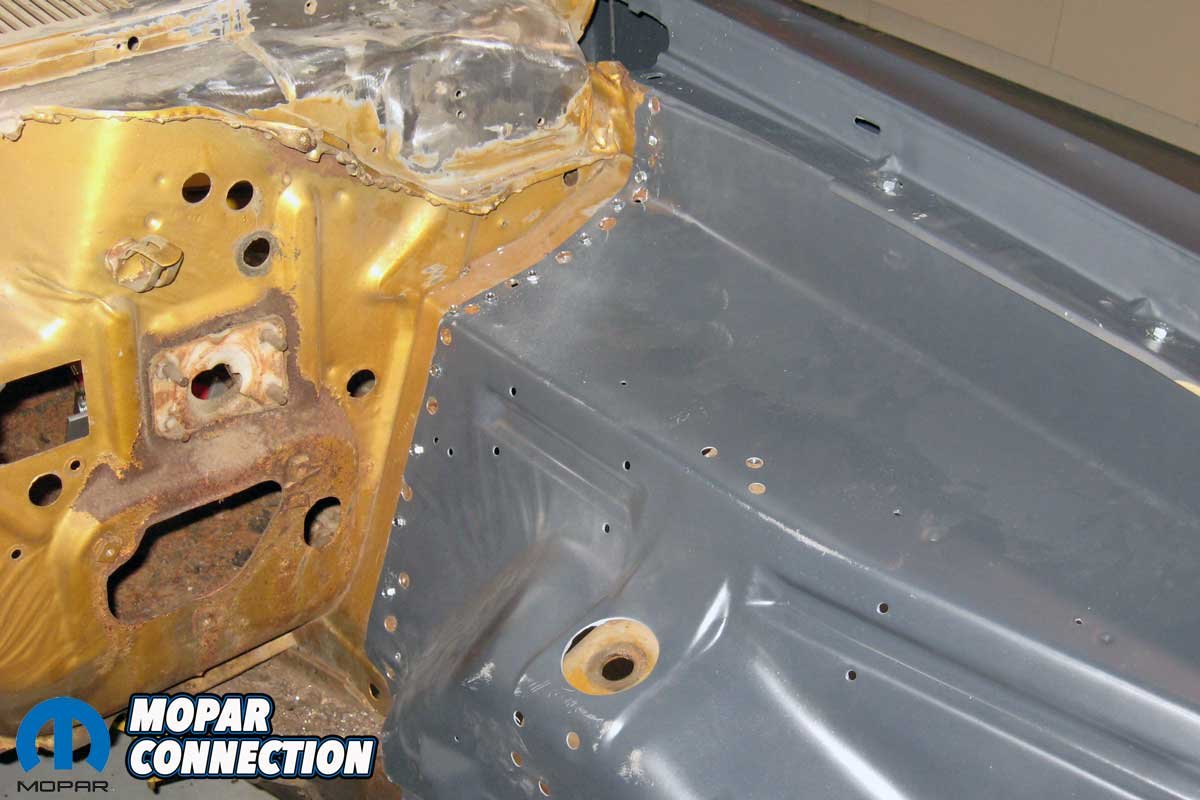
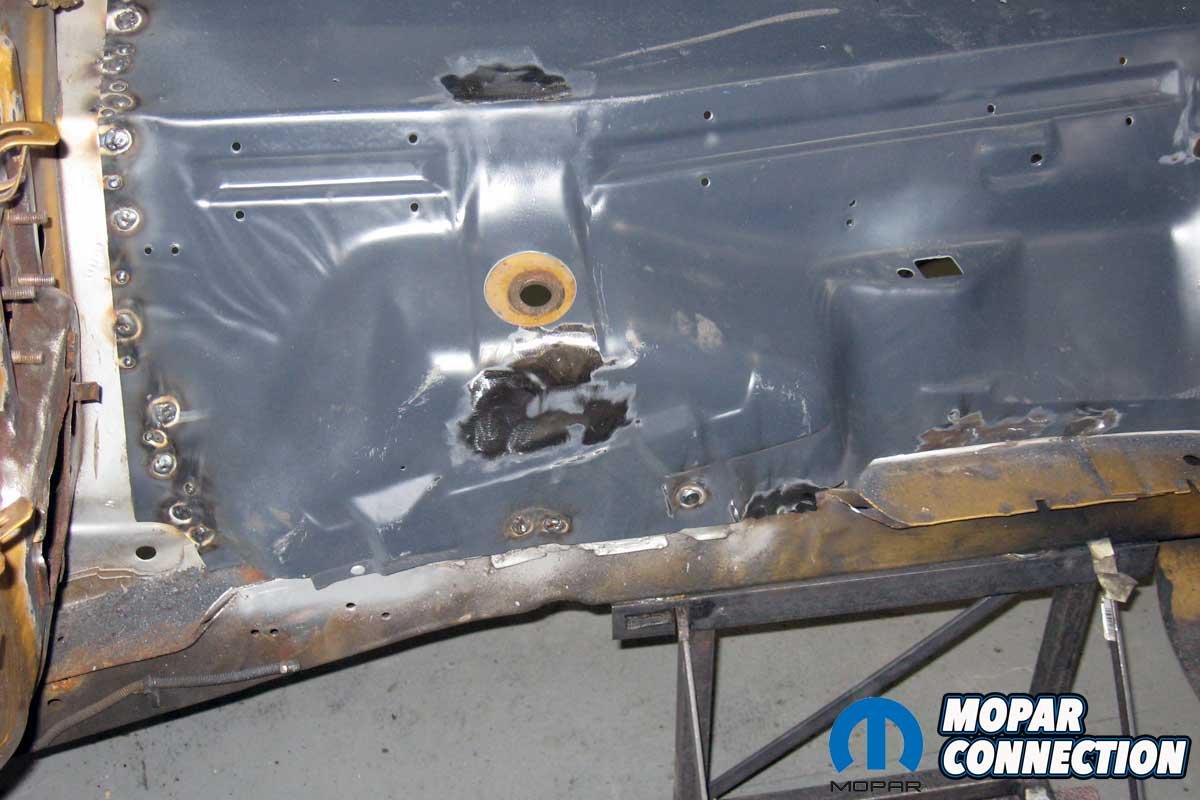
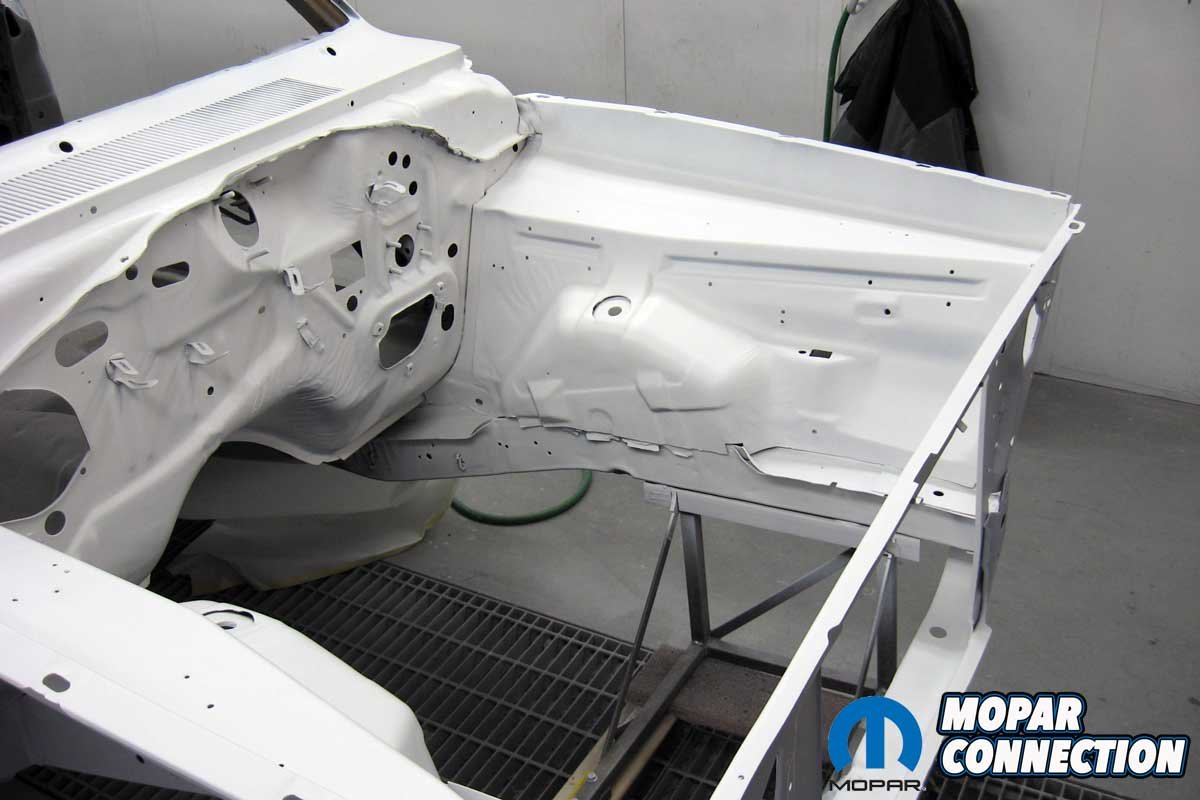
The Dart was rougher than expected. We found rust in the front floor pans, the outer quarter panels, the inner quarter panels (wheel wells), at the base of the rear window, and previous accident damage to the driver-side inner fender panel (apron), which had been poorly repaired. While plenty of bodywork needed to be completed, we focused on installing a new apron, which we sourced from Year One (part no. J74LH) for this editorial.
While a ’75 Dart is not the most valuable vehicle to restore, as an apron does not know if it is being placed on a beak-nose Dart or a ’68 big-block Dart, the plan moved forward to make the Dart a car that could be enjoyed. A ’75 Dart will never meet the value of a more popular ’67-’69 A-body.


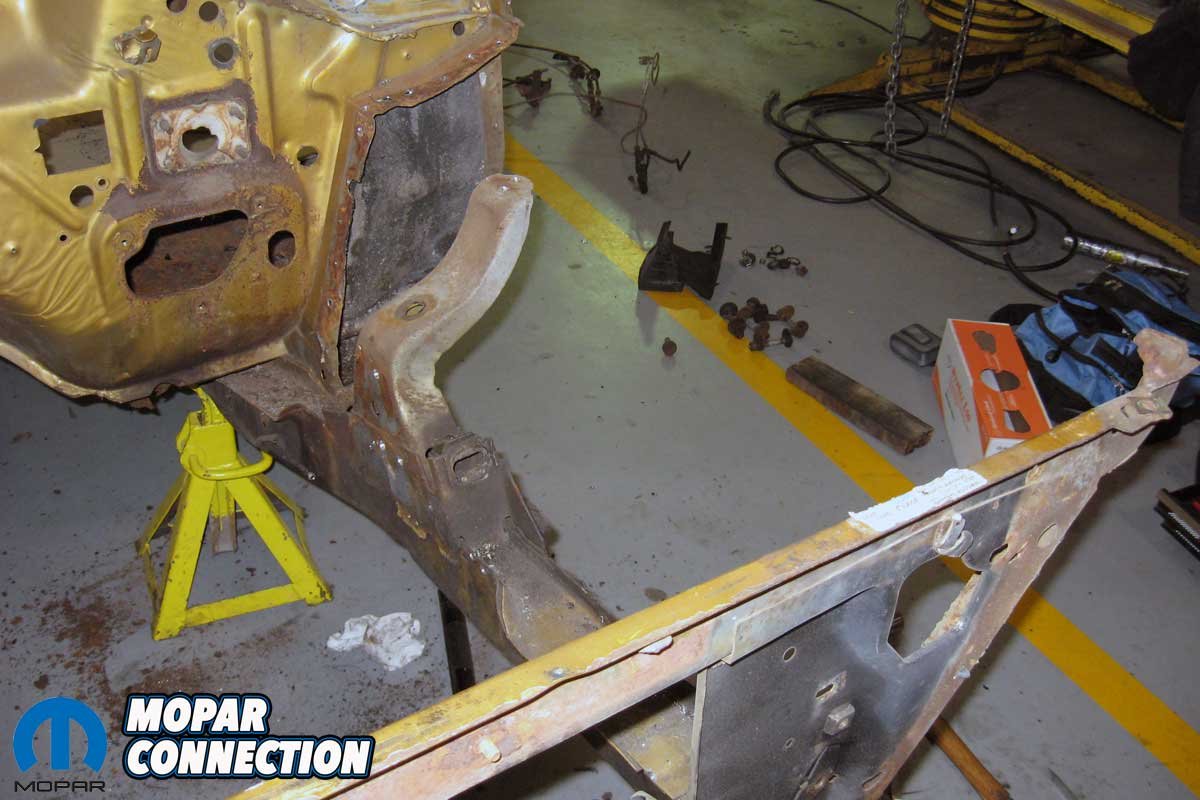
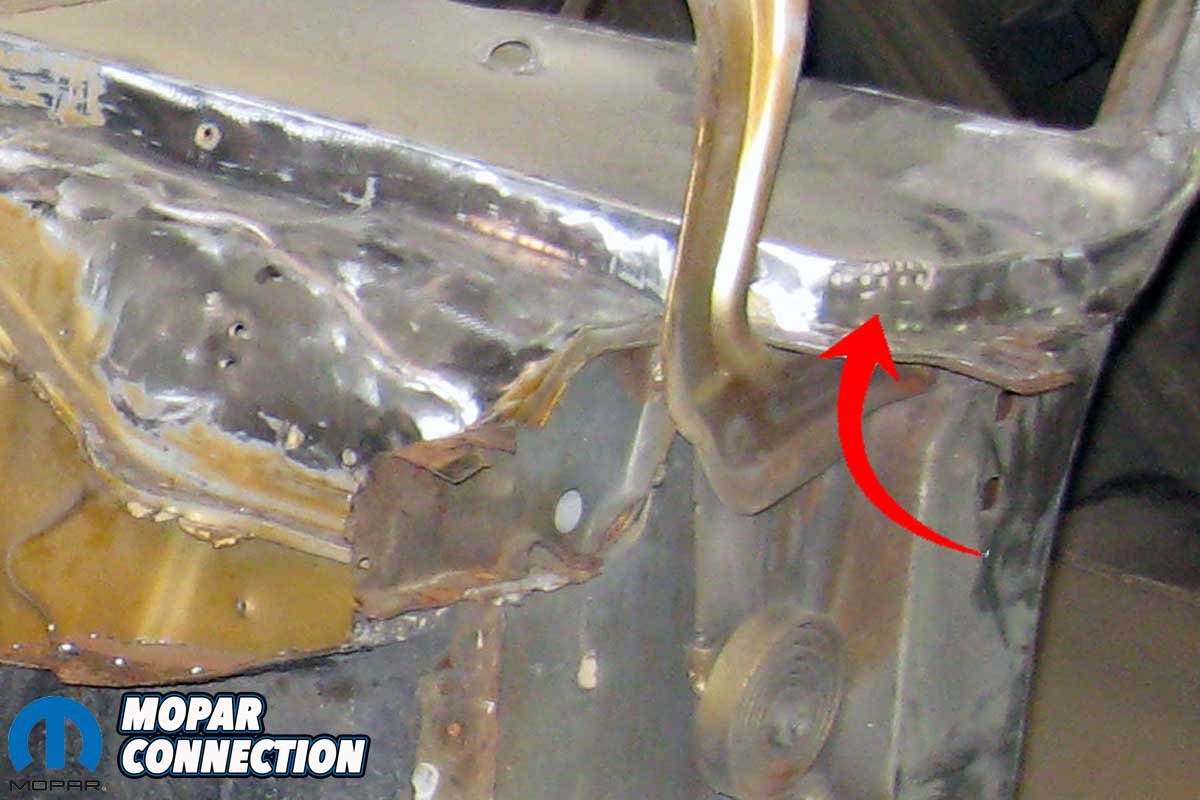
Above Left: The Dart had taken a brutal hit to the front left in the late-’70s or early-’80s. The apron was in terrible shape. It had been hammered back to some shape (red arrow). Above Center: The body repair was functional but unacceptable for our restoration. The damage gets worse the longer it is viewed (red arrow). Above Right: We found rust damage on the firewall underneath the master cylinder, the front floor pans, and the inner and outer quarter panels.
The reason for the slant six Dart project goes back to 1989 when a nearly 20-year-old version of your author struggled to adjust the dual points on my ’69 340 Dart. Dad came to the rescue, recalling his technique to adjust the points he had learned on a ’70 340 ‘Cuda he once owned.
In frustration, I exclaimed, “My next Dart will be a Slant Six AC car!” Dad quickly responded with a slight smirk, “Your next Dart?” That is how we got here; the ’75 Dart met the requirements: Slant Six, air conditioning and factory electronic ignition. A side note: the 340 Dart was upgraded to a factory electronic ignition and remains in the fleet thirty-four years later.


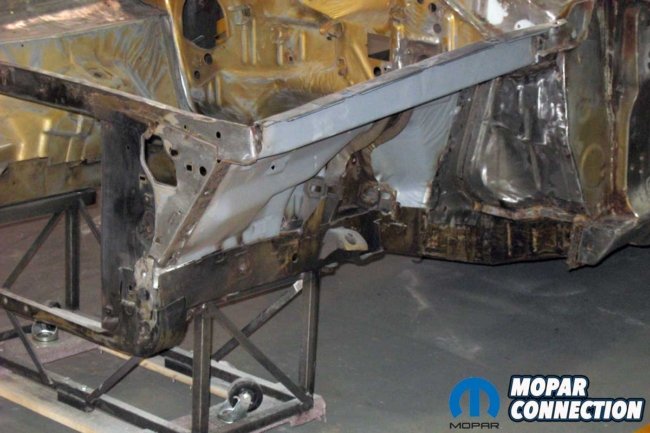
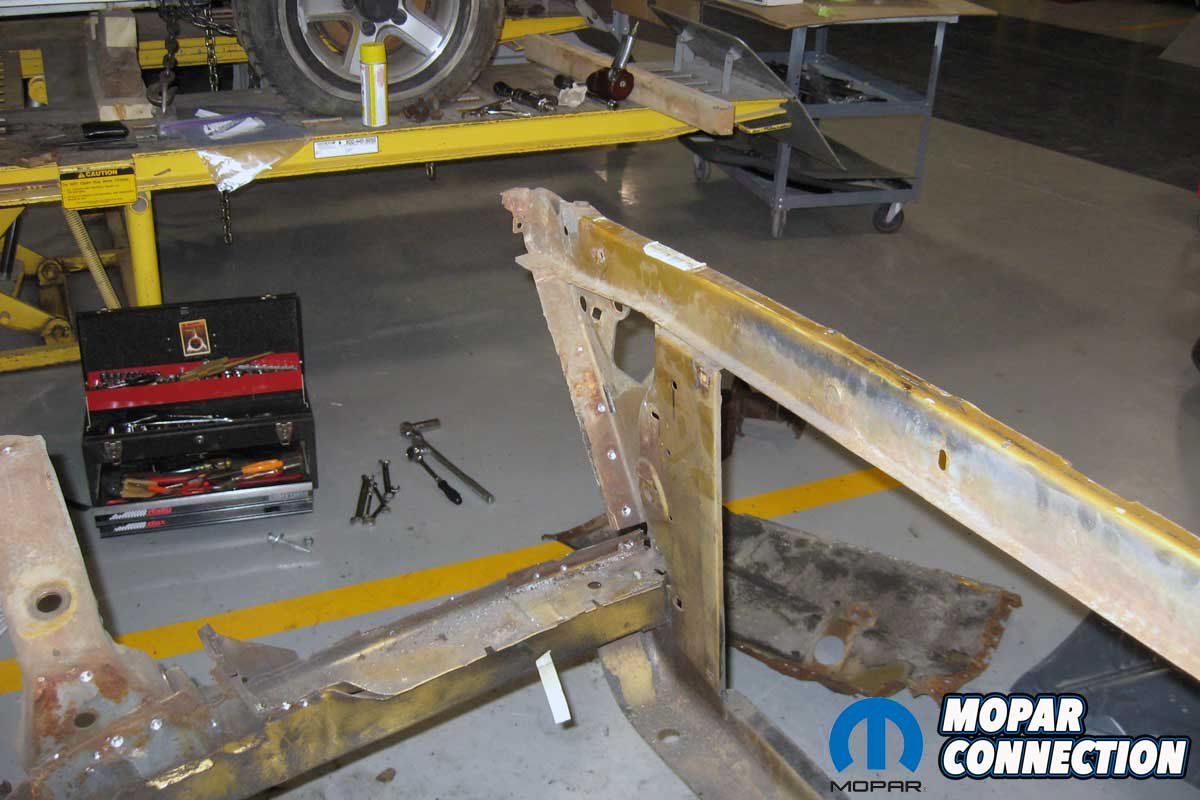
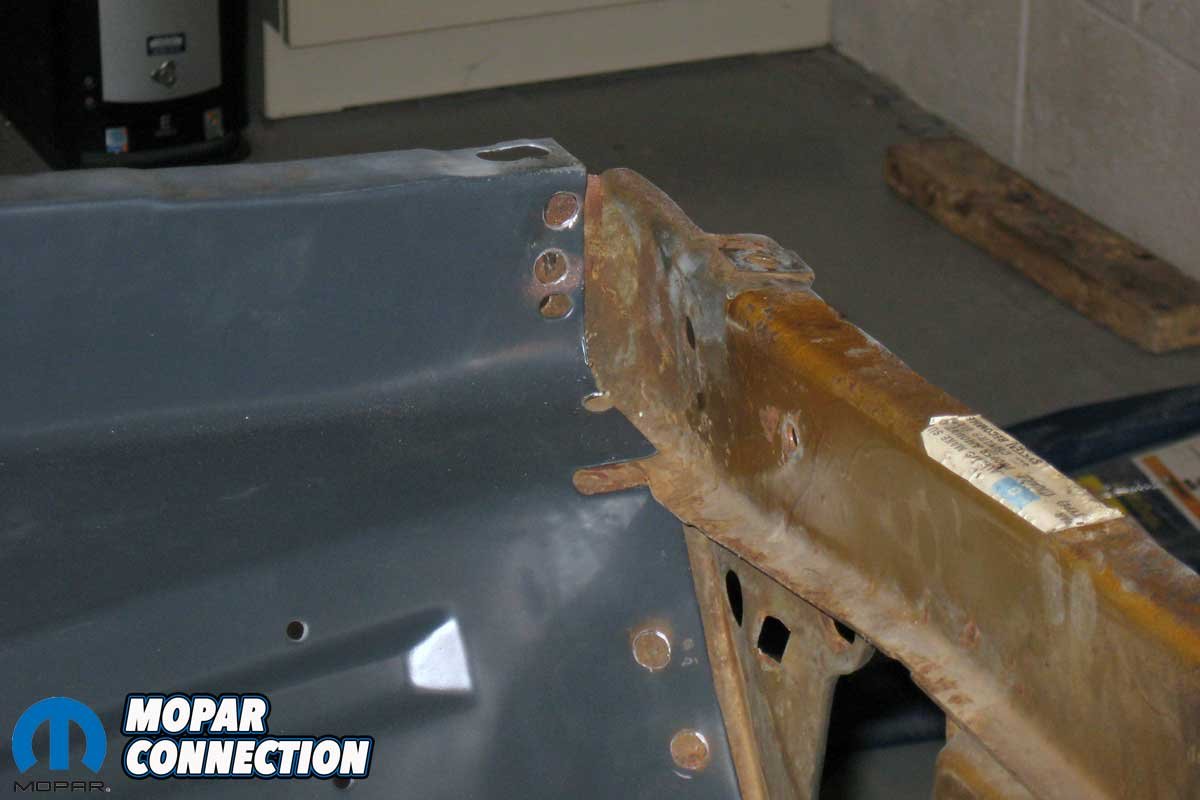
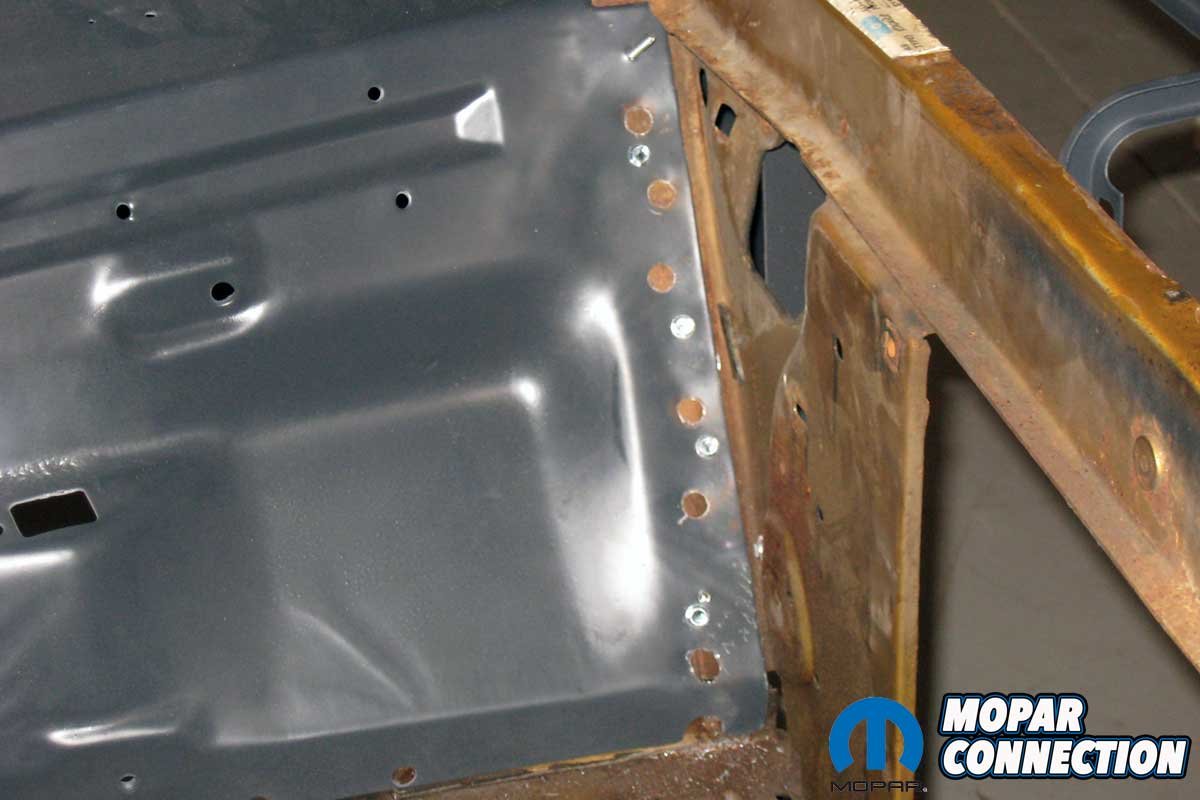
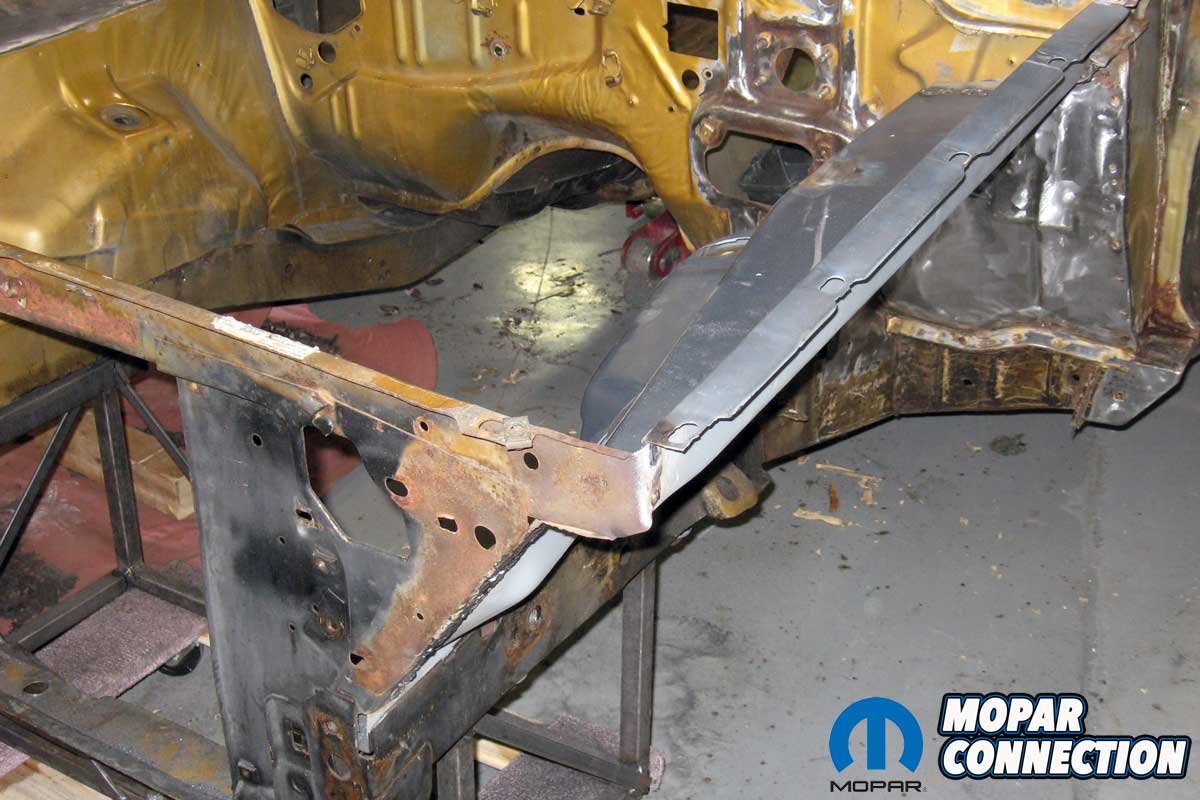
Above Left: We drill through several spot welds to remove the apron. Before the apron removal, we measured the height of the radiator support so we could reestablish the height when we welded in the new inner fender. Above Center: After drilling through each spot weld, the apron was easily lifted from the chassis. Above Right: The areas where the apron attached to the chassis were in decent shape. Minor bodywork, cleaning, and priming were all that was necessary.
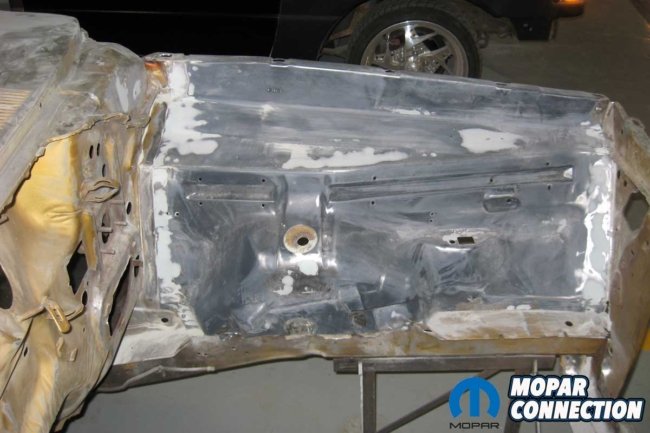
The ’75 Dart had taken a brutal hit in the late 70s or early 80s based upon the replacement (non-Mopar) driver-side fender’s date of 6/13/1979. The driver-side door had nearly thirty slide hammer holes, and the cowl had several additional holes drilled into it to pull the panel back into shape. The front of the apron was crushed at the radiator support and was crudely hammered back into a shape that the fender could hang on it.
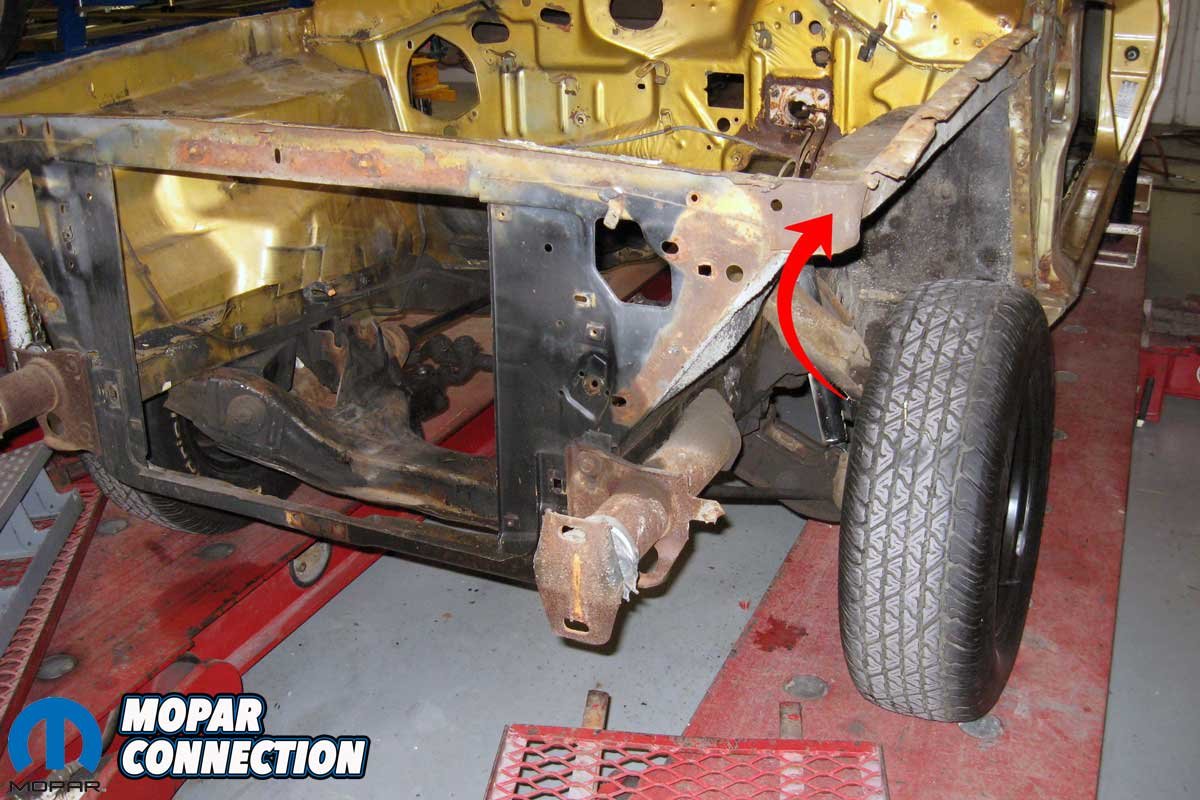
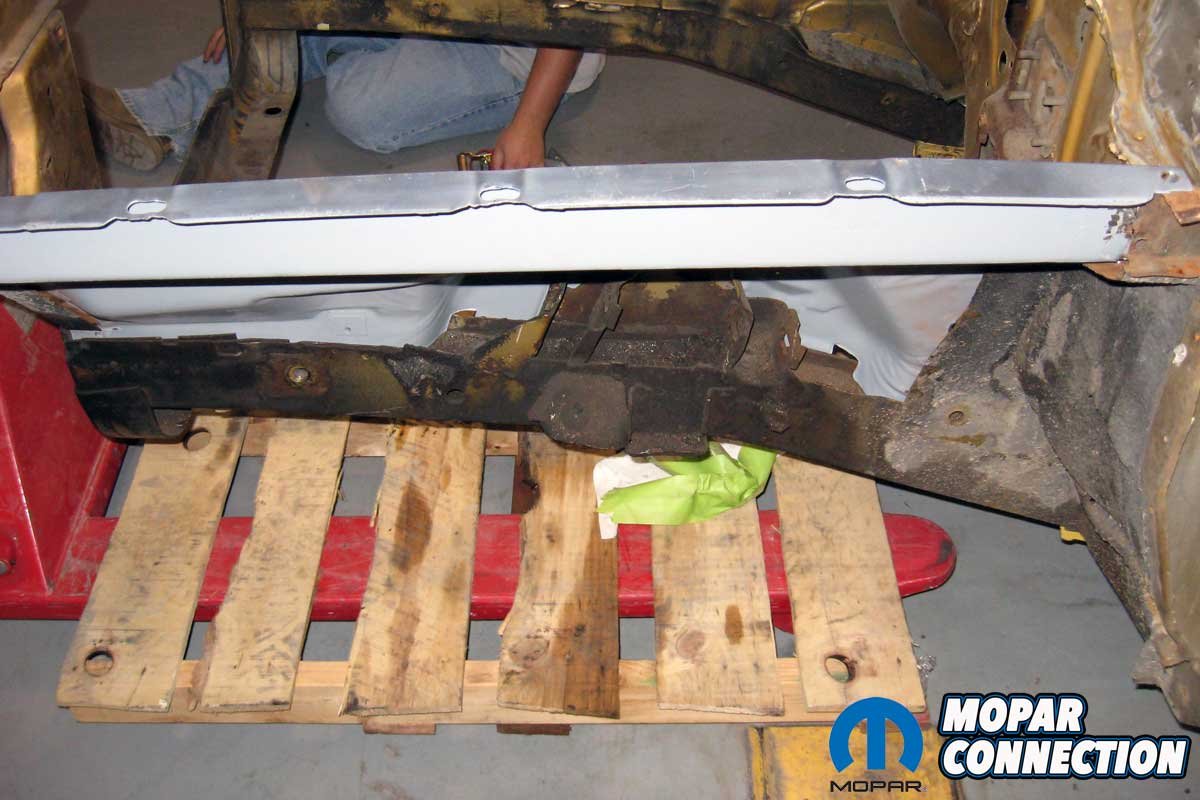
When we removed the driver-side fender, several ½-1-inch stacks of shims fell onto the floor. We noticed the apron was beaten up and wrinkled in several places. It was beyond repair. To gain access to the apron spot welds, we first detached the brake lines that extended from the master cylinder to the combination valve attached to the apron. Additionally, we removed the steering and suspension components and the K-member, again to gain access to the factory spot welds at the frame rail.


Above Left: To remove the apron, the brake lines, transmission kickdown linkage (shown), and the K-member were removed. Above Center: All the grinding and cutting debris was cleaned up, and we were able to review what we had. Luckily, we did not find more rust. Above Right: We did find several holes drilled into the cowl. The holes were for a slide hammer.
Detaching the damaged apron required us to drill through many factory spot welds. But, before drilling any spot welds, we measured the radiator support’s height from the floor. We were concerned the frame rail and support could drop when removing the apron.
If it did, we had a measurement to reestablish the correct height by manipulating the jack stand height. The proper adjustment would reduce problems fitting the fender and achieving the proper gaps between the fender, hood, and header panel.


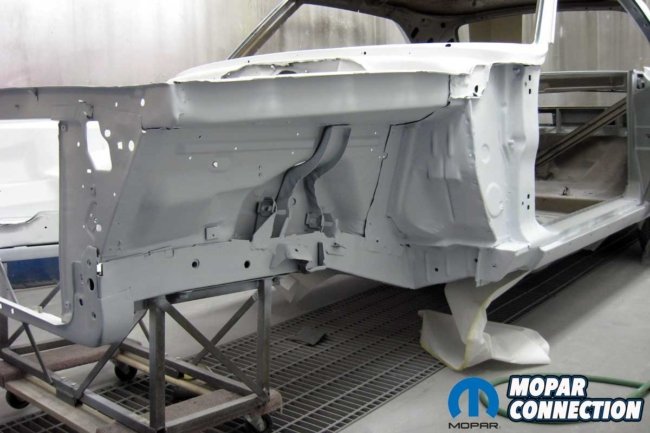
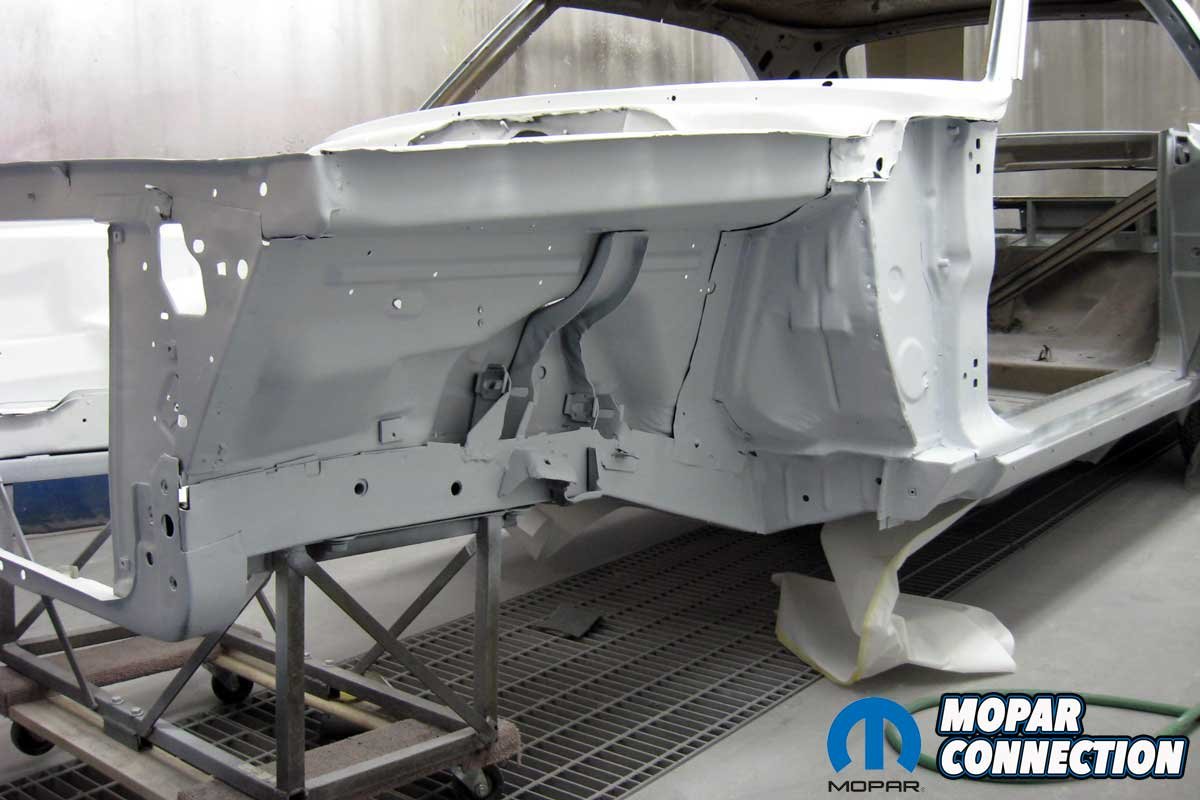
Above Left: The Year One apron came with a black EDP coating. We added a layer of epoxy primer. Above Center: We drilled holes into the apron to weld it to the chassis. However, we first wanted to test how it would fit into the chassis. Above Right: The intersection of the radiator support and the apron looked much better. With minor bodywork, we would have the area looking even nicer.
Before we installed the apron, we recoated it in layer of epoxy primer. The apron arrived in a black EDP coating to resist rust. However, it was a little roughed up in a place or two from the shipping, so we shot it with gray epoxy primer to provide an extra layer of protection superior adhesion.
It will adhere more securely to the EDP coating than other coatings. Additionally, epoxy primers can offer better chemical resistance than standard primers, making them ideal for use in areas exposed to harsh chemicals.


Above Left: We attached the fenders, header panel, and hood to check the alignment of the panels. The gaps were consistent and even. Above Center: The panel gap was also good on the passenger side. Above Right: The entire front end was assembled without any requirements to ding or bend anything to align the panels.
Year One states the inner fender panel would have all the correct contours and dimples, and the mounting provisions for the hood hinges were included. The apron flawlessly fit when we dropped it onto the Dart’s frame rail—all the contours, dimples, and holes appropriately aligned. The quality of the part was so superior we did not drill or fill a single hole in the apron.


Above Left and Right: The apron was affixed to the chassis with sheet metal screws. The screws would be removed after the spot welds were completed.


Above Left: We spot-welded the panel into place by welding one plug and then moving to another portion of the panel. Moving from point to point limited the heat we put into the panel, limiting the chances of warpage. Above Right: We started grinding the weld plugs to a smooth finish.
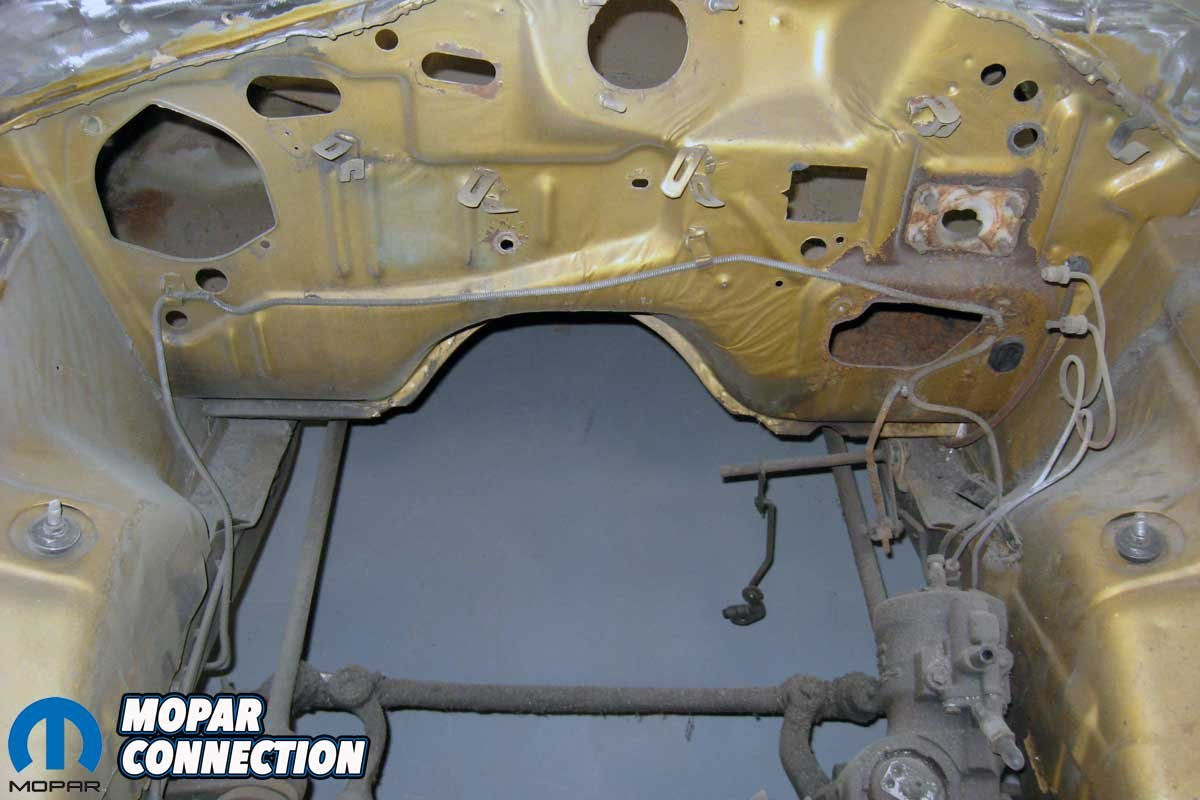
Prior to the apron installation, we chemically cleaned the area and treated the metal to which the apron would attach with weld-thru primer. We then fitted the apron and secured it with several sheet metal screws. The fender was attached to the apron, and we mounted the hood. We made several adjustments to acquire the proper gap between the fender, hood, and header panel.


Above Left: The panel fits well. We did not have to cut, drill, or ding any metal to locate the apron. Above Right: To address the holes in the cowl, we removed all the Bondo and then reshaped the cowl with lead (the lighter silver color). The lead should last a lifetime without concerns of lifting or cracking.
Pleased with the fit of the fenders, hood, and header panel, we removed them to focus on welding the apron. We checked the height of the radiator support; it had not changed, but we used a pallet jack to ensure the support did not drop during our welding session.
Happy with the alignment of the apron and height of the radiator support, we began spot-welding the apron to the Dart’s chassis. Working around the panel, making a weld or two at a time, ensured the panel would not warp. With the apron welded in place, we removed all the sheet metal screws and closed those holes.

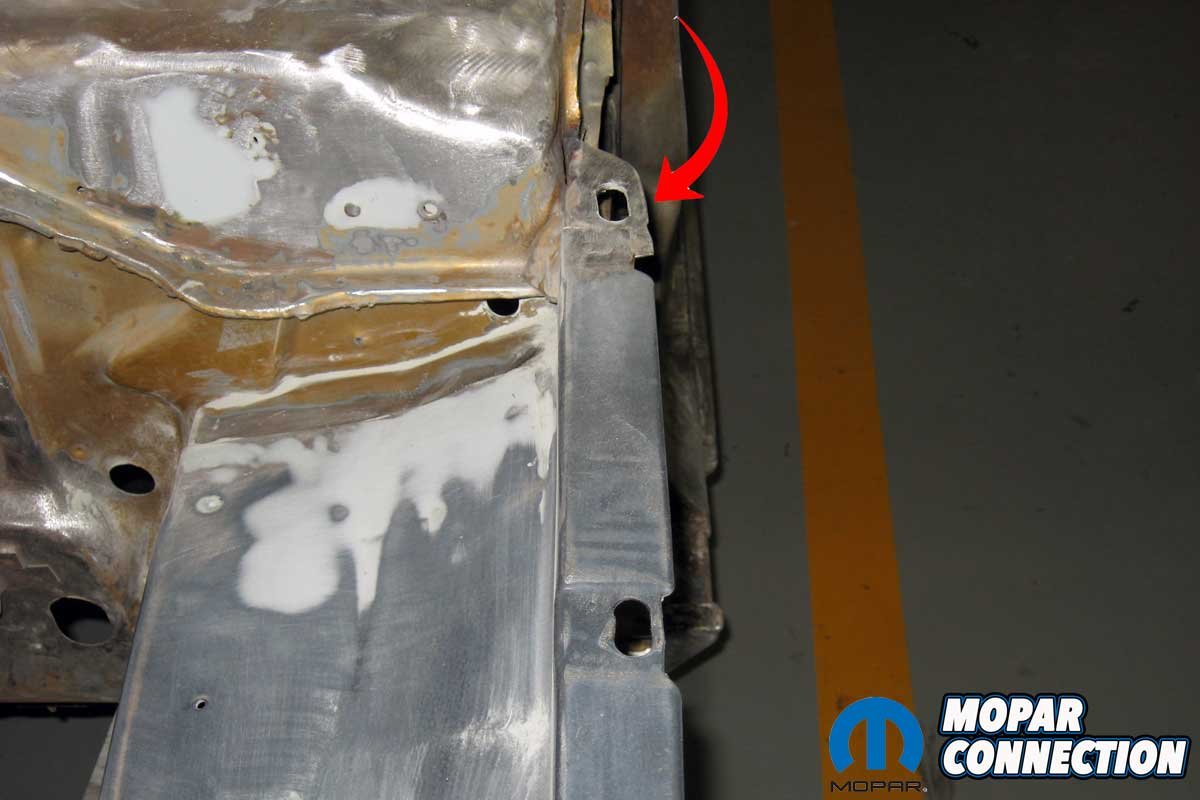
Above Left: To smooth the welds, we applied a light layer of body filler and sanded to a smooth finish. Above Right: The fender mounting hole on the chassis (not the apron) was torn in the accident and was not repaired. We welded a washer to the tab and then used a die grinder to elongate the hole to mimic the factory appearance.
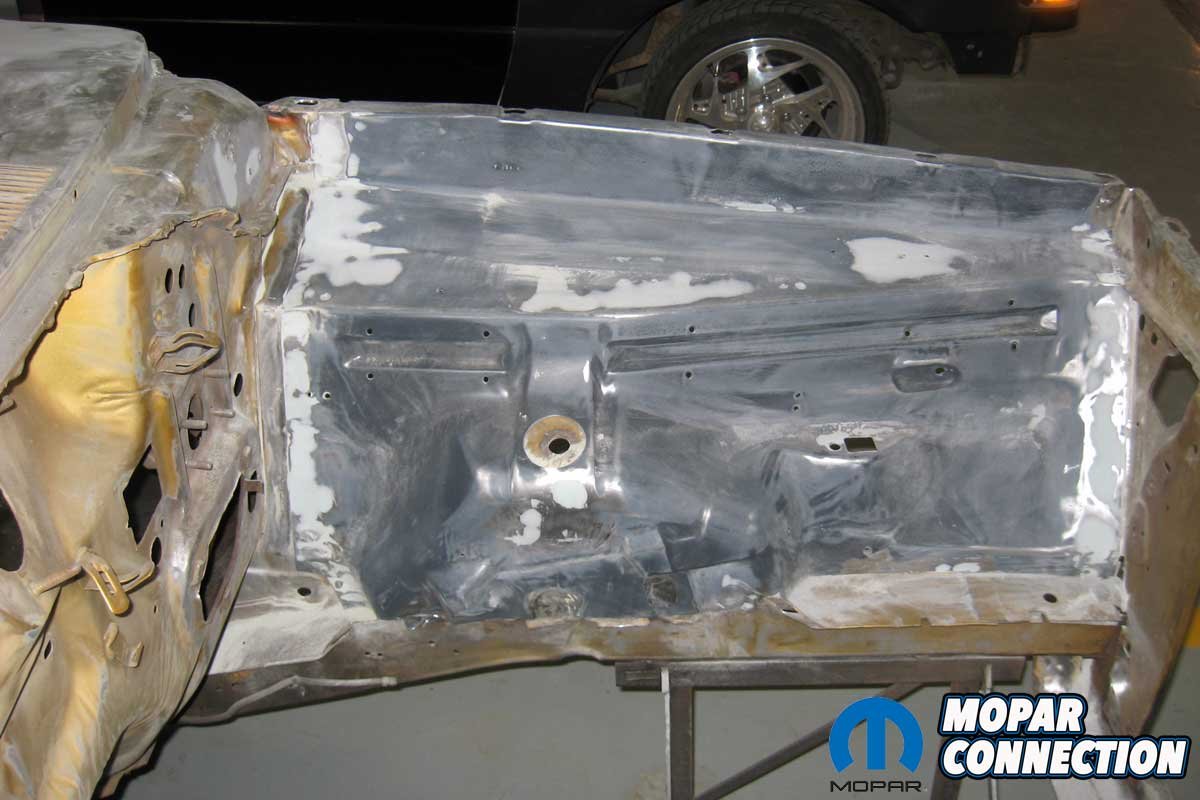
After welding each hole, we ground down the spot welds at the front and rear of the panel and on both sides. After adding and then sanding off most of the body filler, we had an apron that fit better than the factory unit. The upper radiator support tied in nicely.

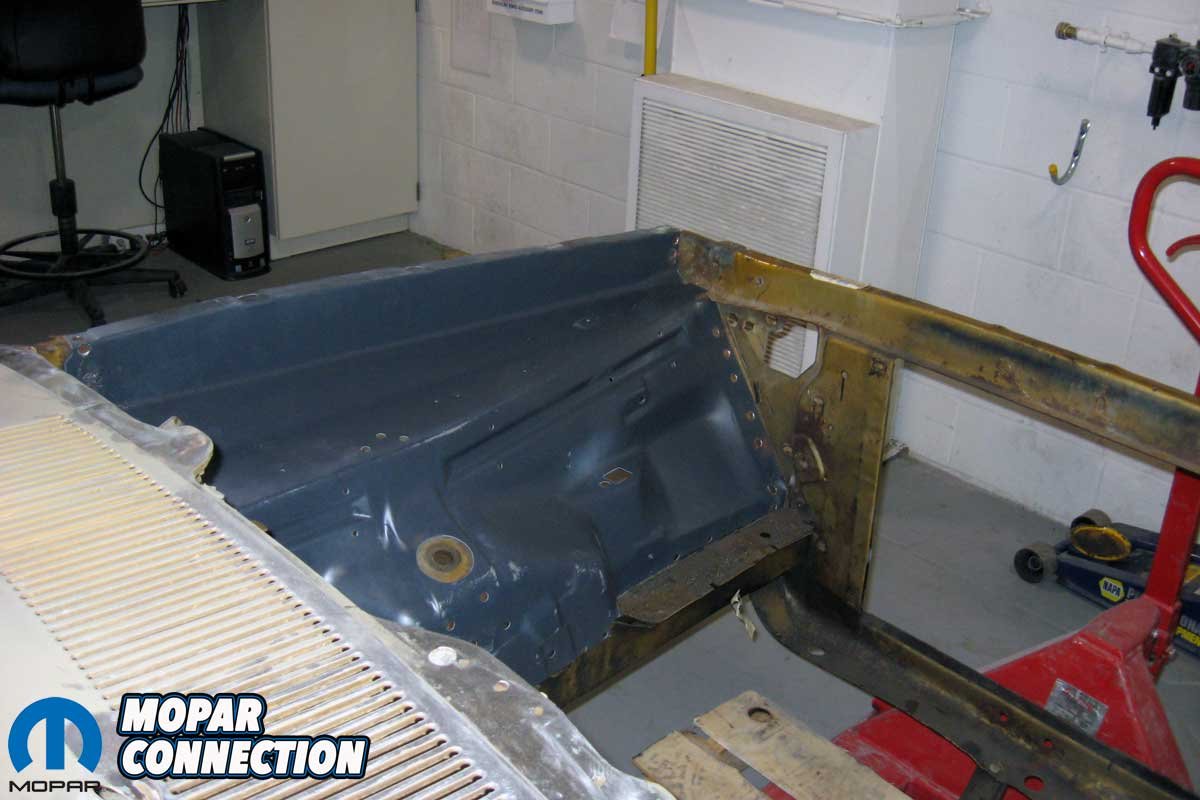
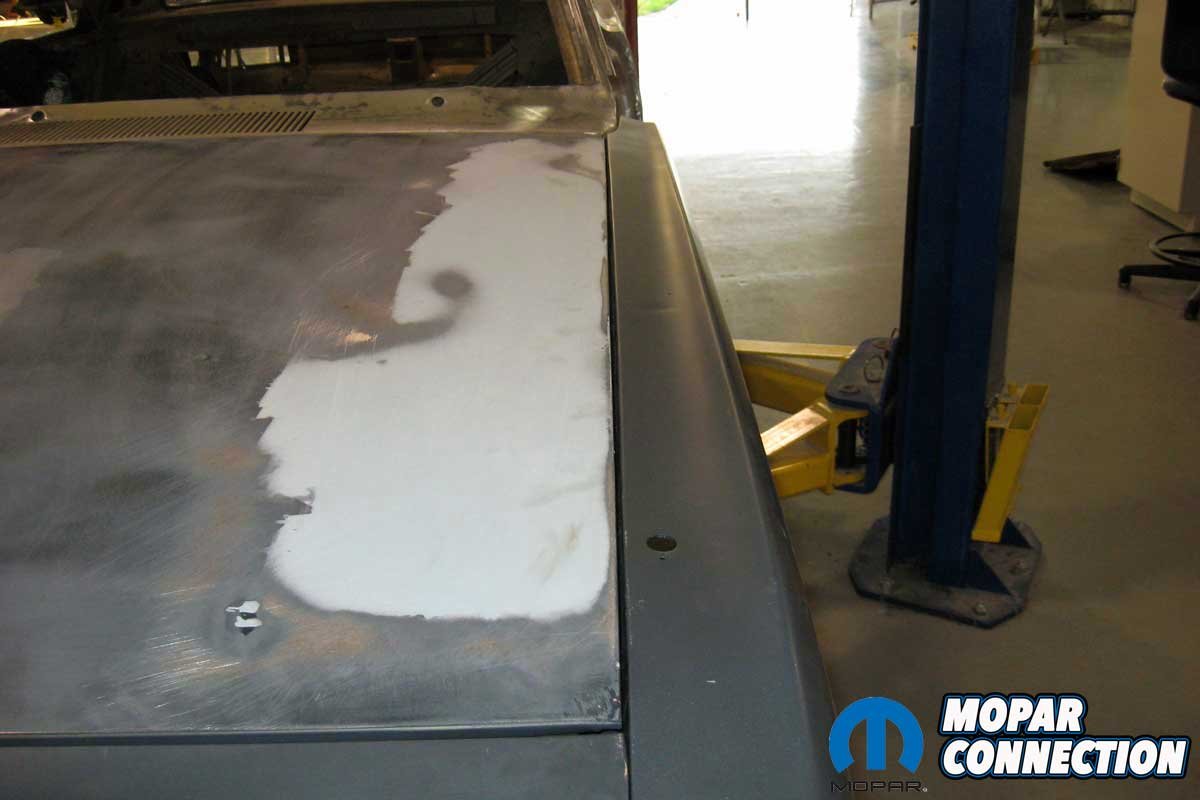
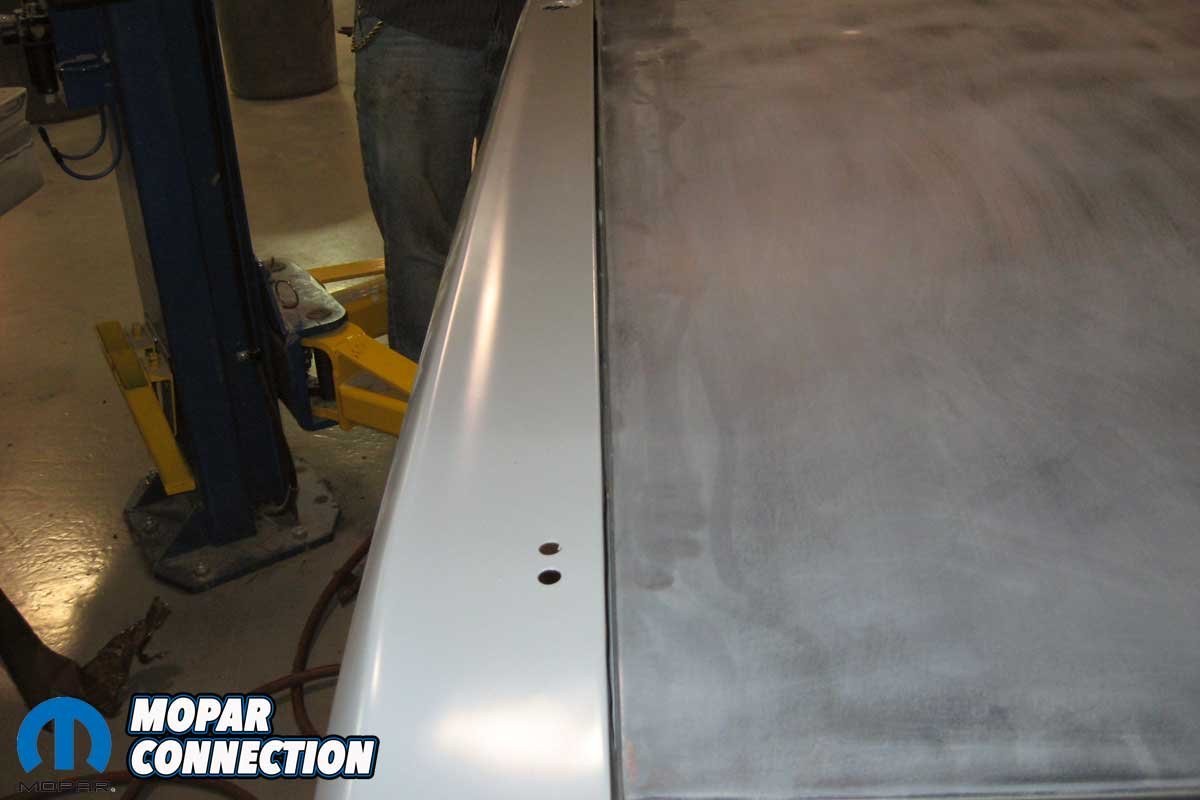
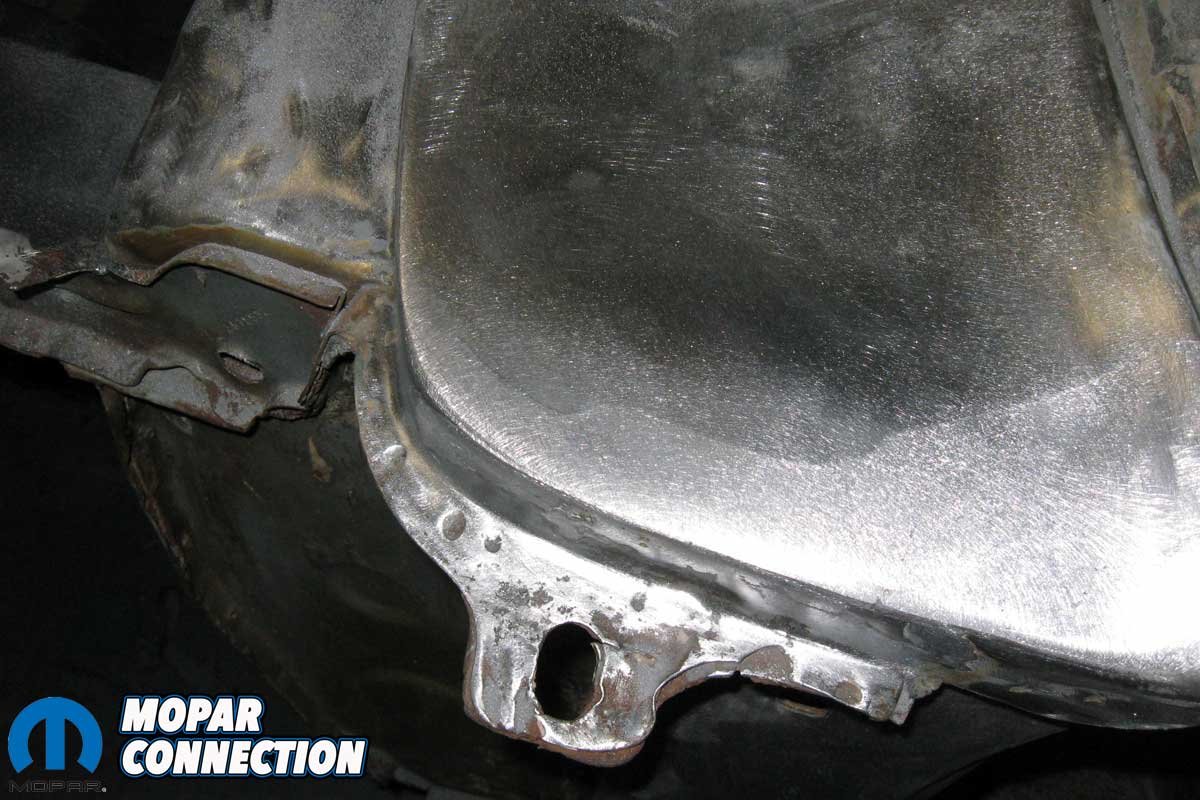
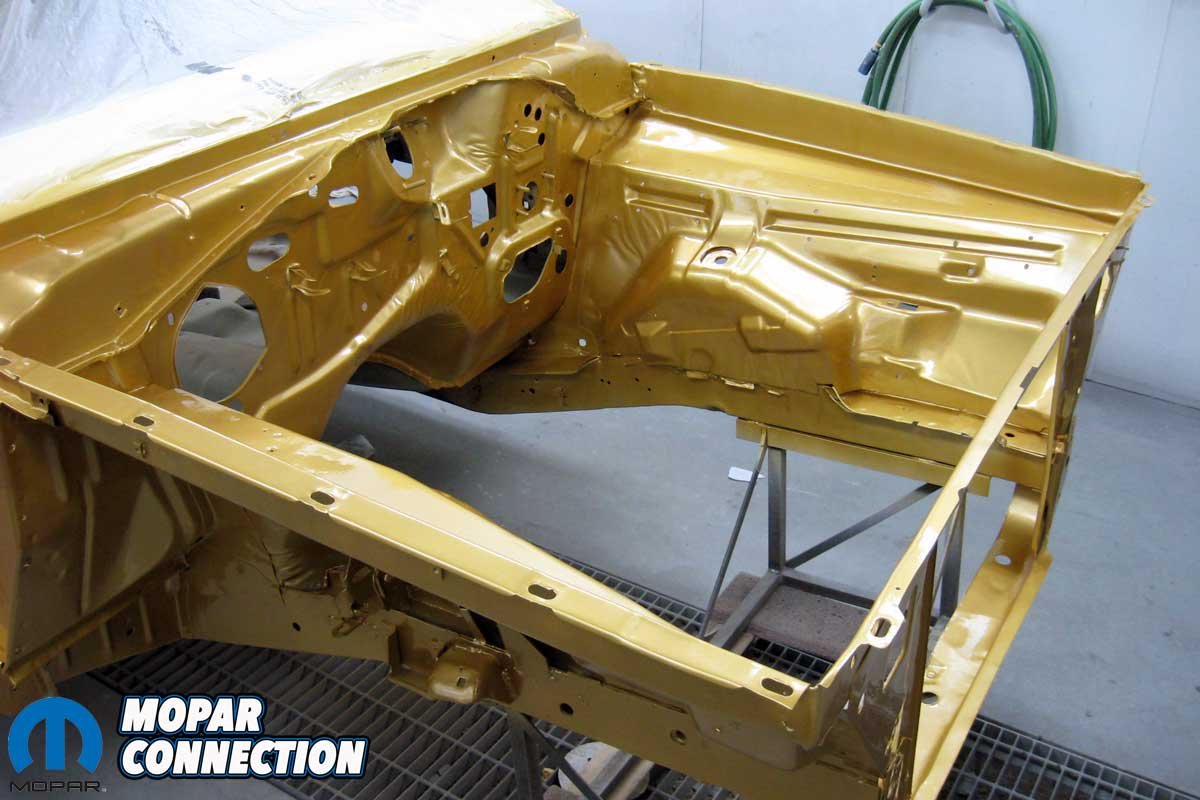
Above Left: We chemically cleaned the area to prepare the apron and chassis for primer. Above Right: We shot the chassis in white primer. The apron looked great in primer. The panel appears to be a factory original part rather than an aftermarket component.

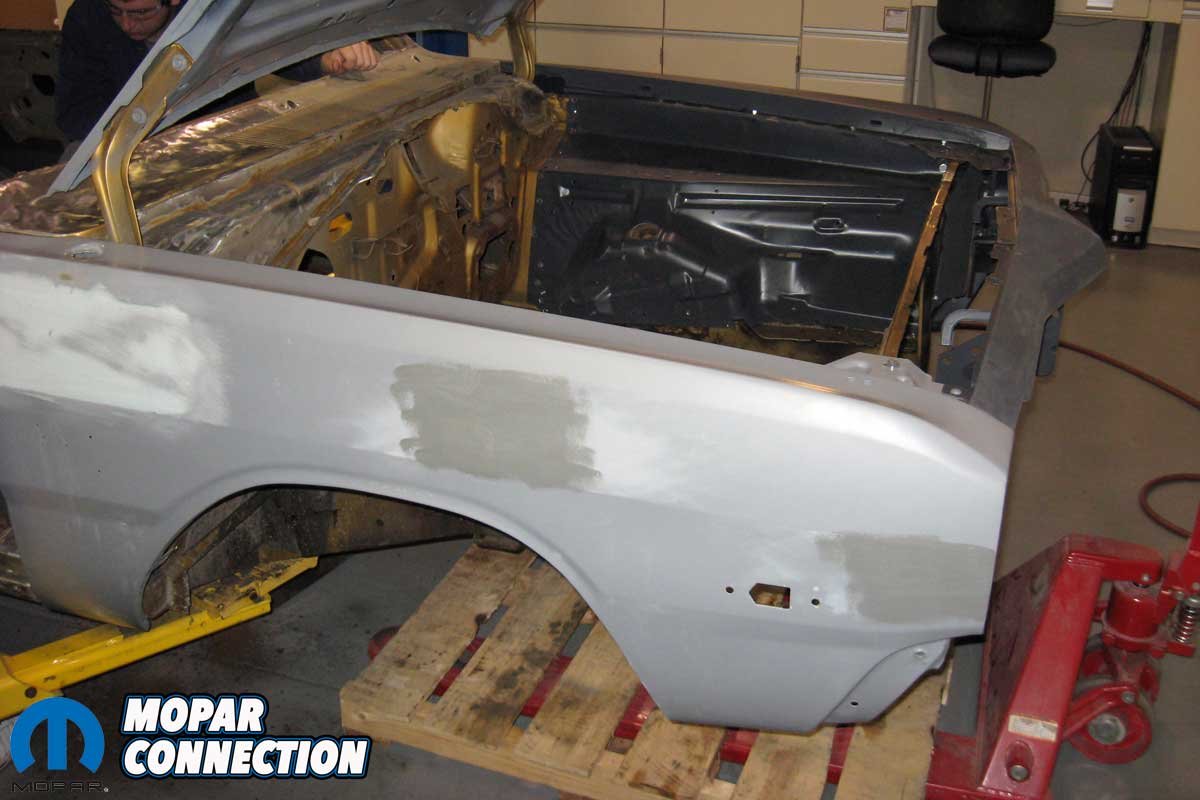
Above Left: The inner side of the apron looked as good as the engine bay side of the panel. Above Right: When we added color to the panel, it popped. The panel looked great.
While fitting the apron, we did minor repairs on the corner of the driver-side cowl. We removed the body filler and cleaned each hole where a slide hammer had been used. Then, we filled the holes and reshaped the cowl with lead.
Once we completed the lead work, we refitted the fender, hood, and header panel. The cowl’s contour matched the fender’s radius at the cowl perfectly. The fender, hood, and header panel aligned well. While there were several additional body panels to repair, we had completed the repair of the inner fender.

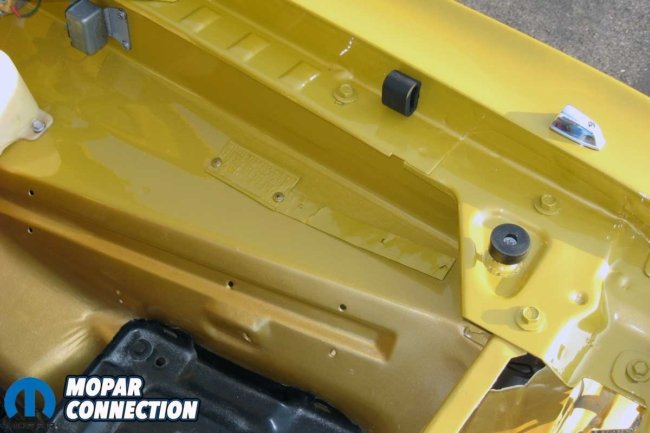
Above Left: The radiator support to the apron looks much better than when we purchased the Dart. Above Right: We snapped a photo of the fender and apron during the reassembly. We used the correct fasteners to attach everything. Nobody can tell that the apron has been repaired. We painted the battery tray later in the reassembly process.
Even though there are options for “good” metal from the southwest, Year One’s product showed up dent-free and fit appropriately without any need to add holes, remove holes, or massage the metal with a hammer. Can a used apron promise that? Probably not, so for quality repairs or updates to a Mopar, consider Year One the go-to source.


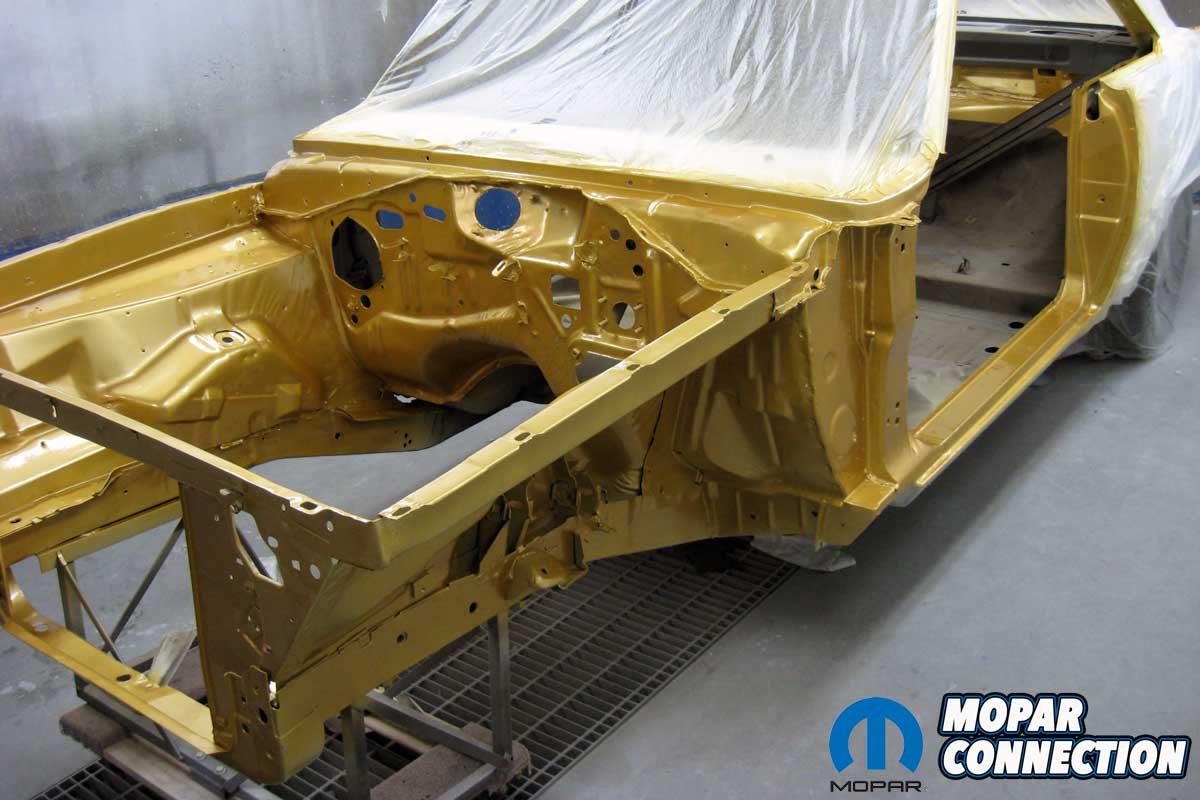
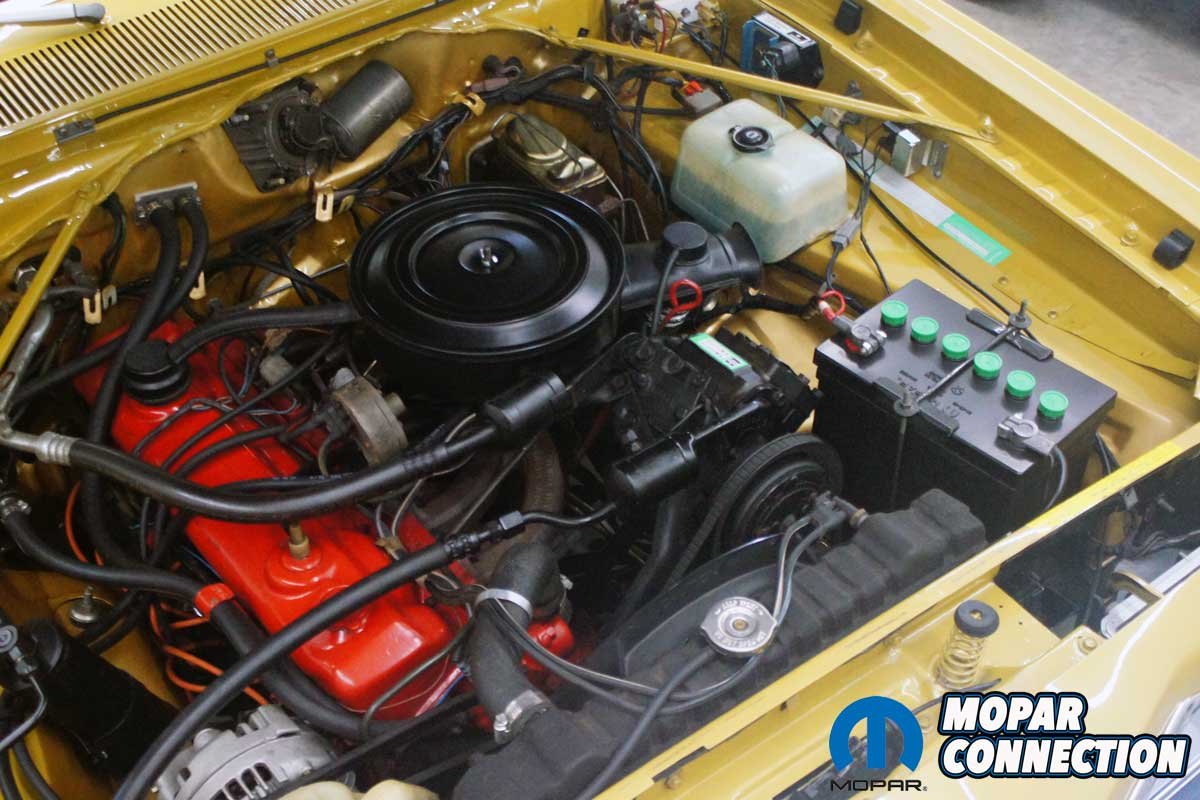
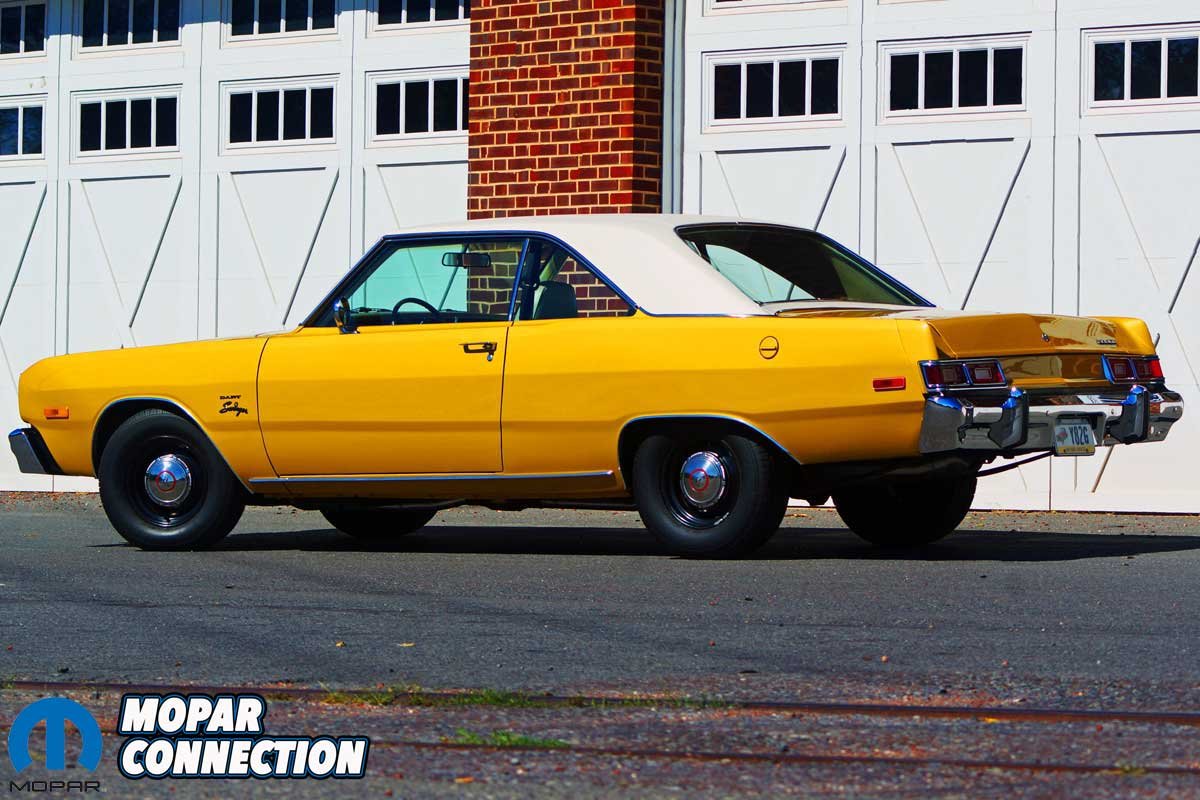
Above Left: The restored engine bay turned out great. The apron did not require any additional holes to be drilled into it to attach all the components that attach to it. Above Right: The restoration of the Dart was a success. We now can enjoy it as we planned from the start.
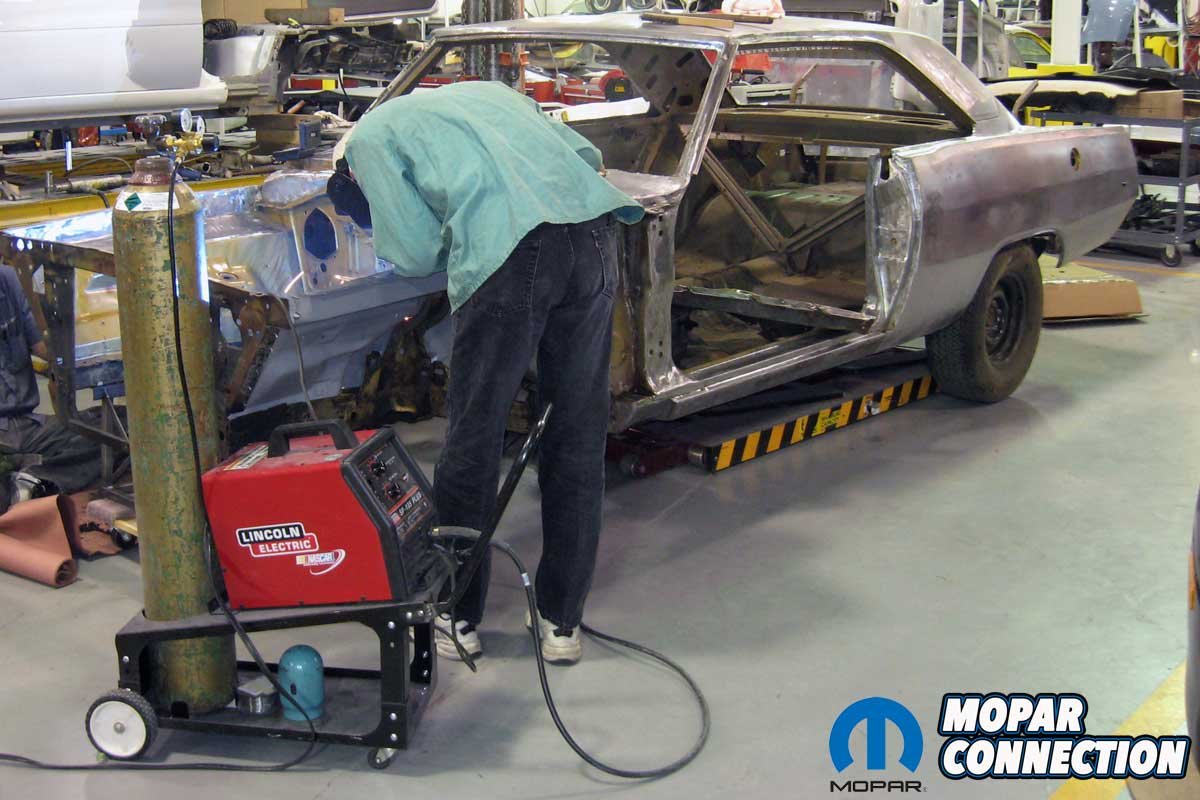
After completing the rest of the Dart, we shot the car in a white primer, followed by a water-borne factory Poly Inca Gold hue and a solvent clear. The Dart was repaired and assembled, and it has become the source of joy we expected it would be. Best of all, we do not have to fight with dual points; however, today, we can handle them.


Get used to fixing up older cars like they do in Cuba. With today’s prices on new cars you’re much better off fixing up cars from the 70s and 80s. You’ll learn something while saving thousands of dollars. Maybe tens of thousands? Your car looks great!