


Rain, snow, sun and salt all have one thing in common, they are all detrimental to your interior. Southern states might not have much rust, but the extreme heat and ultraviolet rays do a number on every inch of your interior. It might be cooler in the Northern states but snow and salt from years of winter driving takes a toll on the outside and the inside. No matter where you live there are those pesky rodents that have nibbled and nested on your carpet leaving it smelling awful and full of holes. Good news is Classic Industries offers high quality OER carpet for your A, B or E-body Mopar.
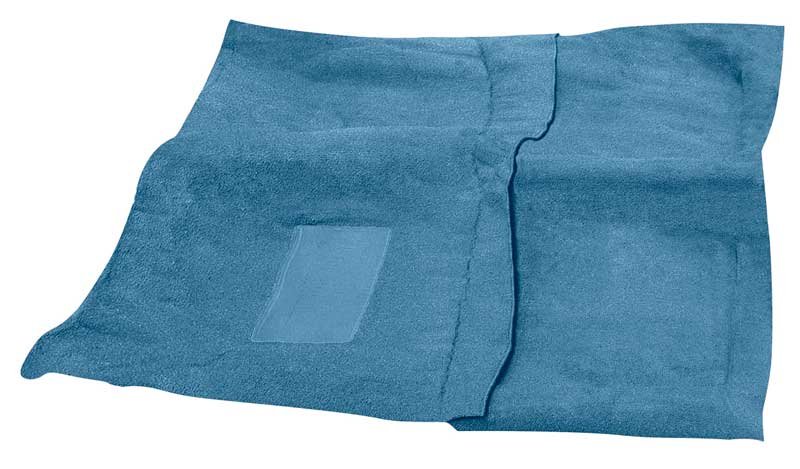
Classic Industries goal is to offer the best quality Mopar parts that they can. OER is known for exactly that and offer about any style of carpet you need. Their molded carpet kits are designed for automatic or manual transmission. Using a 80%-20% Rayon/Nylon blend yarn duplicates the vintage appearance and protection against color fading. The kits come with grommet for floor mount high beam switch if needed and jute padding glued to the back just like factory.

Above: Classic Industries site will direct you to the proper carpet kits for your car, just be sure to pick the correct color for your application.
Installing new carpet in your ride is one of the biggest overlooked and cost effective ways of bringing new life in your Mopar. It normally can be complete in a day and only requires basic hand tools. The OER carpet from Classic Industries is offered in a variety of original colors. We have seen some carpets so faded that you couldn’t tell what color it was originally. Most of the time under the seats you will be able to find a splotch of unfaded carpet to verify the original color.
We ordered the Medium Blue Loop (#MA531509) for a 1969 Dodge Dart GT Convertible equipped with an automatic that we were working on. Once we received the carpet we immediately opened the box and compared it to an original piece that we cut off the old rotten carpet. We then laid it out to help it relax from being stuffed in a box for who knows how long. We have installed many sets of carpet over the years and if you don’t lay it out before an installation it can be a pain to work with. The warmer the environment you can lay the carpet out in the better.
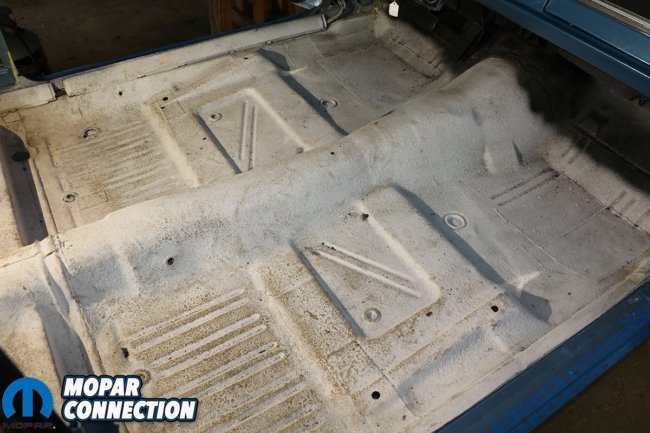
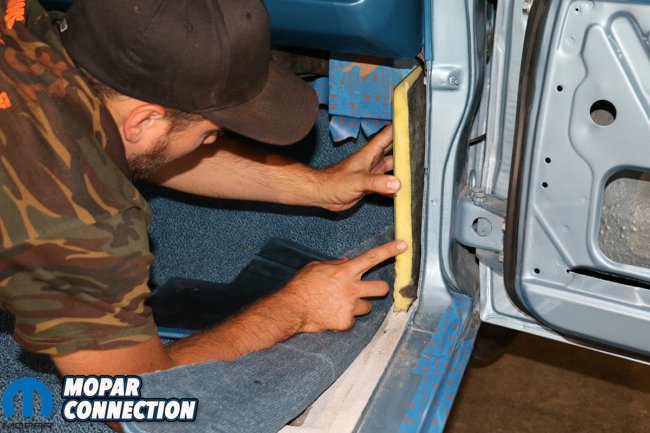
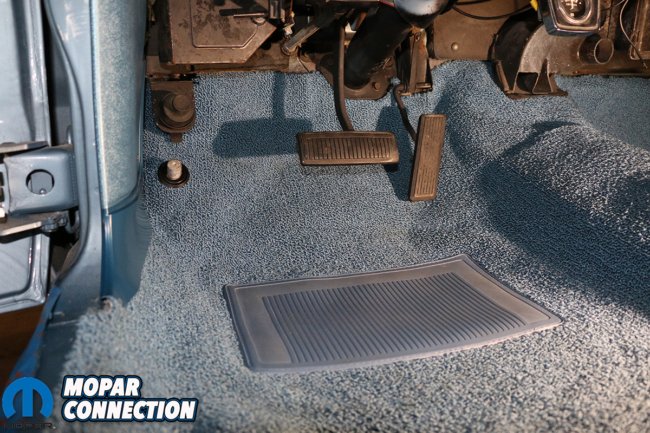
Above: The floor was sprayed with sound deadner during restoration to help the heat and road noise.
We installed our carpet in the earlier this spring and temperatures were still very cold. We caught a nice day to lay it out side but kept our garage warm over the course of a few days to help the carpet relax. Since we did not have any interior in the way we decided to lay it out on the floor ahead of time. We prefer to install the carpet on hot sunny day because the sun will relax the carpet quicker.
After the carpet was laid out, we cleared out space around the Dart in the garage. We made sure that both the doors could swing all the way open and that we had plenty of room to walk around the front and rear of the car. During the installation there will be many trips around the car to not disturb the placement of the carpet.
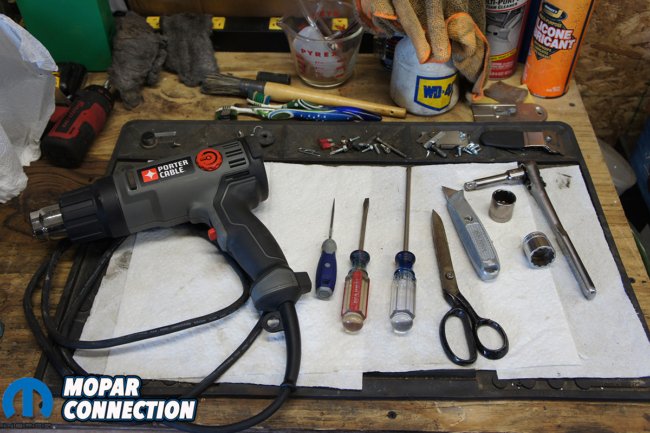
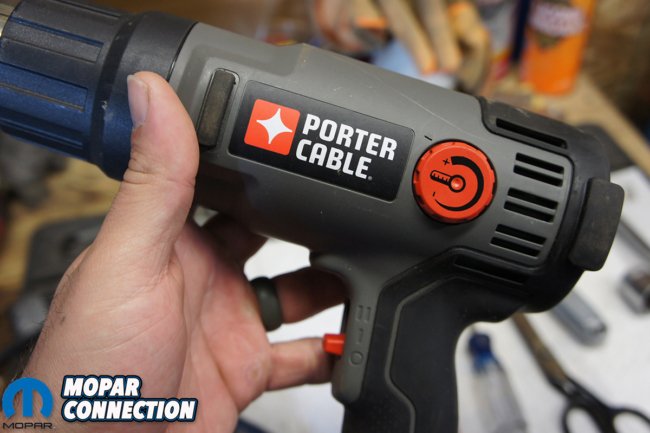
Left: The basic tools we used to install our carpet, seat belt bolts and door sill plates. Right: If you do not own a heat gun it is a good time to purchase one. They are fairly inexpensive and like the ones with adjustable heat ranges.
We then gathered a few tools that we were going to need. A utility or carpet knife, scissors, couple screwdrivers, poker/pick, heat gun, sockets for our seat belts and bench seat. Our interior was already removed from the restoration which saved us some time. If you have full interior you will want to remove the seats, seat belts, kick panels and sill plates ahead of time.
After a few days of allowing the carpet to lay out we decided to go ahead and install it. The carpet in the Dart came in 2 pieces. You will notice the front piece has a bound edge where the rear piece is a rough edge. The rear section will tuck under the front allowing the bound edge to be exposed. We started with the rear piece because there is a defined spot where it sits on the floor and goes under the rear seat.
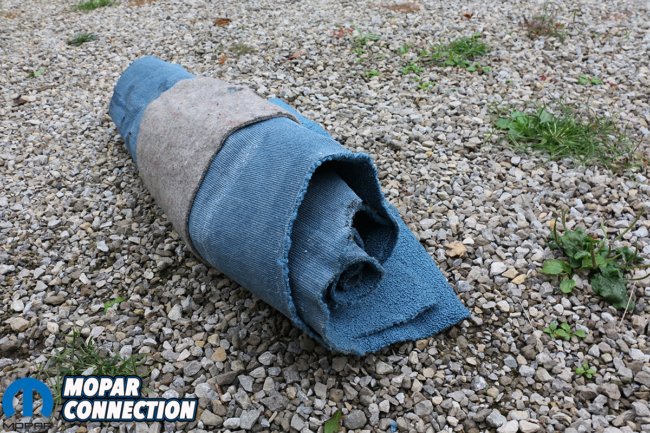

Left: Spending its life rolled up in a box does not make the installation any easier. Right: Laying the carpet out in the sun a couple hours before installation really helps it become more pliable.
Using the defined molded areas will help you get the carpet laid in the right spot. There is also jute padding that is glued to the bottom of the rear carpet section. This is to help with sound and heat from entering the car. The jute is also a good guide to where the carpet should lay.
As we started to work the rear section using the defined molded areas and jute backing to guide us, the rear area seemed to have an unusual amount of wrinkles.We plugged in our heat gun to gently heat the area and work them out with our hands. If accessible using the heat gun on the backside of the carpet works best. Watch you do not get too close or let the gun sit in one area for long period of time or you could melt the backing. A good indicator is burnt plastic smell or smoke, which if you encounter either stop immediately and allow the carpet to cool back down.
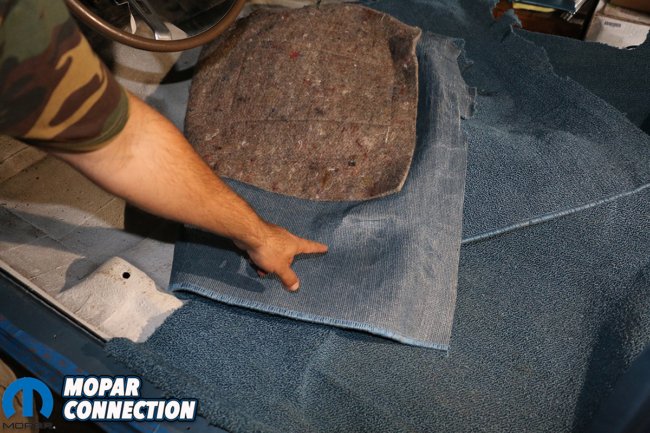
Left: You can see the jute backing, the bound edge and the molded area where the it should match the contour of the floor. Right: The jute padding should lay on the floor board and not cover up any of the seat mount holes.
With the rear carpet laid in place it was time to start trimming. The first area we trimmed was around the rear seat brackets. If you are new at installing carpet be sure not to trim to short. You can alway cut more off but if you take too much it could really look bad.
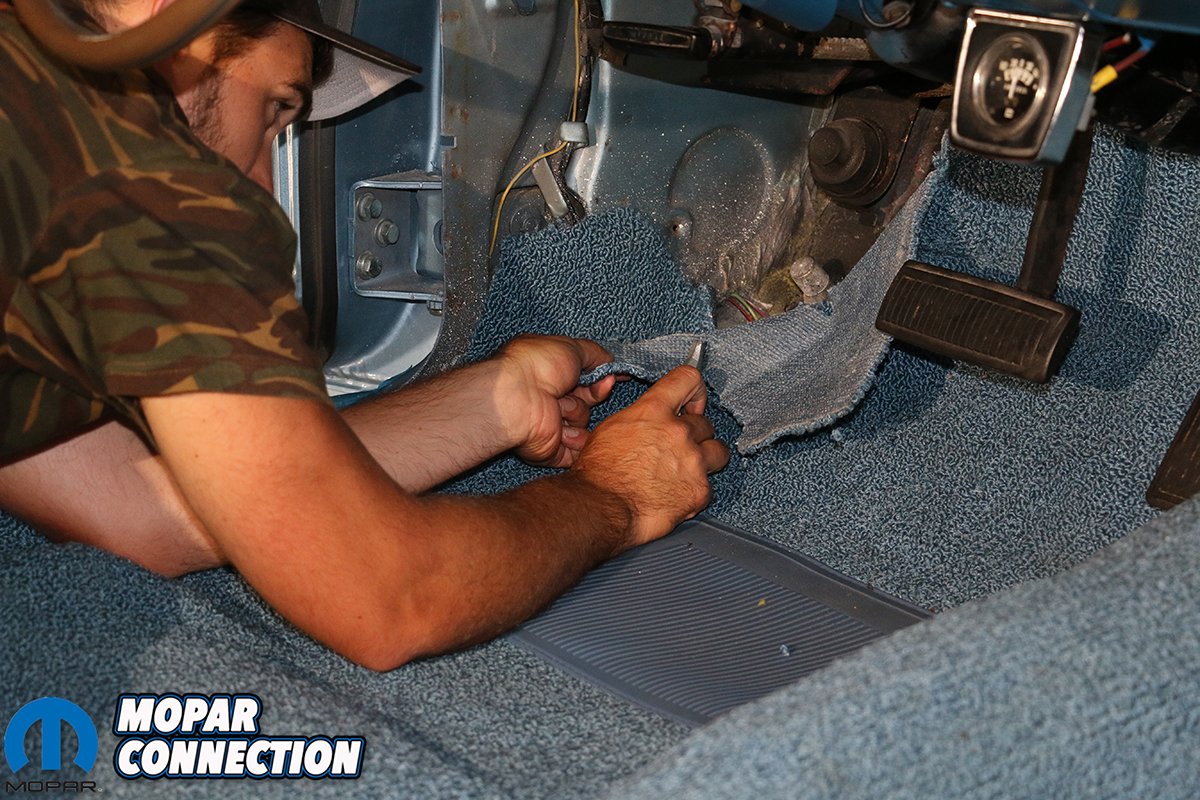
Next we were ready to cut in seat belt holes. We used a poker to stick through the carpet and to find the hole. The key here is to make sure your carpet is still laying smooth. Be aware that crawling around on the carpet can cause wrinkles or shift it so try to stay off the carpet once it is laying in place.
We started with the seatbelt holes on the tunnel first. If you would cut in the rocker seat belt holes first you may end up with ill fitting carpet around the tunnel. Working your way out from the middle you can work the wrinkles out towards the rocker and keep the carpet centered in the car easier.

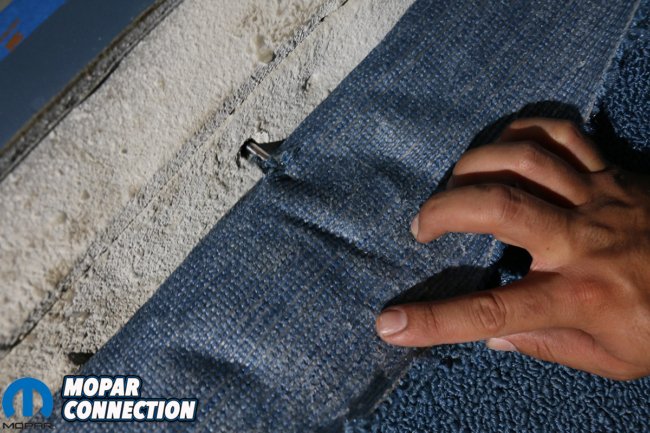
Left: Using our poker we were able to find the hole fairly easy. Notice the orientation of our poker, its at the same angle as the bolt that will be going in. Right: We left the poker in the hole and folded the carpet back to cut in our X.
We had a poker/pick in our tool box to help punch through the carpet backing to find the seat belt holes. If you don’t have a poker, a nail or small phillips screw driver will also do the job. When searching for the seat belt holes you want to poke straight through the carpet without moving the carpet to find the holes. You might have to search around for the hole thats fine but you want to reinsert your poker at roughly the same angle as the bolt going in. If not when you go to insert the seat belt bolts it might move the carpet out of place.
Once you find the hole and feel confident that the carpet is laying properly, fold the carpet back while leaving your poker inserted in the carpet. Using a carpet knife, cut a small X about the same size as the bolt on the back side of the carpet where the poker is sticking through. Cutting an X ensures that if you mess up it will be less noticeable vs a circle right away. Cutting from the back side not only cuts easier but creates a cleaner cut too.

Left: We removed our poker and cut in a small X to test fit the seat belt bolt. Right: We inserted the seat belt bolt and screwed in it to check the carpet is laying correctly.
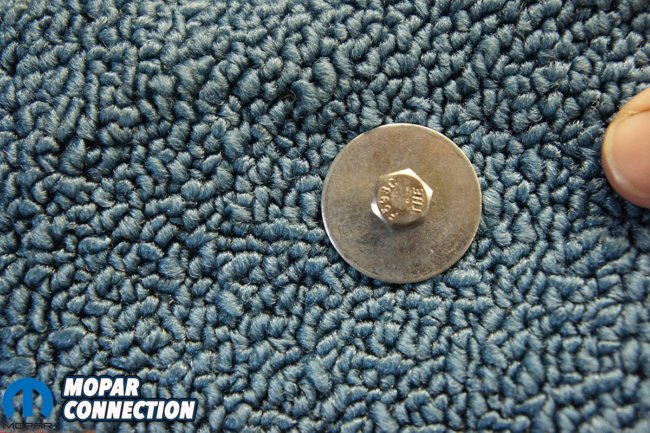
Insert your seat belt bolt through the X and screw it in a few turns. Recheck the fitment of carpet and make sure you are satisfied how it’s laying. If everything looks good take the bolt out and cut the 4 tabs of the x off making a hole just large enough for the bolt. We replaced the bolt to hold the carpet in place while we repeated the process for the remaining seat belt holes.
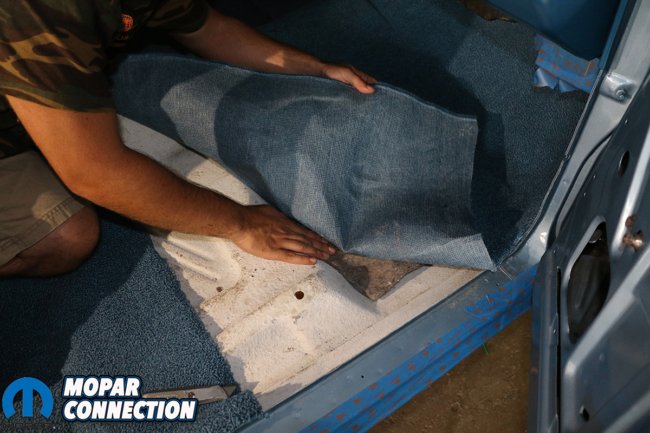
The front section is molded to fit your transmission (auto or manual) tunnel and floor pans. With the carpet roughly lying in place we started at the floor pans. There are distinctive humps molded in the carpet that fit the contour of the floor pan where a bench seat would bolt into. The jute padding can help with the alignment of the carpet too.

Left: With the rear section in place and seat belt bolts in we started to wrestle around the front section. Right: With the front section in place we used a few bolts and washers in the seat bracket holes to hold it in place.
Our carpet laid underneath the heater core outlet and pretty far up the firewall. The bound edge of the front piece will fall under your seats between the front and rear seat bolts. If not then the carpet needs shifted one way or the other. The Just like the rear section, anywhere we had heavy wrinkles we used the heat gun to help relax the wrinkles allowing it to lay better.
When we reached the firewall the carpet was not laying nicely around the steering column and kick panel areas. The carpet isn’t molded around these areas well and require some trimming, which we will do later on. For now it will be bunched up in these areas. This isn’t a huge issue but making sure it isn’t catching anywhere that could cause an issue while we made other adjustments is.
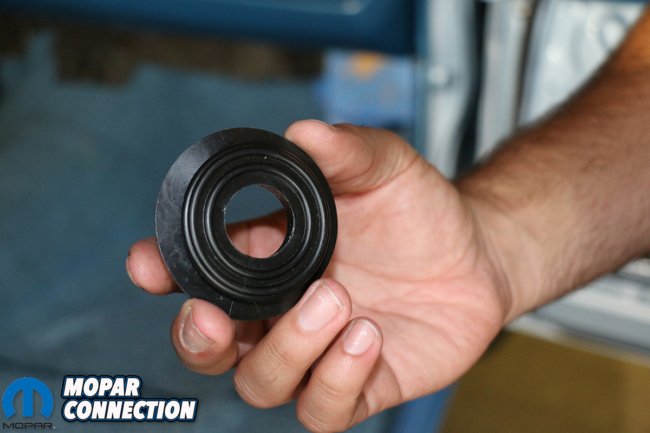

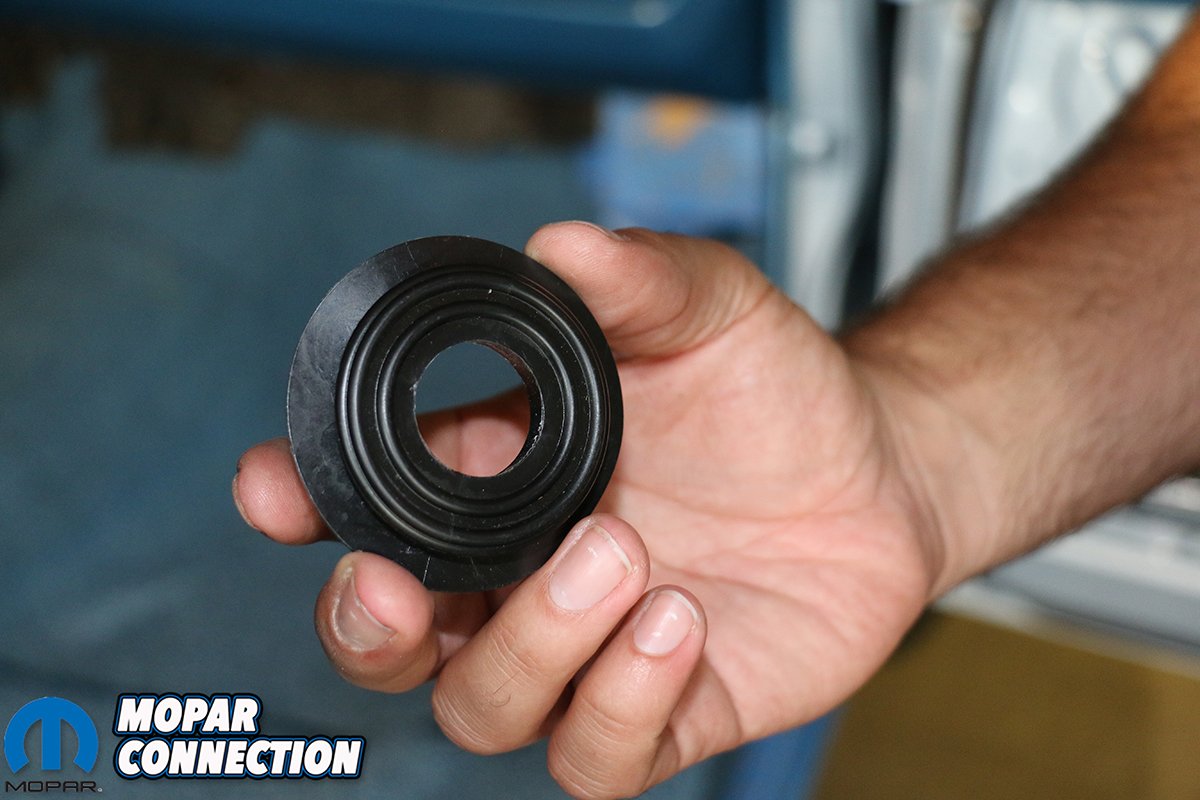
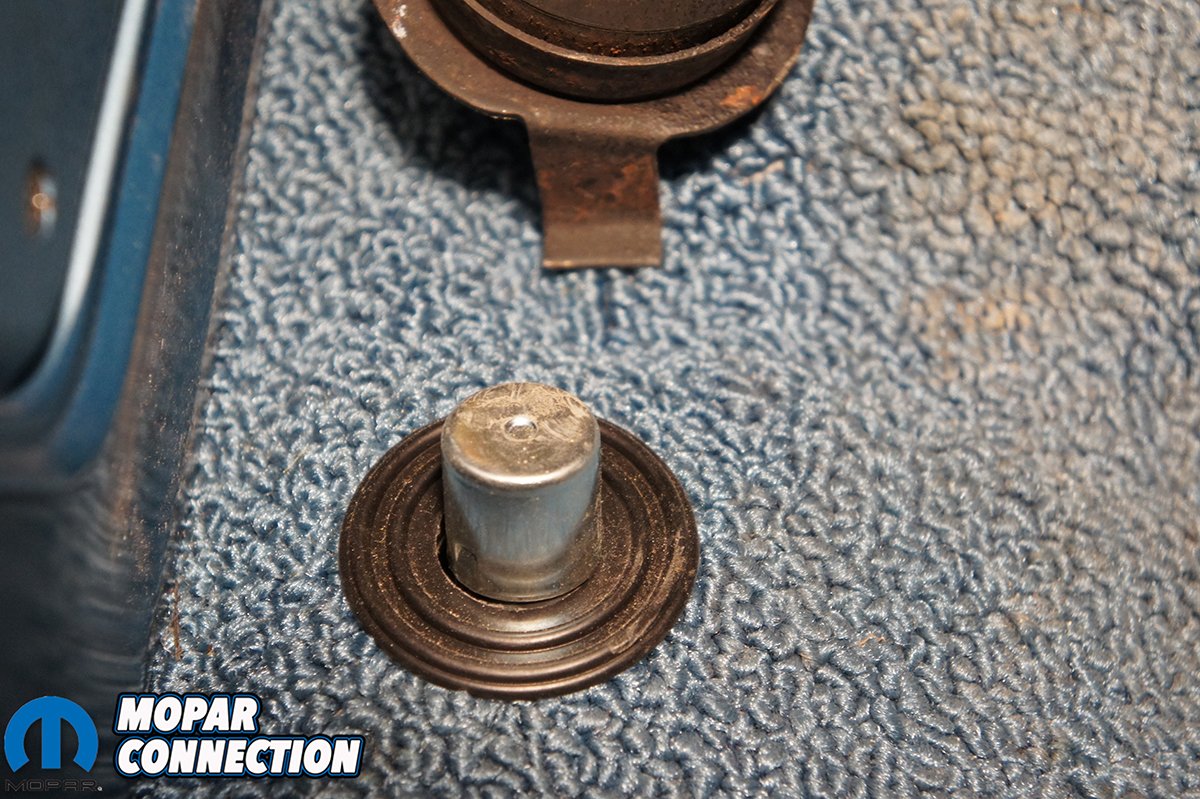
Left: This is the top side of the grommet. The larger side will go underneath the carpet. Right: Here is what the final installation of the grommet will look like.
With the carpet laying where it needs to, we started poking and finding the seat bracket holes. We had a bench seat and only had four holes to find. We still started working the carpet from the tunnel outward but did not have bolt hols till closer to the door sills. If you have bucket seats you want to start with the two seat bracket bolts closest to the transmission tunnel. We used the same process for cutting holes for the seat brackets as we did for the seat belt bolts. We did not want to install the bench right away since we had more trimming to do so we used a few bolts and washers to hold the carpet in place while we trimmed.
With the front and rear sections in place and the bolts tightened down to hold the carpet in place, it was time to start final trimming. We started at the firewall and worked our way to the back seat. Most of the carpet tucked up under the heater outlet and didn’t need trimming. We did trim around the steering column and made a relief cut in the corner of the kick panel area.


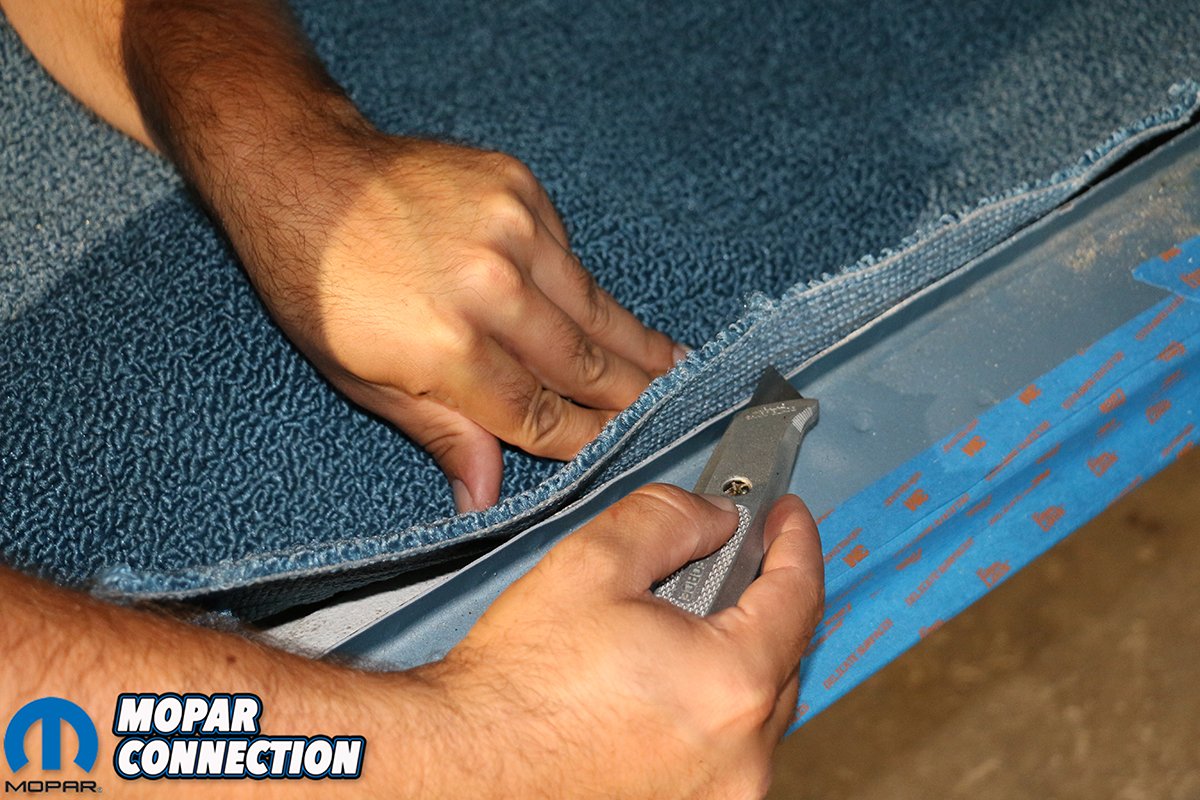
Left: Cutting a relief cut for the corner. Be sure to not go too far or kick panel will not cover it. Right: With everything else in place and trimmed it was time to trim the carpet at the door sills. We pressed down with our left hand and scored it with our utility knife.
The worst spot to trim was around the headlight dimmer switch. The good news is the OER carpet kit from Classic Industries comes with a dimmer switch grommet to go around the switch. The grommet is over sized so if the hole is a little too big it will still work and cover up the mistake. With the dimmer switch installed, we folded the carpet back and rolled it till it hit the base of the switch. We made roughly a 2” mirrored X cut for the switch. We stretched the carpet over the dimmer to make sure that would work, which it did, then we pulled the corner back up to cut out a circle for the grommet. We inserted the grommet into the hole in the carpet and then slide it over the dimmer switch.
Left: After the carpet was all cut we installed the rest of our interior. Right: You can see how we trimmed the carpet around our steering column.
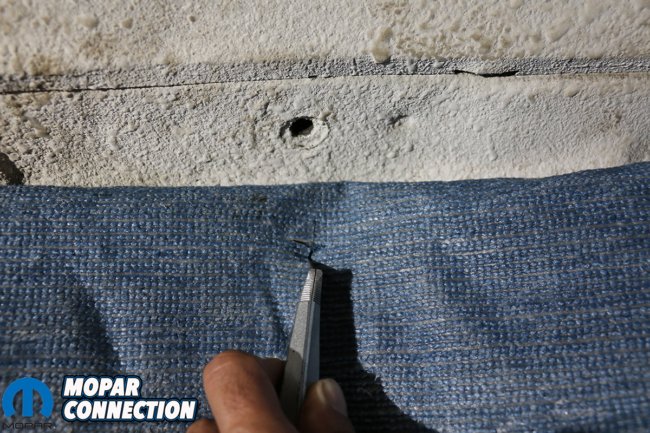
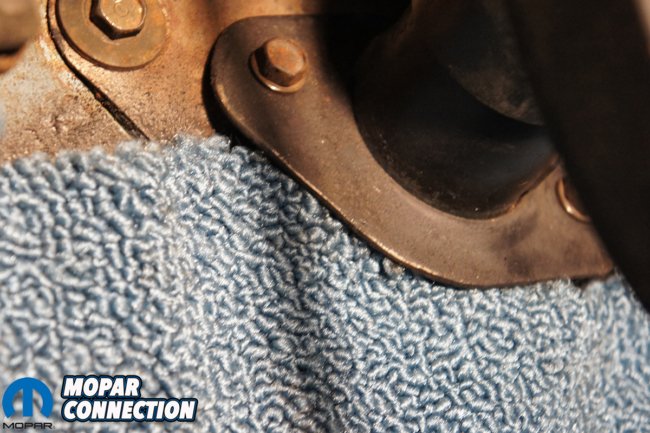
Knowing that everything on the firewall was trimmed in, we were ready to move on to the door sill area. This is an easy area to trim but be careful not to trim it short. When we trim the carpet to the pinch weld at the door sills we make sure to leave enough for our sill plates to cover. We have seen some carpets folded over the pinch welds but we like it trimmed to the top of the pinch weld. By pressing down the carpet making sure its against the floor, we ran our knife along the pinch weld scoring the backside of the carpet. Then we went back and followed the score mark to cut it the rest of the way off.
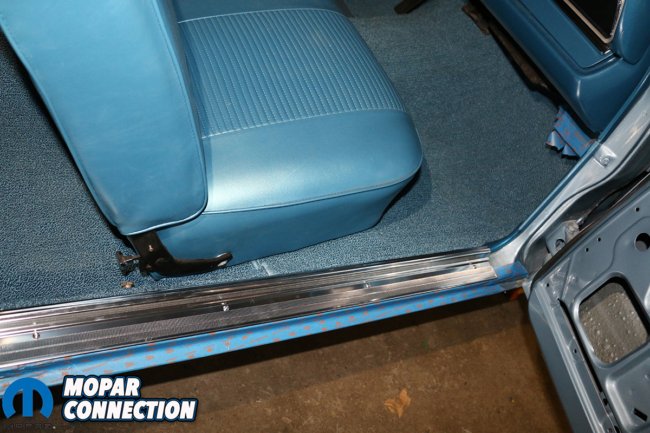
Left: You can see how the carpet fits under the heater outlet and up the firewall. Right: The new door sill plates look amazing and really sets off the interior.
The back seat area did not require much trimming. We had to make a couple notches around the seat mounts and that was it. You could trim more off if needed but we left as much carpet as we could. The carpet doesn’t offer much but, it does help with heat and noise control.
With the carpet all trimmed in it was time to reinstall the seats, belts, kick panels and sill plates. We started with installing the rear seat first, then the kick panels and front bench seat. We left the doorsill plates for last so we did not take a chance of denting or scratching them while we installed the other parts. Our seatbelts were not ready to install and thats why you don’t see them in pictures.

Above: A lot different looking than our previous empty white floor.
Once everything was installed there was a huge transformation from when we started. Although this was a restoration with no interior to start with, it was relieving to finally have a full interior. Not only did it look 100 times better it got us back motivated to keep working on the Dart and get it finished. So whether you are restoring or replacing , give Classic Industries a call to order an OER carpet kit. With few basic hand tools you will help rejuvenate your interior over a weekend for a minimal investment.


