


Imagine sitting at the drive-thru of a favorite fast-food restaurant in a rowdy muscle car so loud the engine must be shut off to place an order. When asked to pull up to the pay window, the engine will not restart. Completely embarrassed, the only option is to get help to push the car out of the lane. A nightmare like the above event occurred recently with our 1973 Charger.


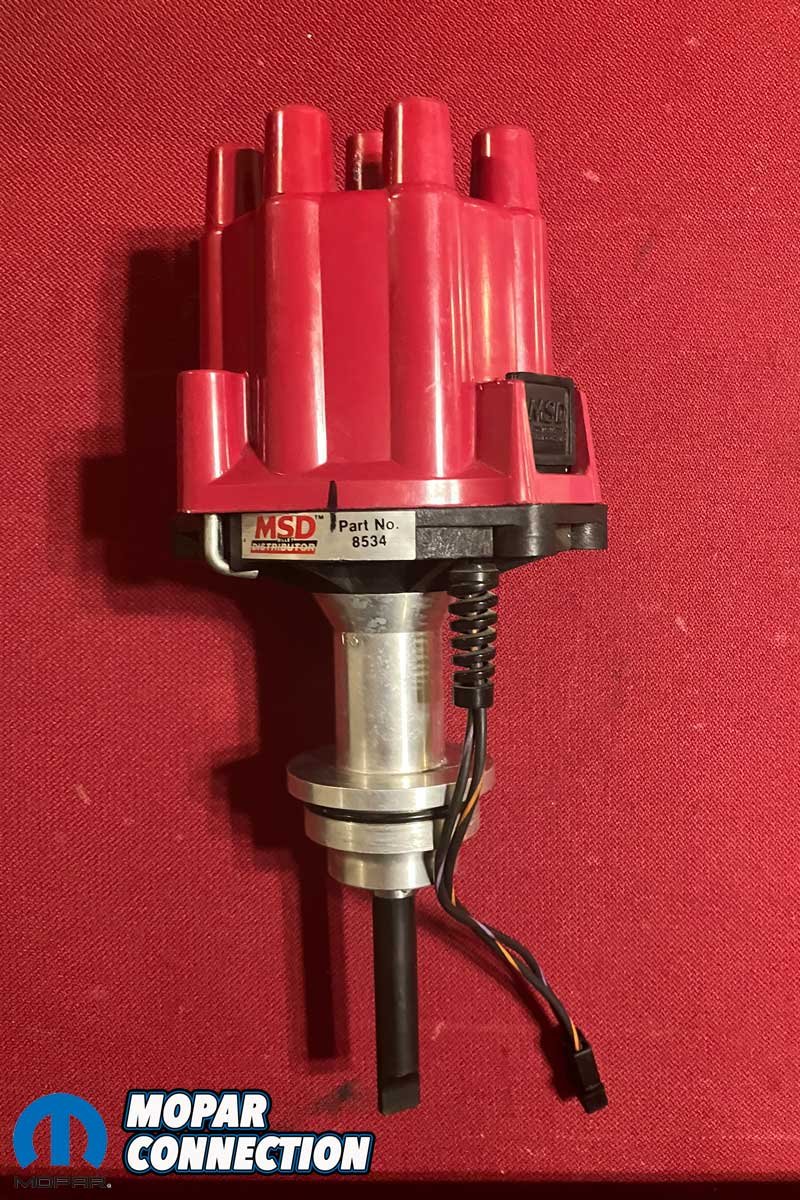
Above Left: The original factory distributor and old wires are shown in the new stroker. Above Center: The new MSD ignition system selected for our stroker. Above Right: We picked up a used MSD Pro-billet Distributor as an upgrade to the factory unit.
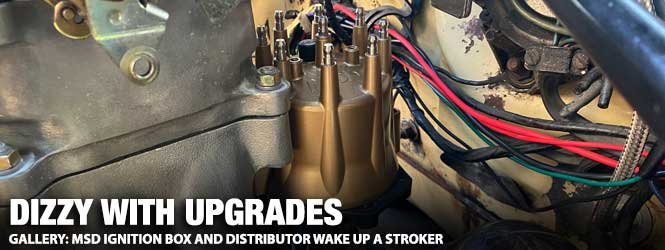
Our Charger has been driven since earning our driver’s license in high school. Unfortunately, it has suffered from driveability concerns due to a weak ignition system. The worries became even more prevalent when the original blown-up 318 was swapped for a 373 stroker. Although a factory Chrysler electronic ignition is a great design, ours was not enough for the stroker’s requirements. We called MSD Performance to solve this issue and picked up a new ignition system.
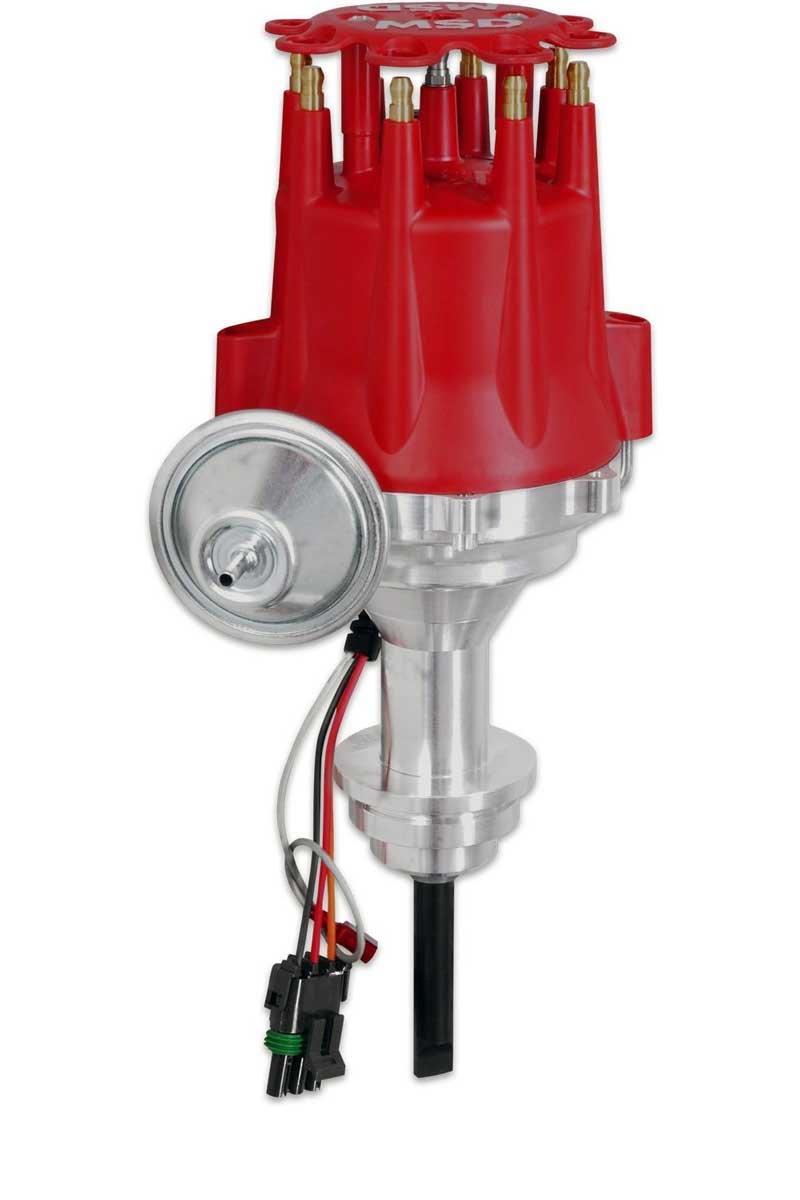
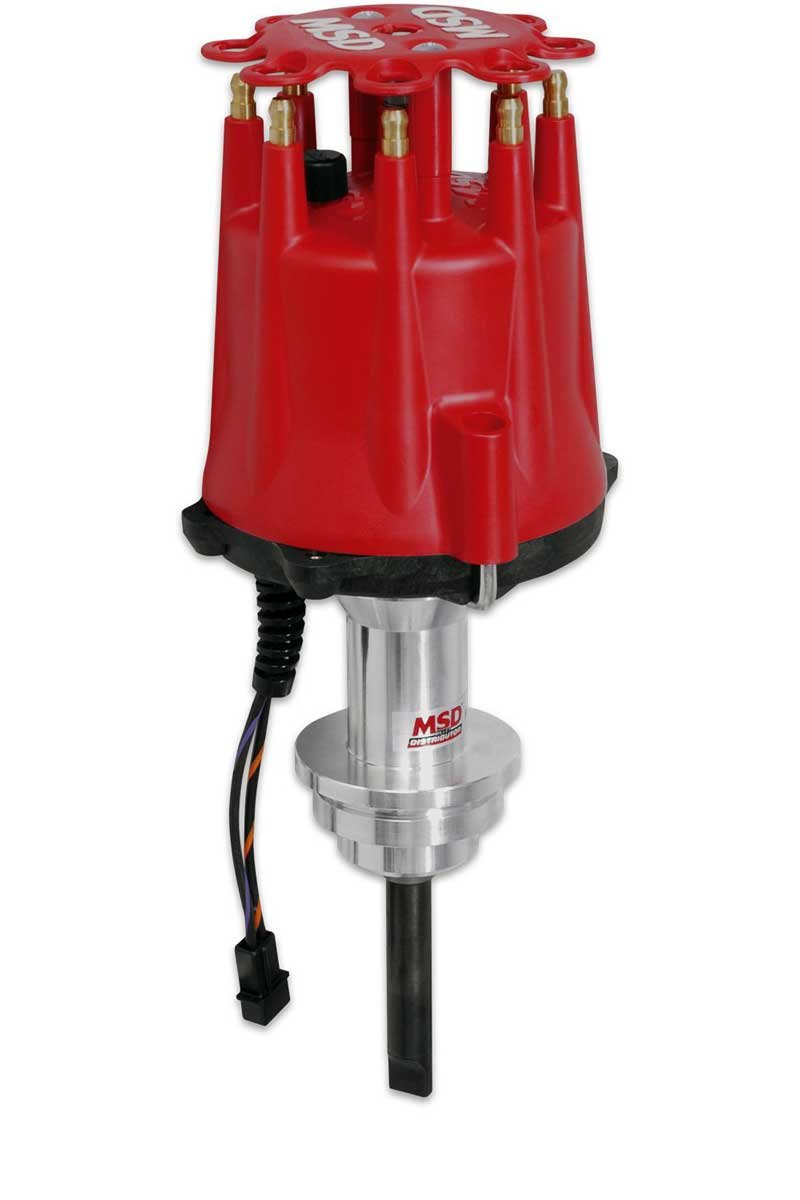
MSD ignition has been a leader in ignition technology since 1970. From full-blown nitro-fueled Hemis to the utilitarian two-barrel 318, MSD covers all Mopars. For a small block, MSD offers three different units. The first is a plug-and-play “Ready-To-Run” style with a built-in module for stock or lightly modified engines. The second is a “Dual-Sync” distributor for fuel injection, and the third is a “Pro-Billet” version designed for the standalone MSD 6, 7, or 8 series ignition systems. We selected a Pro-Billet distributor and an MSD 6 series box for our Charger.


Above: MSD offers the three types of distributors, the Ready-To-Run (left), Dual-Sync (center), and the Pro-Billet (right).
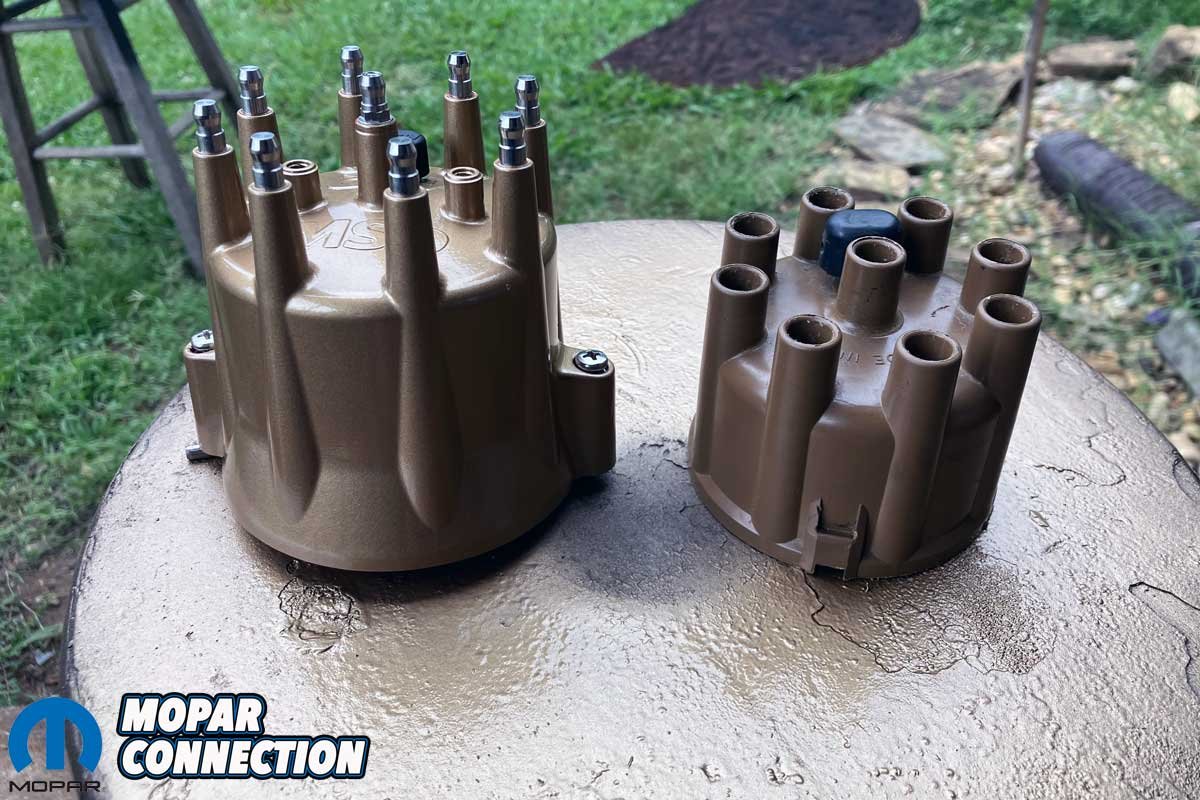
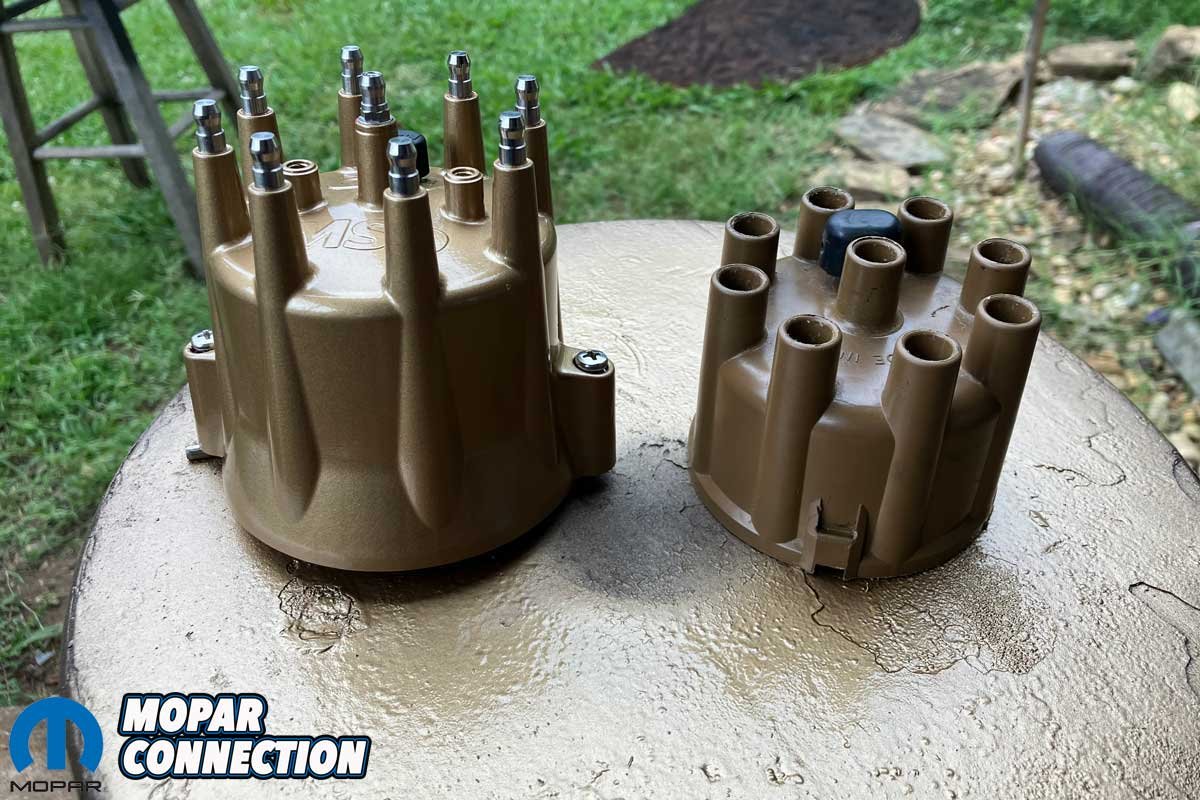
Staying with the old-school Charger vibe, we picked up an old MSD Pro-Billet distributor at a swap meet. We upgraded to a high-energy ignition (HEI) terminal cap since the old cap and rotor were used. We prefer the HEI-style cap because it has a smaller silhouette, which provides additional clearance around our tunnel ram.
In preparation for the MSD ignition system, we rotated the engine to top dead center and noted the position of the rotor (pointed toward cylinder one). The rotor’s location provided a reference for new distributor’s installation. We also noted the plug wire locations on the cap and the routing of the wires.
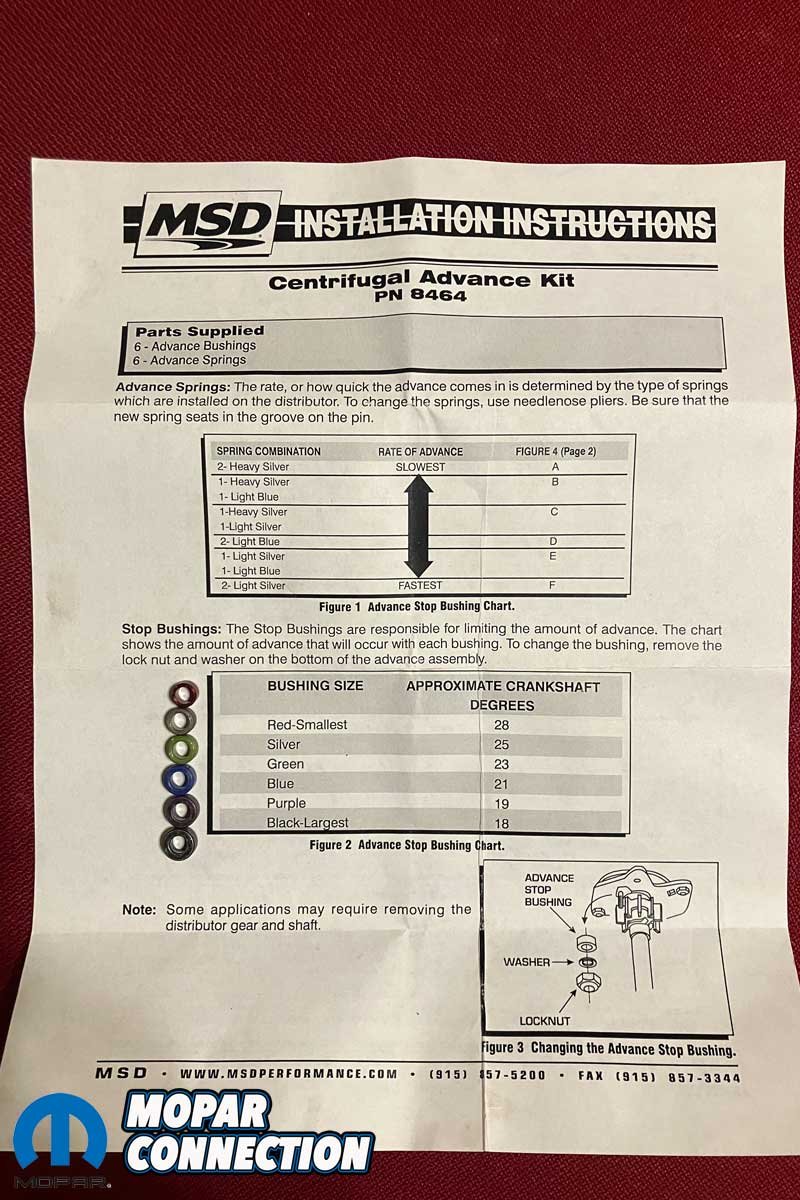
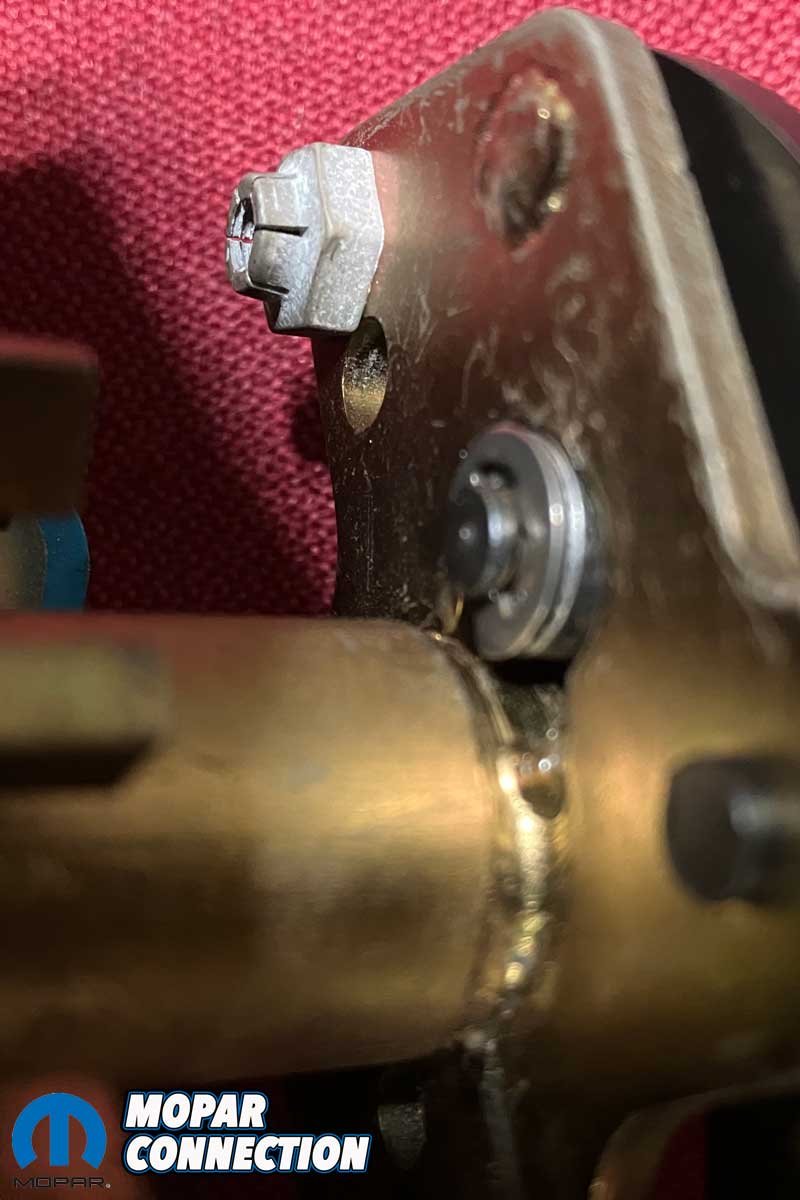
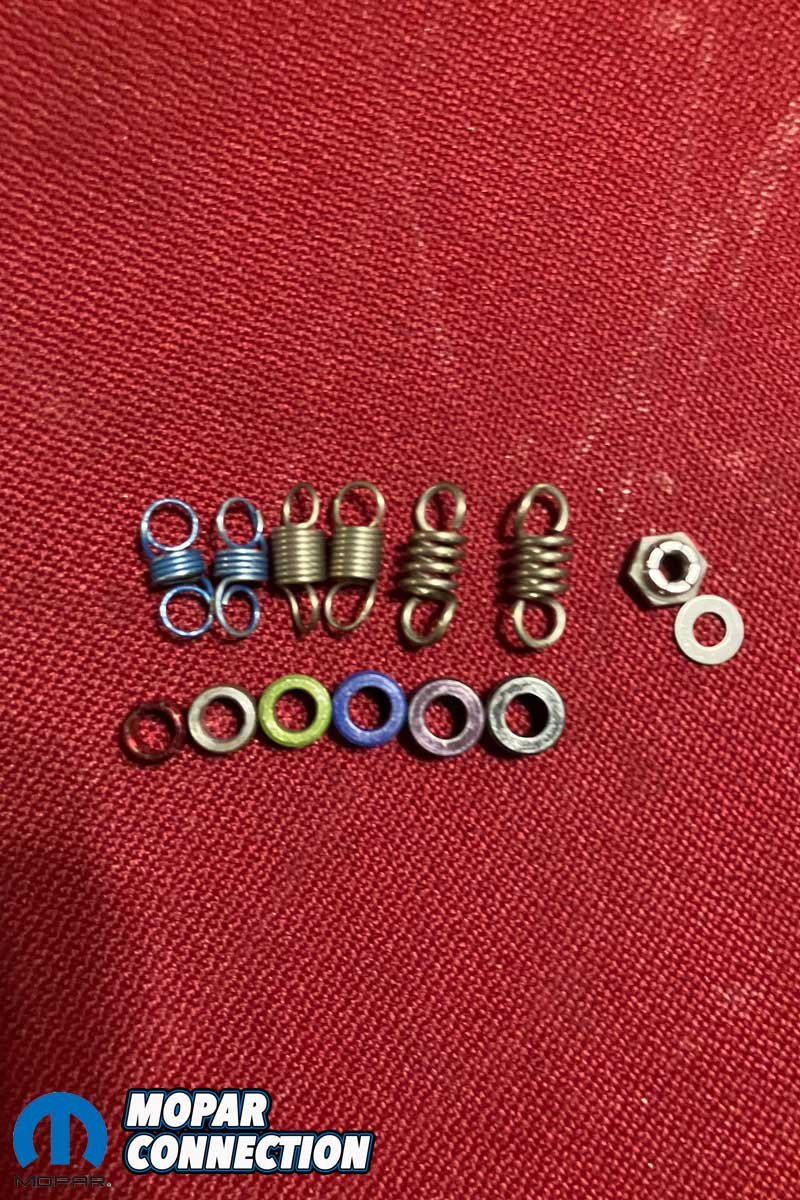
We cleaned the distributor and began the disassembly. With the distributor disassembled, we started the rebuild. MSD makes adjusting the advance and timing curves easy with their Bushing and Spring Kit. The c-clip retaining the bushing came off the bottom of the rotor, and the old advance bushing fell out; with newer units, a nut is used instead of the clip.


Above Left: The old MSD cap is on the left, and the new HEI terminal-type cap is on the right. Above Right: We set the engine to cylinder one TDC in preparation to the distributor removal.
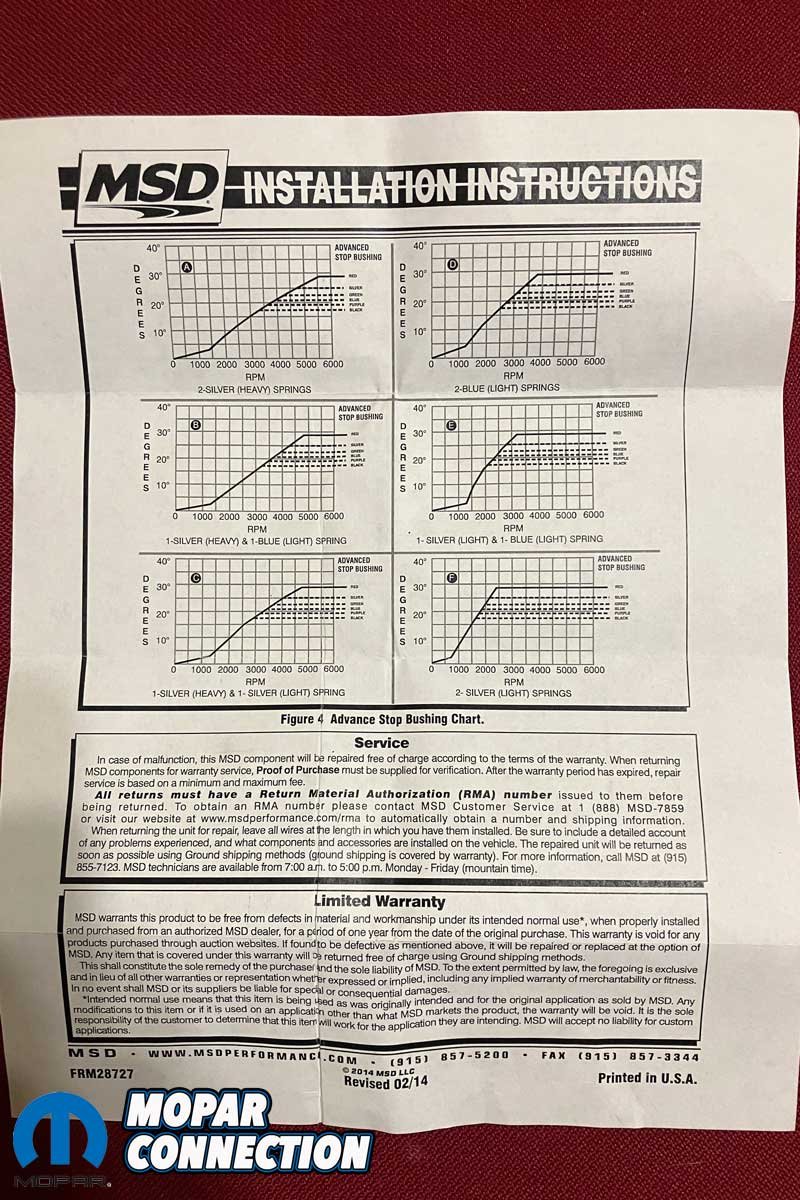
We selected the black bushing with an 18° centrifugal limit. MSD provides detailed instructions and diagrams of the advance to rates and curves. Based on the charts, we decided to match the black bushing with a set of two blue-light springs, which will provide a full advance at 2500 rpm, where our converter stalls.
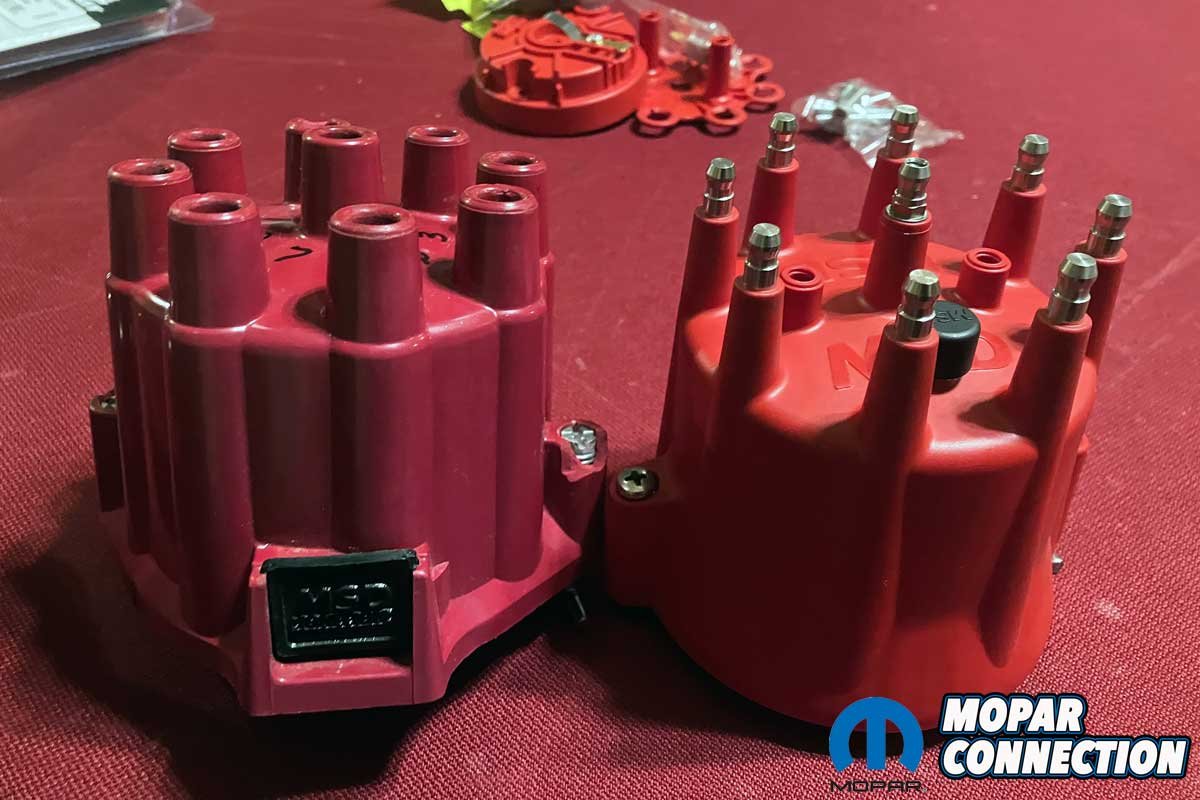
With the distributor reassembled, we felt that the bright red cap did not match our ‘70s-look engine bay. We remedied the problem with gold paint, which closely matched the original brown 340 distributor cap. After masking off the terminals, we laid down three coats of paint. Amazingly, the result was remarkably close to the original. Now that our distributor was finished, we carefully slipped it into the engine and pointed the rotor toward cylinder one.

Above Left: MSD supplied with the installation instructions an information guide with the amount of advance of each bushing. Above Right: MSD also included a chart for the rate of advance with each spring.

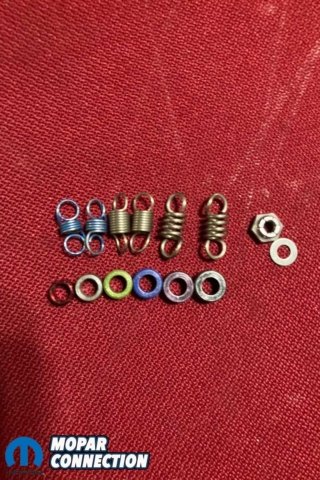
Above Left: The bottom of the rotor is where the advance stop bushing lives. Above Right: MSD provides plenty of springs and bushings to tailor the advance to meet the needs of the 373.
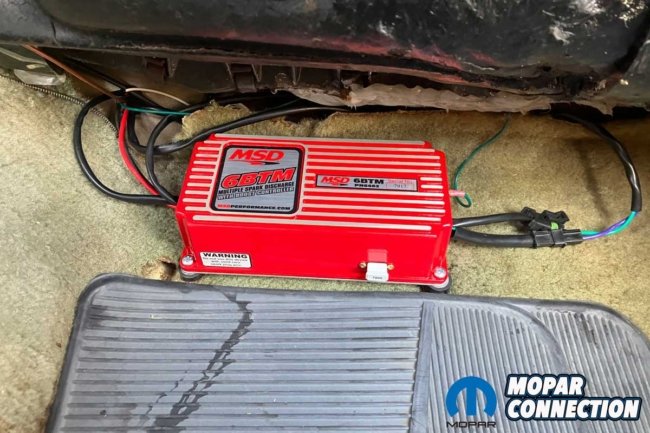
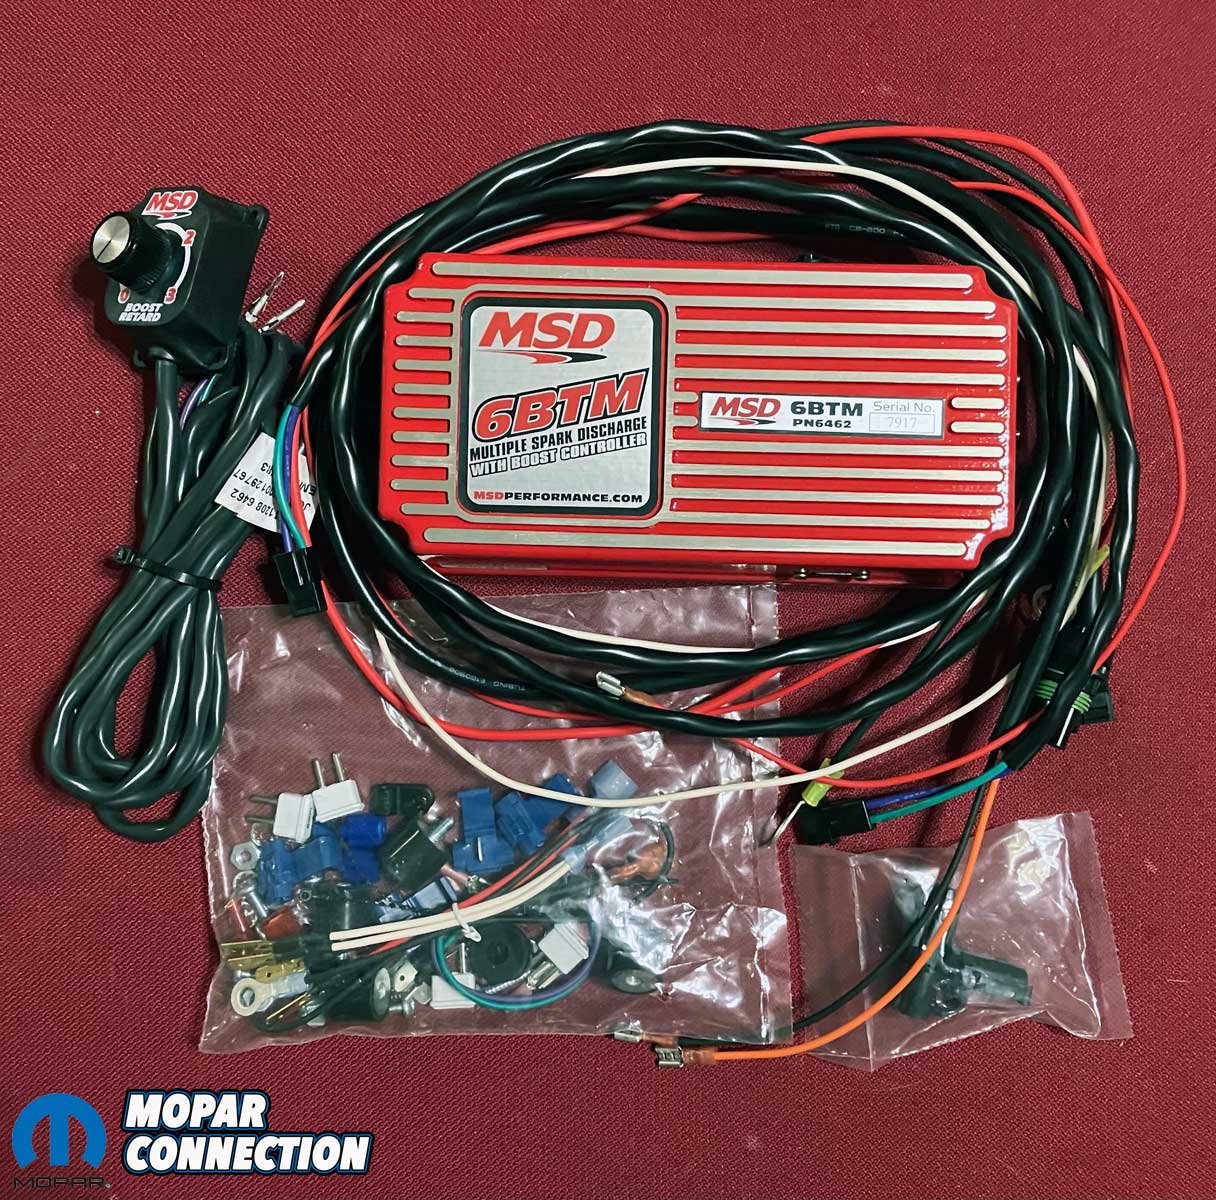
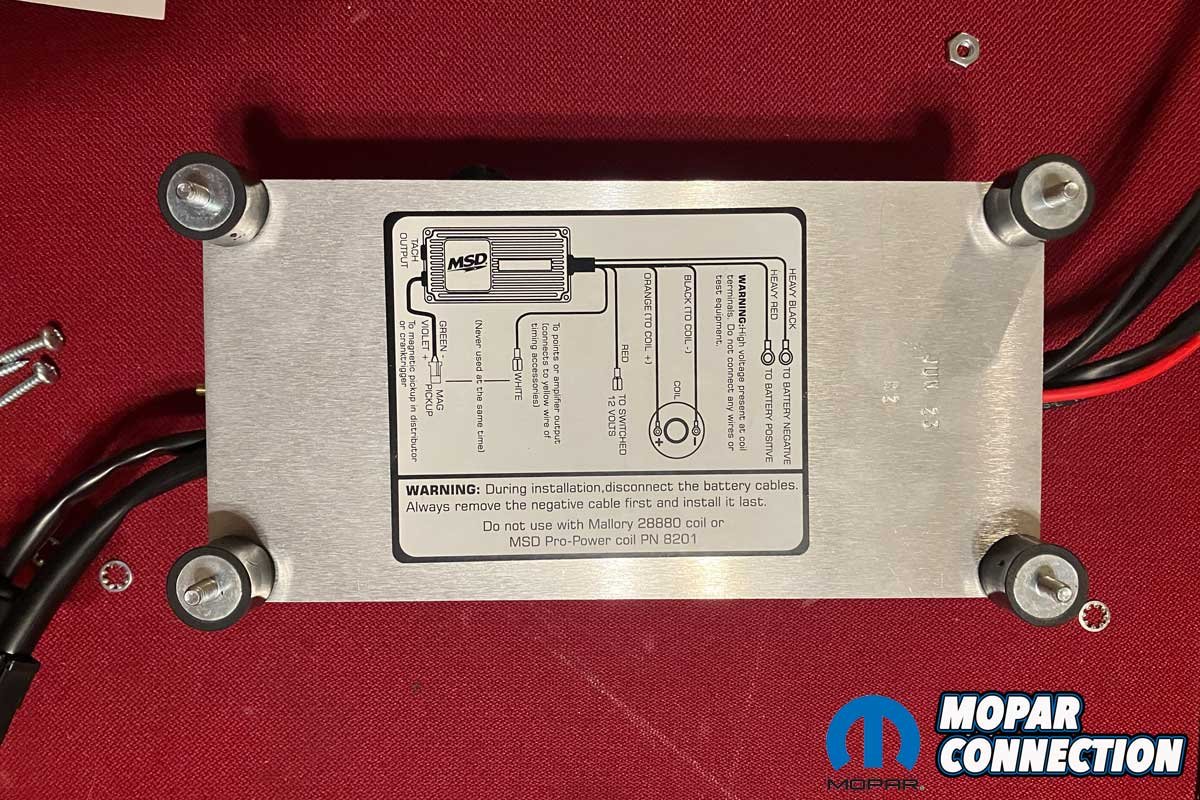
Our next step was to locate the ignition box. We mounted the box under the dash below the heater box. The MSD 6 series ignition box is the least expensive of the lineup and is perfect for any hot rod. We plan to supercharge the Charger eventually, so we got a Boost Timing Master box (6BTM). The system has a vacuum port that measures manifold vacuum and will retard the ignition timing depending on boost pressure, controlled with a retard controller.
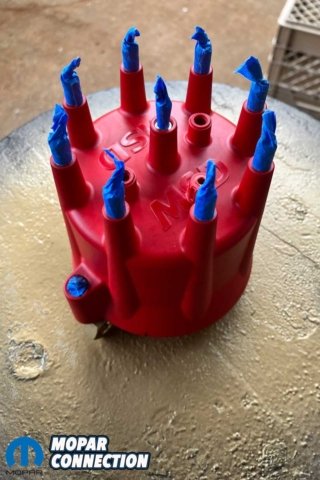
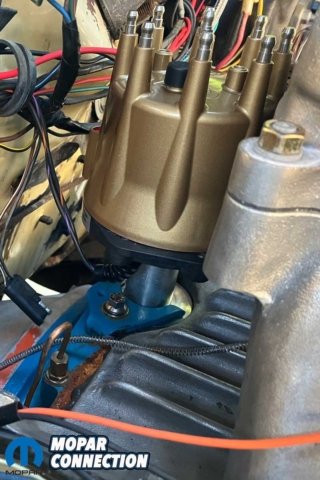
Above Left: The red MSD cap did not match the look we wanted, so we taped it up and painted it in a gold tint. Above Right: The distributor is assembled, in the engine, and ready to fire.
A 6AL box is the ticket for almost all hot rods if the engine is naturally aspirated. We capped off the vacuum port because our engine was naturally aspirated. Then we measured the mounting points of the box, drilled the holes, and mounted the box to the floor with the supplied hardware. Once in place, we inserted the white Rev-Limiter into the box.
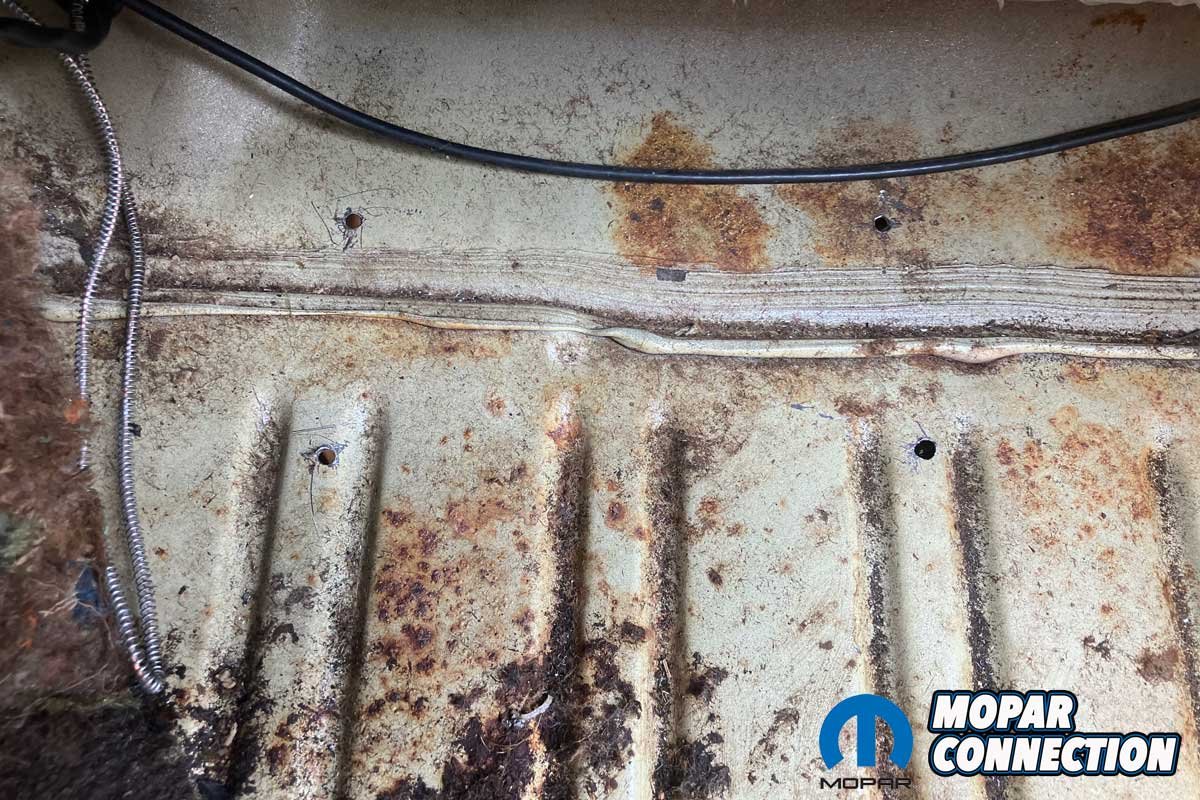
By following the detailed instructions, wiring the MSD 6 box was straightforward. Before any wires were cut or spliced, the wires were laid out. The Charger already had an access hole in the firewall from previously installed auxiliary gauges, so we chose to run the wires through the hole and tie them into the factory harness.


Above Left: We selected an MSD 6BTM ignition box and everything that comes in the box to wire it up. Above Center: A handy wiring diagram is on the back of the ignition box, which makes it easy to correctly wire the car. Above Right: The holes were measured out, center punched, then drilled out.
The blue and green magnetic pickup connector was wired first. Since we were using the magnetic pickup with the distributor, the white wire was unnecessary, so it was coiled up and tucked away. Next were the coil wires. The orange wire was connected to the positive side of the coil, and the black coil wire went to the negative side, both attached with the provided spade connectors from the kit. The small gauge red wire was connected to a switched 12-volt source. Lastly, we ran two wires from the MSD box directly to the battery terminals (positive and negative).

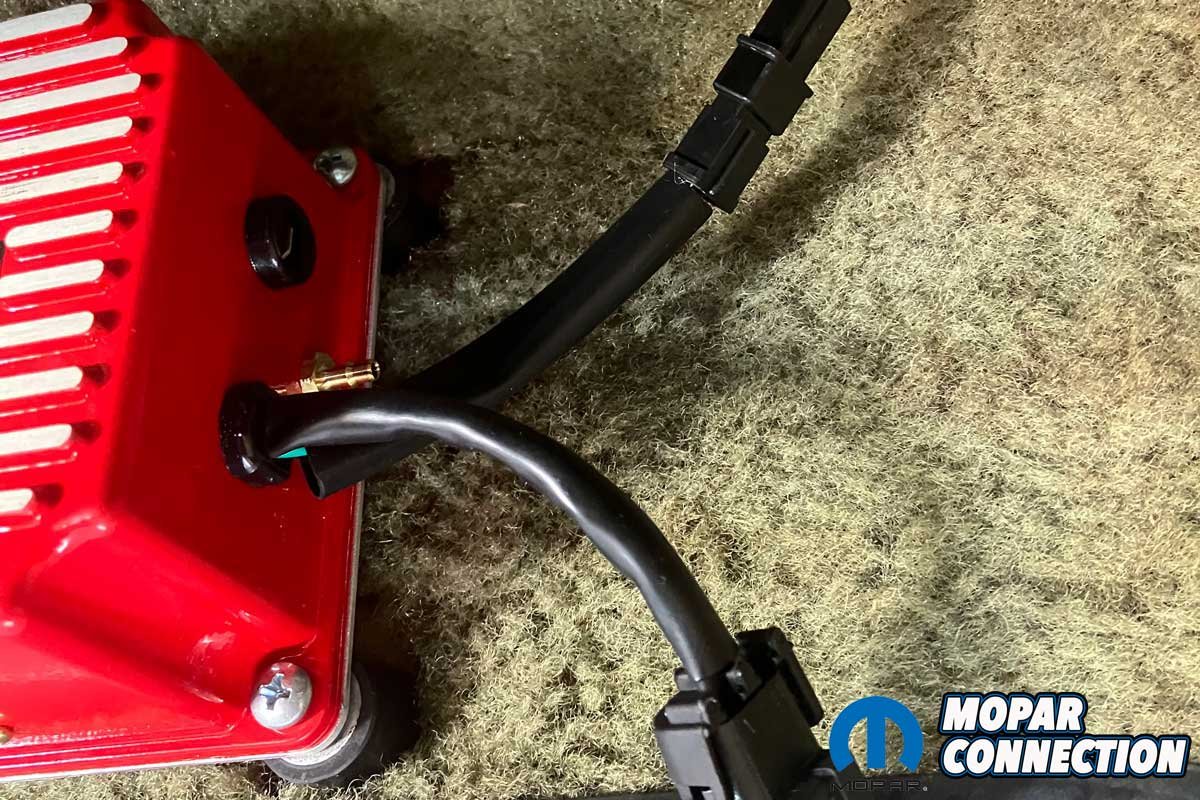
Above Left: We mounted the MSD controller on the passenger side floor plan. We had to cut holes in the carpet to fit around the mounts. If you plan to mount your box on the floor of your car, you may have to remove insulation from under the carpet as we did. Above Right: Note the little brass nipple for the boost vacuum signal. It will be capped off. The connector that is seen at the bottom of the image goes to the Boost controller itself.
To wrap up the installation, we located the Boost controller and capped the boost nipple. We found a spot for the boost controller switch next to the steering column within reach of the driver. We cut a piece of wood, mounted it to the dash, and used the provided double-sided tape to affix the switch.
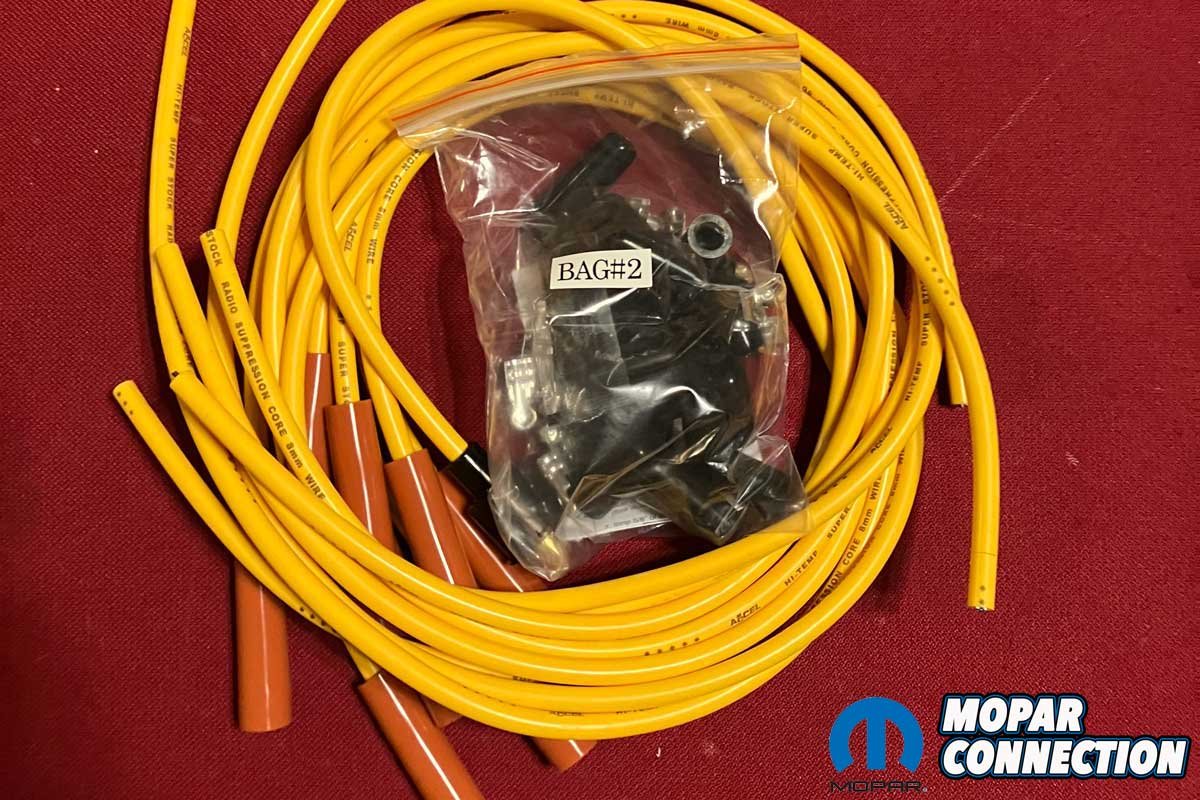
With everything installed, we shifted to cutting a new set of plug wires. We selected a set of new 8mm Accel Super Stock wires. We measured the length each one needed to be, then worked our way around, crimping on new ends and installing the boots. Once done with the wires, we routed them and retained them with the factory plastic wire looms.
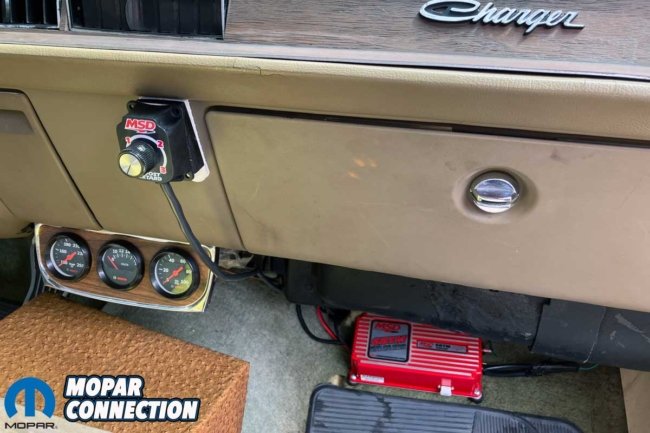

Above Left: We fabricated a dash mount for the boost controller out of wood and double-sided tape. Above Right: We elected to use a universal spark plug wire set for our Charger.
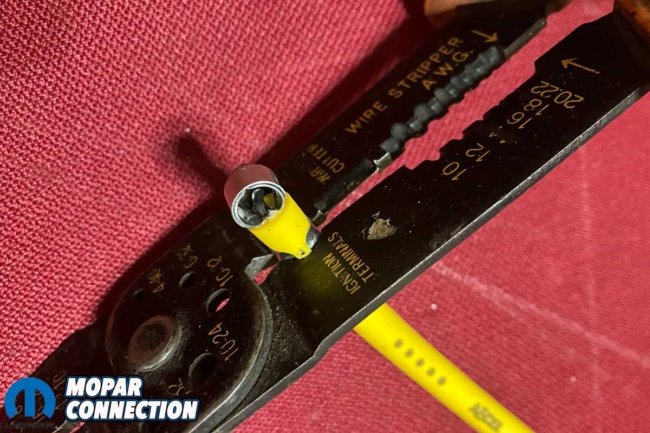

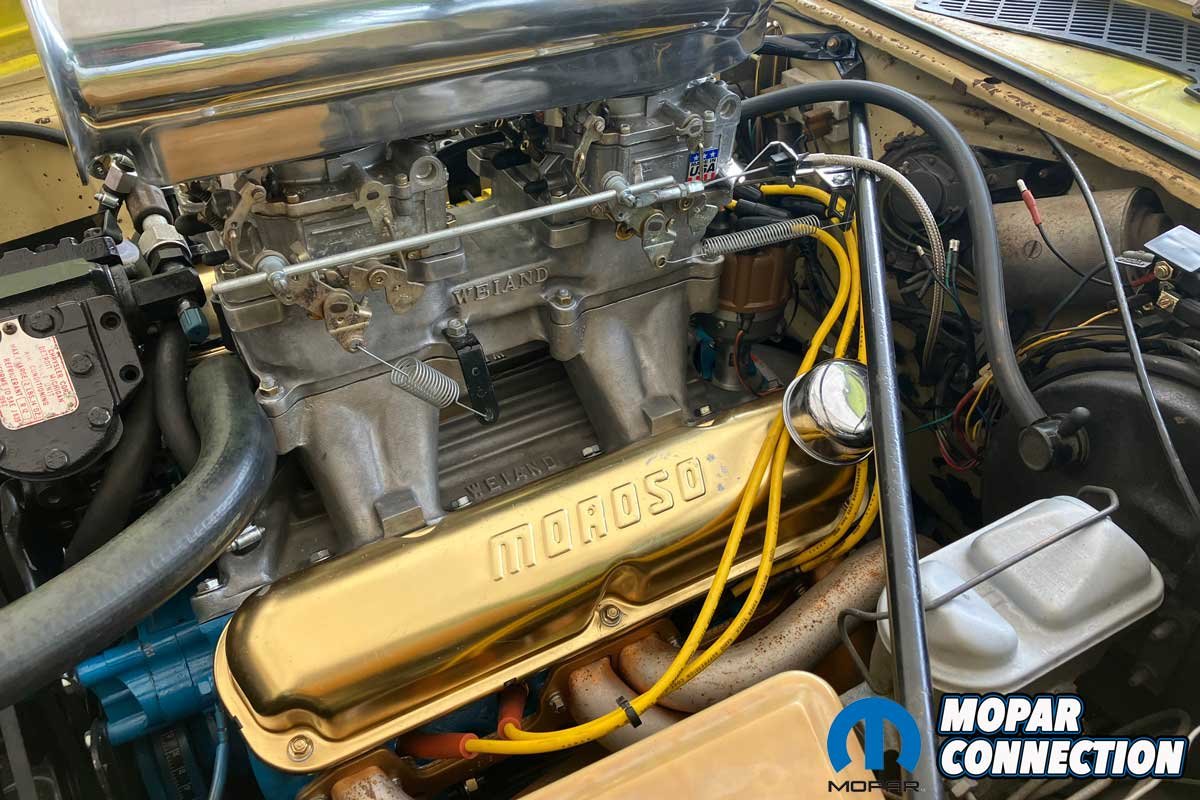
Above Left: After measuring, we crimped the terminal ends onto the plug wires. Above Right: Our final image is the culmination of our efforts. The new Accel wires loomed up neatly and our MSD ignition was stealthily hidden away.
Although a seemingly daunting task, re-wiring and installing a new ignition system is painless with MSD products. The MSD components worked in unison with one another, from the installation to the operation. The process took an entire Saturday to complete. Best of all, after a final overview of the installation, the engine started with the first bump of the key.


