


You’ve probably already figured out by now that there are very few body panels that can be dealt with in isolation. It’s the very nature of unibody construction. Everything is connected to everything else and this means that there must be a plan for each phase of the repair.
In this case, as you’ve already seen, everything is sort of done all at once but not really. Each panel is addressed individually but in order to get to some parts you have to first go through others to get to them. The trunk floor, at least in the back half of the body, needs the most panels removed to gain access to replace it.

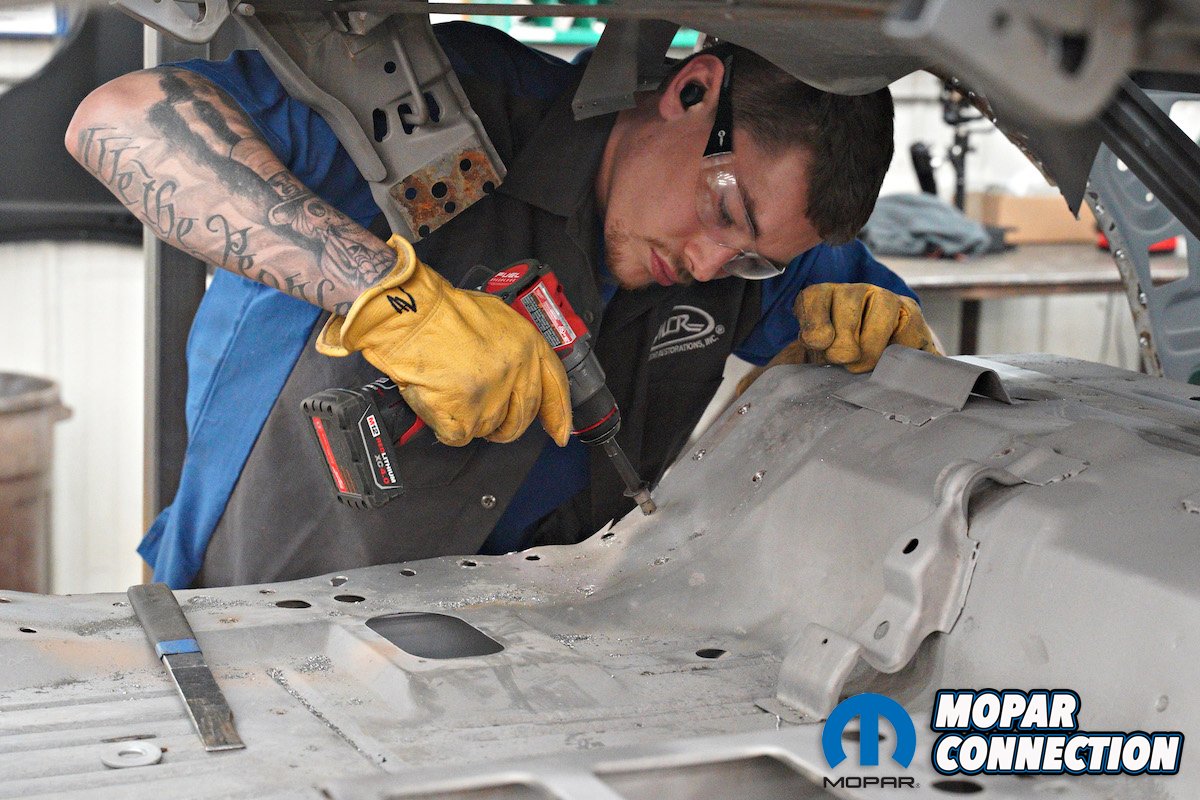
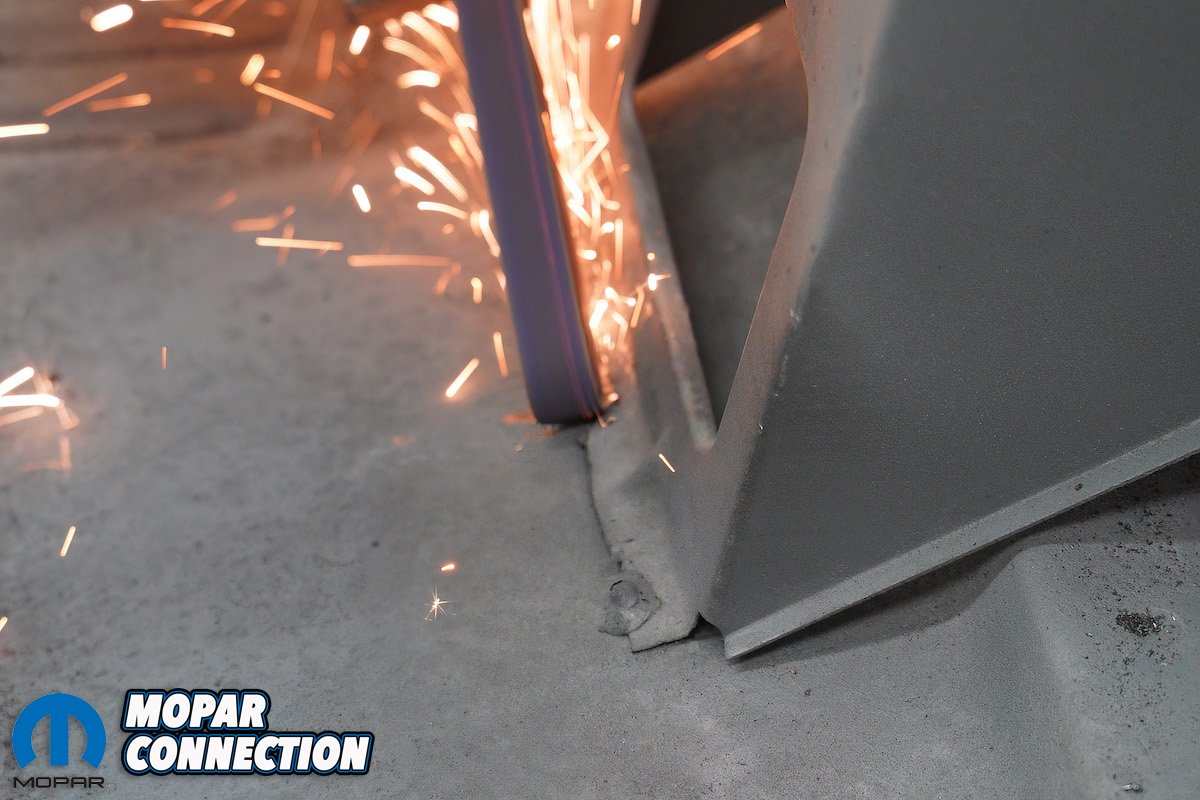
Above: With most everything out of the way, it’s relatively easy to access most of the spot welds holding the floor in place. MCR’s tool of choice for cutting spot welds is a 3/8th inch Rotobroach cutter.
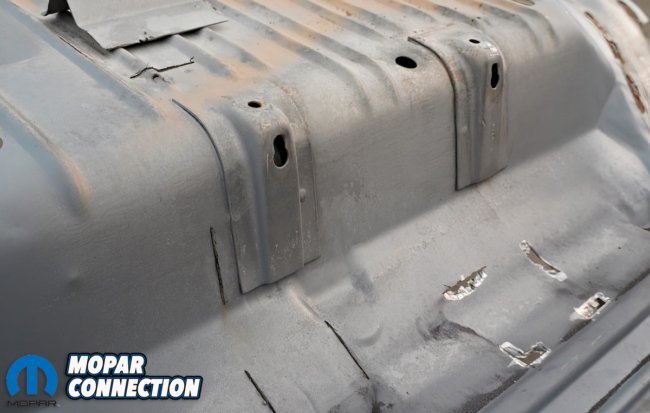

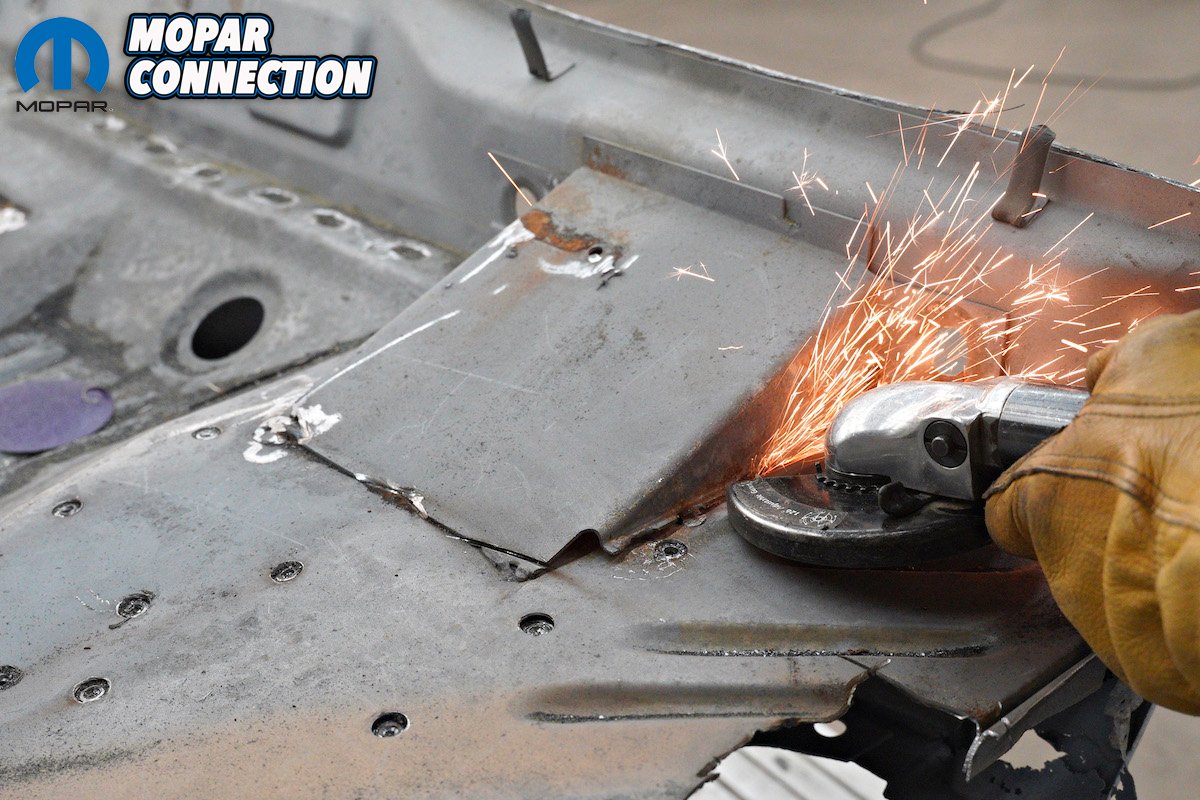
Above left: The various brackets attached to the floor for the fuel tank straps, spare tire mount, bumper brackets, trunk lock mount, etc will need to be removed and reused. Above right: Since these brackets will be reused, the welds are broken from the backside of the panel. MCR prefers a 3M belt file for this as it cuts through the welds quickly.
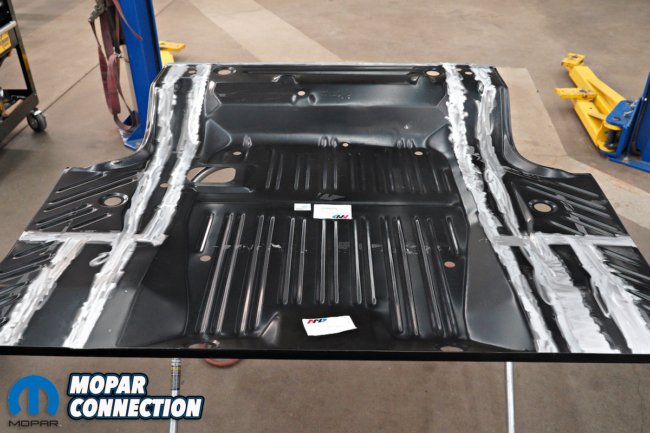
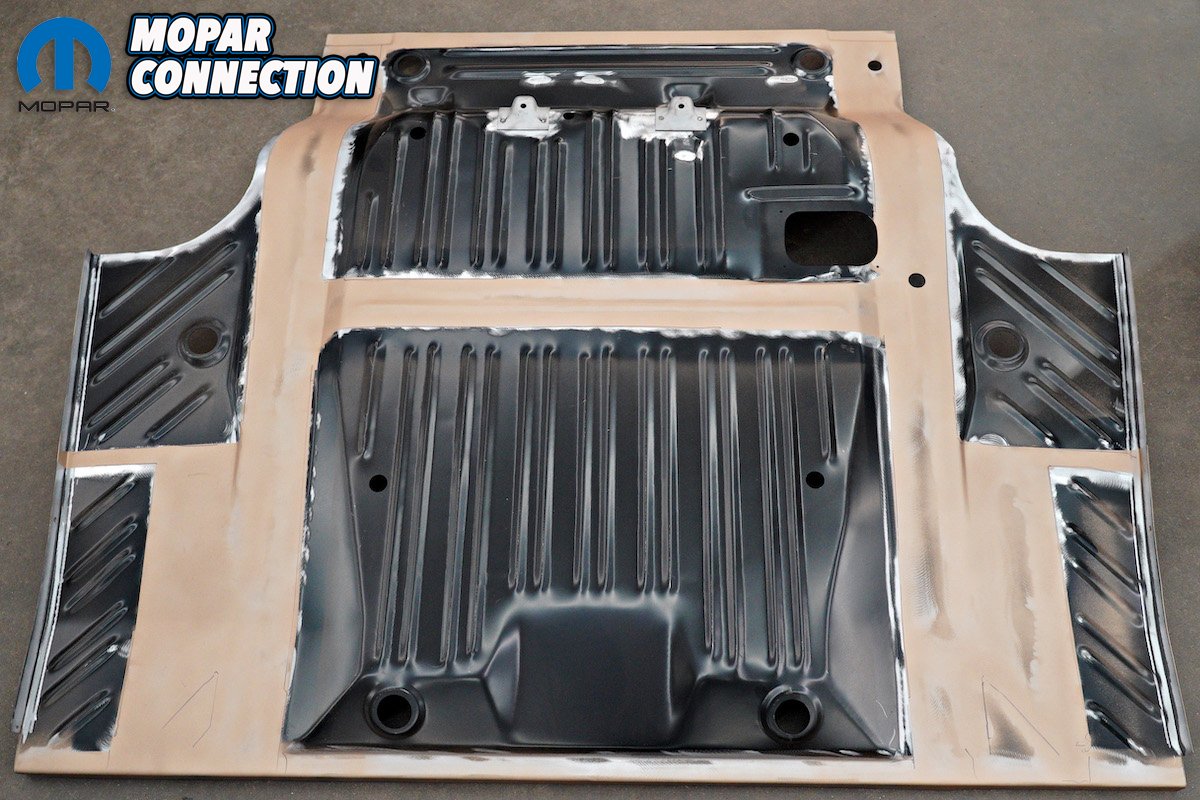
Auto Metal Direct fortunately provides two different options for trunk floor replacements. They have a factory correct one piece panel which we are showing you here. But as you are already seeing, installing one requires moving a lot of panels out of the way.
Given that it’s normally best to leave as much of the body undisturbed as possible that may sound counter intuitive but the usual reality is that if the trunk floor needs to be replaced it’s almost a surety that the quarters and at least part of the wheel tubs will need replacing as well.


Above left: The trunk lock mount is not spot welded but rather bead welded to the floor so these welds will need to be carefully removed without damaging the bracket. Above right: The bumper brackets can be saved and reused but this time MCR will be using new AMD parts. Still these brackets have to come off to get to the floor welds underneath them.

Above: There may be welds hidden under some of the brackets that can only be cut after the bracket is removed like here under the bumper bracket.
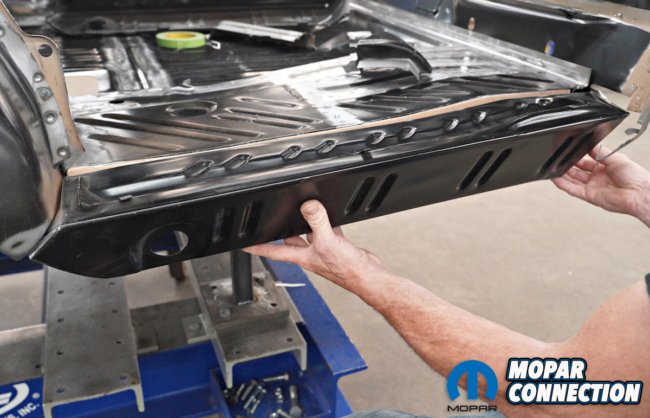
AMD’s other option is a two piece floor that can be inserted through the trunk opening with everything else intact. It’s not technically correct but it can be replaced on its own without disturbing everything around it and if done the way Muscle Car Restorations joins panels it’s very likely no one would ever be able to tell.
Please note that a one piece trunk floor will not fit through the opening created by just removing a quarter. It’s possible if a complete wheel tub is coming out but usually MCR only needs to patch the rim of the outer half of the tub. In this case, both the entire tubs were removed but that’s for reasons we’ll get into later.
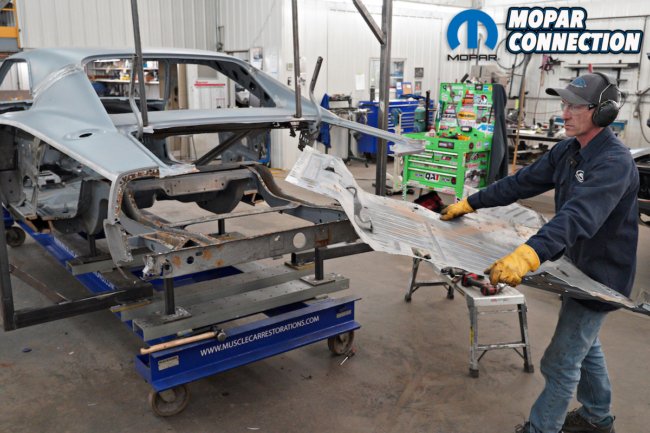
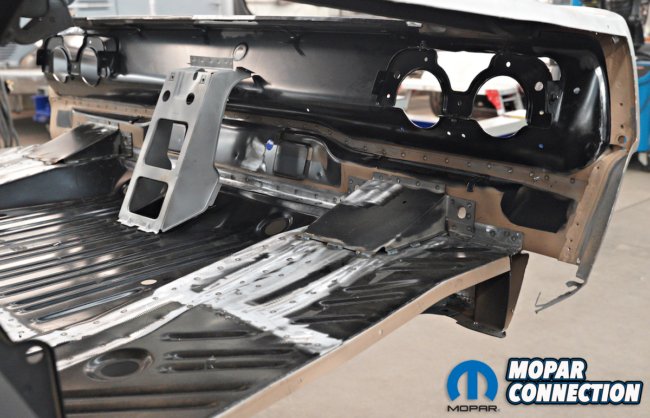
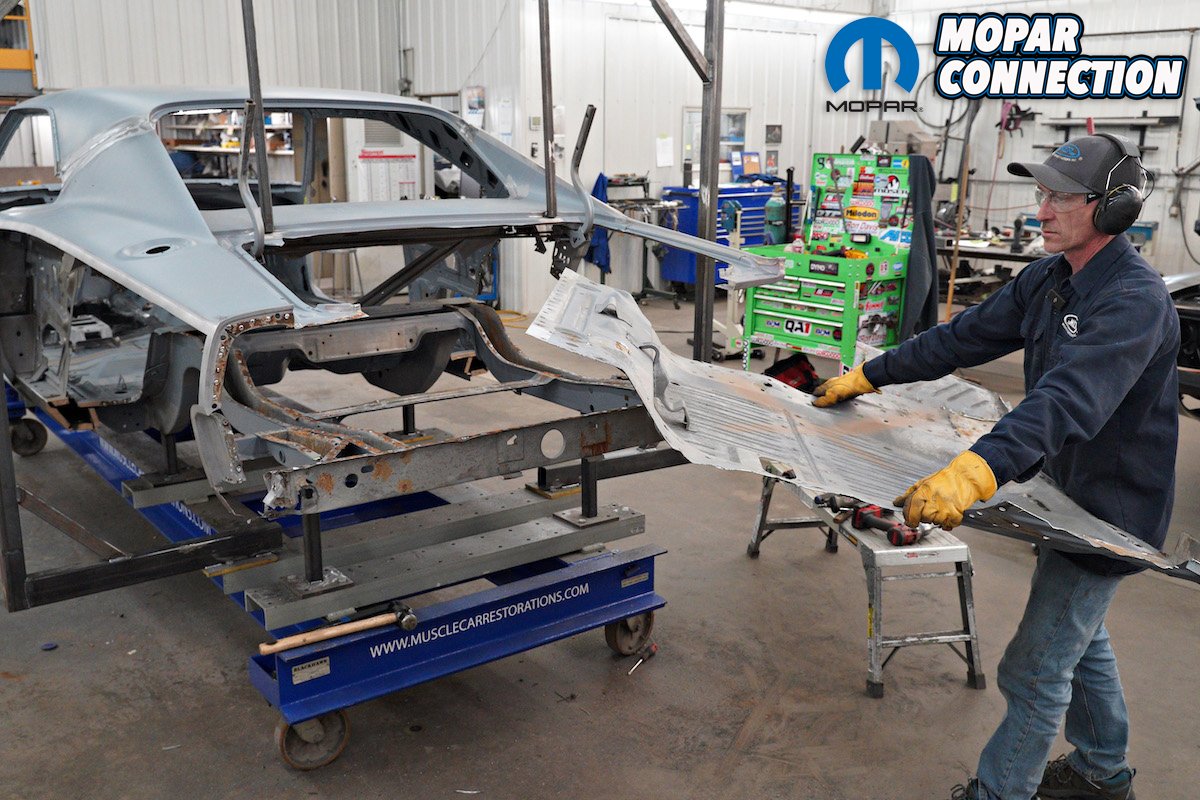
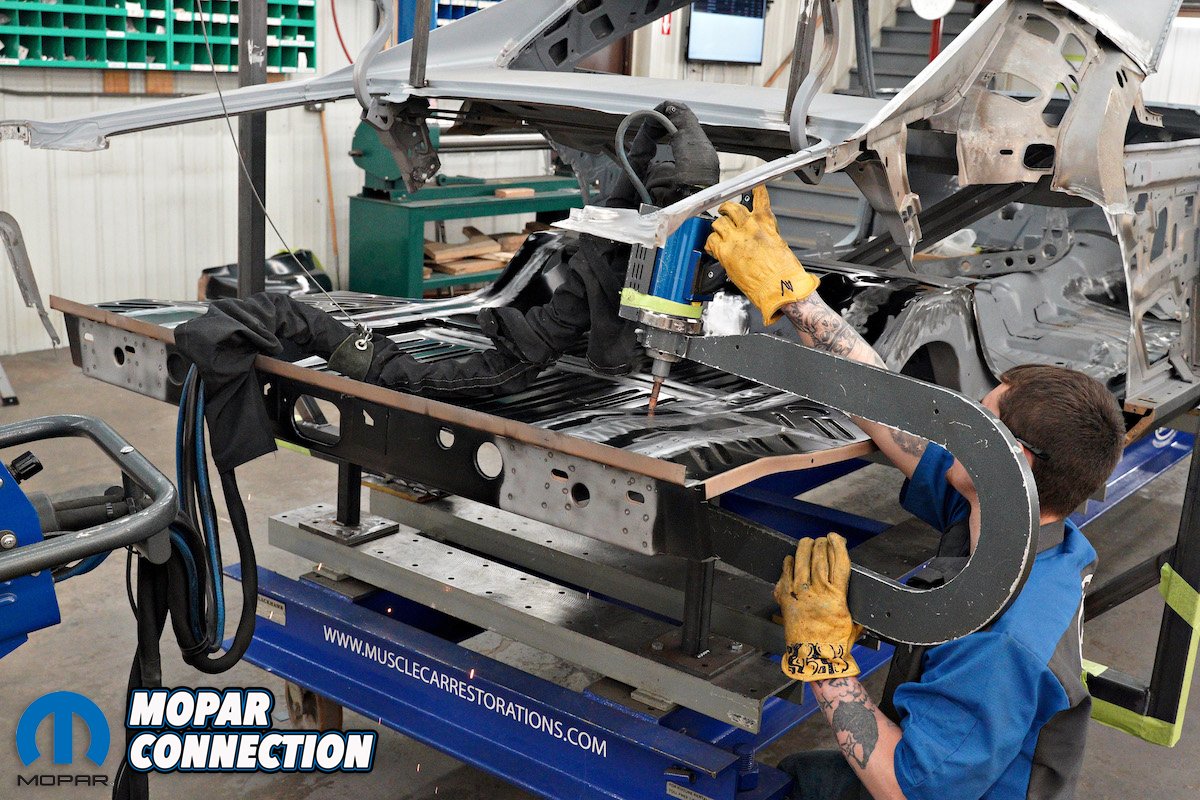
Above: Here you can see how removing the tail panel makes removal and replacement of a one piece floor panel possible. Remember that, most of the time, wheel tubs will still be in place so sliding the floor in from the side is not normally feasible.


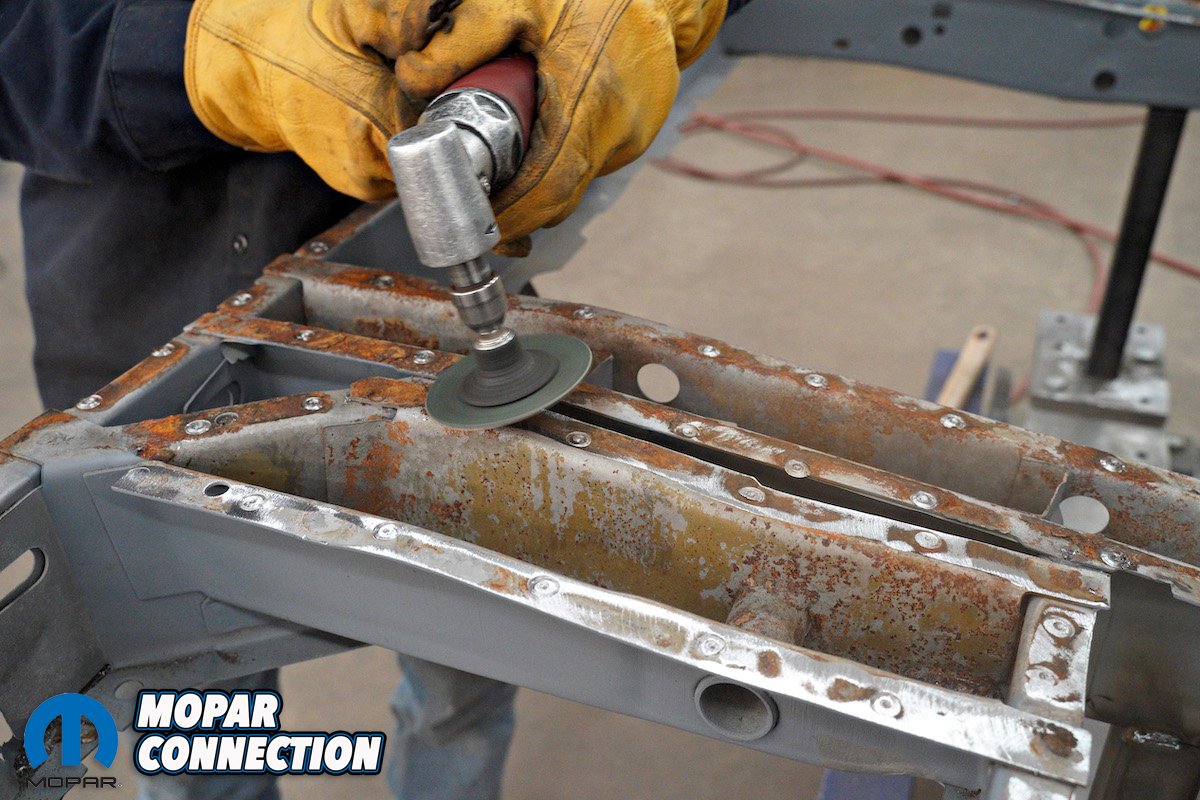
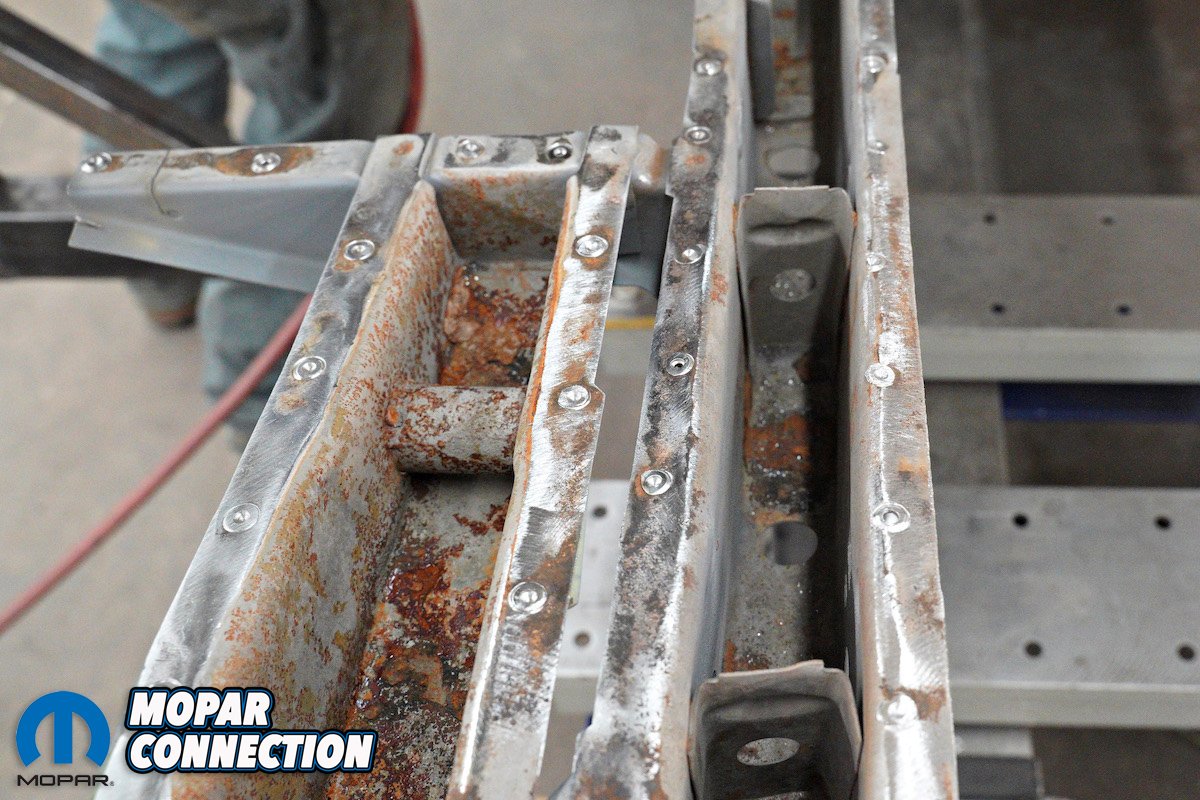
Above left: It’s amazing how much mostly surface rust is found between where panels are welded together. A 60-grit disc will clean this up nicely. Above right: There is usually rust inside the frame rails. In this case it’s superficial or else the affected frames would be replaced. Still this must be dealt with so it can’t progress any further.
The normal way to fit a trunk panel is to remove the tail panel. Since a good number of the spot welds that connect it to the floor will need to be removed anyway, removing the few welds that are left to pull the tail panel is a simple solution to gain the room needed to insert a one piece trunk floor.
Once everything is out of the way, there is very generous access to most of the floor to cut the spot welds. Since this car is being mini-tubbed, the trunk floor has to be modified to accommodate that change but we’ll address those changes when we tackle the mini-tub install. For now, we’re treating this like a normal trunk floor replacement and in fact the process is just the same as it would be with stock tubs.

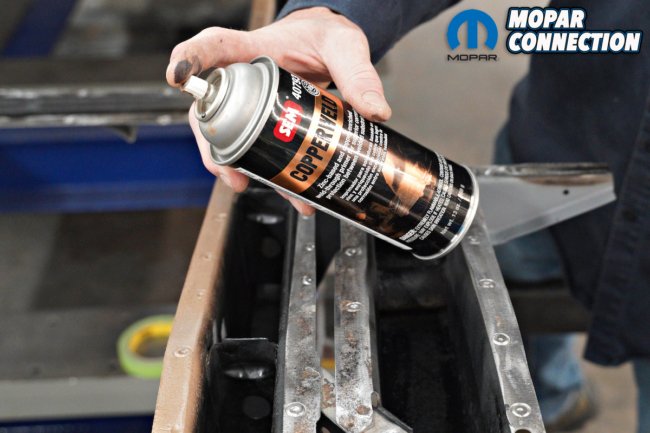
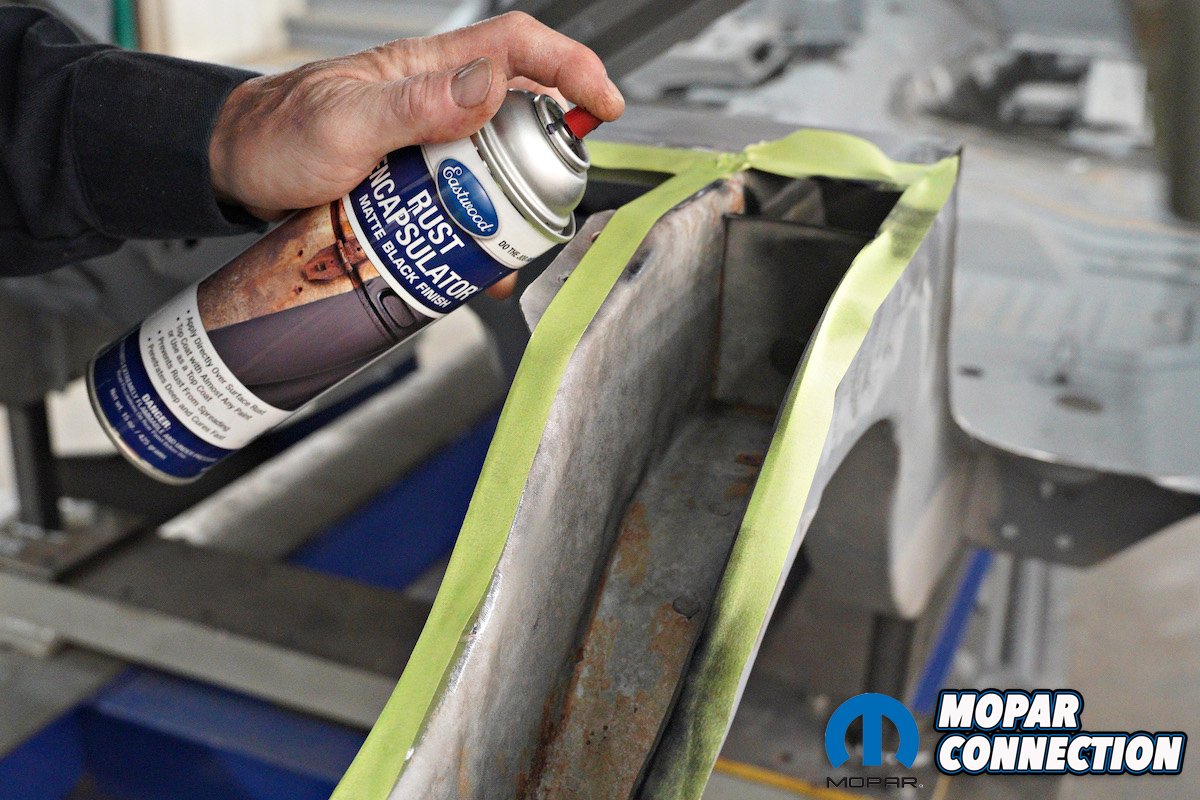
Above left: MCR likes to generously coat the inside of the rails with a rust encapsulation product. The weld surfaces are taped off as this coating can interfere with the future welds. Above right: All weld surfaces are coated with Copperweld weld-through primer. It won’t interfere with the welds while it seals the metal to prevent future rust from forming between the panels.
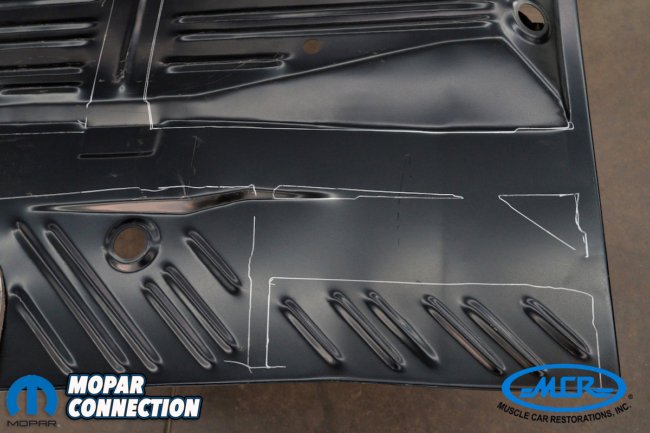
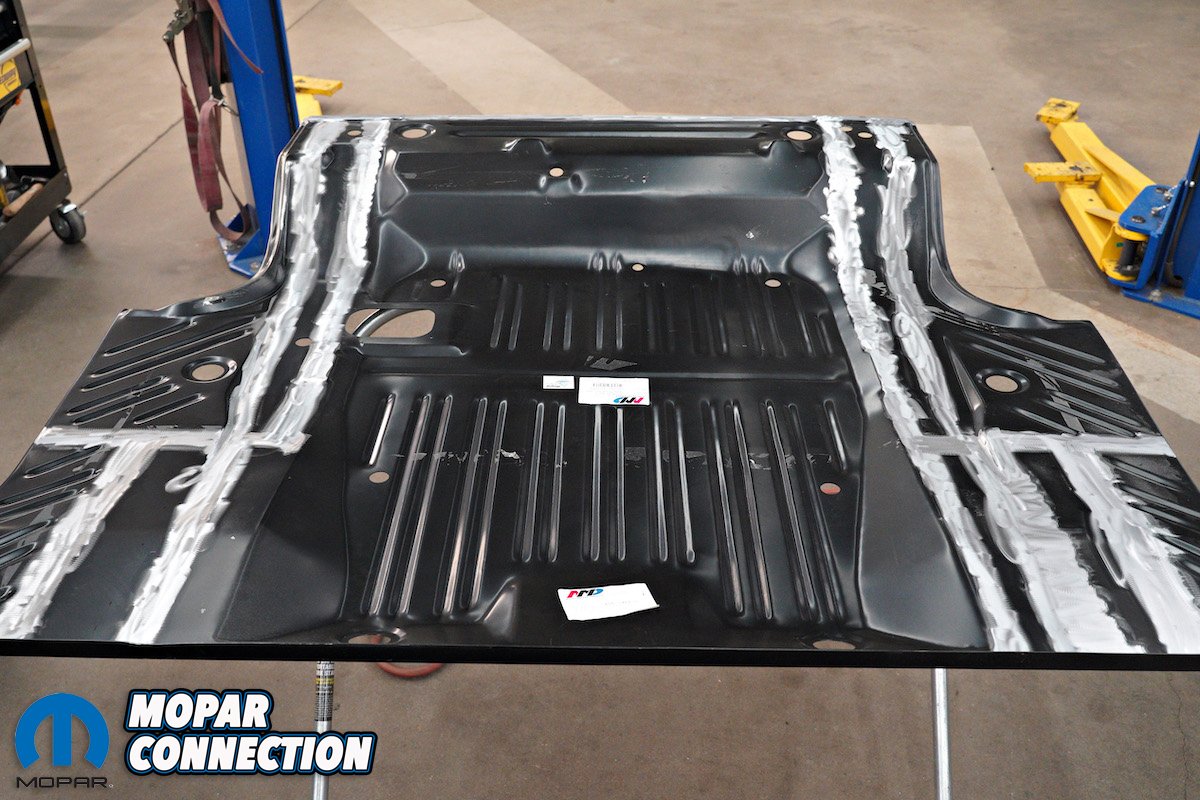
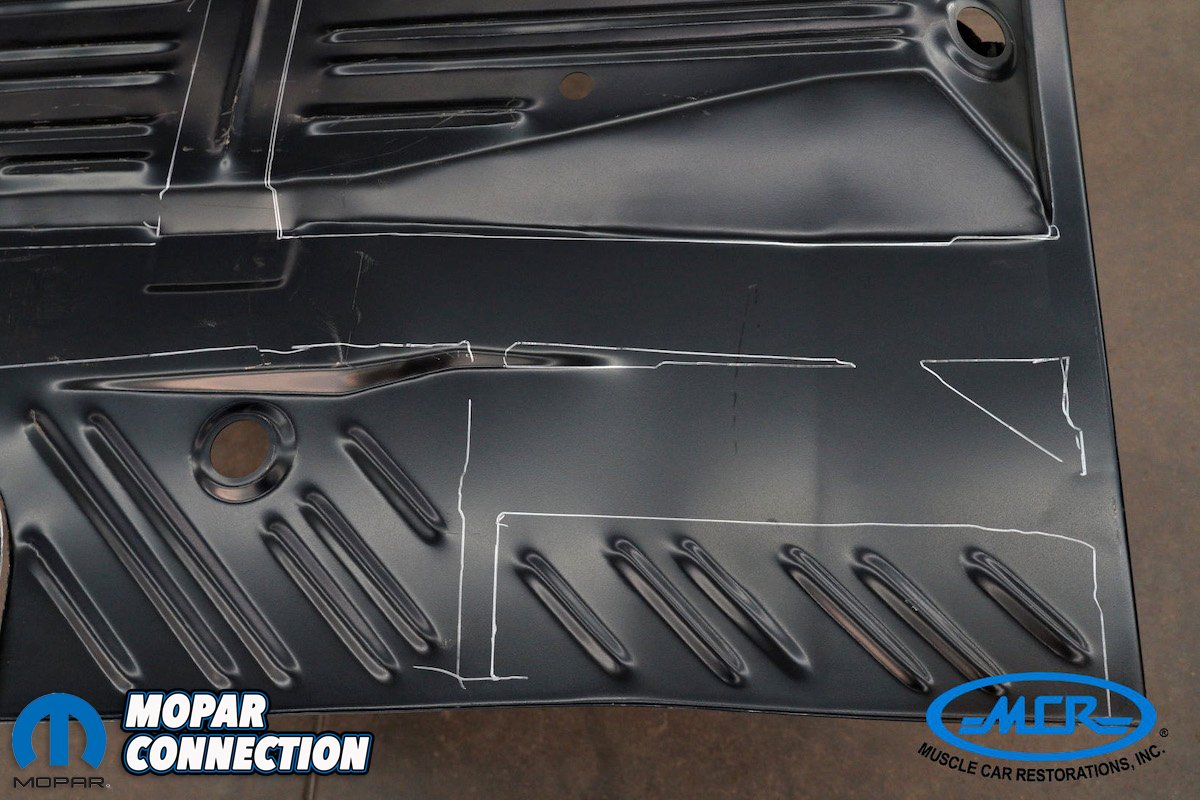
Above left: Laying the new floor in place allows the frame rails and cross members to be traced onto the bottom of the panel so show where the e-coat must be removed before welding. Above right: E-coat is good. It is an excellent barrier against rust but it really doesn’t allow you to weld through so it must be removed from all weld areas.
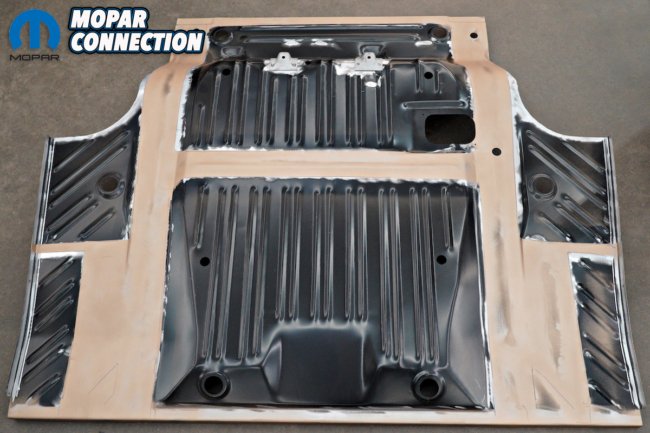
Above left: The brackets removed from the old floor will need to be transferred to the new one. Best to do that when it is still out of the car. Above right: The weld areas on the bottom of the floor get a coating of Copperweld too.

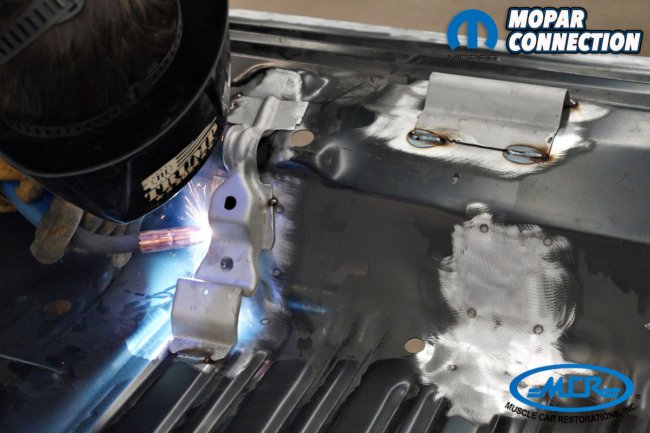
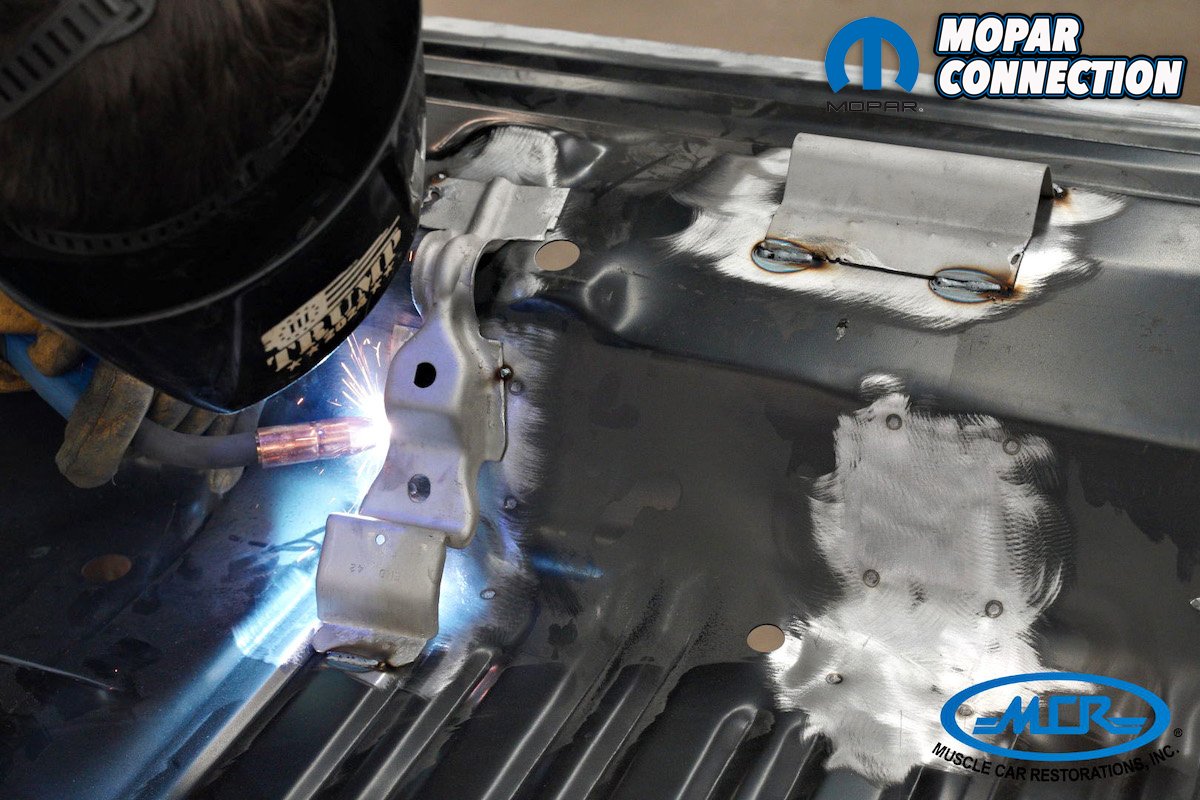
Above: MCR uses a professional spot welder everywhere possible to reproduce the original factory welds. Obviously, most of you won’t have access to one of these but plug welding is a perfectly acceptable alternative. Just grind the welds flat when done.
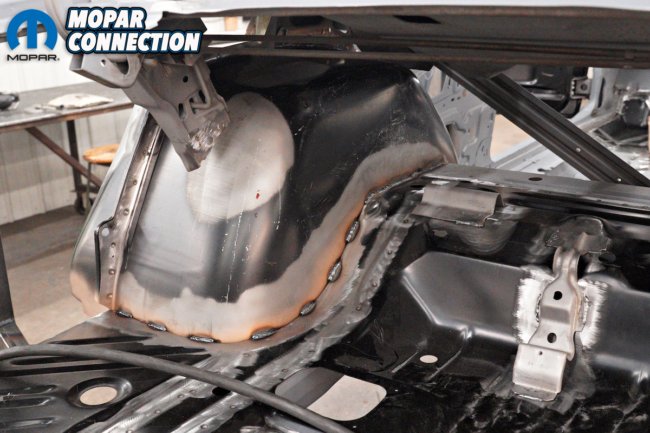
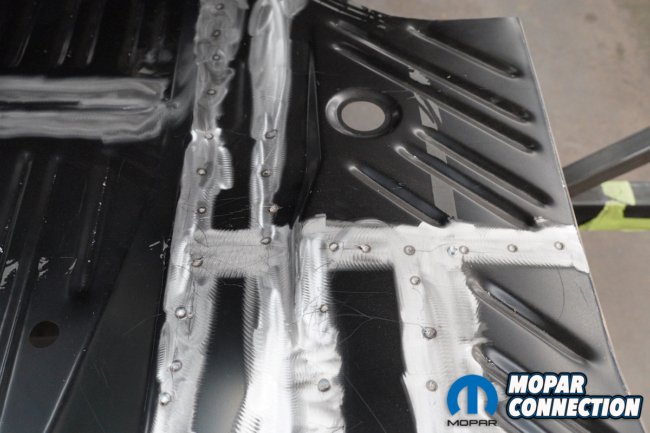
Above left: Note the stitch welds to the inner wheel tub. Yes the tub is already spot welded to the lip of the floor but this will be a high HP Hemi car and these welds provide additional strength in this area. If this was a factory stock resto these welds would be omitted. Above right: This will give you a general idea of how to space the welds.
Above left: The tail panel will need to be re-fitted before the trunk lock mount and bumper brackets can be welded in place. Note how the tail panel is spot welded to the vertical lip at the rear of the floor. This makes removing the tail panel almost mandatory when removing the floor. Above right: The final step is installing the trunk extensions on both sides. The important part is to be sure that they line up flush with the trunk floor and that they fit properly with the rear of the wheel tub. The down part of this piece connects to the bottom edge of quarter. Concentrate on proper fit to the floor as the lower part has enough flex in it to allow minor adjustments for fitting to the quarter.


