


You might think that scoops and inverted vents on hoods are only for fast cars. When it comes to functional hoods, Ma Mopar has had their fair share of functional scoops. Giant scoops like the Hemi scoop on Project Brazen does a great job of cramming more air into the motor. Project Trail ‘n Thrash is far from fast and a giant scoop like that would not be useful on our Jeep.
When it comes to anything you need for your Jeep, Extreme Terrain has more than plenty. We headed over to their Jeep Hood page and started browsing what options they had for Project TNT. We knew we wanted something better than the factory flat hood.

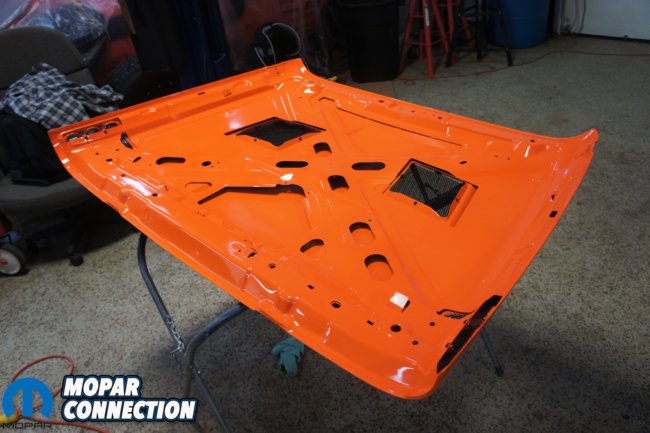
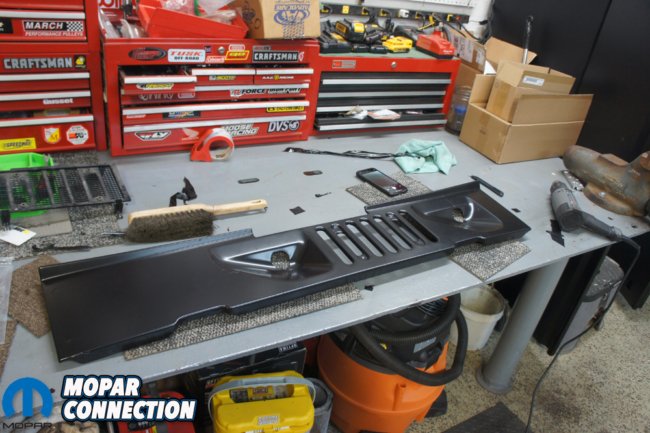
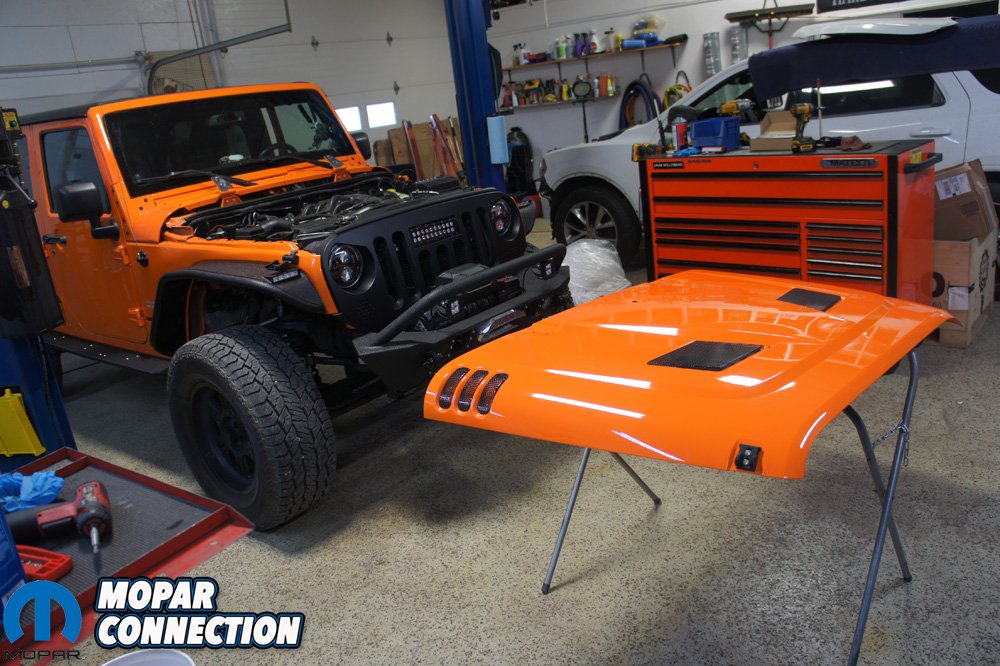
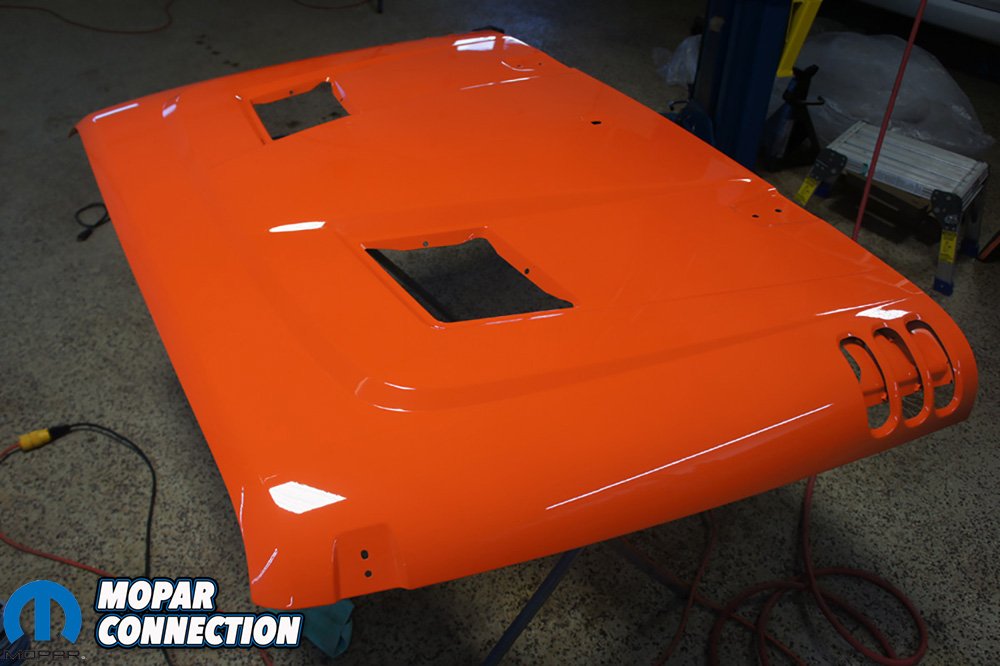
Above: Project Trail ‘n Thrash was patiently waiting for its new look.
The factory flat solid hood Project Trail ‘n Thrash would have came with has a couple issues we want to cure before they are issues. The biggest issue is the hood is solid. Jeep Wranglers by design are giant bricks driving down the road. The aerodynamics or lack their of, cause all kinds of weird wind turbulence.
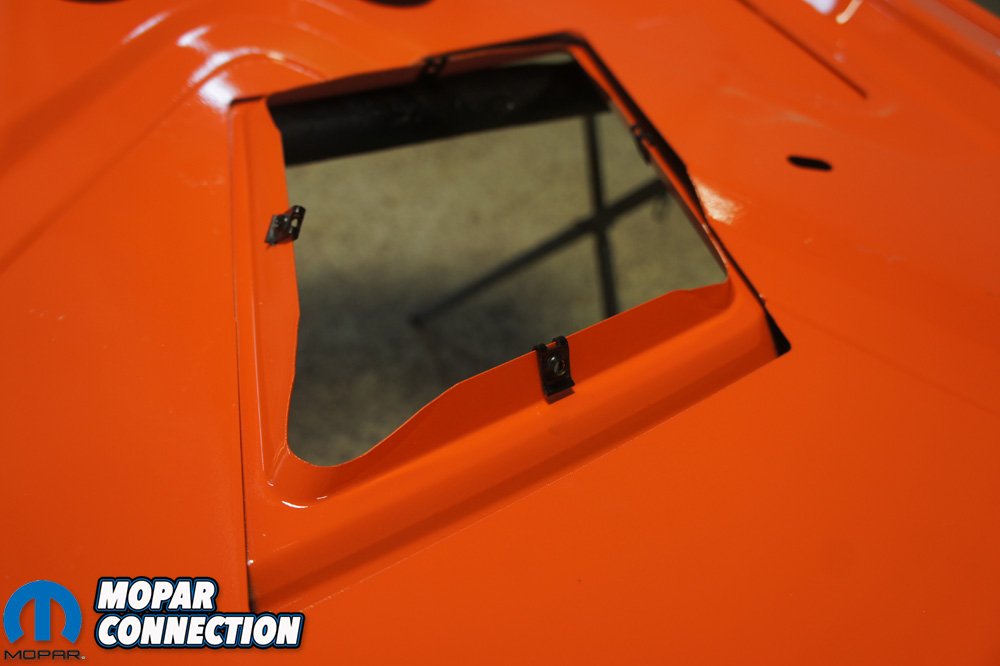
The hood helps act as a parachute and does not allow any air to flow through. Since we plan to drive the Jeep daily and on some long adventures, Project TNT. would often see highway speeds. We decided when choosing a hood that something with some vents would be a requirement.

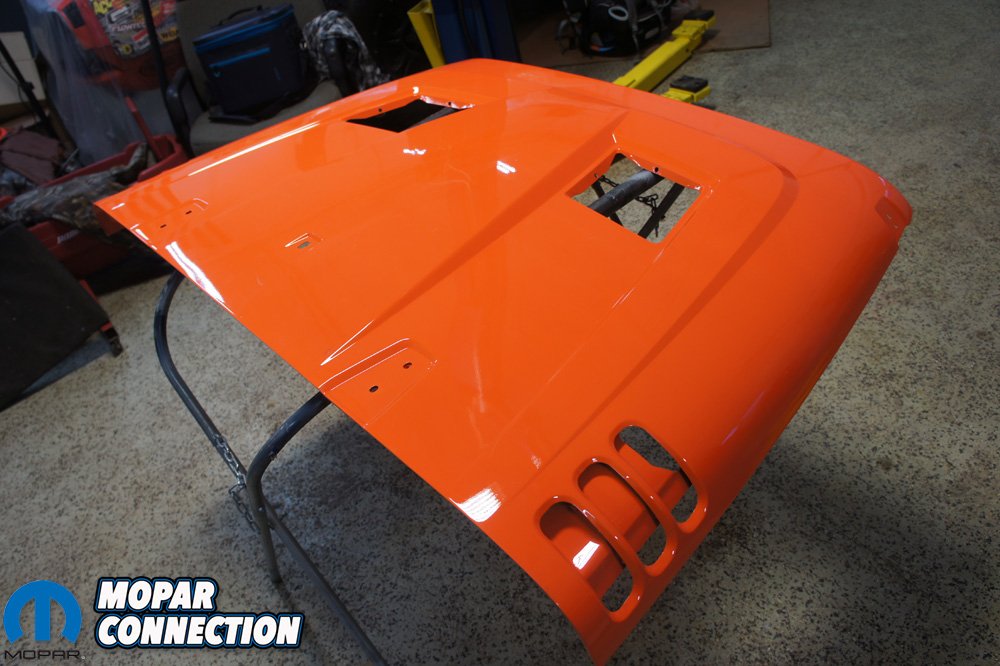
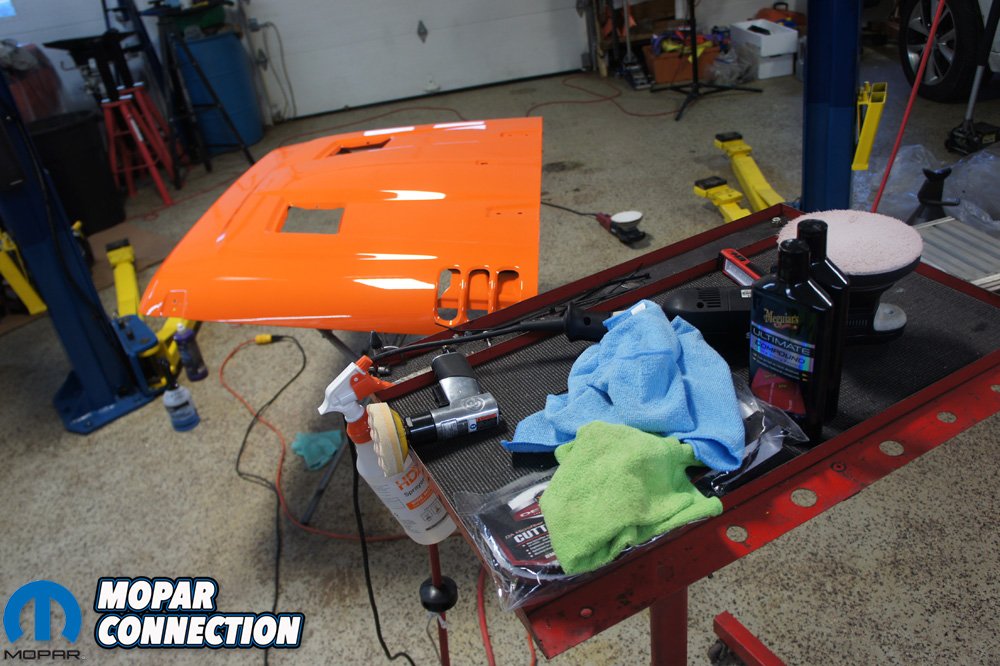
Above Left: We had a friend shoot the hood to help cut some cost and was up to us to cut and buff the hood. Above Right: The hood comes assembled from Extreme Terrain but had to remove the grille inserts for paint and left them out until we were done with the buffing.
The vents would not only allow the air to flow through easier at highway speeds but also allow the hot air to exit the engine bay easier. When we are off road and idling along all day long, there is not as much air flowing through the radiator keeping the engine and components cool. Instead the engine will run right at the thermostat temperature or a tad higher. When the motor is running on the hot side, is can heat soak a lot of components under the hood causing even more issues.
Heat is your enemy no mater what component we are talking bout. Power steering for example heats up its self but add in hot engine temperatures, the pump could fail or start overheating and spewing fluid. Being on a rough trail without power steering is not a fun journey. We decided some ventilation in the hood would be a big benefit.


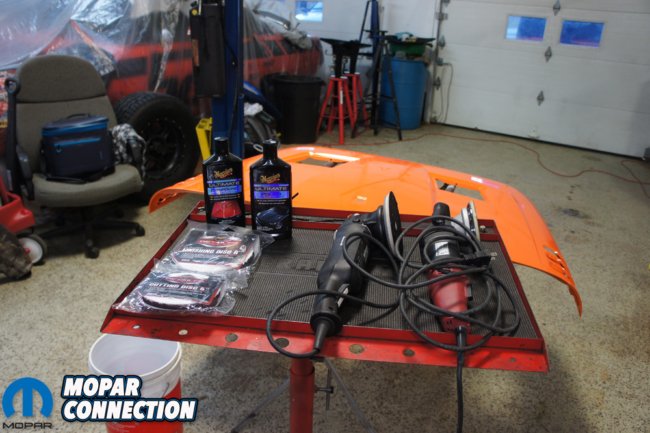
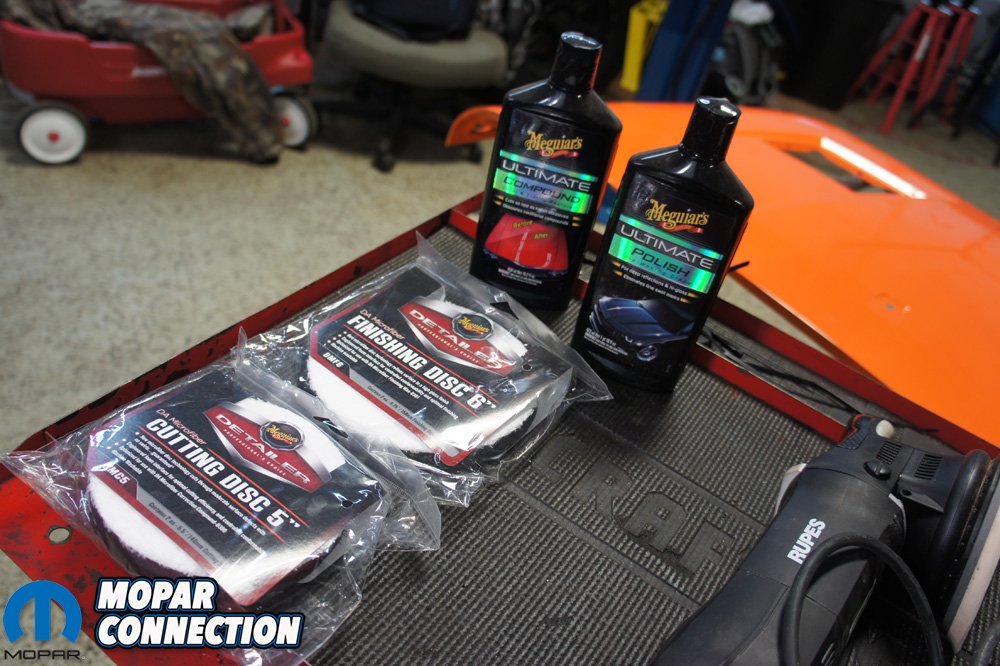
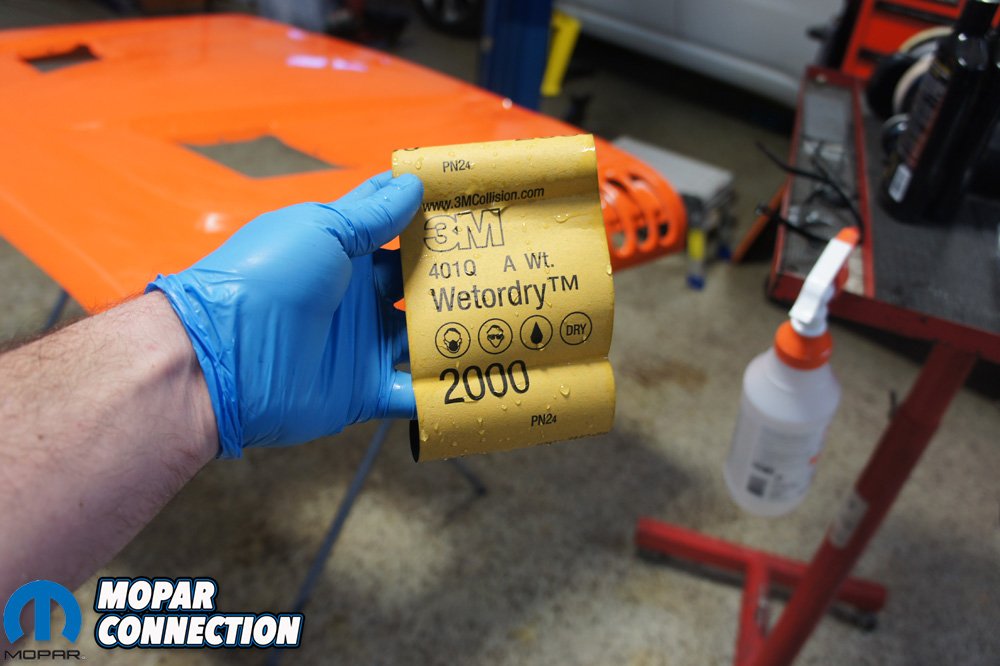
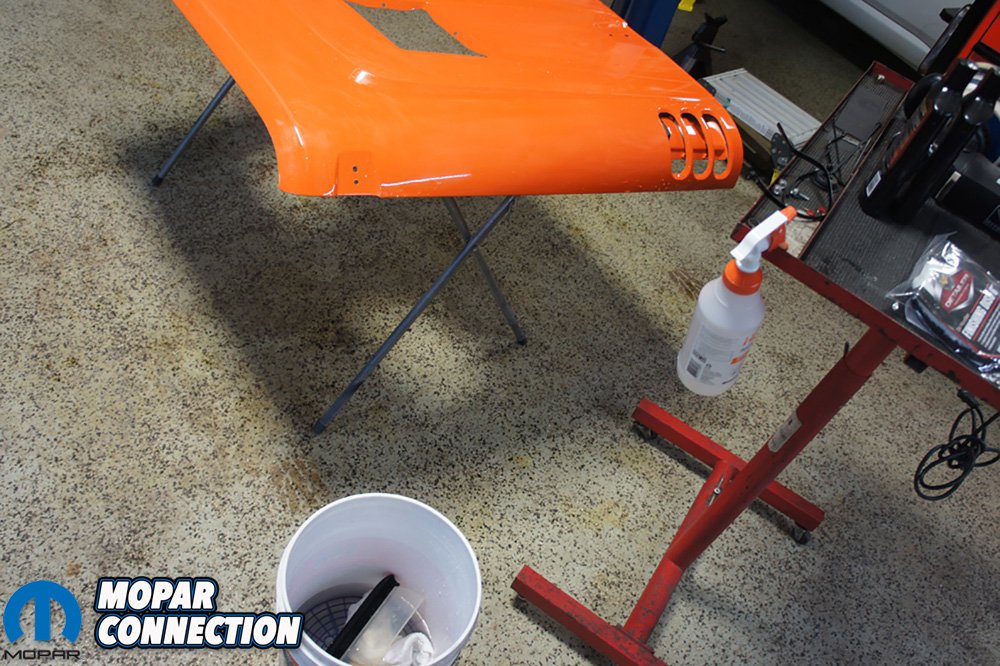
Above Left: We started with wet sanding the hood with 2000 grit 3m sandpaper. Above Center: You can see our spray bottle, bucket of water and squeegee that we were using while wet sanding. Above Right: Meguiar’s was there to help the job go quick and easy. Meguiar’s micro fiber pads, Ultimate Compound and Ultimate Polish would make for a nice 2 step process to take out the orange peel from the paint job.
Searching through the catalog of hoods, we had a tough decision to make. Any of the vented hoods Extreme Terrain offers would have all looked killer on Project TNT. We ended up narrowing it down to the Rugged Ridge Performance Vented hood.
This hood had a great look as well as four vents found toward the front and rear sides of the hood. It would allow plenty of air to pass through and heat to escape at lower speeds. The hood did come unpainted and needed to have it painted to match.
When we got the hood back it did not match. Once again when you panel paint individual parts on any vehicle it can be very tricky to get them to match the factory paint. We knew it was not going to be perfect but just seemed a lot more off than we expected. We did not want to paint it over again.


Above Left: It is nice to have a tray to throw everything on while buffing. Biggest issue is not letting anything hit the ground or dirty surface and if it does, set it aside and go get a new microfiber towel or new pad. Above Right: The Meguiar’s Ultimate Polish worked wonders and really made the Crush Orange paint shine.
Thinking back, maybe we should have left it black. The black color the hood comes in is a primer and would have been easy to scuff and spray it satin black. The issue is we really like the look of a color matched hood. After bolting the hood on and staring at it for a while, we decided we might have a couple tricks to make it look better.
First, we still needed to wet sand and buff the hood and sometimes this can alter the color some. It needed done either way to take out some of the orange peel that was in the paint. We turned to Meguiar’s for help selecting what we needed. They turned us on to their Ultimate Compound to get the scratches from wet sanding out and then their Ultimate Polish for a shine that the blind could see.
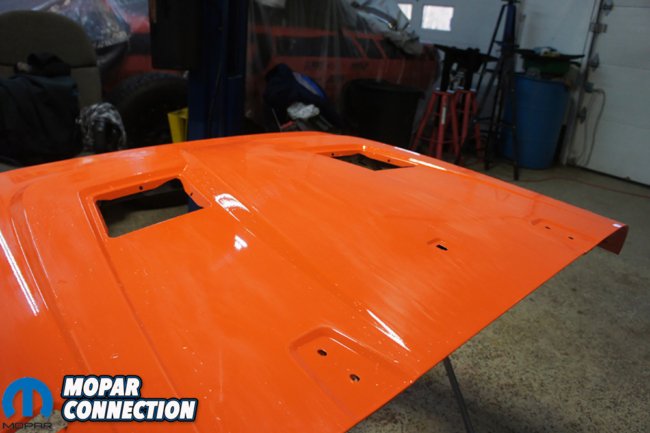

Above Left: You can see what our hood looks like during wet sanding. It is dull and full of small scratches from the 2000 grit sandpaper. Above Right: Wow, what a difference after the polish. The paint is looks deeper, no scratches and shines.
We busted out some 2000 grit wet sand paper, our random orbital buffer and got to work. Wet sanding is what takes the longest. We use a spray bottle of water to keep the surface plenty wet for the sand paper to glide over. When we finish an area we use a small squeegee to wick away the water and see how even our sanding is. We then repeat this process until the whole hood is complete. Note, we only do the top side of the hood, we do not care what the underside looks like.
Once the wet sanding was done, it was off to buffing. We started with Meguiar’s Microfiber Cutting disc and Ultimate Compound to remove the the wet sanding scratches. If you are not familiar with the process, when you paint a body panel the clear coat sometimes does not dry completely flat, which causes “orange peel”. We wet sanded it flatter but in the process left some minor 2000 grit scratches. Meguiar’s cutting disc and compound will actually cut or sand the clear even further down to the point where the naked eye cannot see any big scratches but the paint will look dull.
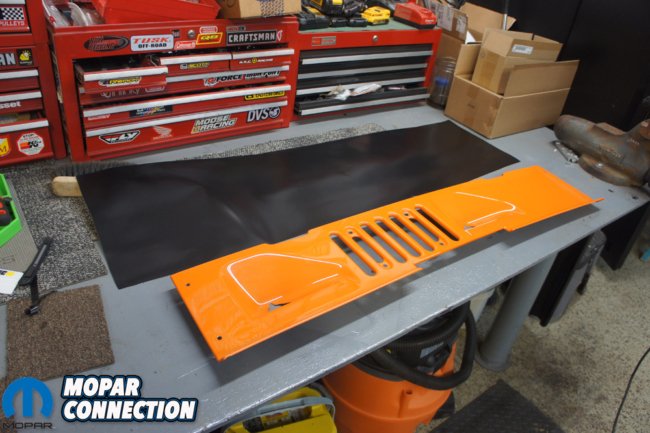

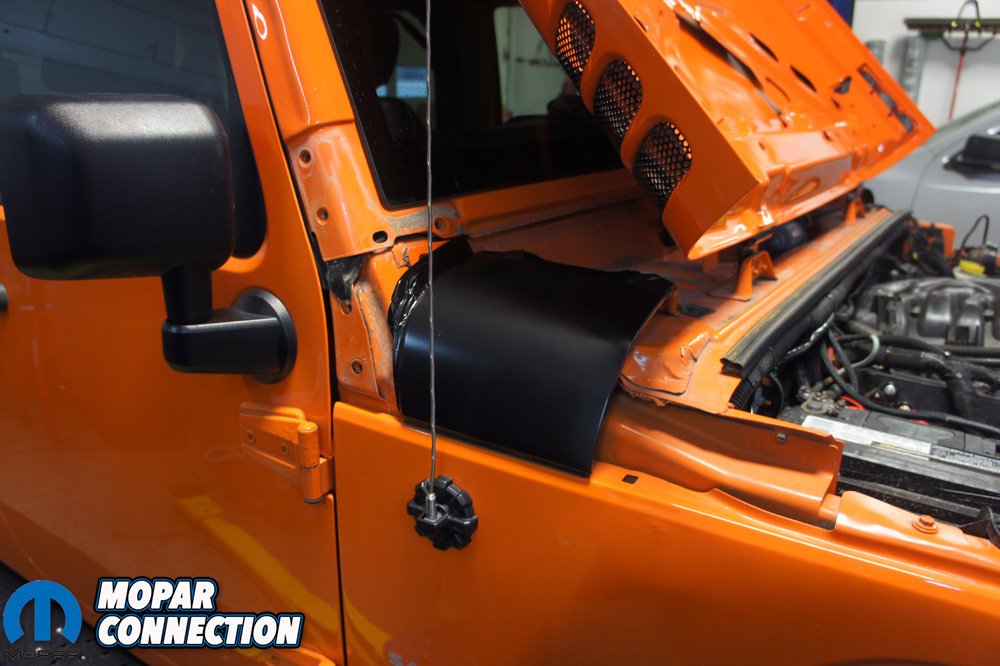
Above Left: We laid out our extra wrap to make sure we had enough. Then we got to watching a few tutorial videos. Above Center: The side cowl panels were fairly easy and did them separate. Above Right: It took us a lot longer than we though wrapping our little cowl panel, but turned out fairly well, just do not zoom in on the picture.
After we were done running the buffer over each section of the hood with the Meguiar’s Microfiber Cutting Disc and Ultimate Compound, it was time to polish the hood. We swapped out the pad on our buffer for Meguair’s Finishing Disc and grabbed the bottle of Ultimate Polish. The Ultimate Polish will actually fill in the microscopic marks and in return will make the hood shine. The combo of the polish and pad was super easy to use and wiped off super easy.
With the whole cut and buff process finished, it was time to put the hood back together and set it on the Jeep. Unfortunately the hood still did not match, but wow did it look good. It looked so good that now we will probably need to spend a day going over the rest of the Jeep. With the hood still mismatching the factory paint, it was on to plan B.
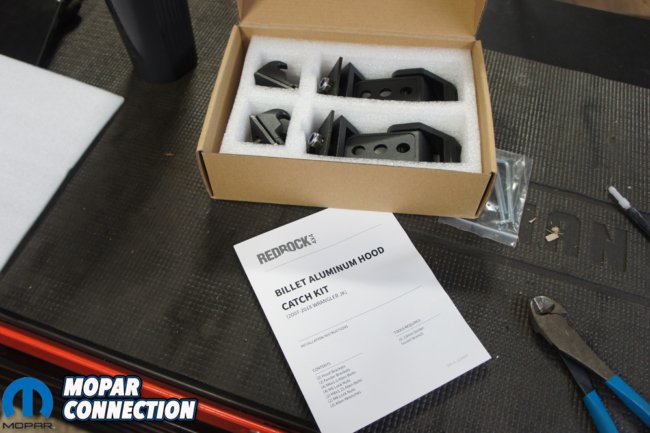


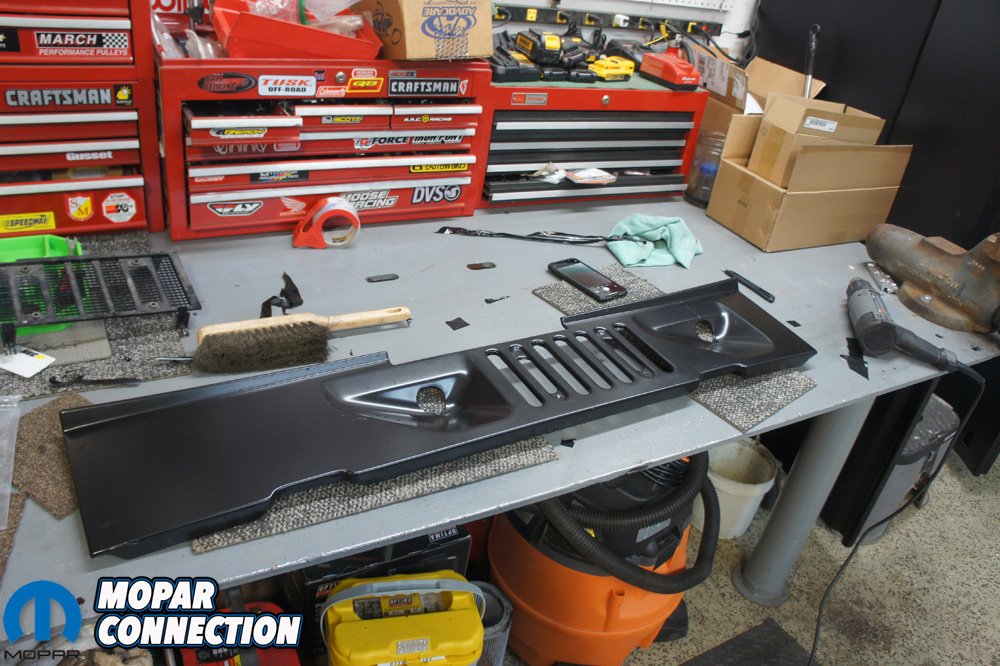
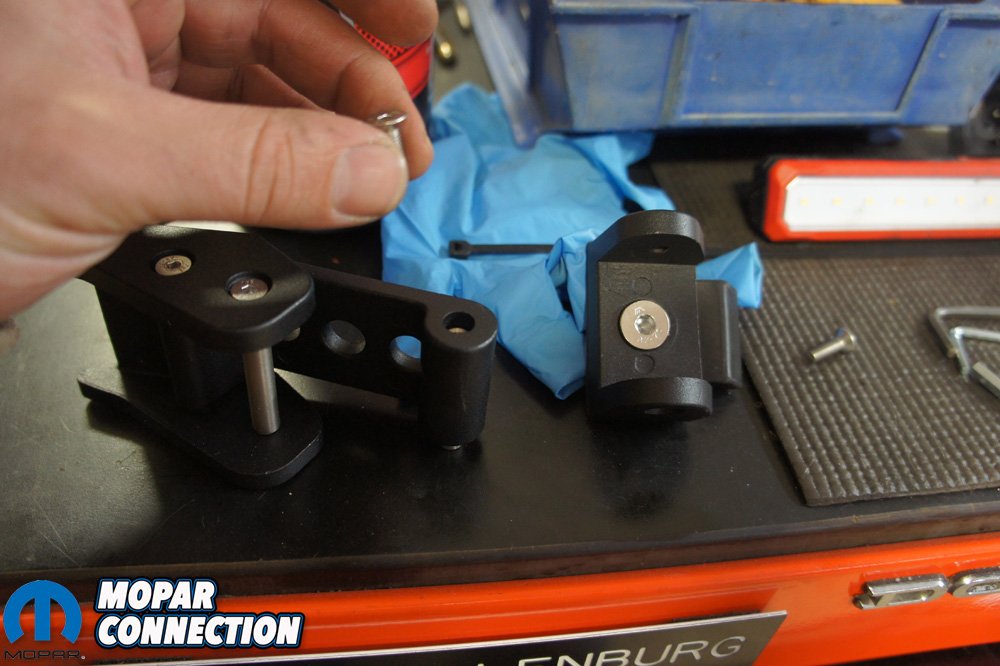
Above Left: Our RedRock 4×4 Billet Hood Latches were delivered and waiting to be installed. Above Center: The latches are very well built and powder coated for extreme protection. All of the hardware is stainless also. Above Right: The latches bolt right on in place of the factory latches.
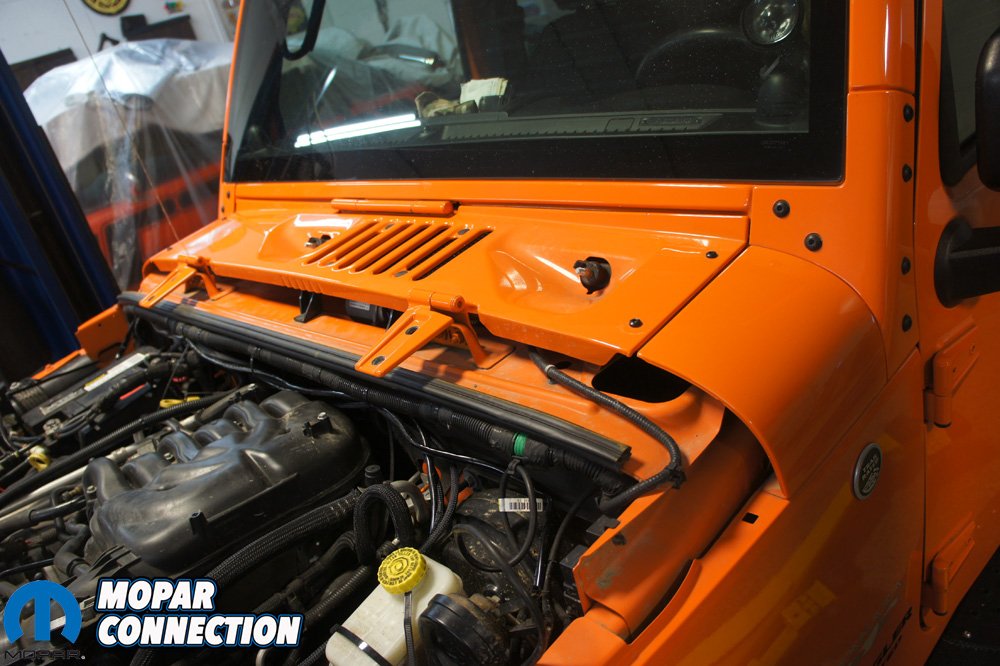
We will just cover it in mud and never wash it. Just kidding, we love seeing it muddy but only for a couple of days. We started to figure out how we could break up or distract you from the fact the hood was a different shade of orange. The side fenders are such a drastic angle difference from the edge of the hood to the fender was difficult to notice the color difference. On the other hand, the cowl was side by side and looked horrible. We had some left over satin black wrap material from Project Orange Crush and thought we would try our hand at wrapping the cowl to break up the orange. It would also give a layer of protection to the cowl and can easily be undone if we did not like the look.
After watching some YouTube videos we thought it would go fairly easy and we were wrong. It took us almost 4 hours to wrap the cowl and still feel we did a bad job. It was a learning experience and maybe later on we will try it again. From a distance you cannot see our imperfections on the wrap job so it would be fine for a while.


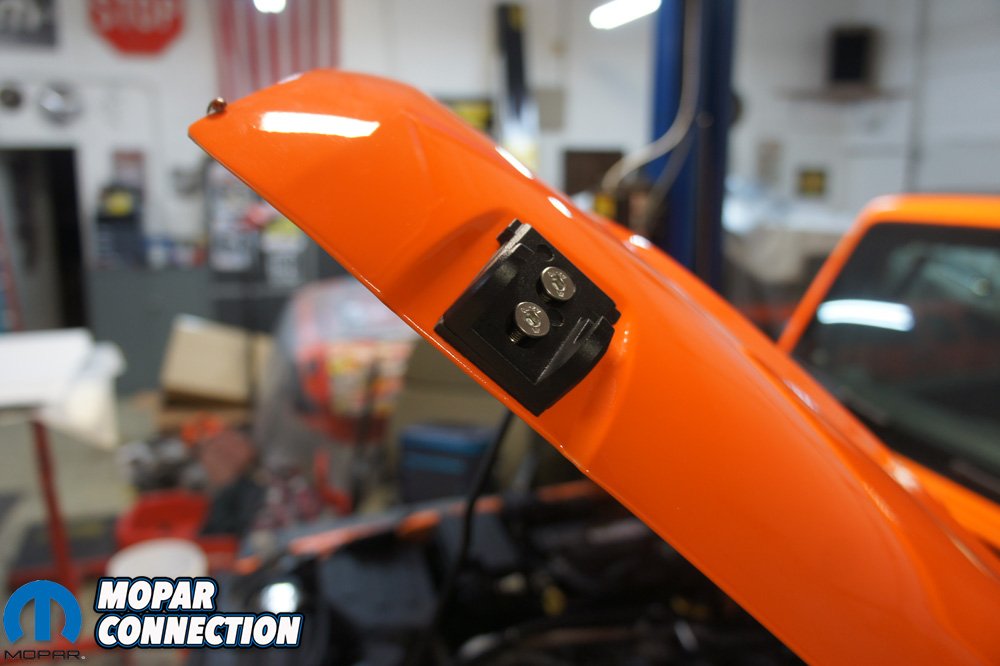
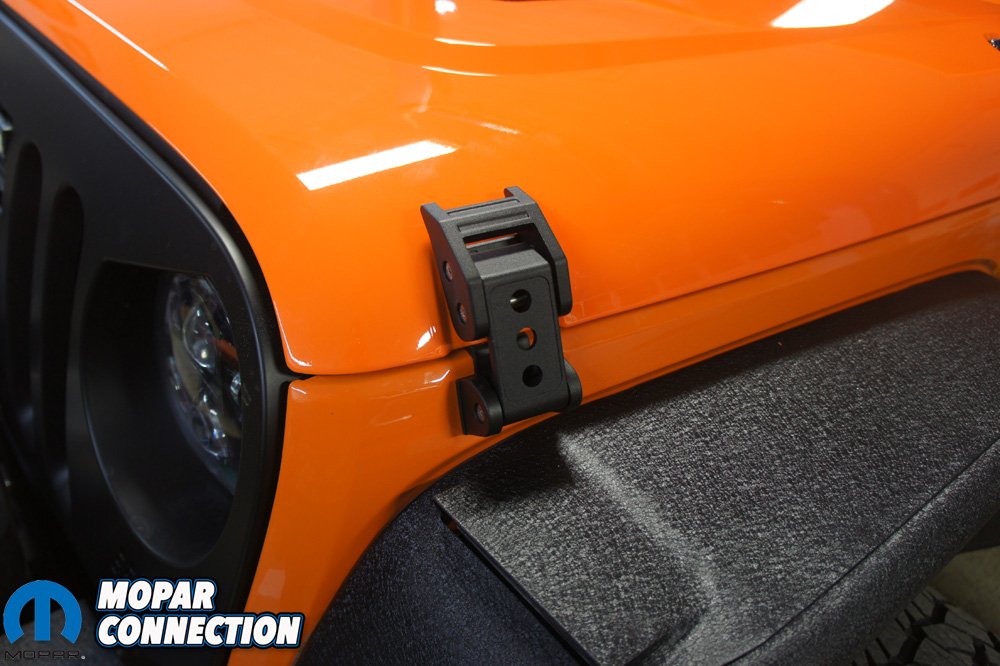
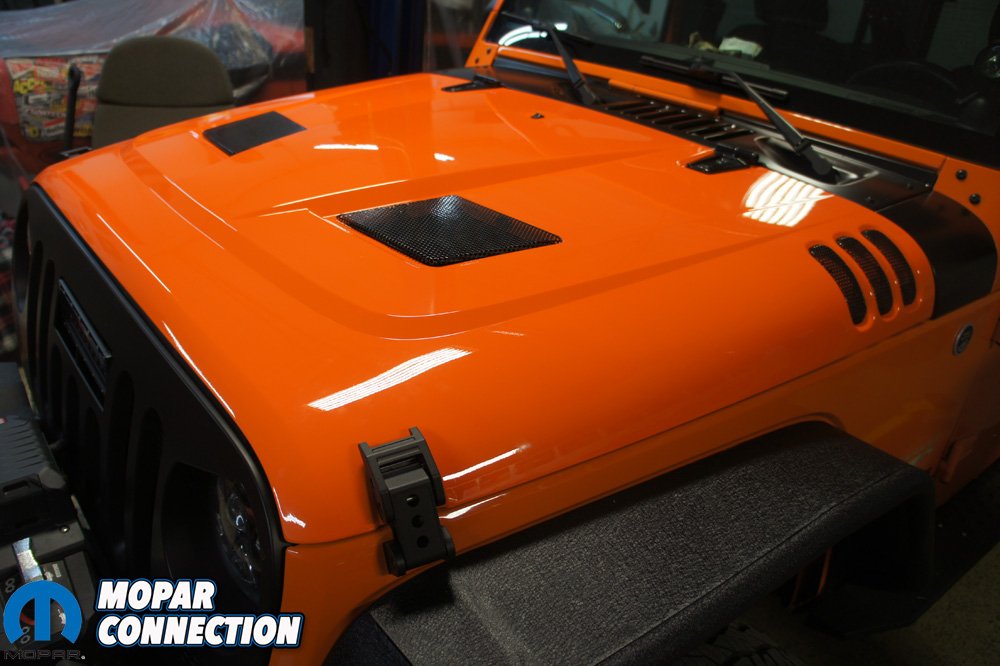
Above Left: With the latches installed, the hood buffed and the cowl wrapped in black the hood installation was complete. We still notice some difference in color but all of our friends that have seen the Jeep have not. Above Right: We really dig the new RedRock 4×4 Billet Hood Latches. They lock the hood down with authority and we know it is not going anywhere.
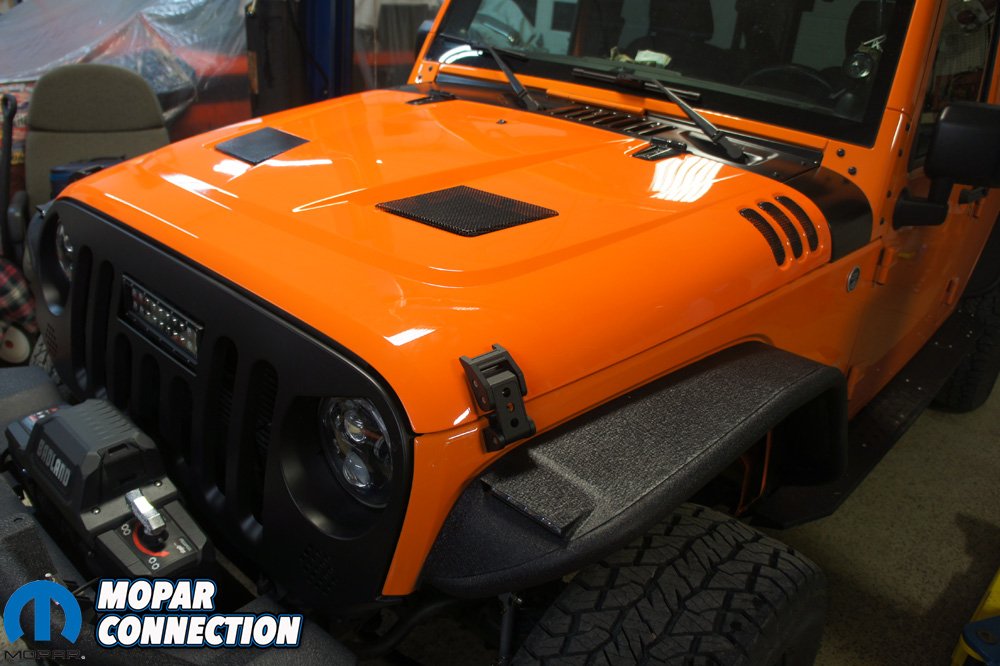
We also threw on some black hood hinges we had laying around. The new look surpassed our expectations. We had our doubts but we really like the unique look of the Rugged Ridge hood and black cowl. The black hood vents tied in great with the cowl and Deegan 38 grill. In the sunlight the black broke up the orange enough you could hardly tell the paint does not match.
With the hood situated and the the cowl wrapped in black, we had one other issue to fix. Hood flutter is a common issue among JK/JKU owners. The factory rubber hood latches are not the best at holding the hood down. The rubber design allows the hood to lift a little bit at some highway speeds. When this occurs it shakes the Jeep and can be frightening.

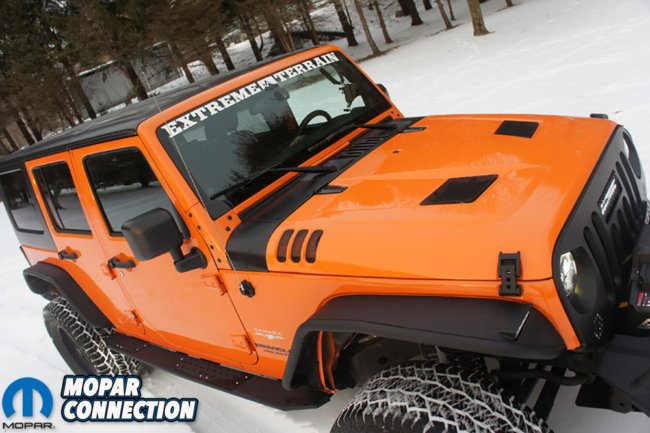
Above left: A nice close up of the RedRock 4×4 latches. Above Right: In the sunlight the hood looks like it matches perfectly. The hood really gives Project TNT an aggressive look with functionality.
Scrolling further through Extreme Terrain’s website we came across a few different aftermarket hood latches. A lot of them were metal or aluminum and would hold the hood shut with no way for it to flutter. Scrolling through the different designs, the RedRock 4×4’s Billet Hood Catch kit caught our eye.
Aesthetically we liked the RedRock 4×4 design. The wide billet strap with the holes looked beefy and felt it suited Project Trail ‘n Thrash the best. Their aluminum construction and satin black powder coating would withstand any weather we encounter. The satin black color would also tie in nicely with the rest of the Jeep.

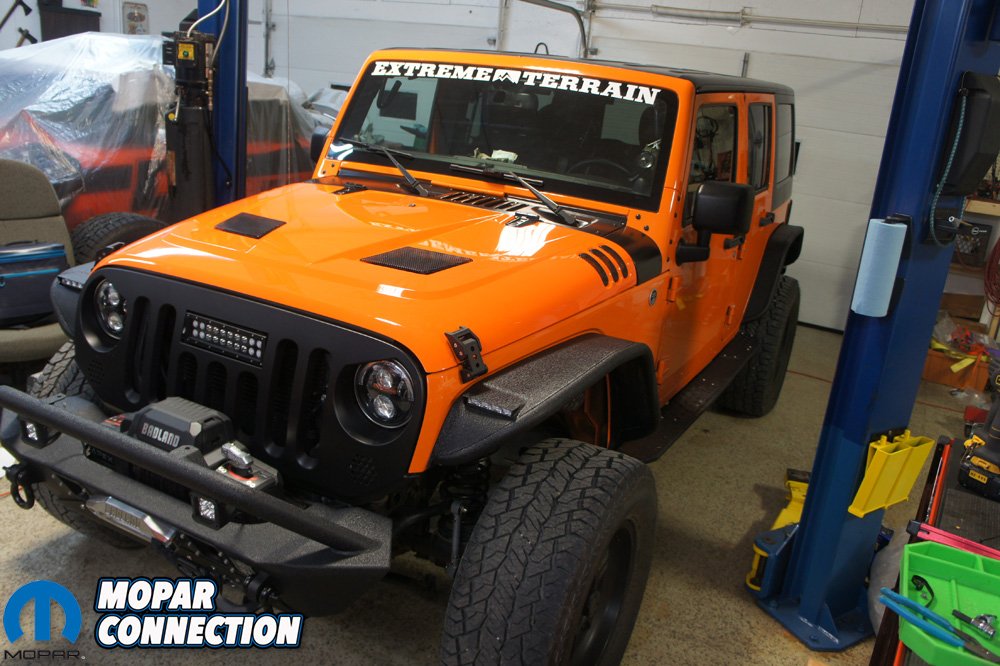
Above: Project Trail ‘n Thrash now sits awaiting for it’s next upgrade or trail ride. It is a tough call what comes first because we can not leave it alone.
Not only does the Project Trail ‘n Thrash look better but, the Rugged Ridge hood and RedRock 4×4 latches provides better function. With a little ingenuity and support from Extreme Terrain, we were able to save ourselves another repaint and cured multiple issues with a couple simple parts. Now we need to test out our new hood and see how it does off road.


