


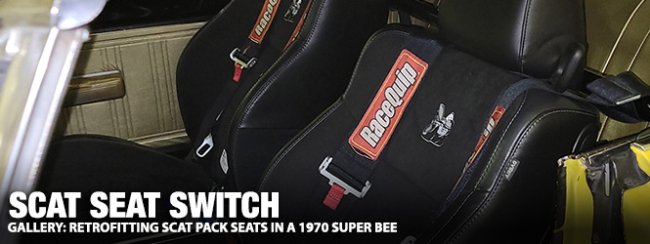
Factory seats in Mopar’s back in the day came with low back buckets or bench seat. In 1968, head rest became an option and in 1969 the head rests were federally mandated onto the back of the seats. In 1970 the bucket seats were made into a tall back style seat.
All of these seats are fairly comfortable and they look good in the Mopar muscle cars. The question is, what if you want something that’s a little more comfortable on longer drives or something more supportive for the hard corning on the racetrack?
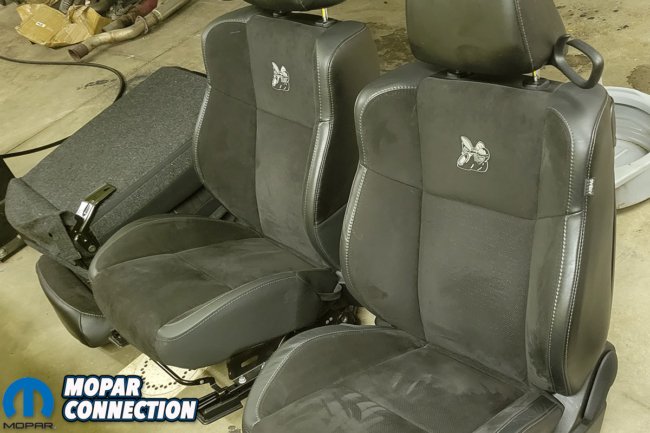
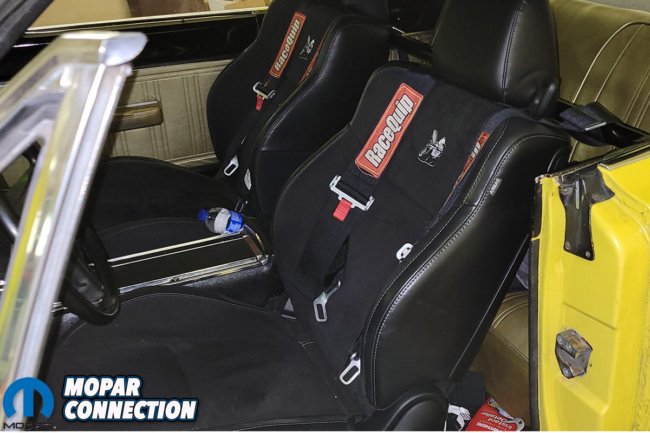
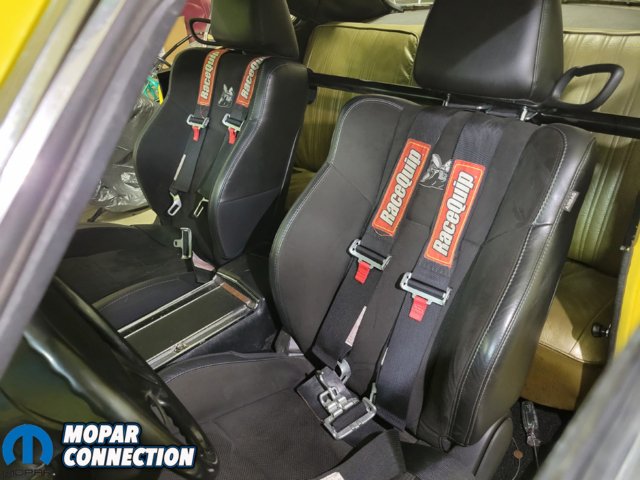
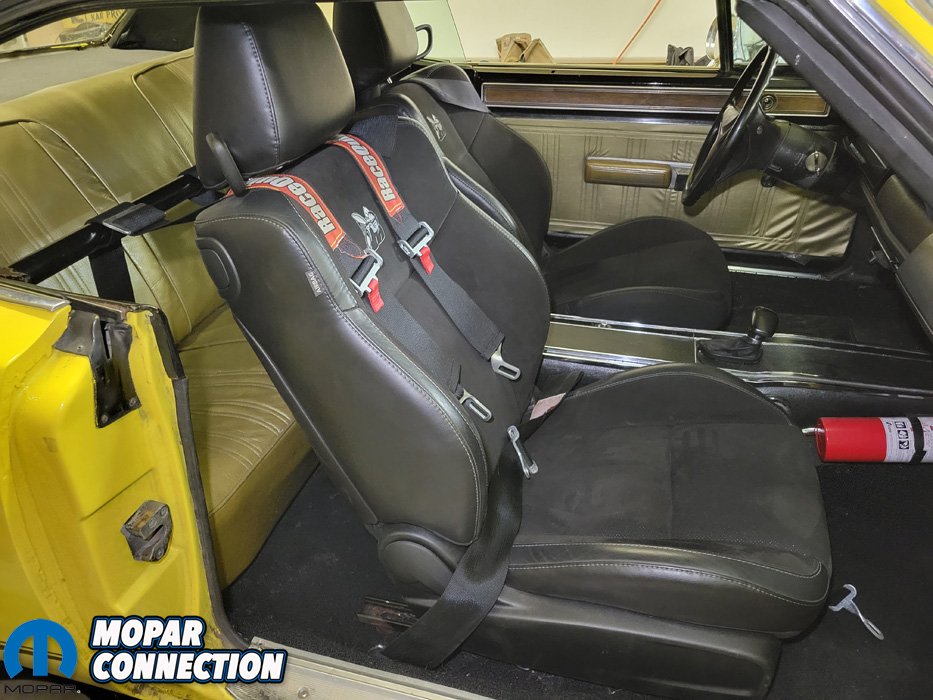
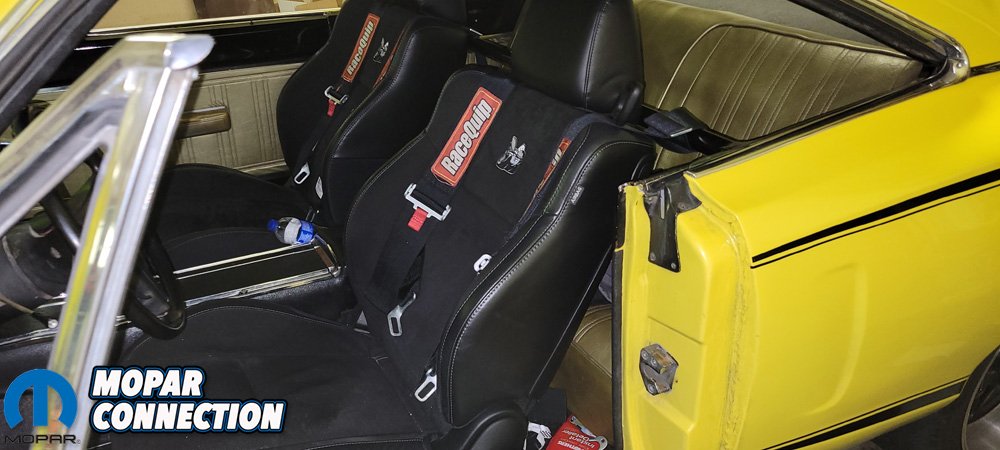
Above: Our junk yard Scat Pack seat score.
Luckily there are a lot of options when it comes to seats depending on you exact needs. The aftermarket offers high back, low back, fixed back, lightweight aluminum seats, and seats that have adjustability. Brands like Procar, Racequip, Recaro, Simpson, and Summit make great quality seats with prices ranging from $58 to thousands of dollars available and can be purchased at Summit Racing.com.
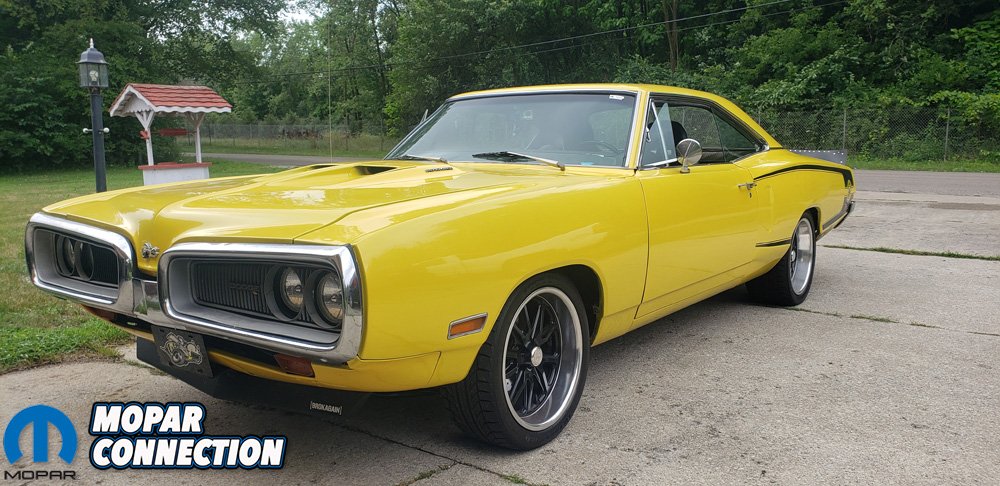
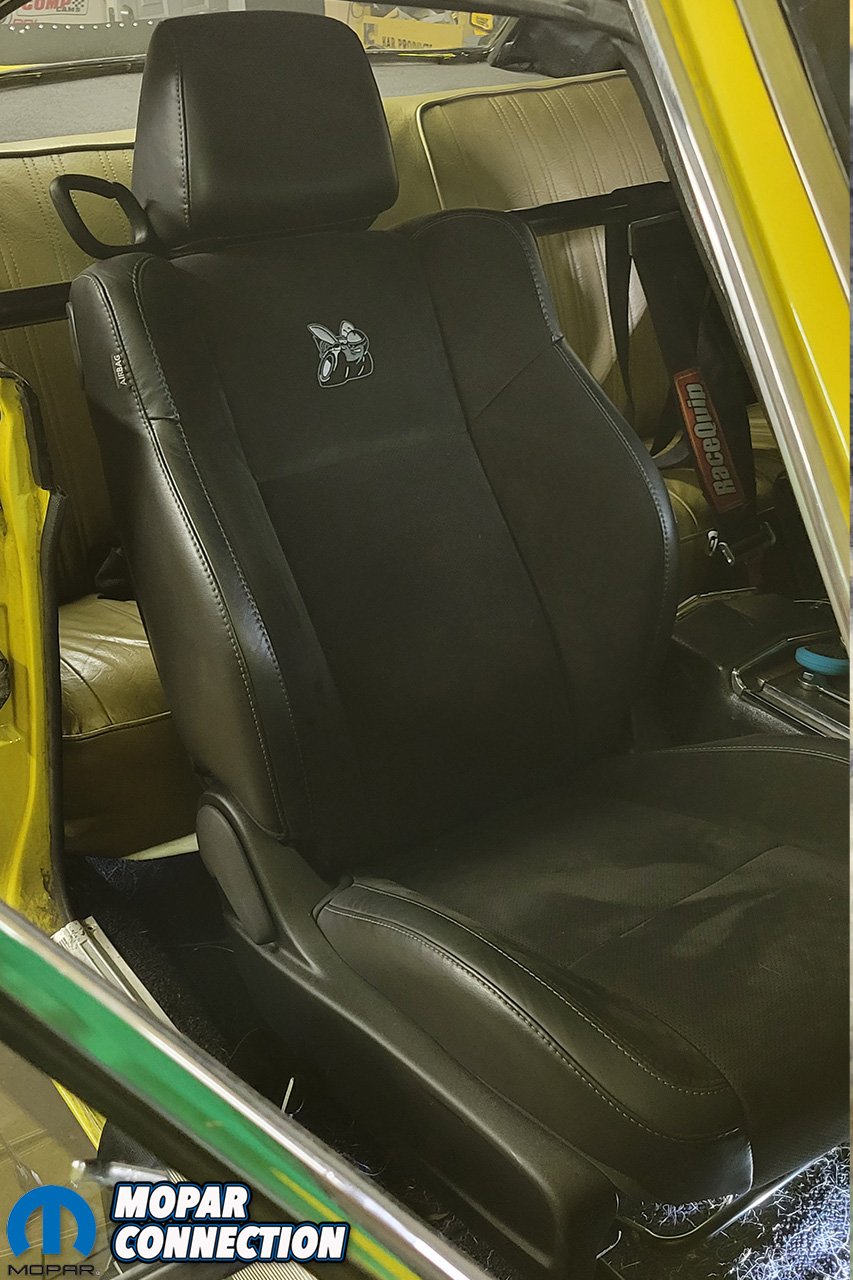
However, we found 2018 Dodge Challenger Scat Pack seats from a wrecked car for $700. These seats are incredibly comfortable with a lot of adjustment. They would add a cool factor because they have the Scat Pack logo. Our 1970 Dodge Super Bee has a transplanted 392 HEMI from a Scat Pack and the seats make a good match.

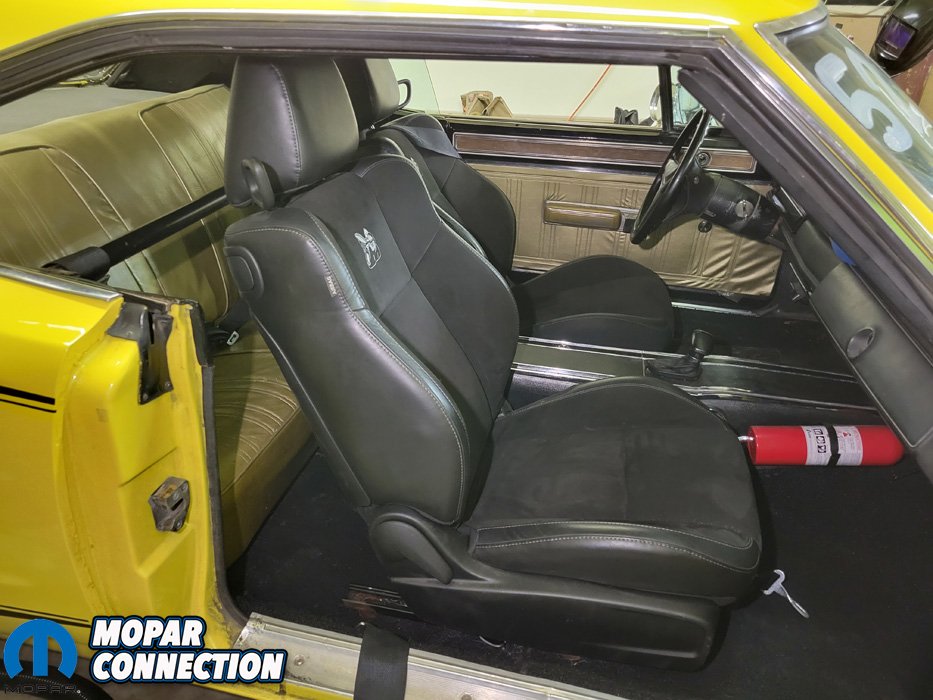
Above Left: Our Procar seats fit the bill for a while but the vinyl was slippery and wanted more comfort. Above Right: We needed to cut of the alignment pins before we test fitted the seats.
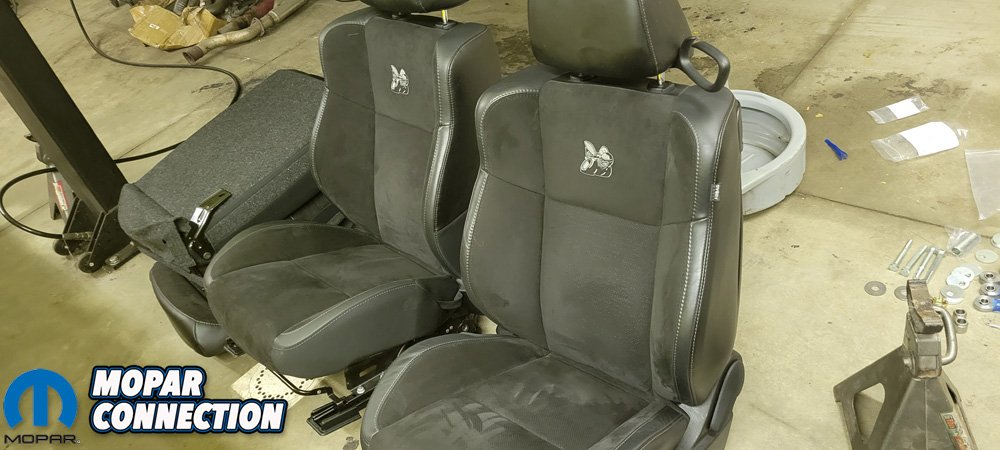
The seats are similar between Scat Pack, Daytona, Hellcat and other SRT8 models. The different models might have different logos, patterns, colors and options but overall they are the same base seat. We are going to show you just how easy it is to install these seats into our 1970 B-Body Mopar.
These seats have heating and cooling options which we have not quite figured out exactly how to make work. It’s supposed to have a module controlling them with a pulse width and we assume there has to be a way around it. We will continue to work on the heating and cooling functions, not having them working does not affect the seats.


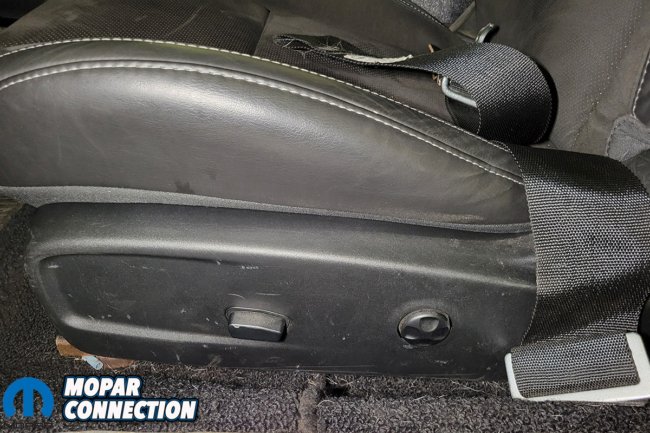
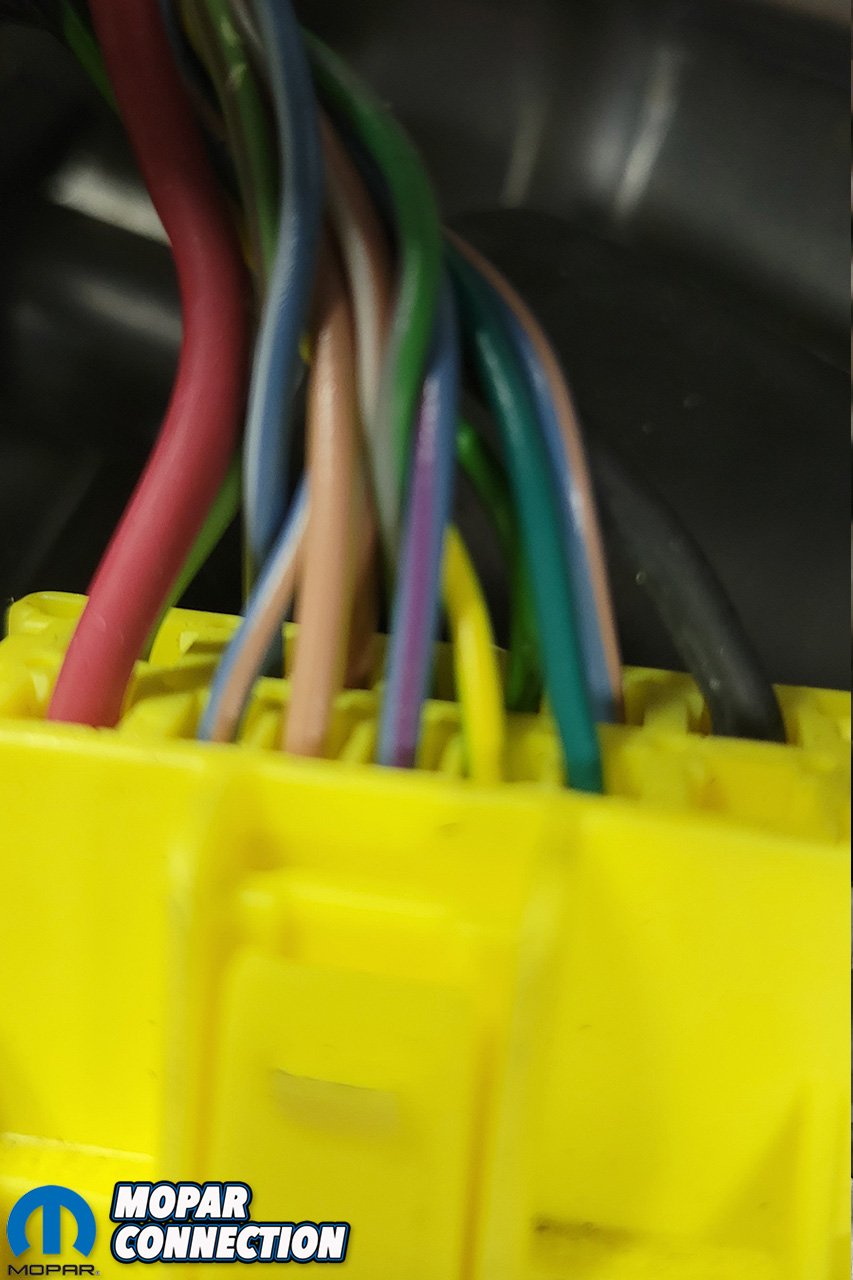
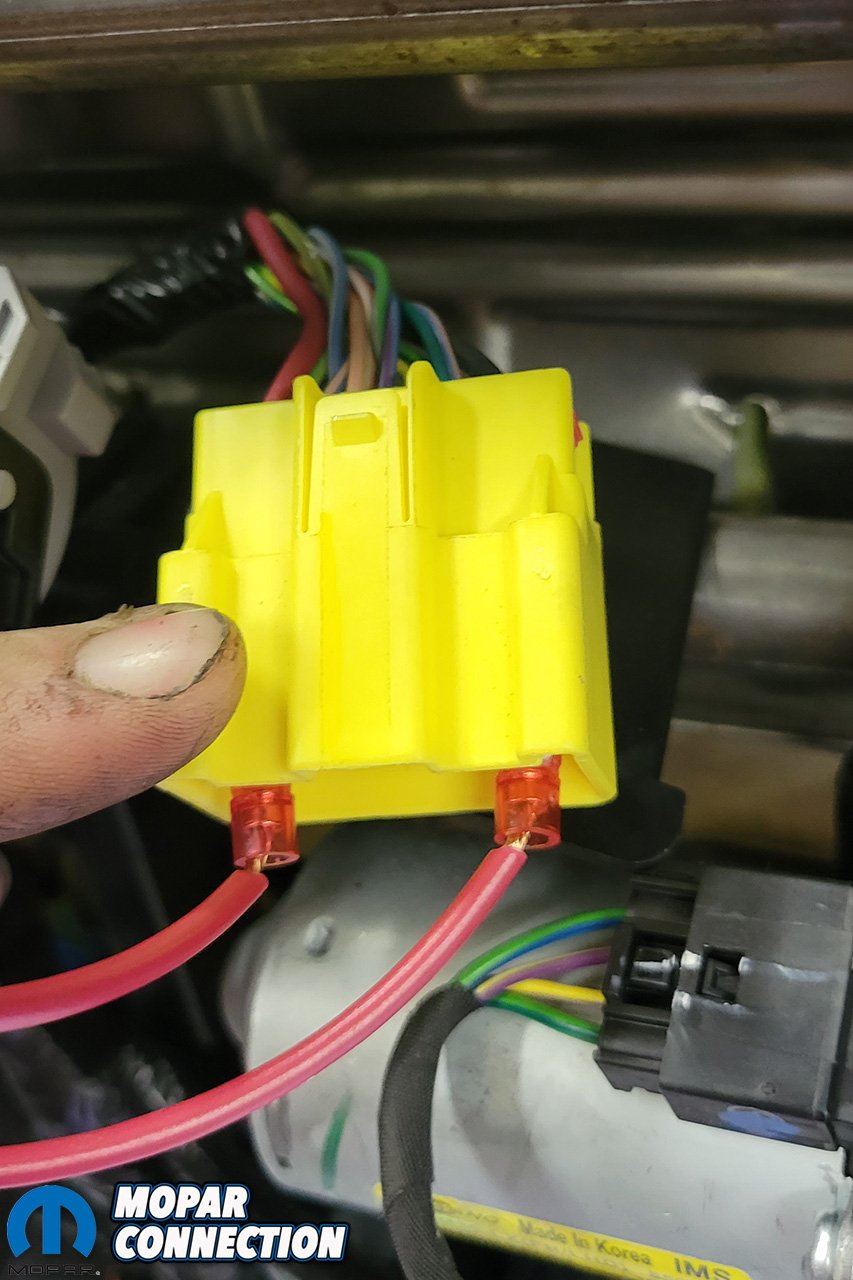
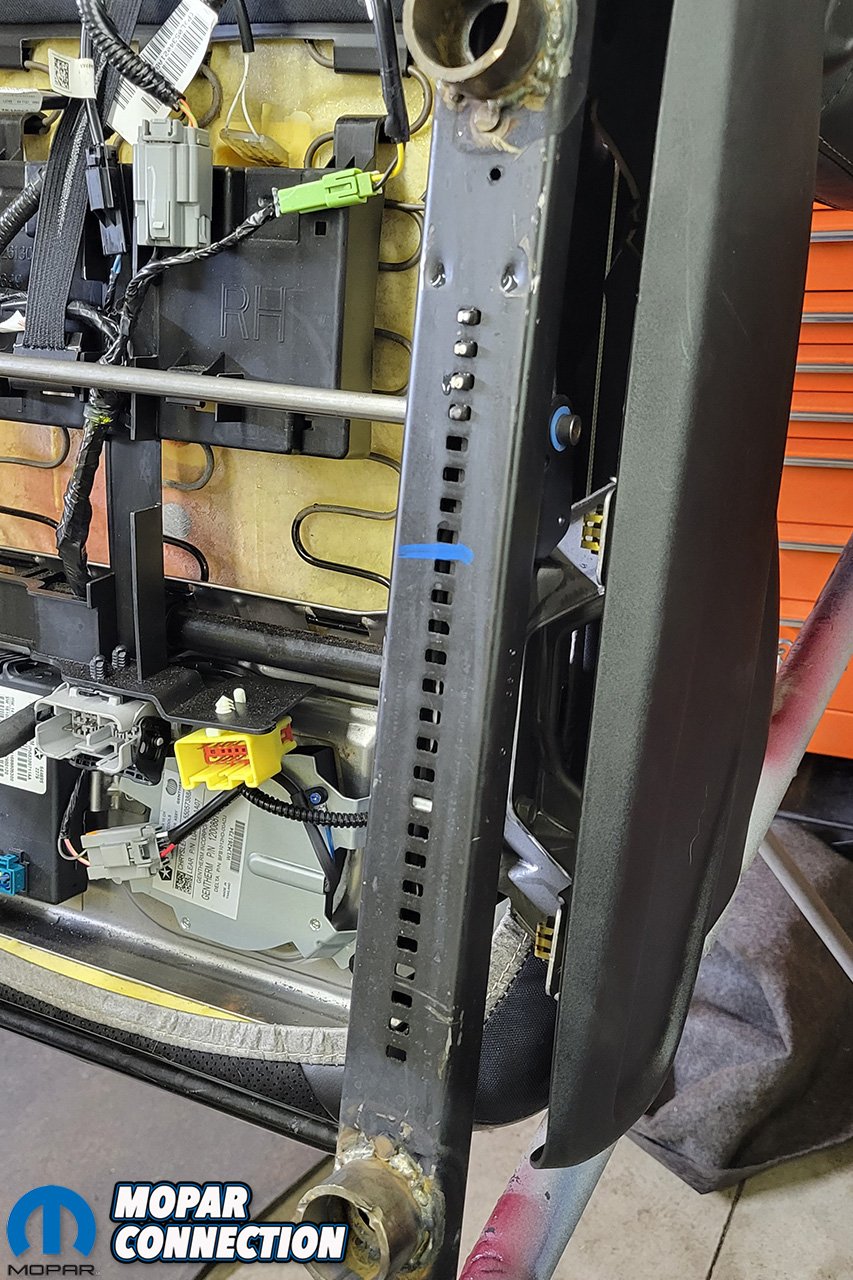
Above Left: There is a lot of wires in the main plug but all we needed to power and ground was the red and black wires. This would allow us to move the seat forward and back on the tracks. Above Right: We used some jumper wires to a battery to move the seat and will run fused wires at a later date.
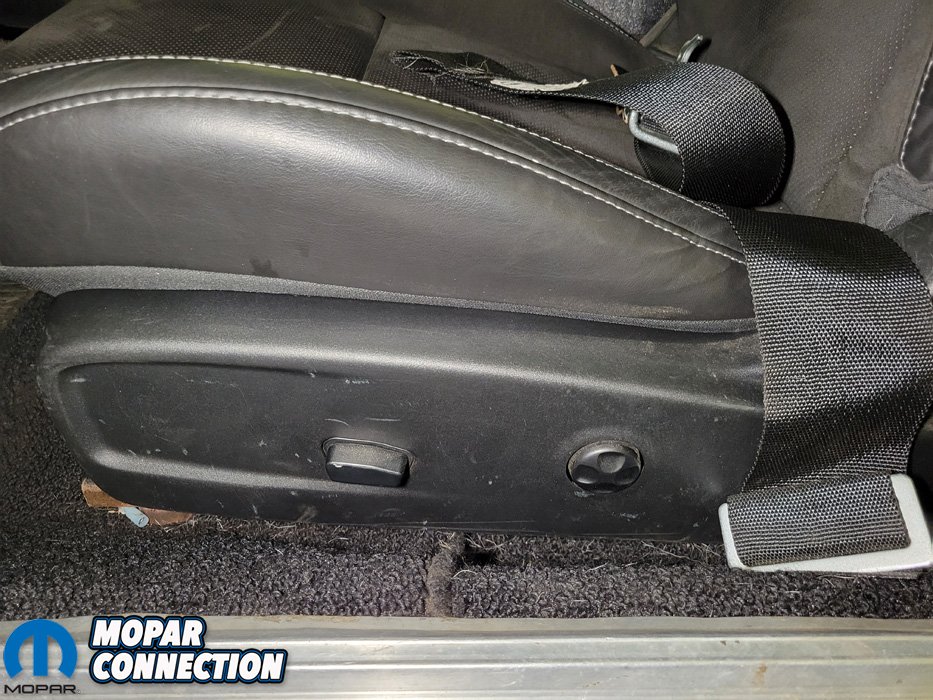
The installation of these seats was fairly straightforward. Due to the thickness of the cushion, airbags and other electrical items that were in the seats originally, they are little larger and takes away some rear legroom. We do not have many passengers in the back seat so this was not a concern of ours.
Good news is the seats have a lot of adjustment so you could just slide the seat forward if we have a rear passenger. Since they are out of a Challenger, they do have the quick fold levers that will easily allow seat to slide and fold forward for a passenger to get in back seat.

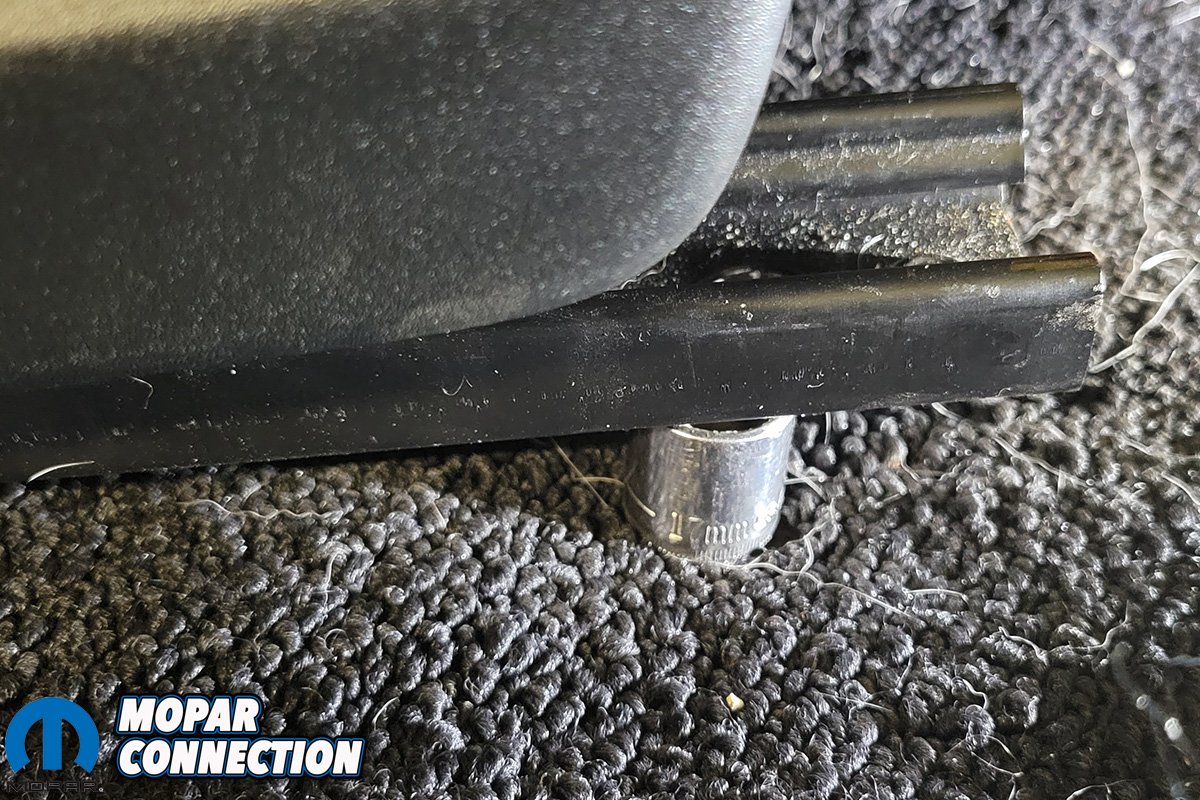
Above: We used what ever we could to shim the seat, but in the end a 12mm socket was about perfect.
We started by removing the current seats. We currently have Procar seats which have worked well, however we are wanting something better. We plan to take longer drives and want something with more adjustment and comfort.
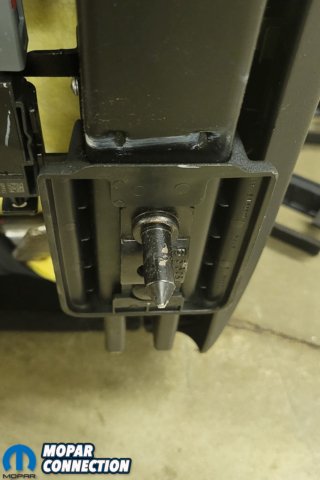
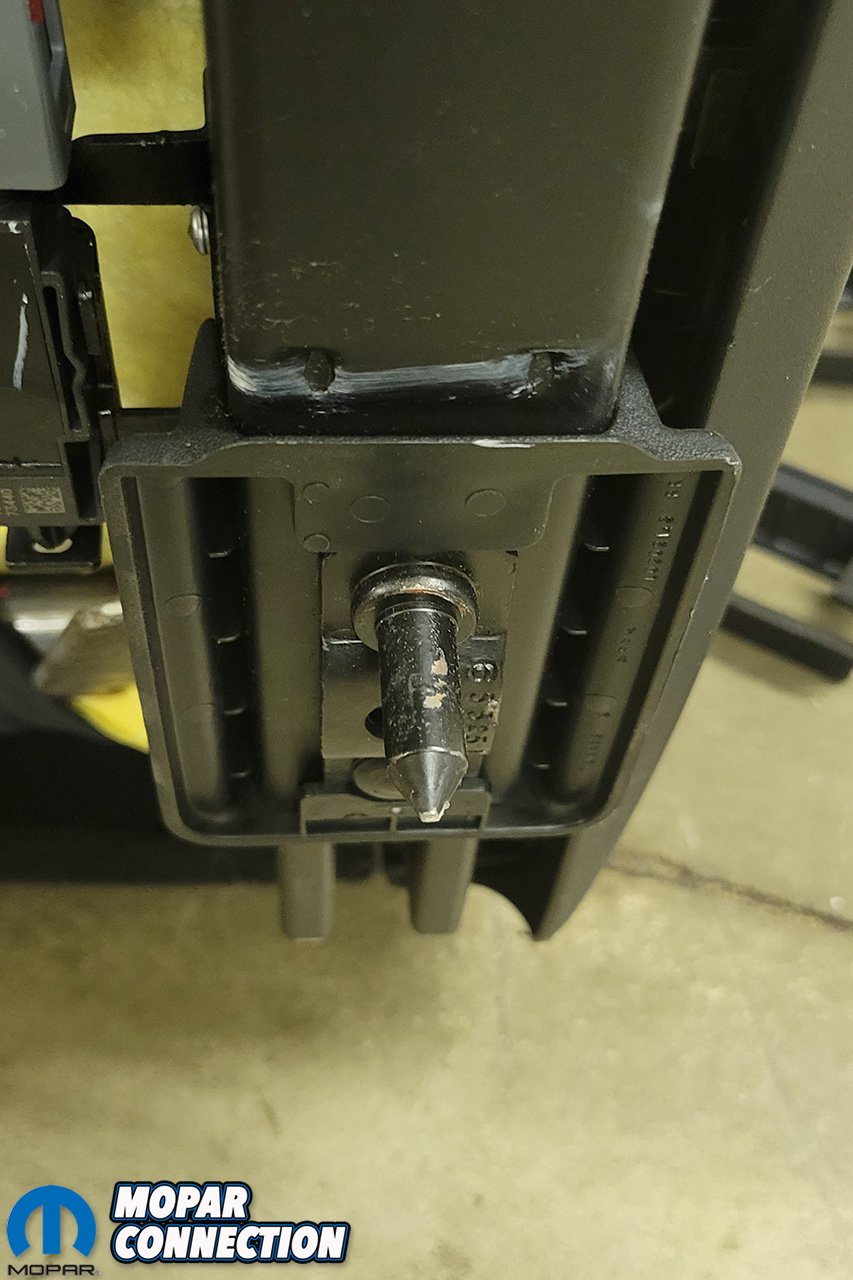
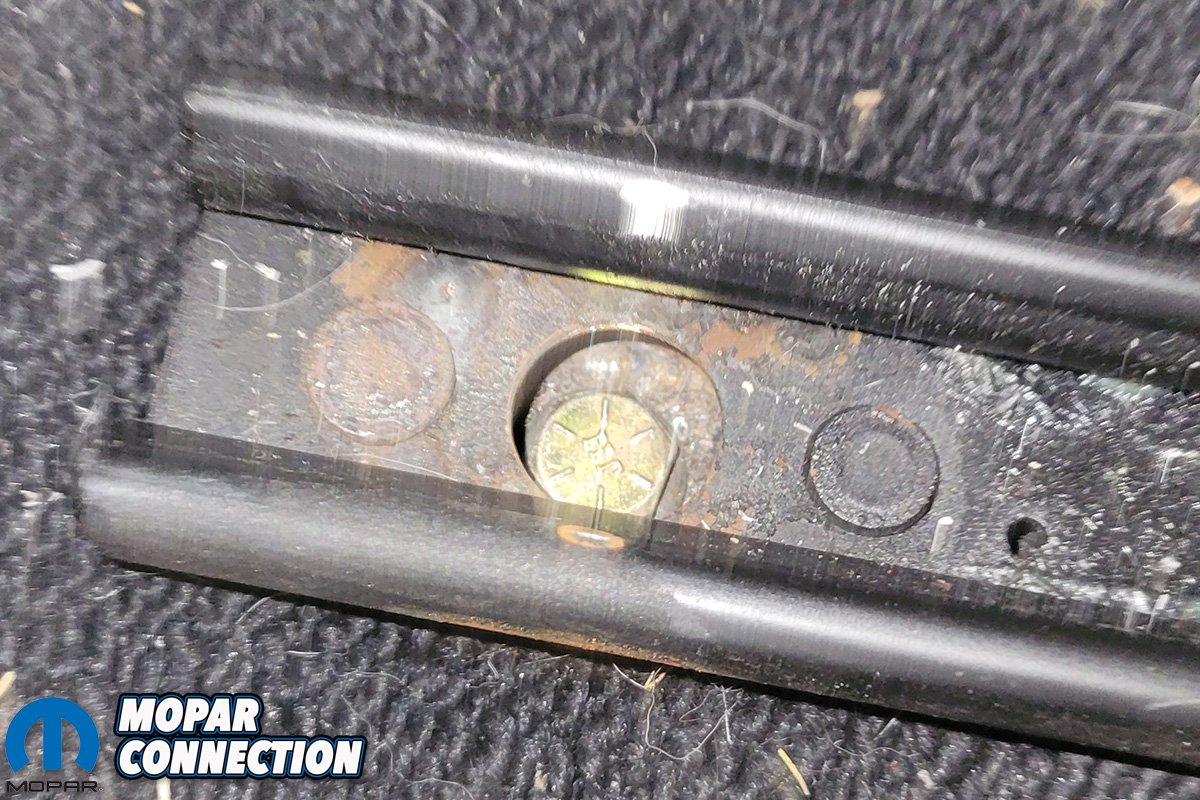
The removal is as simple as taking the four nuts off the bottom of the car that hold the seat to the floor, and the seats come right out. For test fitting our new seats, we had to cut off the factory guide pins on the bottom of the seat. These pins helped line up the seats in the production line but does not serve any other purpose.
Next, I took the Scat Pack seats and set them in the car just to see how they feel. Checking the height and position to see if we liked the look of them in the car. The driver seat is controlled electrically and the passenger seat is controlled mechanically, so we started with the driver seat install first.

Above: We cut our shims out of some old chromoly tubing.
We made sure that the seats were adjusted all the way down and as far back as possible to give us the most adjustability once it’s installed in the car. These seats had a yellow connector with an orange wire as power, and a black wire for ground. We did not have a power source in the car yet, so we just used a battery and jumper wire to operate the seat.
Getting the seat level is a must for comfort and performance. The hump in the floor was allowing only the right front side of the track to sit flush, causing the seat to lean to one side. We used shims and/or whatever we could find in the garage (12mm socket) to put underneath the other three locations on the track to try and get the seat to sit exactly where we wanted.
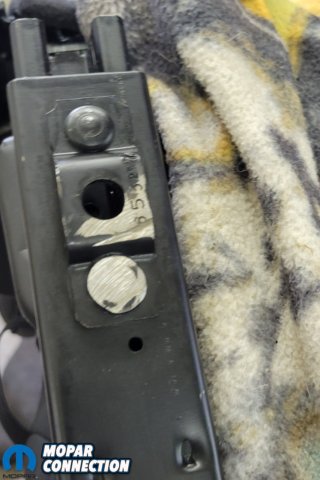


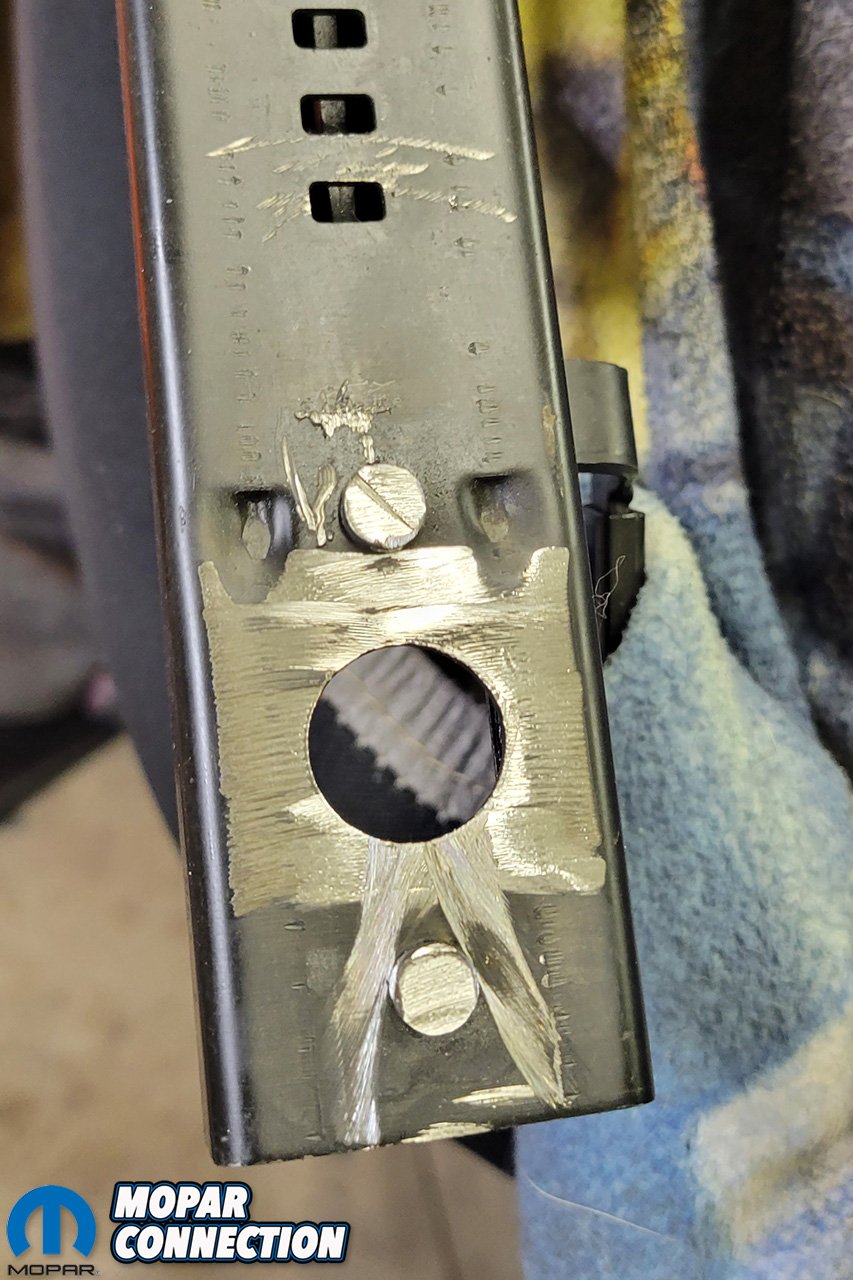
Above Left: We cut the alignment pins off the seat tracks but not the anchor points. Above Center: With the anchor points cut off, the seat track was flat and easier to weld on the spacers. Above Right: You can see how our spacers look welded on.
Once we were happy with how the seat was positioned in the car, we removed the seats and pulled up the carpet to ensure that insulation or anything else was possibly under the carpet affecting the seat position.We drilled three new holes for the seat to mount to. We were able to use one factory hole to help line up the seat.
Now that everything is clear and open, and we are not going to drill into any fuel lines, brake lines, or anything underneath the car, we installed the seats again to measure shims accurately. Once they were level it was time to remove the seats and place them on a clean workbench not to ruin any of the material.

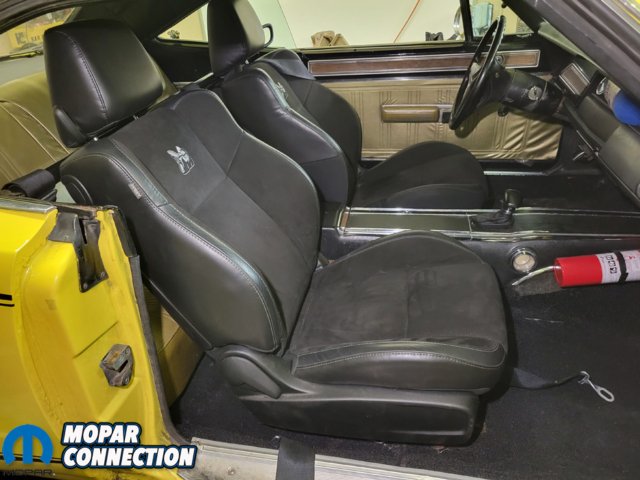
Above Left: With everything welded and floor drilled, all we had to do is bolt the seat down. Above Right: You can see the seat is right at home and now we have power functions.
Before cutting or welding, we placed welding covers over the seat to prevent any possible fires, slag, or sparks from damaging the seat. We cut off the original anchor points on the bottom of the seat. The reason we did this is because we want to weld on spacers to the seat track. Later we will weld the anchors back on.
We had some extra chromoly tubing laying around and would work great for a spacer. We measured out the thickness that we needed and cut each spacer. We then tack welded the spacers to the seat frame directly where the anchors used to be. Once again, we had reinstall the seat to test fit.
Above: We duplicated the process for the passenger seat and really like the outcome.
Everything fit perfect, so we brought the seat back to the work bench to fully weld the spacer on. Be sure when welding you do not overheat and warp the seat frame as this could cause issues with adjusting the seat. We stitch welded them on to prevent any warpage.
Once the spacers were welded on, we welded the anchors to the bottom of the spacers leaving a hole for the bolts to go through. We cut off the excess metal and cleaned up the welds to make it look nice. After the weld is clean and cooled off, we sprayed the bare metal with some paint to protect it from rust and give a clean look.

Above Left: You can see how far back the passenger seat goes for a taller passenger. Above Right: The seat also has a lot of adjustment forward if we need passenger room in the back seat.
We used a semi-gloss black to blend it in with the carpet and it matched the color of the original seat frame. After everything is dry and cooled down, we reinstalled the seat into the car one more time. Starting with the one factory mount hole, we took a sharpie to mark the other holes so we knew where to drill.
With the seats out of the car we drilled the holes. For safety we added some extra steel to the bottom side of the floor so that the bolts don’t just pull through the thin 1970s sheet metal. We also painted over the bare metal strip to prevent any kind of rusting. You will also want to find some way to plug the original seat holes in your floor to prevent any kind of water seeping into your car and getting your carpet wet.
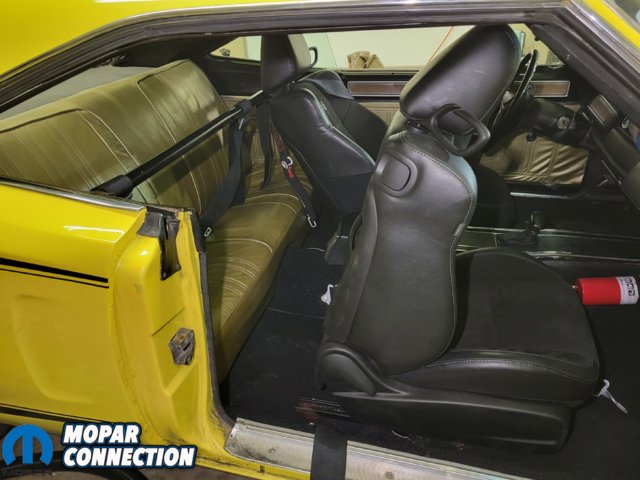
Above: Access to the back seat is easy with a flip of a switch, the seats quickly flip forward.
Placing the carpet back in the car, we took a pocket screwdriver to poke a hole through the carpet so we knew where the new holes were going to be. We cut a small hole into the carpet so the bolts could go through. We placed the seats into the car hopefully for the final time.
We started by installing the front two bolts and nuts then moving the seat forward to install the rear bolts. As a power source for the seat, you can run a fused wire to a hot source when key is on or just to the battery. We ran ours to a keyed power source to prevent any possible battery draws when sitting.

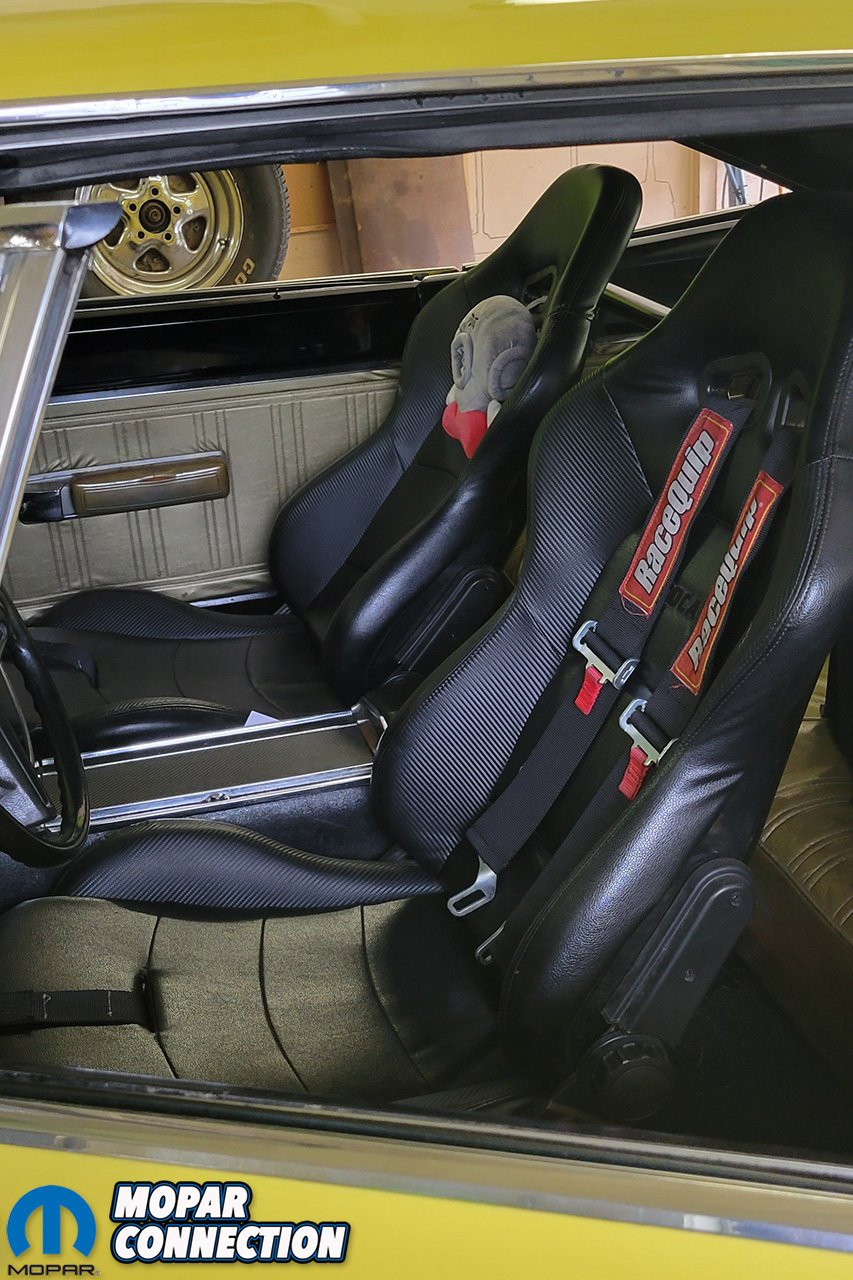
Above Left: We absolutely love our decision of upgrading seats. Above Right: So far our passengers love the upgrade too.
We duplicated the same process with the passenger seat, which was easier since it was a non-power seat. We have put about 1500 miles on the Bee since installing these seats and what a difference. My back feels great and it holds me tight during hard cornering. The material is breathable and eliminated sweaty back after a long ride.
The material seems durable since we did spill some pop on the seat, but it cleaned off very well. We are still working on getting the cooling and heating functions to work in the seats. Once we figure those out, these seats will be even more awesome. We will be sure to have a follow up article once we figure out those extra options.


