


Sprung weight, the portion of a car’s mass that rides on the suspension, is a huge factor in any vehicle’s overall performance because it affects everything from acceleration to traction to fuel efficiency. The less heft an engine has to haul around, the better off you, your suspension, and your drivetrain will be. Additionally, the more weight you can remove from the front end of a vehicle, the better your weight transfer to the rear wheels will be when that skinny pedal hits the floor.
A big block aluminum water pump and housing help on both accounts by removing sprung weight from the very front of a car. There’s pretty much nothing to dislike about the combination; it’s lighter, it’s prettier, and it transfers heat better than the old cast iron version. Plus, it’s so easy to install. Just drain the coolant, yank the radiator, pull the fan, and you’re there with almost instant performance gains in every direction.
When we went shopping for ours, we were basically looking for two things: quality manufacturing and cost effectiveness. What we settled on were a Mopar officially licensed super light-weight aluminum water pump housing (P/N 440-453) and matching aluminum water pump (P/N 440-452) for big block applications. The housing is nearly a spitting image of the factory cast iron piece with all of the factory hole locations in their proper place. Same goes for the pump. Also worth pointing out is that its internals are new and not remanufactured.

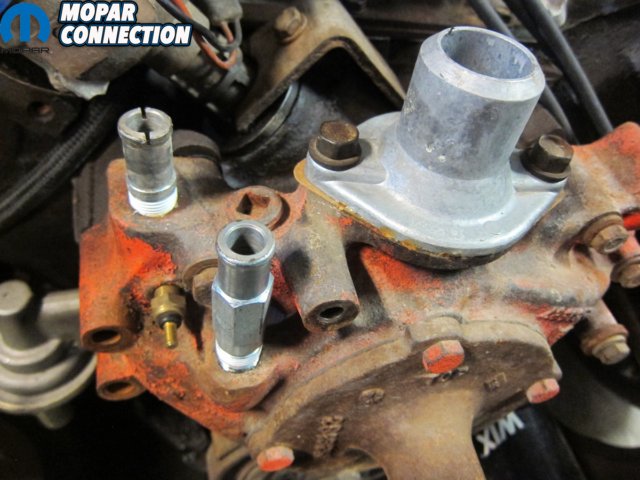
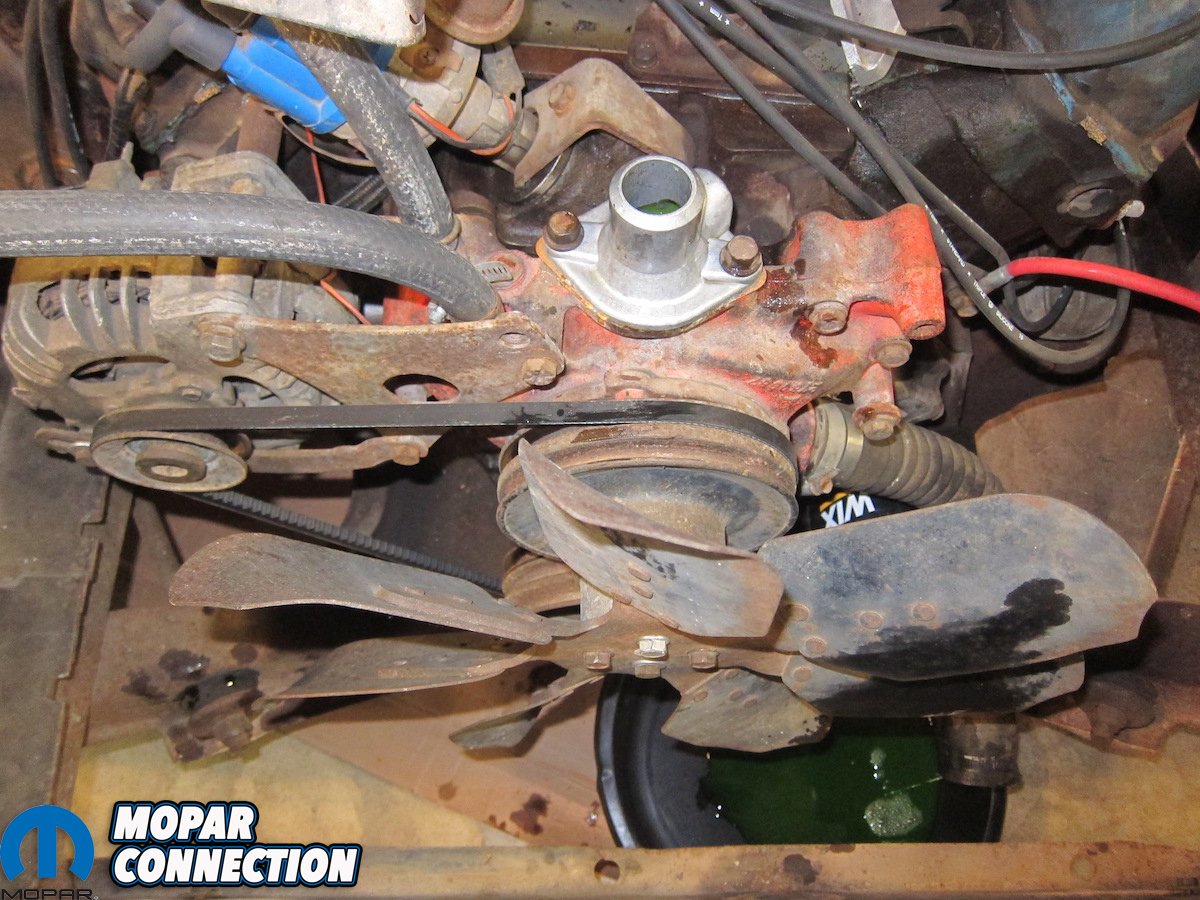
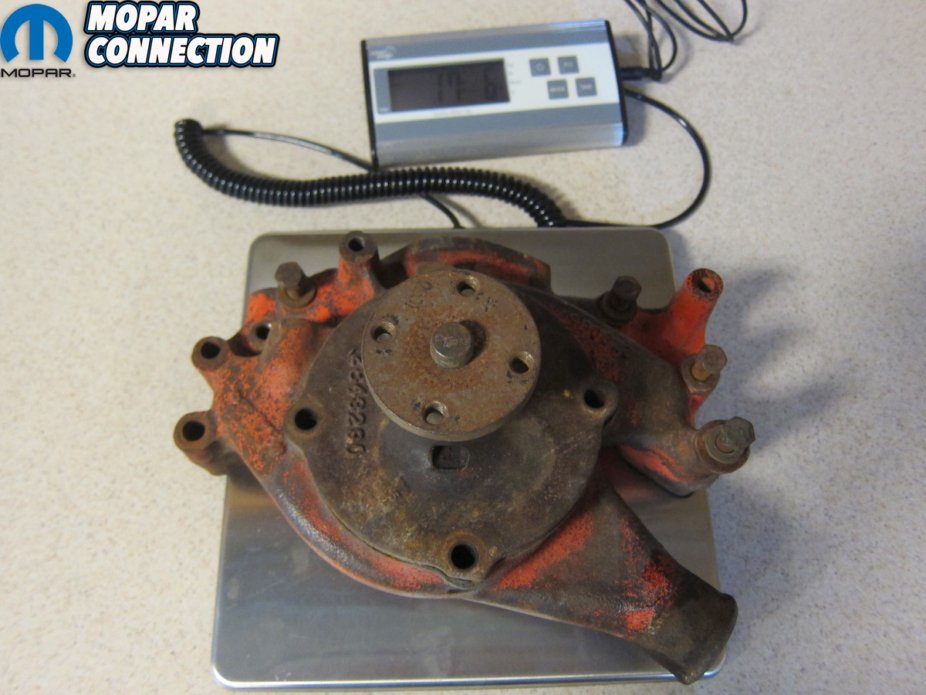
Above: The original water pump was rusty, heavy, and leaking. There was nothing to like about it.


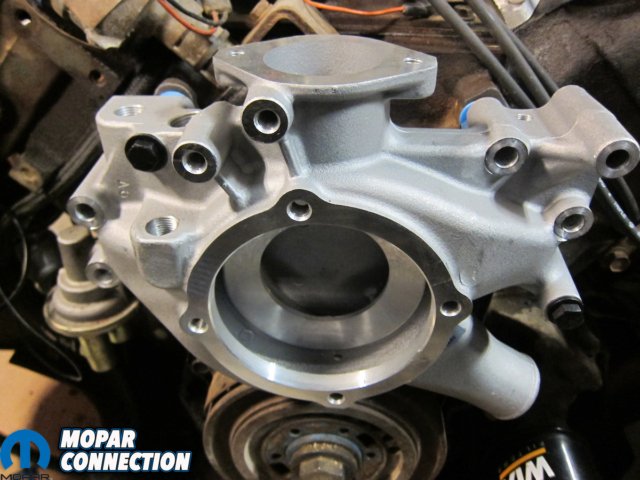
Above: A side-by-side comparison showed that the aluminum housing is truly bolt-on.
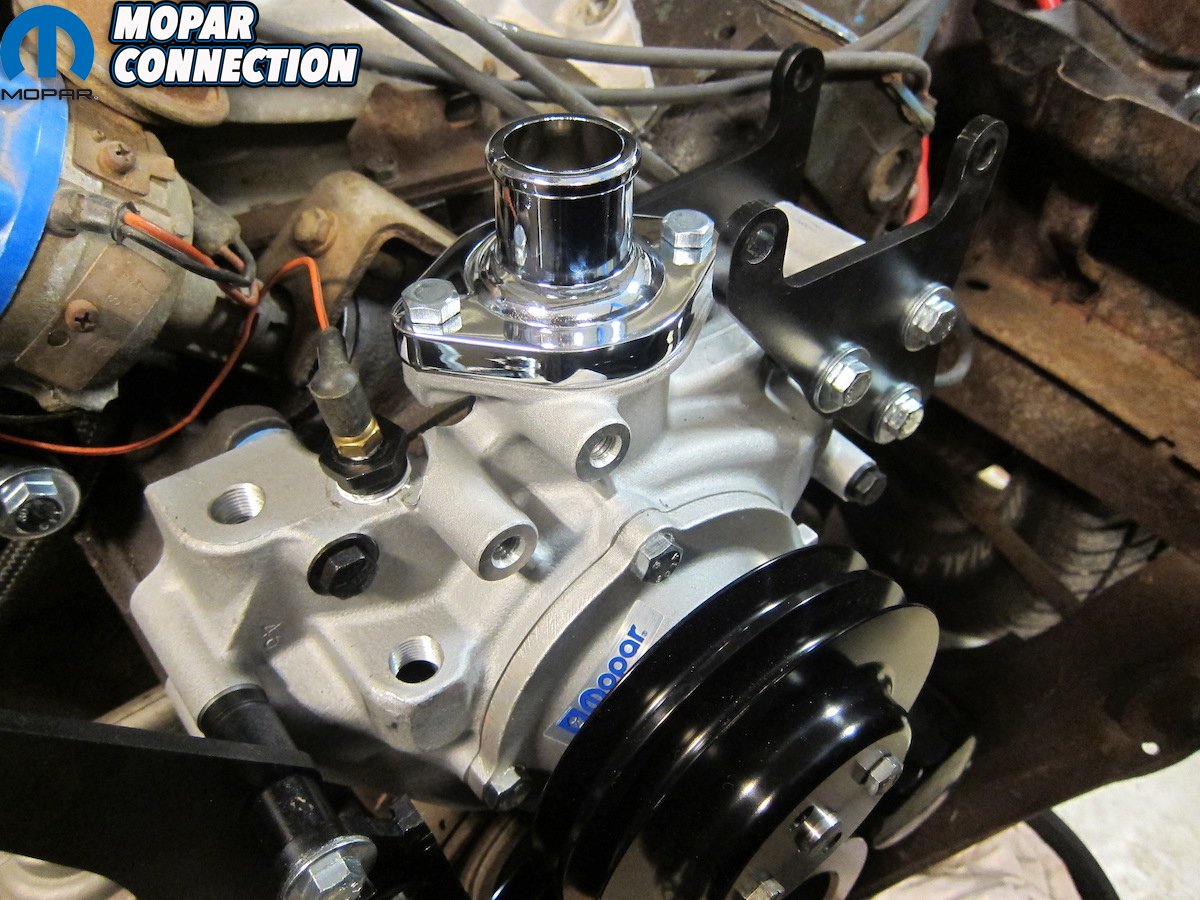
Just like the electronic ignition distributor we installed a while back, both are adorned with a classic Mopar emblem that really sets of the crisp cast aluminum’s finish. Of course, the old parts store universal thermostat housing would look out of place on our fancy new aluminum water pump, so we went ahead and grabbed a chrome water neck (P/N 66207) to top it all off. Its extra-thick base will help with sealing and prevent warping over time.
Comparing the old and new pump assemblies side-by-side, we immediately noticed that every factory bolt hole location was transferred, along with a couple of extras so the housing can be used on a range of years and applications. The temperature gauge sending unit hole, for example, is on the front passenger’s side on an OEM housing. On the aluminum housing, that 1/8” NPT hole is on the top driver’s side, but an extra 1/2” NPT hole is provided on the passenger’s side. We decided to use a 1/2” NPT to 1/8” NPT reducer bushing on the passenger’s side to keep the sending unit close to its factory location, even though the wire would have reached to the other side.
The pump comparison didn’t uncover any surprises. Height is the same and so is the bolt pattern. Actually, if a guy wanted to use this aluminum pump with a cast iron housing, it should bolt right on. Impeller blades on the aluminum unit are noticeably longer and more like paddles than the short, fat pieces on the factory piece. It should have no problem keeping up with the mild 440 in our 1967 Plymouth Satellite.


Above left: The new pump (right) has wider impeller blades compared to the original unit. Above right: The shiny chrome thermostat was ordered online (and a chrome throttle return spring bracket while we were at it).


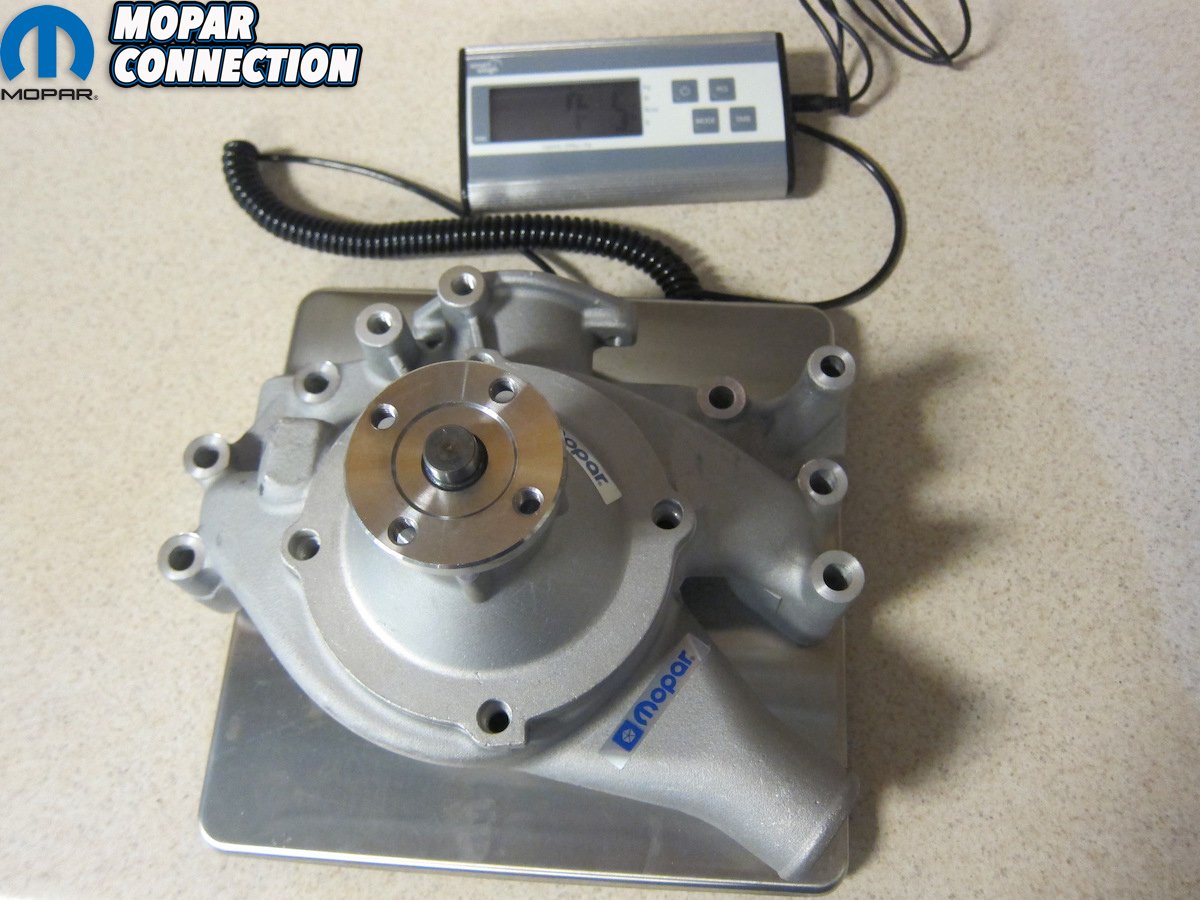
Above: The money shot was at the scales with 10 pounds of weight savings.
Obviously, the real eye-opener was when we put each setup on the scales. The aluminum components ended up saving us an incredible 10 pounds, weighing in at a paltry 42% of the weight of the original cast iron anchor. That’s 10 pounds that the torsion bars don’t have to carry and a little less weight on the front end to help go wheels-up.
One oft-forgotten benefit of an aluminum pump and housing is its ability to more efficiently transfer heat. Aluminum conducts heat at a rate nearly three times that of cast iron as its thermal conductivity is much higher. So, instead of holding on to heat like cast iron can be known to do, aluminum is able to easily transfer that heat via the engine fan’s airflow. Getting more heat into the air and off of the engine can equate to a much longer service life of everything involved.
Installation, as expected, was straightforward. In order to save ourselves the mess, we drained the radiator, then pulled the lower hose to get as much coolant out of the block as possible. The radiator is held in by two bolts on each side, so it’s a no-brainer to go ahead and take it out and prevent any collateral damage. With it out of the way, access to the fan and bracketry really opens up. After removing the alternator belt, the fan, pulleys, hoses, and brackets were taken off to expose our poorly-painted chunk of unnecessary heaviness.


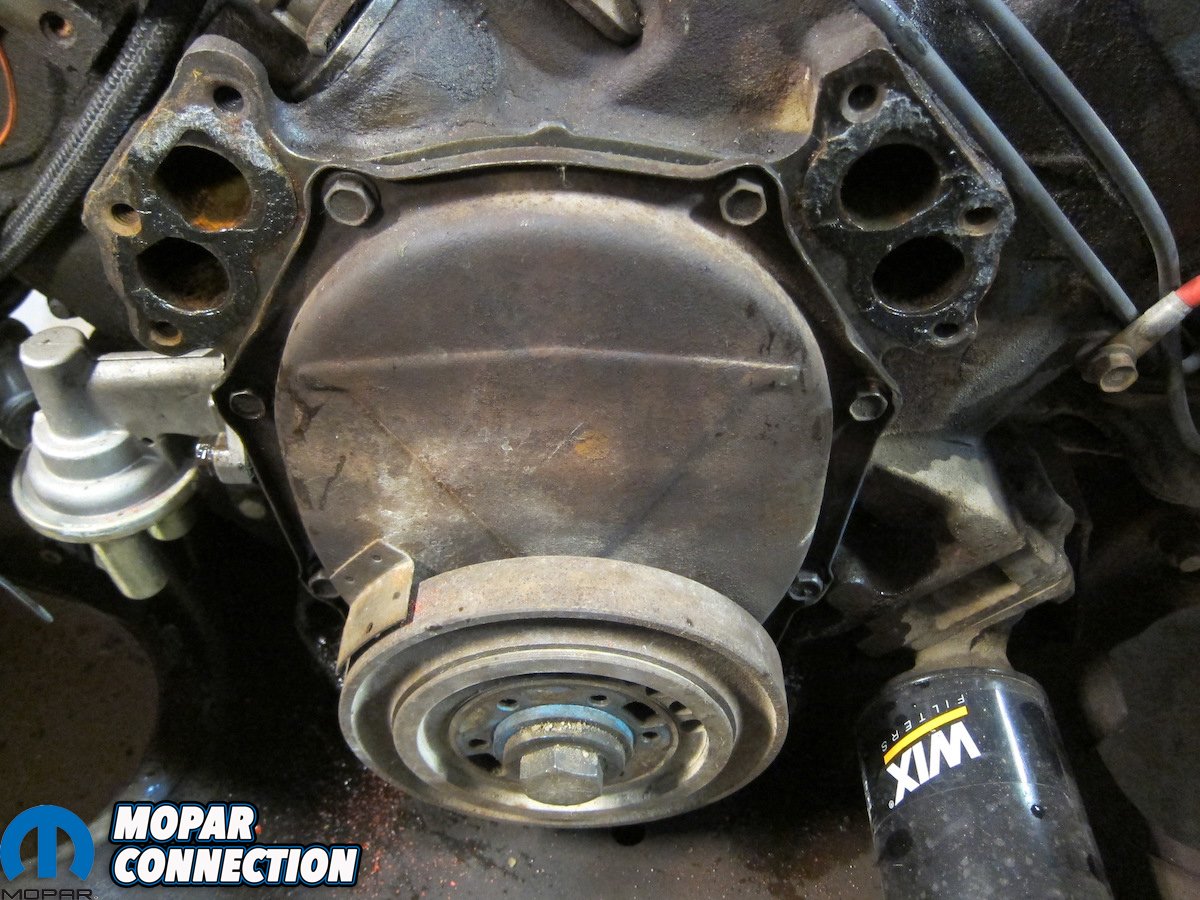
Above: A putty knife, some sand paper, and a bit of elbow grease cleaned up the mating surfaces.

Above: Two bolts held the water pump on until we started adding the brackets.
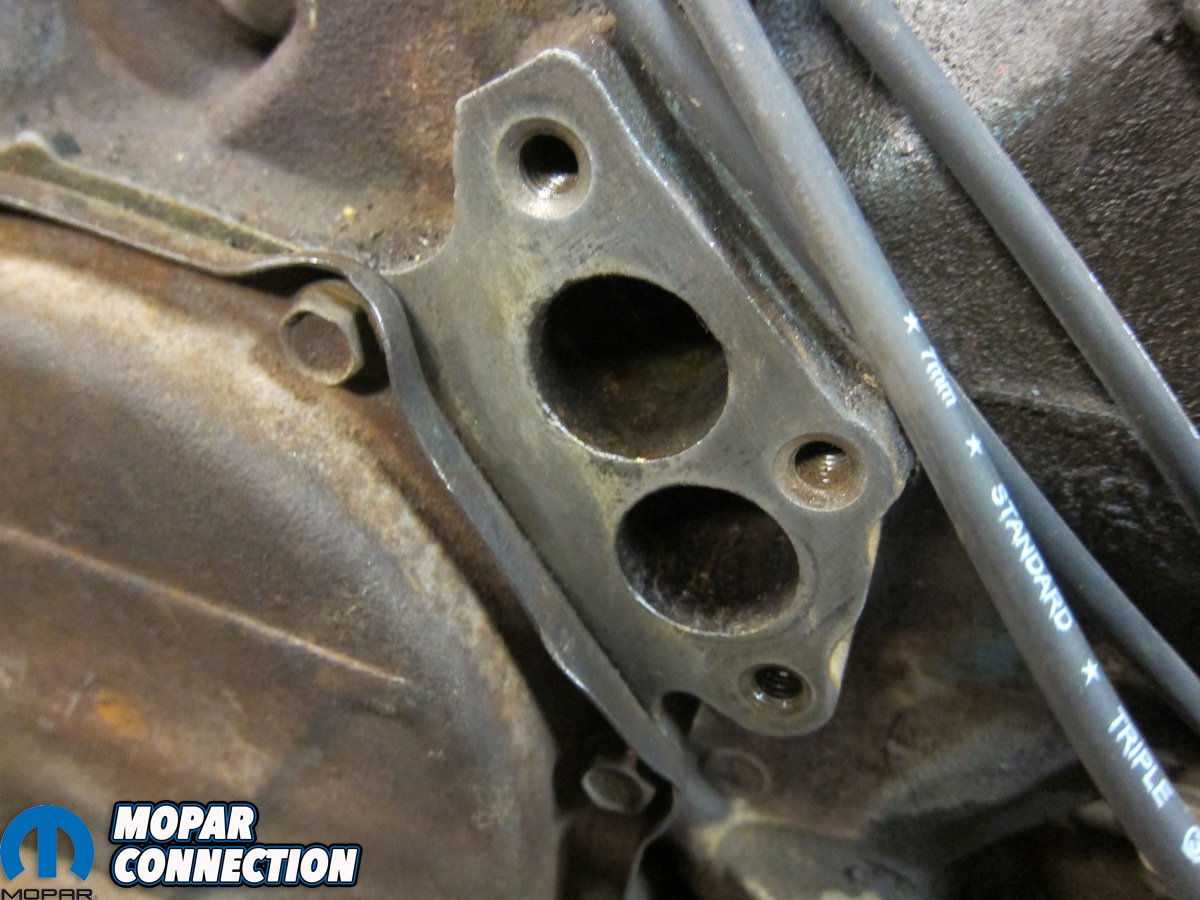
Once we were this deep, it was time to start taking a few basic notes on hardware locations. There were several bolts of different lengths, but leaving them in the holes helped us keep everything in its proper place. Also notable was the location of the heater hose nipples and how the front one blocked a housing bolt. This was important to keep in mind so we would have access to that bolt when installing the aluminum housing later on.
With all of the bolts removed and resting in their respective holes, a light tap with a rubber mallet unseated the cast iron cow from the engine block. The gaskets usually won’t come off cleanly, but a putty knife and some light grit sandpaper were all that was needed to prepare the two mating surfaces for new Fel-Pro gaskets. We were feeling lucky, so we didn’t put any extra sealer on the gaskets before throwing the new aluminum housing on with some repainted bolts. The tricky part is looking through your notes to make sure you’re putting bolts in holes that don’t have a bracket on them. For us, those two were the one behind the front heater hose nipple and the bottom bolt on the driver’s side. They were plenty to hold it in place while we prepared brackets for reassembly.
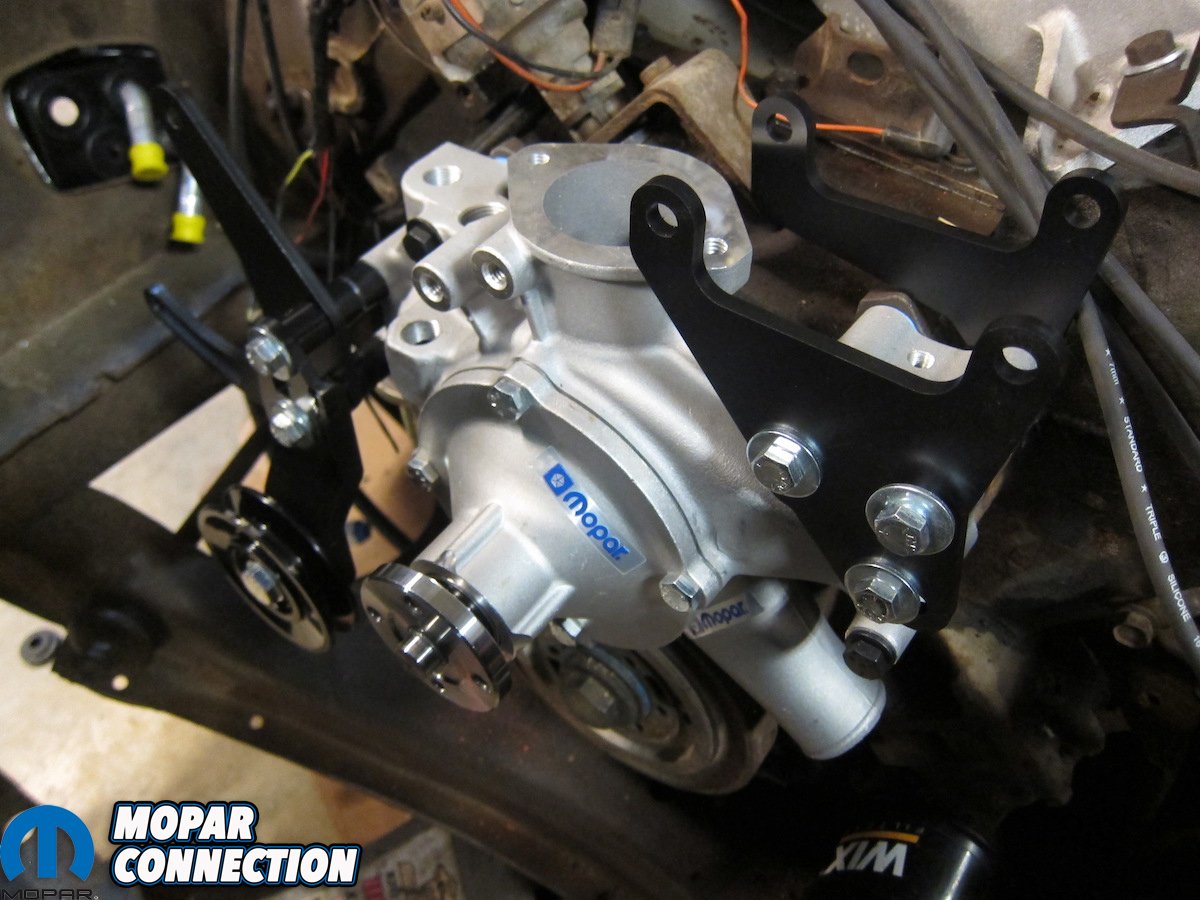
Since we were making the upgrade to Vintage Air air conditioning at the same time, OEM brackets and pulleys were labeled and stored to make room for brand new components. As brackets went on, the rest of the holes in the housing filled up quickly with necessary bolts. It was also a good time for us to plug the driver’s side sending unit hole and install the sending unit on the opposite side with the aforementioned reducer. A little bit of thread tape on each should help ensure a lifelong seal.
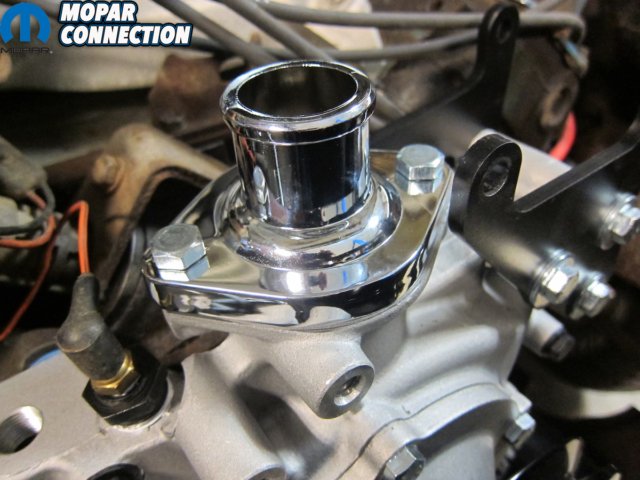

Above: We couldn’t take a bad picture of the new chrome thermostat housing.
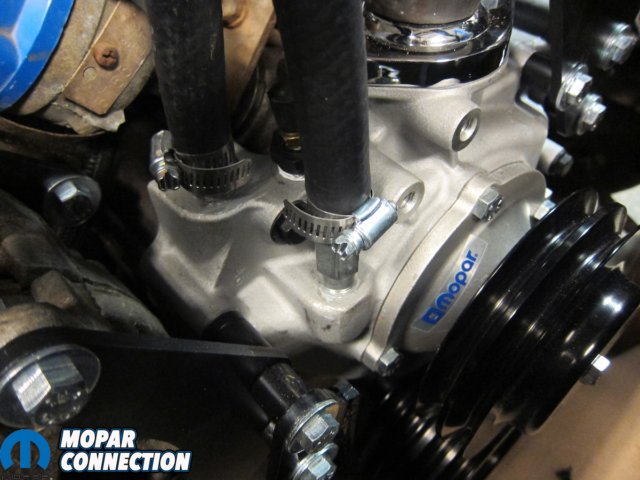

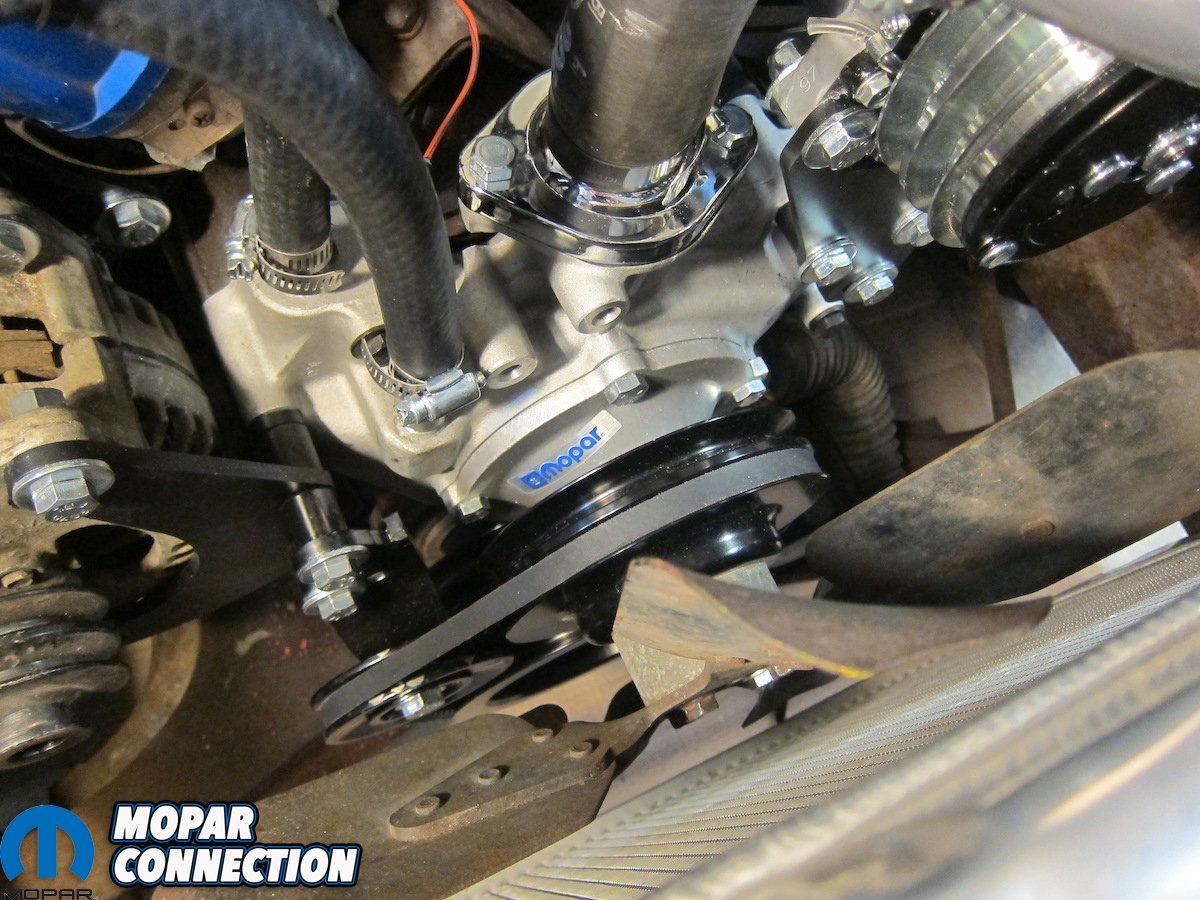
Above: Once the heater hose nipples were installed, the pulleys, fan, and radiator could go back on.
The icing on the cake was a fresh, chrome thermostat housing. Bolts and a gasket were included, so we slapped it on and torqued it to factory spec’s. Heater hose fittings were left for the very last so we could make sure every bolt was tight before thread taping them up and screwing them in. Standard hose clamps were on-hand, but the factory would have used a Corbin style spring clamp.
With all of the accessories back on the front of the engine, we instantly noticed that the Mopar officially licensed water pump and housing complimented the Satellite’s vintage engine bay nicely. Its natural cast aluminum finish fit well with the Weiand aluminum intake while the Mopar emblems gave it just the right amount of flair. The bonus, aside from that visual appeal, was that we were also able to shed a significant amount of weight. Maybe now we’ll get into some of that double-digit fuel mileage.
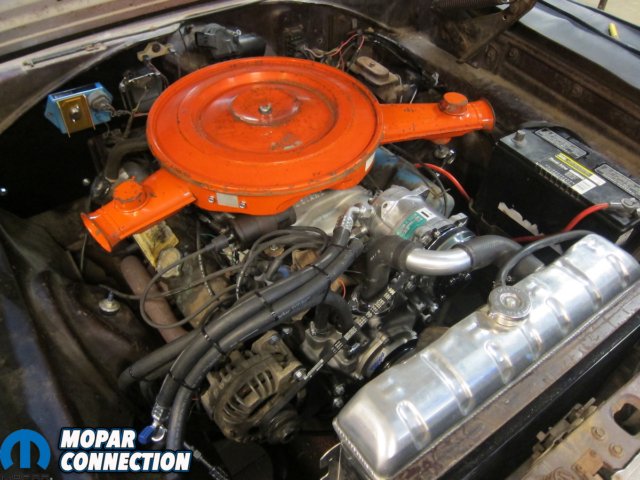
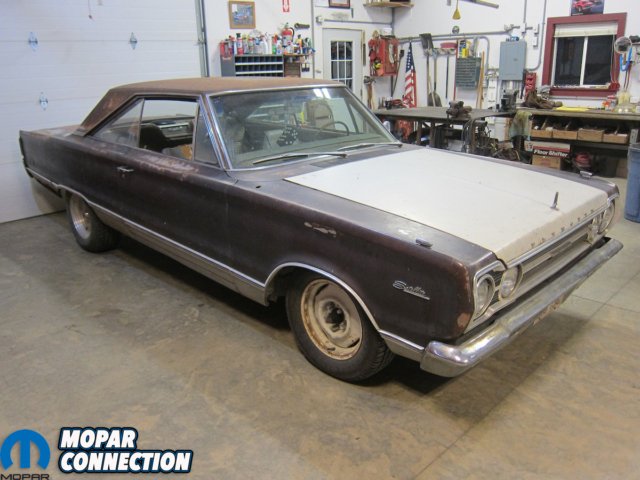
Above: Slowly but surely, our sleeper Satellite is becoming the ultimate Sunday cruiser. Stay tuned for more updates.


