


Let’s face it, your daily driver – especially if it’s a truck – serves a lot of different roles; weekend tow vehicle, parts retriever and hauler. Our ’05 Dodge Ram 1500 has seen quite a bit over the dozen-or-so years we’ve had it, and it has the scars to prove the claim (including our favorite, a radial dent in the bed where we dropped a 50-gallon drum of VP race fuel – thankfully, it landed right-side-up). Nevertheless, as our Ram has served us valiantly, we have always bemoaned the 9.25 Dana’s factory optioning of a non-limited-slip differential. Despite being equipped with the trailer-tow package (including steep 3.91 ring-and-pinion gearing), it only spun one wheel when coaxed.
Sure, burnouts looked cool if you only saw the driver’s side of the truck, but that’s not what we’re looking to accomplish here. To truly get the most from our low gearing – whether climbing up a steep grade, a slick launch ramp or just pulling away from a red light – we needed to radically improve our truck’s traction. Given our factory gear set was still in proper working order and no unusual wear patterns were to be found, we opted to replace the factory open differential with a beefy aftermarket unit that would not only outperform our expectations but withstand all that we could throw at it. For such a unit, we turned to Eaton.


Above: First to go (once we got our Ram 1500 into the air and removed the rear wheels, and slipped off the back disc brakes) was the differential cover. Make sure to have a big catch pan ready, as all mechanics know that there is no nastier thing than gear oil on your driveway or your hands and arms.


Above left: The outgoing differential had a retaining shaft held in with a threaded pin. The pin ratchets out easy. Above center and right: The retaining shaft requires a little coaxing to slide out, but will do so with little effort.


Above: With the retaining shaft out, the C-clips holding the axles in place can be popped out.
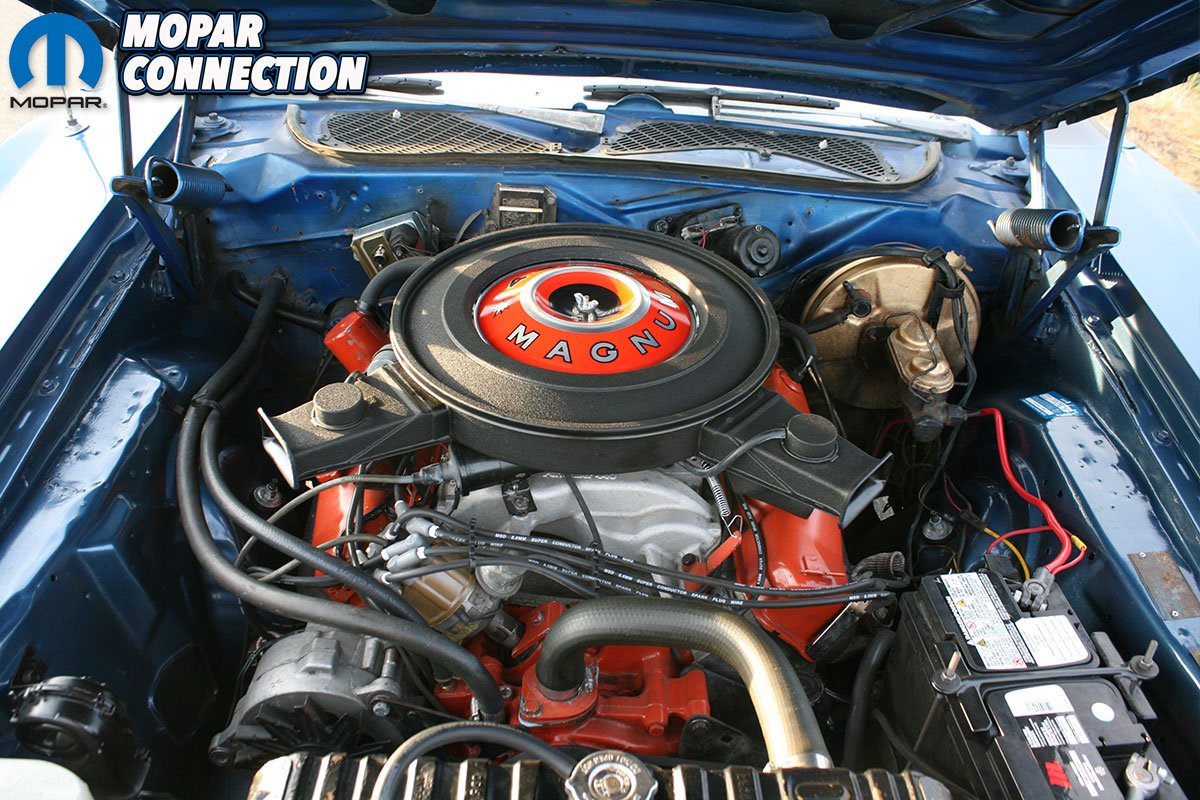
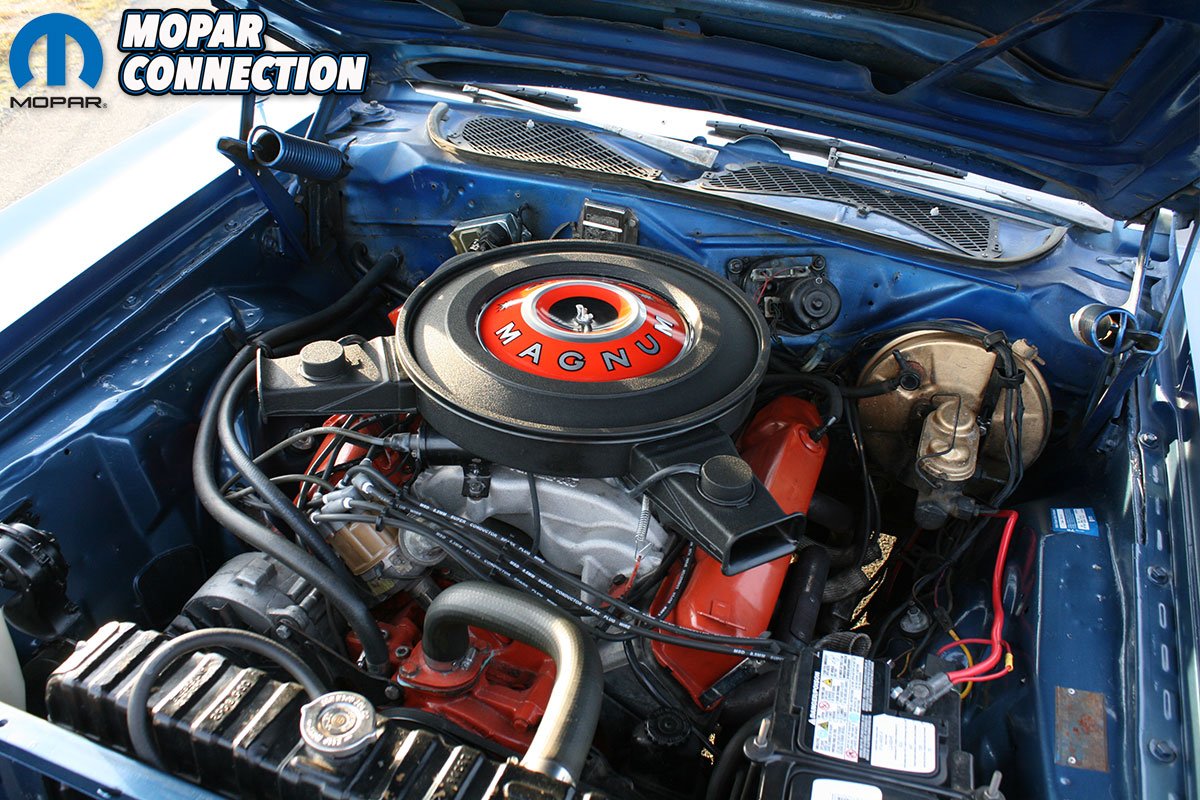
Having a Eaton-built Detroit Locker in our long-term “Brazen” 1969 Dodge Charger R/T project, we knew first-hand the durability of their differentials – so much so, that contacting Eaton for such a build felt slightly overkill (and we love overkill). We spoke to Eaton’s Michael Mulholland, who suggested we went with Detroit Locker’s Truetrac differential for our Ram, as it is a “helical-gear style performance differential that maximizes wheel traction and enhances driving and handling characteristics.” This is achieved without the use of clutches or springs, but rather through gear separation forces that take effect during slippage to transfer torque to the high-traction wheel, as the helical-shaped gears mesh with increasing force until wheel spin is slowed or completely stopped.
Otherwise, under light duty or normalized load, the Truetrac operates as a standard or open differential, reducing load and wear on the differential. The transition is disarmingly smooth, quiet and automatic – do not be fooled of yesteryear’s clunky clutchless mechanical differentials. The Truetrac engages without any driver knowledge or secondary action required (like a manually-operated locker on a Jeep or rock crawler). Best of all, the Truetrac has no wearable parts and is touted as the brand’s “zero maintenance” differential, it even doesn’t require the use of a limited slip additive as do other limited slip differentials. While it has less moving parts, the carrier itself is remarkably stouter than other differentials, weighing 3.2 pounds over our stock unit.


Above left: The ABS sensor is removed so the sensor won’t be damaged in the removal of the differential. Above center and right: There are a couple of ways to dial back the adjusters that control the backlash; either by inserting a small screwdriver or dental tool into the portals or a special hexagonal tool that slides down the housing tube and turns the adjuster back.


Above left: Our open carrier was in pretty sorry shape. Above center: Worse yet were our bearings which fell apart in our hands as soon as we removed the differential. Above right: Using a bearing puller we removed the remains of our stock bearings.


Above left: Our biggest challenge was breaking loose the left-hand threaded bolts holding the ring gear on. Above left: Our new Eaton Truetrac clutchless limited slip differential is truly a gorgeous piece and a sturdy one at that.
We went to Miracle Dodge & Chrysler in Gallatin, Tennessee, for what we thought would be a couple of hours but lasted pretty much the whole day. (Note: always be prepared to spend more time than expected, that way, you don’t feel rushed.) Miracle Dodge has been a long time sponsor of the Music City Mopar Club, and as they’re adding an additional 35,000 square feet, with 10 new bays, another 10 heavy duty truck bays, and three new Level 3 technicians, we knew we’d be in pretty good hands.
With our Ram in the air, it was to pull the back wheels and brakes in order for us to remove the axles. With a drip pan in place, we popped the rear cover, allowed it to drain cleaned both inside and the surface area around it (we returned with a Scotchbrite pad prior to applying new sealant). Our soon-to-be-replaced carrier featured a retaining shaft that first required the removal of the threaded holding pin. With the pin out, the retaining shaft was pushed out and removed. With the pin out, we could access (and remove) the C-clips holding the axles in.


Above left: Although unnecessary in this case, we’ve heard it sometimes helps to heat the ring gear in an oven before reinstalling it on the differential, as the heat expands the metal, making the ring gear practically fall into place. Above center: With a collared sleeve, our new bearings slid on nicely. Above right: With the ring gear, reluctor ring and near bearings pressed on, our new Truetrac was ready to be installed.


Above left and center: We took a pneumatic Scotchbrite wheel to our housing’s mating surface before spraying it down one more time. Above right: Wiping down the pinion and other surfaces one final time ensured our new carrier would have a clean home.


Above: With our new differential in place, we hand-tightened the bearing caps and began tightening down the adjusters. The adjuster retainers and bolts thread into the tops of the caps once tightened down per FCA specs.
With the axles out, we dialed back the threaded adjusters, which dictate the amount of preload on the differential’s bearings, as well as for backlash adjustment. Once loosened, we could get the center section out. Our open differential was riding on very worn out bearings and literally fell apart in our hands as we removed the center section. What was left of the bearings was removed using a bearing puller. Because we were reusing the same ring gear and pinion, we needed to remove the ring gear, which put up a fight. Be aware that the bolts are reverse thread (counter-clockwise). Once removed, we also removed the reluctor ring, whose teeth pass by a hall effect sensor that is mounted in the top of the rearend, which provides the signal for the speedometer, cruise control and ABS.
Having disassembled all that we needed, it was time to starting reassembling our rearend with the Truetrac. First, when reinstalling the ring gear, we made sure to apply a little bit of anti-seize on the bolts. Making careful note of the size and quantity of shims used on the old carrier, we duplicated the size and order prior to installing the new bearings on the differential all to get us close to the identical backlash. Making another pass to clean out the housing, we installed the new Eaton center section, tighten the adjusters as per FCA (Fiat Chrysler America) technical specifications, reinstall the axles and snap in the C-clips.


Above: With a little bit of bright yellow marking paint, we rotated our ring gear to verify that our pinion and ring were engaging within the acceptable .010-inches of tolerance of the backlash.


Above: Once we inserted the axles and C-clips we moved back to the differential. Instead of a retaining shaft, Eaton’s Truetrac includes a billet disc that slips between the two axles preventing “walking”, and is held in place by a vented cover and a snap ring.


Above left and center: A thick, heavy bead of silicone might’ve been a little too much, especially as the bright orange left a mess on our black differential cover. Above right: Once tightened down, we filled up our housing with plenty of top grade differential fluid.
The bearing caps and adjuster retainers are bolted down to factory spec as well. Unlike the factory differential (and some aftermarket units), the Eaton Truetrac does not employ a retaining shaft, rather, a billet disc slips between the two axle ends to prevent “walking” and then is held in place by a vented cover that is held tight with a snap ring. This ring is pretty dang rigid requiring a good pair of snap ring pliers and some good ol’ elbow grease to get into place. With a brush, we applied some marking paint and spun the wheels freely to etch how the pinion was engaging the ring gear, making sure to be within .010-inches of tolerance of the backlash we had before we started.
Finally, the cover is given a final cleaning and treated to a thick bead of silicone. Once tightened down and the excess silicone wiped off, we popped the rubber plug and poured in fresh differential fluid. And because we’re not using a new set of gears, a break in process isn’t required. Instead, we simply let the truck idle in gear while it was on the lift just to work the new fluid through everything. That said, we were ready to hit the streets and burn a nice pair of rubberized parallel smears into the asphalt.


Above left: After re-installing our brakes, we tightened down our lugs, put the truck in gear, and let the rearend work the new fluid through the Truetrac differential. Above right: All set and ready to go, we took our Ram 1500 out for a spin to make sure there were no leaks, vibrations or unusual noises.


