


When we picked up Project Rara Hemious Birdicus in March of 2025, one of our first priorities was changing the fluids. Along with the Road Runner came printed documentation detailing the two engine oil changes the Hemi had received over its previous 50 years of ownership. What we did not find, however, was any record of transmission fluid services, which raised an immediate concern.


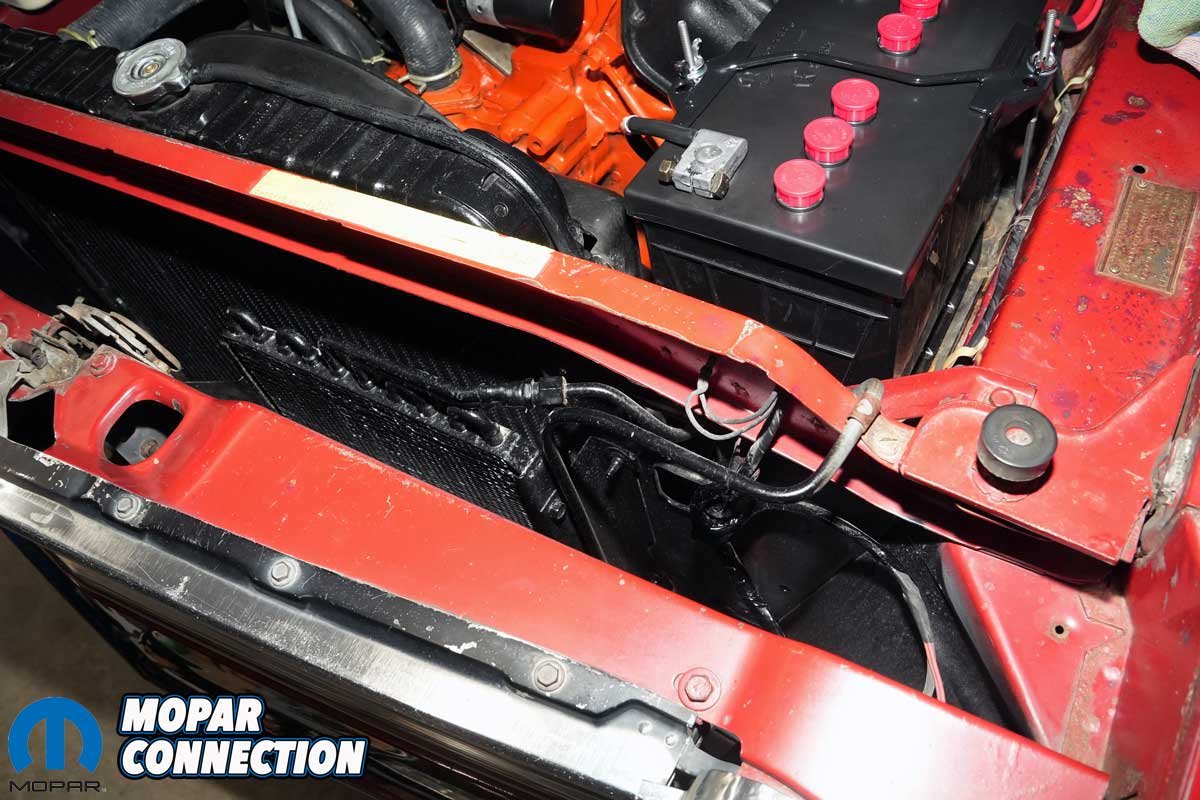
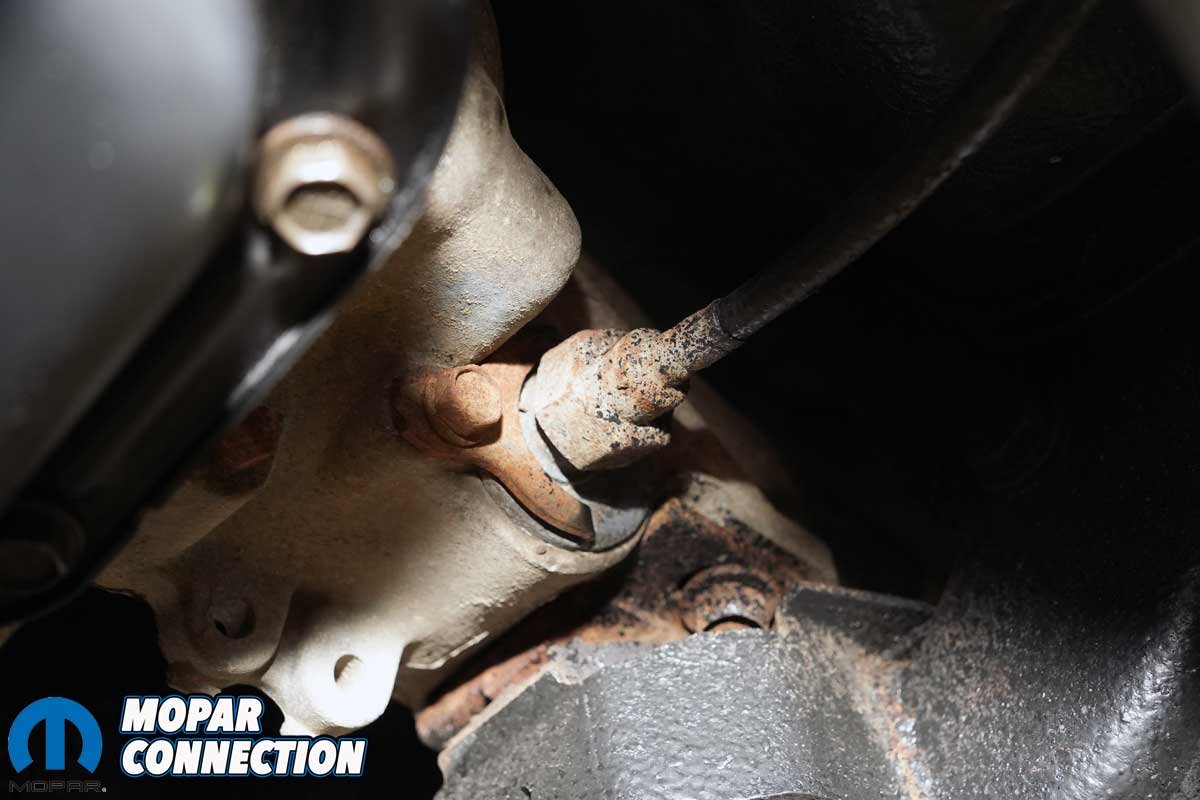
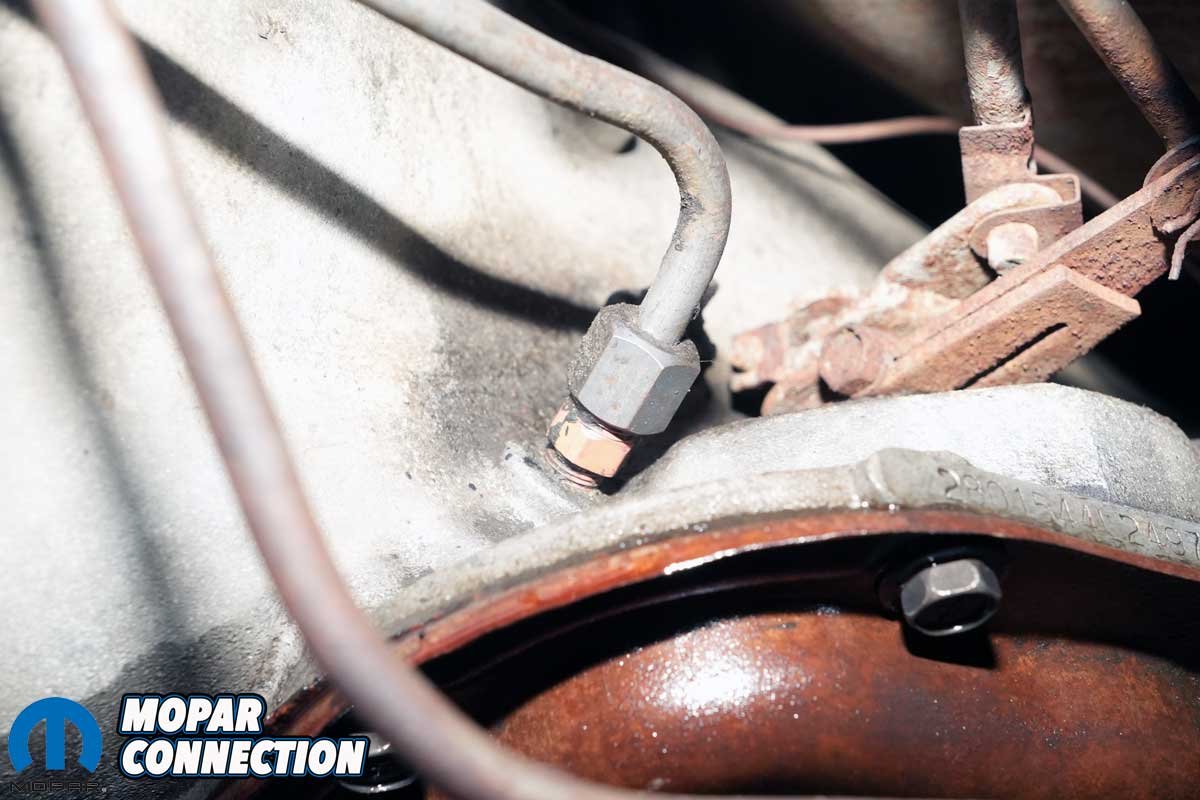
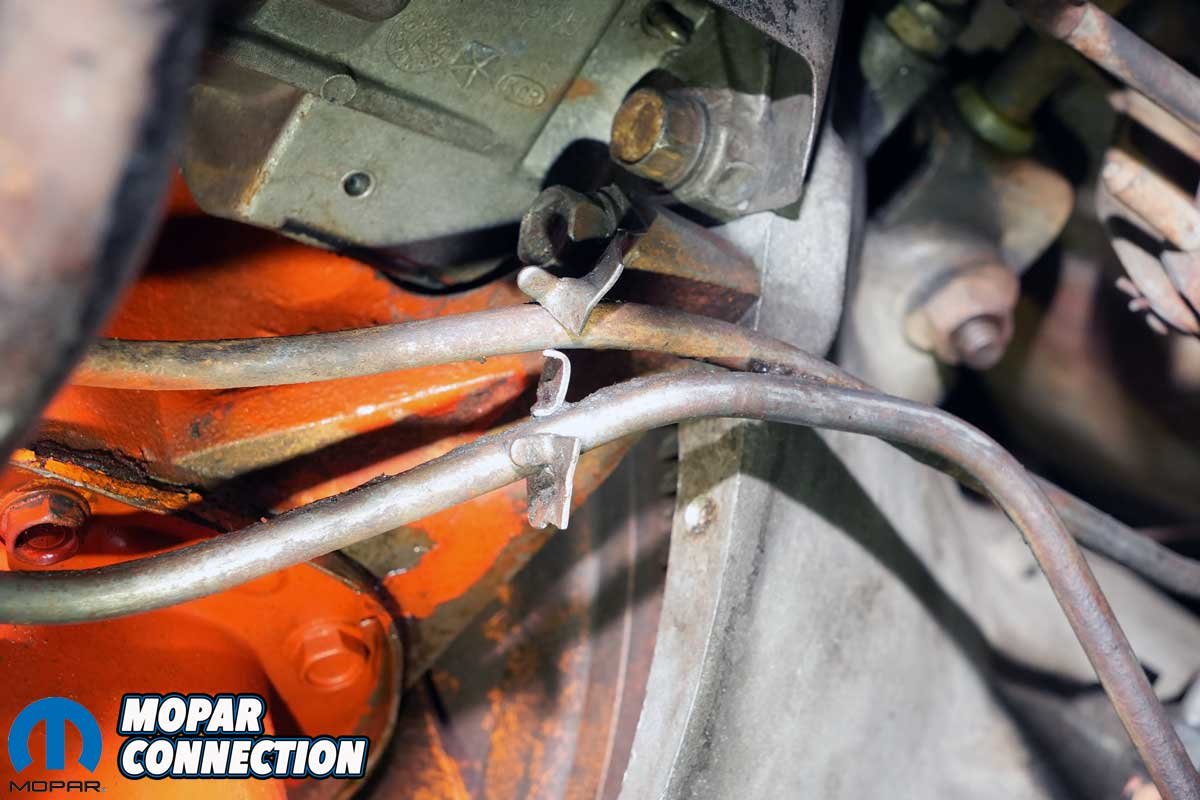
Above Left: The original transmission lines were in poor condition. We contacted Classic Industries to supply all four replacement lines for our Hemi Road Runner. Above Center: The AN fitting at the transmission was properly secured, showing only minimal seepage. Above Right: The rearmost AN fitting was completely dry, with no evidence of fluid loss.
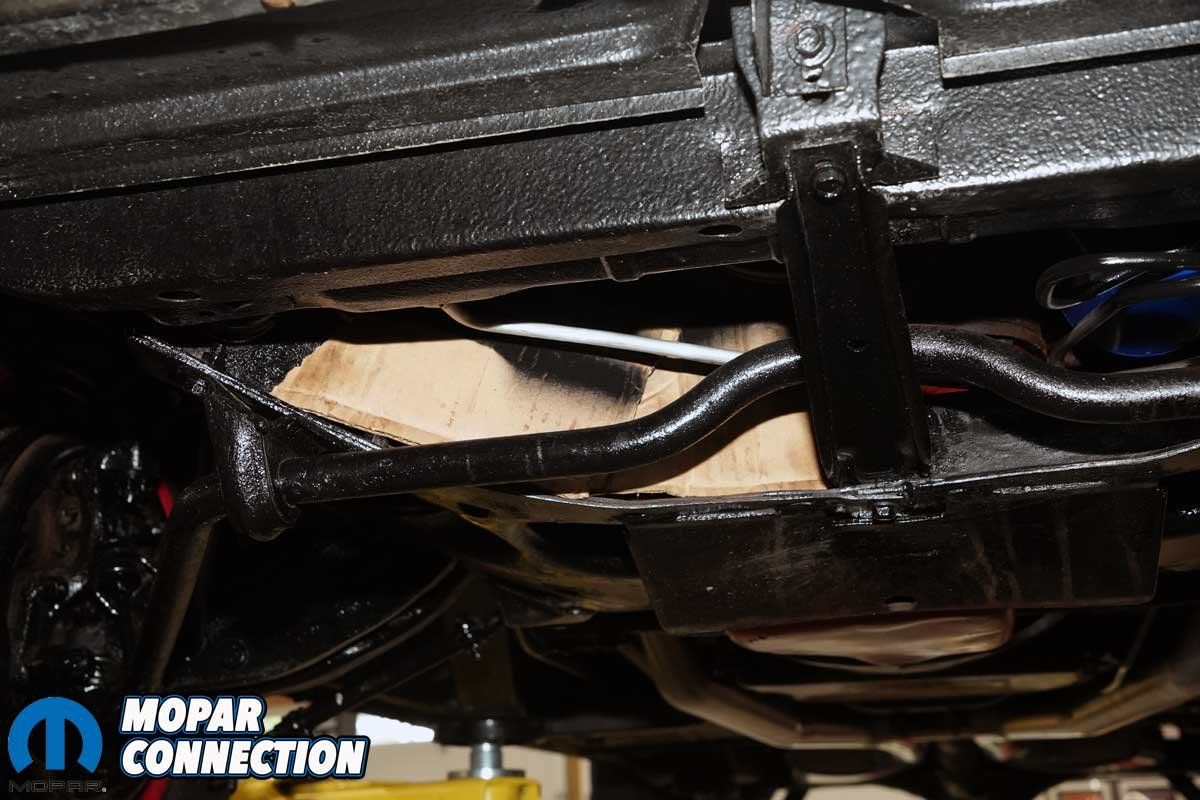
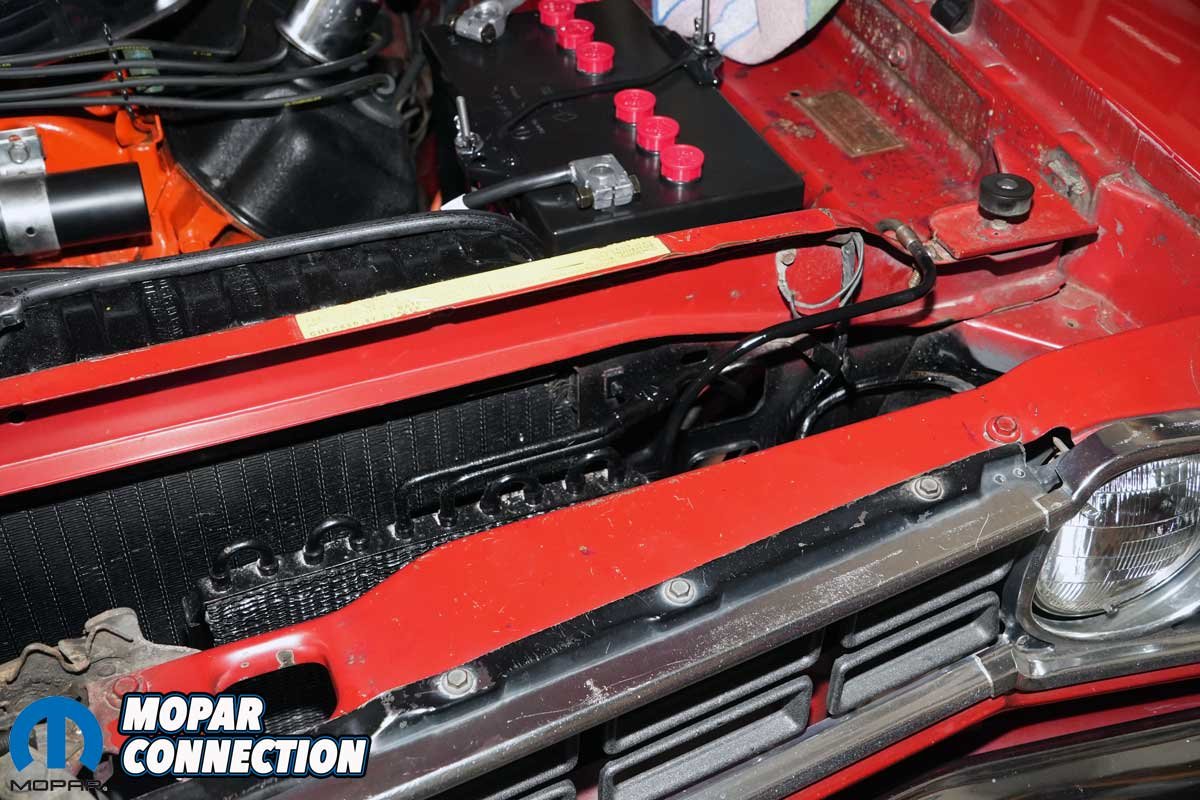
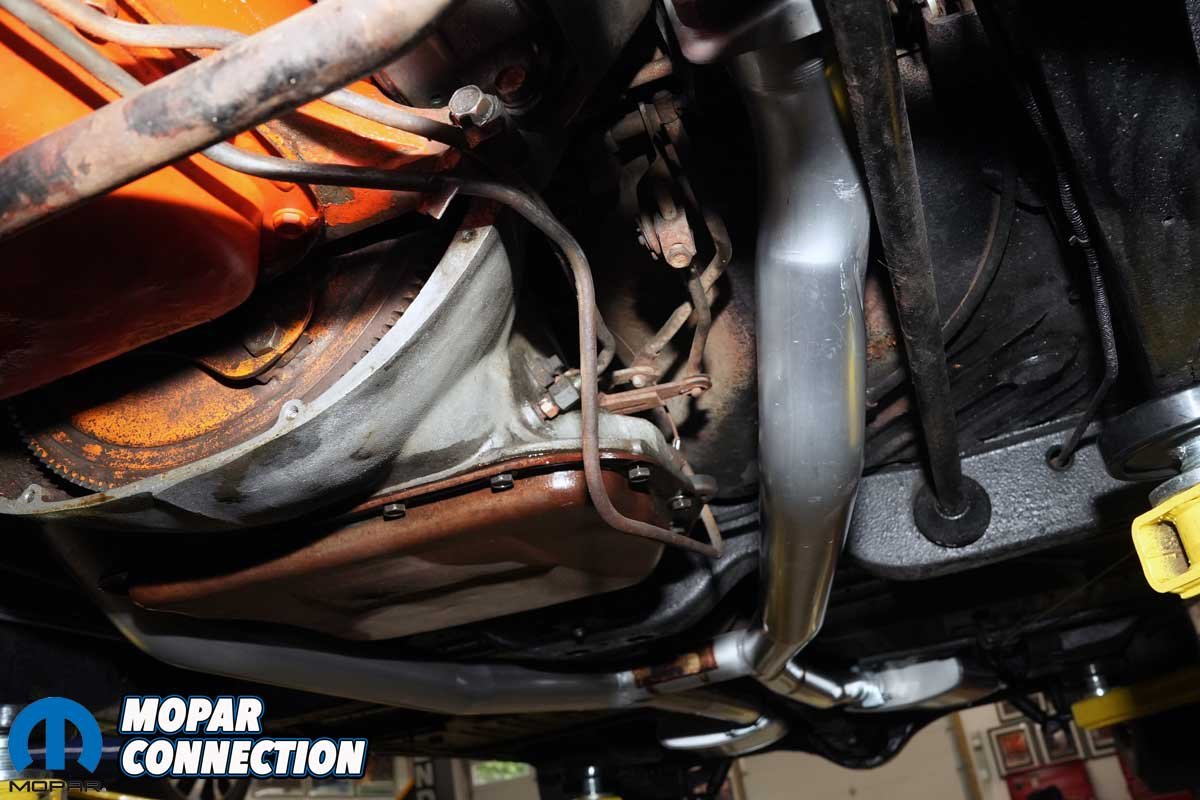
Adding to that unease were the transmission-cooler lines running from the radiator to the external oil cooler, then returning to the transmission. Our most significant anxiety centered on the two lines routed along the bellhousing and the side of the engine block. Both were noticeably mangled, and the return line hung unusually low, bent slightly over the transmission pan. The result was not just unsightly; it interfered with the removal of the pan bolts and hinted at a less-than-gentle history beneath the car.


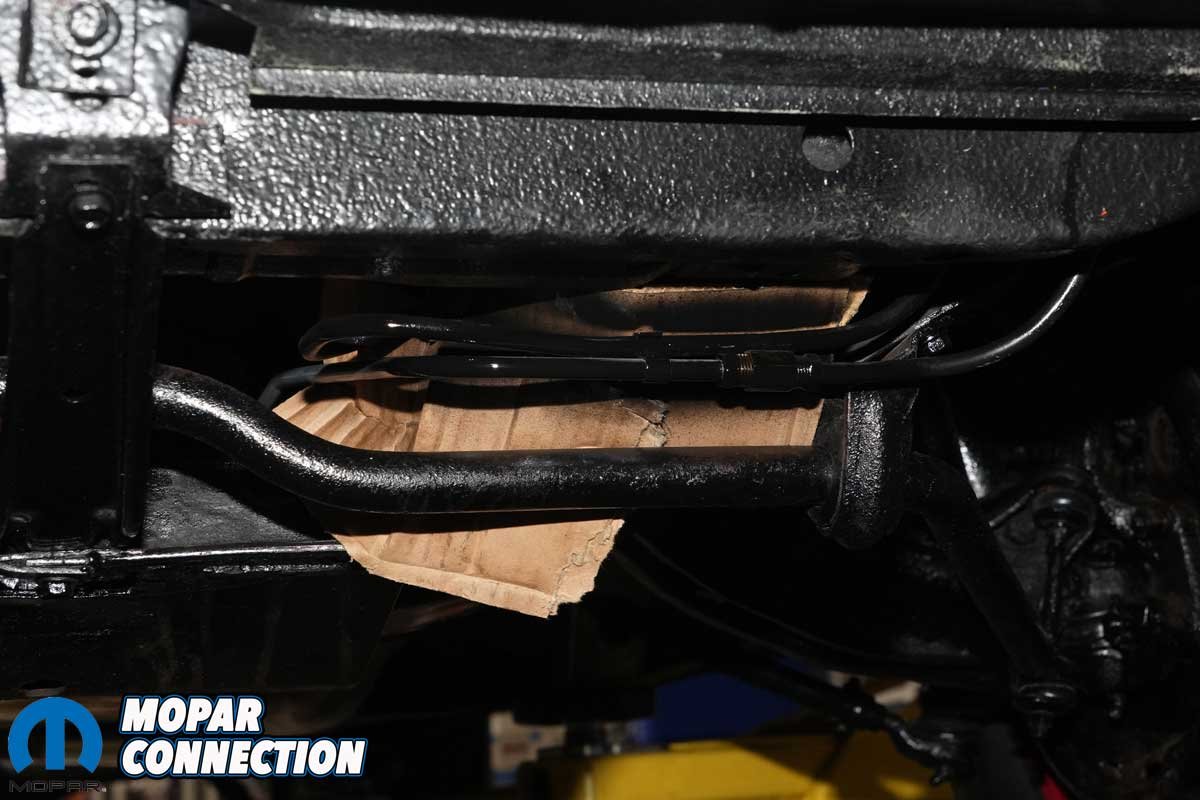
Above Left: The support bracket at the bell housing was bent and damaged, further confirming the transmission lines had clearly seen better days. Above Right: One of the lines hung unusually low and was incorrectly routed over the transmission oil pan.
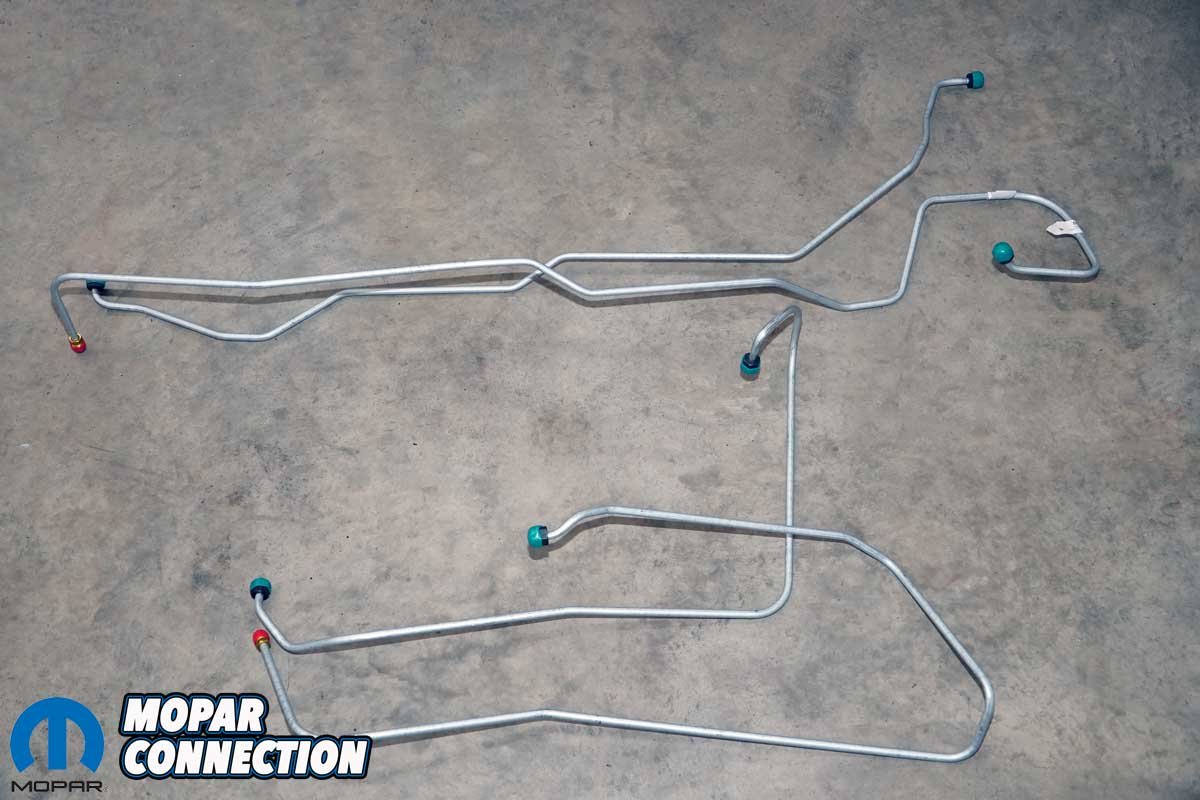
We turned to Classic Industries for a 1966–69 B-body four-piece transmission line kit (part no. MB2610M) designed for a Hemi equipped with an external fluid cooler. Each line is manufactured to exact specifications, complete with the correct bends and routing to replicate the factory-original pieces. The kit is available in either original-style steel or stainless steel; we selected the former to maintain an authentic appearance.
The lines arrived in an oversized box, yet one of them still required slight bending to fit for shipping. Fortunately, it was clearly marked in the area that needed straightening. Working slowly and carefully, we manipulated the line by hand until it was returned to its proper shape.


Above Left: The damaged transmission lines ran alongside the oil pan, where an “S” clip secured the pair together. Above Center: One of the transmission lines connected to the radiator and appeared to be leak-free. Above Right: The external cooler lines were routed between the radiator and the return line leading back to the transmission.
We began removal at the transmission, unthreading each line from its AN fitting. Moving forward, we removed a severely mangled support bracket from the bellhousing that once secured the transmission lines. At the radiator, we disconnected both the inlet line and outlet line feeding the external cooler, then removed the lines from the cooler itself.
Once the lines were coaxed out, three from beneath the car and one through the engine bay, we assessed their condition. The pair running from the transmission to the radiator area was in poor shape, while the two external cooler lines were surprisingly well preserved. Based on that evaluation, we elected to reuse the factory cooler lines and replace only the under-chassis pieces.
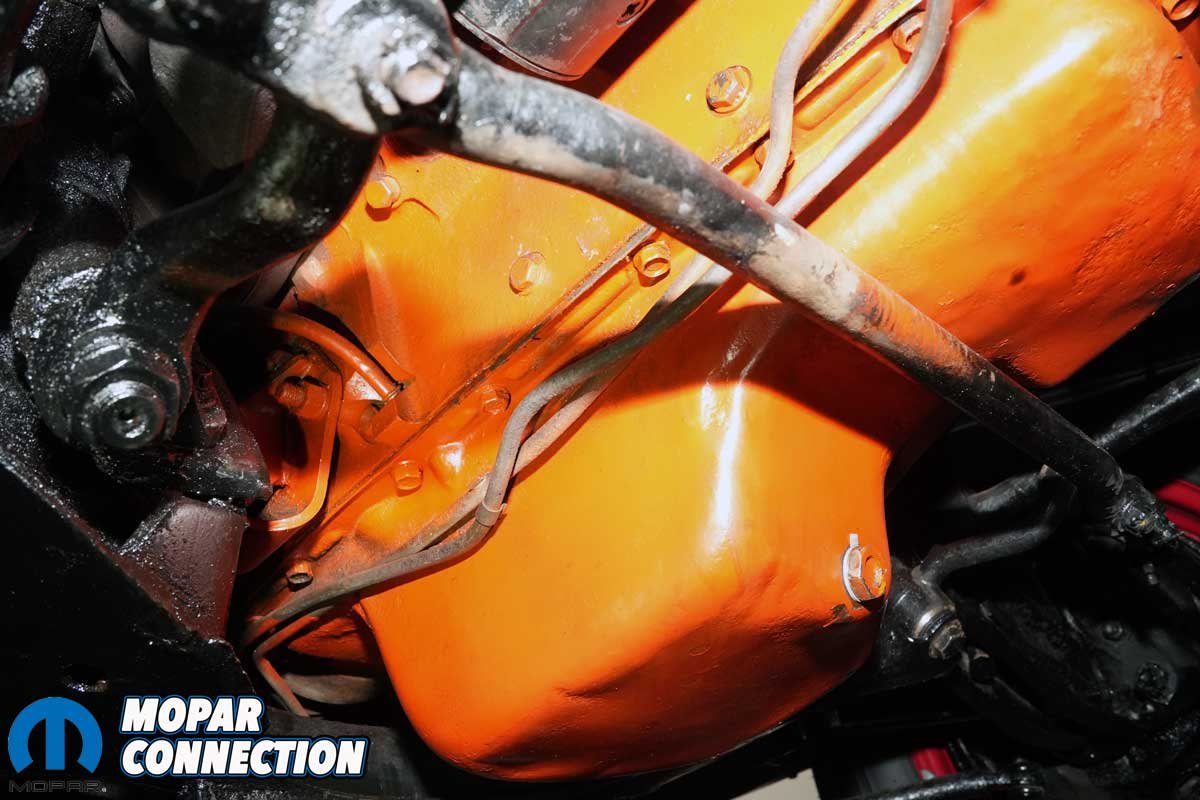
Above: Hemi engines equipped with the Torqueflite automatic transmission were originally fitted with an external oil cooler, with the lines routed around, or through, the radiator core support.
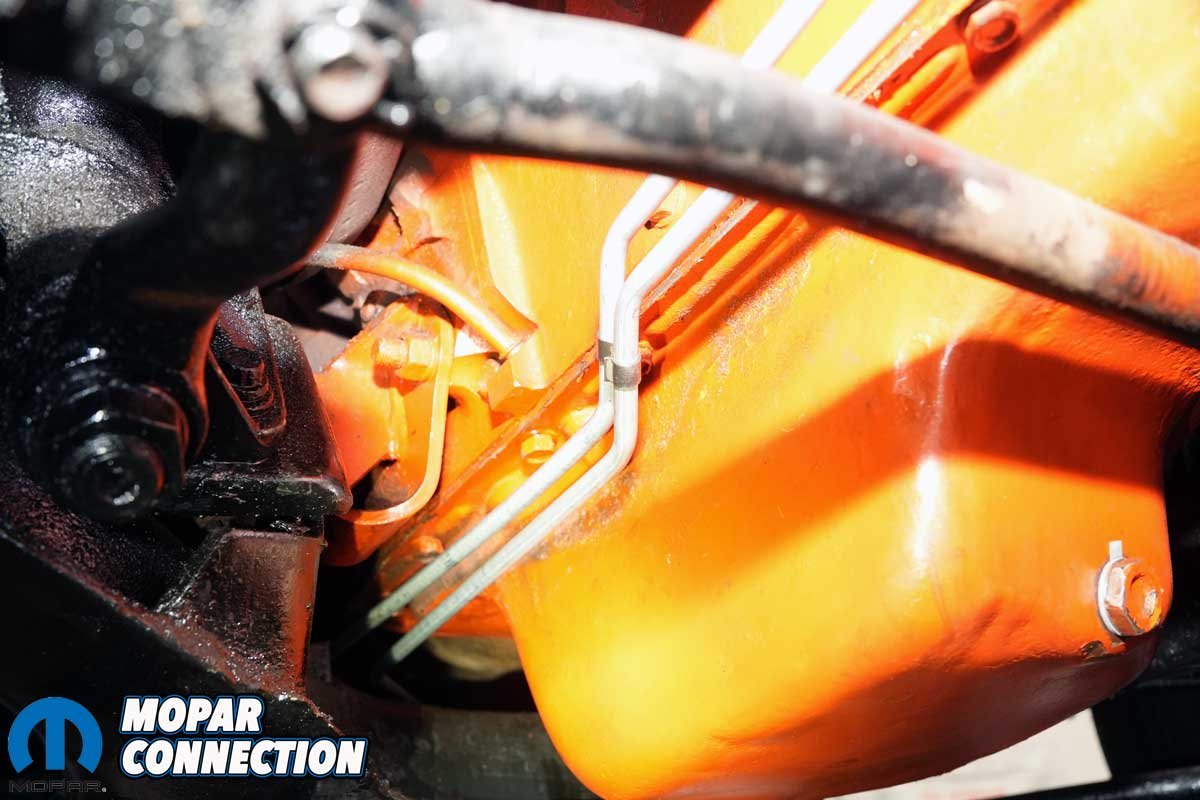
Reassembly was essentially the reverse of disassembly. Before reinstalling the external cooler lines, however, we noted the original factory paint locations on each line, lightly sanded those areas, and reapplied a fresh coat of black paint. Unsurprisingly, the lines fit perfectly, having been in place on the car for 58 years.
We also reused the transmission support bracket that attaches to the bellhousing. To repair it, the bracket had to be carefully bent back into shape, with a small hammer used to gently massage it into correct alignment. Once the transmission lines were installed, each was seated into the bracket and secured to the bellhousing. An additional “S” clip was installed near the midpoint of the oil pan to support the lines properly.


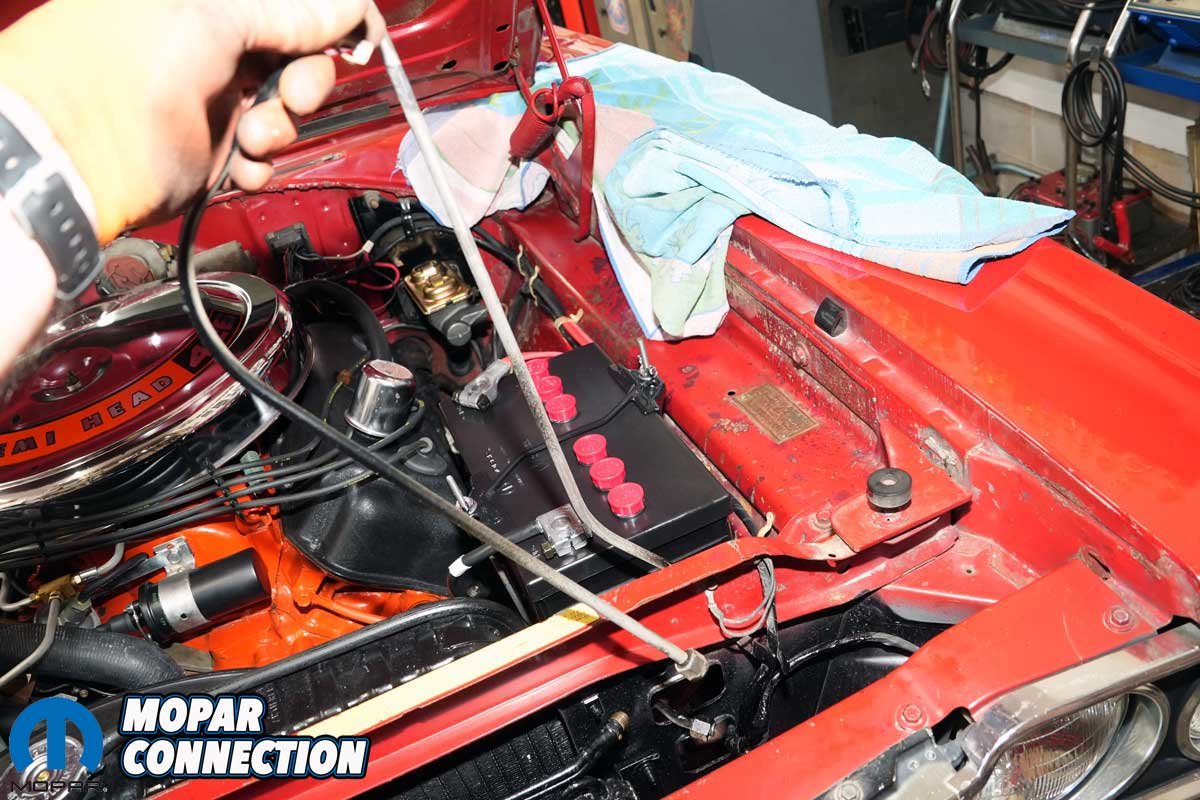
Above Left: One of the external cooler lines was removed by carefully pulling it upward through the engine bay. Note the remaining factory black paint. Above Right: The second external cooler line had to be removed from below. In both cases, the lines were extracted without bending or cutting.
The last step was painting the areas of the transmission lines exposed beneath the radiator support at the front of the car. Once again, we used black paint, with cardboard positioned behind the lines to prevent overspray from reaching the K-member or the engine.
With the lines secured, we turned our attention to the fluid change. Dropping the transmission pan revealed dark red fluid, along with a noticeable amount of metallic glitter suspended in the remaining fluid. While it was not immediately alarming, we took note of the condition knowing it could be used as a diagnostic asset if the transmission was to fail in the future.
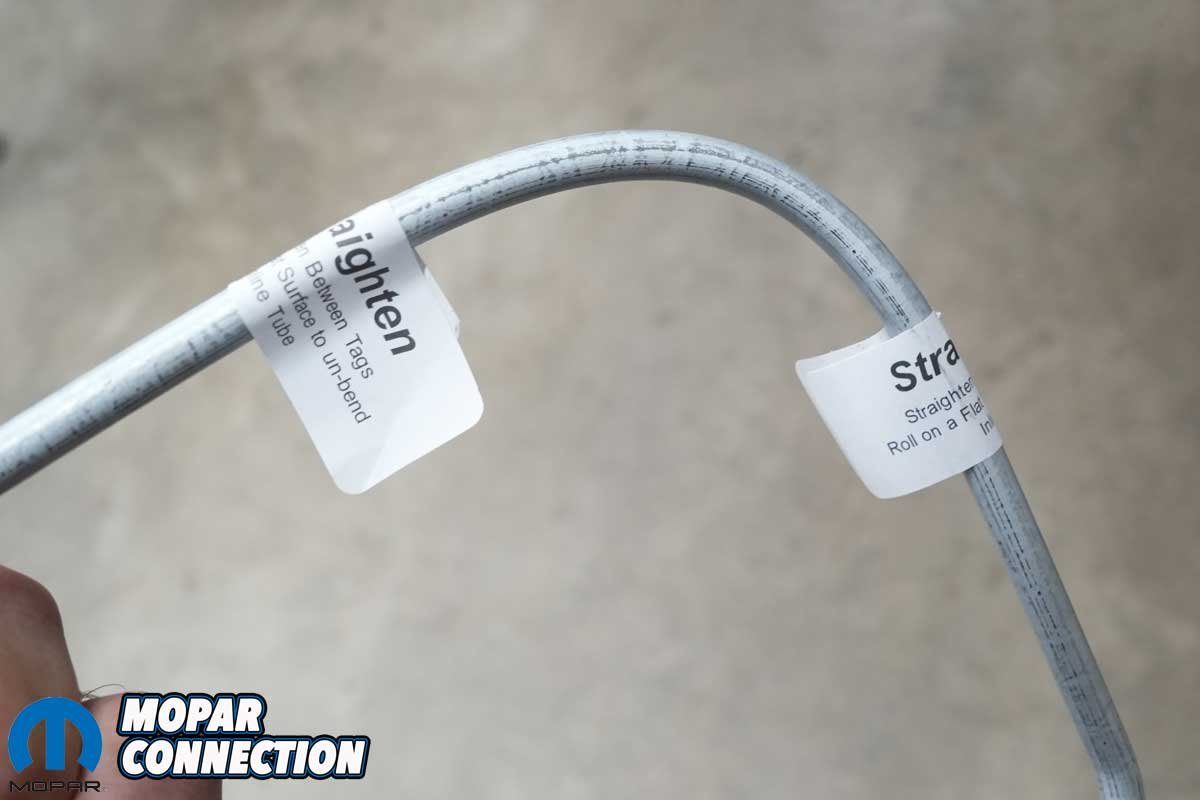
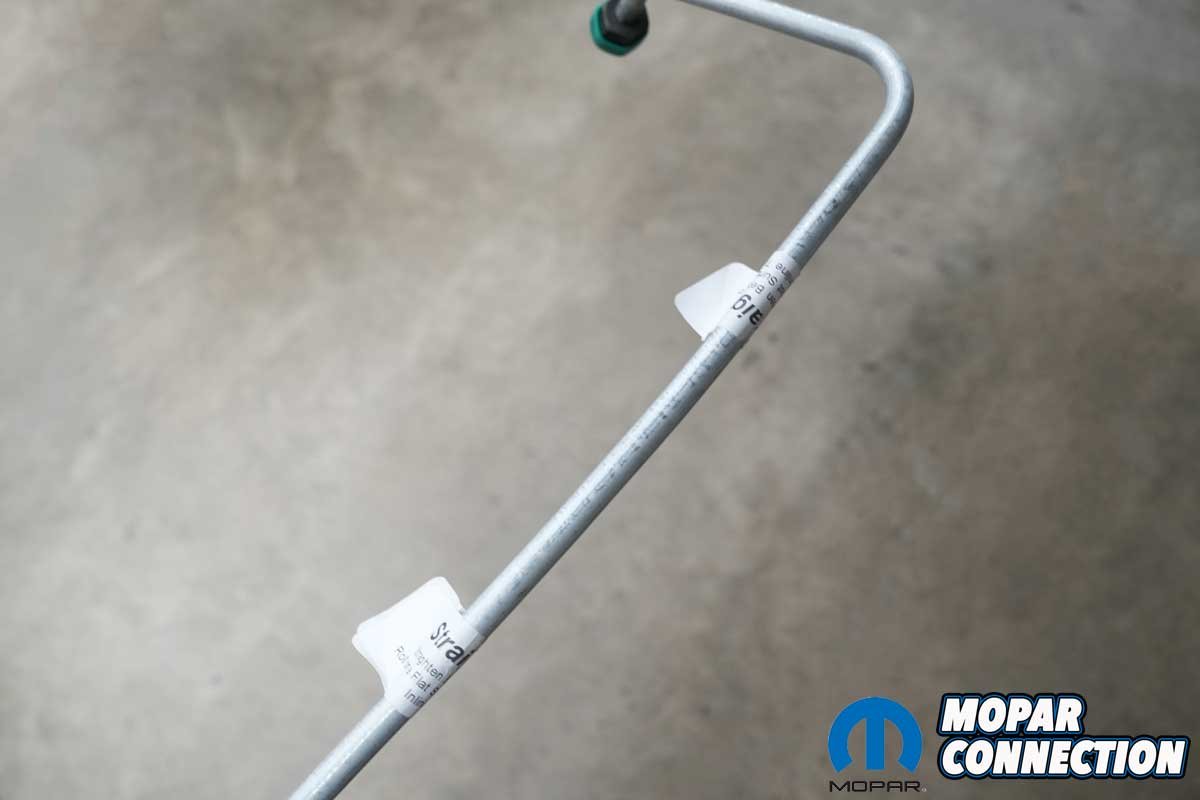
Above Left: One of the new replacement lines from Classic Industries arrived with a bend to accommodate the shipping box. Above Right: We carefully straightened the line as much as possible, achieving a satisfactory result.
The fluid filter was removed and replaced with a new unit. While the pan was off, we also adjusted the transmission bands, one accessible internally with the pan removed, and the other adjustable externally from the case. Both adjustments were performed according to the factory service manual (FSM).
After thoroughly cleaning the pan, it was reinstalled, and each fastener was torqued to factory specifications, again using the FSM as a reference. We were pleased that every bolt torqued properly, as the aluminum threads in the case are often susceptible to damage from years of overtightening.
Above: We wanted to ensure the new Classic Industries transmission lines were not visible when the car was viewed from the front. To replicate the factory appearance, the lines were painted in the same manner as the originals.
The Road Runner’s torque converter is equipped with a drain plug, so we rotated the engine until the plug was positioned at the bottom. Using a ratchet and socket, we removed the plug and were met with a rush of fluid as the converter drained. Once the flow subsided, the plug was reinstalled, and the pooled fluid in the lower bellhousing was wiped clean. We also noted the need to source an access panel for the lower bellhousing, as ours was missing.

Above: Once painted, the lines blended in and became nearly invisible, achieving the understated, factory-correct look we were after.
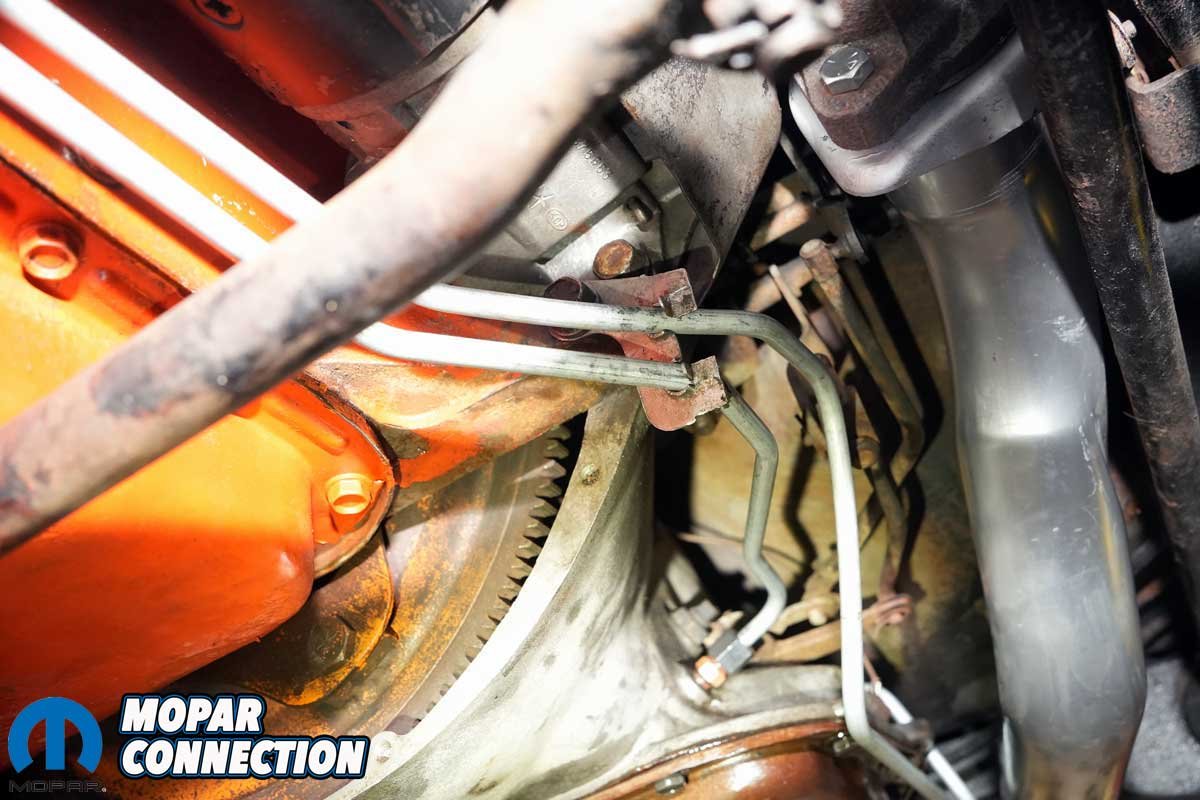
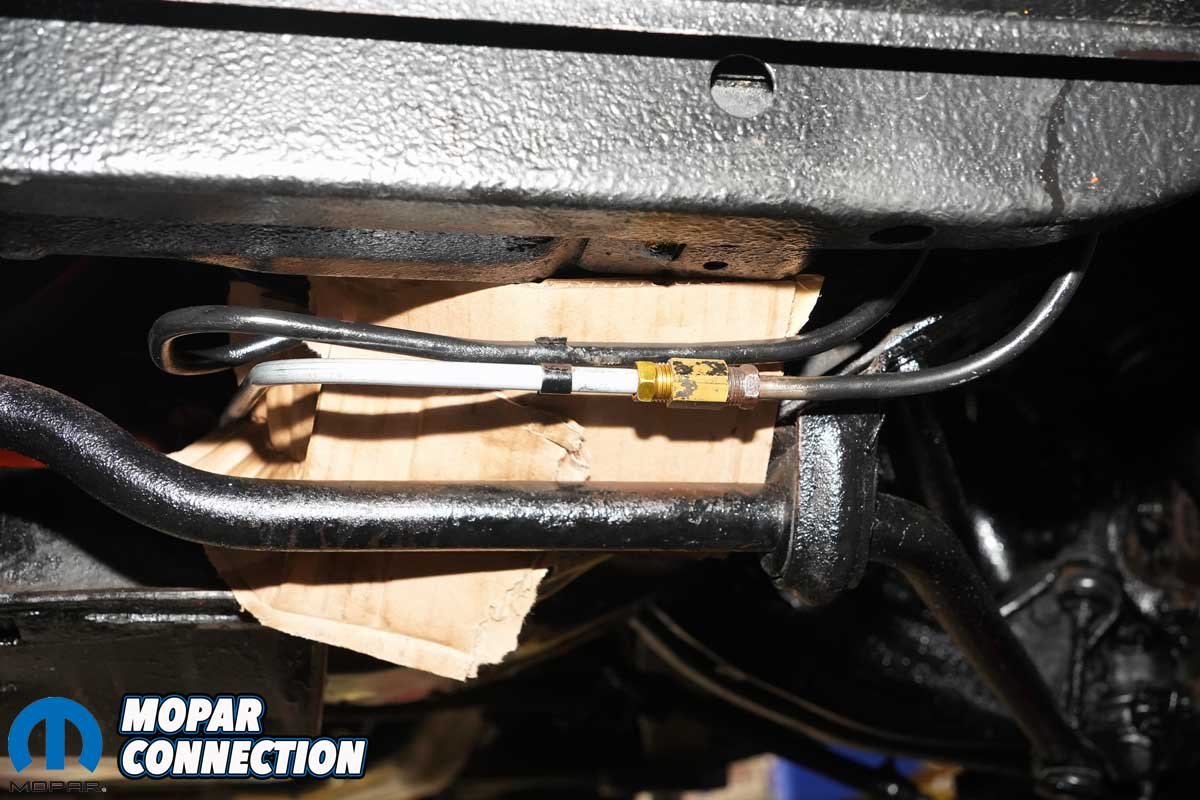
Above Left: The new transmission lines followed the contours of the block and oil pan perfectly, with the “S” clip neatly securing both lines. Above Center: Considerable time was spent carefully bending and adjusting the transmission line bracket to support and secure the new lines properly. Above Right: The factory external cooler lines were reused, but not before receiving a fresh coat of paint to restore their original appearance.
Before adding fresh transmission fluid, our final task was to remove the speedometer pinion gear from the transmission’s tail shaft. The assembly is retained by a single bolt and a locating clip, which sets the pinion housing in a distinct orientation. We marked its position before removal to ensure proper reinstallation.
When we acquired Rara Hemious Birdicus, it was fitted with oversized tires, leaving us unsure whether a previous owner had recalibrated the speedometer to compensate. With the pinion gear revealed, we confirmed it was a 32-tooth unit, the proper count for our FR70-15 Coker tires. Pleased, we reinstalled the pinion housing, carefully indexing it to the retaining clip before securing the bolt.

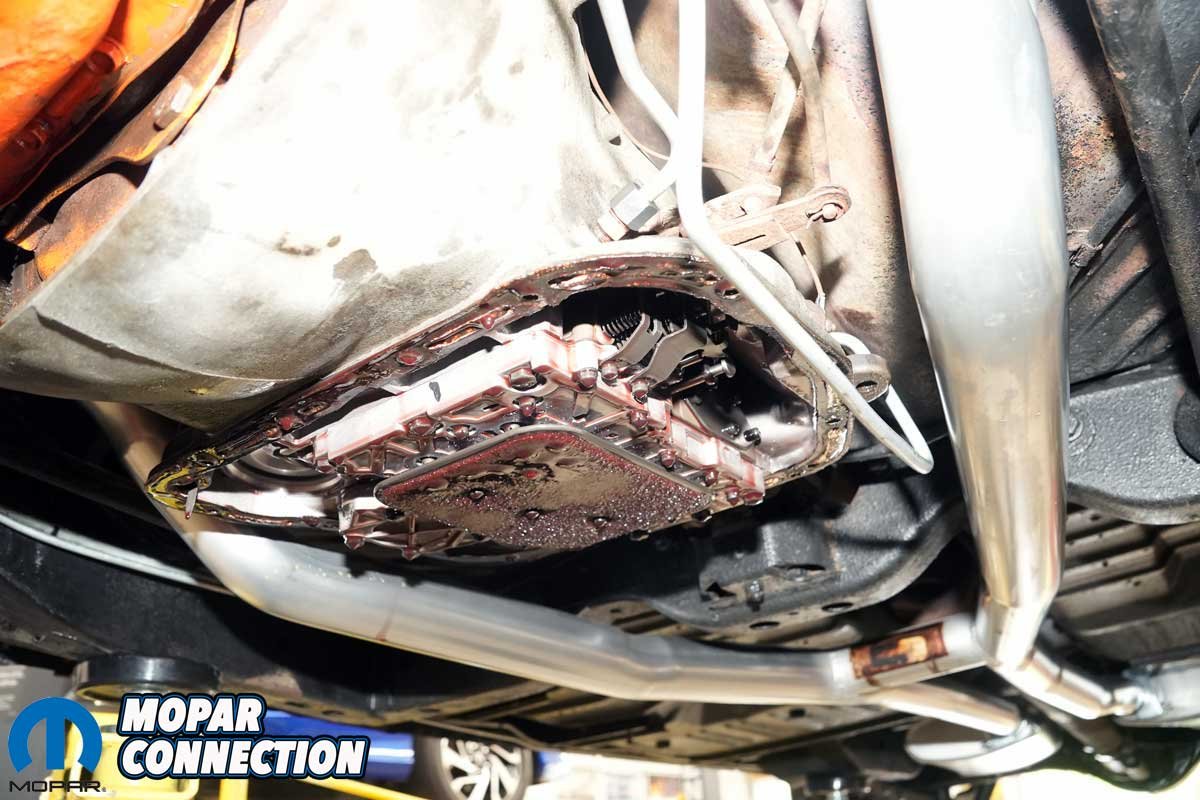
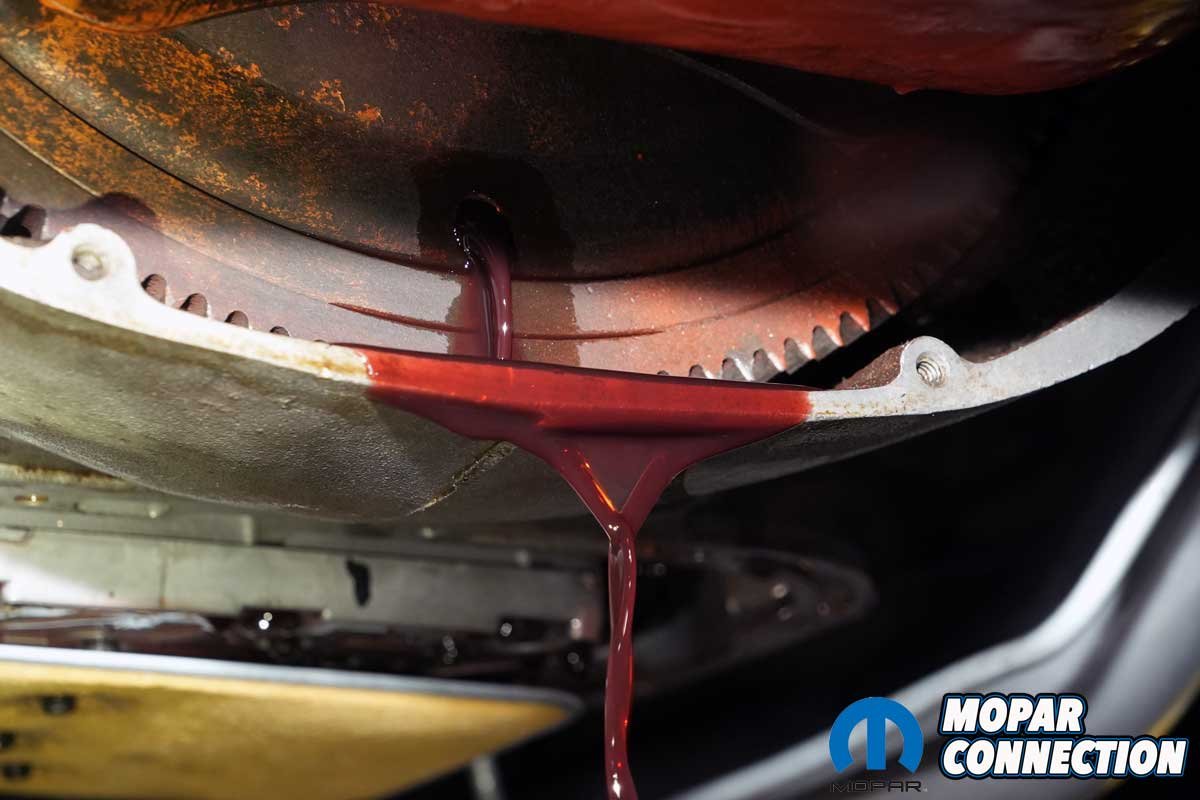
Above Left: The transmission fluid was likely decades old, and while the pan contained a noticeable amount of metallic glitter, we were confident the transmission itself was still in good condition. Above Center: The filter appeared serviceable. After installing a new filter, both bands were adjusted to factory specifications. Above Right: The torque converter was equipped with a drain plug, which we removed to extract as much old fluid as possible.
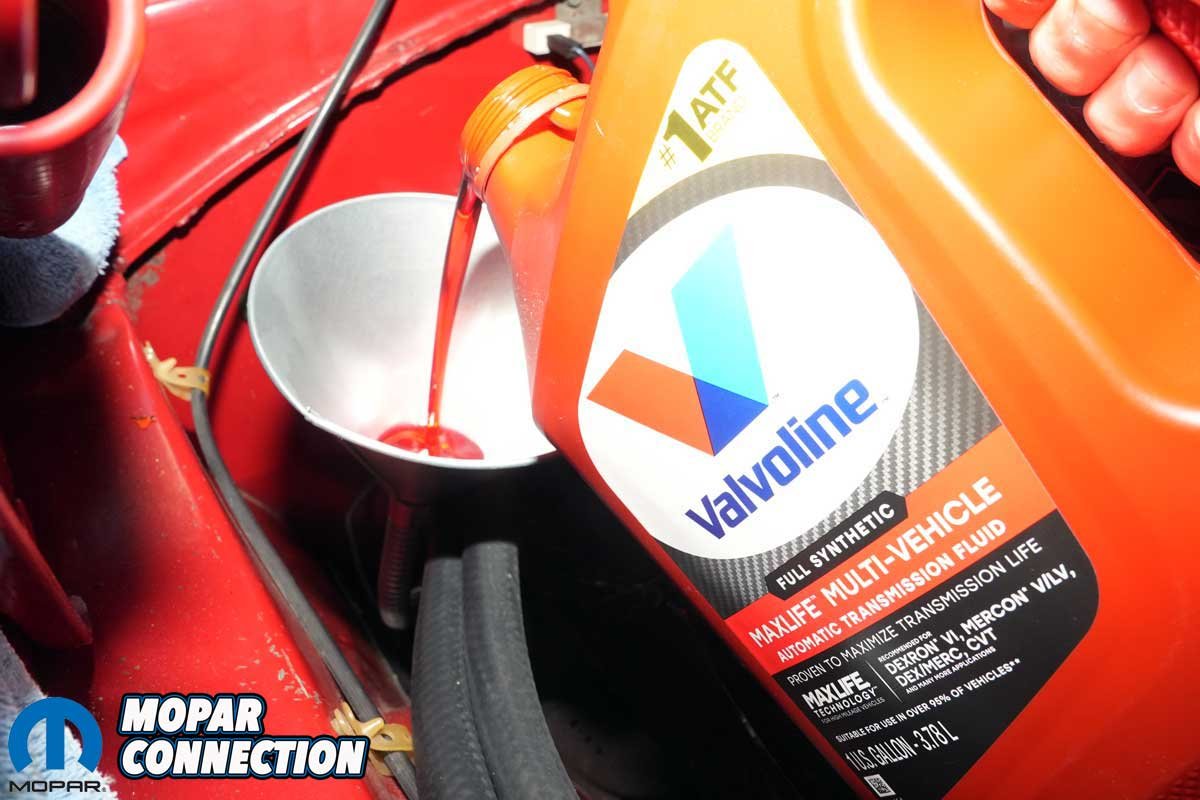
For the fluid refill, we chose Valvoline MaxLife Full Synthetic Dexron VI, a decision that may raise eyebrows among purists. We selected it because its friction characteristics are compatible with the AQ-ATF Suffix “A” specification required initially by the 1968 TorqueFlite 727.
Compared to older AQ-ATF Suffix “A” fluids, shifts may feel slightly smoother or softer, particularly during part-throttle upshifts. Smoothness is not an indication of slippage or reduced holding power; rather, it reflects contemporary friction-chemistry doing precisely what it was engineered to do.
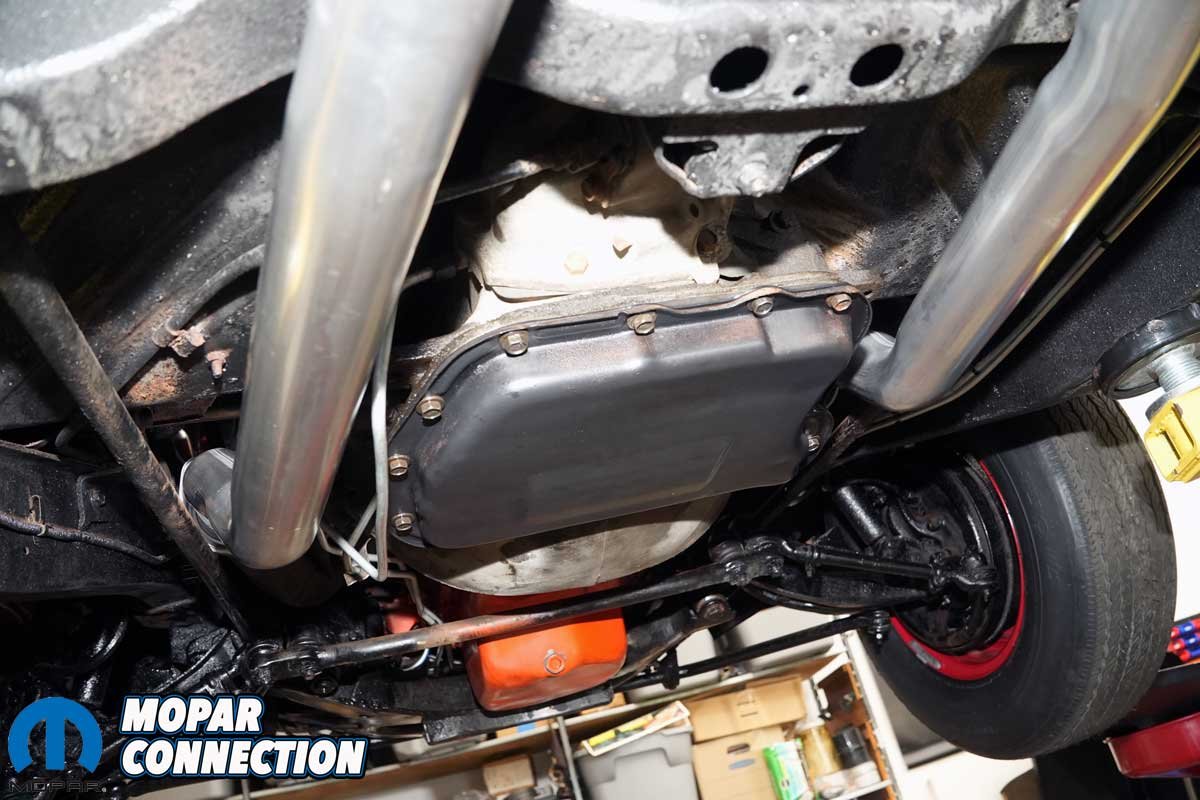
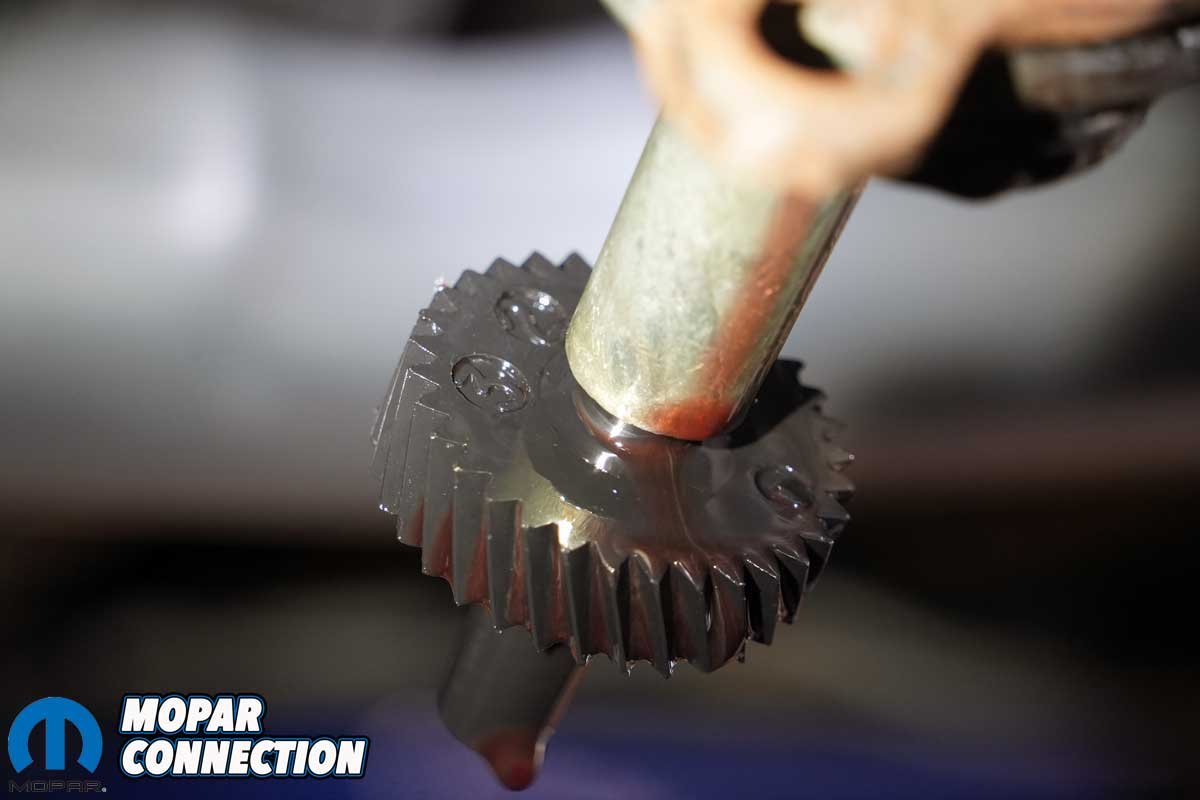
Above Left: After thoroughly cleaning the pan, we lightly fogged the exterior with black paint. While not a factory color, it can be easily removed later. Above Center: When we purchased the Road Runner, it came with oversized tires. We checked the pinion gear to ensure the speedometer would remain properly calibrated. Above Right: The pinion gear was a 32-tooth unit, the correct ratio for our Road Runner’s FR70-15 tires.
Had we been chasing a firm, old-school shift feel, we would have chosen a different fluid, such as a Dex/Merc or Type F–based ATF. Those fluids are better suited for aggressive driving, shift kits, high-stall converters, transbrakes, or heavy towing applications, where a more abrupt engagement is desirable.

Above: For the Road Runner, we chose Valvoline MaxLife Full Synthetic ATF. While Dexron VI rated, it remains fully compatible with the AQ-ATF Suffix “A” fluid specified for 1968. Some enthusiasts worry synthetic fluids are “too slippery,” but this one is ideal for a street-driven Hemi. For racing applications, alternative fluids would be more appropriate.
For our street-driven 1968 TorqueFlite 727, Valvoline MaxLife Full Synthetic ATF is both safe and entirely appropriate. It prioritizes smoothness and longevity over harsh shifts, exactly what most street cars benefit from.
Since installing the new Classic Industries lines, adjusting the bands, and performing the fluid exchange, the TorqueFlite has logged roughly 800 miles without any noticeable loss of performance. While our choice of fluid may have been a source of concern for some, we are extremely pleased with the Torqueflite’s shift quality; it is perfect for cruising.


