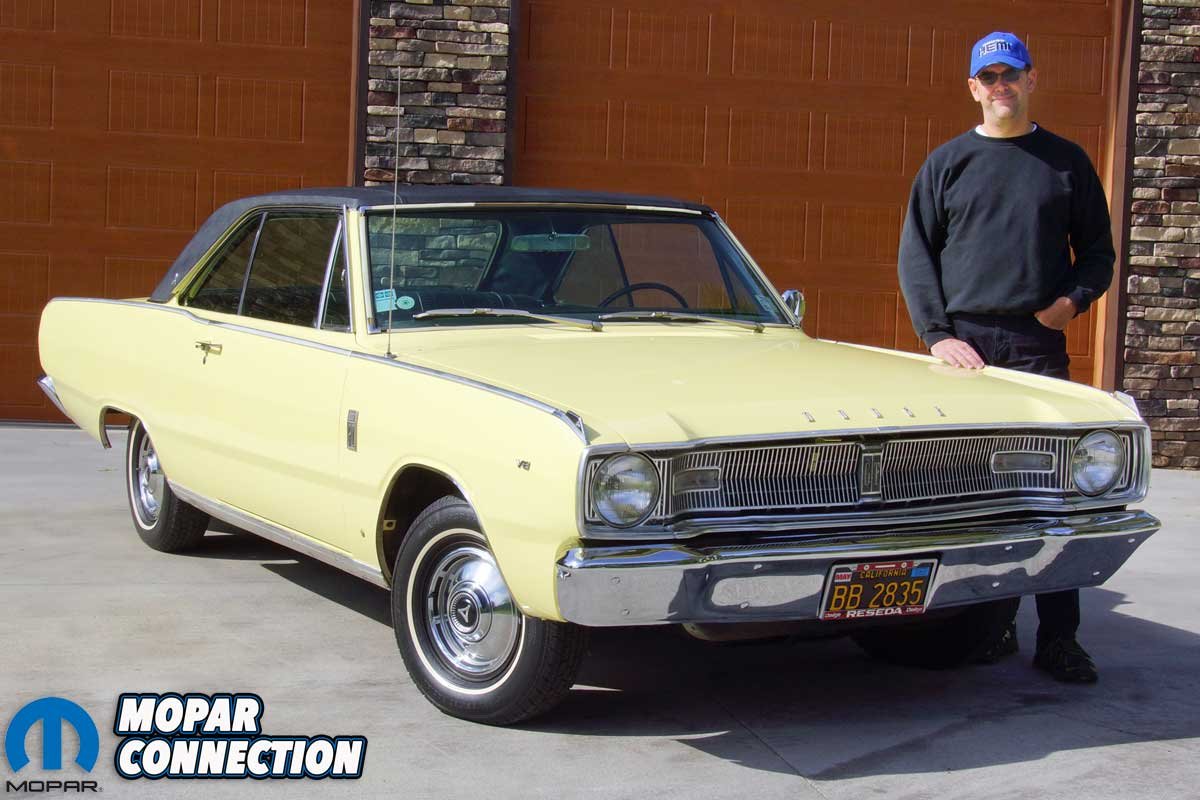
Almost three years ago, we purchased a 1967 Dodge Dart GT with an electrical problem. The previous owner needed to charge the battery occasionally, and when starting, the engine turned over slowly. An attempt to fix the situation led to a new battery being installed and keeping it on a trickle charger during storage of the Dodge. The owner eventually lost interest in the Dart. Seeing it was a rust-free California car relocated to the Northeast in 2001, we jumped on the chance to own the GT, even with the wiring concerns.
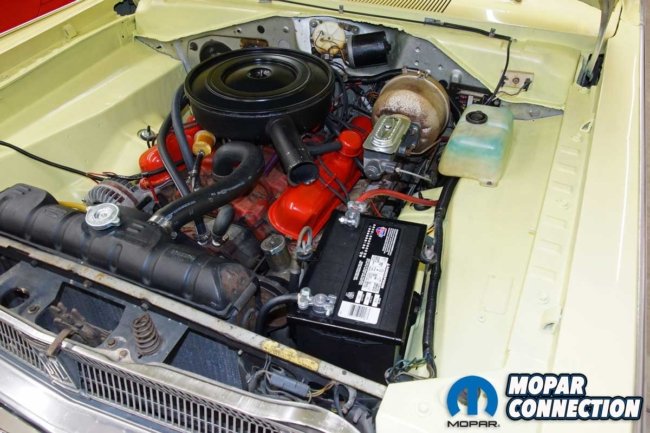
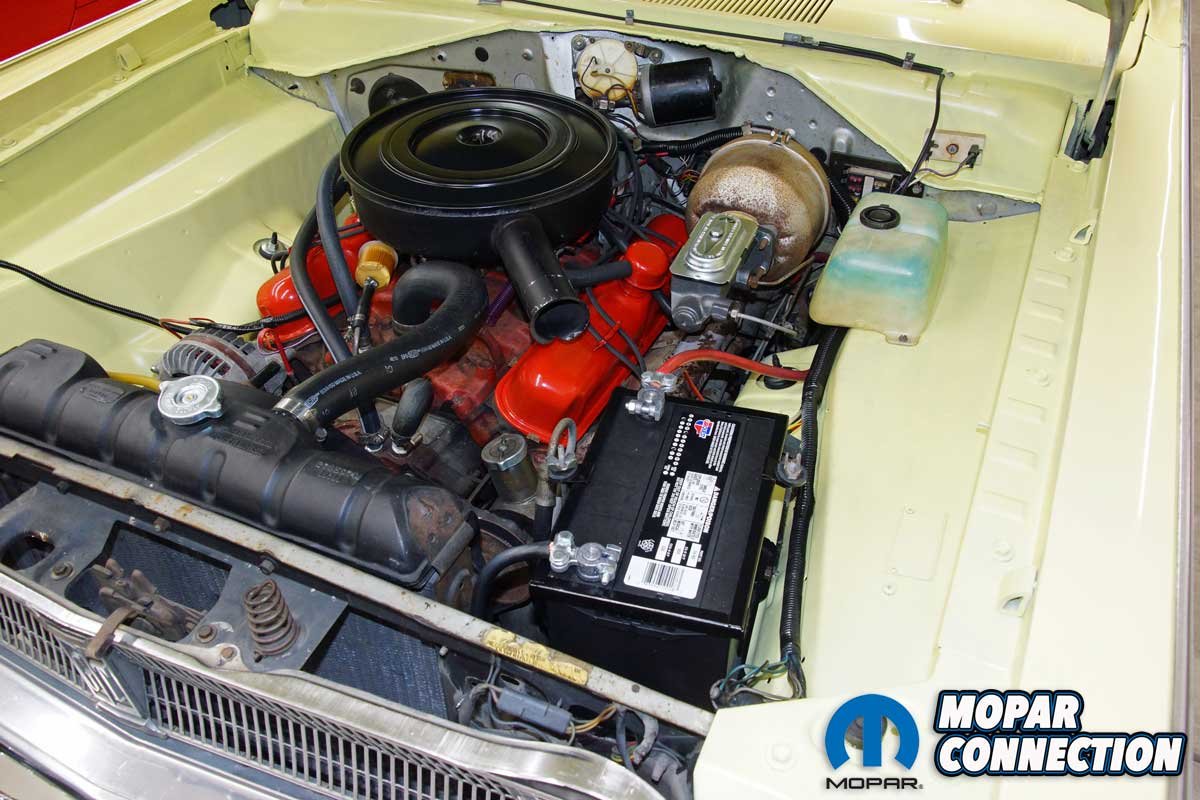
With the Dart in our garage, we performed a visual inspection of the wiring. Though the 273 CID engine would start, the gear-reduction starter labored to spin over the low-compression engine. Although the engine may have been the problem, we kept returning to the wiring. The Dart’s four-month-old battery may have been the problem, but we did not expect it to be. The battery was poorly secured with an aftermarket hold down, and the battery tray was in terrible shape, but again, we did not feel those caused our problem.
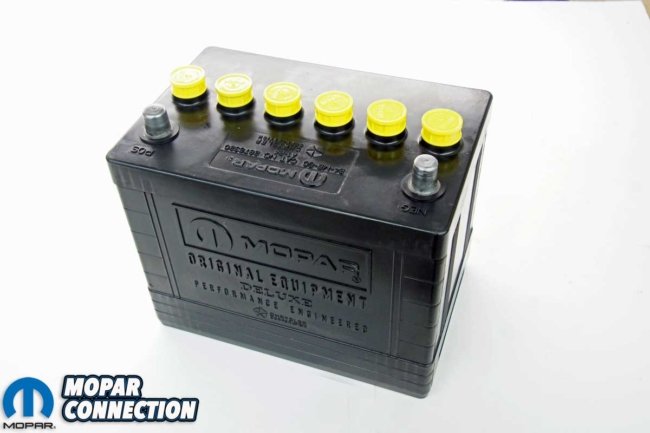
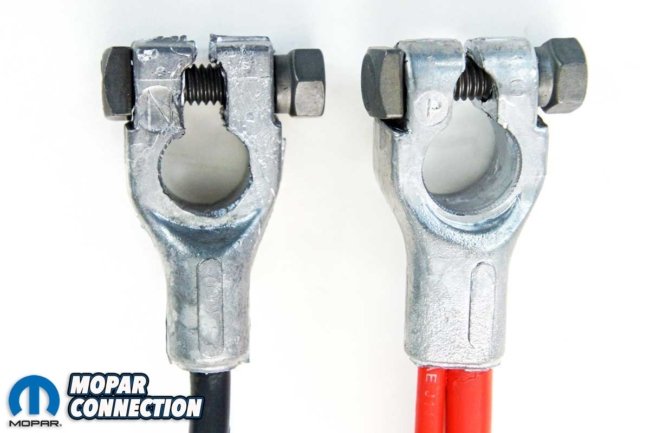
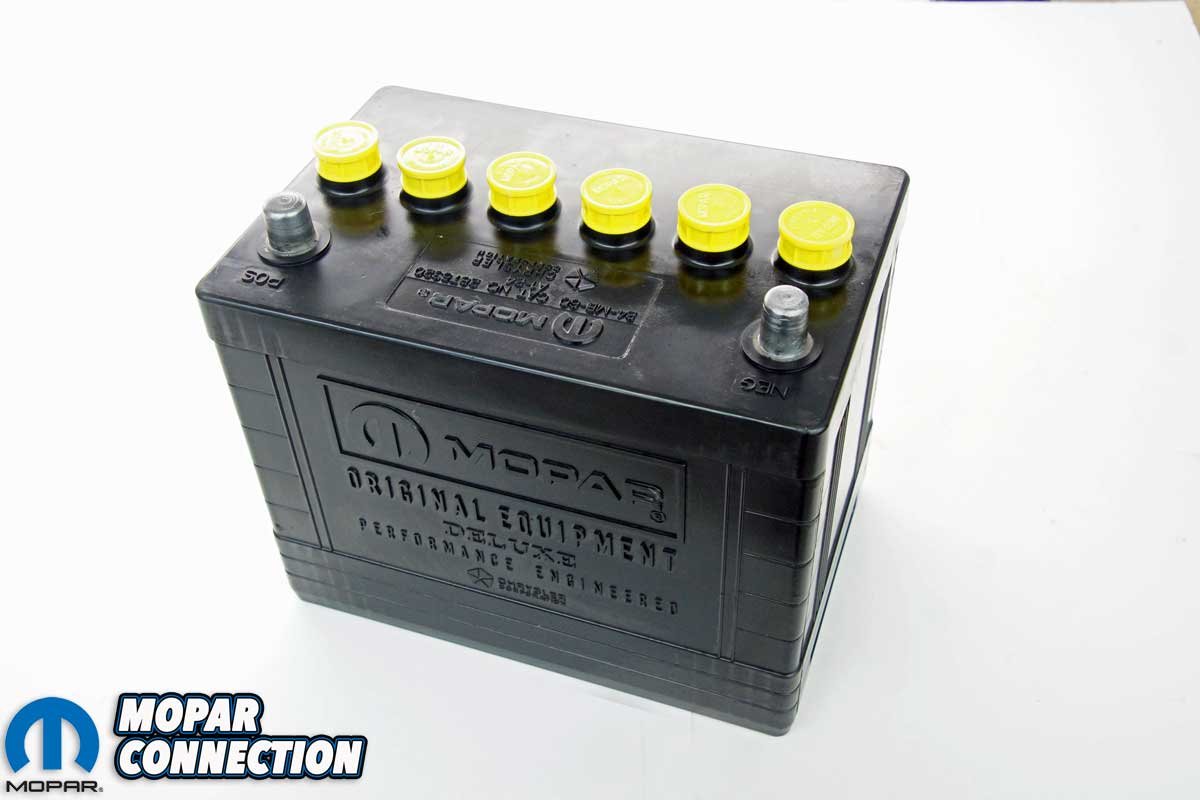
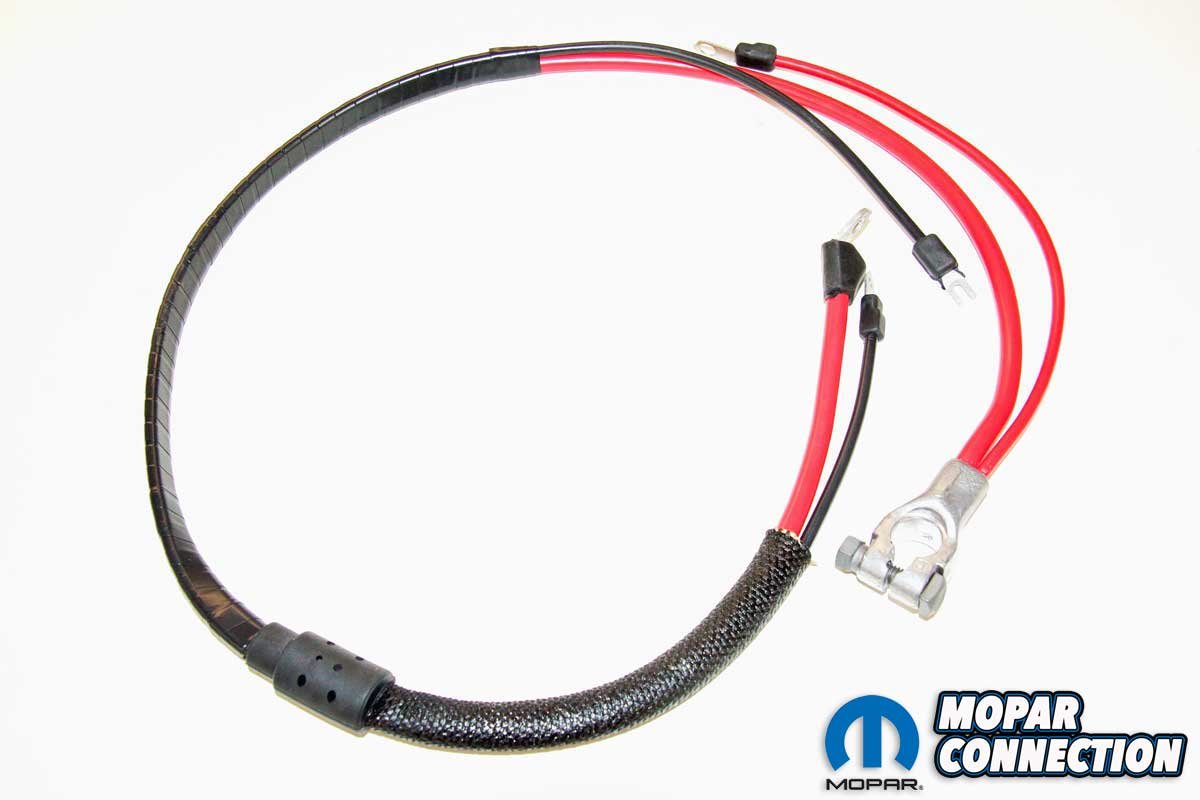
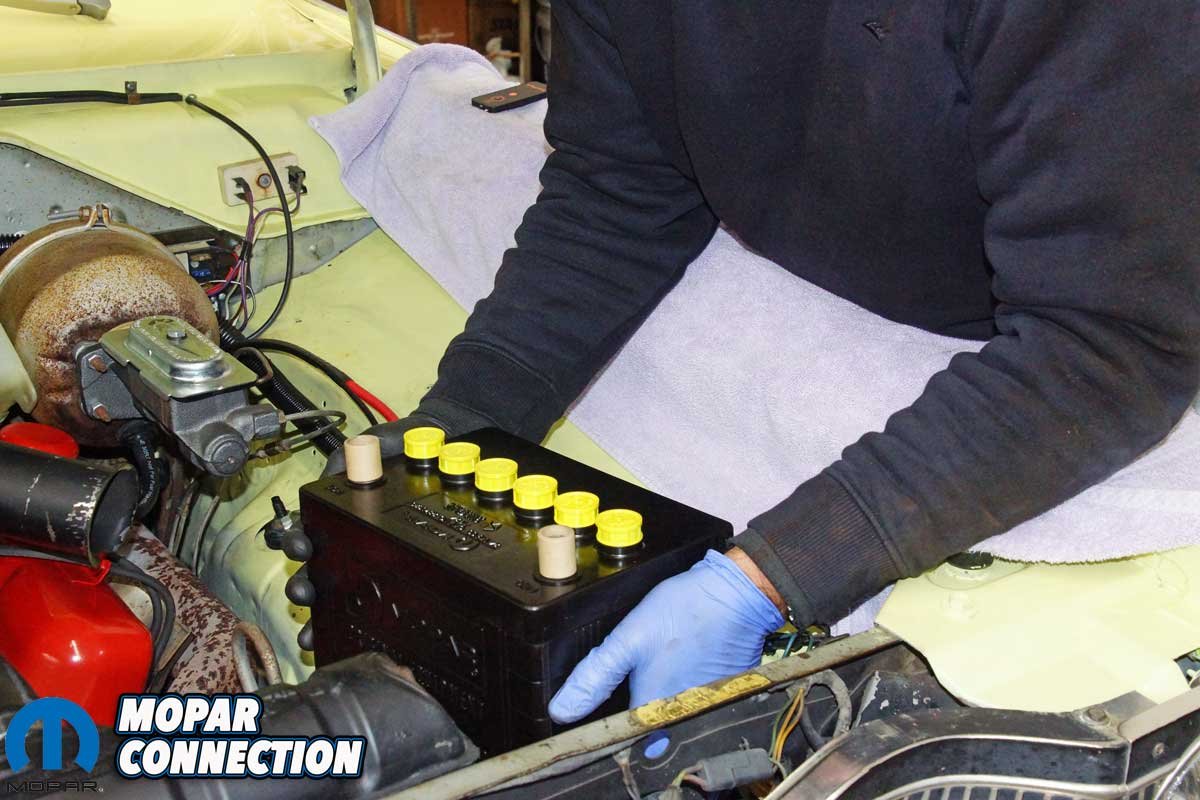
Above Left: The battery uses absorbent glass mat (AGM) technology, offering enhanced performance and reliability and outperforming factory batteries. The Classic Industries battery came fully charged (12.84 volts) and ready to install. Even though there are caps, the battery is a maintenance-free design with a 750 CCA output. Above Right: The positive and negative (no shown) battery cables feature the correct length and markings. Each cable is manufactured to appear like the original. The positive cable includes the wires for the split starter lug, factory-appearing heat sheathing, and an insulator grommet for mounting the cable to the firewall.
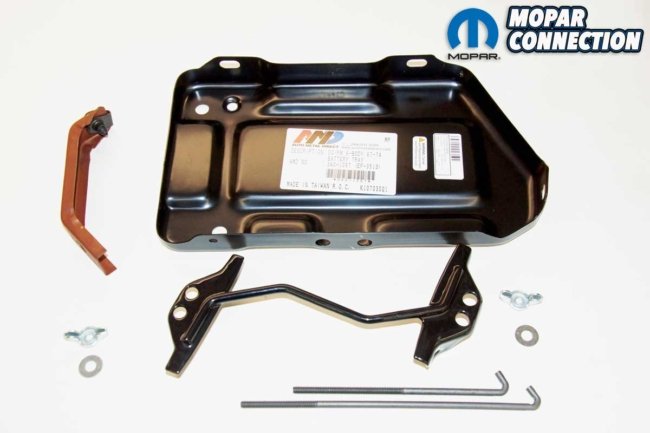
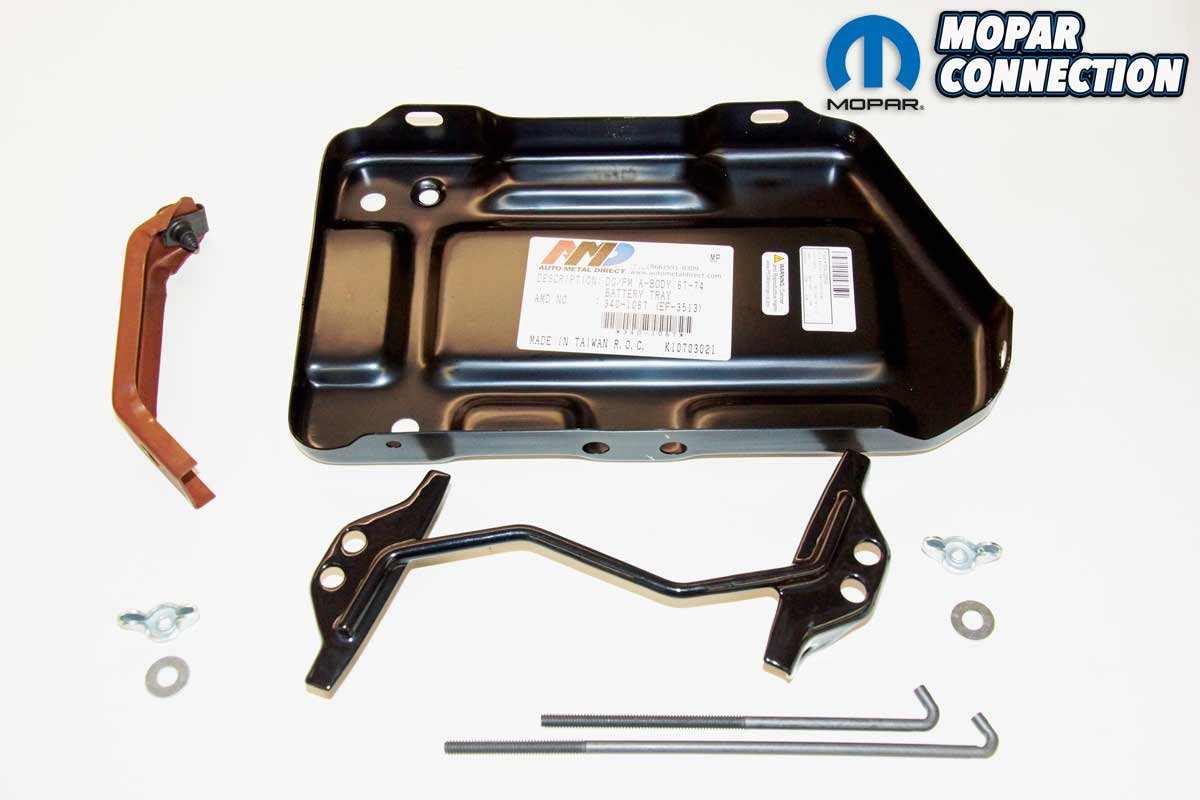
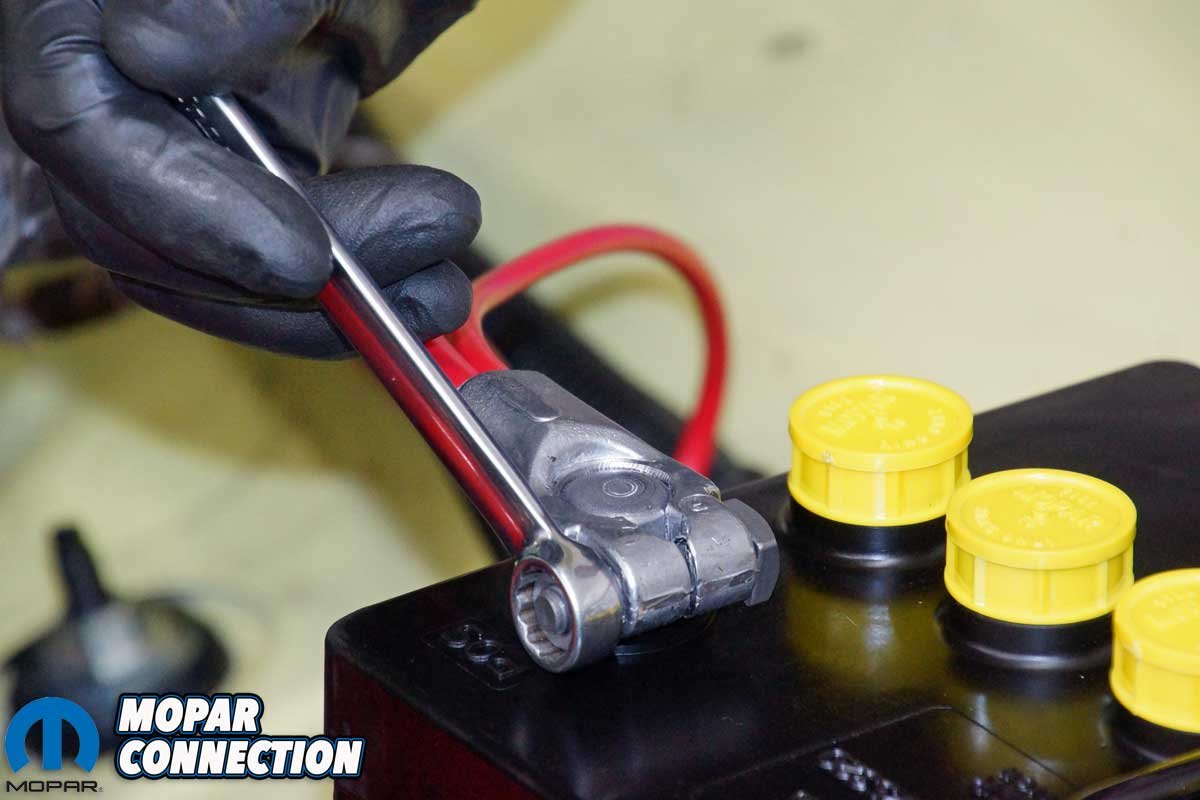
Above Left: Both cables have a round head design and proper castings. The cables ends are the right style for a 1967 small-block Dart. The positive cable end has a “P” cast into it, and the negative cable end has an “N” stamped onto it. Above Right: The battery tray and brace are AMD products. Both are identical to the factory pieces. The hold-down is appropriately coated, and the J-hooks are the correct uneven length design.
Interestingly, the battery cables and cheap terminal ends were in terrible shape. We quickly checked Classic Industries and found it had reproduction battery cables, battery tray, and hold-down bracket for our Dart. What follows is an overview of how we repaired the electrical system.
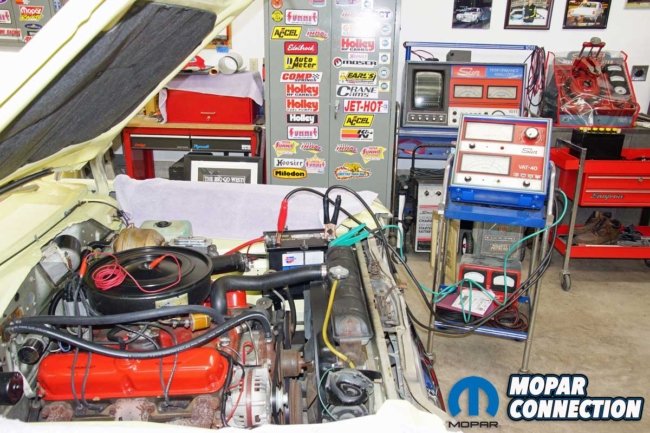
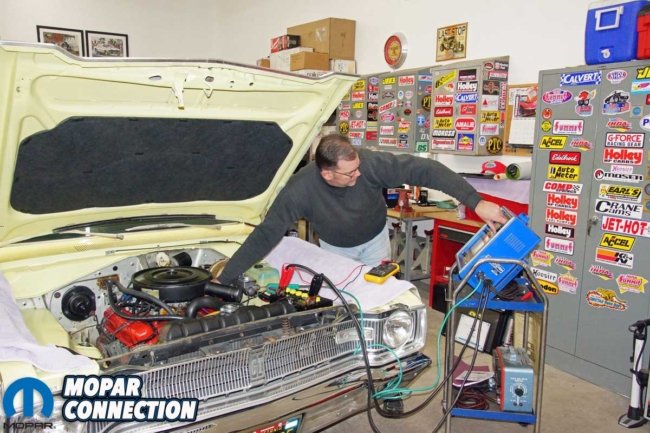
Before we ordered any parts, we needed to ensure no other components had failed. To test our wiring, we required a multimeter, a jumper wire, a remote starter switch, a SUN Voltage/Amperage Tester (VAT-40), or some load device to evaluate the battery, starting, and charging systems. The battery was tested first because a failed battery would invalidate the tests that followed.
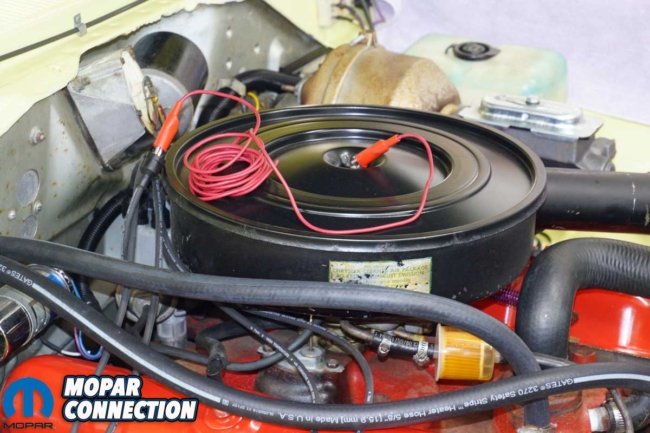
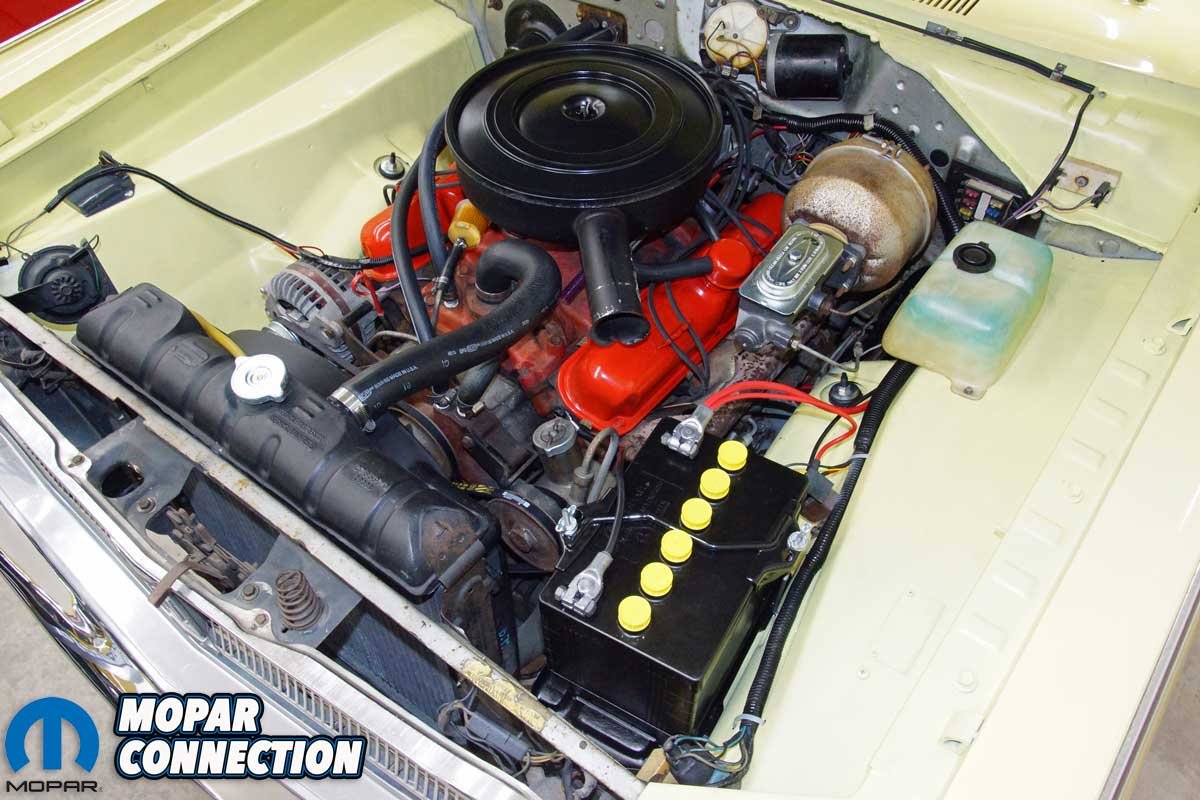
Above Left: The newly acquired Dart had a factory 273/2bbl engine. Even though the engine would start, it seemed to labor when the ignition key was turned. The battery that came with the Dar was only four months old. The battery cables looked terrible. Each cable was not original, and both had temporary terminal ends. Also, the battery tray was damaged, and someone had picked up an aftermarket battery hold down, which did not work well. Above Center: Testing the battery required a Sun VAT-40. With a CCA rating of 550 amps, we loaded the battery to 275 amps for 15 seconds. The battery voltage, which was 12.4 volts, dropped to 10.0 volts when under load. Since the battery remained above 9.6 volts during the load test, the battery was good. Above Right: The next test was a starter draw test. Again, the red and black lead of the VAT-40 remained on the battery terminals, but we moved the green inductive pickup to the Dart’s negative battery cable.
With the positive and negative leads of the VAT-40 connected to their corresponding battery terminals, we clamped the VAT-40’s inductive pickup around the negative lead from the VAT. Our battery read 12.4 volts, which fell within the 12.4- to 12.6-volt specification. Had the battery fallen below 12.4 volts, we would have recharged it and retested it before continuing with additional system testing. Conversely, if the battery was over 12.6 volts, we could have turned on the headlamps for 30 to 60 seconds (engine off) to drop the voltage to spec.
The battery had a 550 cold cranking amperage (CCA) rating. We rotated the load dial of the VAT-40 to half the CCA value, and after 15 seconds, the battery voltage dropped to 10 volts, indicating a passing battery. If the voltage had dropped below 9.6 volts, the battery would have failed, and a replacement would have been necessary.
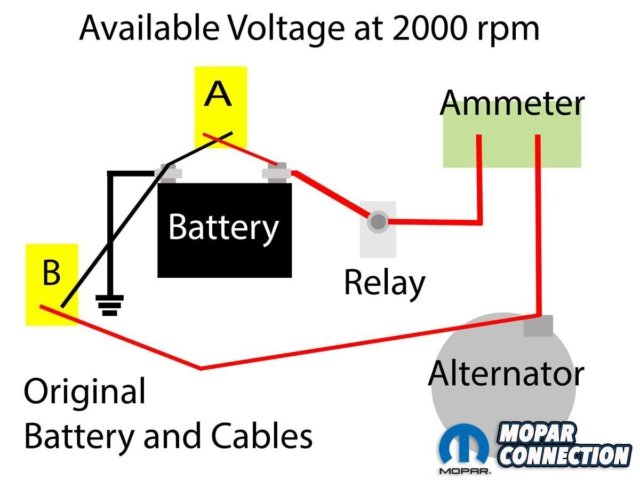
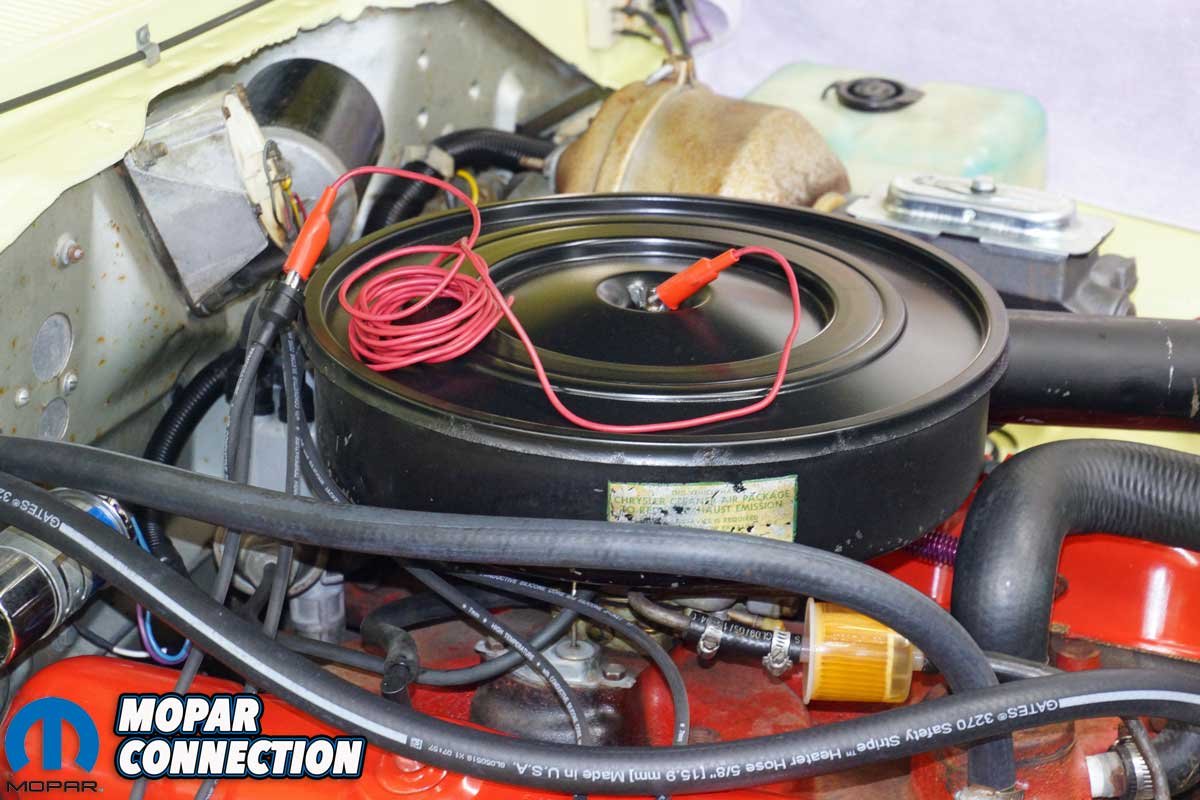
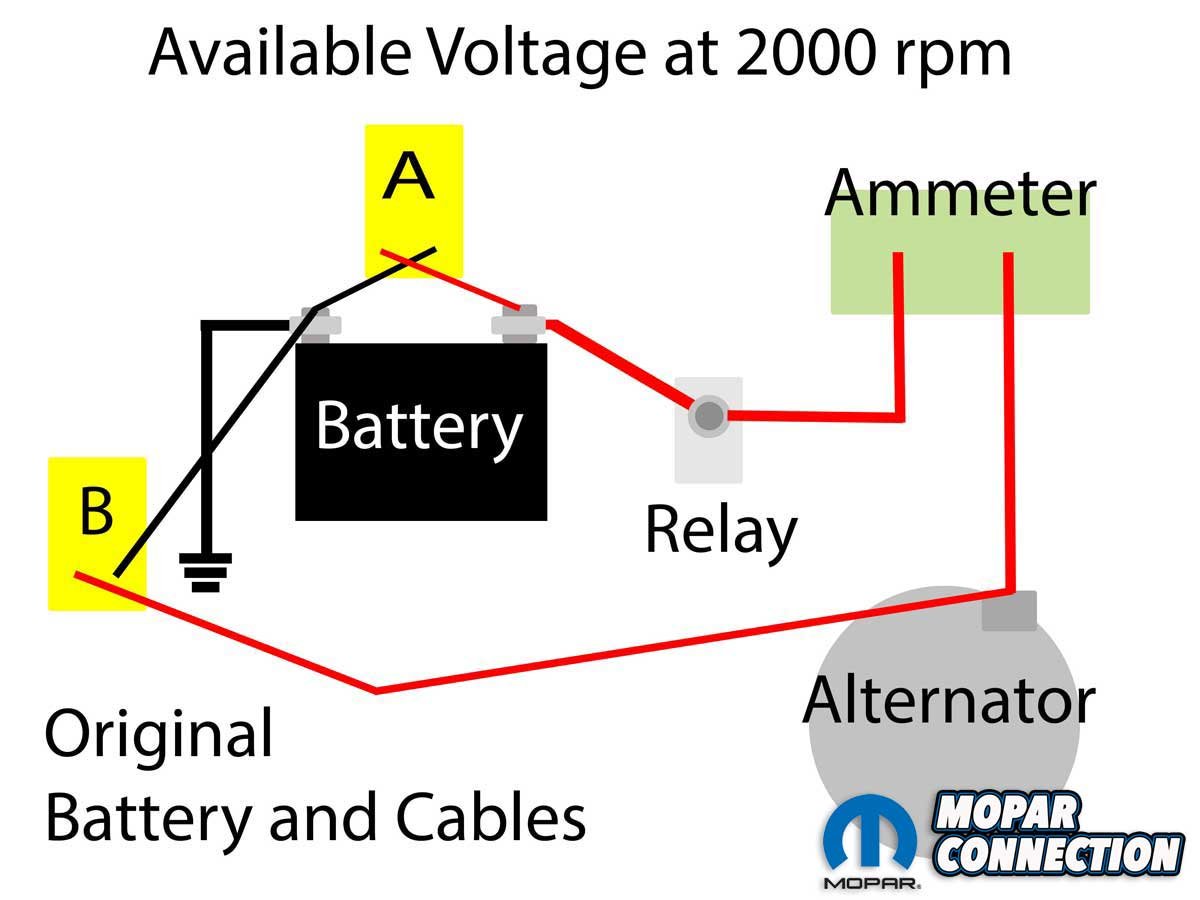
Above Left: The ignition or fuel must be disabled when performing the starter draw test, so the engine will not start. With the Dart, we disconnected the secondary coil wire and grounded it with a jumper wire to the carburetor stud. The engine was turned over, and the starter draw was 150 amps at 10.5 volts. Both readings were both below the factory shop manual specifications. Above Right: While mildly concerned with the starter results, we reattached the coil wire and started the engine. The no-load voltage read at 2000 RPM with the accessory loads turned off was 13.32 volts measured with a multimeter (A). A properly charging system will have a voltage between 13.5 to 15.0 volts. Moving the positive lead of the multimeter to the B+ terminal on the alternator, and with the engine at 2000 RPM, the voltage was 14.95 volts (B). Based on these numbers, we had a voltage drop of 1.63 volts in the charging system.
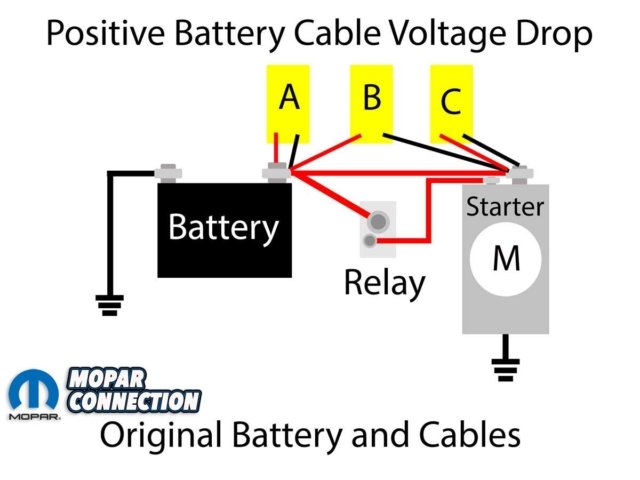
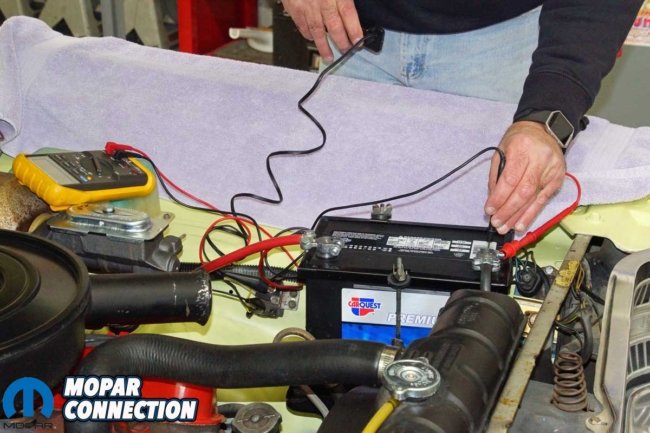
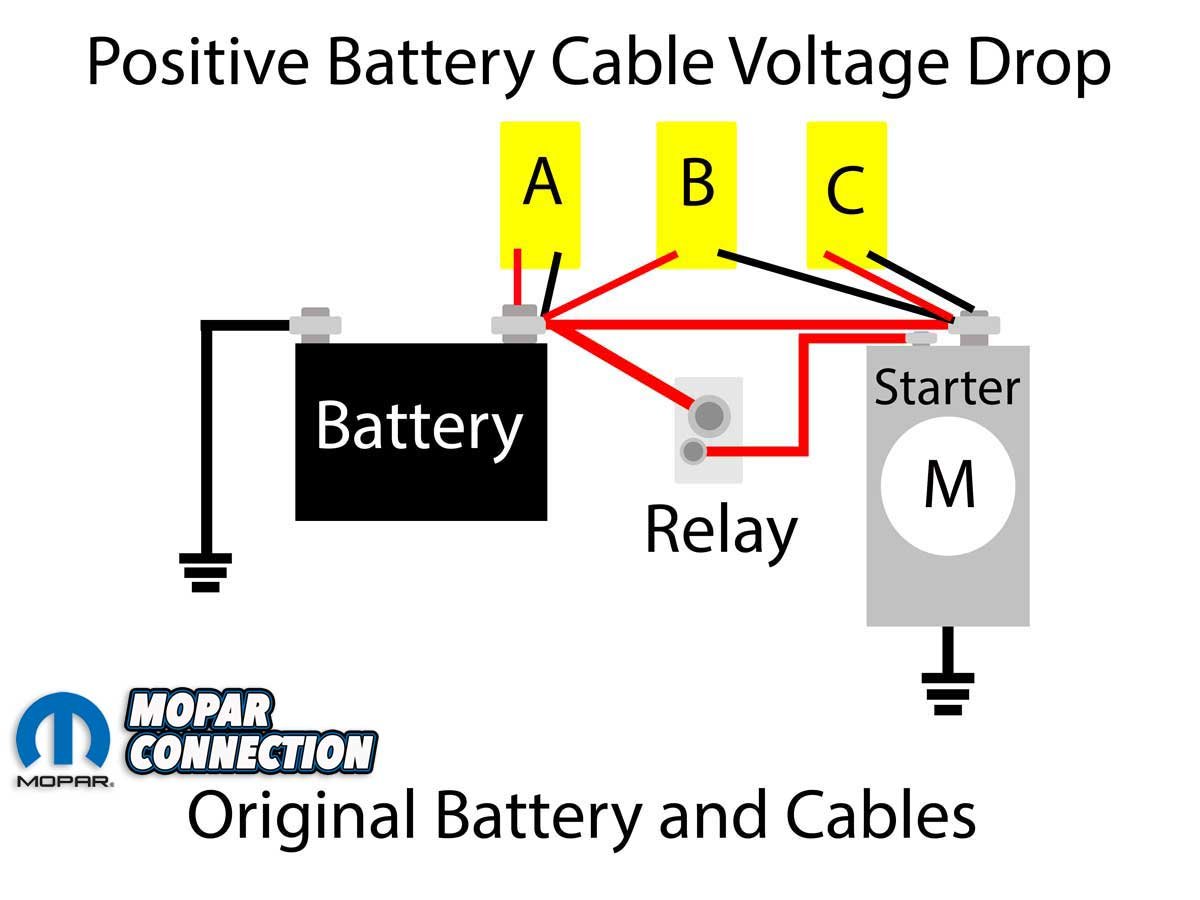
Above Left: We spun the engine over with a remote starter button and monitored the voltage drop across the positive battery cable. After several tests, the positive cable’s voltage drop total was 0.012 volts. The factory service manual specified a voltage drop of 0.5 volts or less. The positive cable passed the test. More details follow in the next photo. Above Right: For each voltage drop test, the engine had to be turned over. With our multimeter, we attached the read lead to the battery positive terminal and the black lead to the battery cable end at the battery. The voltage drop was 0.001 volts (A). Next, the red lead was moved from the battery terminal to the battery cable end, and we moved the black lead to the battery cable end at the starter. The voltage drop was 0.009 volts (B). Last, we placed the red lead on the battery cable at the starter and the black lead on the stud of the starter. The VD was 0.002 volts. The total voltage drop was 0.012 volts.
We next performed a starter draw test, which determined the number of amps required to crank an engine. With the VAT-40 still connected and the inductive pickup moved to the Dart’s negative battery cable, we installed a jumper wire from the secondary coil wire to the chassis ground. By doing this, the engine would turn over but not start. We also connected a remote battery starter to a 12-volt source and the “S” terminal of the starter relay.
We depressed the remote starter button, and the starter Bendix engaged and slowly spun the torque converter ring gear. After 6 to 8 seconds of rotation, the voltage and amperage settled on the VAT-40 gauges. The factory service manual (FSM) listed the voltage spec at 11 volts and the amperage range between 155 – 180 amps. Our readings of 10.5 volts and 150 amps were both below spec, but neither were extreme. We noted our values, reconnected the coil wire, and moved to the charging system.
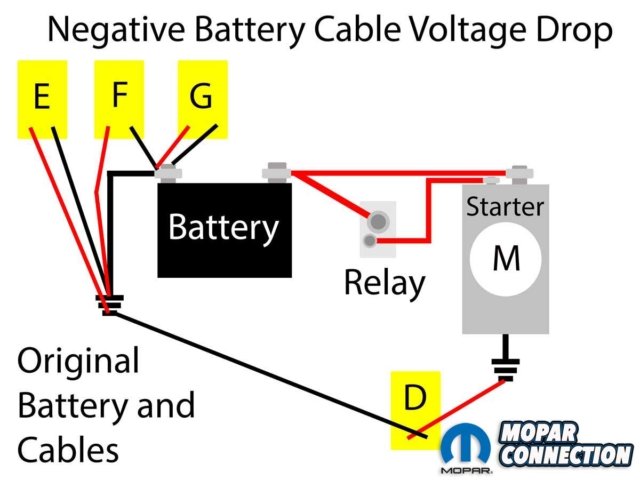
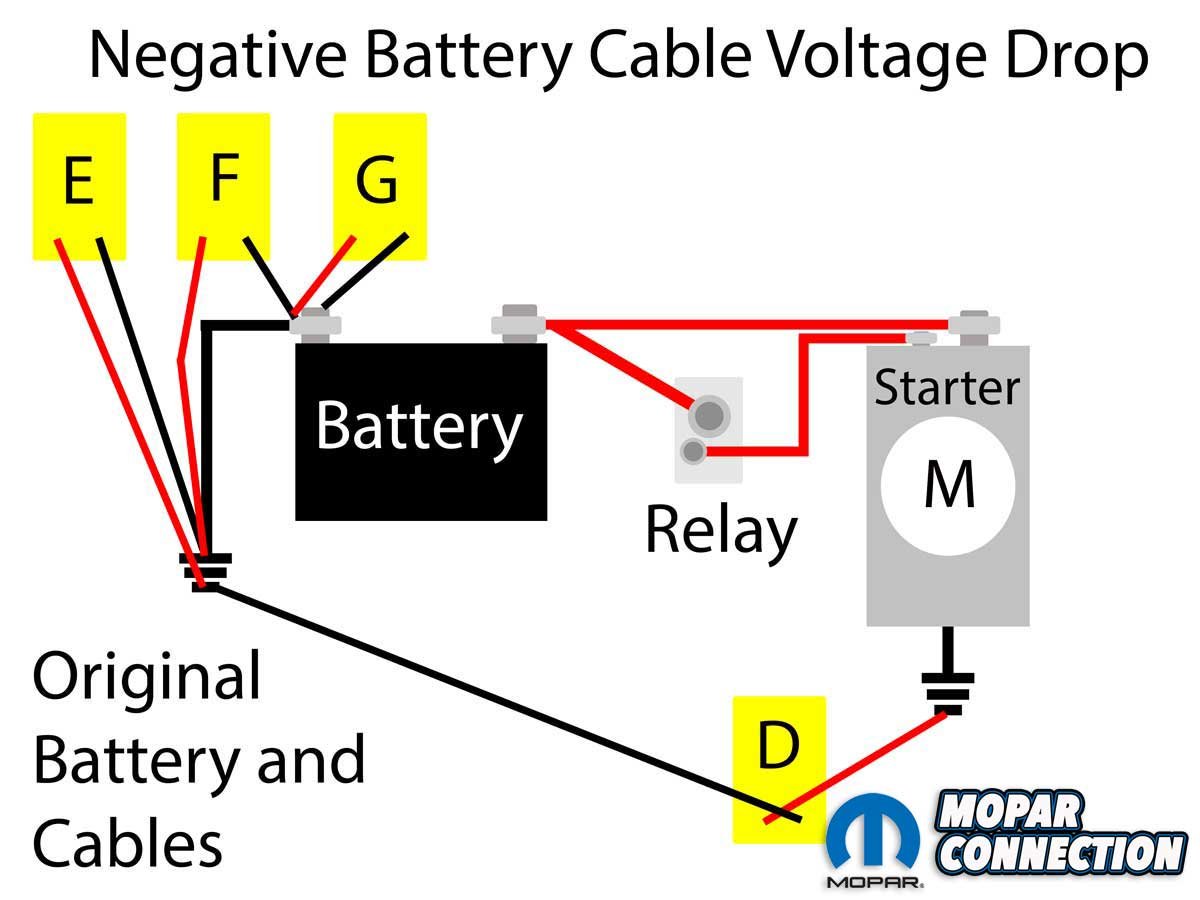
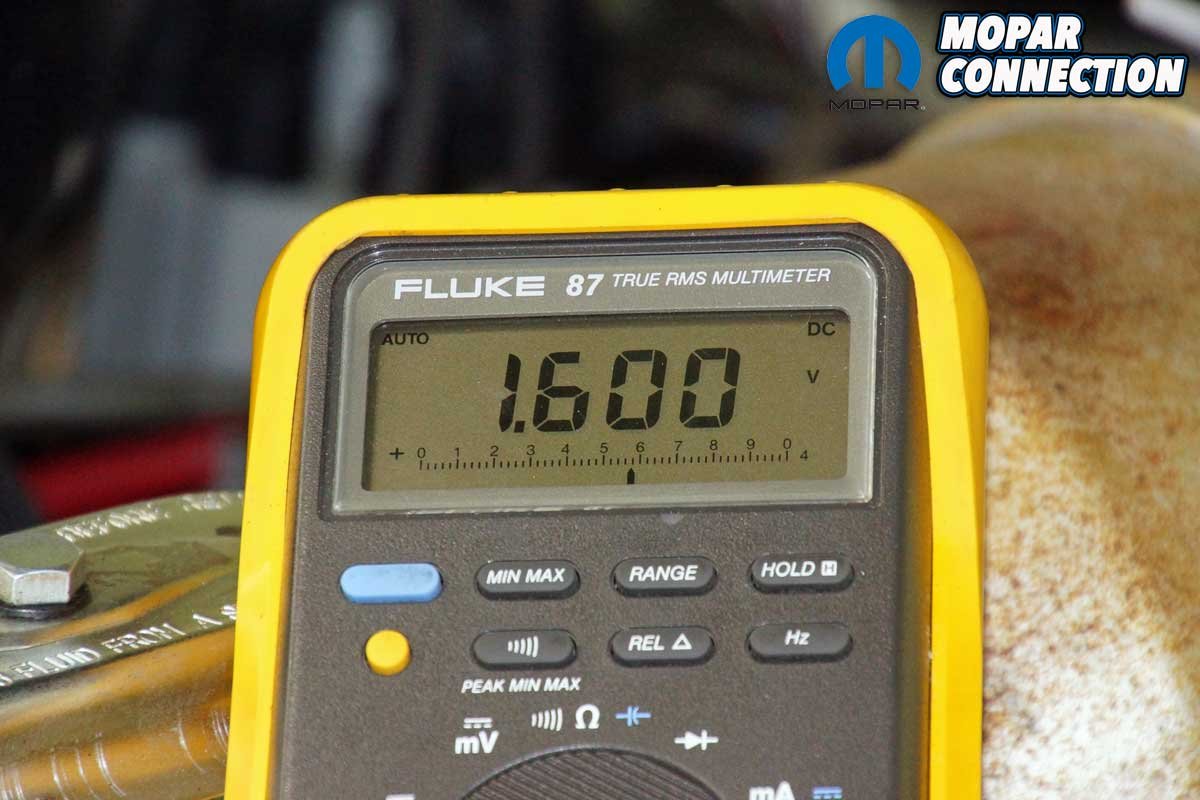
Above Left: We similarly tested the negative battery cable as the positive cable. We performed four separate voltage drop tests on the starter ground circuit to test. An acceptable ground side voltage drop is 0.2 volts or less. Above Right: Again, every voltage drop test was measured with the engine turning over. With the red lead of the multimeter clipped to the case of the starter and the black lead touching the bolt that grounded the negative cable to the engine block, the voltage drop was 0.001 volts (D). Next, we moved the red lead to the engine bolt where the battery cable was attached, and the black lead was connected to the negative battery cable terminal end at the block. The voltage drop was 0.012 volts (E). Next, the leads were moved to each terminal end of the negative cable, and we measured a voltage drop of 1.6 volts (F), which was eight times the allowable ground-side voltage drop for the circuit. The battery cable was the failed part. At this point, we performed a useless test. The voltage drop of the cable end and the battery terminal was 0.003 volts (G).
The charging system consisted of a 1975 electronic voltage regulator and alternator. To test the alternator, we started the engine and held it at 2000 RPM. The no-load (open circuit) voltage was 13.32 volts. We twisted the carbon pile load dial to 12-volts, which forced the alternator to provide maximum amperage to meet the electrical system needs. Our testing showed 34 amps. The FSM stated the no-load voltage range was 13.5 to 15 volts at the battery, and the alternator maximum amperage specification was 31.5 to 37.5 amps.
Therefore, the charging system amperage was acceptable. Still, because the no-load voltage was low, we connected our multimeter red lead to the B+ post of the alternator, and we clipped the black lead to the negative battery post. We again ran the engine at 2000 RPM and noted a steady voltage of 14.95 volts at the B+ post of the alternator. Based on these numbers, we had a voltage drop (VD) of 1.63 volts between the alternator and battery.
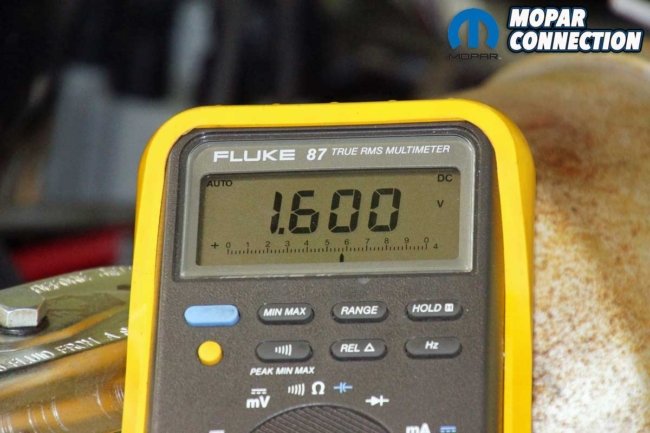
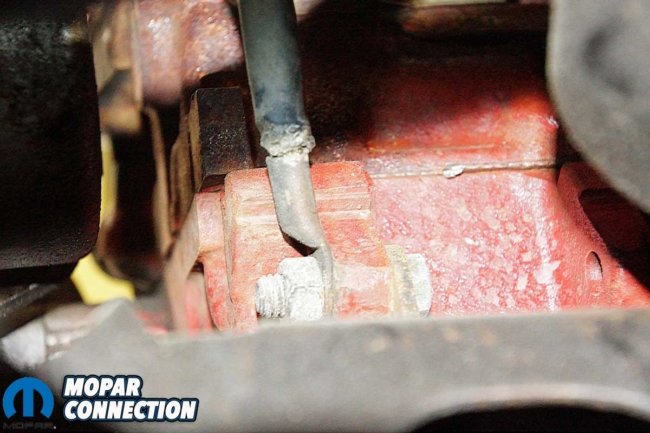
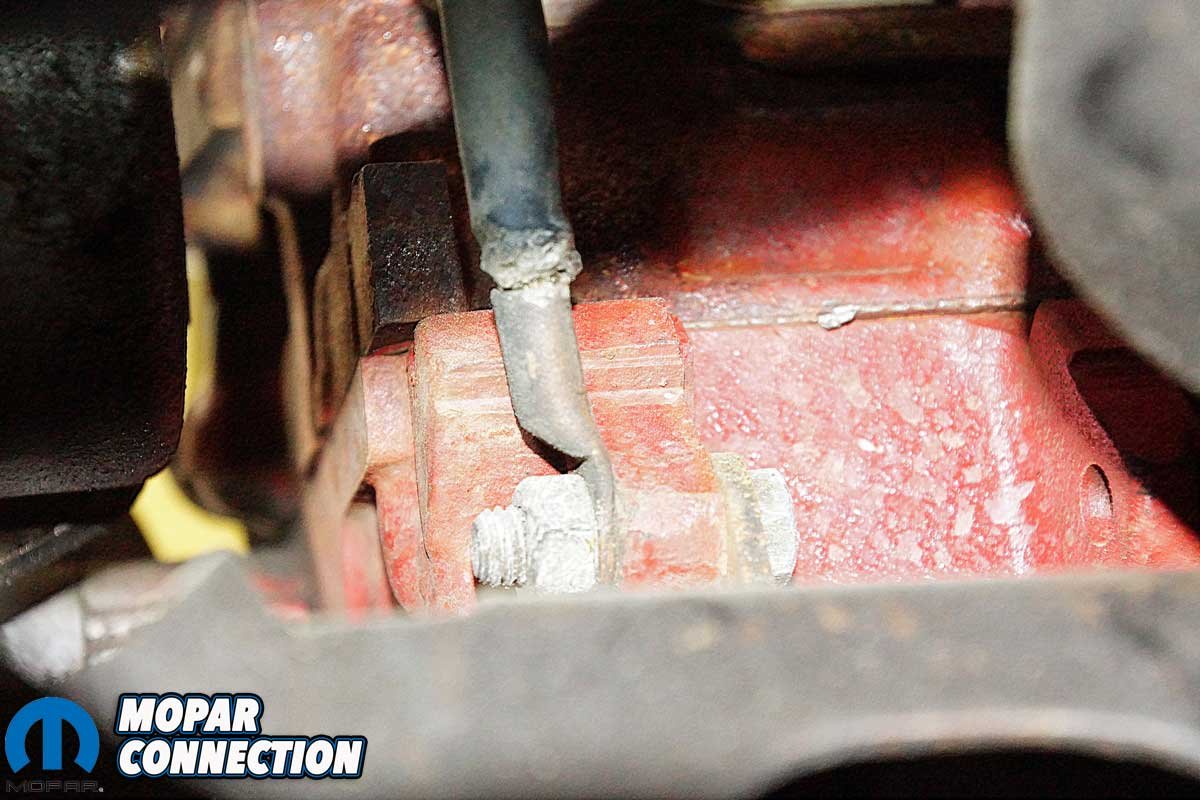
Above Left: With a 1.60 voltage drop on the negative battery cable, slow cranking speed and low charging voltage concerns would have resulted. Above Right: Strangely, the non-original ground cable was bolted to the engine mount. As a result, the copper wire was exposed to the elements, and upon closer inspection, it appeared as several copper strands had broken through the insulation.
We were narrowing the problem with the Dart’s electrical system. To find the VD location, we connected our multimeter lead to the B+ battery post and the other lead to the positive cable end. With the ignition coil grounded with the jumper wire, we turned over the engine, and the VD was 0.001 volts. Next, we moved a lead to the battery cable end at the battery and the other to the cable end at the starter.
Turning over the engine resulted in a VD of 0.009 volts. Lastly, we moved a lead to the battery cable end at the starter and the other lead to the starter stud. Spinning over the engine resulted in a VD of 0.002 volts. The acceptable VD of the positive side of the starter circuit is 0.5 volts or less. Our total VD was 0.012 volts; therefore, the positive side of the starter circuit passed.
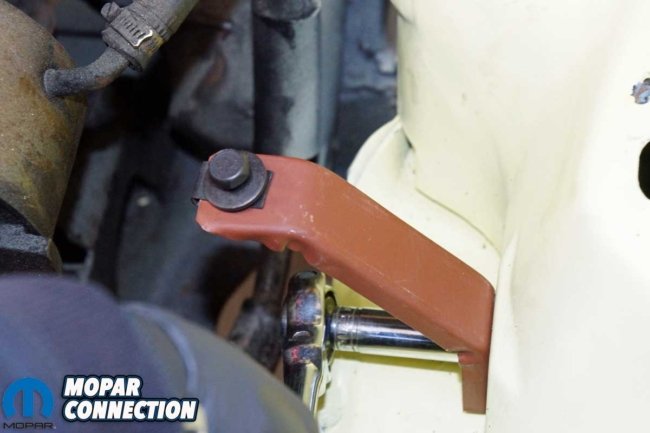
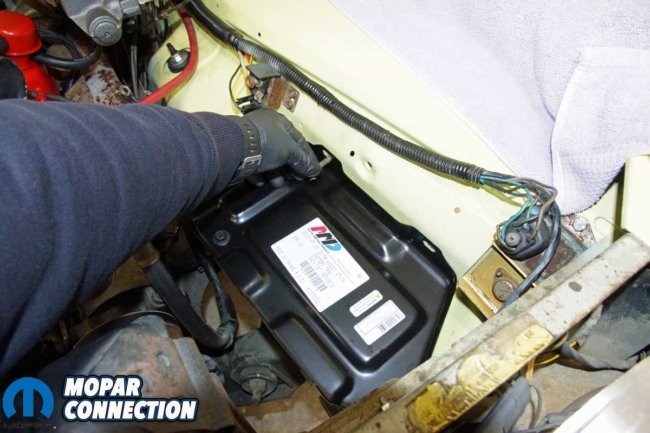
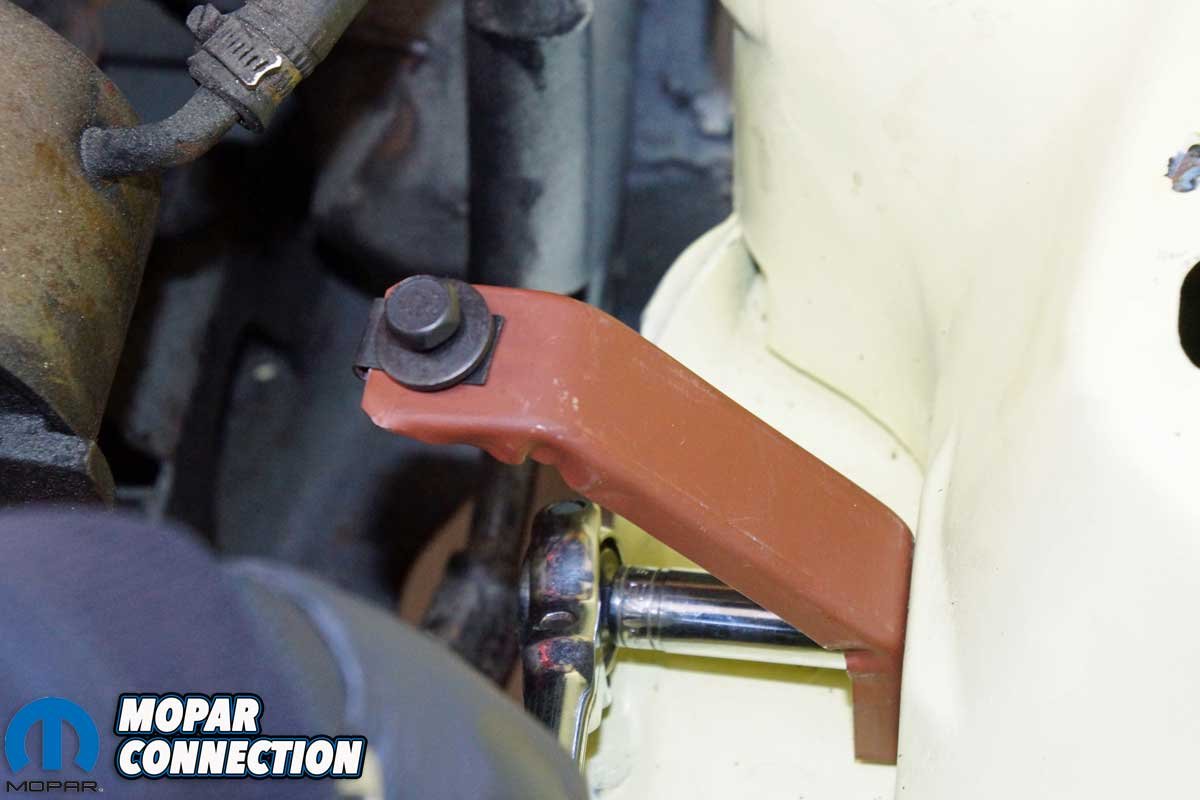
Above Left: With the negative cable removed, we cut it open and found some discoloration, and the cable was extremely stiff in the discolored area. Above Center: With the battery, damaged tray, and brace removed, we installed the new AMD battery tray brace. The brace was attached with the factory bolt. While the brace comes ready to paint, we elected to install it in primer, and if the Dart is ever repainted, we will add some color to it then. Above Right: The AMD battery tray dropped into place. Each hole on the reproduction tray lined up with the engine bay mounting holes. The tray was secured with three factory bolts and a single bolt supplied with the new battery tray brace.
To test the ground side VD, we clipped one of the multimeter leads to the starter housing and the other lead to the ground cable bolt attached to the engine block. When cranking the engine, we read a VD of 0.001 volts. Next, we moved the leads between the ground cable bolt and the cable end. The VD was 0.012 volts with the starter engaged.
Continuing, we moved the leads to each end of the negative cable and whirled the engine over once again. The VD was 1.6 volts, which was eight times the allowable VD for the entire ground side of the circuit (0.2 volts maximum). The testing could have continued from the battery cable end to the battery terminal, but the negative cable was the problem.
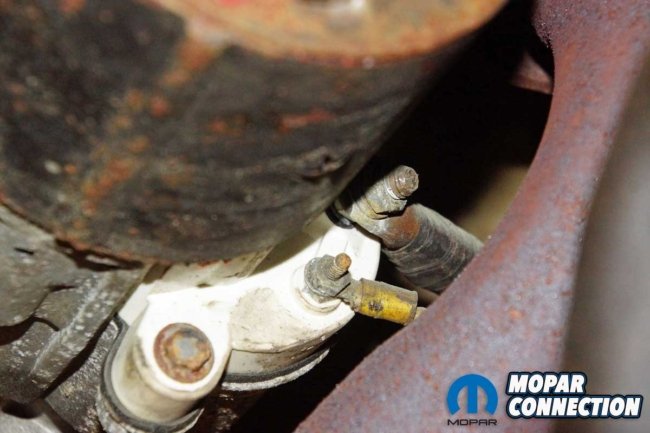
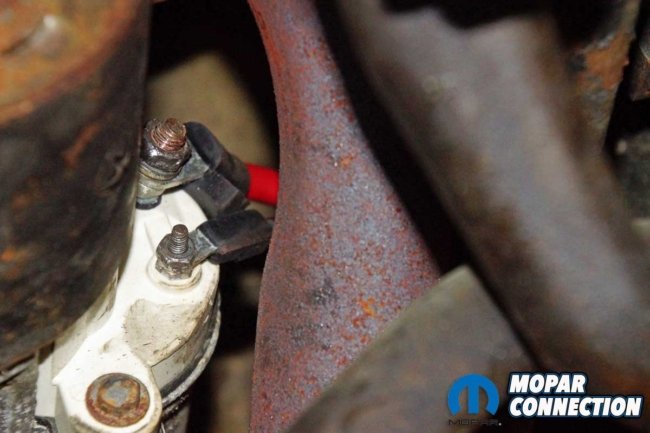
Above Left: Our positive battery cable passed the voltage drop tests, but we replaced it because it was a non-original cable wrapped with several layers of tape. Additionally, the cable was also routed improperly. The cable was positioned close to the engine’s exhaust manifold. Above Right: The Classic Industries positive battery cable was shaped correctly and had the correct angle on the terminal ends that perfectly fit the starter lugs. The cable was the right length, and it contained the proper heat shielding. In addition, the cable had a factory insulator grommet that fit into the firewall factory clip, securing the cable away from the exhaust.
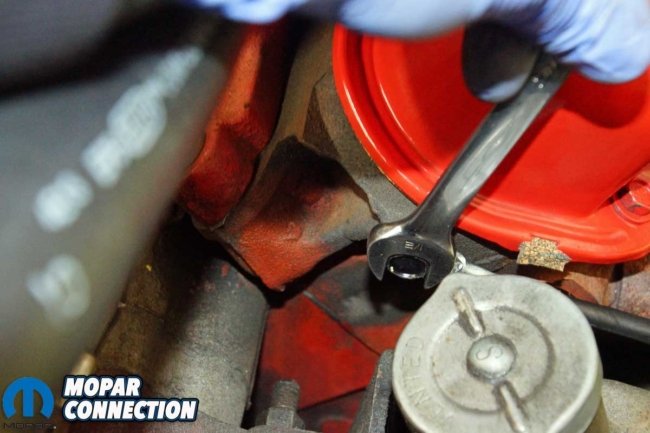
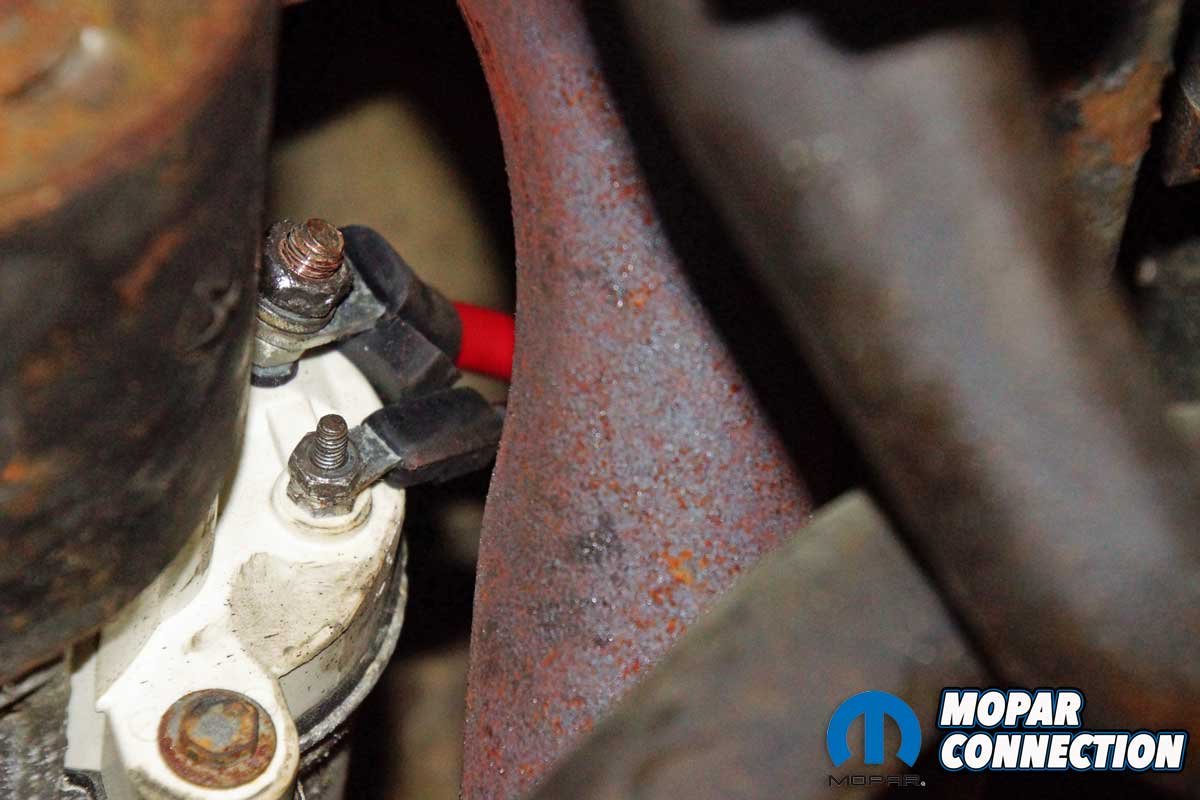
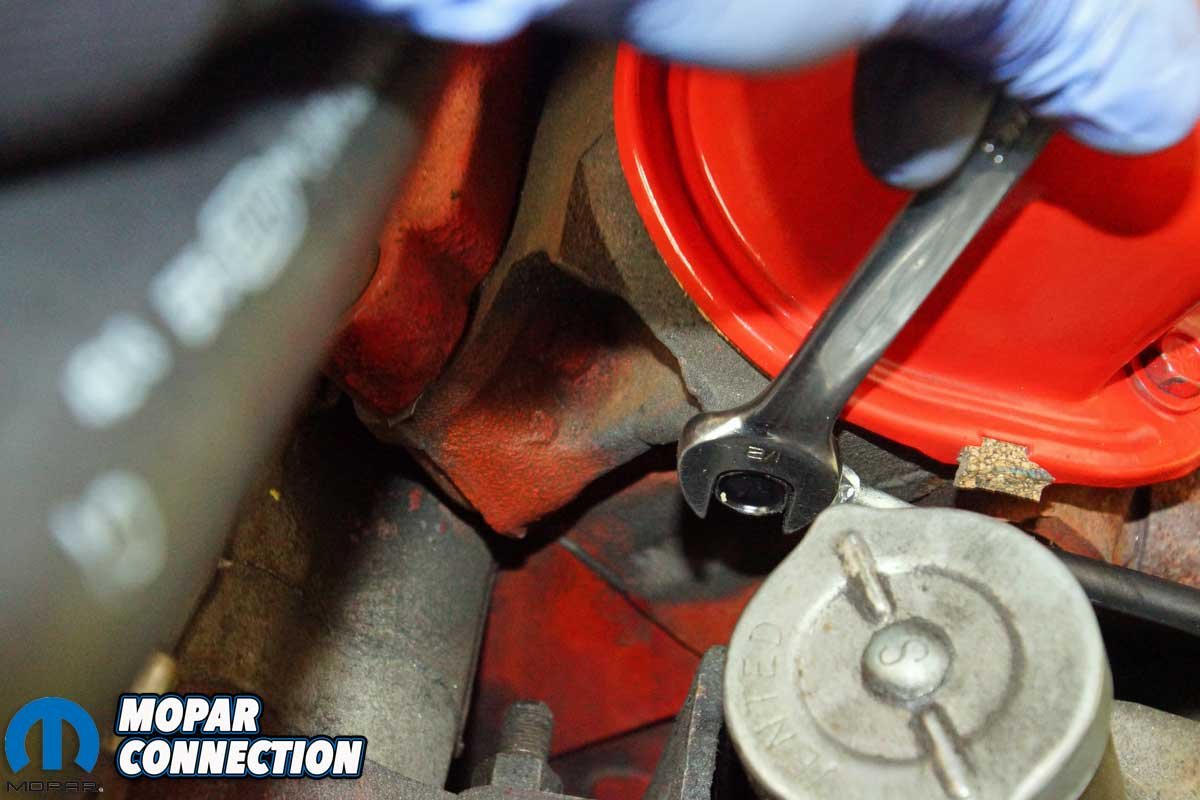
Above Left: We attached two positive cable leads to the starter relay. The new cable factory-type wire ends fit correctly to the relay. Next, we made sure we installed the plastic shield over the cable on the 12-volt stud. Above Right: We installed the new negative battery cable to the driver-side cylinder head in the factory location. Before the installation, we cleaned the cylinder head at the ground attaching point. Then, we secured the cable with the unused factory battery tray brace bolt.
Contacting the Classic Industries reps netted us a negative battery cable (part no. MD2563) and a positive battery cable (part no. MA2385). In addition, a battery tray (part no. MA2266B), a battery tray brace (part no. MA2267), and a battery hold down set (part no. MA2462) were ordered to secure a reproduction battery (part no. MD2467). The battery was a yellow-capped, absorbent glass mat (AGM), group 24, maintenance-free battery with the correct appearance for the 1965-1974 classic Mopars.
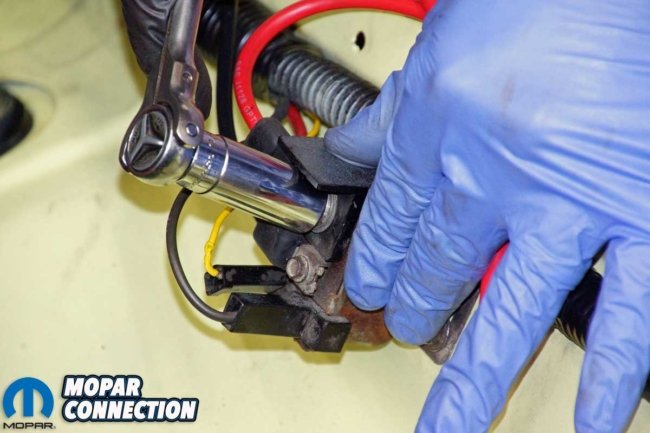
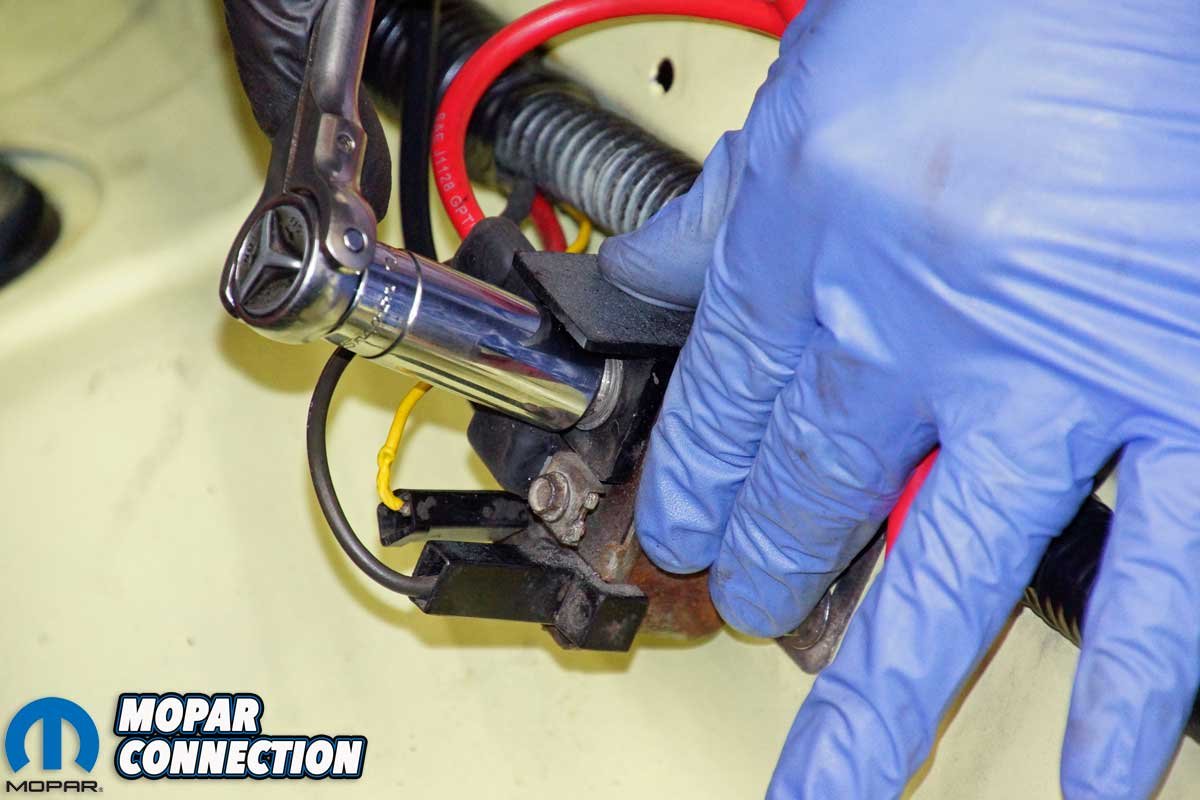
The repair of the Dart was straightforward. We disconnected the battery cables (detaching the negative cable first) and removed the battery hold down. Next, the battery was taken from the tray. The negative battery cable (incorrectly attached to the engine block) was unthreaded. The B+ cable was disconnected from the starter relay at two points and two points at the starter. Next, the battery tray bolts were unthreaded, and we pulled the tray from the engine bay. Finally, we removed the battery tray brace after unthreading one last bolt.
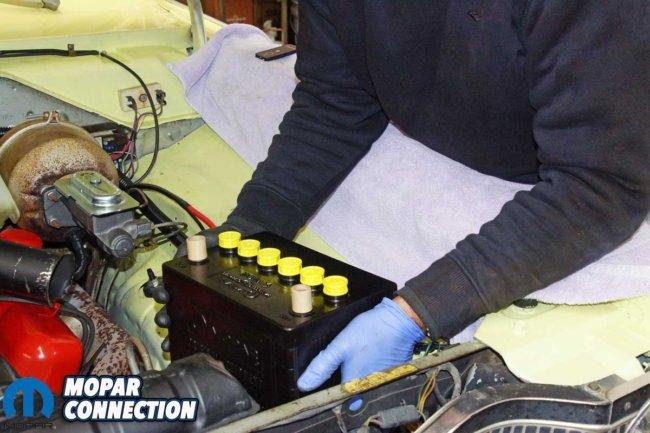
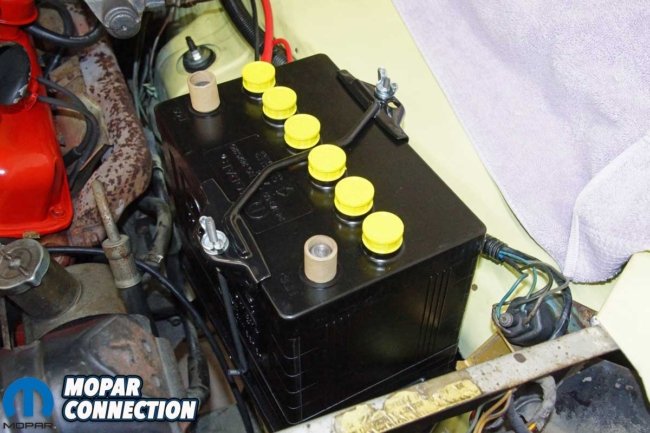
Above Left: The battery was lowered onto the battery tray. The stock-appearing group 24 battery was a perfect fit on the reproduction tray. There was no need for battery stands or shims to support the battery. Above Right: The reproduction battery hold down dropped over the top of the battery and adequately located the pair J-hooks. The J-hooks slipped through the hold-down bracket, and we located a J-hook into the battery tray and the inner apron. The factory-style washers and wing nuts were threaded onto the J-hooks to secure the hold down and battery to the chassis.
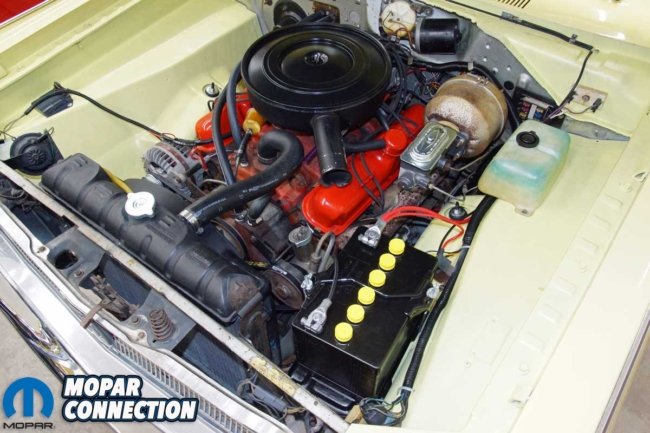
The Classic Industries parts looked factory correct. We installed the positive cable first. The split starter lug and heat sheathing mimicked the factory cable design and had a rubber insulator that properly fit into the firewall bracket. The AMD battery tray brace fit into the factory position, and the AMD battery tray dropped onto the mount. The three factory bolts and a new brace bolt secured the tray to the chassis.
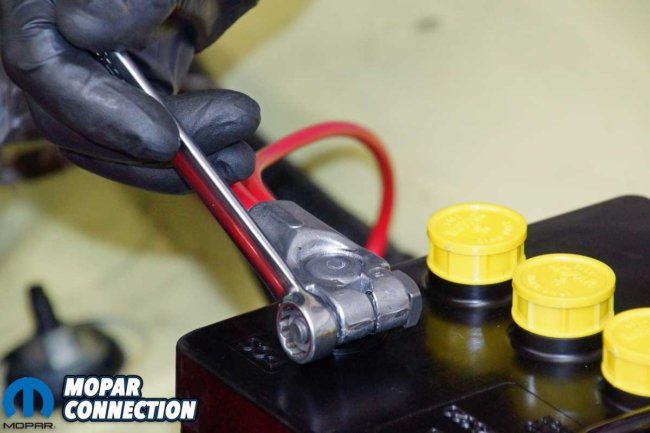
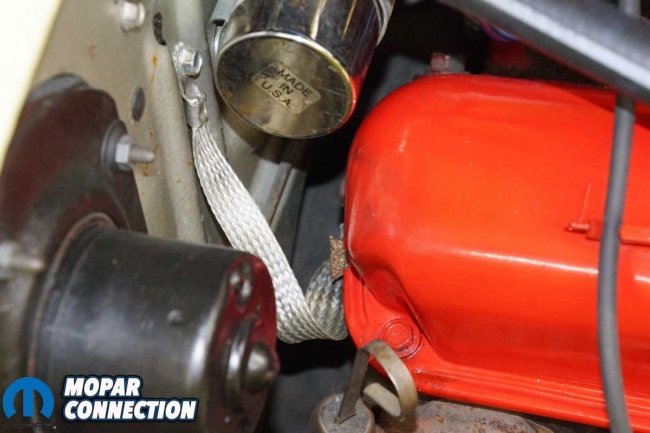
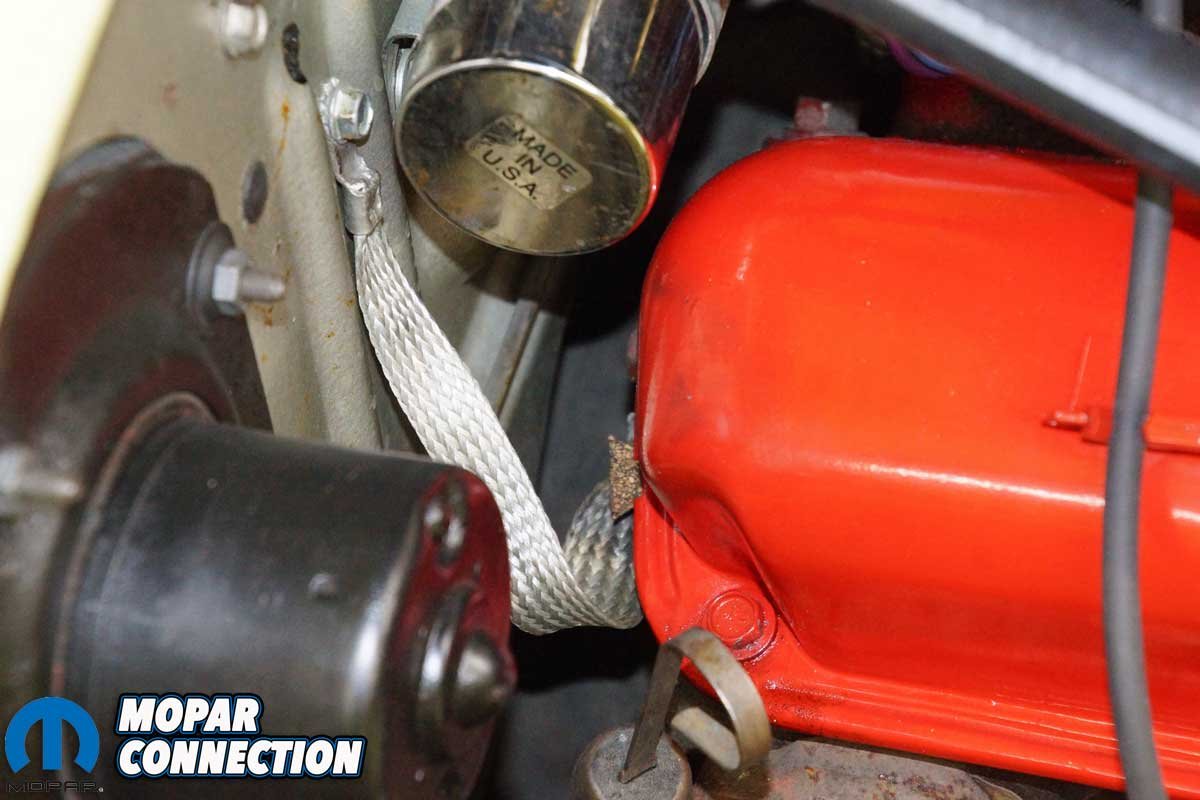
Next, we attached the ground cable to the driver-side head with a factory bolt. The yellow-top battery was located on the tray. It was held in place with a hold-down bracket and a pair of J-hooks. Finally, the battery cables with the correct terminal cable ends were attached to the battery. To finish the installation, we added a flat ribbon cable between the engine and the firewall to provide sufficient electrical system grounding.
Above Left: The new positive cable end was sized correctly and dropped onto the positive post without difficulty. If the cable had not slipped onto the post, we could have used a terminal spreader tool to open up the cable end to improve the fit. Do not hammer a battery cable end onto a battery post. Above Right: With the Classic Industries components installed, we retested the starting and charging systems. The VAT-40 and the multimeter tests resulted in a starter draw of 170 amps at 11.0 volts. At 2000 RPM, we had a no-load voltage reading of 14.90 volts at the battery and an alternator voltage reading of 14.97 volts. Loading the charging system with the VAT-40 produced an amperage of 36 amps. All of the results were in specifications, and now, the engine spun over faster, and the battery was being properly charged.
We repeated all our tests, and with the new parts, the starter delivered 170 amps at 11 volts. Now, the starter met the factory specs. Testing the charging system at 2000 RPM provided an open circuit of 14.90 volts at the battery and 14.97 volts at the alternator for a VD of 0.07 volts, which was within specs. With the charging system loaded with the VAT-40, the alternator produced 36 amps. The 273 turned over quickly, and there no longer was a need to charge the battery during storage.
Since the installation of the Classic Industries components, we have had three years of trouble-free operation. With an FSM, multimeter, load device, jumper wire, and remote starter switch, you can diagnose and repair any electrical problem on your Mopar.
Above Left: Although the voltage drop concerns had been repaired, we elected to add an additional ground to the engine. We ran a flat ribbon cable from the firewall to the engine block to aid the electron flow. It is essential to have proper vehicle grounding for the electrical system to operate accurately on any vehicle. Whenever an electrical system works incorrectly, always check the vehicle grounds for increased resistance or an open. Above Center: The yellow-top AGM battery has a full charge of 12.84 volts rather than 12.60 volts like a flooded lead-acid battery. The battery is maintenance-free, and it comes ready to install; there is no need to add water or acid. It is critical not to charge an AGM battery above 15 volts. Above Right: In September 2018, we became the sixth owner of this ’67 Dart GT. The Dart rolled off the line at the Los Angeles assembly plant, and it was sold from Reseda Dodge in LA. While originally silver, at some point, the Dart was painted YY1 yellow (except the firewall and radiator support). At the time of purchase, it was a simple 273/2bbl, 904, 7 ¼” car with 13-inch wheels and four-wheel power drums. While it still needs work, we have been pleased with how well the Dart accepts upgrades.


