


Horsepower versus torque. It’s a battle as old as Ford versus Chevy (because factoring Mopar into the argument isn’t even a question). When it came time to outline what our fateful project car – the Brazen Charger – would need in the form of underhood performance, this same question kept arising. Although nothing brings all the boys to the yard like an insane amount of ponies, we couldn’t help to shake the thought that what Brazen needed was a big ol’ helping of asphalt-buckling twist.
Pointedly enough, the Charger is a big car (208-inches long with a 117-inch wheelbase, by 76.6-inches wide). Even with the air conditioning, power brakes and steering, center console and steel hood removed, we still weighed over 3,200 pounds thanks to the addition of a 6-point safety cage, subframe connectors, subframe tie-in “torque boxes,” and the big Dana 60 in back. With a goal of front-wheel-pulling 10-second passes in mind, we knew it would be heaps of torque to get our B-Body off the line and through the 660-foot markers.
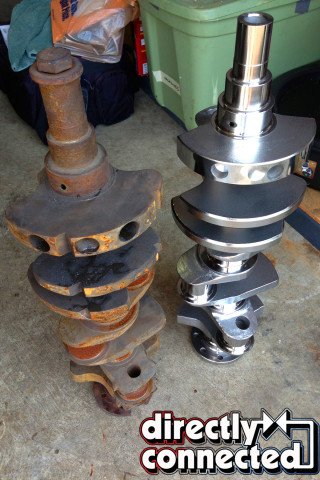
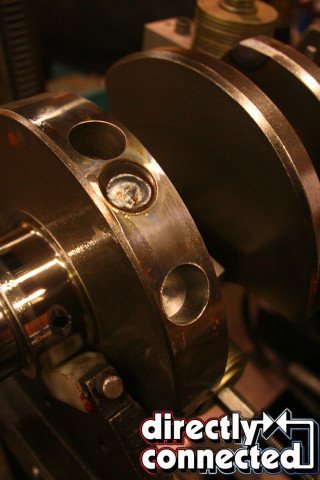
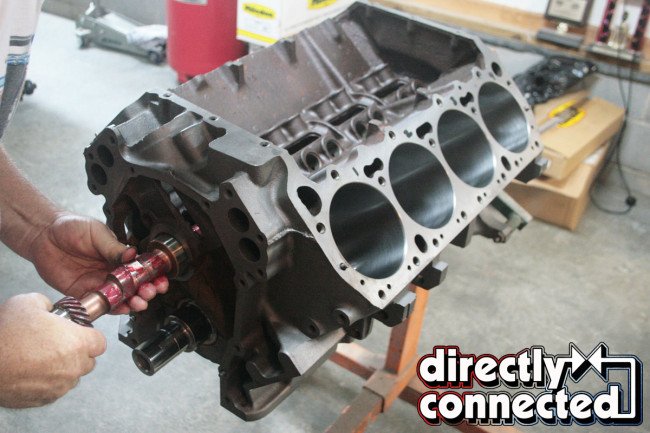
Above left: A comparison (although an unfair one) of a stock 3.75-inch factory 440 crank and Eagle’s gorgeous 4.500-inch stroker Hemi crank (yes, an eight-bolt flange). Above right: At Shacklett Automotive Machine, the crank was carefully weighed and balanced.
For that, we opted for as much stroke as possible. We started with a low mileage, HP-casting 440 block we fished out of a motorhome some years back. Prior to us, the engine sat for over a decade, allowing for some minor corrosion in the #3 cylinder. Recognizing the block as being a nice find (even back then), the RV motor was disassembled, cleaned, oiled and bagged for a day like today.
Next, our RB block went to Knights Automotive Machine in Madison, TN, for our initial preparation. Although the standard 4.32-inch bore required only minor surfacing to clean up the aforementioned corrosion, going to a .030-inch overbore would grant us access to far more piston options, so we opted to open our cylinders to 4.35-inches.


Above left: Shacklett’s digital balancer is sensitive to the slightest harmonic. Above right: a final polish is given to the journals and radii.
Now, it’s important to address one misconception: many believe post-1973 RB engine blocks to be cast thin, and thereby unsuitable for boring .030-inches (or more) over. This is factually inaccurate according to 440Source and Mopar Action, who have conducted a significant amount of sonic testing to prove this theory. Although hotly contested, our own machine shop confirmed that our block was more than adequate for the overbore.
We wanted to leapfrog from the factory Chrysler 3.75-inch crank to a radical 4.50-inch slinger. For that, we turned to Eagle Specialty Products. Considering what we had in mind, Eagle recommended their biggest 426/440 crank and rods assembly package, capable of increasing the overall cubic inches between 535-and-573. Consisting of their 4340 forged 4.500-inch Hemi (8-bolt flange) crank and 7.100-inch H-beam rods (weighing in at 840g each), the lightweight rods and internally balanced crank package – although capable of producing 1,500HP – would suit our more streetable goals.


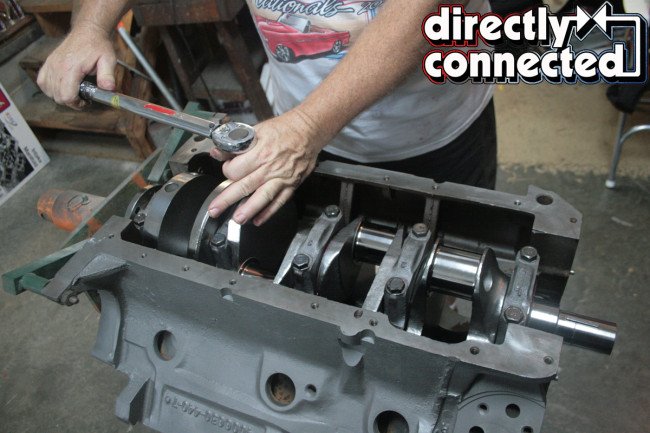
Above left: Using Red Line assembly lube, we coated our Clevite main bearings prior to installing the Eagle crank shown above center. Above right: After inserting and tapping the main journals flush with a rubber mallet, we torqued the factory Grade 8 bolts to the prerequisite specs.
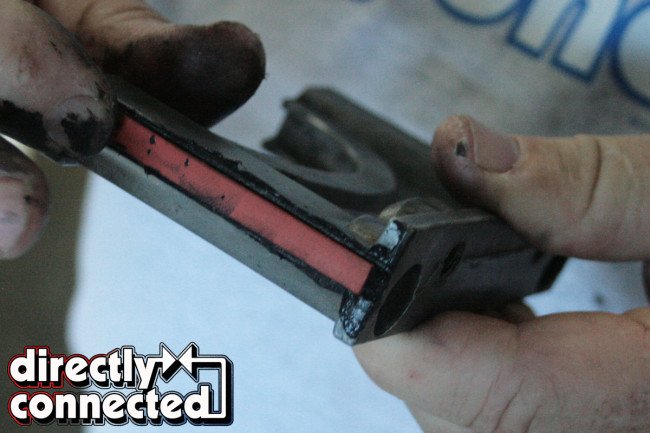
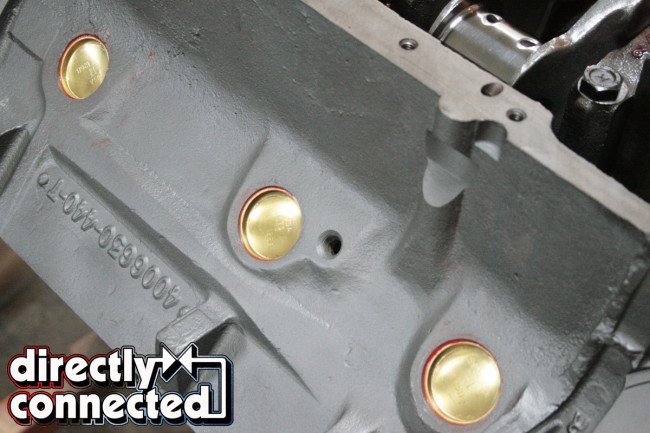
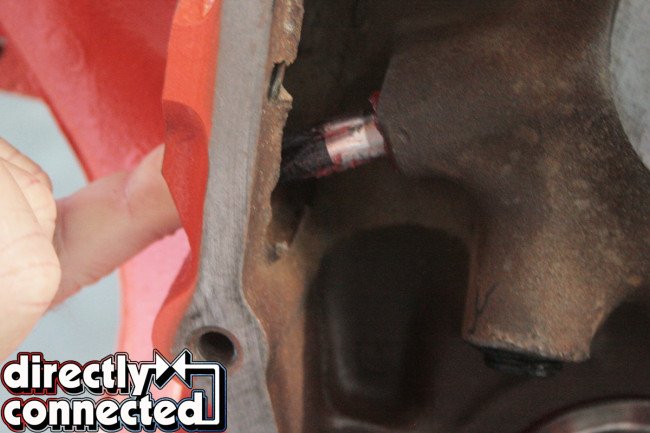
Above left: The Chrysler RB motor uses an aluminum end cap behind the #5 main journal that requires these rubber strips to properly seal the oil valley. Above right: The brass freeze plugs went in smoothly and we applied a thin bead of RTV to seal the plug.
Additionally, while we thankfully maintained the factory main journal diameter (thanks again to the cleanliness of our engine block), we did opt for the 2.200-inch rod journal size. This is actually a standard GM big block size, and allows for greater selection in rod length. With a 4.35-inch bore, a 4.50-inch stroke and 7.100-inch rod length, we reached the Eagle assembly package’s minimum 535 cubic inches.
Under Eagle’s direction, we also acquired a set of MAHLE Motorsports Power Pak -8.0cc forged flat top pistons. Featuring the brand’s proprietary Grafal anti-friction coating on the skirts and phosphate-coating to reduce micro-welding and pin galling, we also picked up a set of MAHLE’s performance rings for maximized ring-to-piston sealing, wrist pins and locks. With all of our parts on hand, Knights was able to notch the outermost lower lip of each cylinder to clear our crank and rods combination.
Above left: We generously coated our COMP hydraulic roller cam so we could slide past the cam journals without nicking the cam’s lobes. Above right: One final brass plug sealed up the cam button and camshaft.
One important note regarding clearances is the obstruction of the internal oil pickup. Although cylinder clearance is mitigated quickly, the use of a large stroke crank like our combination required the plugging and machining down of the internal pickup, and the use of an external oil pickup and pump. Thankfully, Milodon offers such a package and it safely fits all stock RB engine motor mounts and the factor K-member. We selected Milodon’s single line stock cover pickup system and 383-440 & HEMI-deep sump pan and stroker windage tray as well.
Finally, we had Knights clean the block and insert the Clevite cam bearings before taking it home to our garage. Although Eagle and MAHLE are stalwarts in the industry, we like being doubly sure, so we sent our crank, rods, pistons and dang-near everything else to Shacklett Automotive Machine at the behest of our dyno master, Mike Petralia of Hardcore Horsepower. Shacklett’s crank balancer provided a precision digital readout, helping to make precise adjustments to our Eagle crank and rods.

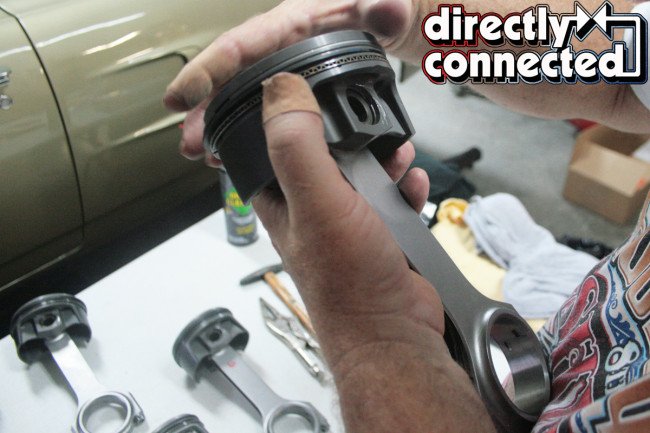
Above left: Once we got the hang of inserting the retaining clips for the floating wrist pins, we made short work of installing each numbered rod to the respective piston. Above right: Following MAHLE’s ring gap instructions, we spaced the ring gaps 90-degrees from each other.
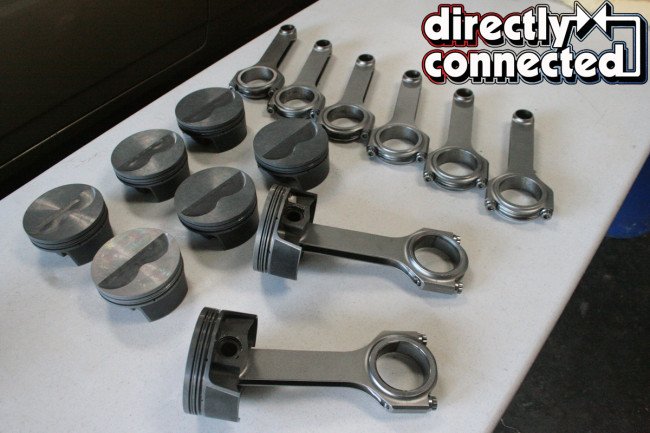

Above left: Our Eagle rods paired perfectly with MAHLE’s flat top pistons and featured superior oiling, pin placement and counter-friction coatings. Above right: With the wooden end of our all-purpose tool and a ring compression tool, our pistons slid perfectly into each cylinder.
With all of our parts ready for assembly, we tapped in our brass freeze plugs and rear cam plug, and inserted the top half of our Clevite main bearings onto the journals, applying a generous amount of Red Line synthetic assembly lube, taking extra care to properly insert the rubberized rear main seal (coated in black silicone), with a slight offset to the machine surface.
We opted to reuse the factory main caps bolts as the Chrysler Grade 8 bolts were still in remarkable shape. With more assembly lube on the Clevite bearings, we tapped each cap with a rubber mallet to properly seat them before applying some ARP moly to the top threads prior to hand-tightening each bolt.

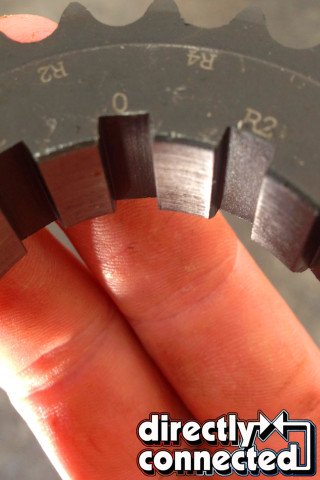
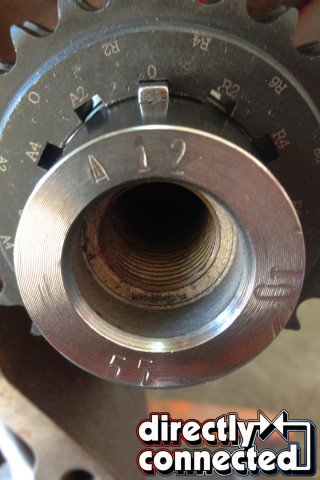

Above left: The Eagle crank key way. Above center left: The adjustable settings on the COMP dual-chain timing set. Above center right: The timing gear fully installed. Above right: The timing gear and cam timing gear aligned zero-to-zero.
In a crisscrossing pattern, we snugged the bolts to 50 ft.-lbs., followed by another pass to 100 ft.-lbs. Installing the aluminum rear main seal cap properly (located behind #5 cap) is imperative to making sure your RB 440 remains leak-free. Many rebuild gasket kits don’t include the rubber “straws” that run along the end cap’s sides. We chose to reuse the rubber strips we had from a previous build and took extra care that they didn’t poke up too high past the machined oil pan mating surface.
With the crank installed, we refocused on assembling our pistons and rods. The MAHLE pistons use a floating wrist pin held in with C-clip “locks.” These can be incredibly difficult to install or a real synch if you get the hang of them. Many choose to use a small screwdriver or dental tool to insert one end of the clip into the groove in the piston pin bore, then “walk” it into the groove until the outer end snaps in.
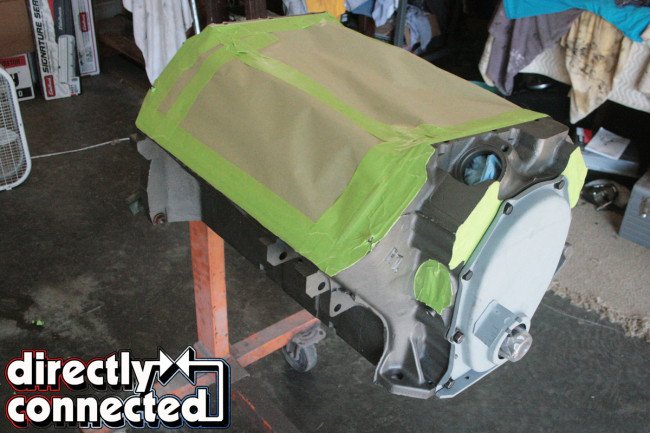

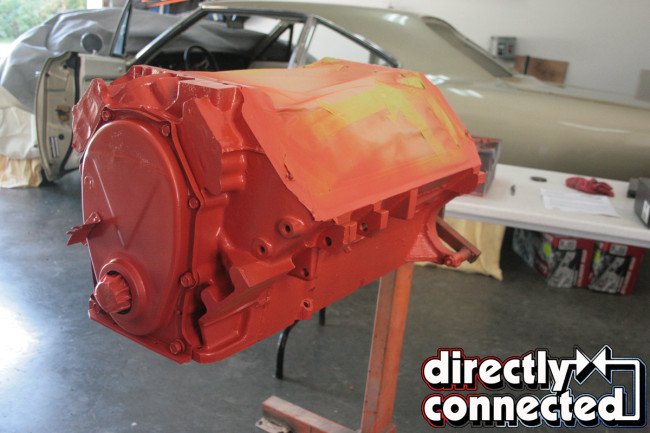
Above left: We masked off all mating surfaces and the cylinders. Above center: Several coats of Mopar Performance Orange helped to mask the raw iron block. Above right: Our newly painted 535ci Wedge is almost ready for final assembly.
Next, we installed the MAHLE rings and oil ring with the gaps at a 90-degree distance. As per MAHLE’s recommendation, we verified that each of our 109.7mm rings were gapped at 0.020-inch and the secondary rings at 0.022-inch. With all eight wrist pins installed, with the piston’s valve reliefs pointed the right direction, we were ready to rotate our block to its side on the engine stand and slide our pistons and rods in.
Applying more Red Line lube to the Clevite bearings, and using a ring compression tool and the wooden handle of our mallet, our pistons slid perfectly into place. A couple taps of our mallet, and each cap was in place (Shacklett had used a small diameter dremel to etch the right rod number to both the H-beam and its respective end cap). A dab of ARP moly to the threads and we torqued the rod bolts down to 75 ft.-lbs.


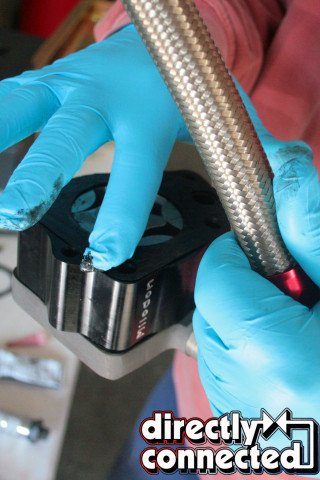
Above left: With the rod well lubed, insert through the threaded port. Above center: Holding the rod in place, attach the mechanical fuel pump careful to make sure the rod rests on top of the pump’s arm. Above right: With everything in place, we tightened all the bolts down.
Initially, we wanted to run a pretty aggressive .630-lift solid mechanical camshaft that we had already on our shelf. Thankfully, the wiser minds at COMP Cams persuaded us to go with a far more street-friendly hydraulic roller cam (PT# 23-000-9) with 0.598-inch intake and 0.600-inch exhaust lift (with 1.5:1 rocker arm ratio), 253/259 degrees duration at 0.050-inch, and a lobe separation angle of 110 degrees. Coated in lots more assembly lube, we carefully inserted the camshaft careful not to nick the lobes on the cam bearing.
Installing our COMP Cams High-Tech Roller Timing set was a tight fit on the crank snout. With some Red Line assembly lube, the adjustable timing gear slide slowly on. With the key ways aligned on the camshaft, we aligned the crank and cam to 0-degrees of advancement, knowing that we would make final timing changes when on the dyno. COMP’s double-chain timing set kits behind the factory timing cover, so we cleaned it up and bolted it on with a fresh gasket and a bead of RTV.

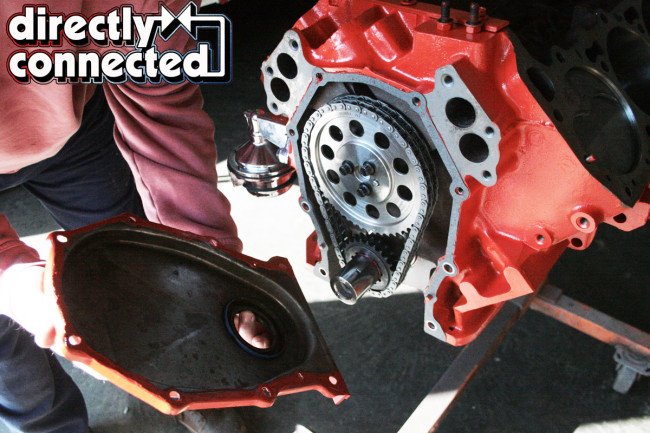
Above left: With the timing cover off, we torque the three cam timing gear bolts down to the required specs before reinstalling the timing cover (shown above right).
Next, before we could install anything else, we masked off the top of the block, careful to trim around the edges and applied a few coats of Mopar Performance Orange (not Hemi Orange, as the factory hue is a far more pale or yellowed orange than the deeper Mopar Performance Orange). It took a day to do it right, but the end result was very satisfying.
When we went to install our Rattler harmonic balancer, we discovered the internally-balanced dampener to be such a tight fit that we weren’t sure it was the right part. TCI Auto assured us that it was the right size and simply needed to be pressed on with a puller/press tool kit. Sure enough, with you guessed it, more assembly lube, the Rattler snugged down tight. A large diameter ARP 16-point bolt was coated in moly and torqued down to 135 ft. lbs.
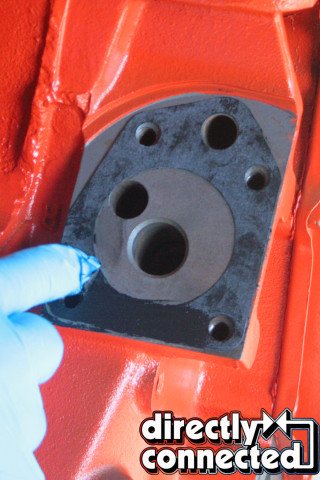
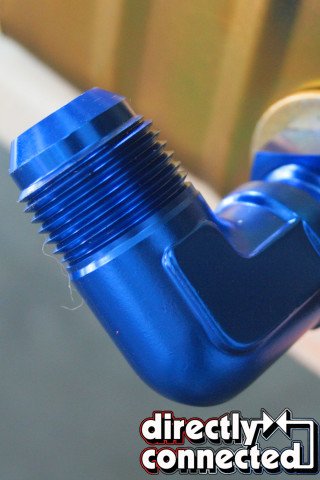
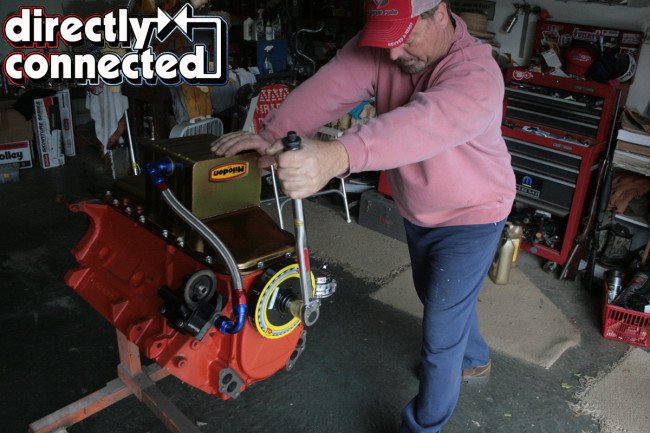
Above left: Before installing the Milodon external pickup pump, we apply a thin layer of RTV to both sides of the gasket, as well as to both sides of the pump itself (shown above center). Above right: The AN fitting feeding the external pump from the deep sump pan.
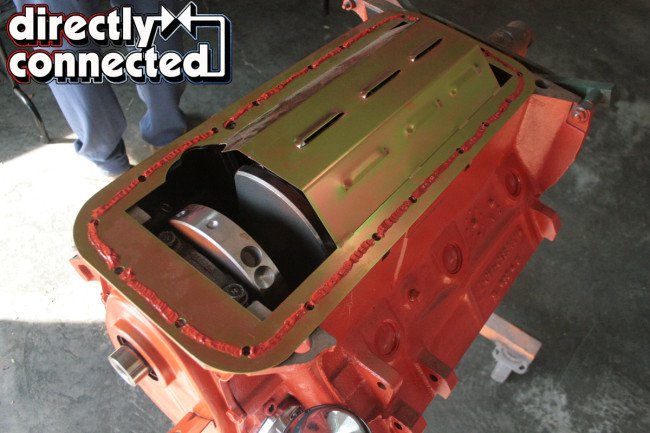
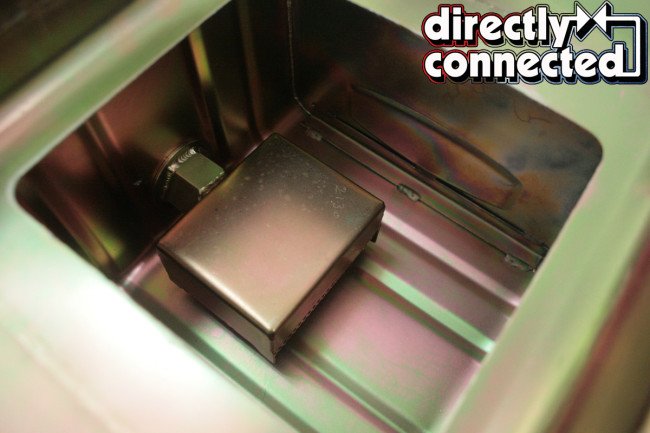

Above left: Prior to installing the pan, we installed the special Milodon stroker windage tray. Above center: A better look at the pickup for the Milodon pan. Above right: Once installed, the complete system fits all factory mounting applications.
As mentioned earlier, we installed our black-anodized billet Milodon external oil pump as well as our windage tray and deep sump pan, sandwiching a layer of RTV between. When applied conservatively, we’ve never found the need to use a paper or cork gasket between the pan and tray, only a gasket between the tray and block. We tightened our ARP bolts down in a crisscross-pattern, but not enough to squish out any RTV.
Finishing up our bottom end build, we lubed up and inserted the mechanical fuel pump cam, careful not to let it slide too far down before installing the 110 GPH Holley high performance fuel pump. With some moly for the bolts, the mechanical pump was tightened down. With that final step complete, we took a minute to sit back and admire our work. Of course, our engine is only half way done, but it sure looked good. Make sure to hang tight for a couple weeks for the exciting conclusion of our Wicked Wedge of The South and see how she ran on the dyno!

Above left: The TCI Auto Rattler dampener requires some serious motivation to index on the crank snout. We used a balancer puller kit in reverse to press it on. Above right: The final step was torquing down the ARP crank bolt to 135ft. lbs.


Really liking this new on line magzine! Keep up the good work! Looking forward to more articles.