


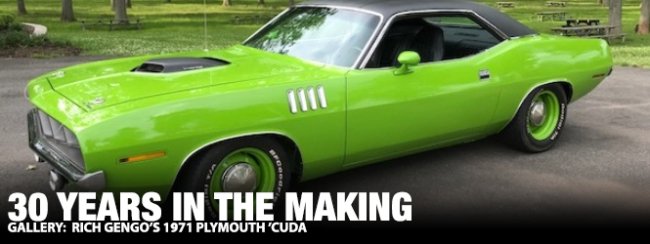
Ask any Mopar enthusiast and they can tell you a particular model that started it all for them; one that has stuck with them since day one. For some of us, it’s Chargers; others Challengers. For Rich Gengo of New Jersey, Plymouth ‘Cudas have been a part of his life for as long as he can remember. “I found a ’71 Barracuda for a friend of mine back in 1975. It was just a plain 318 automatic Barracuda with A/C. I put a 340 engine in it and a pair of headers in my dad’s gas station. My friend had it painted in black lacquer; it was beautiful. He drove it sporadically for a few years and then parked it uncovered in his driveway in Plainfield, New Jersey,” says Rich.
He continues to say, “Since the age of 18, I’ve always owned ‘Cudas. In the early 80’s, I bought a ’71 340 4 speed ‘Cuda with a shaker hood. I had it painted at a local body shop but I sold that car a couple years later after finding a rust spot in the quarter panel. I’ve always regretted selling that ‘71. Out of all the cars I’ve owned, that ‘Cuda is the one I should have never sold.” Shortly after, Rich bought a Corvette thinking he wouldn’t have to deal with rust anymore but soon found himself dealing with the rust comparable of the Corvette world; fiberglass cracks. Frustrated, he quickly sold the Corvette and went back to what he knew best; ‘Cudas.
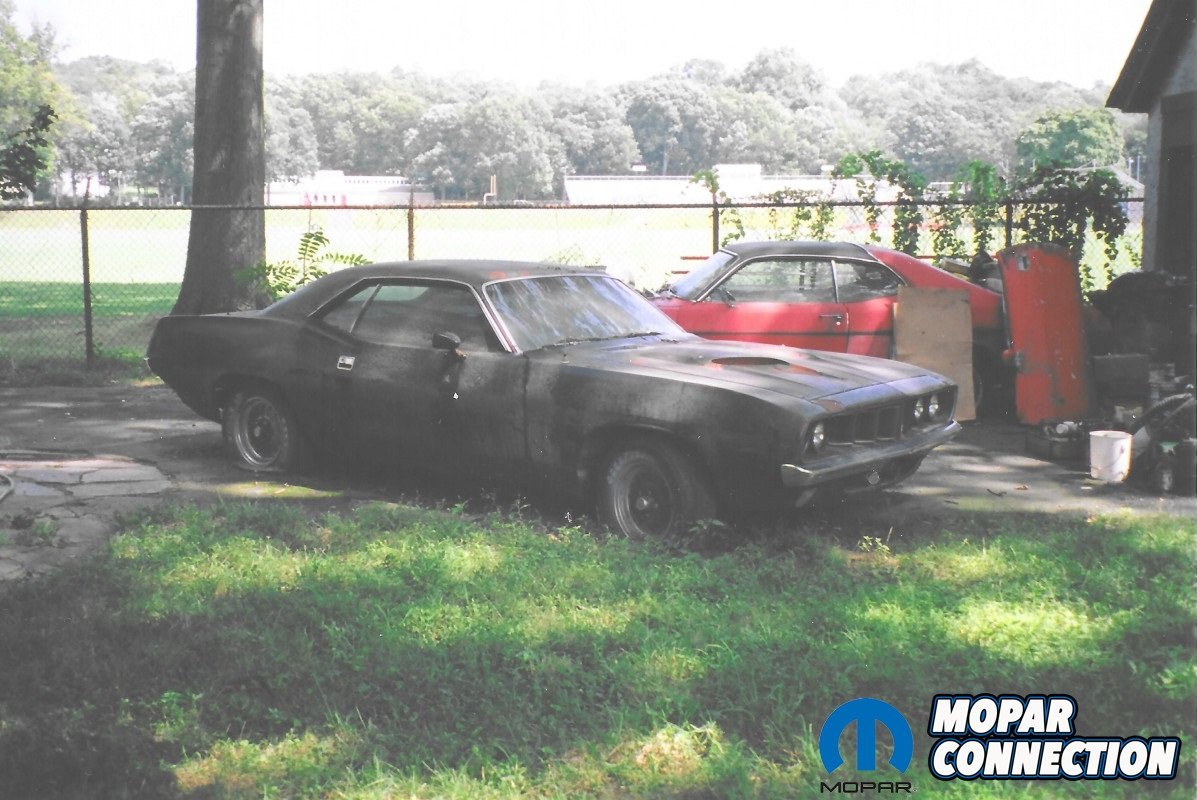
As the years passed, Rich kept visiting his old friend and his ‘Cuda which was still sitting, always offering to buy it from him and the answer was always the same; “one of these days”. In the meantime, Rich purchased and restored a ‘73 ‘Cuda but his true goal was to get another ’71. “I decided I wouldn’t get rid of the ‘73 until there was another ‘71 in my driveway. Over the years, I watched my friend’s ’71 slowly disintegrate and sink into the ground. I often suggested that he should consider selling the car to me before it became un-restorable. He said the longer he waited, the more of a challenge it would be. The day finally came when I went over to visit my friend and he said to me “So, you’re here for the car?” I said “well I’m only here to visit” but in the back of my mind, I really was there for the car. I was very surprised when he said, “Well, I guess it’s time.” At this point, the car had been sitting for around 30 years, shares Rich.
The deal was made and Rich took no time loading the car onto his trailer; even with all four wheels locked up from sitting. With the ’71 finally home, Rich brought his ‘73 ‘Cuda to Chryslers at Carlisle that year and sold it to fund the restoration on the ‘71. Rich tells us, “I sold the ‘73 ‘Cuda on Friday and that Saturday I was shopping at the Carlisle swap meet, spending most of the money I had just received from the sale of the ‘73. Some of the parts I purchased included a shaker hood bubble assembly that I paid only a couple hundred dollars less than what I sold my complete ‘71 ‘Cuda 340 for back in the 80’s! Times sure have changed. I consider searching for parts at swap meets and on the Internet part of the fun.”


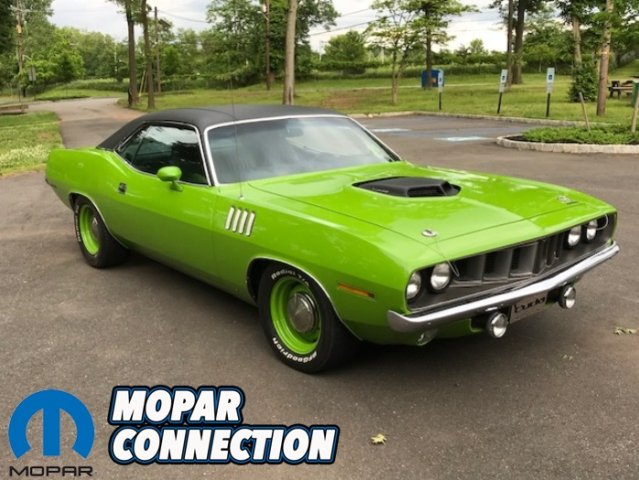
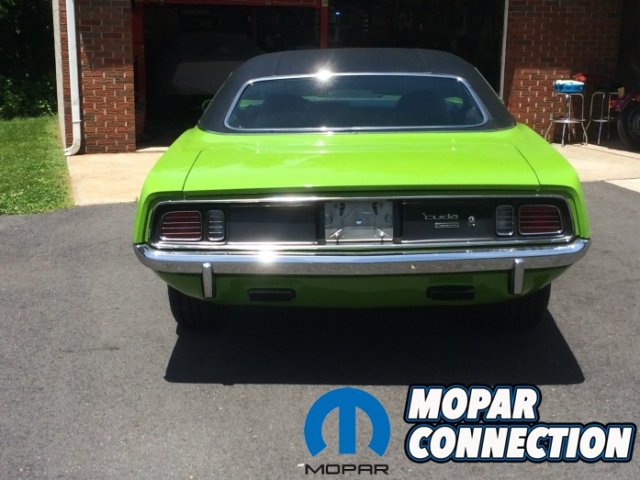
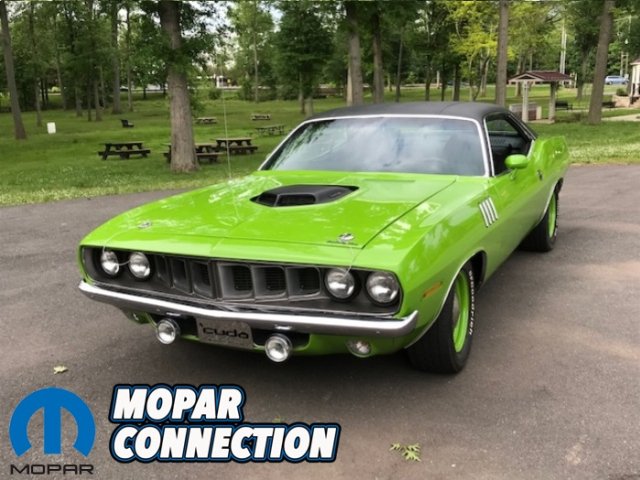
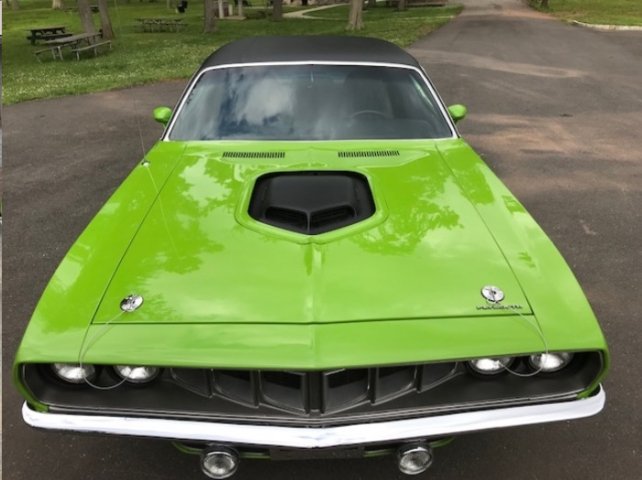
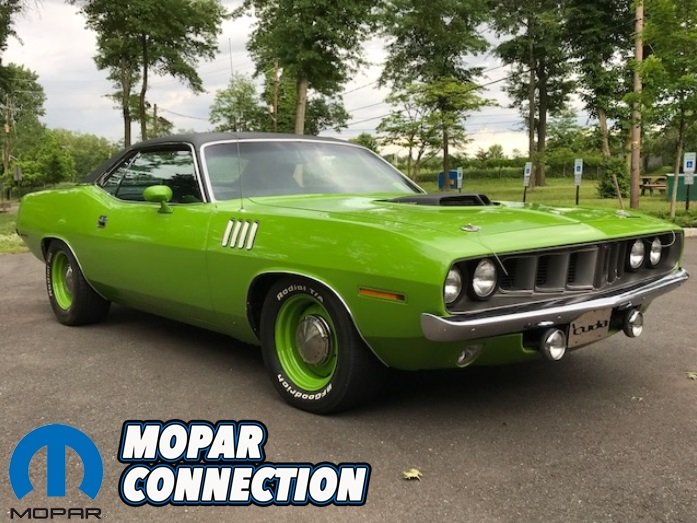
Since the ’71 was a plain Jane Barracuda, Rich decided he could make it exactly the way he wanted it. The plan was to make it into a factory looking FJ6 Sassy Grass Green ‘Cuda with the gilled fenders and a shaker hood. It wasn’t long before Rich tore the Barracuda apart and started the restoration. Rich explains, “As I started taking the car apart, I knew I was going to have to replace the hood and fenders so that wasn’t an issue since they’d be replaced with the ‘Cuda stuff. I knew the quarter panels would also need to be replaced. I brought the car to a friend’s farm to get the body sandblasted but as they started blasting the firewall, frame rails and roof, I watched as the car was actually disintegrating before my eyes. The rocker panels for some reason were in great shape so I basically told him to stop there since I knew I would have to replace most of the panels anyways.”
He continues to tell us, “I towed the car back home, feeling sick knowing that I had a lot more work than I originally thought and wondered what I had gotten myself into. You never really know what’s hiding underneath all that paint until you dig deeper which is why you should always get the body down to bare metal before you start anything. The saving grace with this project was that AMD (Auto Metal Direct) makes all of the parts that they do. I wound up having to replace both quarter panels, the trunk floor, all of the interior floor pans, both inner fenders, both passenger side frame rails, and the roof skin. The only thing I was able to save was the driver side frame rails, both rocker panels, and the doors which just needed a little patch work in the corners.”


At Chryslers at Carlisle one year, the AMD Installation Center/ Classic Muscle Metal had a booth in the Manufacturers Midway with two ‘Cudas on display, one all together, and one with just the body panels temporarily attached. Rich says he spoke with Craig from the AMD Installation Center asking for pointers on how to install some of the panels and tells us that Craig actually stopped what he was doing and showed him exactly what to do and how to do it. “What Craig showed me was extremely beneficial for me to be able to do this on my own, in my garage at home. I had restored a few ‘Cudas for friends before I did this one so I know my way around a ‘Cuda but I was never this involved in the body panel replacement so this car would be a new challenge and learning experience for me,” says Rich.
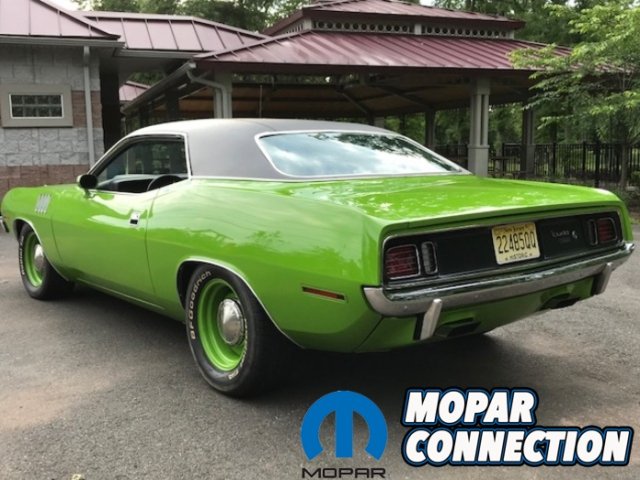
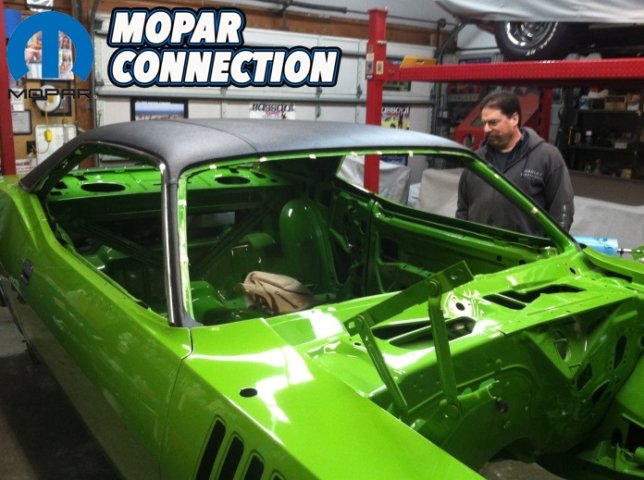
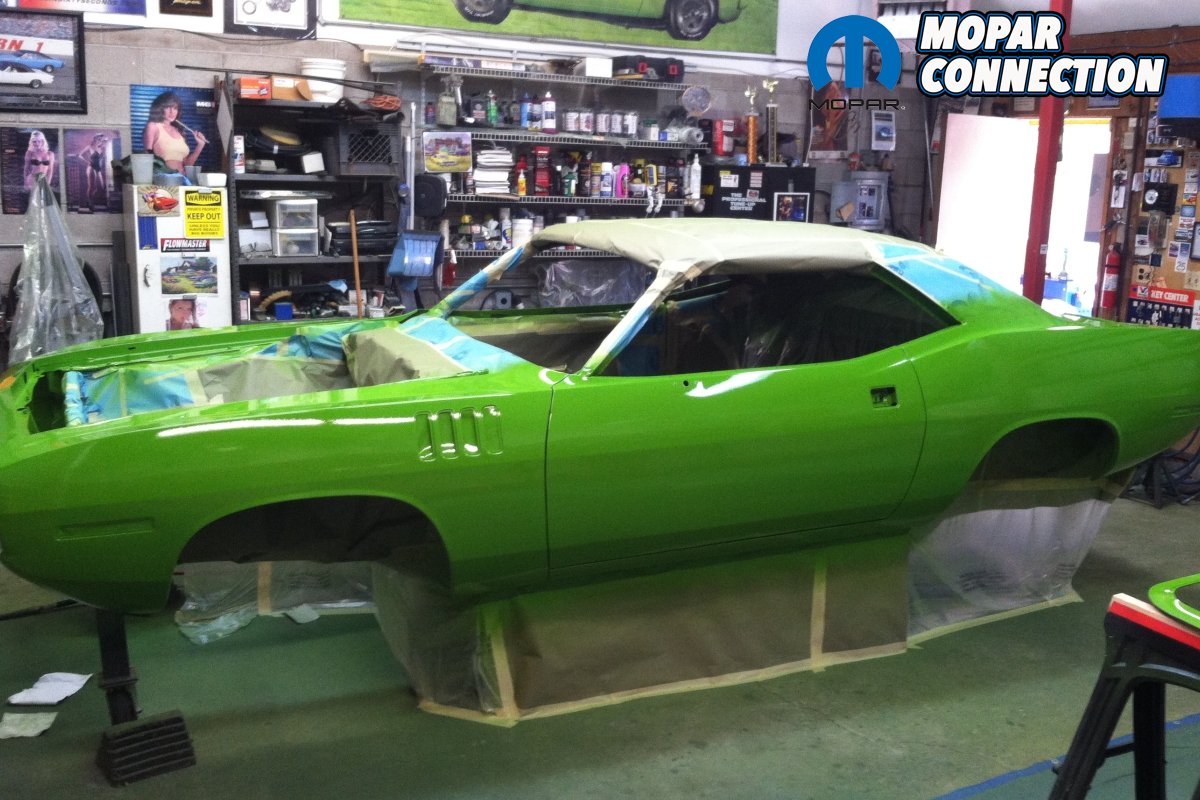
With a grinder and cut off wheel in hand, Rich started replacing panels one piece at a time to make sure they went on exactly where they came off, making jigs and braces along the way whenever necessary. With all of the body panels welded on, Rich sanded and sprayed the car in PPG epoxy primer before filling all of the minor dings and getting the body lines straight. After that, it would still require many hours of sanding and priming, and then more sanding and priming to get everything perfect. Rich then borrowed a friend’s rotisserie so he could paint the bottom of the car. Knowing he was going to put a vinyl roof on, Rich masked the car off and painted just the roof so that when he painted the rest of the car, there would be that much less overspray to deal with. The next thing he did was paint the engine compartment and edges of the doors and fenders. After mounting and aligning the doors and fenders, he then painted the inside of the car.


“There was a lot of taping and masking going on since I was doing it in my garage instead of a spray booth and I was trying to create the least amount of over spray as possible. During the winter, when it wasn’t ideal for body work and paint, I would do all of the separate components. I sandblasted and painted every piece that would be bolted to the car and put them in my basement so that when the car was painted, it would be like putting the pieces of the puzzle together. Every piece of the car was either restored or replaced; nothing was left untouched.”
“The day finally came when it was time to put down the sandpaper and pick up the spray gun. Over the course of the day, I laid down the Sassy Grass Green paint and clear coat. Just when I thought I was done sanding, it was time to start sanding again. The sanding and buffing is probably the scariest part of the job, because this is where you can screw everything up and have to start over. Once I survived all of that, the true fun begun; assembling the car.”
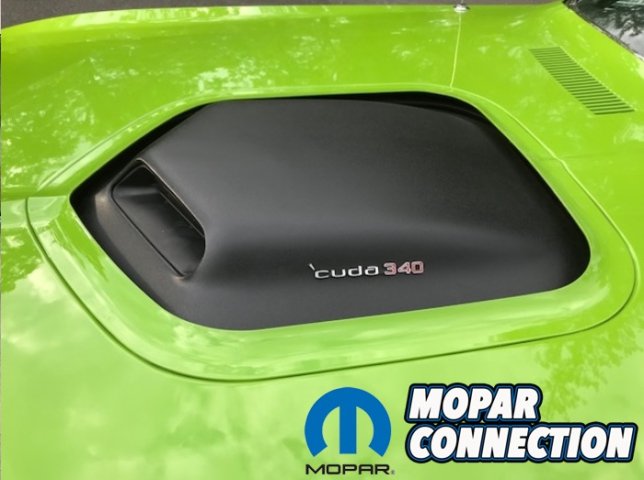
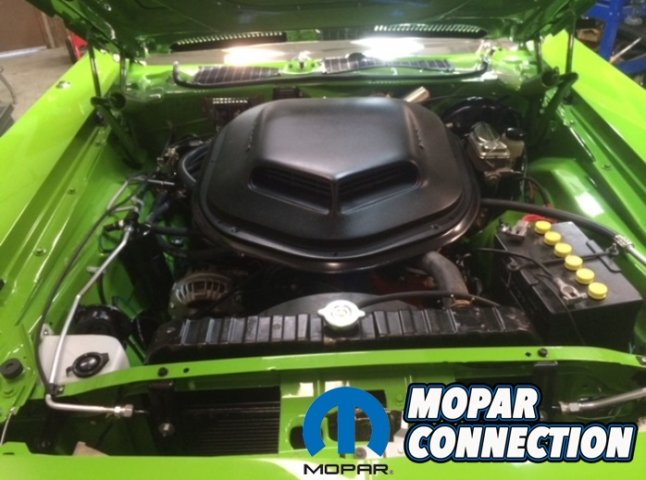
Since Rich had restored all of the components over the cold winter months, the car came together pretty quickly once it was painted. On the inside, brand new Legendary interior was installed. In the engine compartment, Rich rebuilt the 340 engine he had installed for his friend many years prior and located a correct intake, exhaust manifolds and Thermoquad carburetor. Since Rich loves to drive his cars, he installed a Tremec five-speed transmission with a hydraulic clutch. For creature comforts, he re-installed the factory A/C system using a modern Sanden A/C compressor that fit nicely under the shaker hood bubble.
Rich says, “The restoration took approximately three years. I would typically work on it around four hours a day except on weekends so I wouldn’t burn myself out and be able to spend time with family and friends. The only thing that I didn’t restore myself was the bucket seats and vinyl top. The first few trips were to Chryslers at Carlisle, Good Guys in Rhinebeck, New York and Good Guys in Massachusetts, but the most fun was when I got to drive three laps around the NASCAR track at the Good Guys show in Charlotte, North Carolina with the ‘Cuda. My hobby is restoring cars but my passion is for Mopars. I’m moving onto my next Mopar project now, but this time my ‘Cuda won’t be sold. It’s a keeper. Usually after my current project is painted and the assembly begins, that’s when I start looking for my next project so that the fun can begin all over again. Sometimes you find the next project; sometimes the next project finds you!”


