


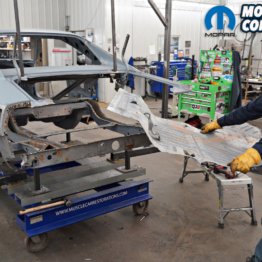


We have tried to restore as many original parts as possible on the Comeback ‘Cuda. However, sometimes the years are so unkind to some of these parts that they can only be replaced. That is, if they are even available in the aftermarket. NOS parts are great but even they can be shelf worn or just aged so much that they cannot be used. Enter Classic Industries. They have a complete set of side marker lights for your ‘Cuda or Challenger, and man are they nice!
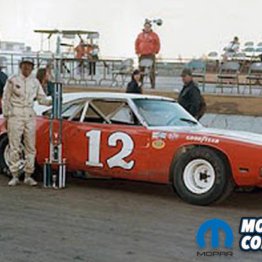
In 1969, ‘Ma Mopar found a loop hole in the Federal mandated side marker lights requirements. They just put reflectors on the front and rear fenders instead of actual lights. Well, in 1970 they had to pony up and put real side marker lights on their cars, y’know, with bulbs in them and everything. These side marker lights had both reflectors and lights and were very stylish on these new E-body platforms.
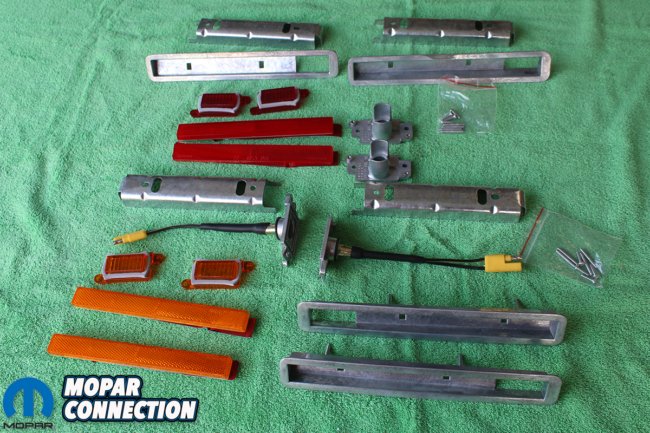
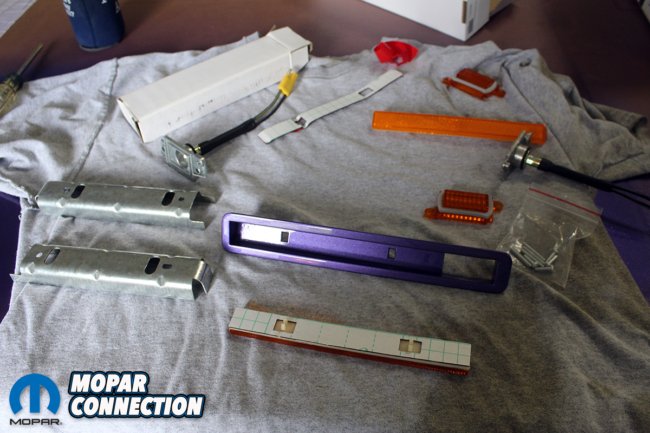
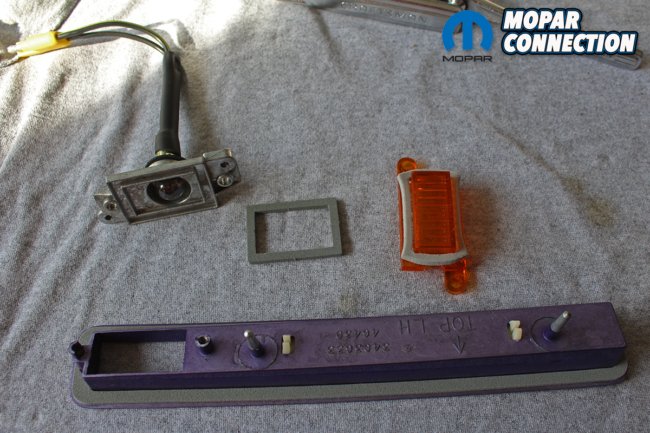
Above: The side marker kit and bezels arrived and opening them up was as exciting as presents on Christmas morning. It included front yellow and rear red lenses and reflectors. The studs to mount the lenses, the front wiring pig tail, double sided tape, gaskets, housing bezels, and inside mounting brackets, were all quality pieces. Only the “acorn nuts” were missing.
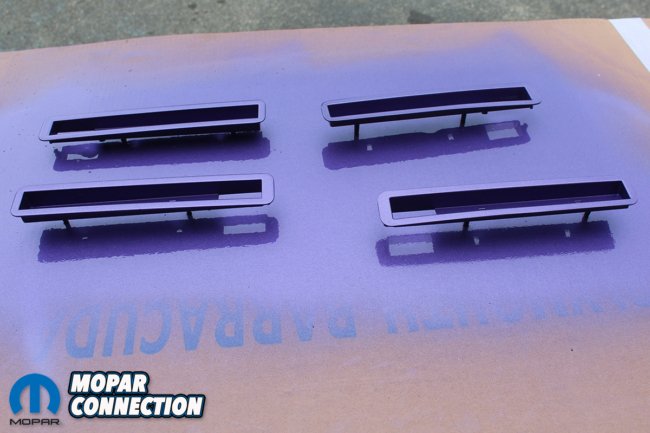
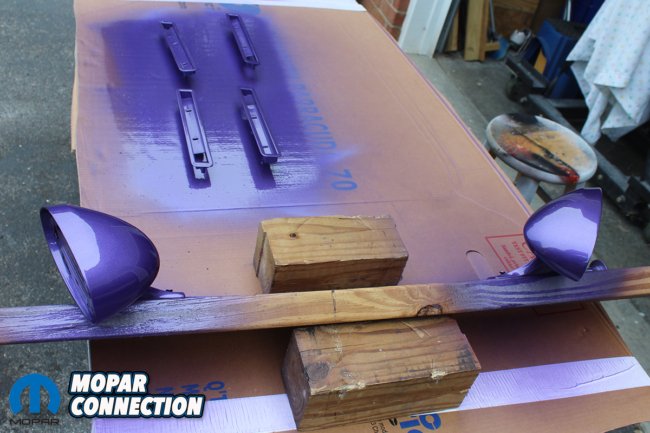

Above left: The first step was to scuff the bezels and then prime and shoot them with body color base followed by clear coat. If you are restoring your originals, you need to strip them and repair any pot marks or scratches in the metal. The front markers are usually in the poorest condition since they were exposed to all the elements from the front suspension, tires, and road trash. The rears usually survived in better condition since they were mounted in the trunk. Above center: While we had the paint mixed, we decided to go ahead and shoot the other miscellaneous parts that needed base and clear. The side mirrors were originally painted off the car and installed on the assembly line. We have seen many mirrors that didn’t match the body color on these cars. But todays restoration standards require that they match in color and finish. Figuring a way to mount these mirrors so we could paint them required some serious back yard engineering. Above right: We just returned from a very large car show, O’Reilly’s World of Wheels in Birmingham, Alabama. We were amazed at how many quality restorations had incorrect latches and attaching hardware. The trunk catch and the attaching bolts were painted on the cars. The hood catch and bolts were also painted body color.
Unfortunately, the markers on the Comeback ‘Cuda were, how can we say it, toast! The great guys at Classic Industries sent us a complete set of side markers. Even the bezels and brackets were beautiful. Many times, when you buy reproduction parts you have to go find attaching hardware or gaskets before you can install the new parts.
The only thing we had to get extra were the “acorn nuts” and we already had several usable ones from other projects. The kit included Just about everything and the quality blew us away. Check out the details and the final results, on these much needed replacement parts available from Classic Industries.
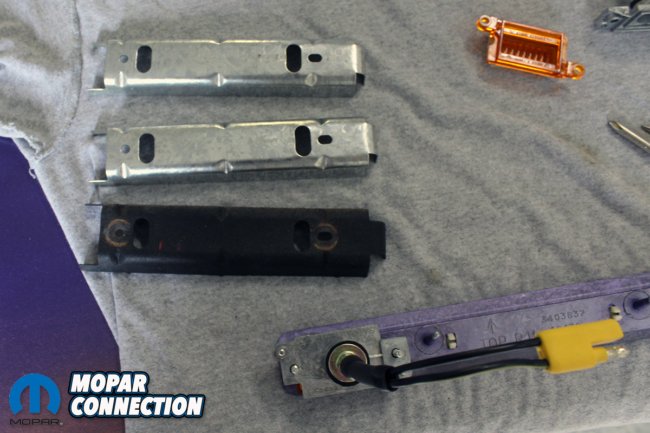

Above left: We then laid out the parts to assemble the right and left front as well as the right and left rear marker assemblies. This is a very important step since the parts are specific for each assembly. We found that the reflectors and the bulb lenses only fit one way. They also had to be assembled in a specific order for them to fit together. It took a few attempts, but they only work one way. Above center: The kit came with seals for the assemblies but not marker assembly to body gaskets. Since we already purchased the deluxe body gasket kit from Detroit Muscle Technologies, we had all the needed seals and gaskets. All of them were perfect in fit and correct material. Notice the correct part numbers and location identification cast into the bezels. These matched our roached out, originals exactly. Also notice the correct “acorn nuts” used to attach the assemblies to the body. Above right: Here you can see the new mounting brackets side by side the one of our originals. Fit and finish are all original and you don’t have to try to strip and re plate your originals saving you a ton of time and effort.


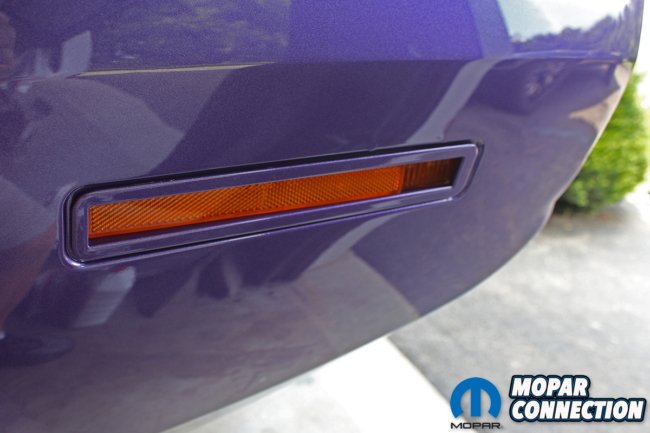
Above left: This pic shows the detail of the gaskets from DMT and how well they fit. You do have to purchase the marker light bulbs and install them before final assembly of the unit. You can also see the snap tabs from the reflectors exactly like the originals. Above center: Here is the completely assembled side marker light for the front of the car. Be sure and bench test the light before installing in the car. Also, sometimes after installation the light may not work. That is because the backing plates have sharp points that are designed to cut through the undercoating and paint and ground the assembly to the body and they may need adjustment to make a good ground. Above right: After a couple of hours, you have both left and right and front and rear side marker assemblies completed, and the results are stunning. The tiny screws that hold the lenses in place are perfect unlike the deteriorated originals we started with. Also shown are the correct bulbs needed from your local parts store.
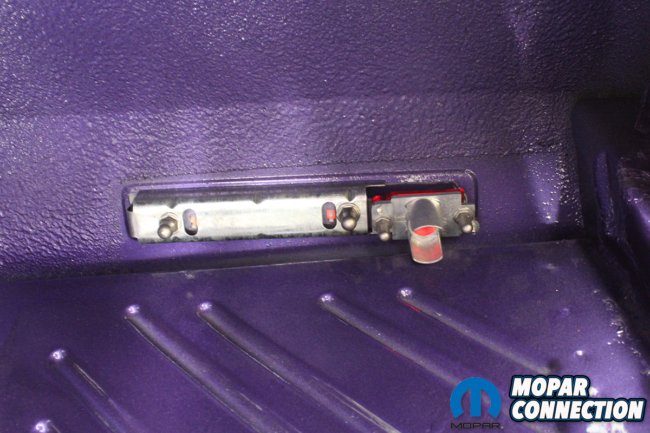
Above left: If you are wondering what the inside of your trunk and quarter panels should look like here is a reference picture. Sound deadener applied before paint with an area blocked off from undercoating. Rear red side marker lights correctly mounted with correct “acorn nuts.” The bulbs are mounted in the rear light wiring harness and then snapped into the assembly. Above right: The assemblies are then mounted to the body using new gaskets that are not painted. The side marker lights have been tested and work perfectly. Time to move on to the thousand other parts that need restoration and assembly. Restorations are a long process and not for the faint of heart but victories such as this, along the way, will keep you going!


 Mopar Connection Magazine – The ONLY Daily Mopar Magazine © 2022. All Rights Reserved. Mopar Connection Magazine is the ONLY daily Mopar Magazine bringing you the latest Mopar news, technology, breaking news, and Mopar related events and articles. Find out the latest information about Mopar, Mopar products and services, stay up to date on Mopar enthusiast news, dealership information and the latest Mopar social media buzz! Sign up for the Mopar Connection Magazine newsletter for the latest information about new products, services and industry chatter. Mopar Connection Magazine is the best and only source you need to be a Mopar industry insider!
 by
by