


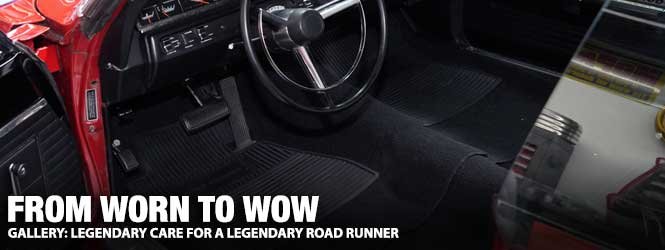
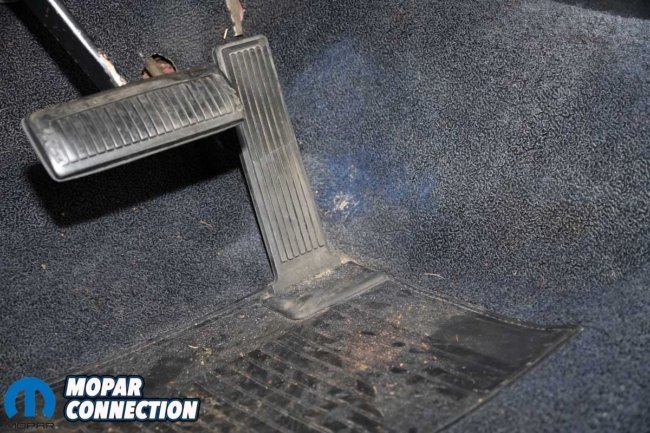
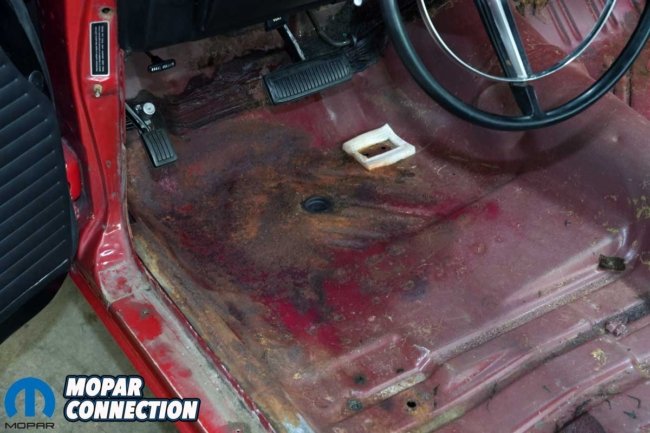
 Our Road Runner never fails to impress us with the remarkable number of original parts it still carries, even 57 years after rolling out of the Lynch Road assembly plant. As we continued to freshen up the car, one detail we were unsure about was the carpet. We suspected it was original, and for the most part, it remained in decent condition, but the driver’s side told a different story, worn thin and rubbed through around the heel pad from decades of use.
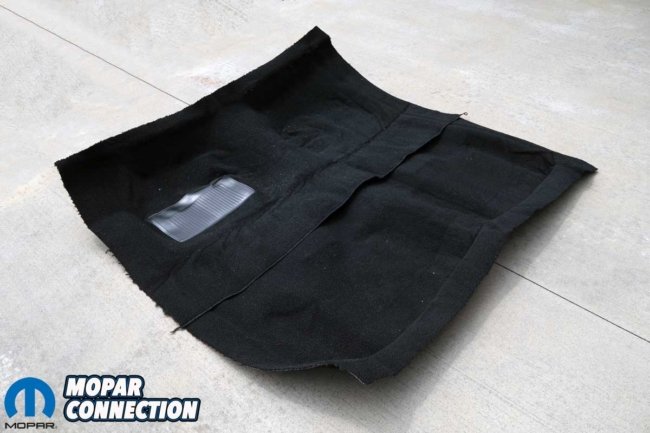
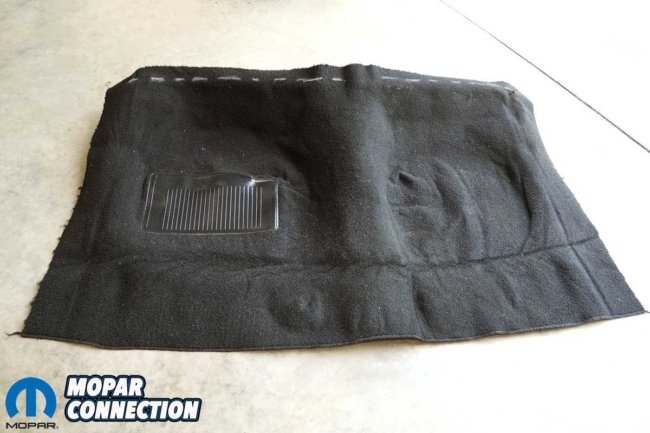
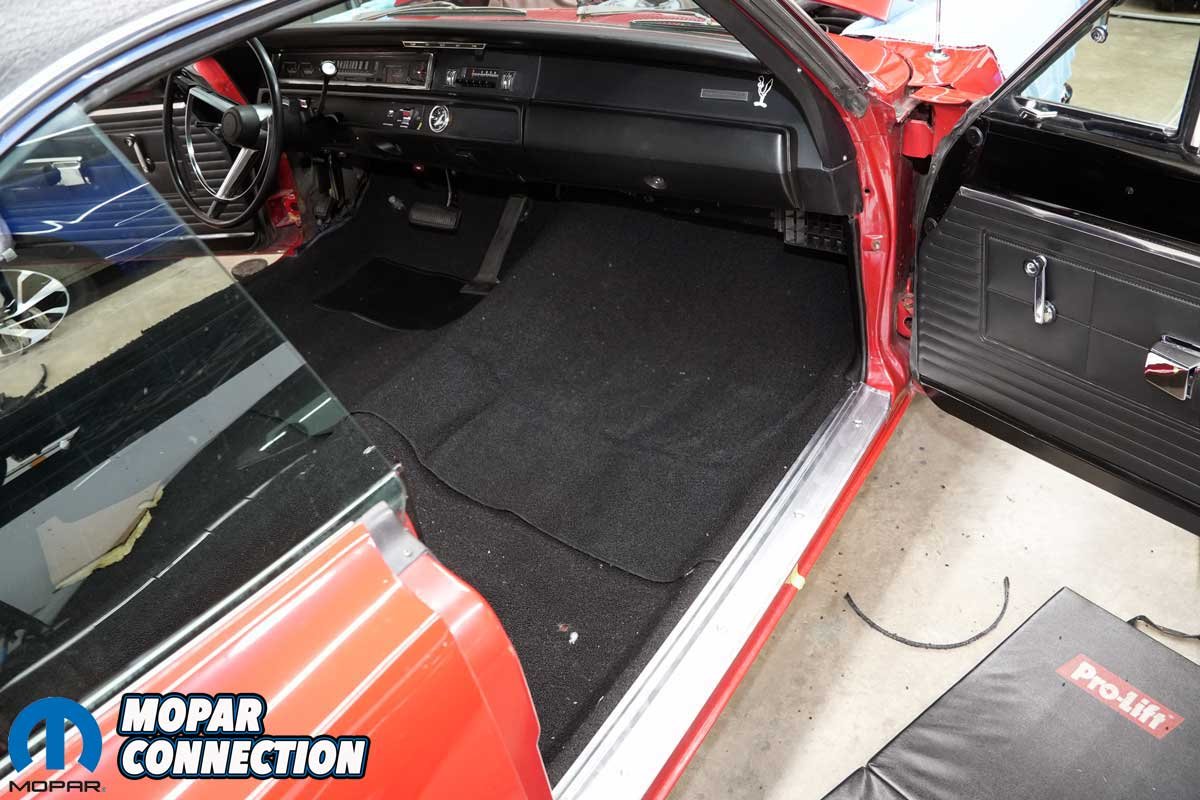
Above: Our Road Runner was ready for fresh flooring, and Legendary delivered with a replacement set that mirrors the factory carpet in both fit and finish.
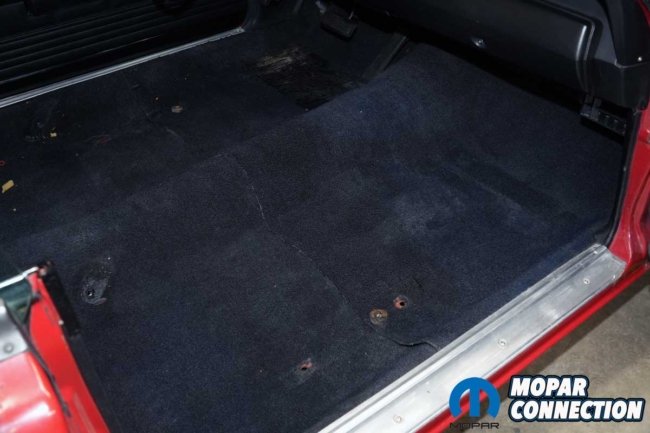
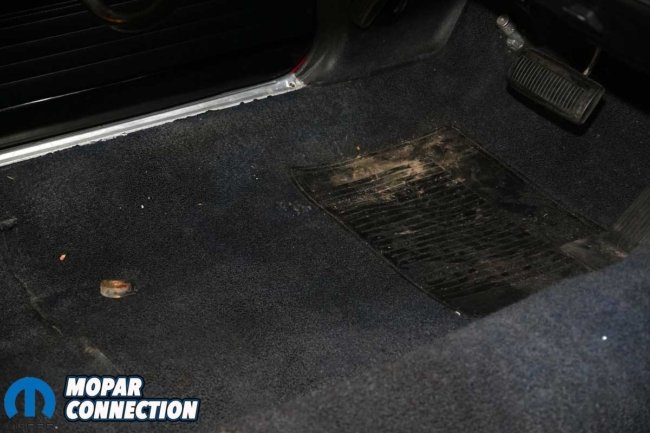
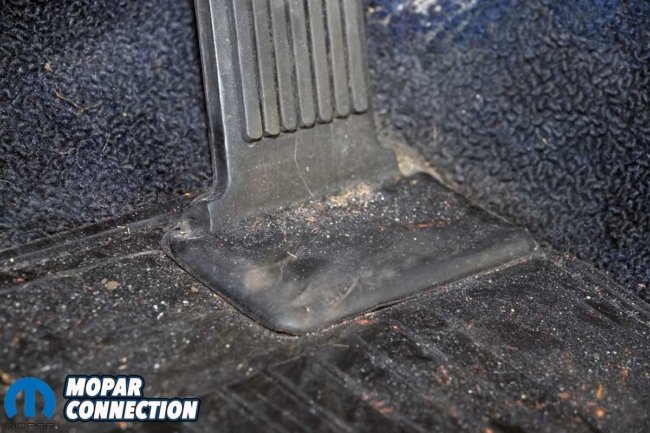
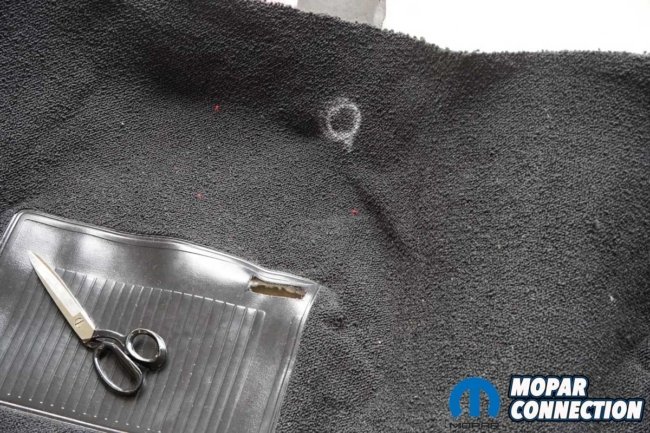
Above Left: Both carpet sections were still in reasonably good condition overall. Above Center: The driver’s side showed wear around the heel pad, and we also found two spacers sandwiched between the front seat frame and the floor pan. Above Right: While the carpet damage did not appear severe, signs of past moisture exposure were evident.
The plan was straightforward: replace the carpet (part no. CA66BA01), door sill plates (part no. SP68CRWX), and floor mats (part no. FMCR0001001001) with components from Legendary Auto Interiors to restore the interior’s factory-fresh appearance. With the front and rear seats, along with the front seat belts, already removed (stories on those are forthcoming), our attention turned directly to the door sill plates. Had the seats still been in place, that would have been our first task, but with the cabin cleared, we had an unobstructed path to proceed.


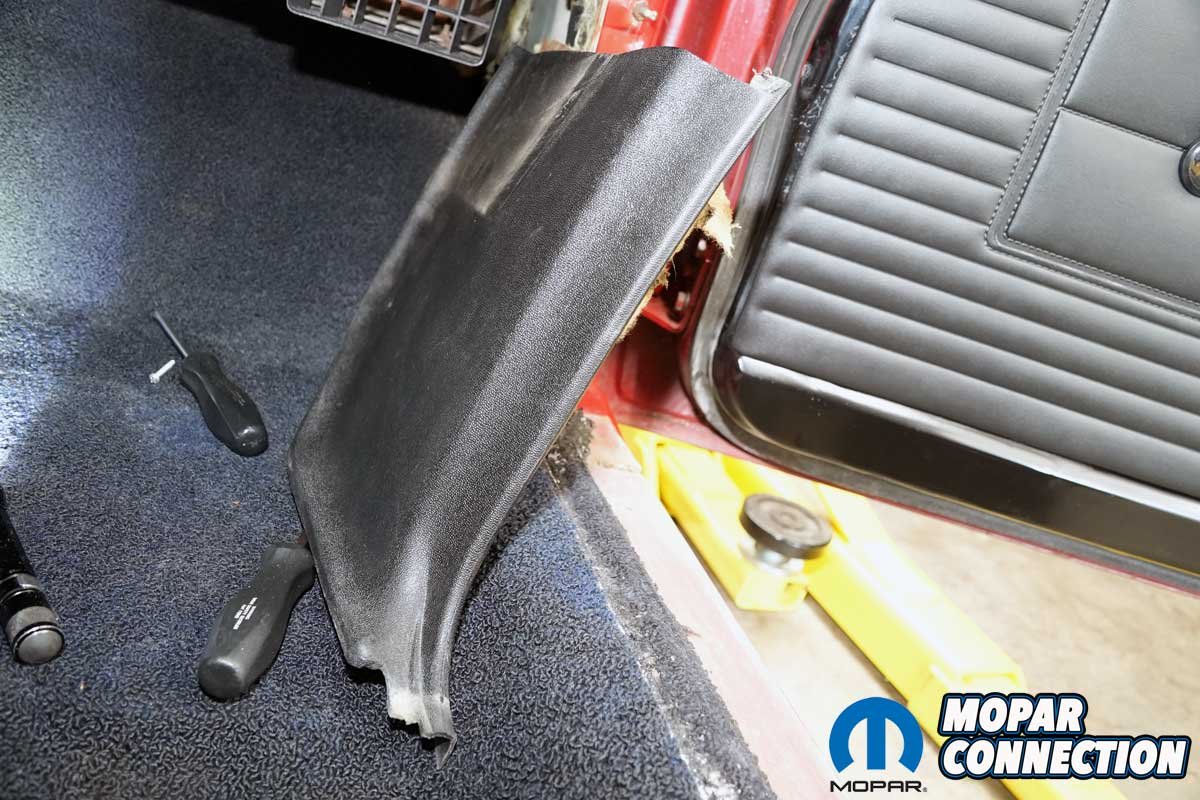
Above Left: Removing the old sill plates proved tricky, as several fasteners were seized in place. Fortunately, each bolt backed out cleanly without breaking. Above Center: A single fastener was all that needed to be removed to free the passenger-side kick panel. Above Right: We documented the process with a photo to capture how the factory originally installed the carpet.
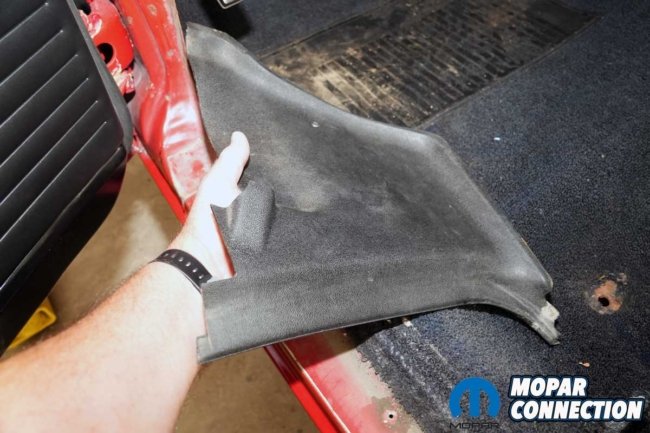

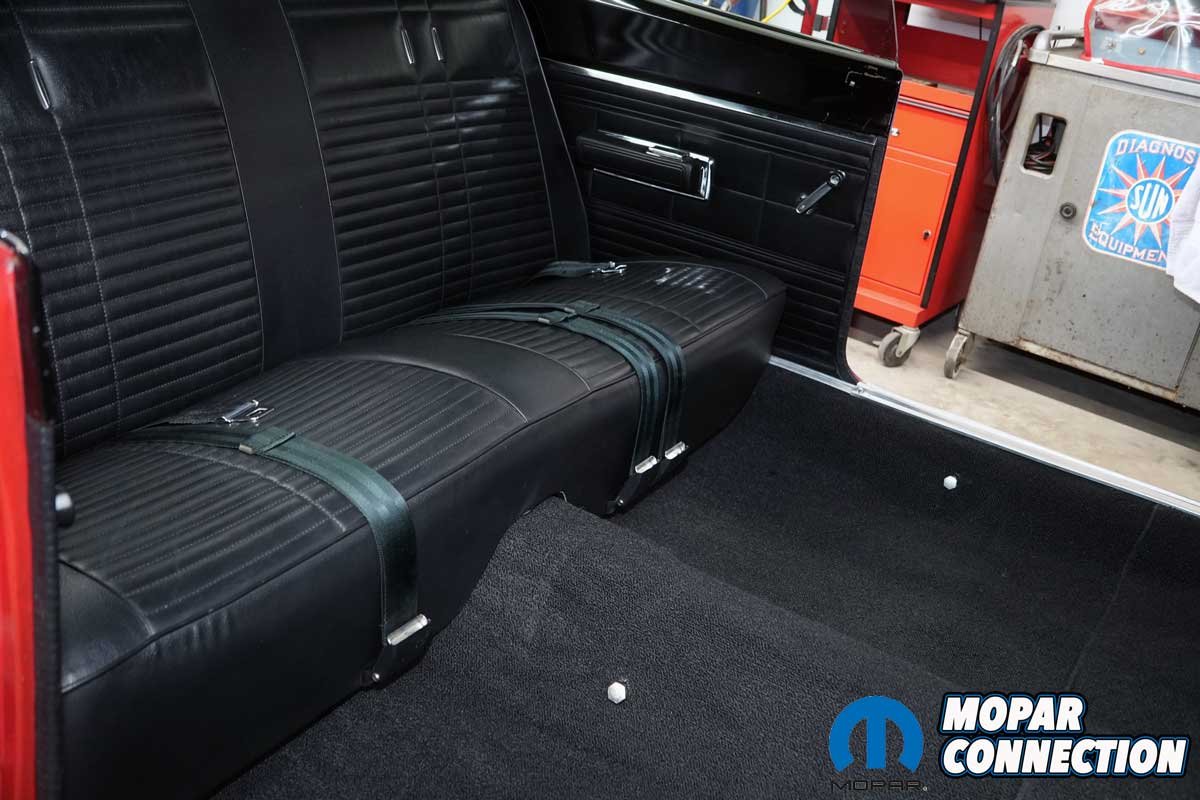
Above Left: The driver’s side sill plates had fasteners that were seized just as tight as the passenger’s side. Just like that side, we were able to extract all the fasteners. Above Center: The kick panel slipped out from under the dash. Above Right: The rear seat bottom needed to be removed to gain access to the rear portion of the rear section of the carpet.
Each sill plate was held in place by multiple screws, most of which had endured nearly six decades of service. Time and corrosion had locked several of them in place, raising real concerns about the risk of breakage. To our relief, a careful strike with an impact driver shocked each stubborn fastener free, and not one snapped.
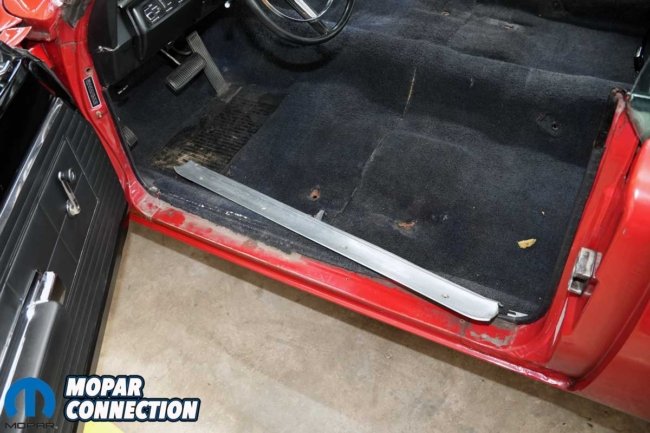
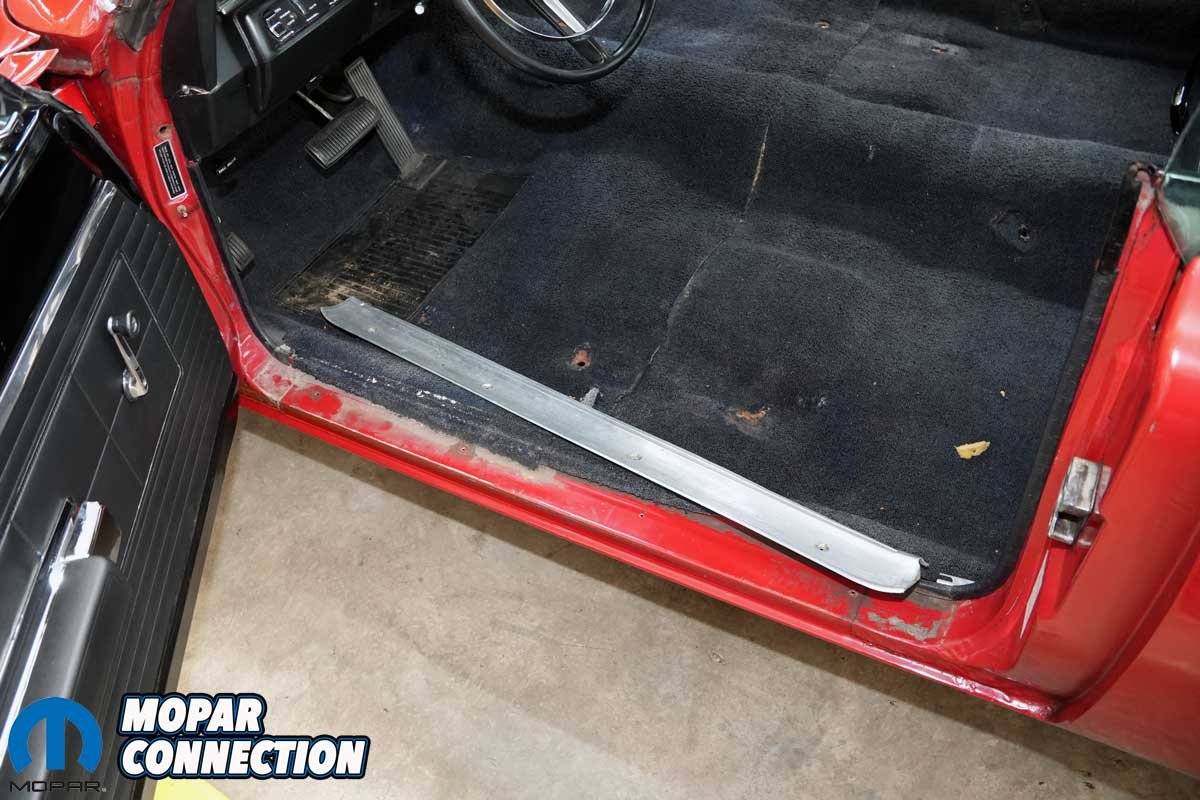
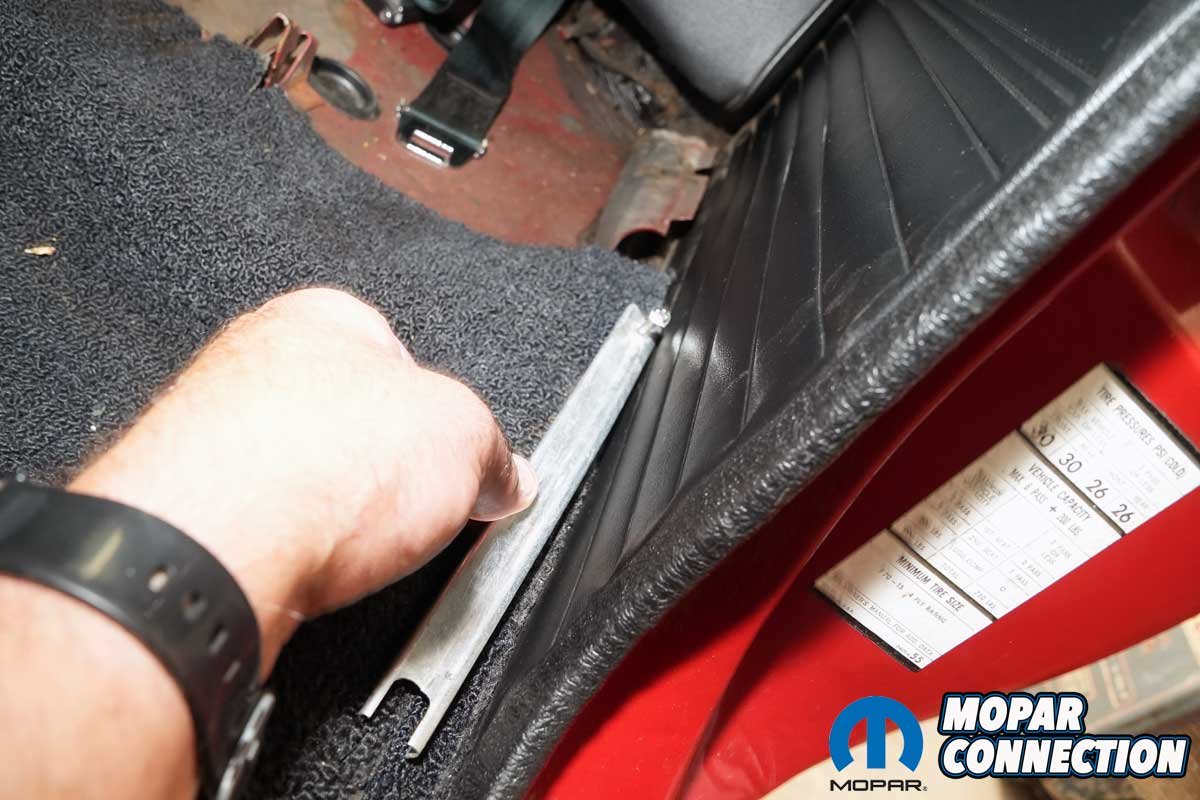
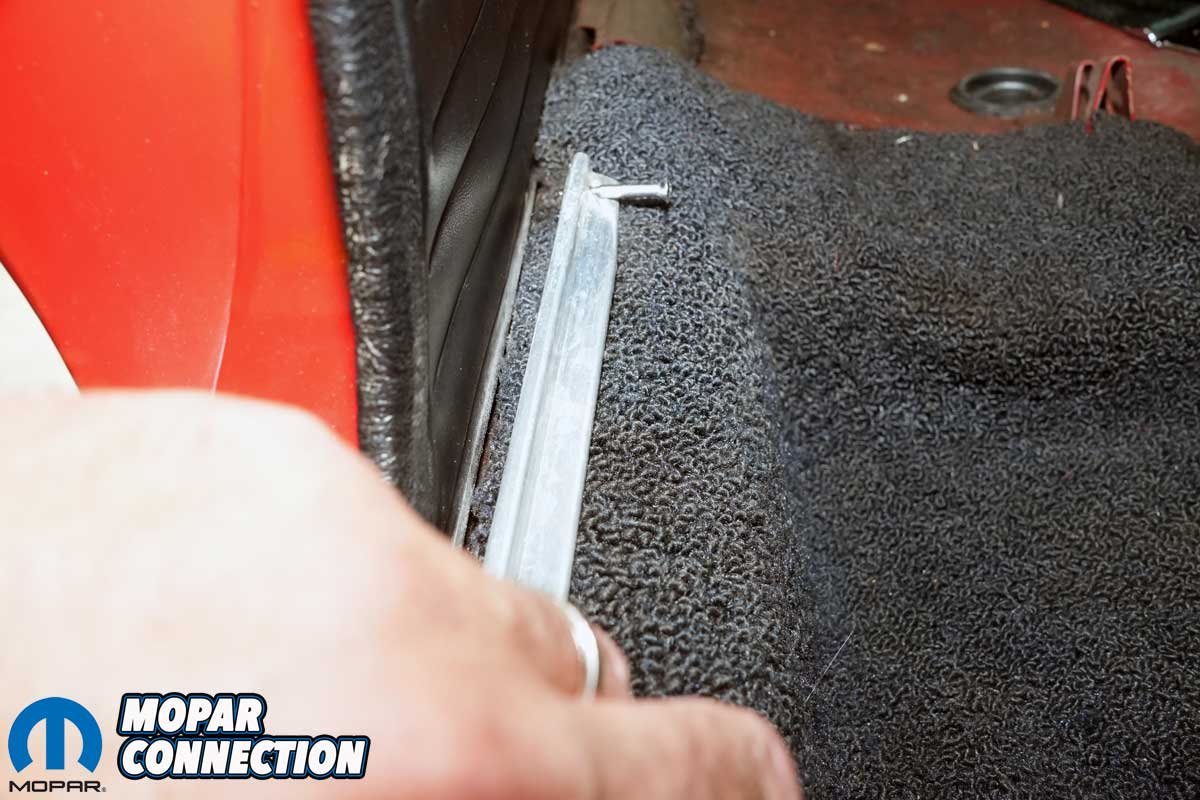
With the sill plate successfully removed, the next step was a slim chrome strip that bridged the sill plate to the rear seat area. Each side was secured by a lone screw, which we carefully unthreaded before lifting the trim from the car.
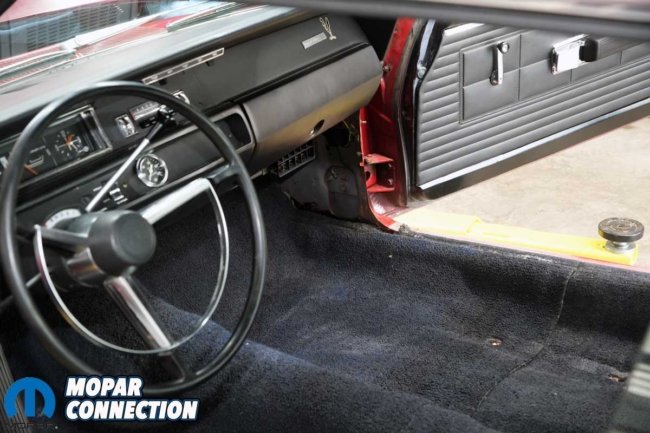
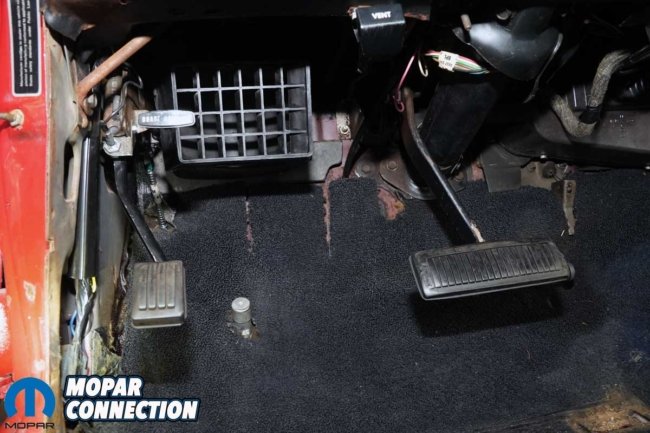
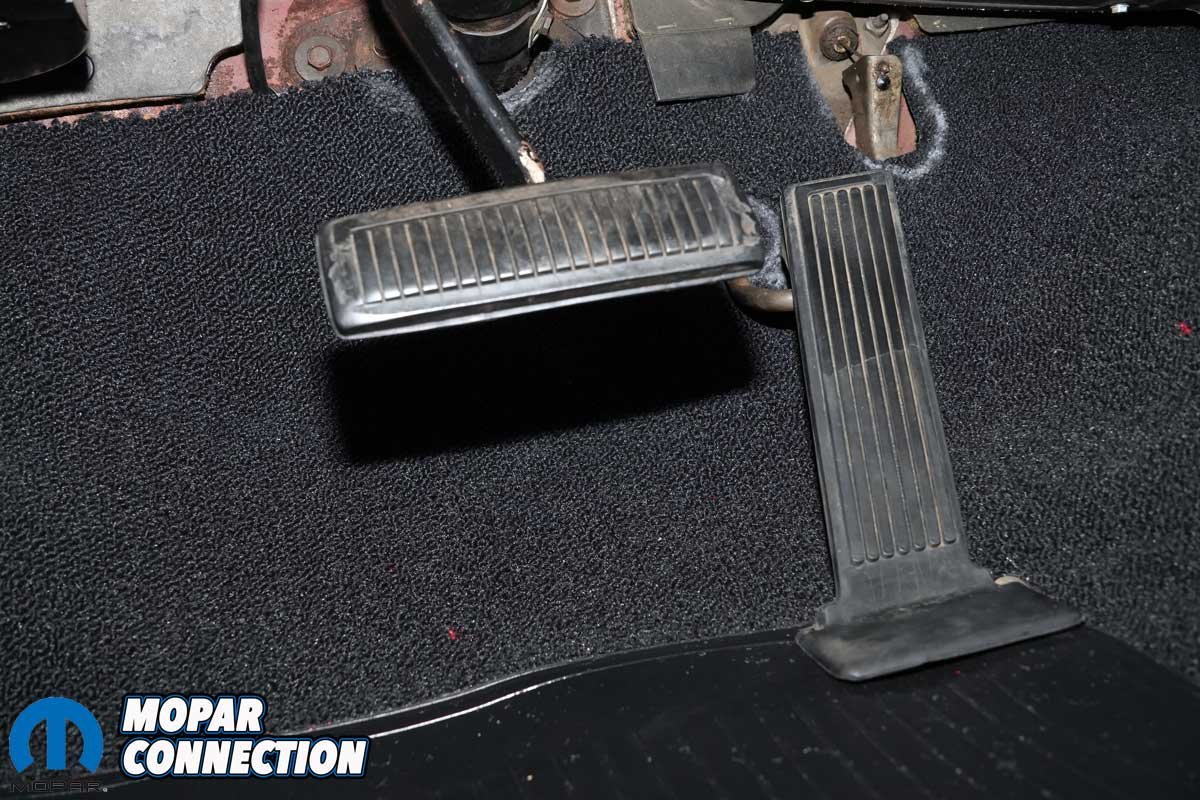
Above Left: On the Road Runner, the throttle pedal was not directly linked to the throttle rod. Instead, it pressed against a roller that actuated the linkage. Above Right: The pedal itself was mounted to the floor, serving as the fulcrum for the entire assembly.
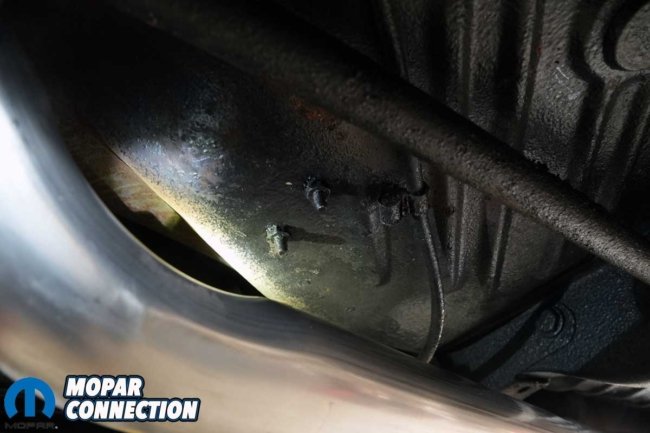

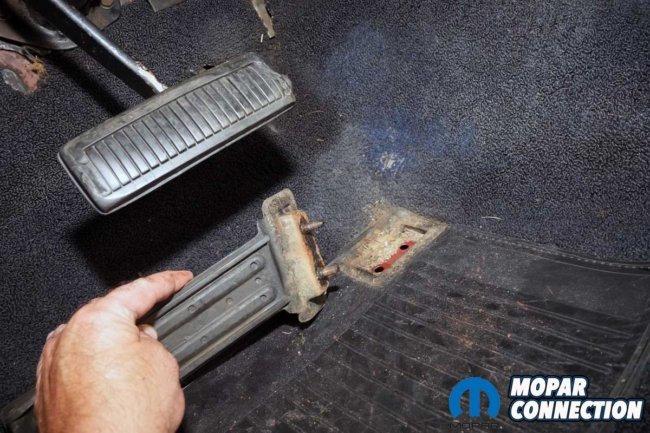
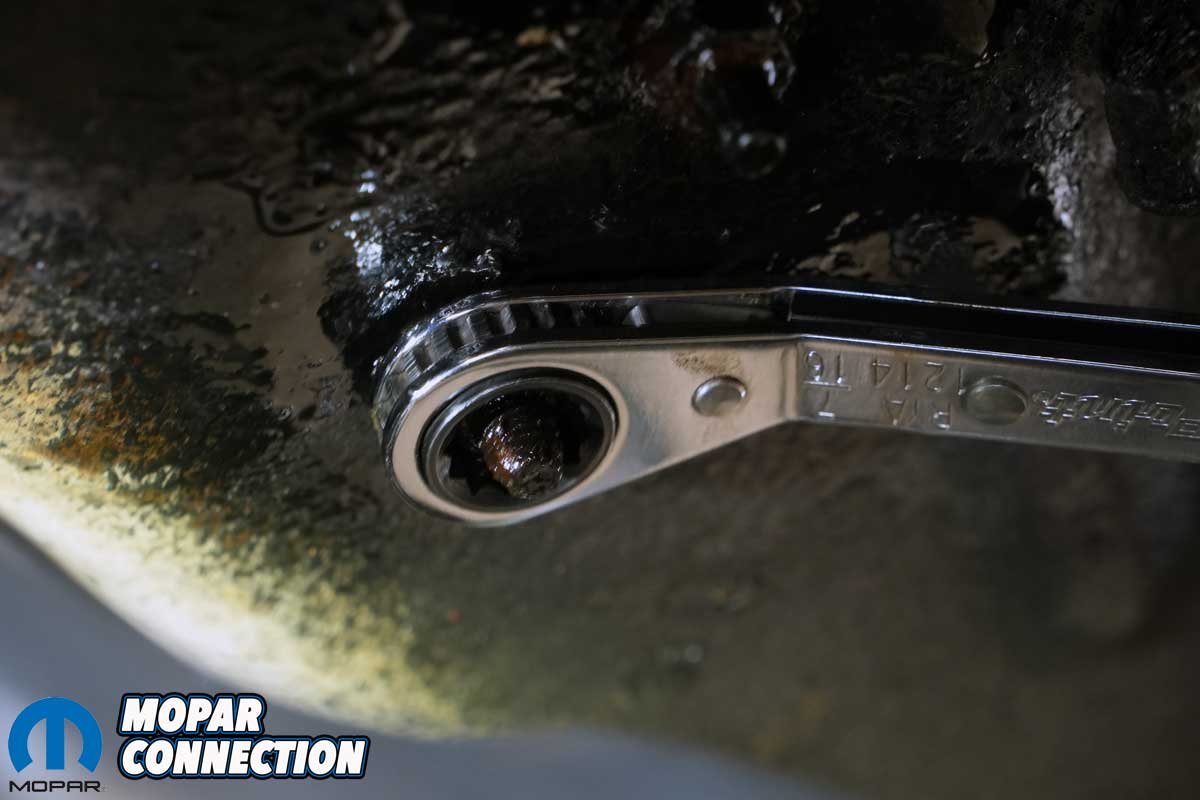
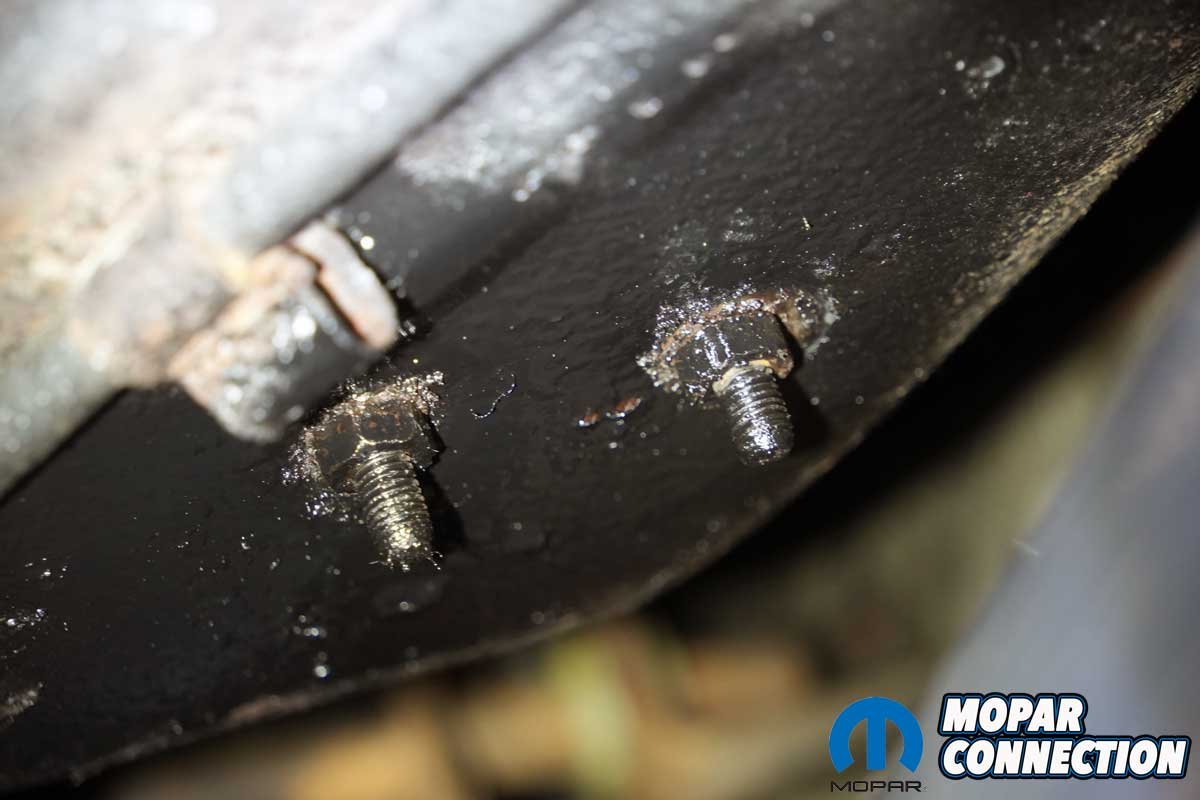
Above Left: The throttle pedal featured two studs that passed through the floor pan. Above Center: With limited clearance between the studs and the exhaust, we opted for a ratcheting wrench instead of a standard ratchet and socket. Above Right: The pedal was in solid condition, so we planned to clean it thoroughly and reuse it.
The next hurdle was removing the gas pedal. On the Road Runner, the pedal was fastened to the floor pan with two studs and nuts, which immediately raised our anxiety. After nearly 60 years of locating the pedal, the risk of snapping one or both fasteners was a genuine concern.
To hedge our bets, we soaked the nuts on the underside of the floor pan with penetrant and carefully worked them loose. To our relief, both nuts unthreaded without a problem, and with the pedal freed from its mount, we lifted it cleanly out of the car.
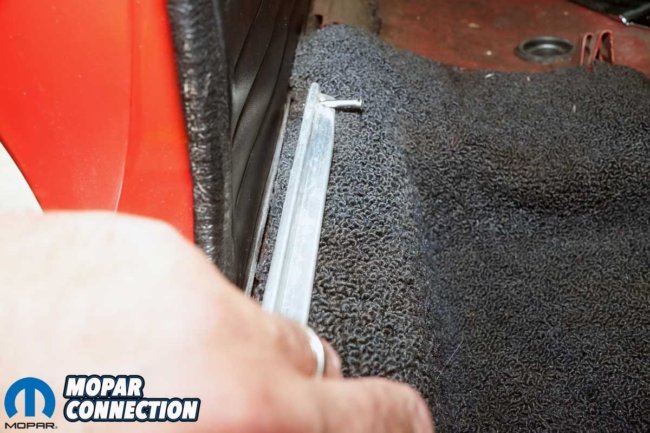

Above: Chrome strips ran along both sides of the carpet, securing it from the door sill plate all the way to the underside of the rear seat.
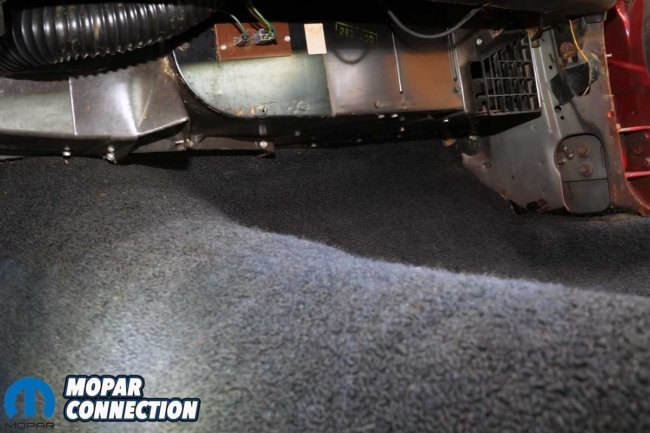
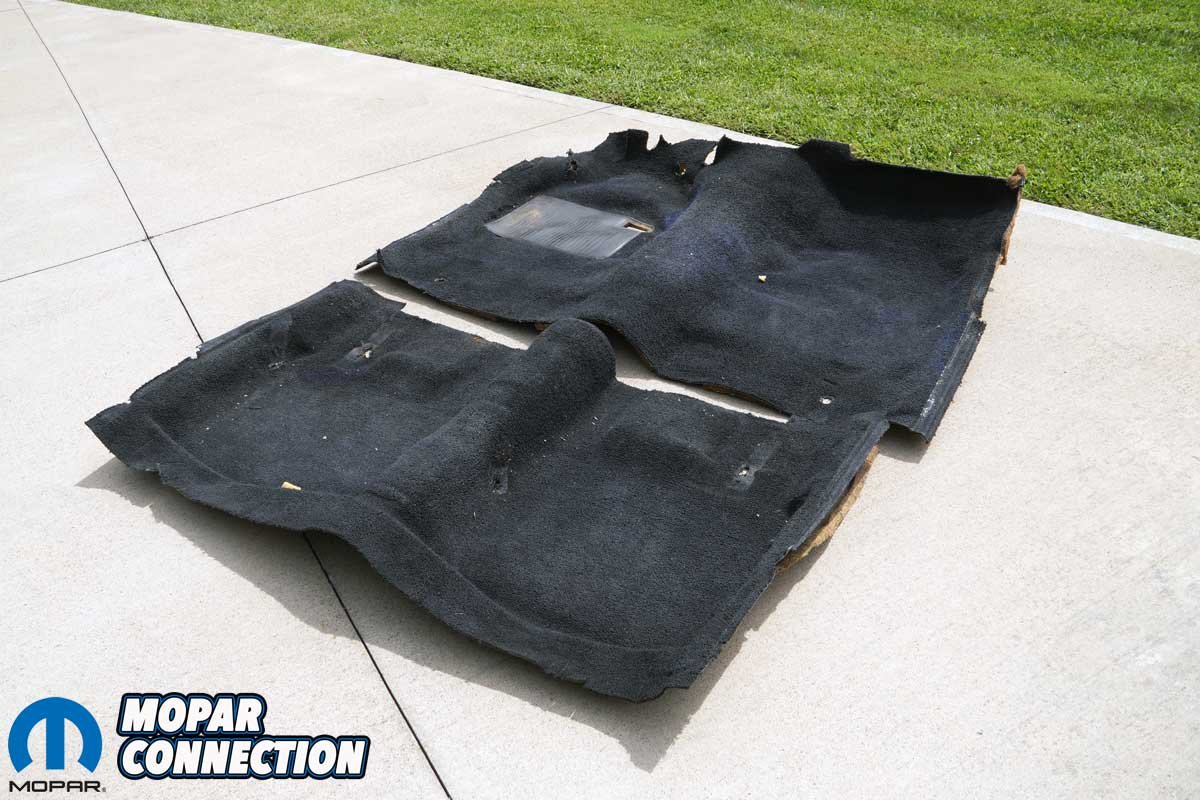
Above: Convinced that the carpet was original, we thoroughly photographed it to use as a reference when installing the new Legendary carpet. The driver’s side featured multiple relief cuts and cutouts to clear all components along the firewall. In contrast, the passenger’s side was carefully tucked under the heater box for a snug, precise fit.
With the sill plates and gas pedal out of the way, we turned our attention to the carpet. The front section was carefully rolled up and pulled from the interior, followed by the rear section. Both pieces were filthy after serving for more than half a century, but what they revealed left us amazed. On the backside of the front section, we discovered a small label still clinging to the jute backing.

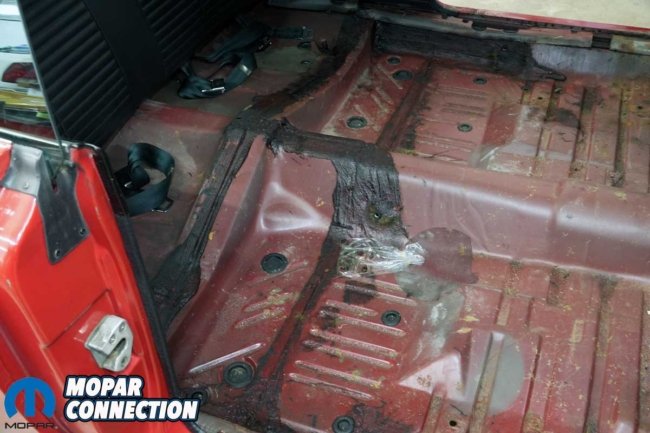
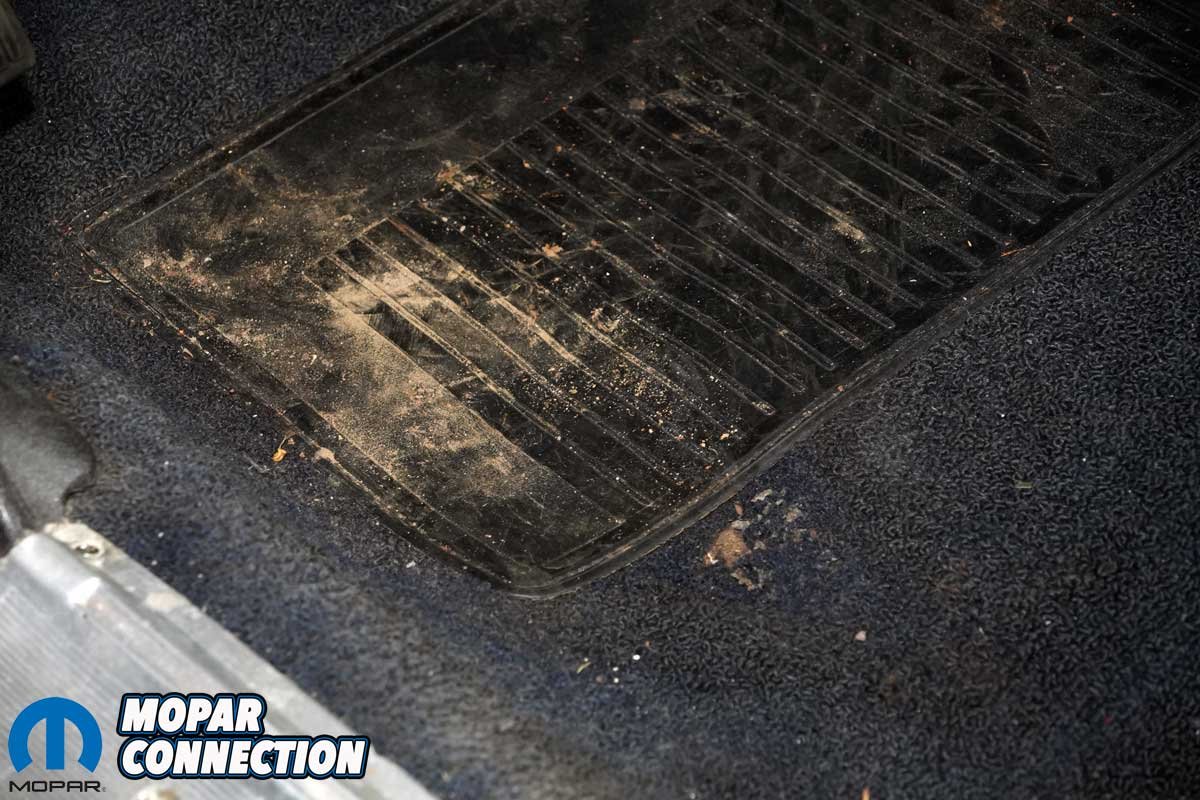
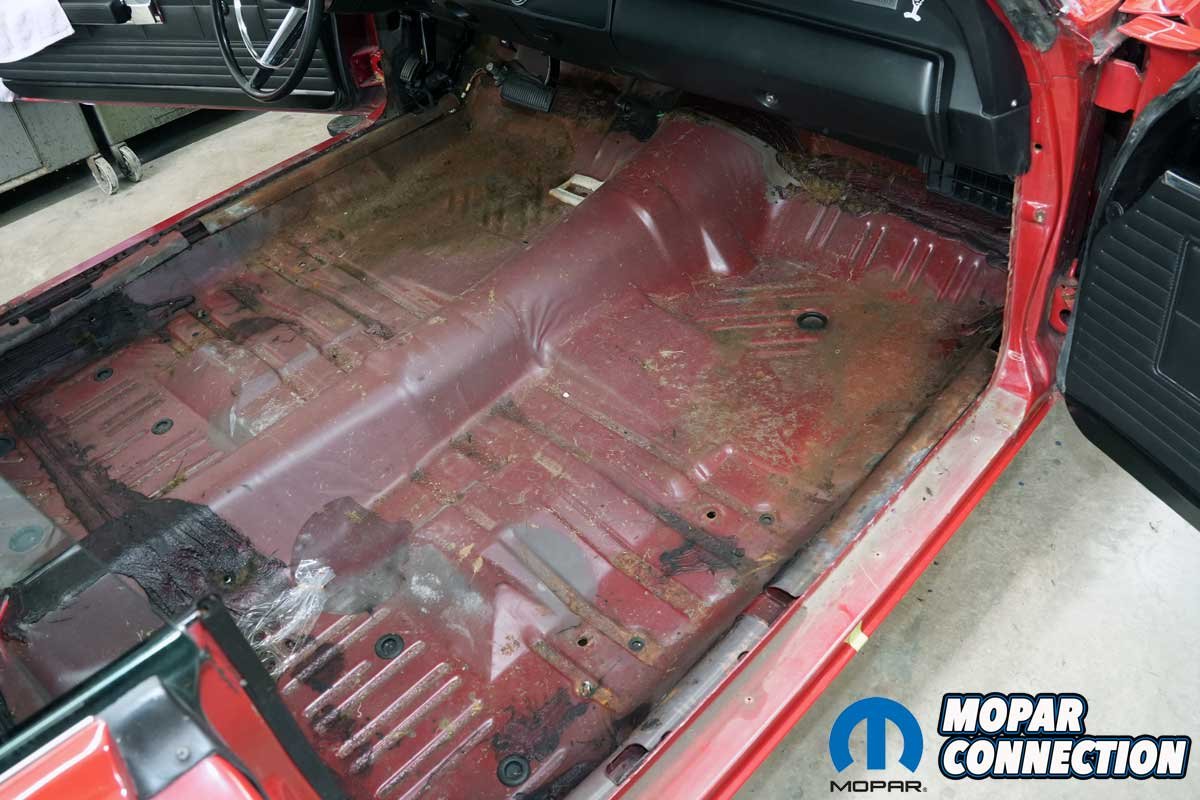
Above Left: With the carpet removed, we inspected the floor pan. Aside from some rust scale on the driver’s front floor, the metal was in excellent condition. Above Center: The rear floor pan also looked great, though it appeared a sandwich bag had once found its way under the carpet. Above Right: We removed the rust scale and applied a light coat of red paint to the cleaned floor, restoring its appearance and protecting the metal.


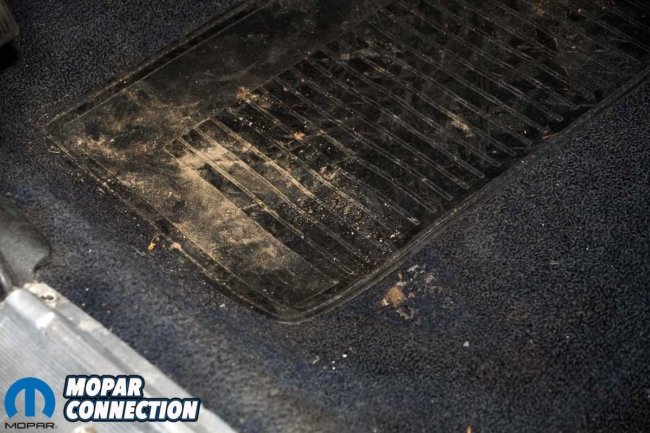
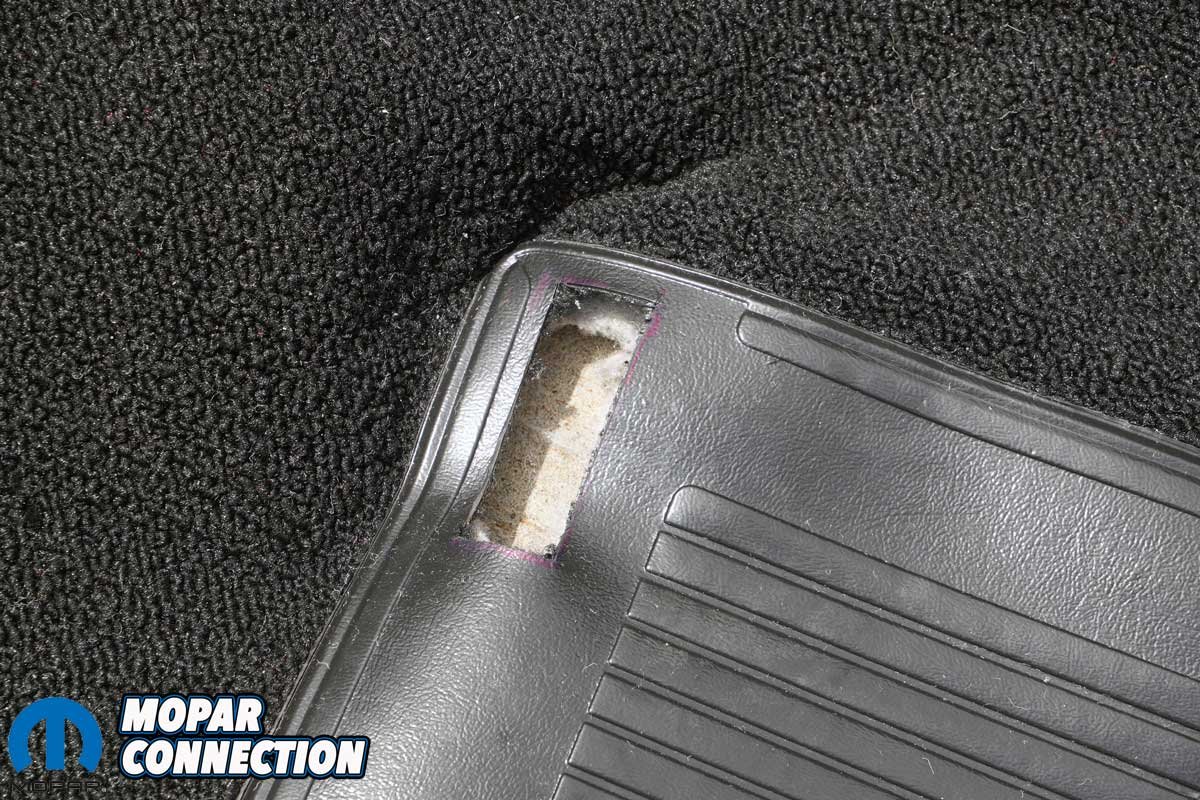
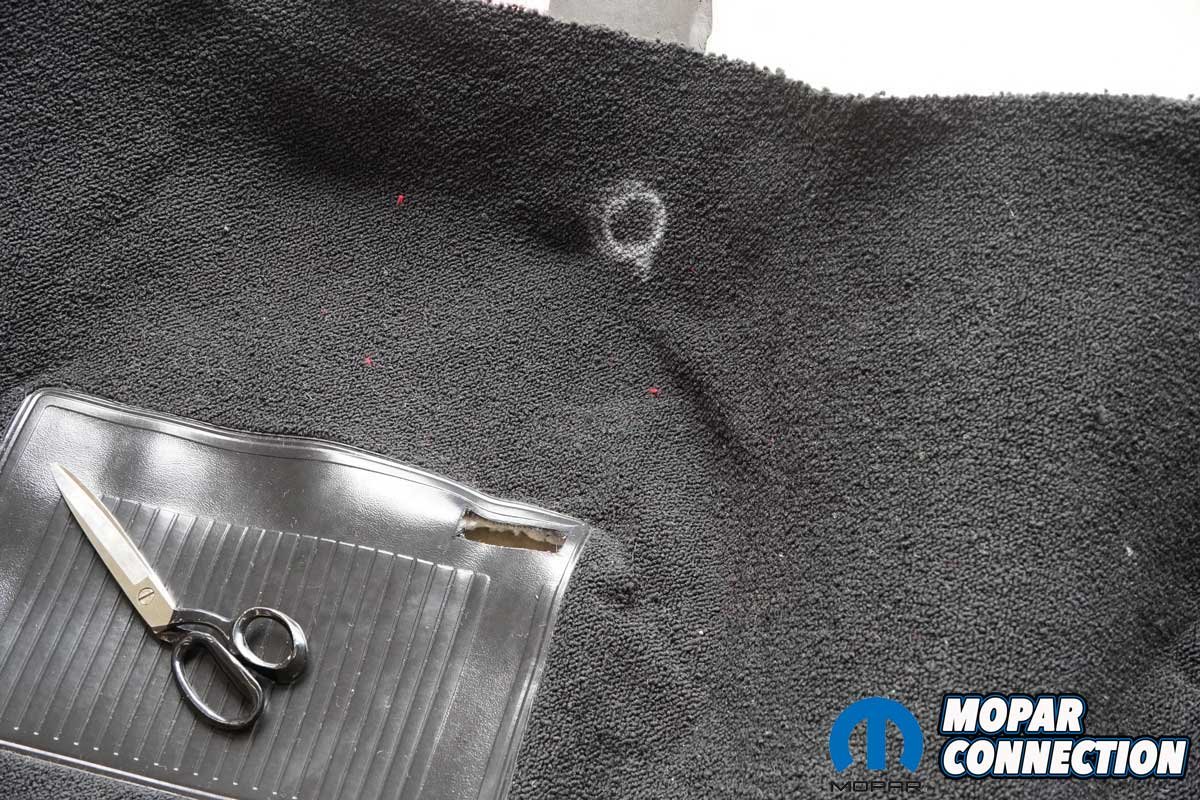
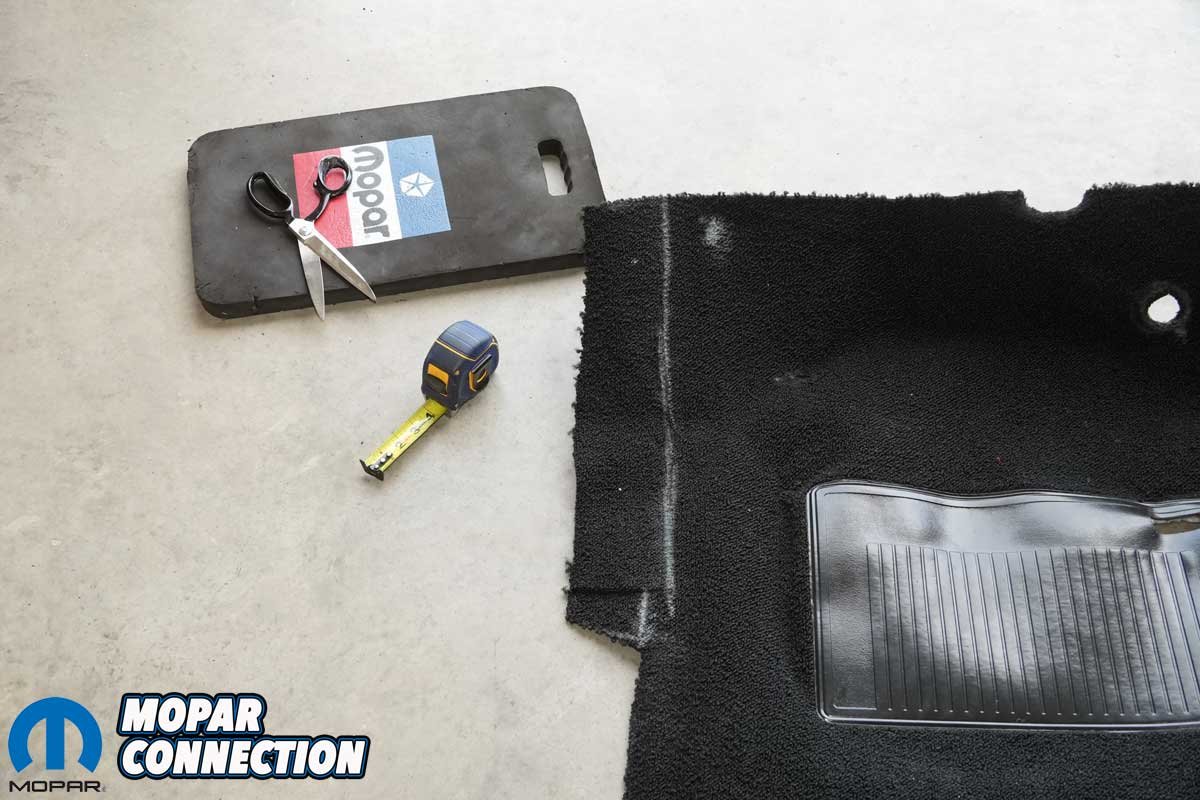
Above Left: The old carpet was deceptively grimy, covered in dirt, sand, and other debris, even though it appeared relatively clean at first glance. Above Right: Our first cut in the new carpet was a precise rectangle to accommodate the throttle pedal, marking the start of the installation process.
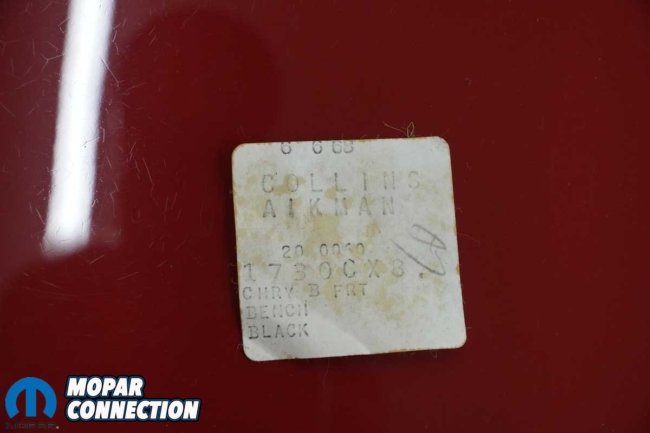
The tag was from Collins & Aikman, a Detroit-area supplier that produced carpet for Chrysler. Even more exciting, the label identified the piece as a black B-body front bench-seat carpet, manufactured on June 6, 1968, just twenty days before our Road Runner rolled down the Lynch Road assembly line.
It was a rare glimpse into the car’s original build history and confirmation that the carpet we were handling had been in place since the car’s inception.

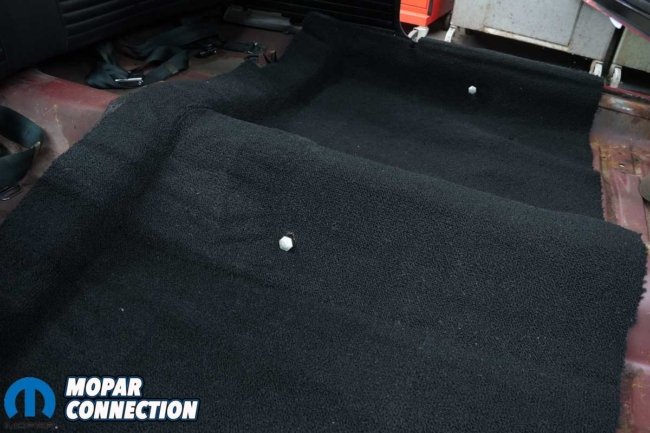
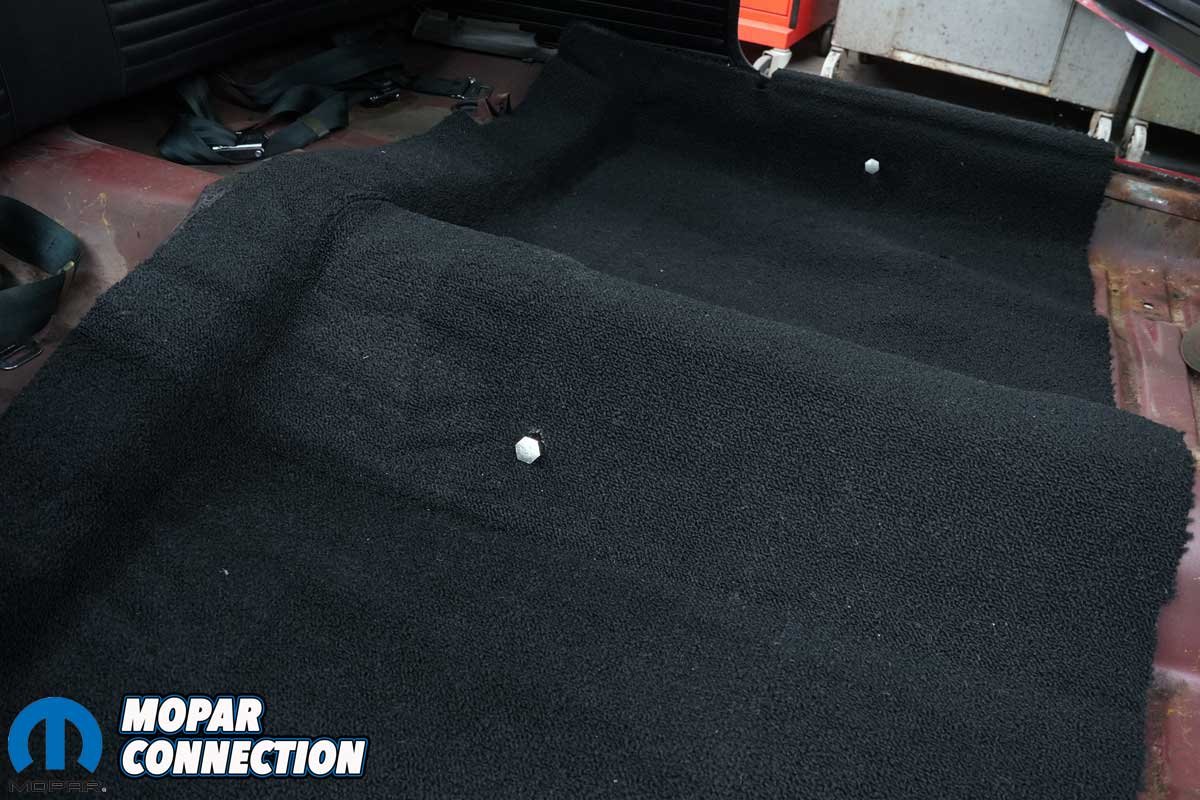
Above Left: We positioned the rear carpet section inside the Road Runner, and the molded design fit seamlessly over the floor pan and around the driveshaft tunnel. Above Center: Carefully, we marked the carpet to identify areas that required trimming. Above Right: After trimming a few key sections, the carpet settled perfectly, fitting snugly and securely in place.
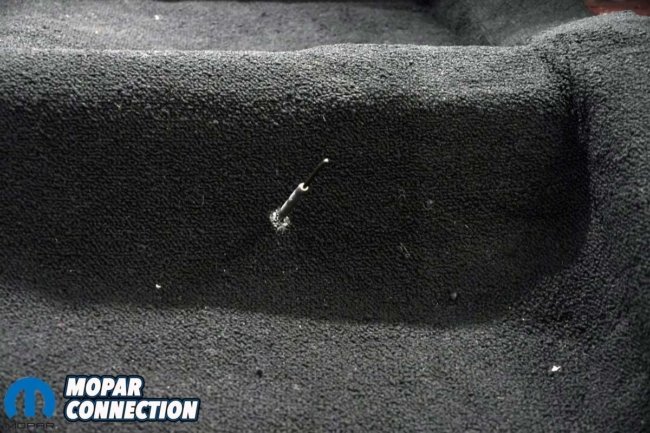
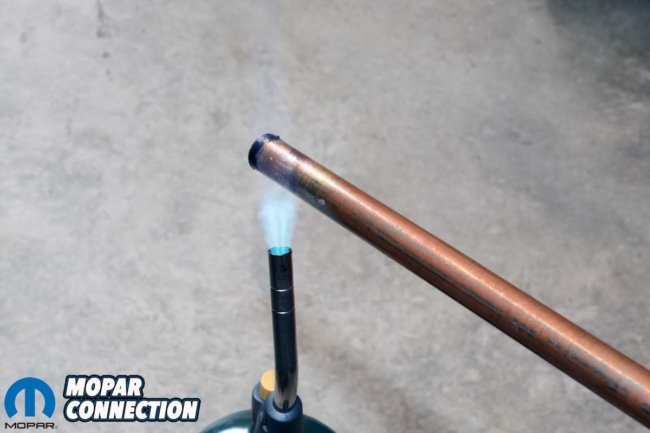
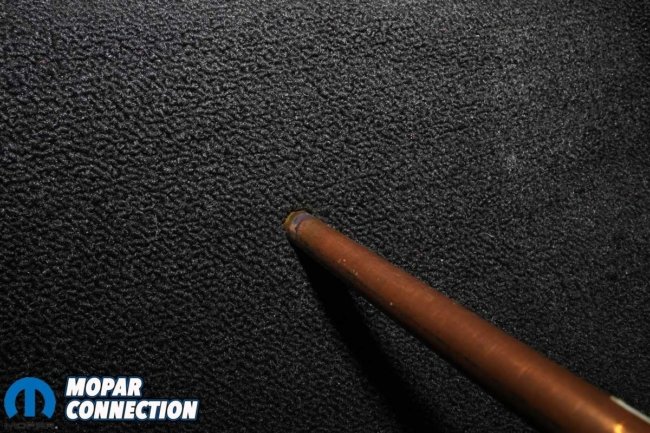
Above Left: Once the carpet was in place, we carefully probed with a pick to locate the seat belt anchor points and the seat frame mounting holes. Above Center: We heated a copper tube until it reached a temperature capable of melting the carpet material. Above Right: The heated tube effortlessly pierced the carpet, creating precise openings without fraying.
A close inspection of the floor pan revealed only minor concerns. On the driver’s side, we found some rust scale, likely the result of years of wet shoes, a leaky windshield, leaking wiper shaft seals, or a combination of any of them. Fortunately, it was superficial. After cleaning away the scale, we sealed the area with a thin coat of red paint, leaving the rest of the floor, which remained in excellent condition, untouched.
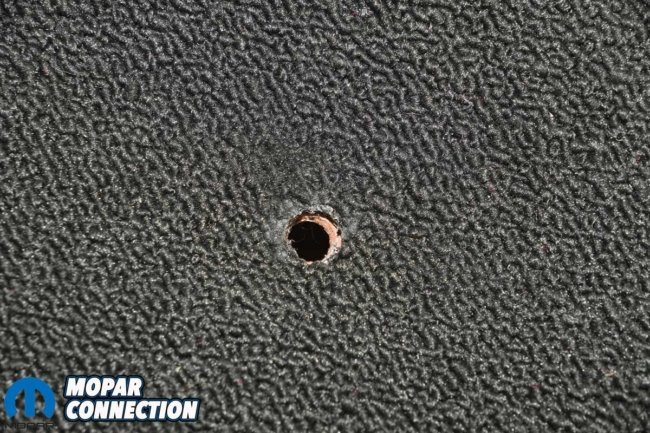
Above Left: The melted hole aligned perfectly with the stamped opening in the sheet metal, ensuring a precise fit. Above Right: We installed all the seat belt anchor bolts to confirm that every component lined up correctly.
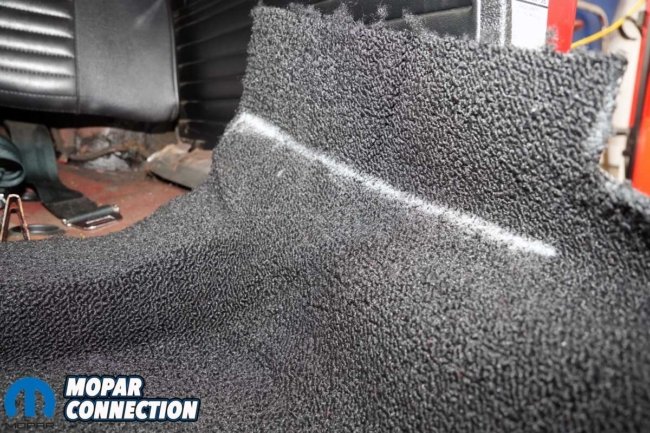
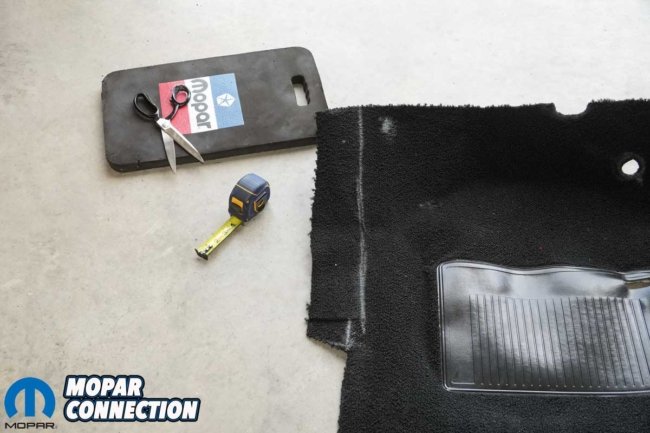
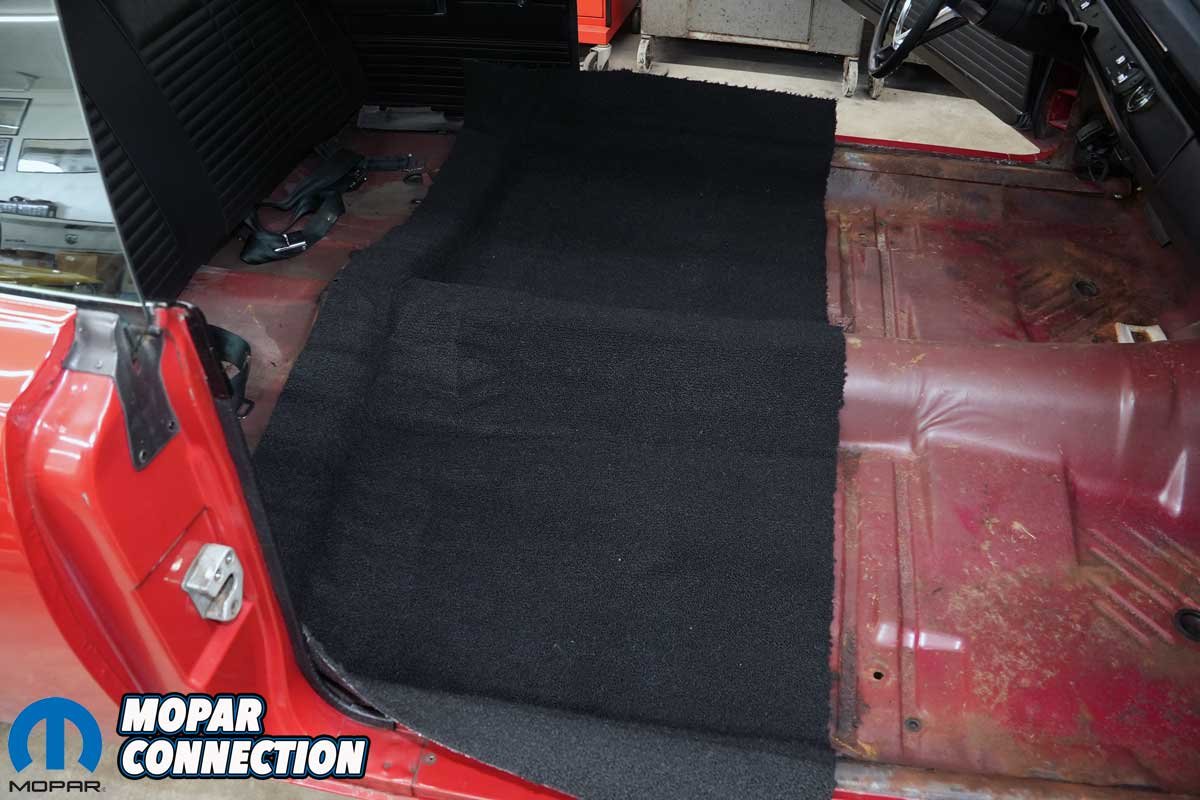
Before installing the new Legendary carpet, we laid both sections out in the sun for several hours, allowing the material to relax and become more pliable. Once the rear section was ready, we carefully eased it into the Road Runner. Using chalk, we marked the areas that required trimming, then made conservative cuts with a pair of high-quality upholstery shears.
After a few minor adjustments, the fit was flawless, and the carpet dropped into place just as it should, a gratifying step toward restoring the interior to its original factory look.
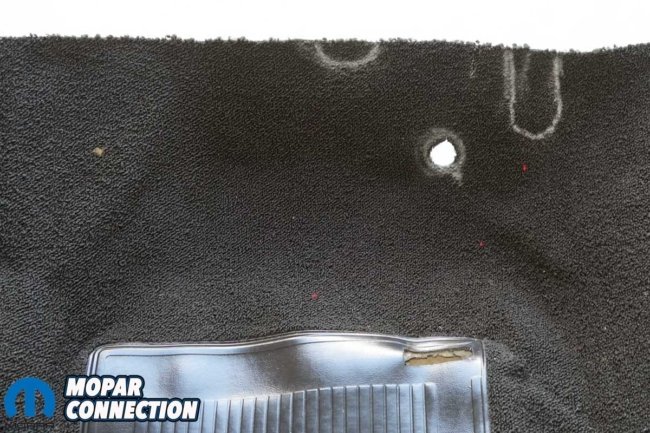
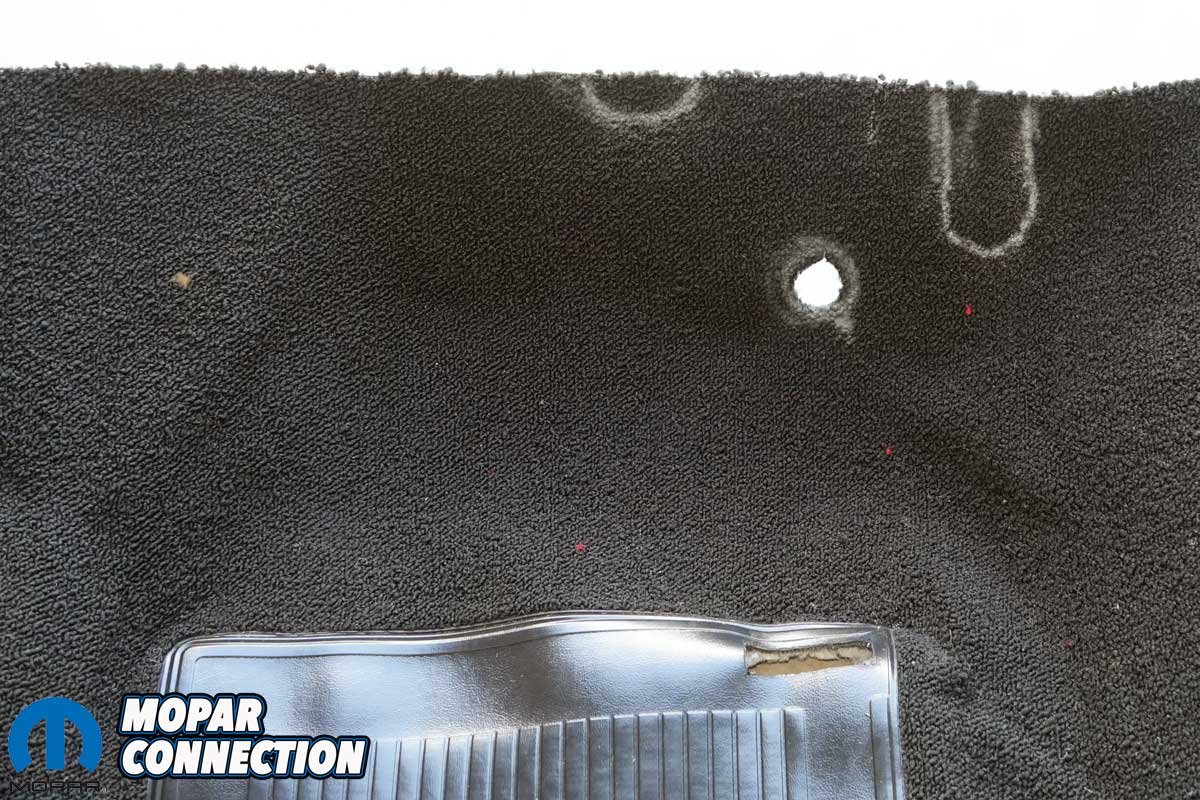
Above Left: The front carpet required careful trimming. After taking several precise measurements, we began making the cuts. Above Center: The throttle linkage roller protruded through the carpet, so we measured and marked the exact location for the opening. Above Right: Once we cut the hole, we identified two additional areas that needed material removed for a perfect fit.
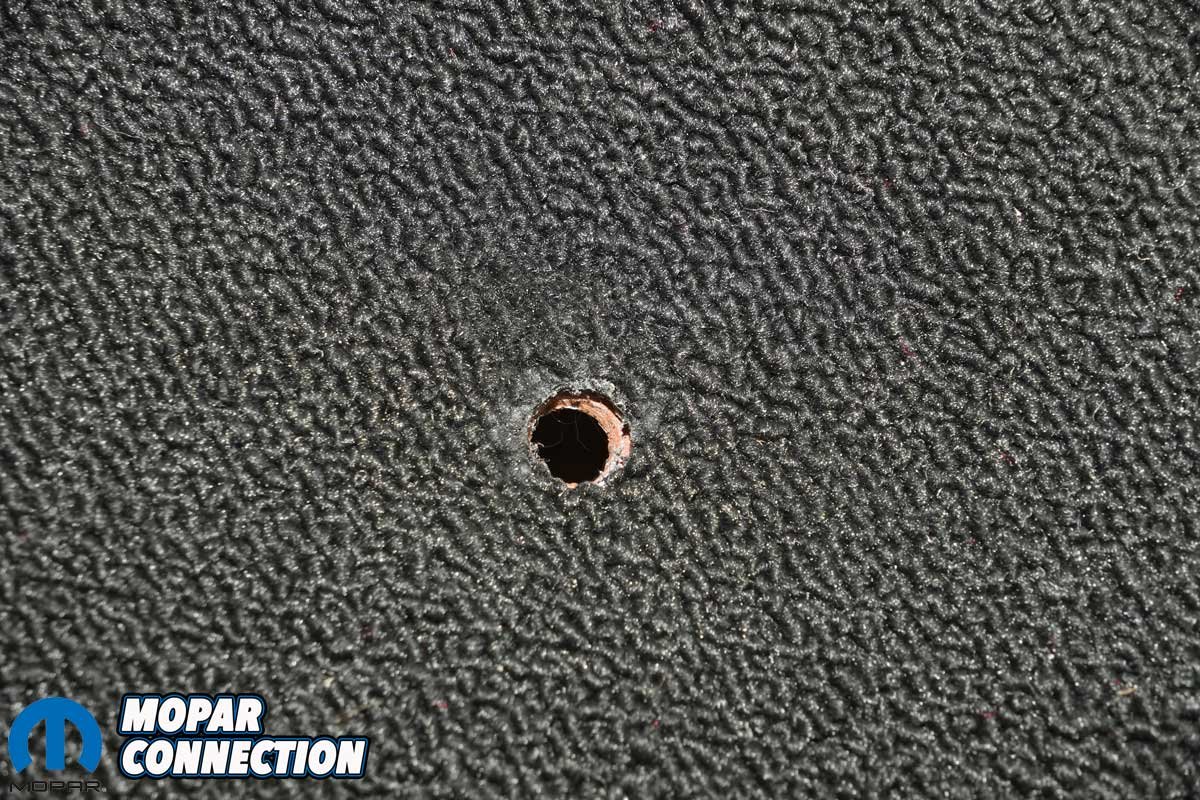
Next came the precise work of aligning the carpet with the holes of the seat and seat belt anchors. We probed and marked each hole location, then turned to a heated ½-inch copper pipe. Once it was glowing from the torch, we pressed the pipe directly onto each marked spot. The heat melted the carpet fibers, creating perfectly round holes.


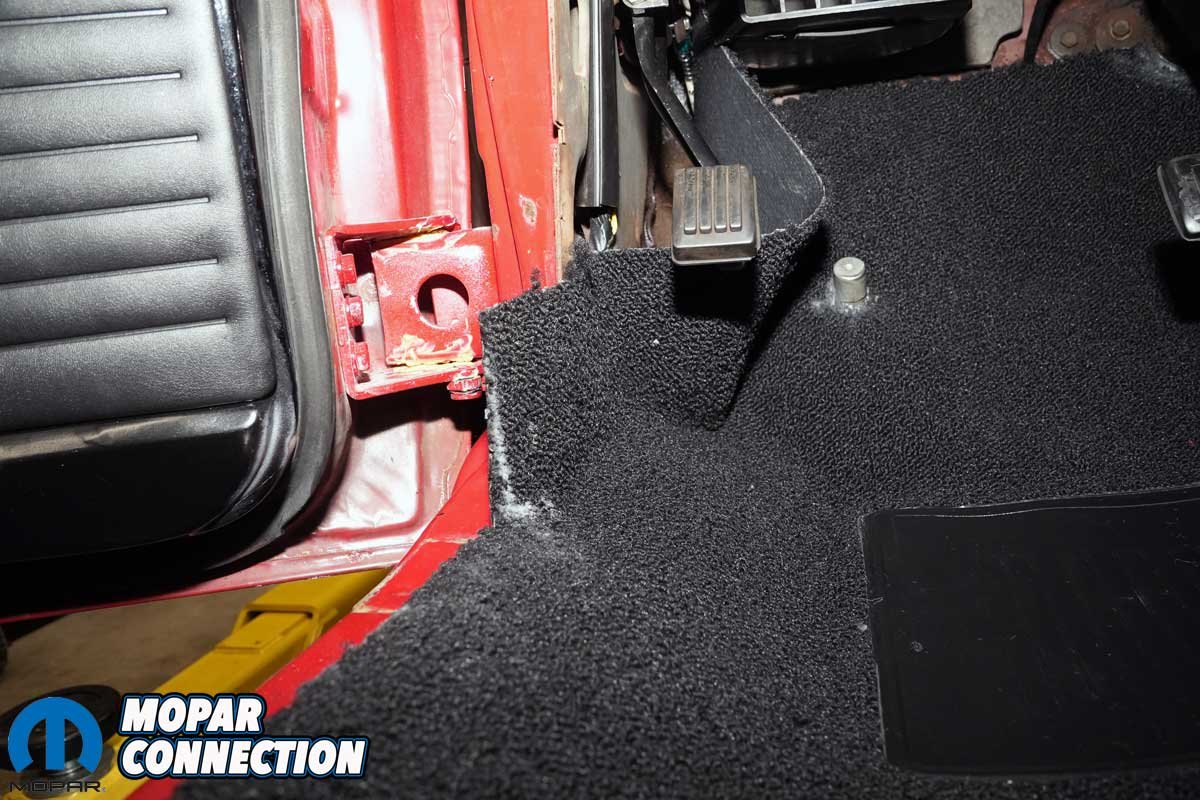
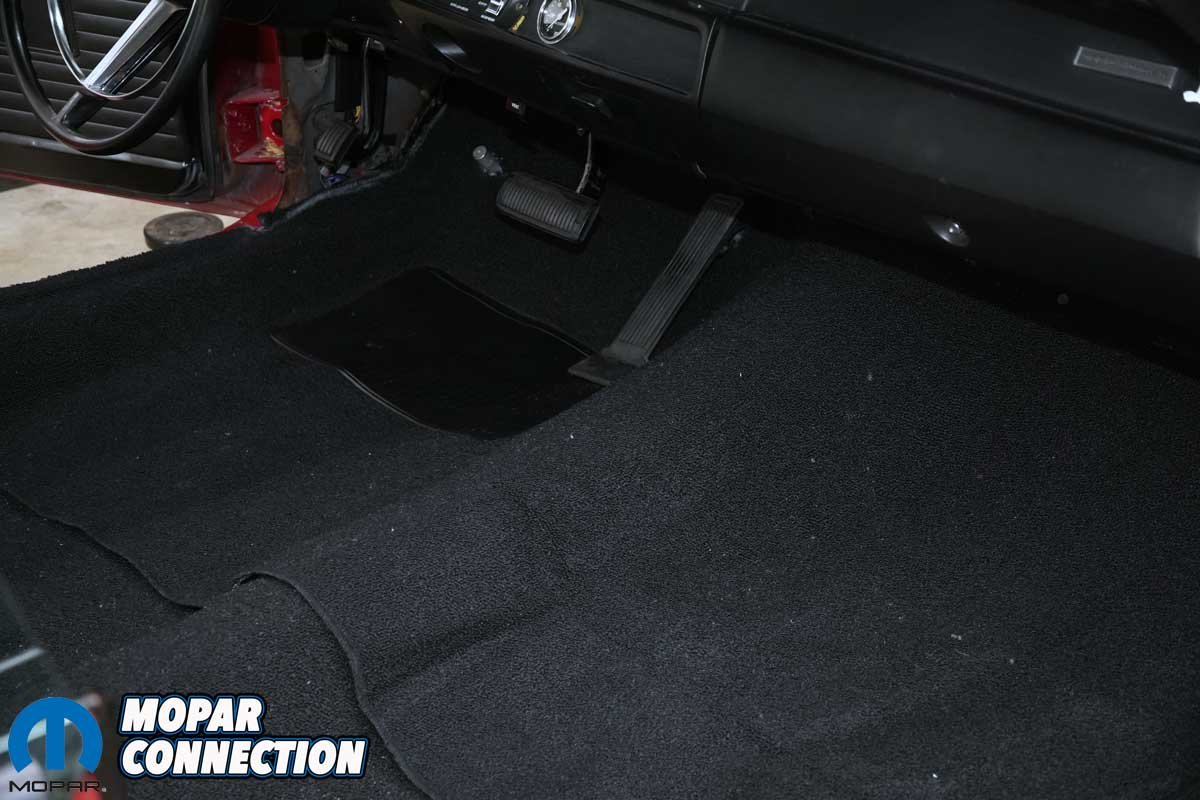
Above Left: We positioned the throttle pedal into its mounting holes without securing it, confirming that it aligned perfectly before final installation. Above Center: The hole for the dimmer switch was carefully marked and cut, allowing the switch to fit precisely. Additional carpet areas still needed trimming. Above Right: After trimming a few more sections, the carpet fit snugly and flawlessly in all required areas, including around the park brake cable.
The melting of the carpet technique not only guaranteed a clean, professional look but also eliminated the chance of a stray thread snagging on a fastener and causing an unsightly run in the carpet. Although a small detail, it is one that speaks volumes about the care and attention to detail in a restoration.
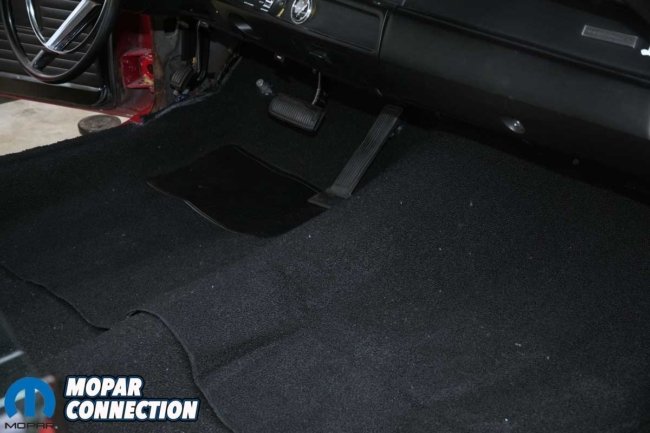

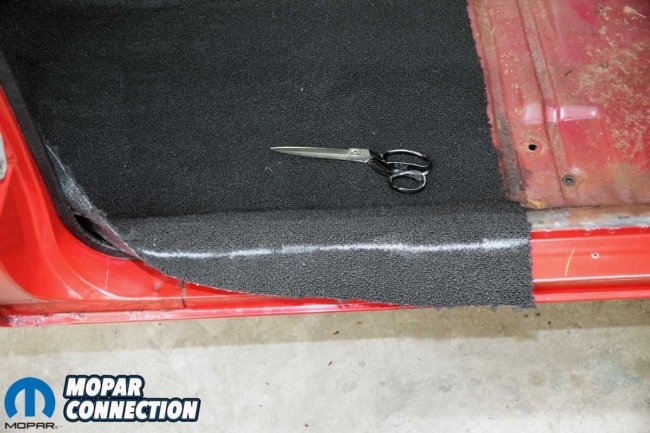
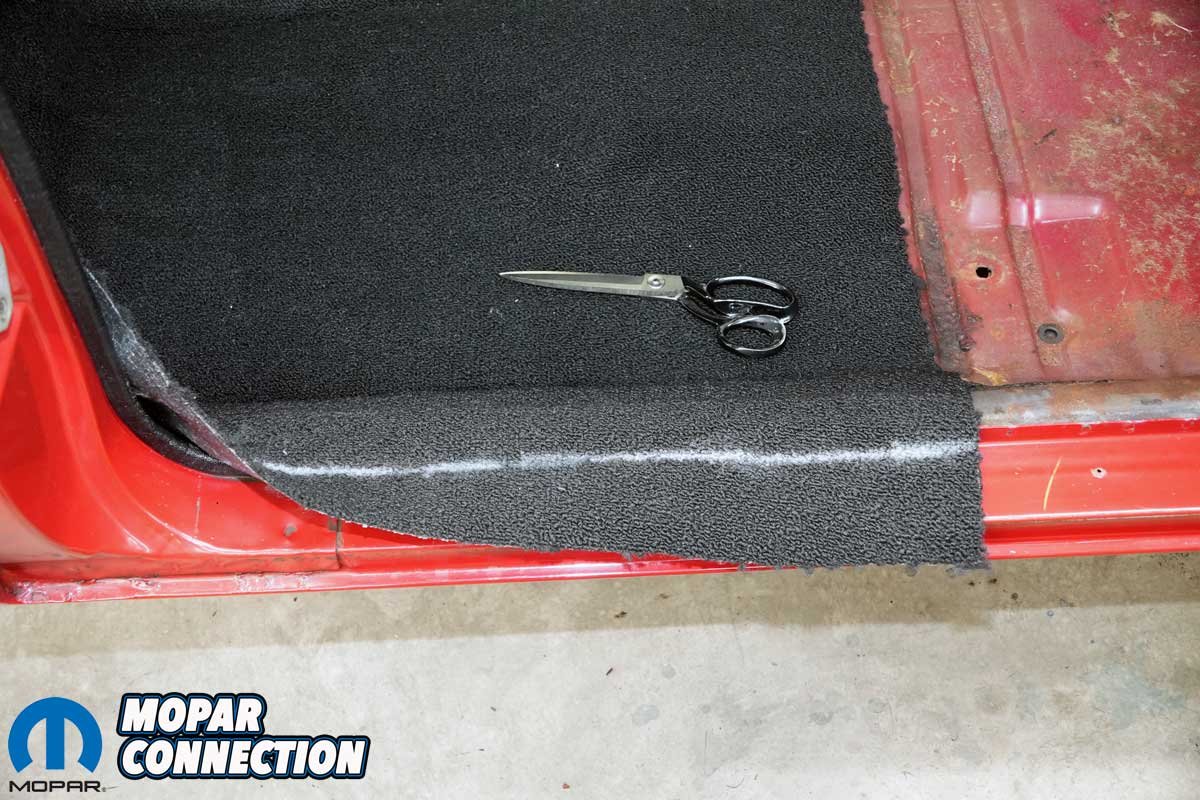
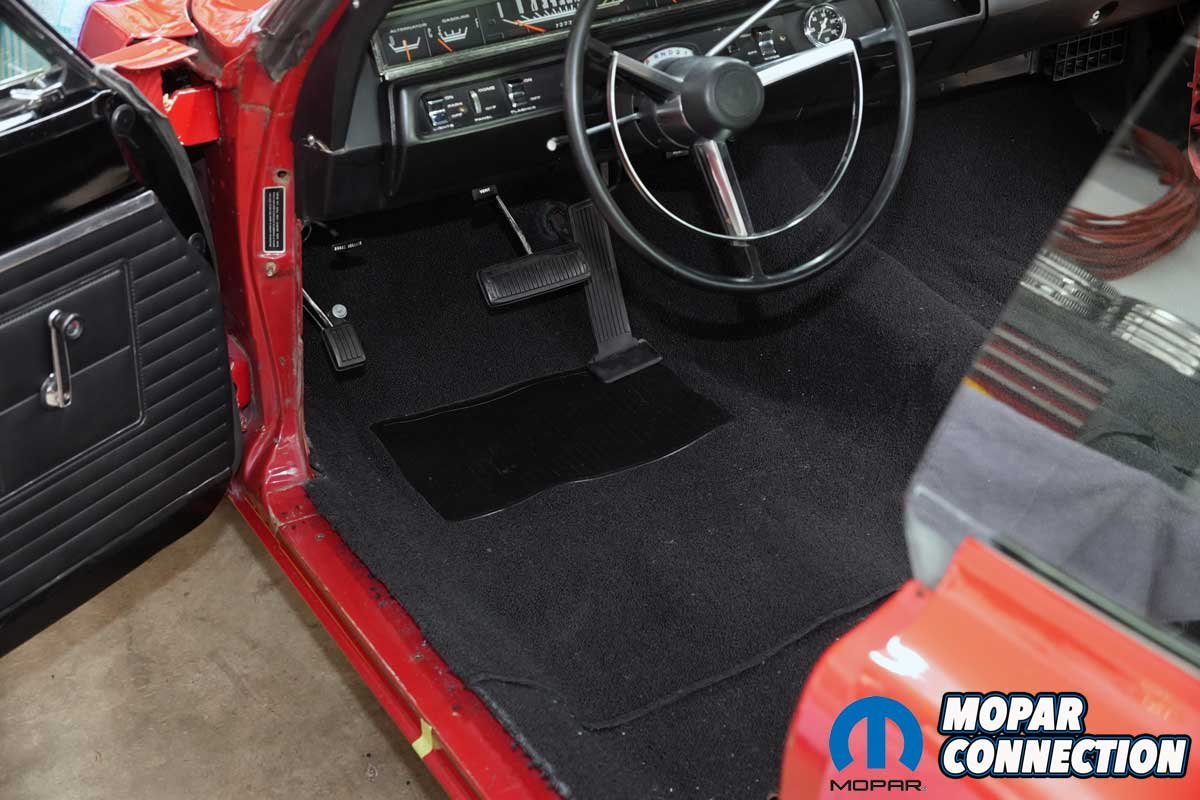
Above Left: The carpet was finally installed, fitting flawlessly and showcasing a clean, professional finish. Above Right: To replicate the original layout, we carefully positioned the front section of the carpet. Green tape markers were placed on each rocker panel at the original seam, ensuring the new carpet aligned perfectly with the original seam.
With the rear carpet in place, we turned our attention to the front carpet. First, we needed to cut a rectangle into the carpet at the heel pad to allow the gas pedal base to reattach to the floor pan. We laid the carpet on the floor pan. There were more obstacles to work around on the front section of the carpet.

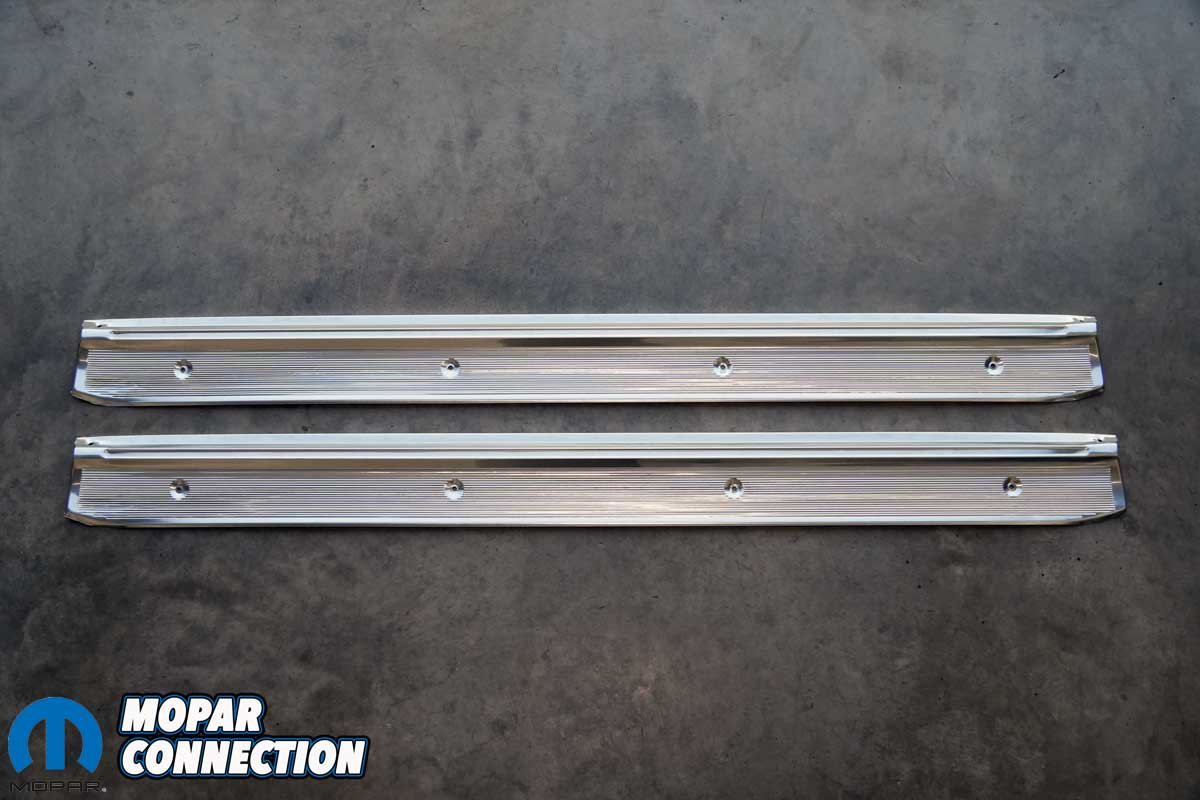
Above: To secure the carpet, Legendary supplied a perfect pair of door sill plates. They matched the originals exactly, offering a flawless fit, just without 57 years of wear and tear.
The heater box extended across the span of the passenger’s side of the carpet in the footwell. On the driver’s side, we had to work around the gas pedal and linkage, the dimmer switch, and the park brake cable housing, along with plenty of relief cuts. We made several measurements and used chalk to mark the location of each area to cut.


Above Left: The Legendary door sill plate was secured with the polished original hardware, preserving an authentic, factory-correct appearance. Above Right: We reinstalled the rear seat bottom to match the seat back, both showcasing their original covers in exceptional condition.
After each cut, we carefully positioned the carpet to verify that the adjustments were precise. Once a cut adjustment fit correctly, we remeasured and marked the next area, repeating this meticulous process until the carpet conformed perfectly around every obstruction. The trimming concluded with precise cuts along the carpet’s perimeter at the rocker panels and kick panels, ensuring a seamless fit.
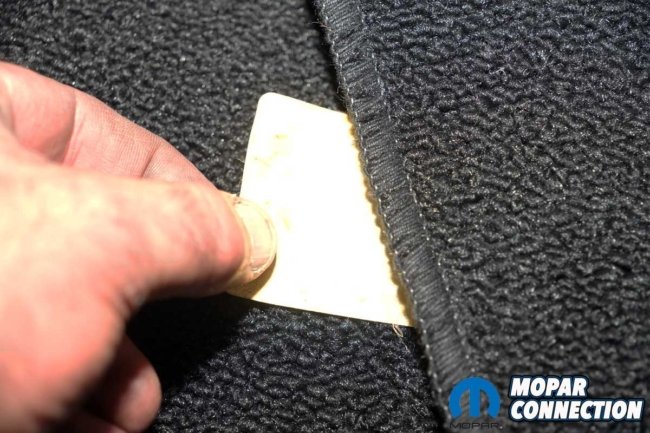
Above Left: Hidden beneath the passenger-side front carpet, we discovered a remarkable find. The carpet was the original, just as we had guessed. Even more impressive, it had been manufactured only twenty days before the Road Runner rolled off the assembly line. Above Right: We carefully transferred the sticker to the same spot on the new Legendary carpet, preserving a piece of the car’s original history.
With the trimming complete, we installed the chrome strip trim along the rear carpet section. Next, the kick panels were secured, and the new sill plates were placed between the kick panels and the chrome strips. Once properly aligned, we reinstalled the polished rocker panel trim screws, giving the interior a crisp, finished look.

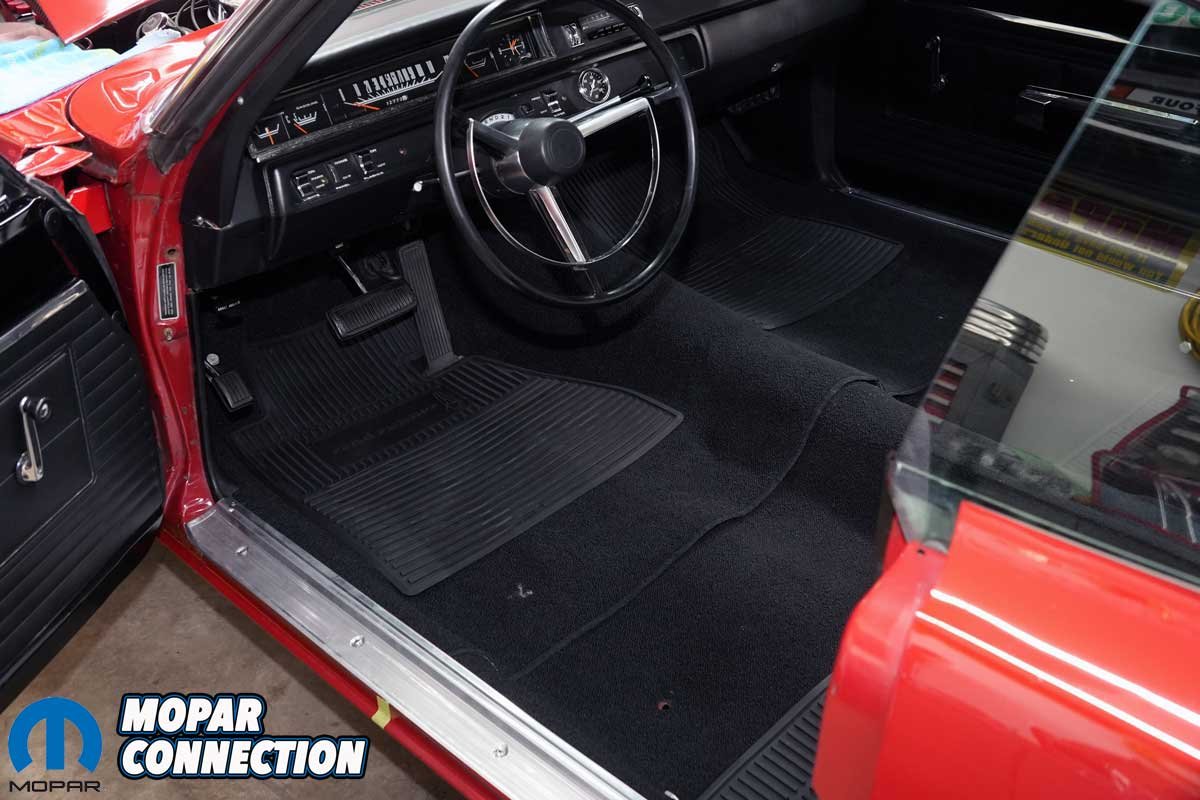
Above: To complete the carpet upgrade, we added a set of rubber Legendary floor mats, each embossed with the iconic “Road Runner” name, perfectly blending style and protection.
Satisfied with the carpet installation, we carefully burned two holes in the front seat frame anchors and reattached the gas pedal fasteners. The rear seat back and bottom’s upholstery was in pristine condition and it was so impressive, we opted not to recover it.
The finishing touch was adding four brand-new Legendary rubber mats, each embossed with the iconic “Road Runner” name, completing the interior with a perfect blend of style and authenticity.


Above Left: We reinstalled the two fasteners securing the throttle pedal and touched up the area with fresh paint after torquing the nuts. Above Right: The floor mats, specifically designed for the Road Runner, fit the floor pans perfectly. On the driver’s side, the mat neatly wrapped around the throttle pedal’s base for a precise fit.
With that, we had completed another task on the path to restoring the Road Runner’s appearance. The carpet, mats, and door sill plates really set off the interior. As a final touch, we reaffixed the Collins & Aikman logo to the underside of the front carpet, in the same location as the original.
If you are looking for carpet, installation trim, mats, and nearly all the interior soft parts, check out Legendary Auto Interiors for its latest offerings for Mopars.


