There was a time when dual exhaust was an unmistakable sign that something special lurked under the hood. As automakers began equipping their performance cars with twin exhaust systems, enthusiasts took notice. Before long, owners of everything from mildly modified daily drivers to serious street machines were having custom exhaust pipes bent to give their cars a similar look, sound, and performance potential.
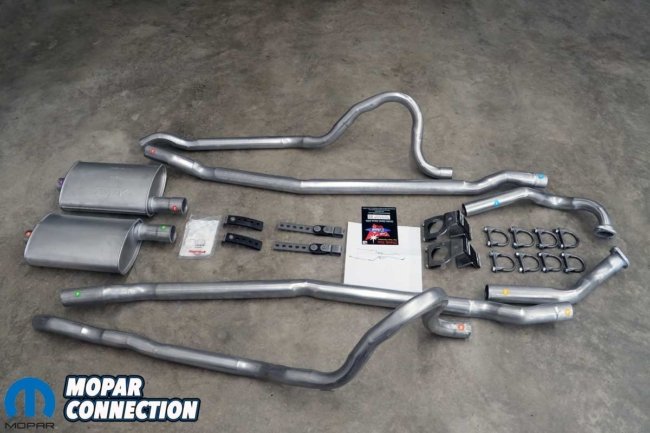
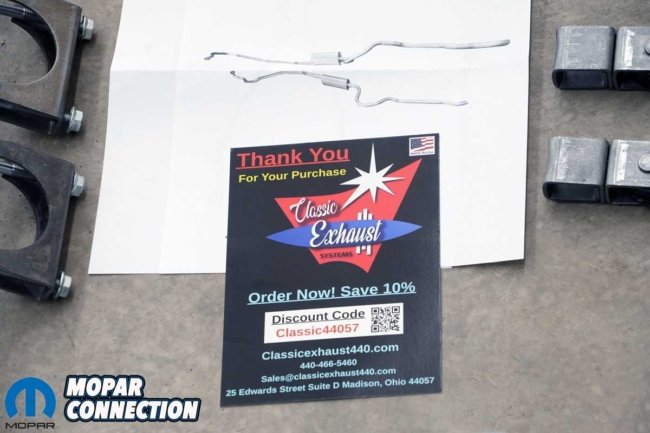
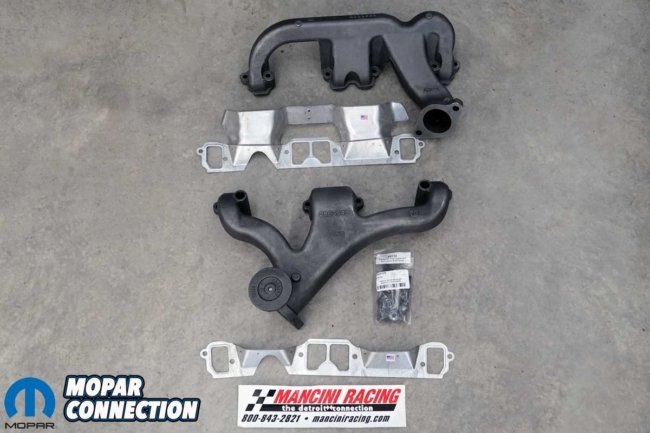
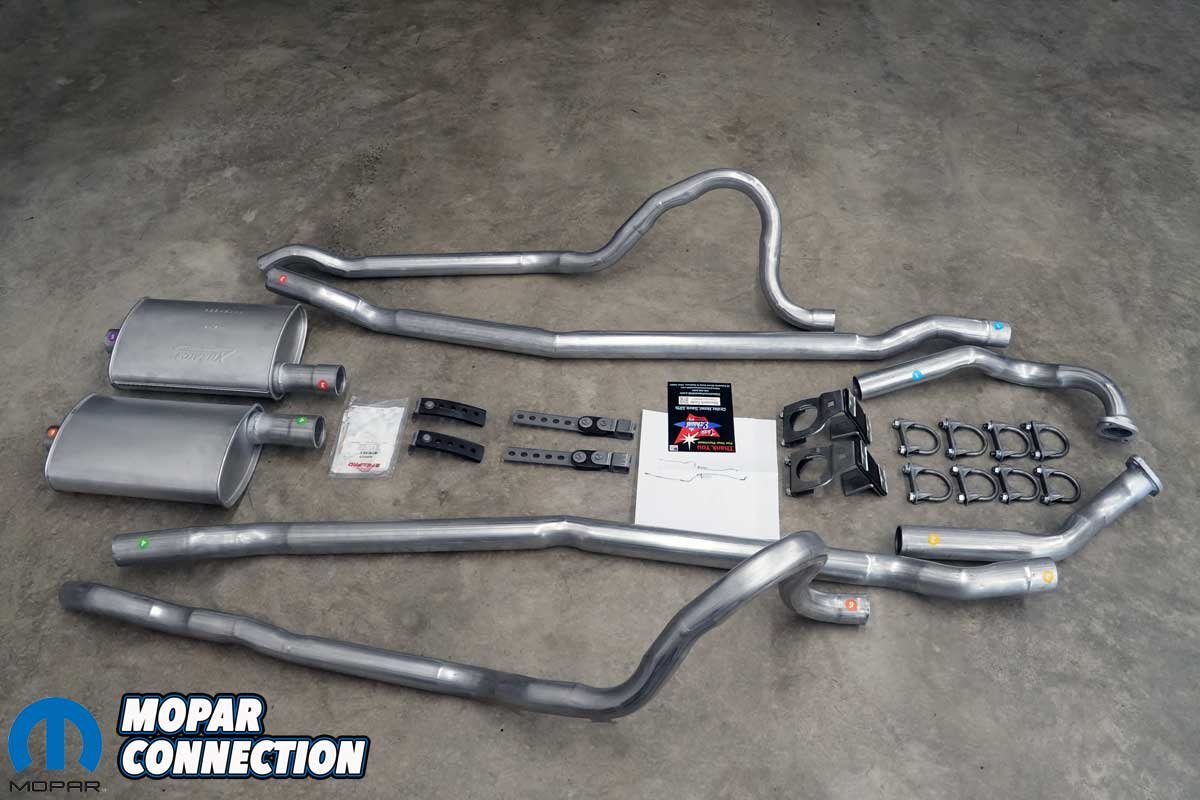
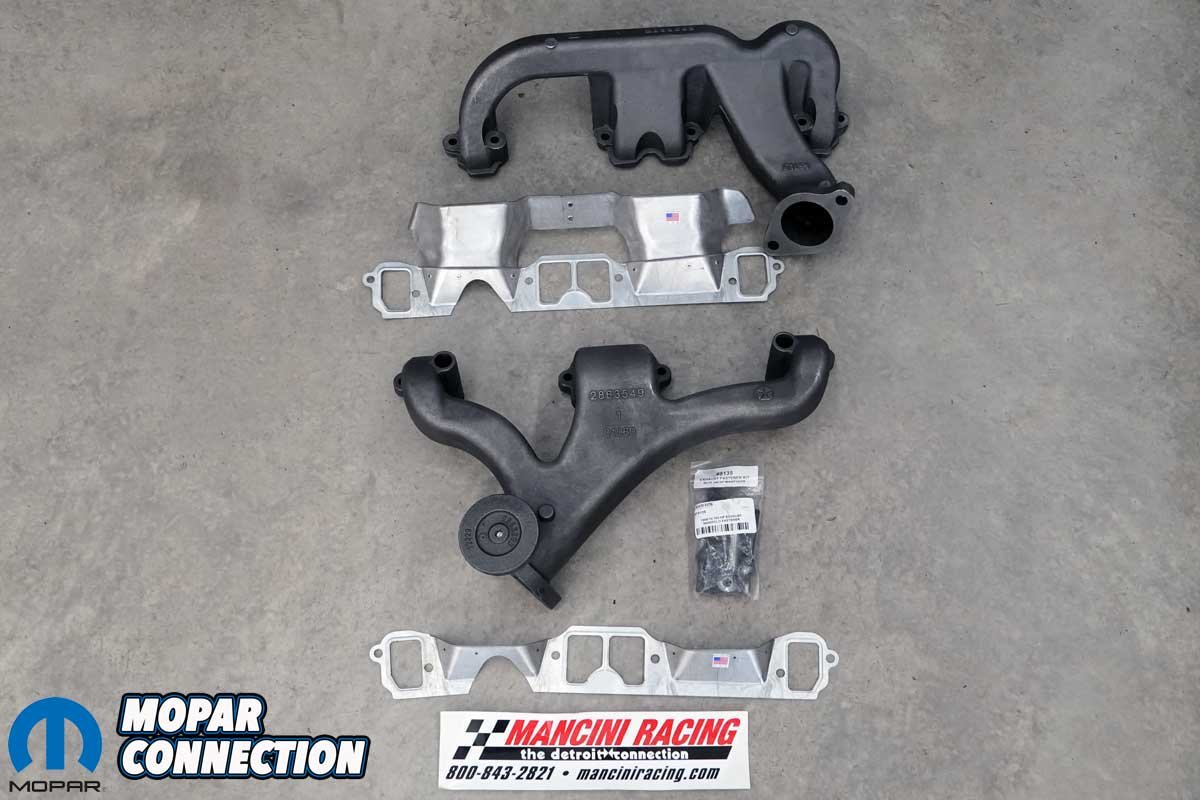
Above Left: The Classic Exhaust Systems dual-exhaust kit for our ’67 Dart included all the necessary pipes, mufflers, U-bolts, and brackets for a complete installation. Above Center: Classic Exhaust Systems offers exhaust kits for a wide range of applications, with both single– and dual-exhaust configurations available. Above Right: Installing the Classic Exhaust Systems kit required exhaust manifolds with flat mounting flanges rather than the original 273 manifolds’ ball-and-socket outlets. We opted for a set of 340 exhaust manifolds, along with the necessary mounting hardware from Mancini Racing.
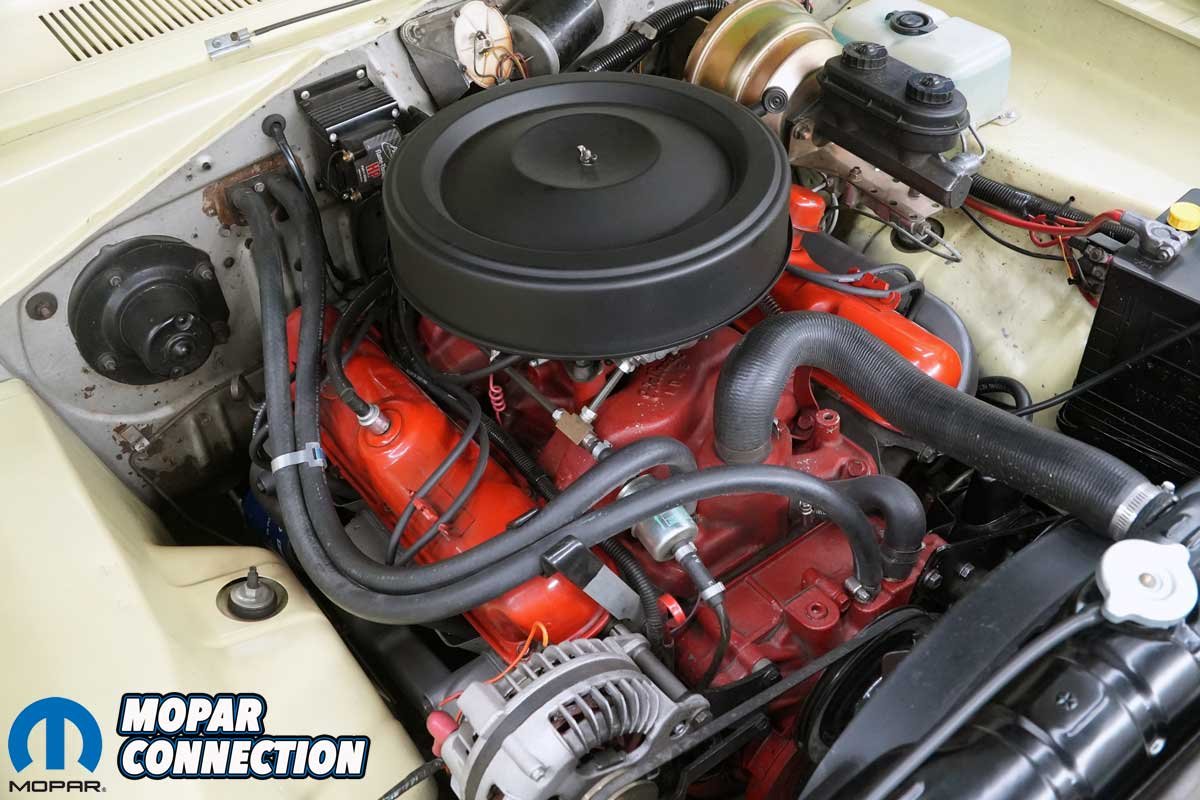
Our 1967 Dodge Dart GT is not the first car that comes to mind when you think of performance. Its 273-cubic-inch small-block V-8 and four-barrel carburetor provide a pleasant combination of drivability, performance, and fuel economy. We appreciate all three, and we never intended to turn this A-body into an obnoxious street machine. Still, the single-exhaust system seemed a little too conservative for a car with a V-8 under the hood.
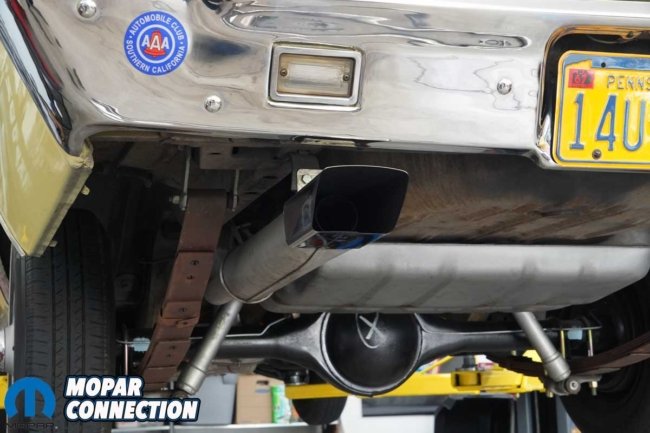
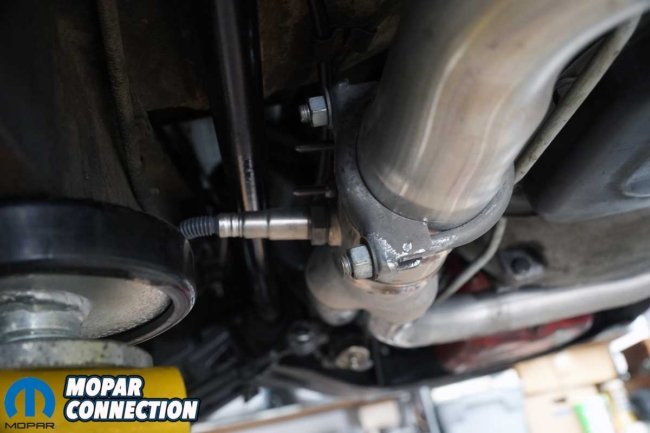
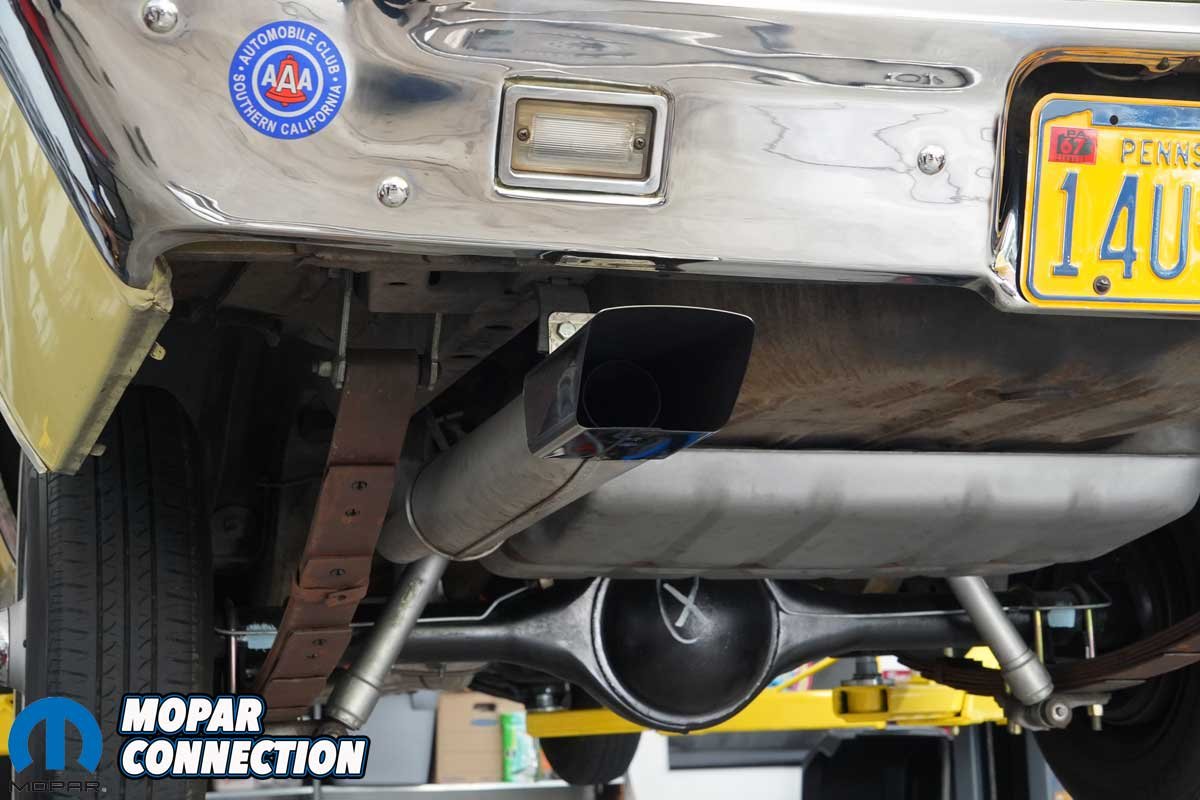
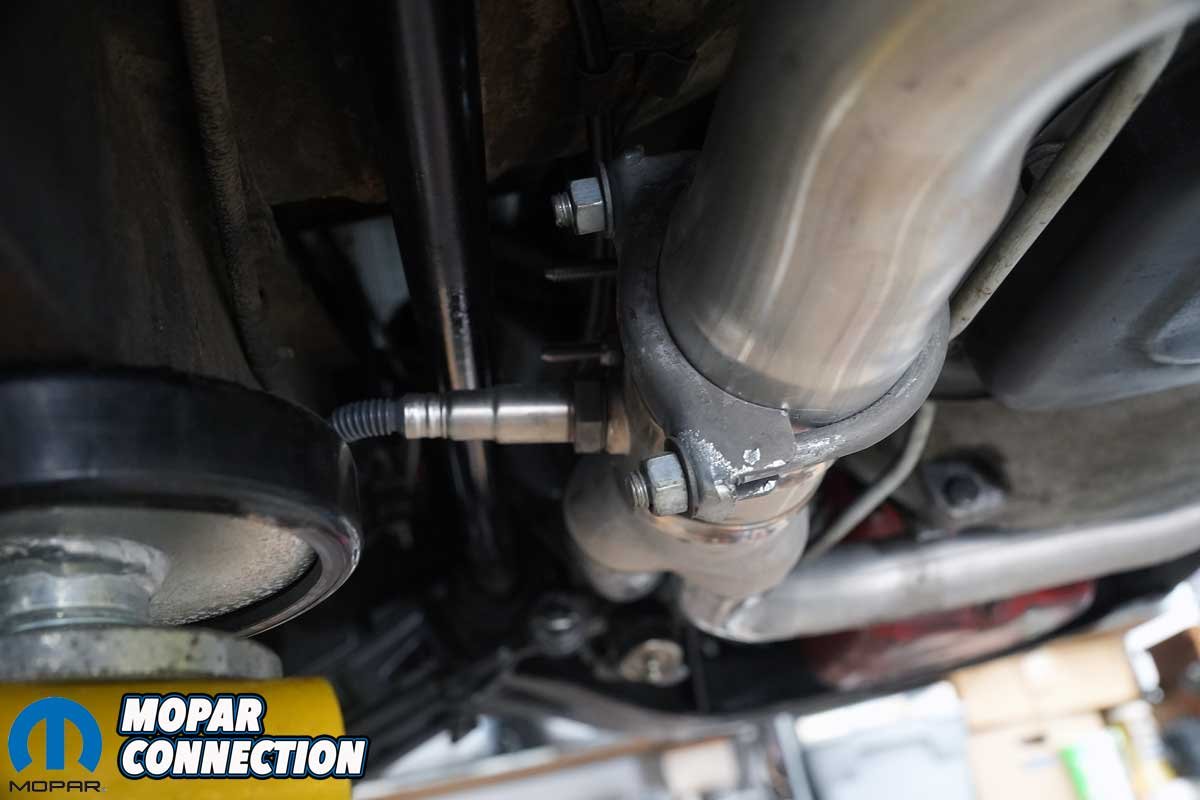
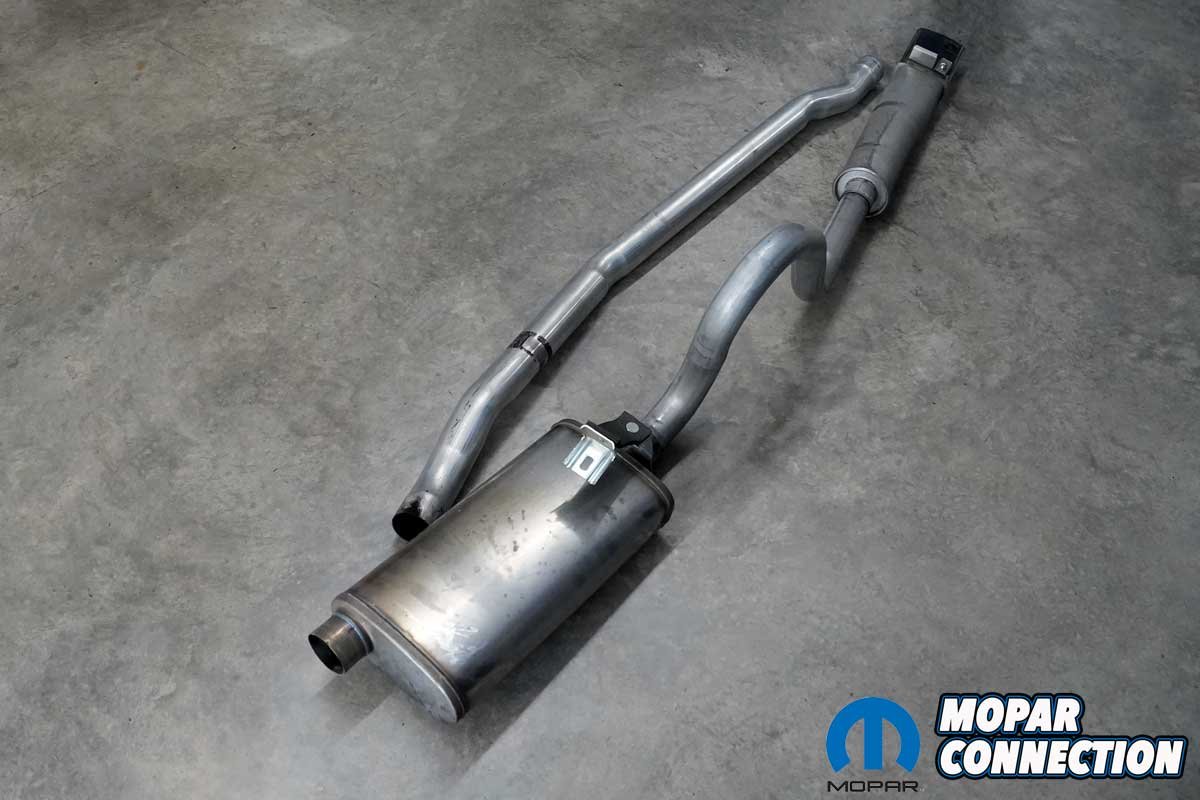
Above Left: Our Dart was currently equipped with a clean single-exhaust system capped by a “D-Dart” inspired exhaust tip. Although we elected to upgrade to a dual-exhaust configuration, Classic Exhaust could have supplied a much nicer single-exhaust system than the one already on the car. Above Right: We installed an O₂ sensor in the exhaust system several years ago to monitor the engine’s air-fuel ratio. The new exhaust would retain this capability, so we planned to incorporate the sensor into the new system as well.
Our goal was to give the Dart a deeper sound with a properly fitted dual-exhaust system while preserving the easygoing street manners. We also wanted to see how the change would affect the engine’s operation, including fuel economy and air-fuel ratio. The project required more than ordering a kit and tightening a few clamps, but the right mix of factory-style components and aftermarket exhaust parts to get the job done correctly.
We contacted Classic Exhaust Systems, LLC, about a dual-exhaust system for the Dart. The company offered a kit that closely matched our requirements, but one important obstacle remained. The original 273 exhaust manifolds use ball-and-socket connections at the head pipes, whereas the kit was designed around the flat-faced flanges used on 1968–1970 340 applications. We needed a compatible pair of manifolds before we could proceed.
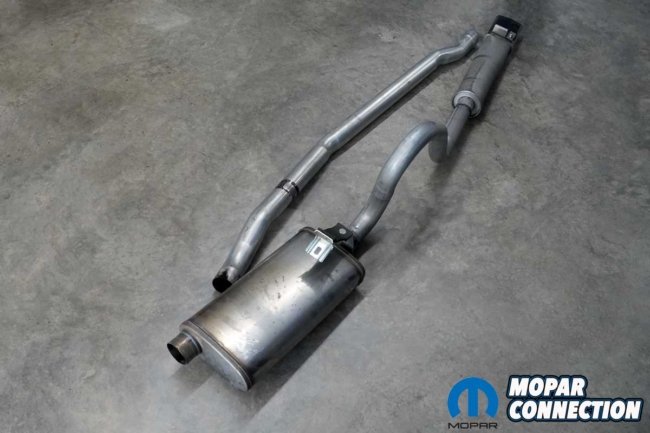
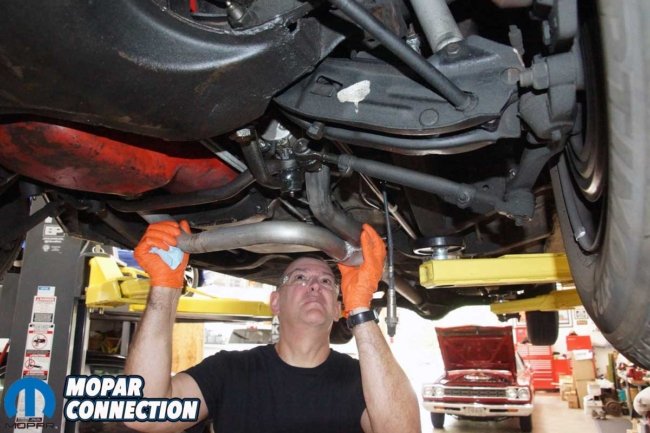
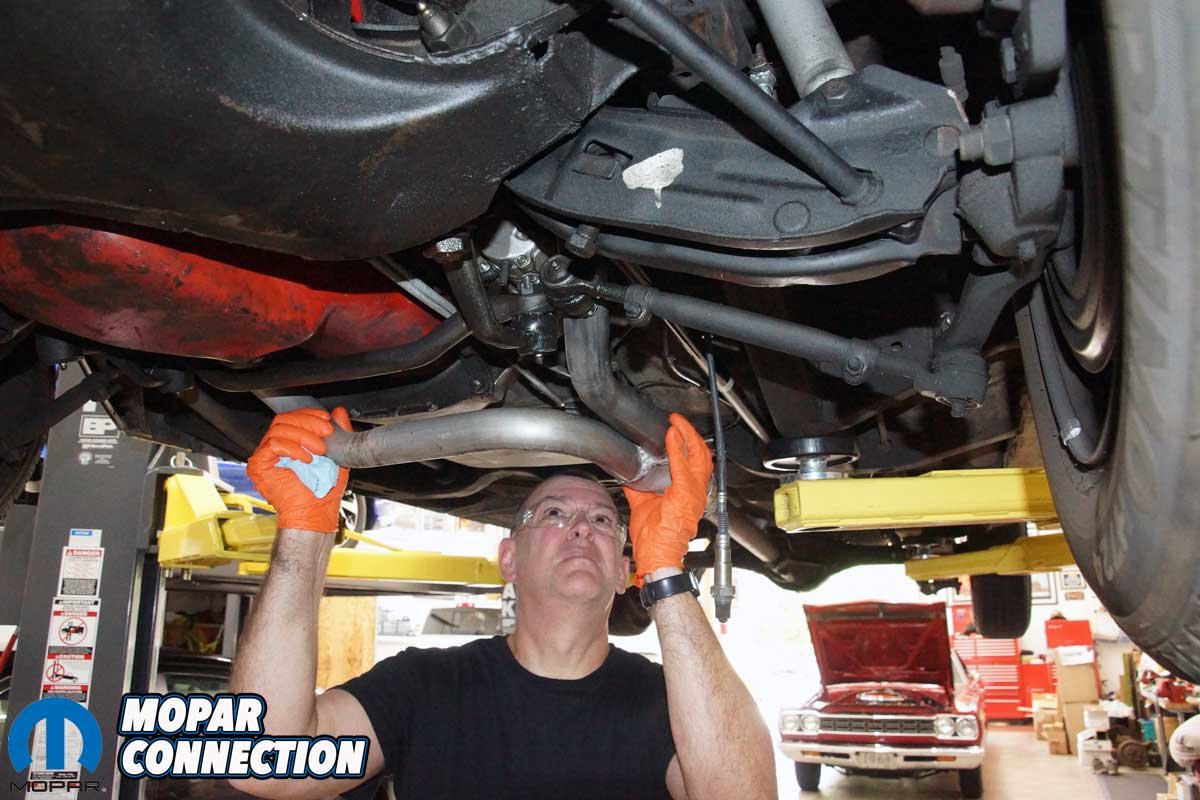
Above Left: The original exhaust pipes slipped out from beneath the Dart’s chassis with little effort. Above Right: After unthreading the O₂ sensor, we lowered the Y-pipe and maneuvered it out from beneath the chassis without much difficulty.
Mancini Racing stepped in and supplied a pair of 1968–1970 340 cast-iron exhaust manifolds (part no. MRE2863549-553) that fit our 273. The original Chrysler part numbers are 2863549 for the passenger side and 2863553 for the driver side. These manifolds were used on 1968–1970 A-body and 1970 E-body models. The passenger-side manifold incorporates a heat riser. Although we were updating the exhaust, we wanted to preserve as much of the original system’s practical functionality as possible.
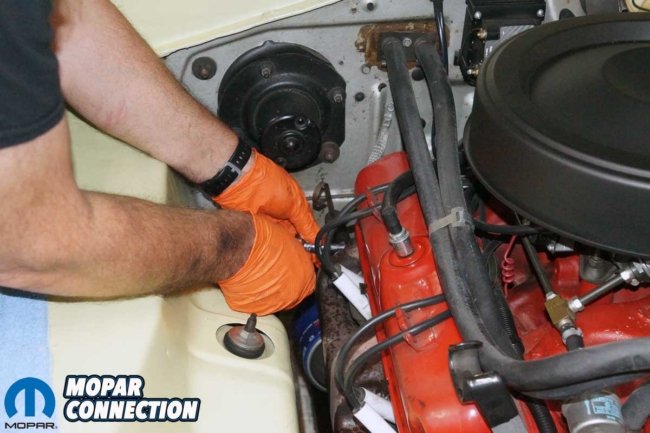
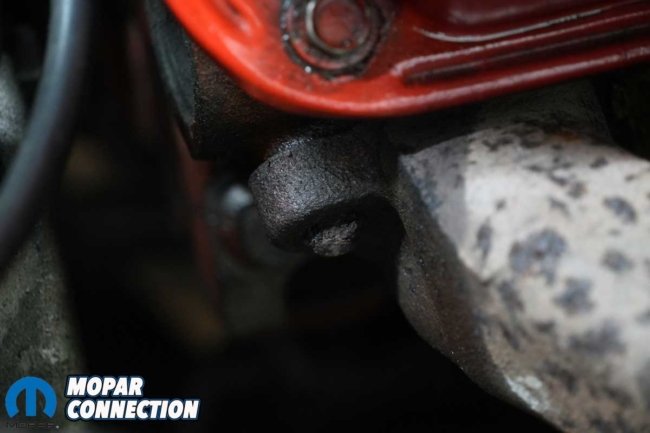
Above Left: We anticipated that removing the exhaust manifold bolts and studs could prove challenging, but the passenger side came apart without a fight. All the fasteners loosened and came out with little trouble. Above Right: The driver side was a different story. The first nut we attempted to remove snapped the stud off flush with the manifold flange, although the remaining fasteners came out without further problems.
Mancini Racing also supplied a pair of 340 exhaust manifold gasket and heat-shield assemblies (part no. MRE2962105S). Originally designed for 1968–1971 applications, these assemblies use current-production OEM materials found in today’s Gen III Hemi engines. They arrive unpainted and ready for installation.
The integrated heat shields are particularly important on the driver’s side. The distinctive upswept manifold design places the exhaust close to the spark-plug wires. The shields protect the wires and boots from excessive heat. Retaining the factory-style safeguard was a good choice for our street-driven car where reliability matters as much as appearance and sound.
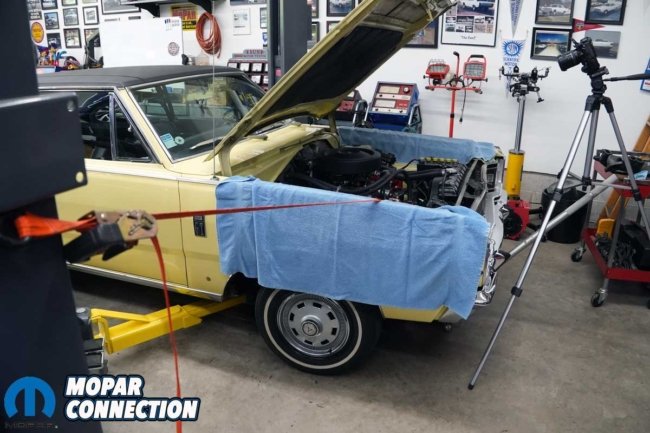
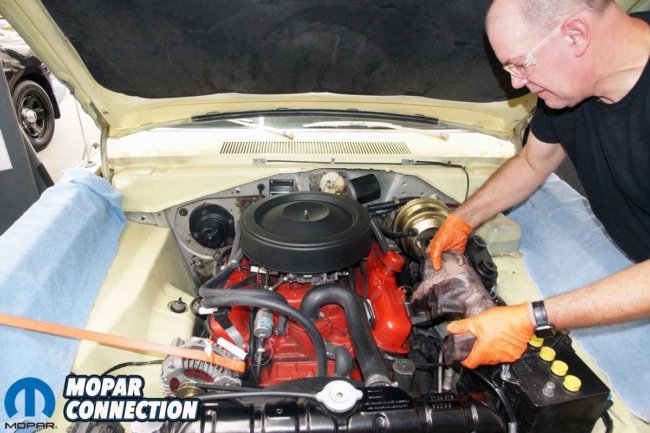
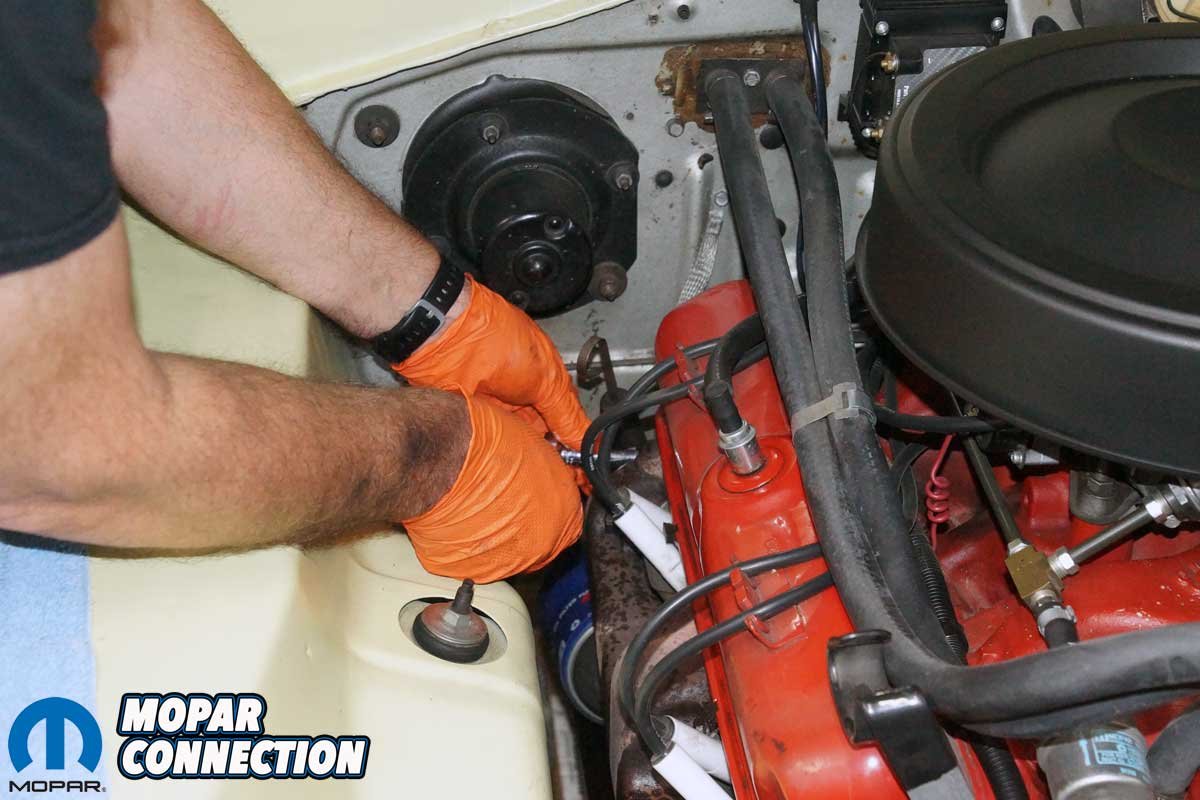
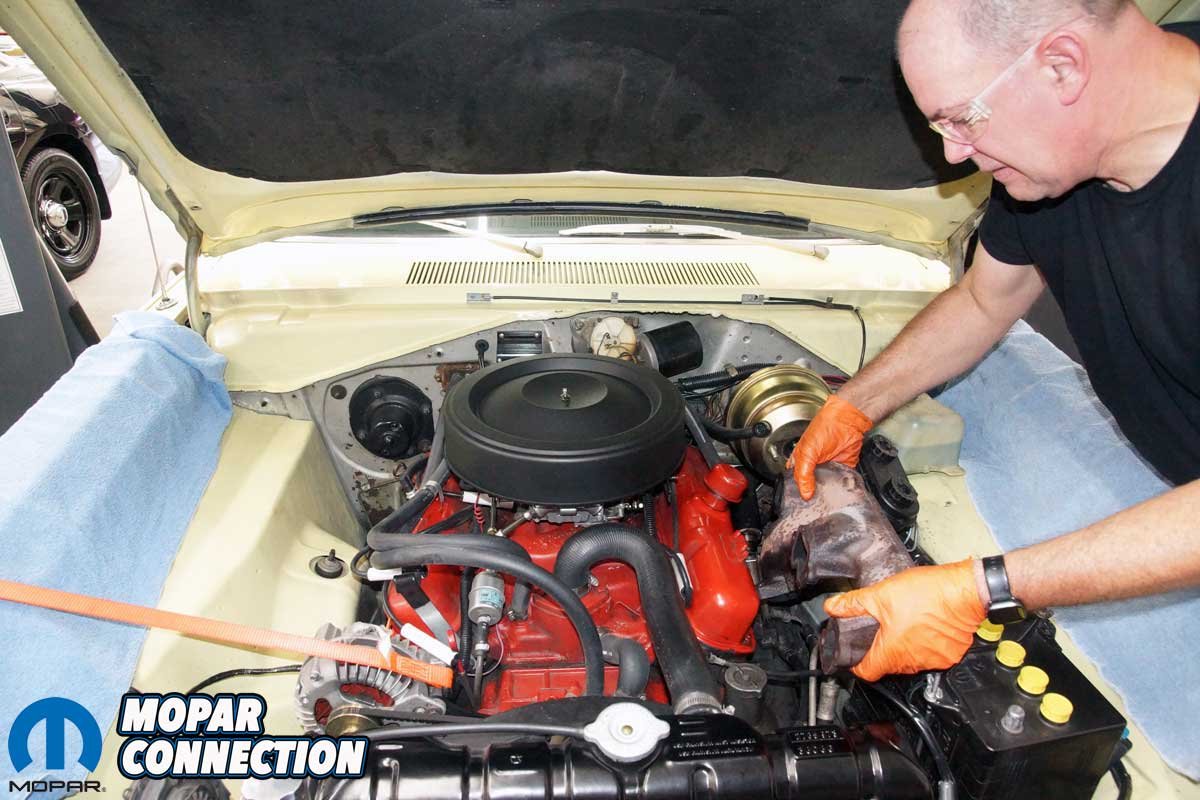
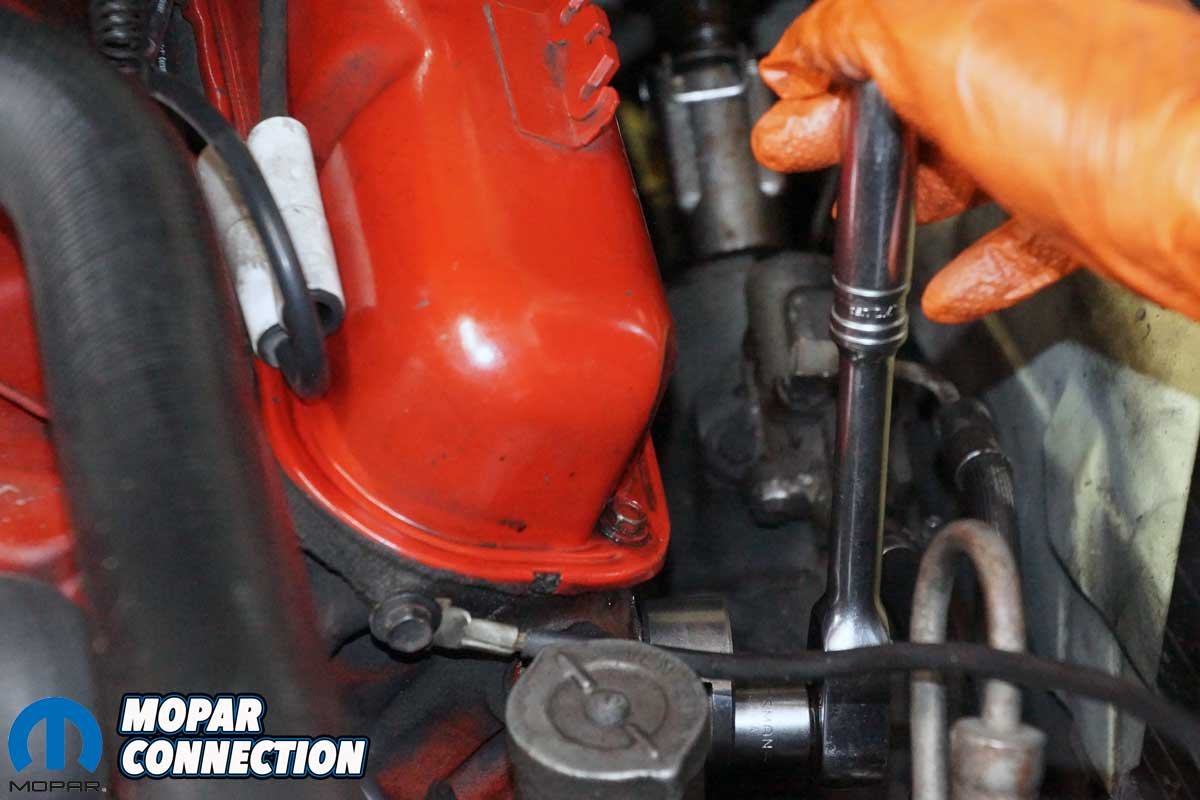
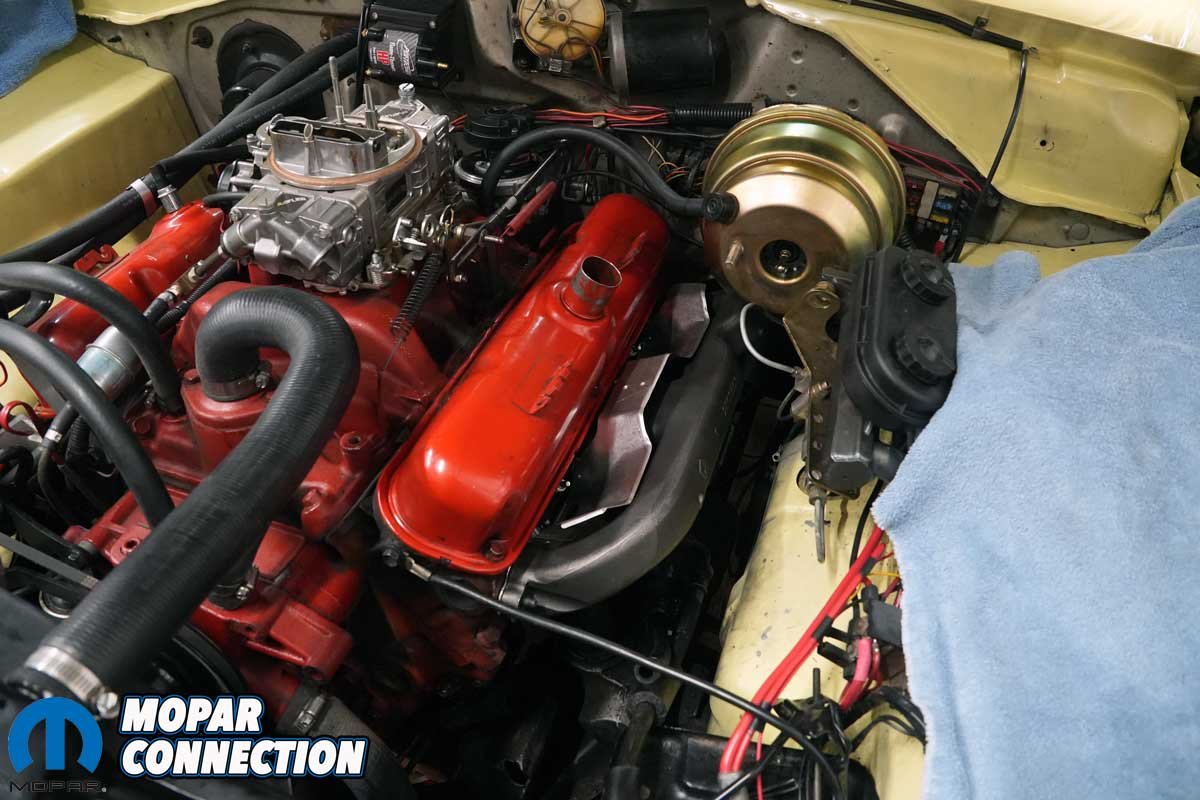
Above Left: Removing the driver-side exhaust manifold required a little extra work. We unthreaded the engine mount fasteners, raised the 273, and shifted the engine toward the passenger side of the engine bay to create additional clearance. Above Right: Even with the engine shifted to the side, clearance remained tight enough that we had to remove the master cylinder from the brake booster. With the necessary components moved out of the way, we finally had enough room to maneuver the exhaust manifold out of the engine bay.
We also sourced the necessary manifold hardware from Mancini Racing, including bolts, studs, nuts, conical washers, and sleeve nuts (part no. MREHF8135). Having the correct hardware on hand before starting the installation helped prevent mismatched fasteners.
Classic Exhaust Systems supplied a system built around 2¼-inch exhaust pipes, mufflers with 2¼-inch offset inlets and 2-inch center outlets, and matching 2-inch tailpipes. Buyers can choose turn-down outlets, as we did, or tailpipes prepared for separately purchased chrome tips.
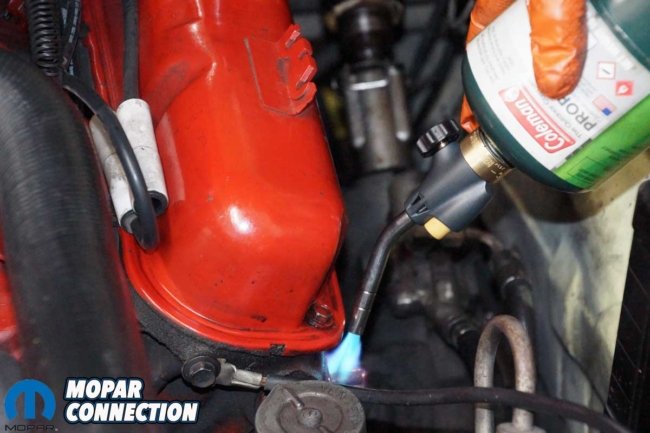
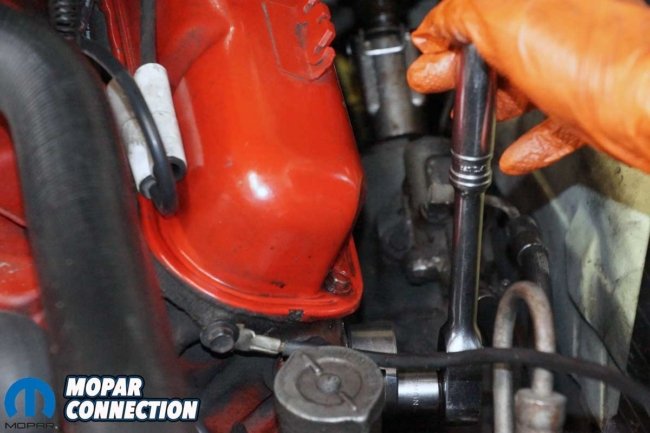
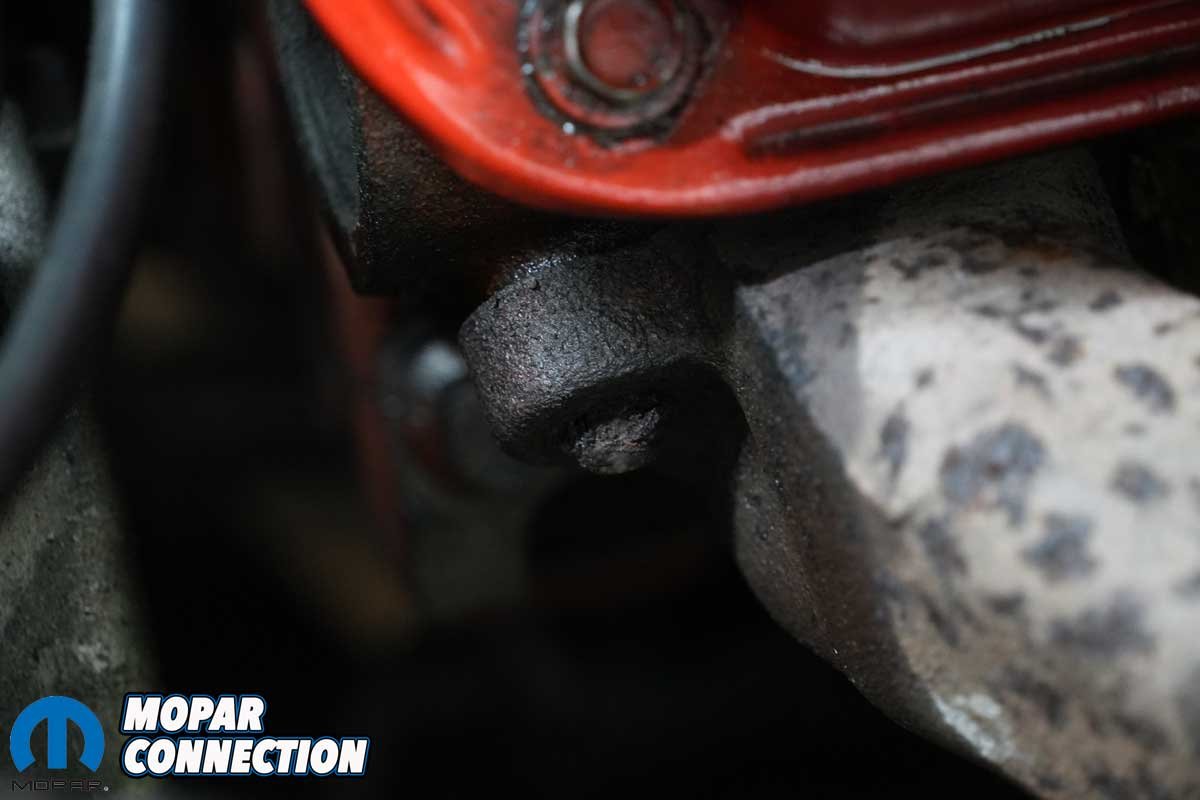
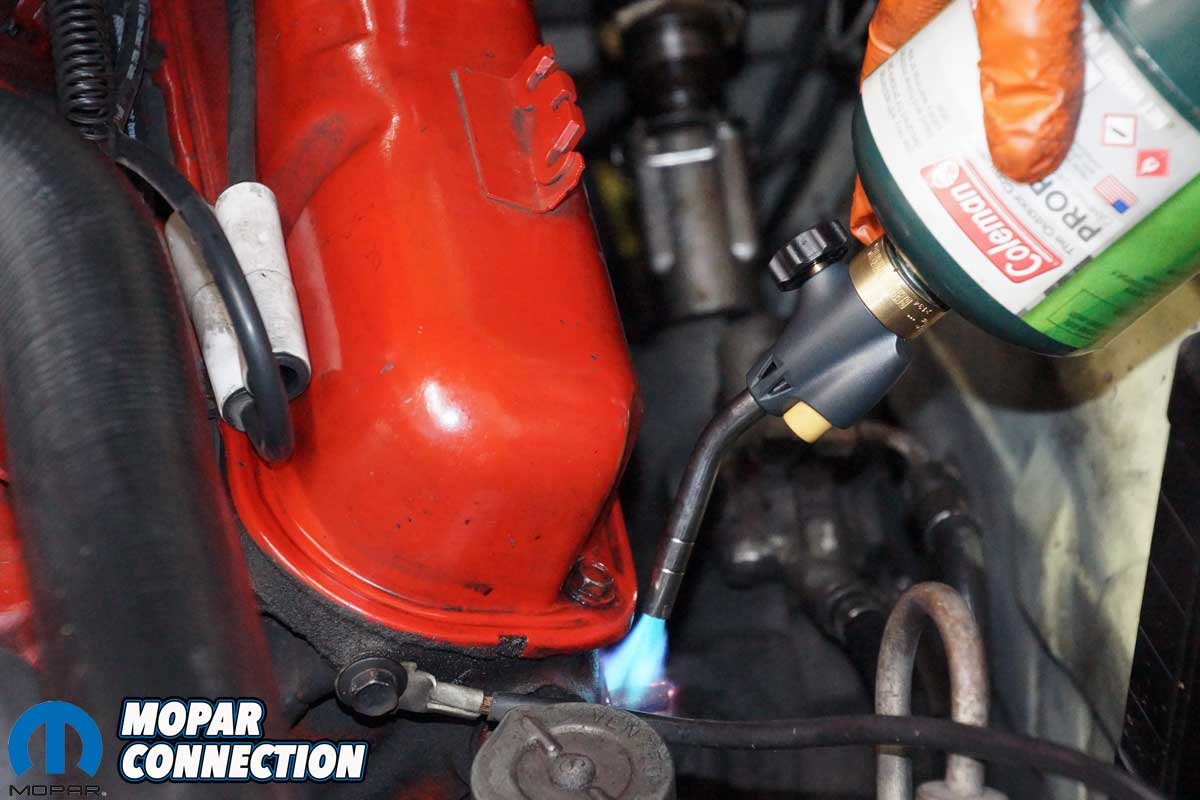
Above Left: We tried applying heat and wax to the stubborn exhaust manifold stud in an effort to break it loose, but it refused to budge. Above Right: We fitted a stud extractor and carefully attempted to turn the stud, but it snapped off flush with the cylinder head. With our removal attempts unsuccessful, including welding a nut to the broken stud, we resorted to drilling out the broken stud and installing a TIME-SERT thread repair insert in the cylinder head to restore the threaded hole.
The system is available in aluminized steel or 304 stainless steel. Aluminized steel is a more economical option for a street-driven car, while stainless steel offers greater corrosion resistance and is well-suited for show cars. The best choice depends on your budget and the vehicle’s intended use.
Muffler choices span a wide range of sound levels. Stock-style units emphasize quiet operation, while Turbo mufflers offer a deeper tone and a light rumble. GlassPaks produce a throaty, traditional glasspack sound, and Cherry Bomb mufflers deliver a louder, more aggressive note. A no-muffler option is also available, and the Classic Exhaust can accommodate customer-supplied mufflers by special order.
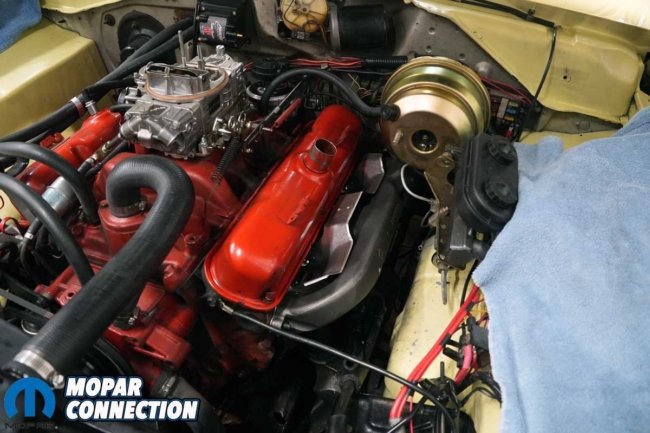
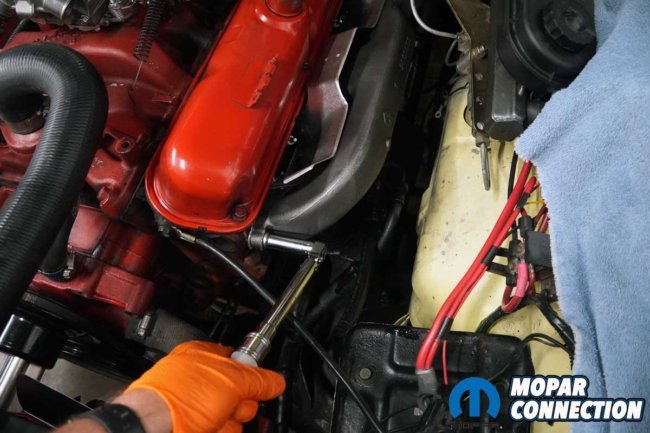
Above Left: With a new stud in place, we installed the Mancini Racing 340 exhaust manifold and its heat shield. Above Right: The TIME-SERT thread repair held securely as we torqued the manifold fasteners to the service manual specifications, restoring the cylinder head’s ability to properly secure the exhaust manifold. Note: The Thompson power steering unit was leaking, so we removed it and later replaced it with a Saginaw unit. That work was unrelated to the exhaust installation and is not covered in this story.
We chose the Turbo mufflers because we wanted the 273 to sound like a V-8 without making the Dart tiring to drive. A good street exhaust should complement the engine rather than dominate every conversation inside the car.
Classic Exhaust Systems also offers different hanger and clamp options to suit the selected exhaust material and budget. Each system is hand-built to order at the company’s facility in Madison, Ohio. That approach provides a system tailored to the application, although the final installation still requires attention to fitment.
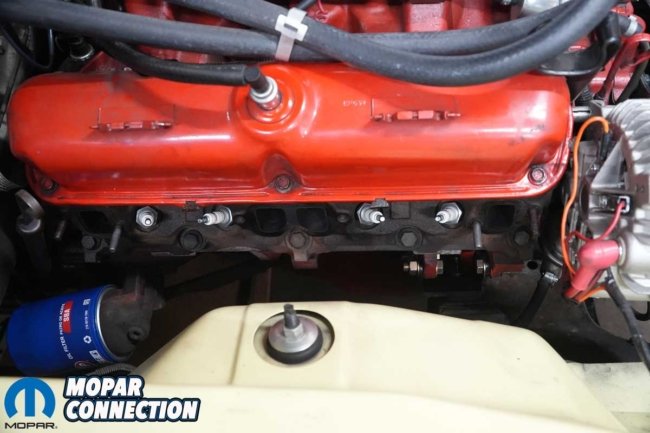
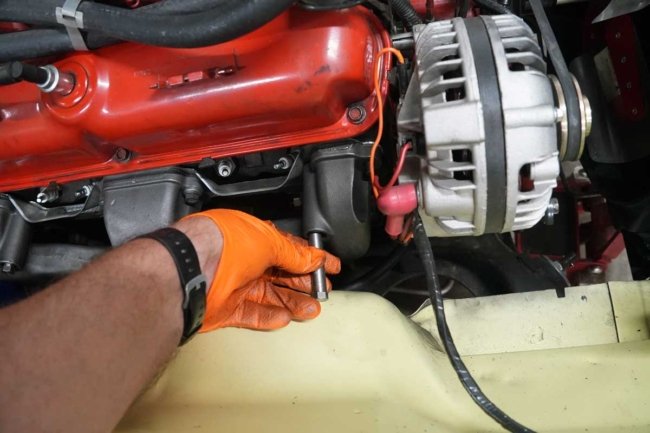
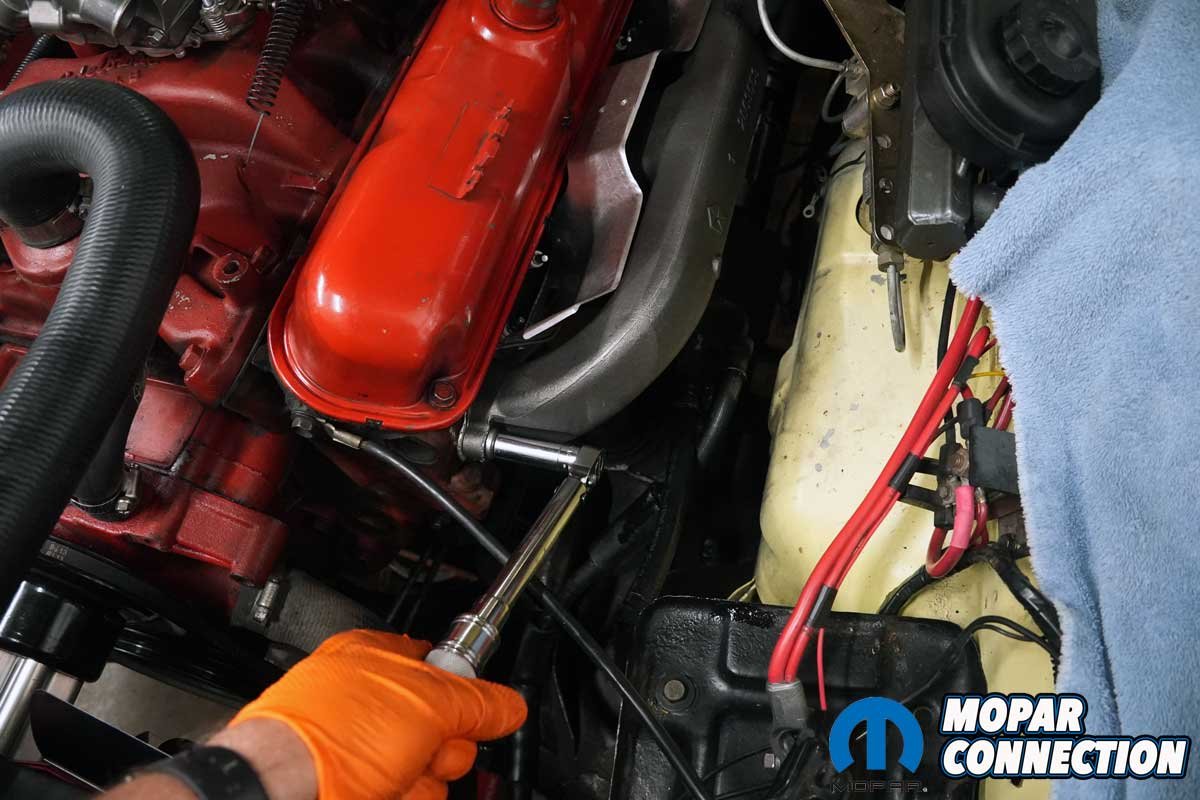
Above Left: With the tie strap removed and the engine resting on the engine mounts, we had enough clearance to maneuver the passenger-side exhaust manifold into position. Above Right: The heat shield and all the fasteners went into place without difficulty. We tightened each fastener to the service manual specifications, completing the exhaust manifold installation.
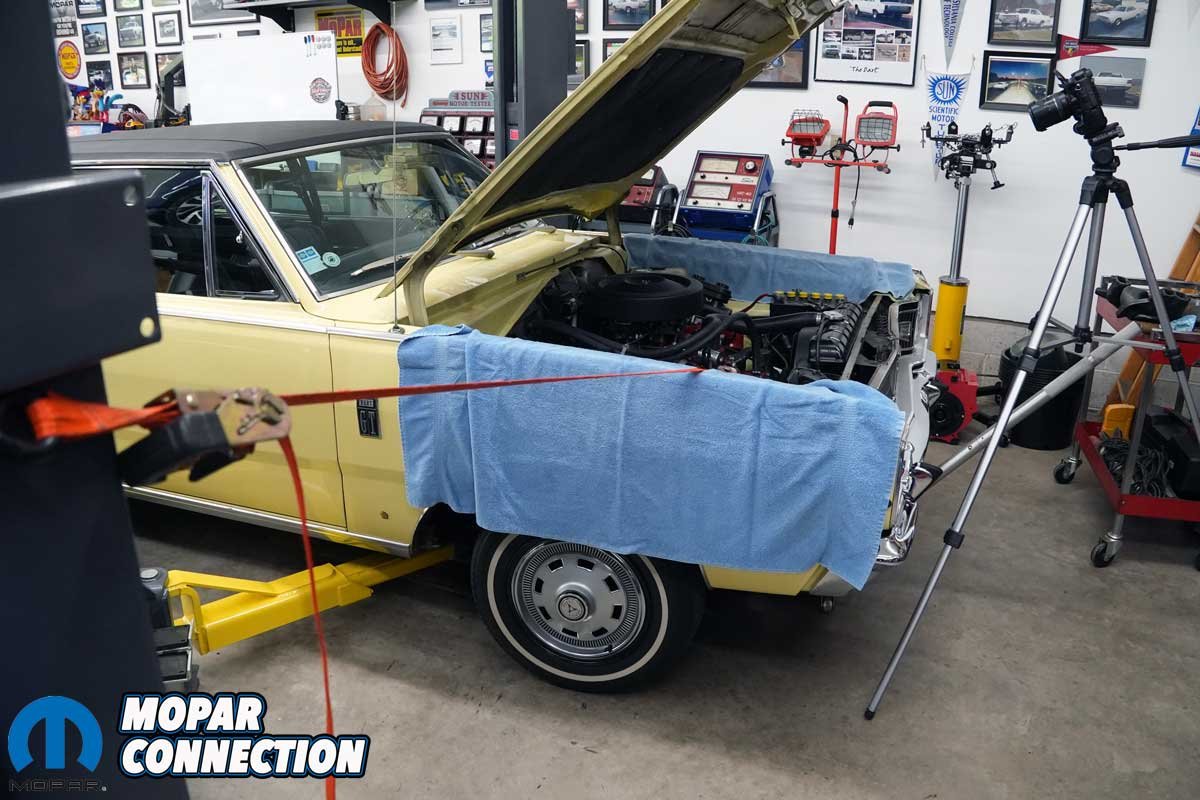
With the new components on hand, we put the Dart on the lift and began removing its single-exhaust system. The passenger-side manifold came off with no trouble. The driver’s side, however, quickly reminded us that working on a nearly 60-year-old car does not always follow the plan.
The first fastener we tried to remove snapped, leaving part of the stud protruding from the cylinder head. After removing the remaining fasteners and taking off the manifold, we applied heat and tried a stud-removal tool. The stubborn stud eventually broke off flush with the cylinder head.
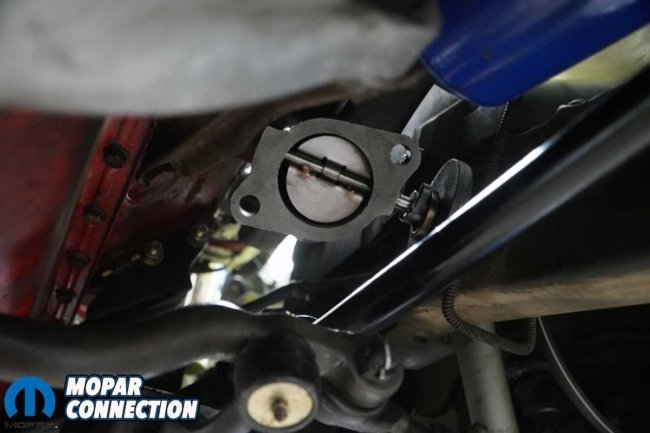
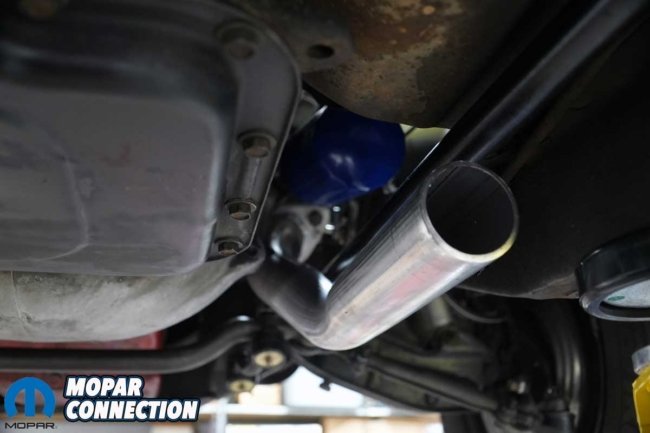
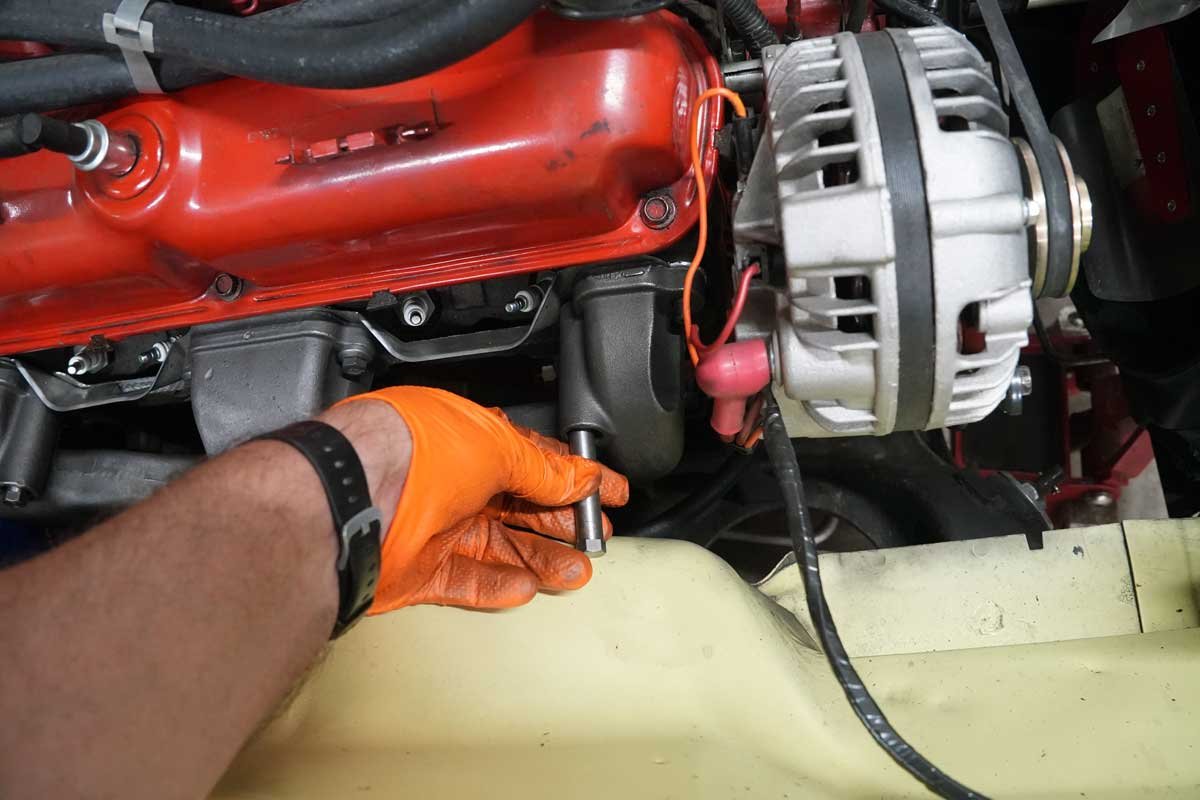
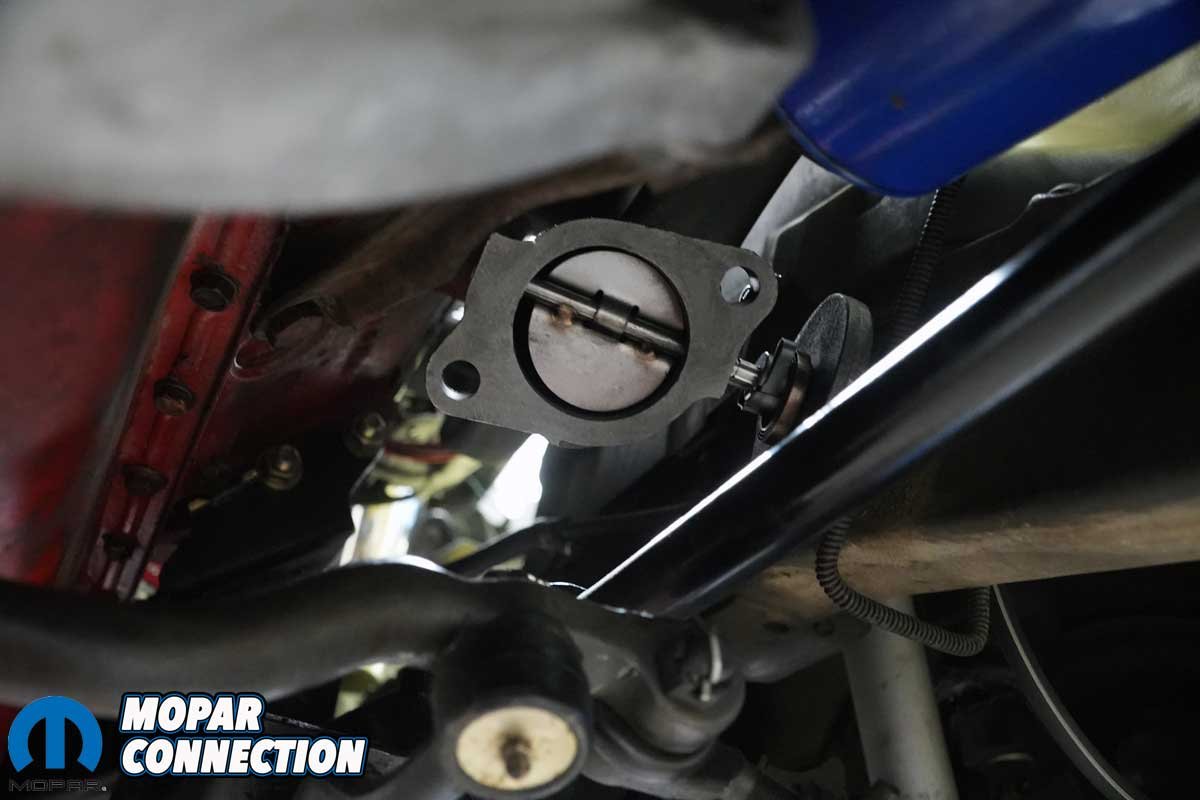
Above Left: The passenger-side exhaust manifold incorporates a heat-riser valve that improves cold-engine drivability. When the engine is cold, the valve restricts exhaust flow to direct hot gases through the intake manifold’s exhaust crossover, helping warm the intake manifold beneath the carburetor. This promotes fuel vaporization and reduces fuel puddling. As the engine warms up, the valve opens to restore normal exhaust flow. Above Right: We attached the head pipe to the exhaust manifold using a new gasket and reused the original exhaust bolts and nuts.
Our next attempt involved welding a nut to the broken stud. The idea was to use the welded nut to apply enough turning force to remove the stud without damaging the cylinder-head threads. Several attempts failed to free it, leaving us with little choice but to drill out the remaining stud. We drilled out the damaged fastener and installed a TIME-SERT thread-repair insert to restore the mounting threads. The repair provided a sound mounting point for the replacement manifold.
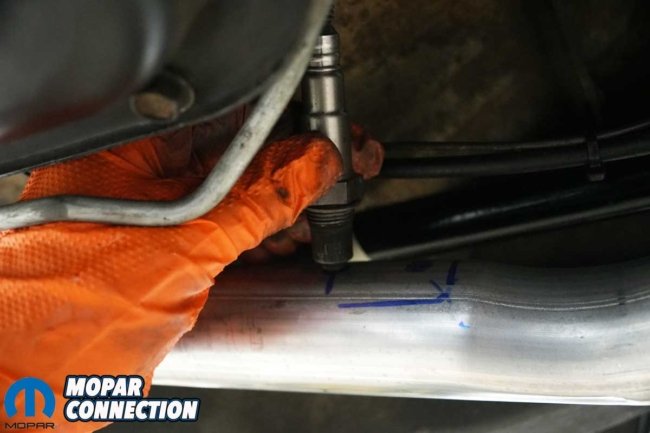
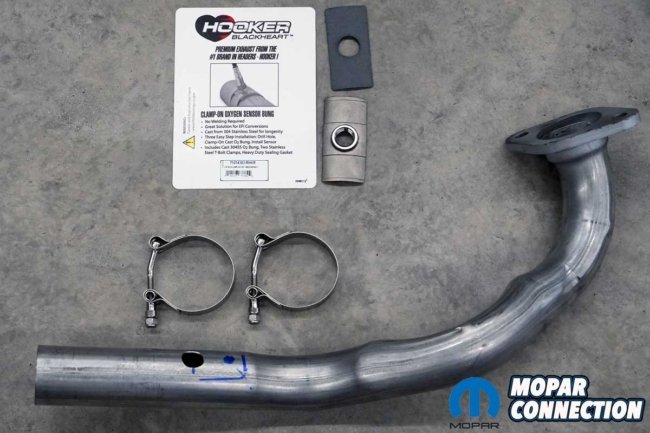
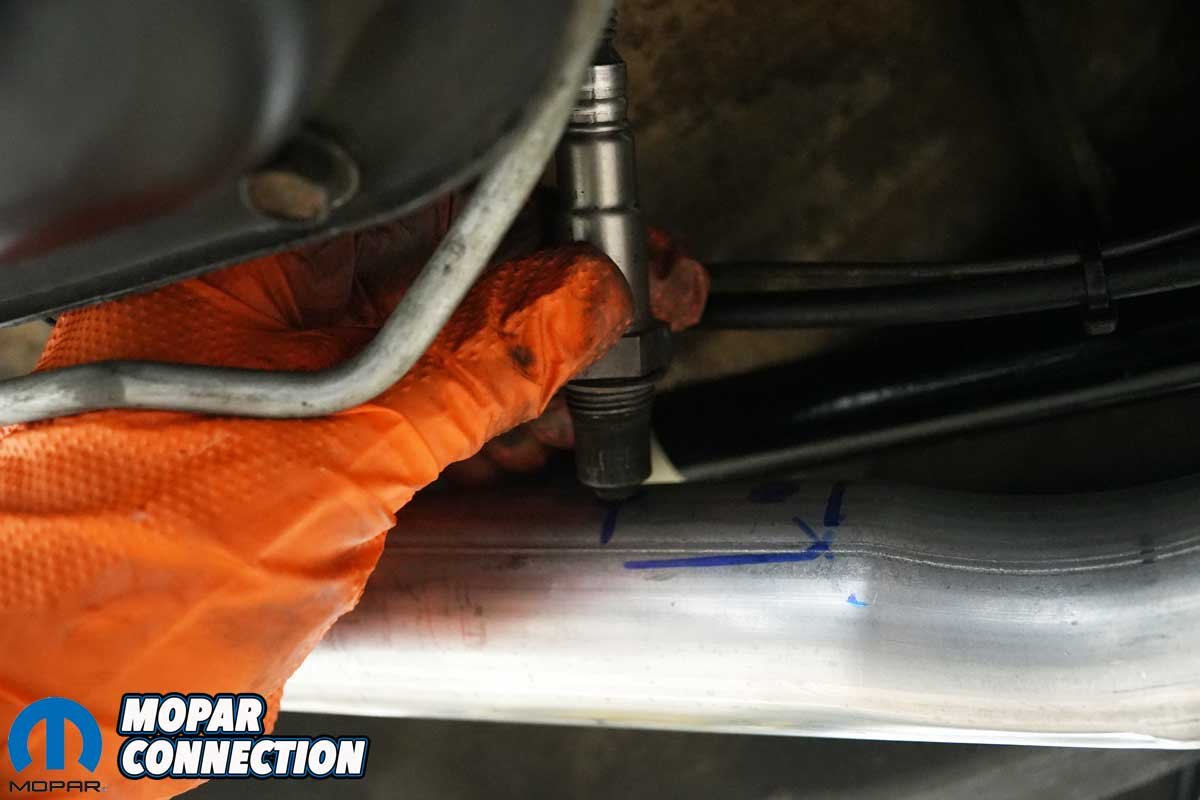
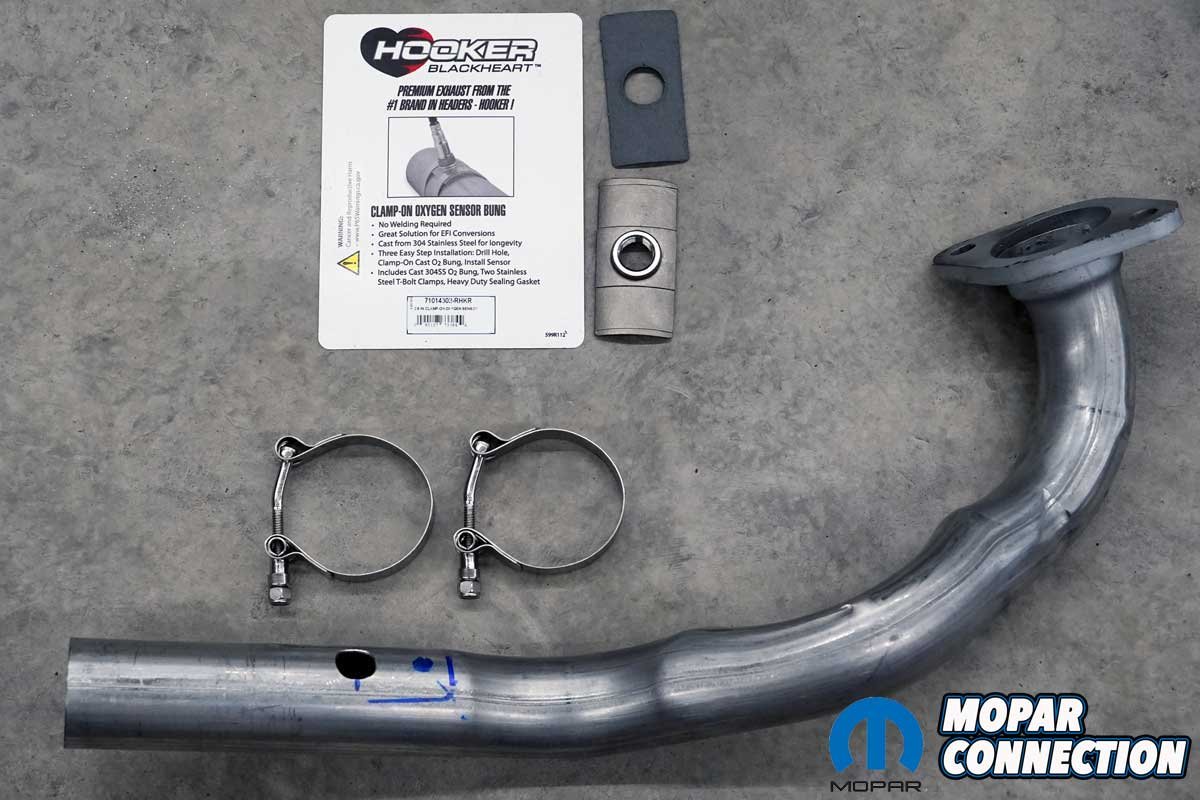
Above Left: We took several measurements to determine the proper location for the O₂ sensor in the driver-side header pipe, ensuring adequate clearance and a suitable position for monitoring the engine’s air-fuel ratio. Above: We used a Hooker BlackHeart clamp-on O₂ sensor bung to mount the sensor without welding. The clamps supplied with our kit were too large for the pipe, so we sourced appropriately sized replacements from a local auto parts store.
Installing the new driver-side manifold introduced another challenge. Its shape and the available space made it difficult to position the manifold with the engine sitting in its normal location. We disconnected both engine mounts, raised the engine, and shifted it toward the passenger side of the engine bay. That created enough clearance to maneuver the new gasket and 340 manifold into position.
After loosely installing the fasteners, we lowered the engine onto the mounting pads on the K-member and checked that the manifold was seated correctly. The passenger-side manifold went into place without difficulty. With both manifolds installed, we tightened the manifold fasteners and engine mounts to factory specifications.
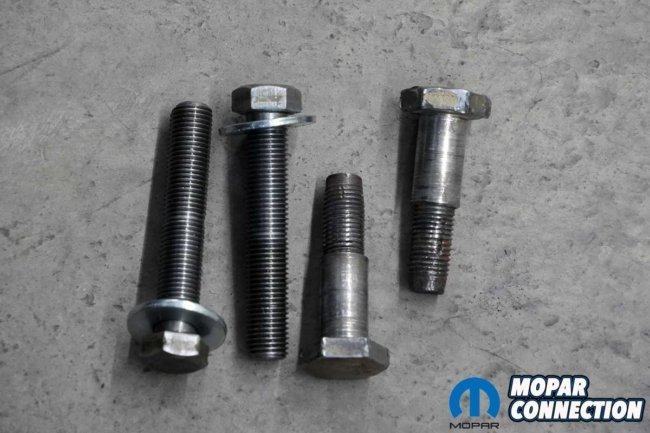
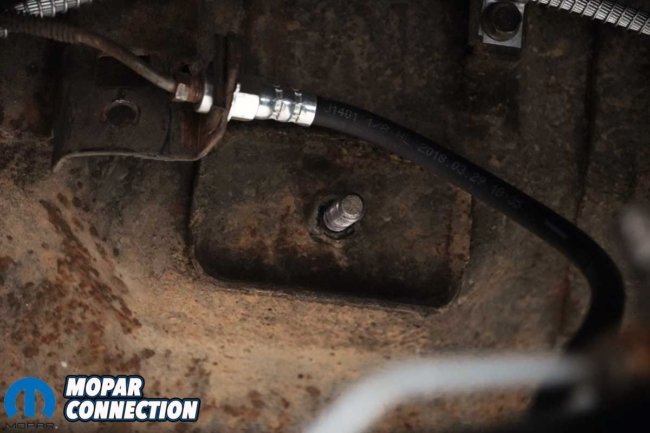
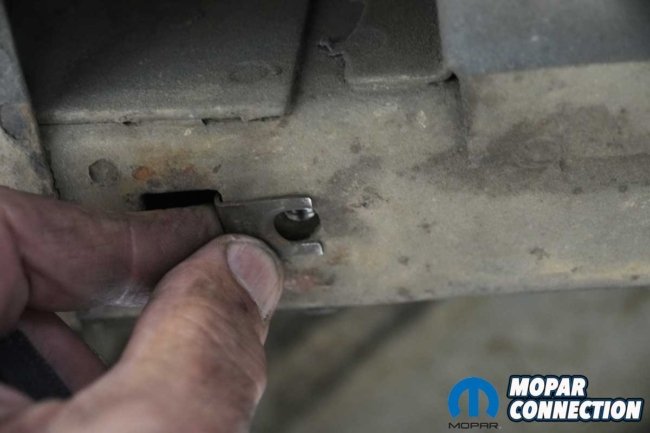
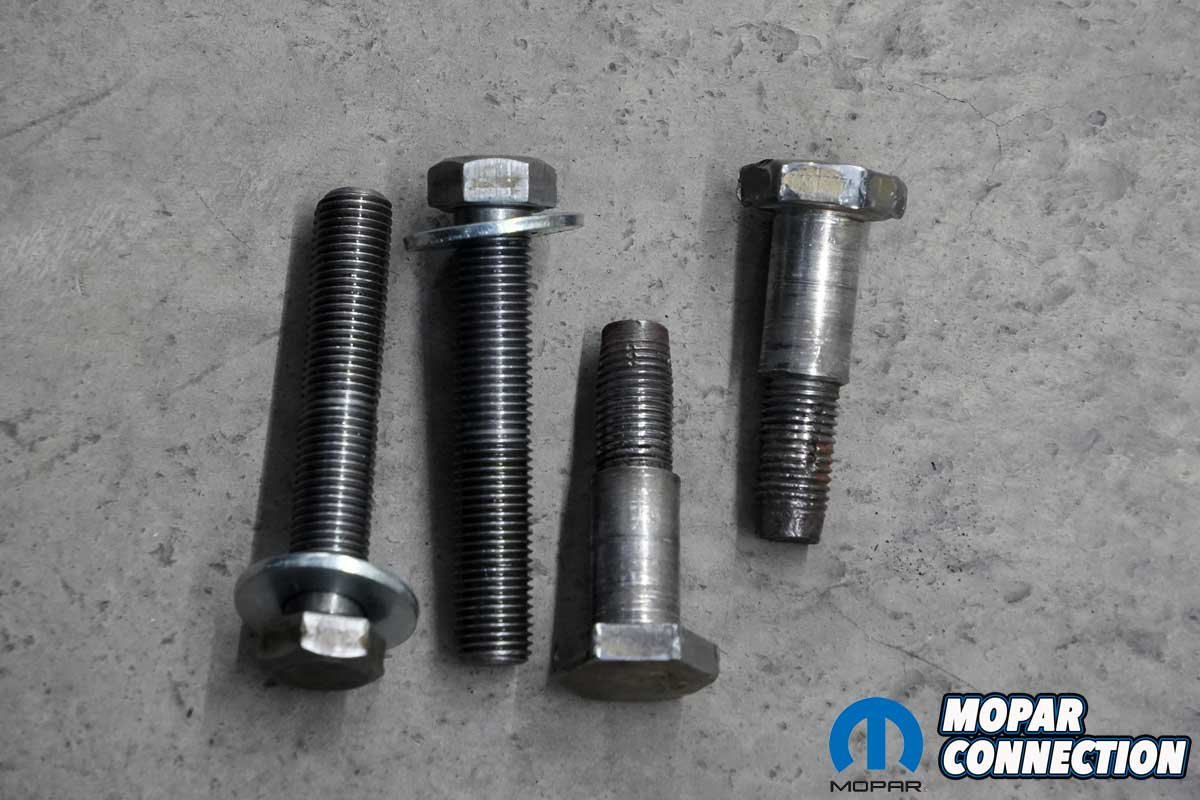
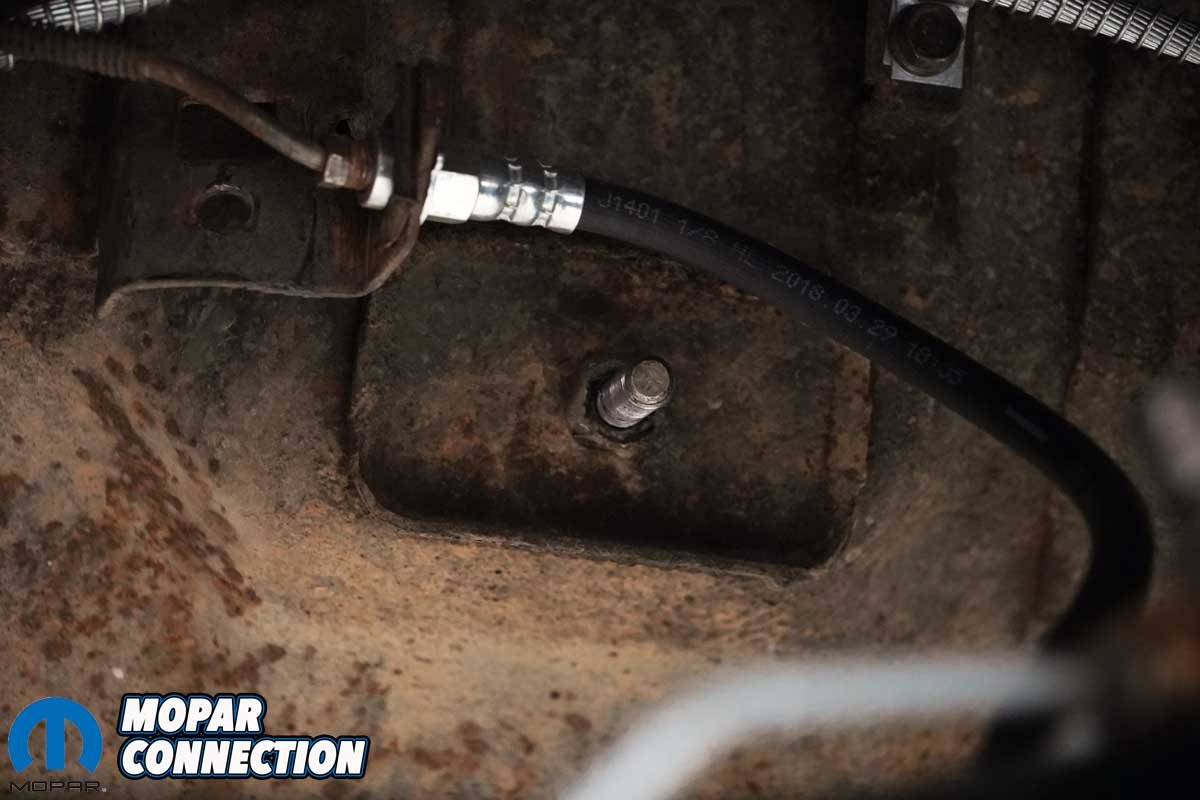
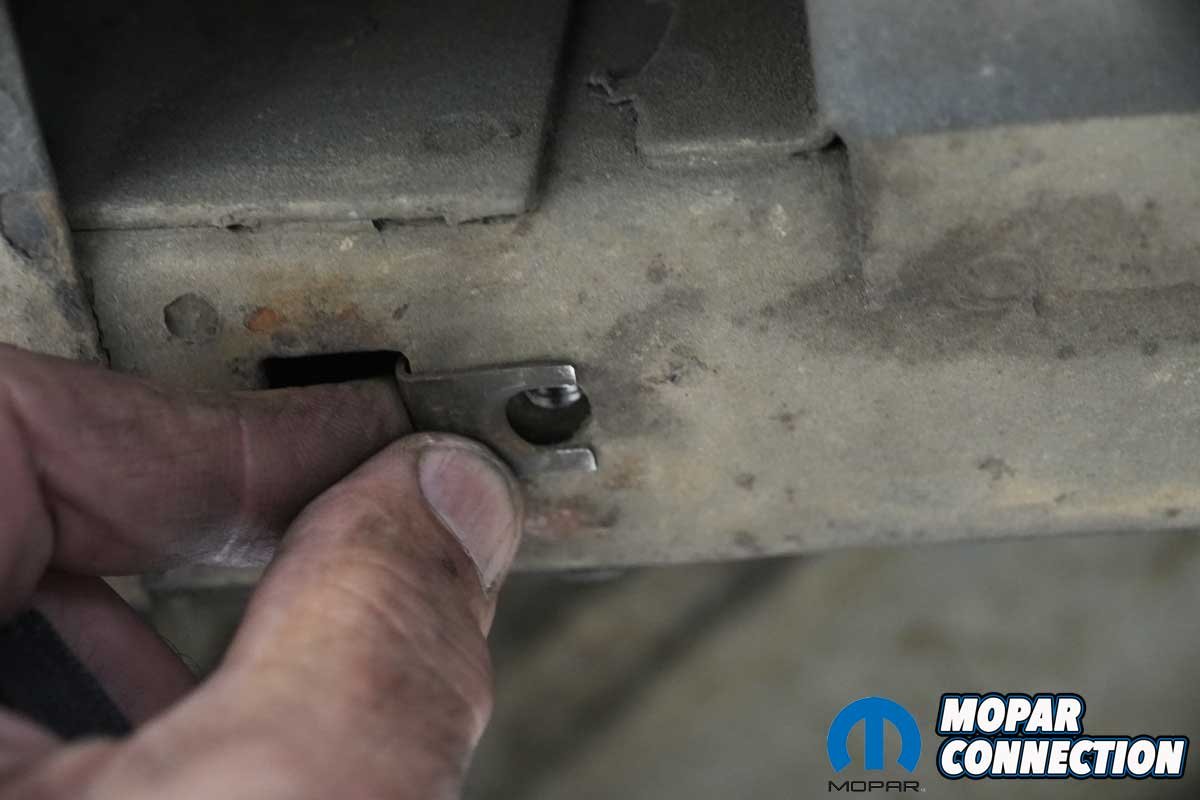
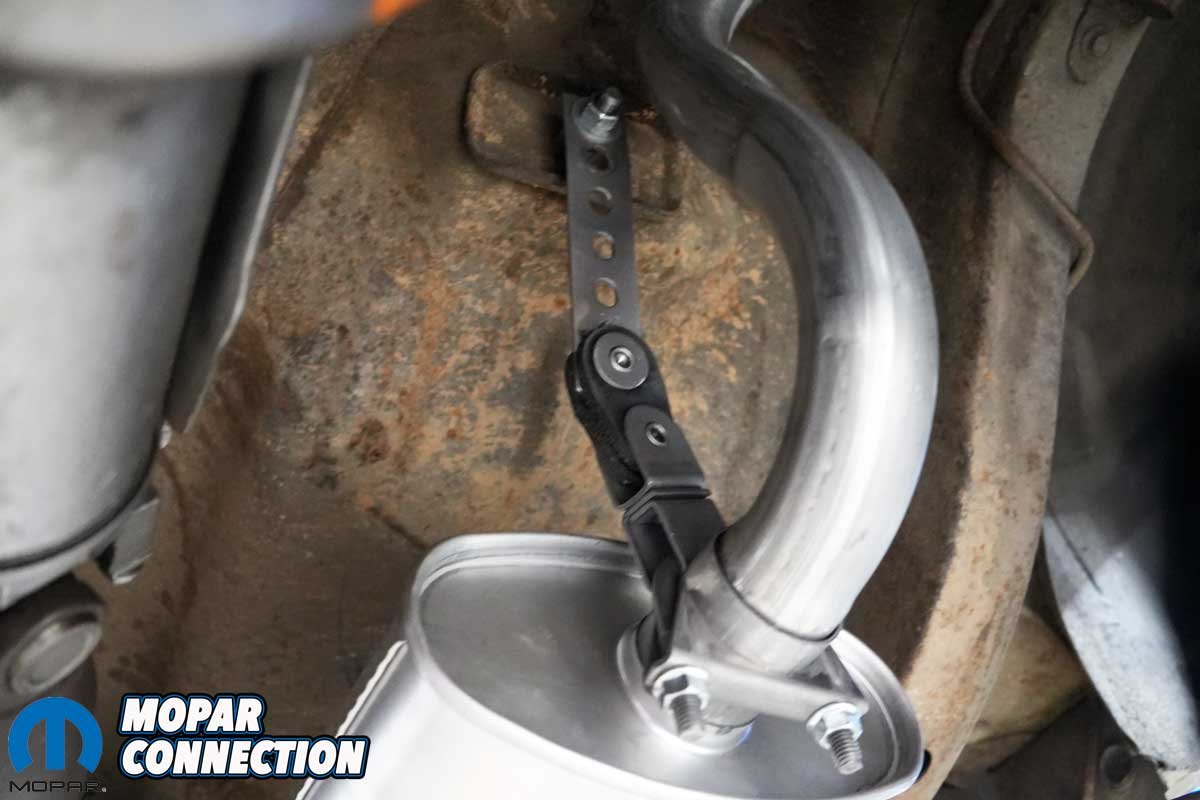
Above Left: To accommodate the muffler hangers, we removed the inboard rear seat belt anchor bolts and replaced them with longer Grade 8 bolts to provide the additional length needed for the installation. Above Center: The longer bolts extended through the floor far enough to ensure adequate thread engagement with the retaining nuts while securing the muffler hangers. Above Right: For the tailpipe hangers, we reused the original driver side retaining clip from the old exhaust system. On the passenger side, we repurposed the muffler hanger bracket clip, relocating it to the rear frame rail to secure the tailpipe.
Next, we installed the head pipes. We had to maneuver each pipe around its respective torsion bar and align it with the new manifold flange. We positioned a gasket at each connection and secured the pipes with two fasteners per side. Those fasteners were not included in the exhaust kit, so we sourced them separately.
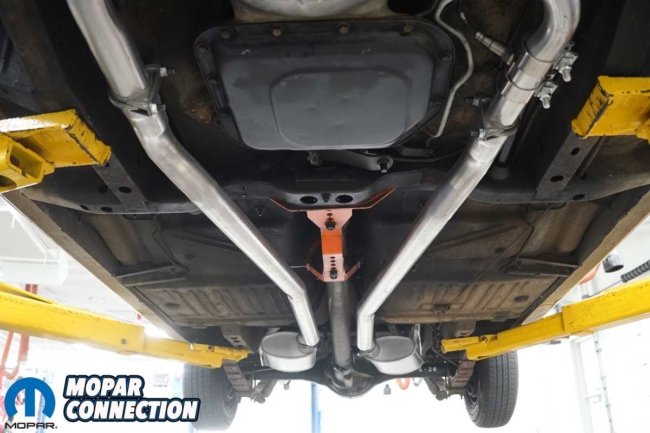
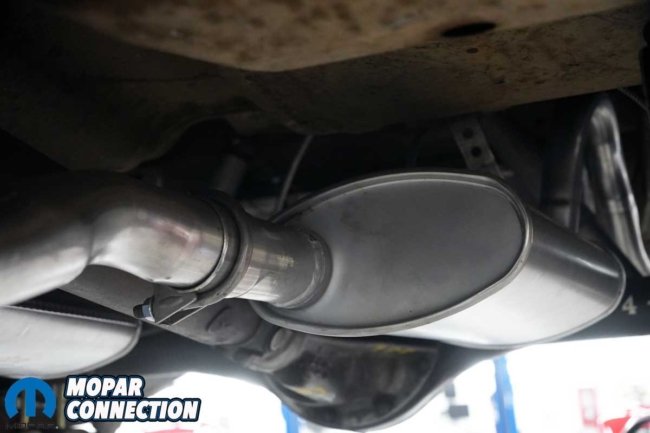
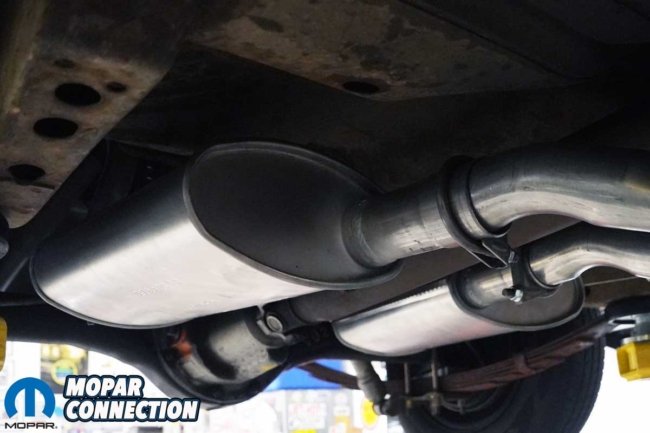
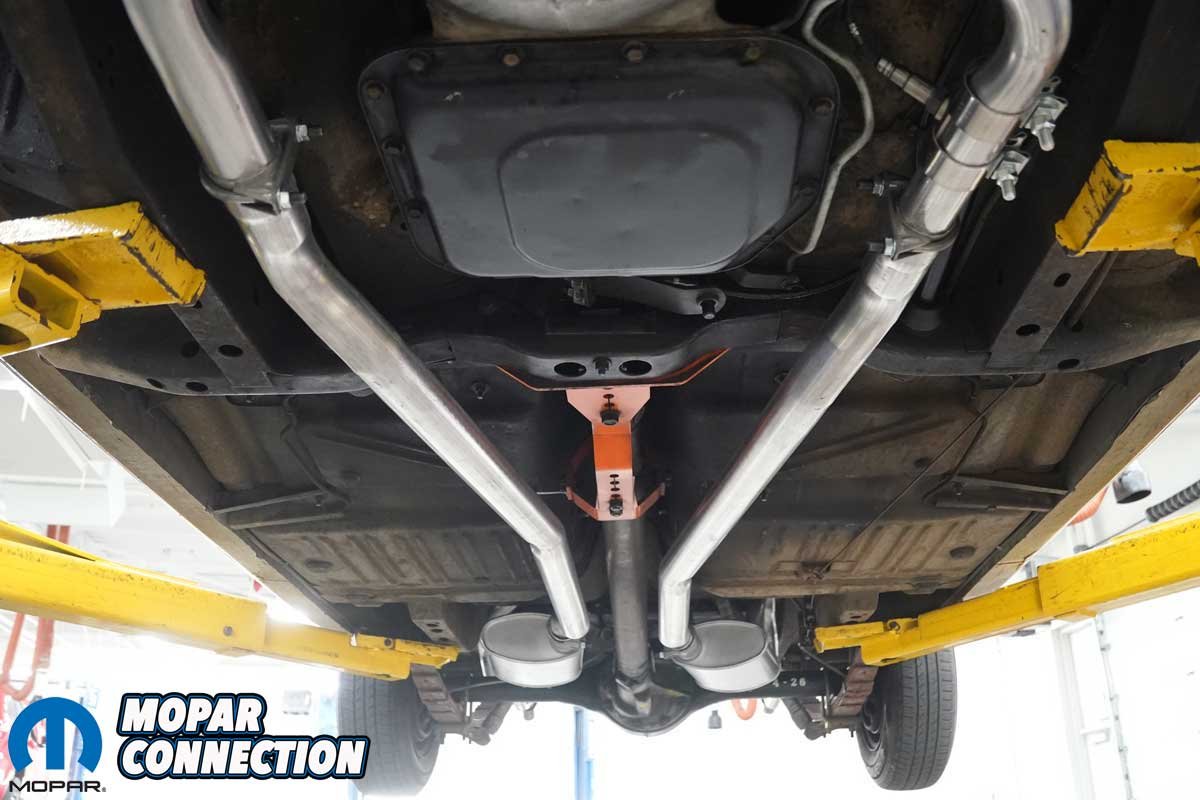
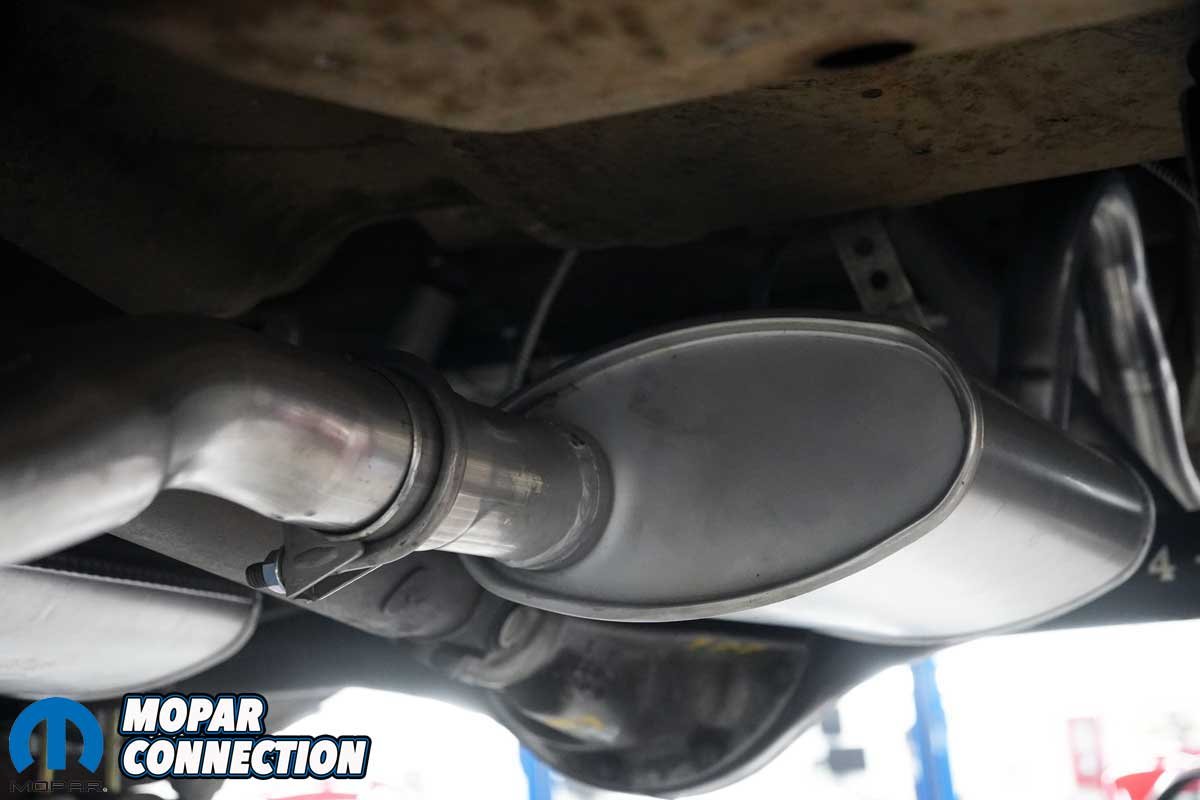
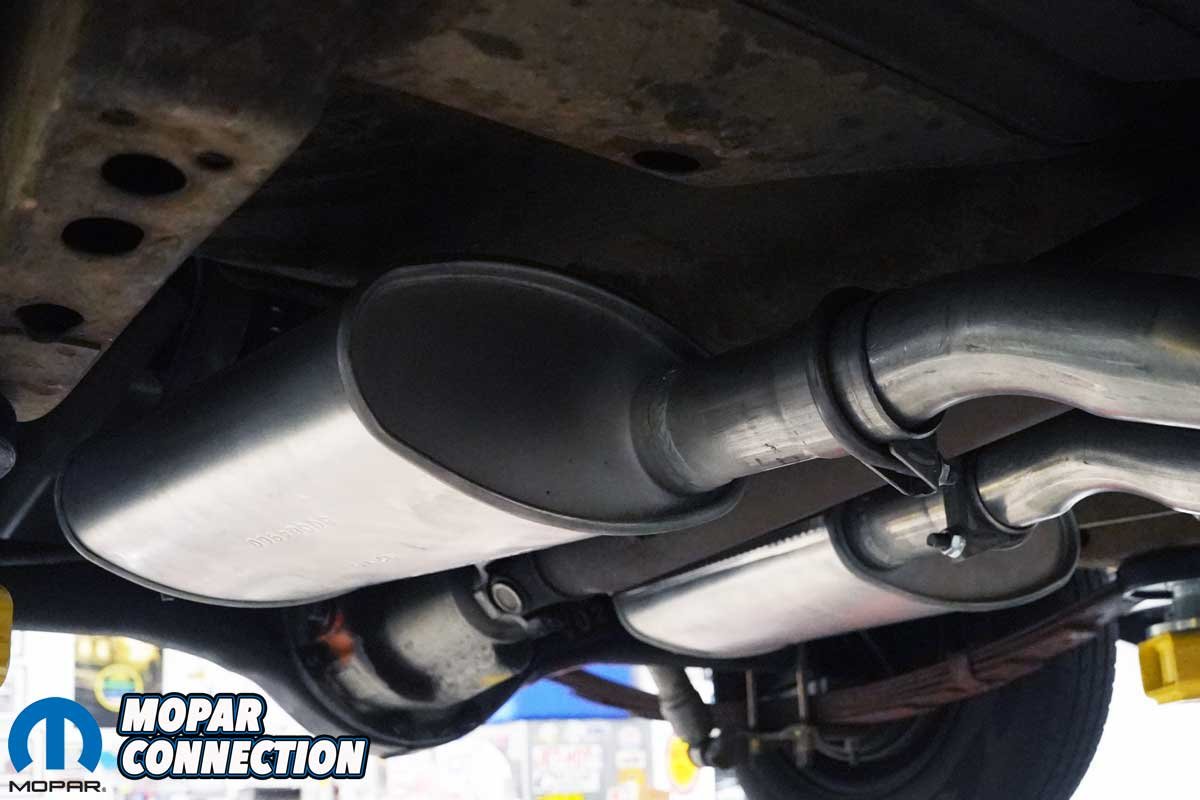
Above Left: We methodically assembled the exhaust from the head pipes to the tailpipes. The pipes fit the contours of the floor and provided adequate ground clearance. Above Center: The mufflers are a 2 1/4-inch inlet with a 2-inch outlet, which is more than sufficient for the 273. Above Right: The mufflers tuck snuggly into the chassis. Due to variations in wheelbase, some applications require some trimming of the tubes. In our case, we slightly shortened the main pipes from the head pipes to the mufflers.
Getting the 2 ¼” pipes from the head pipes into position was only part of the job. The pipes also needed to clear the chassis, suspension components, and other underbody hardware while leaving enough room for engine movement and exhaust expansion.
We then turned our attention to the mufflers and hangers. The universal hangers supplied for the muffler outlets and tailpipe inlets required bending and adjustment to position the mufflers correctly. We used longer rear seat-belt anchor bolts to provide enough length to secure the hanger brackets to the chassis.
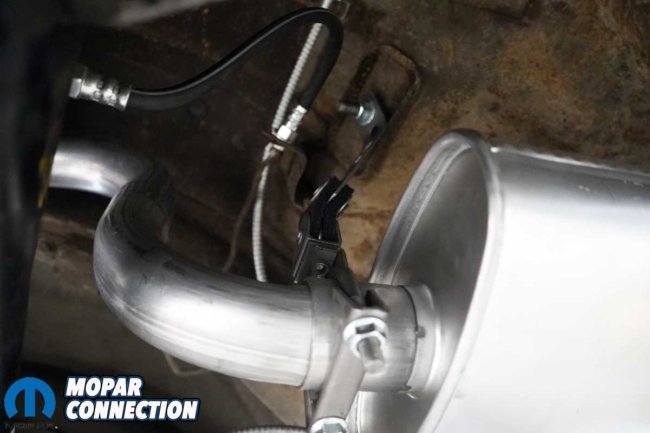
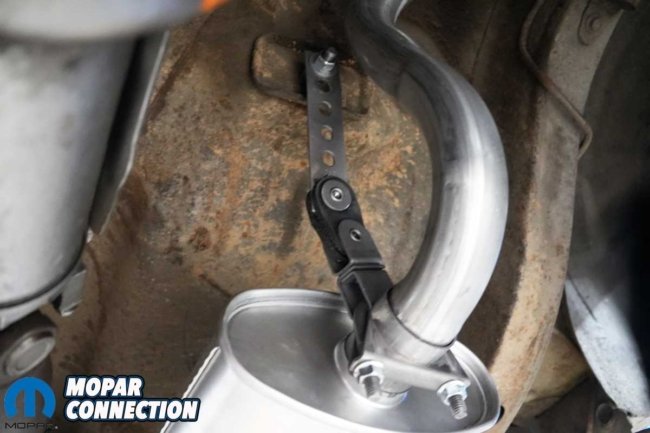
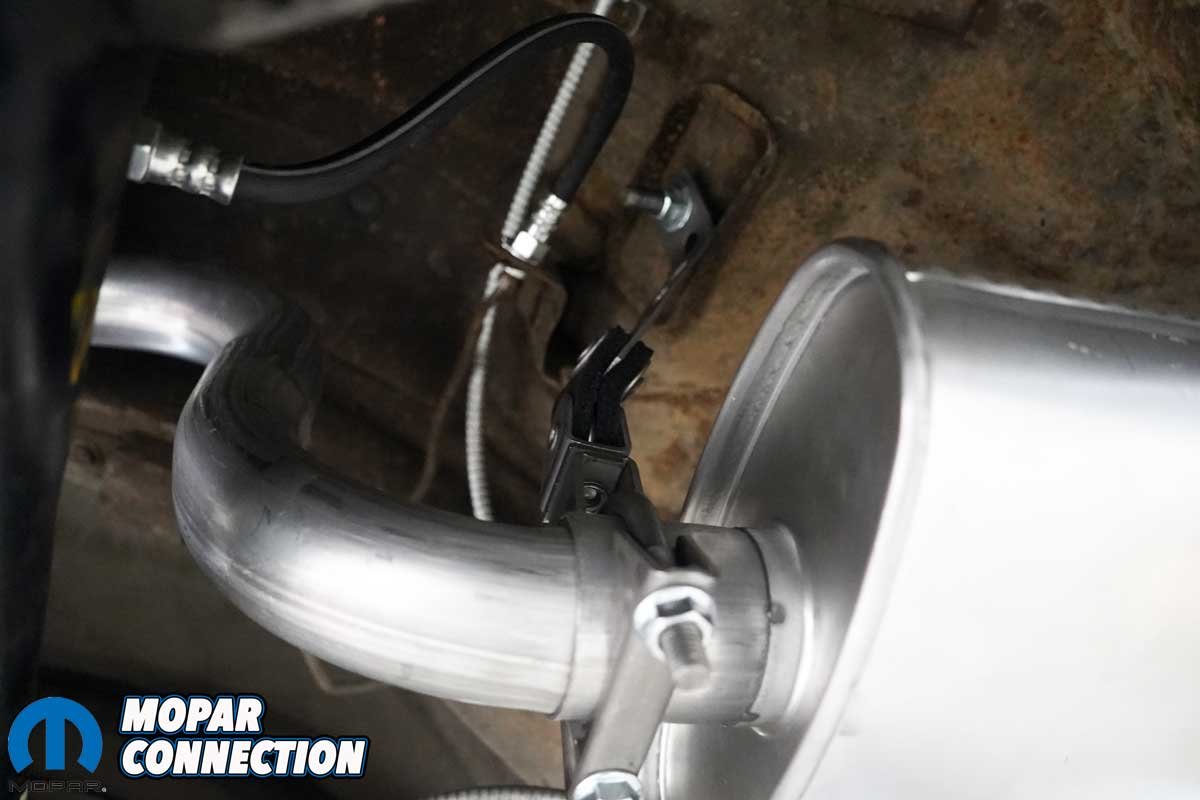
Above Left: The kit included several hanger bracket options, and the universal brackets proved to be an excellent fit for our application. We made a slight bend in the driver-side bracket to achieve the proper alignment and clearance. Above Right: On the passenger side, we positioned the hanger bracket with a slight offset to achieve the desired fit and appearance.
Additional hangers supported the tailpipes at the rear frame rails. We sourced the necessary clips and bolts separately, then adjusted the hangers to attain the preferred alignment. Because universal components rarely fit every application perfectly, taking time to position each section was essential to a clean installation.
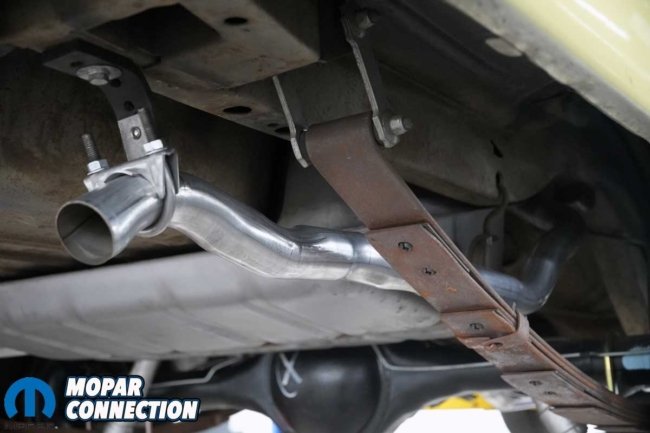
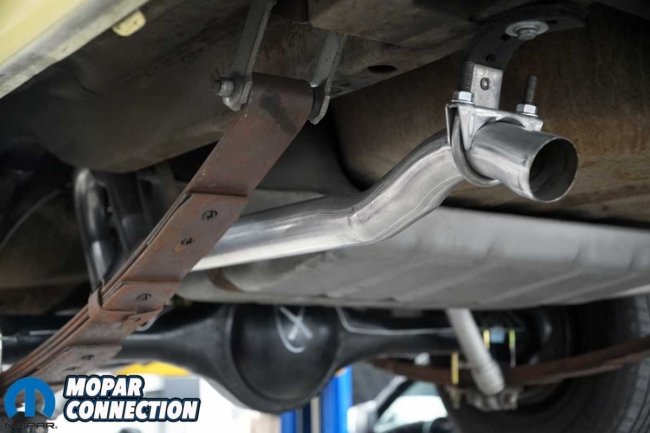
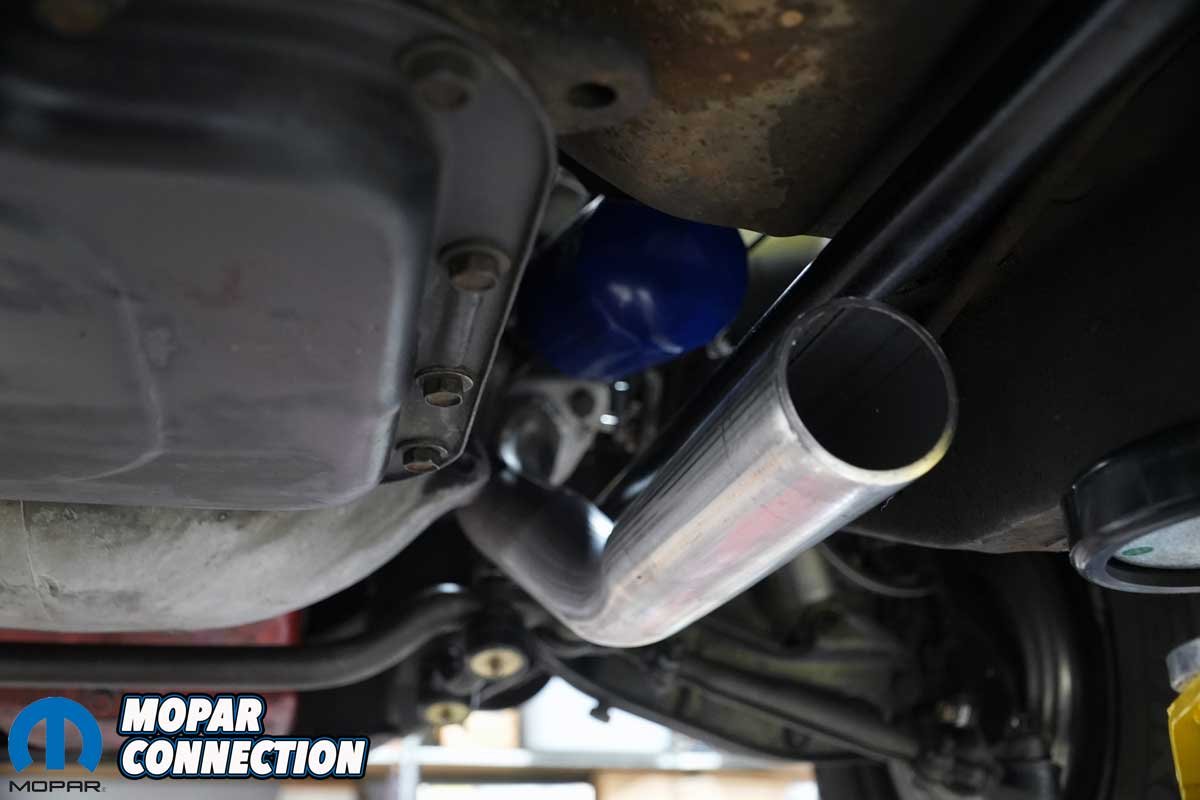
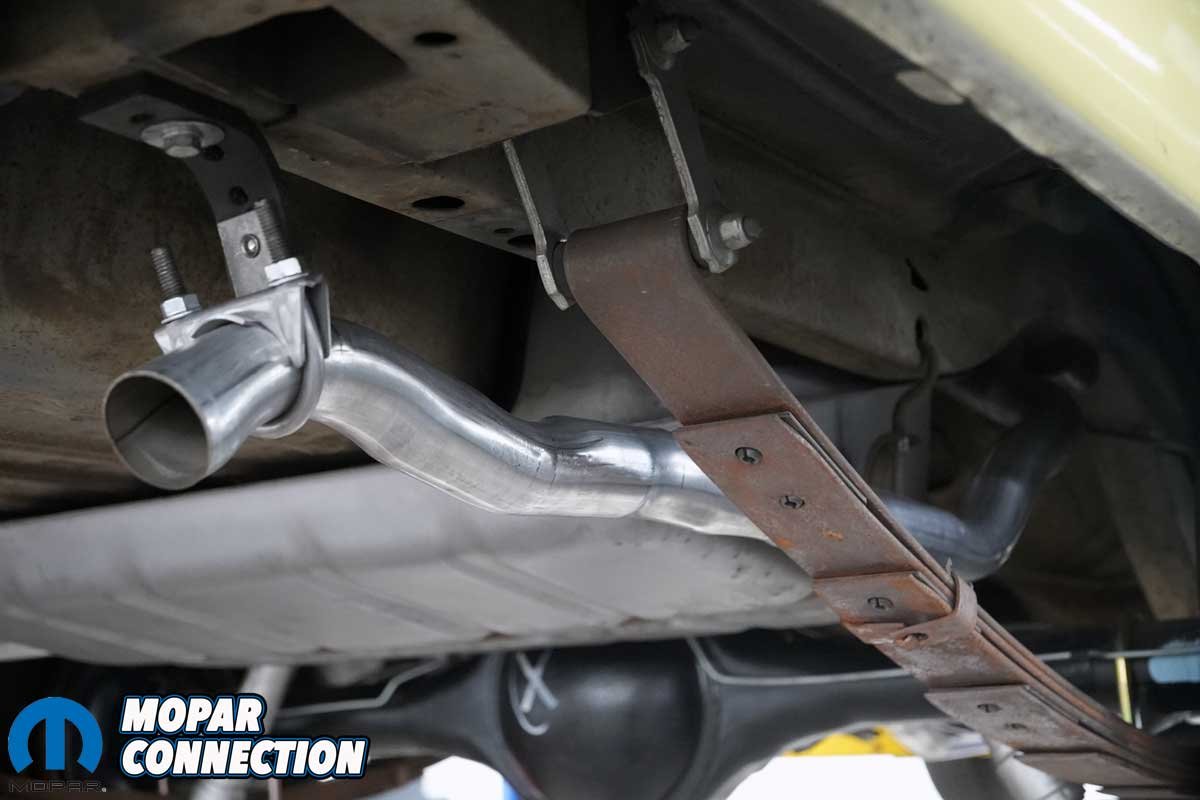
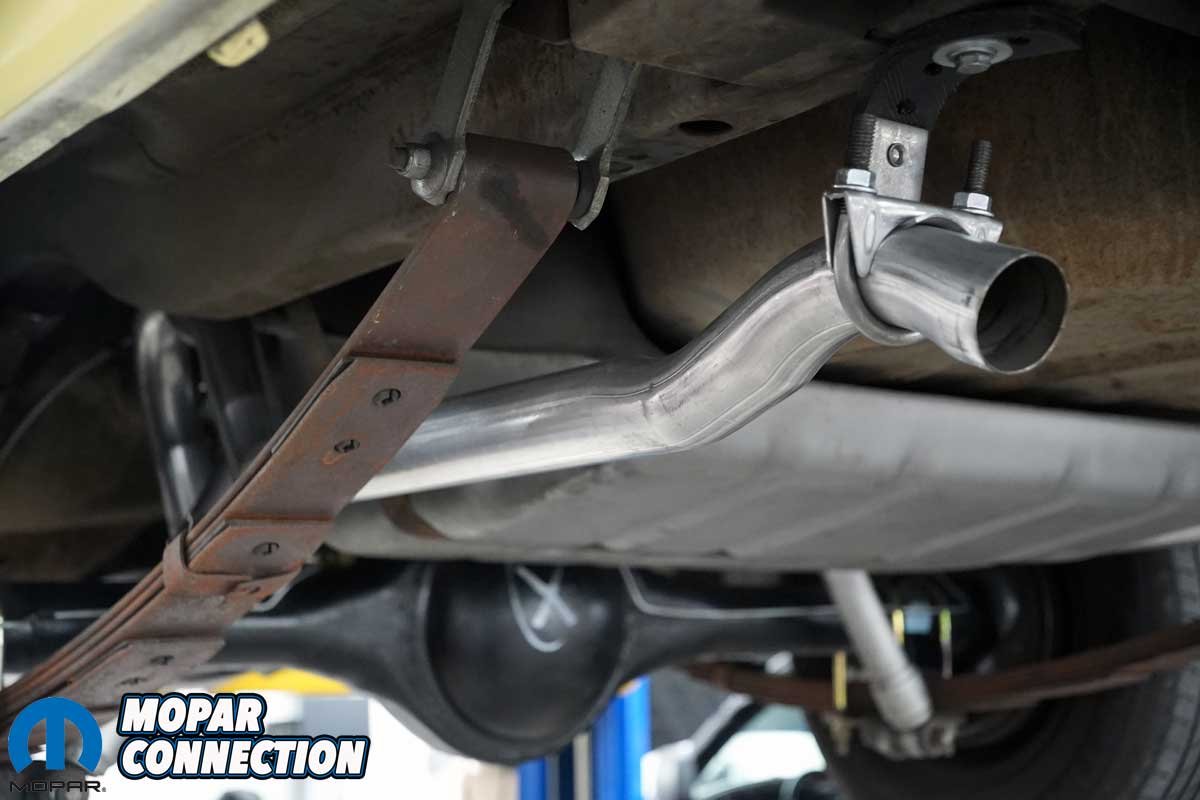
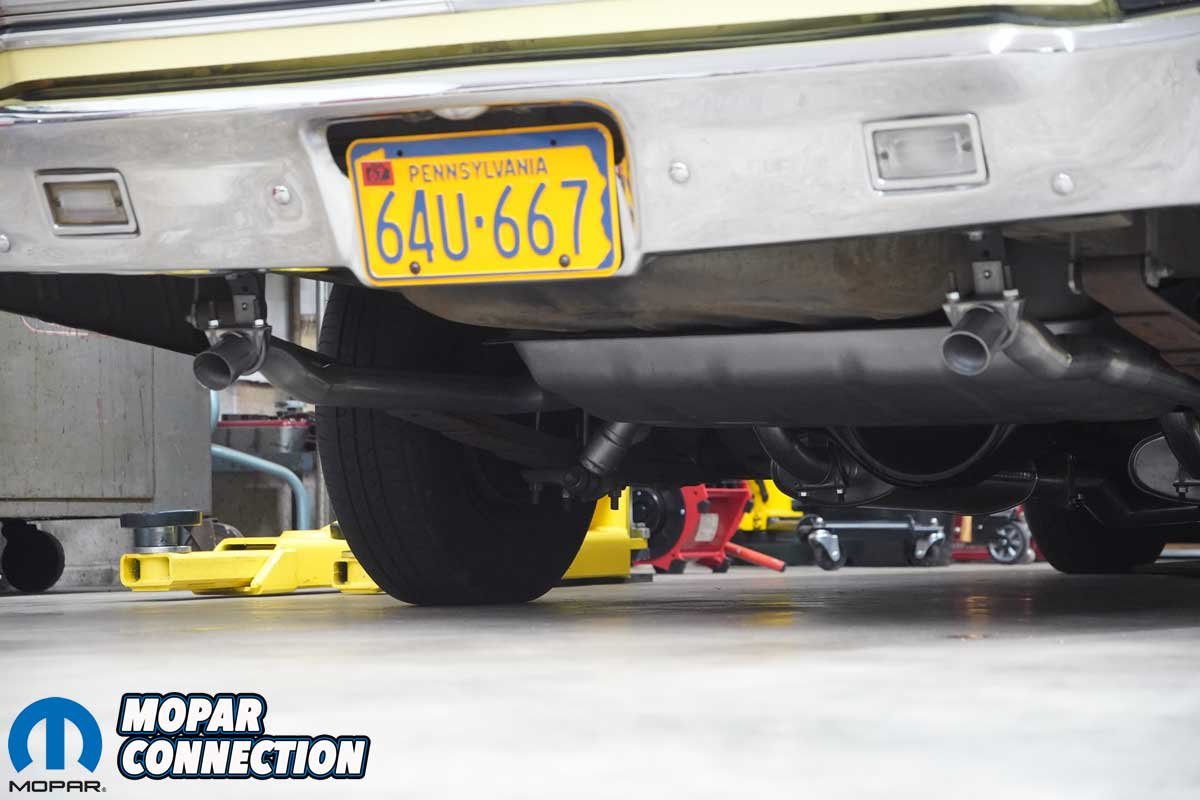
Above Left: The passenger-side tailpipe routed neatly over the rear axle and around the fuel tank while maintaining clearance from the leaf spring. A clamp and hanger secured the tailpipe and supported the exhaust tip. We used the second hole in the hanger bracket to position the tip at the desired height and angle. Above Right: The driver-side tailpipe followed a similarly clean path around the rear axle and adjacent components, providing a neat, symmetrical installation. We opted for turndown tips, although the system can also accommodate straight-cut tailpipes for those who prefer to install chrome exhaust tips sourced separately.
Before tightening the system, we checked clearances around the chassis and adjacent components. We also verified that the mufflers and pipes were supported adequately rather than relying on the manifold connections to carry the system’s weight.
Satisfied with the fit, we worked from the rear of the car toward the front, tightening each U-bolt to secure the pipes. This secured the system while preserving the alignment we had established during the fitting process.
The completed installation gave our ’67 Dart GT a clean appearance underneath and, more importantly, a noticeably deeper exhaust note. The Turbo mufflers delivered the rumble we wanted without overwhelming the 273 or making the car unpleasant to drive.
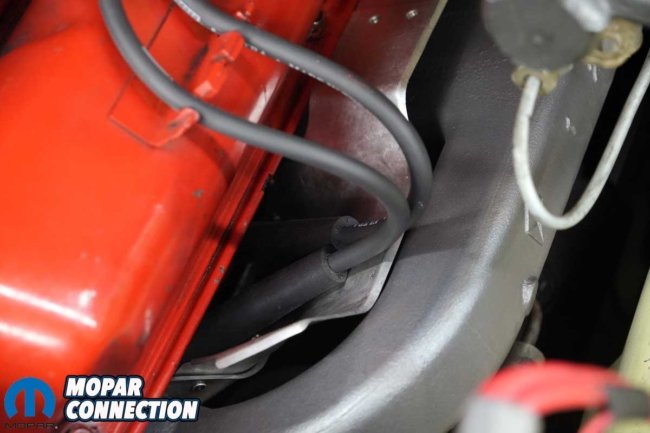
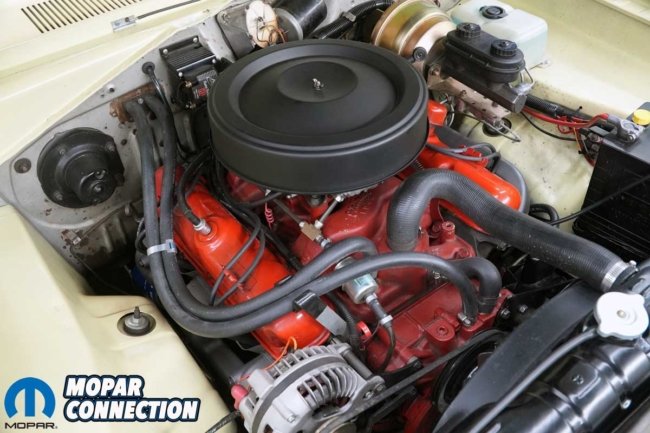
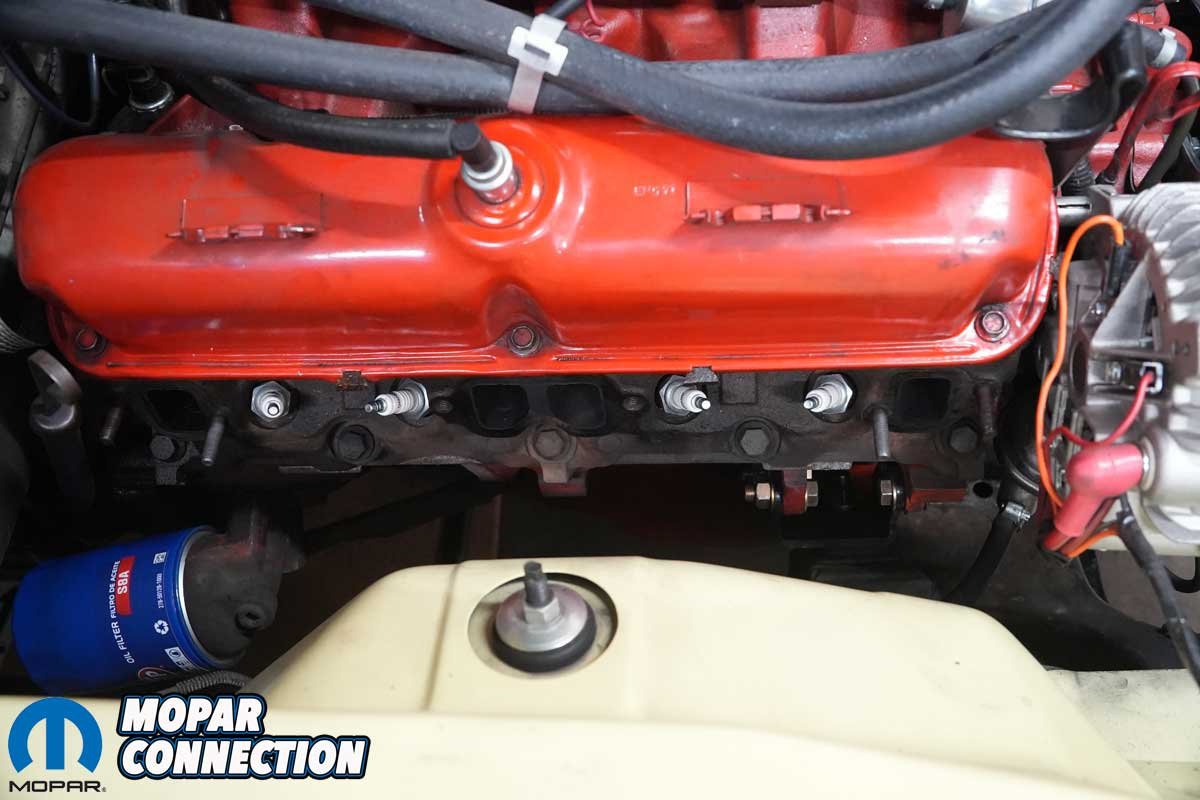
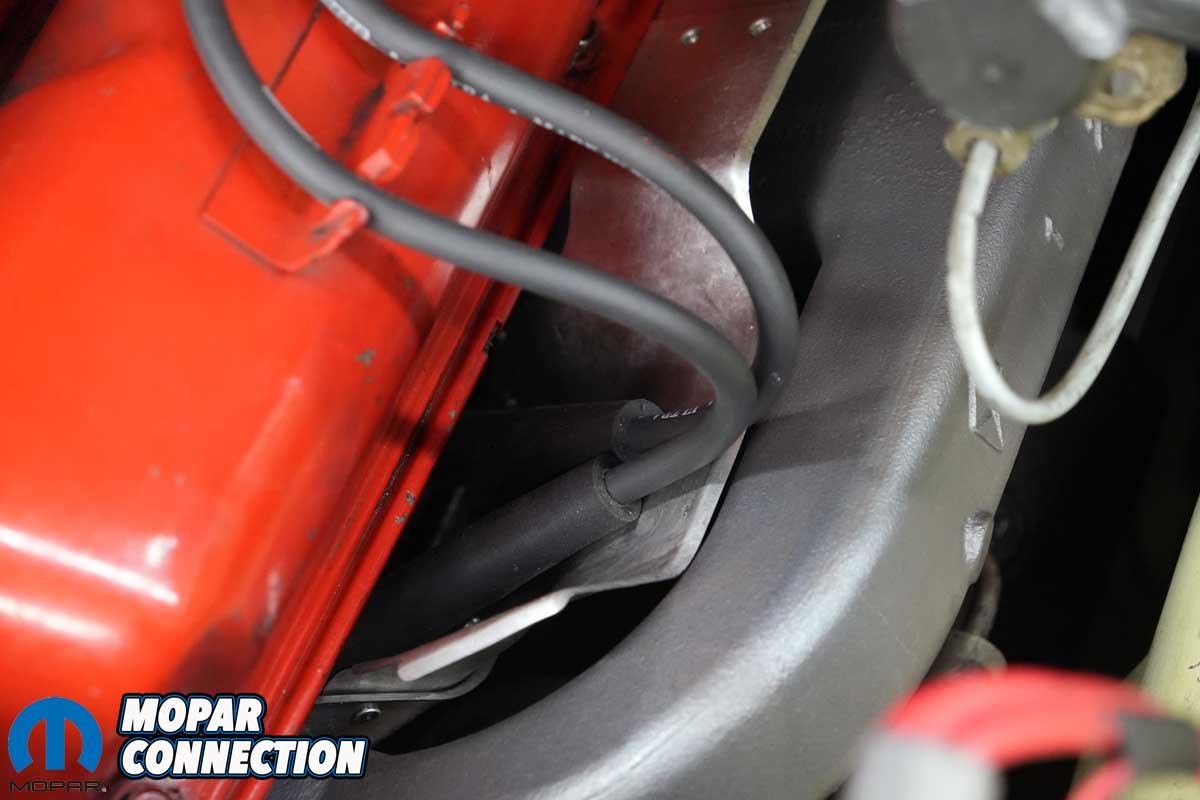
Above Left: We installed a new set of spark plug wires, which fit neatly alongside the driver-side exhaust manifold heat shield without interference. Above Right: Our little 273 continues to take on the appearance of a 340. The Mancini Racing air cleaner went on years ago when we upgraded to a four-barrel carburetor. Now, the addition of the 340 exhaust manifolds, particularly the sweeping driver-side manifold, adds another touch of muscle to the small-block’s appearance.
We also observed improved fuel economy after the conversion (about 0.5 mpg), while our lambda readings continued to indicate a desired lean operation during cruising. Driving conditions, ambient temperature, and other variables can influence fuel economy. Likewise, lambda readings describe the air-fuel mixture relative to stoichiometric combustion; they do not independently indicate increased horsepower or overall efficiency.
A properly designed dual-exhaust system can reduce exhaust restrictions under the right conditions. Still, the actual result depends on the engine’s airflow requirements, manifold design, pipe dimensions, mufflers, and operating range. The 273 is a modest-displacement street engine, so the goal was not to install the largest pipes available. It was to provide a suitable exhaust path without sacrificing the characteristics that make the car enjoyable.
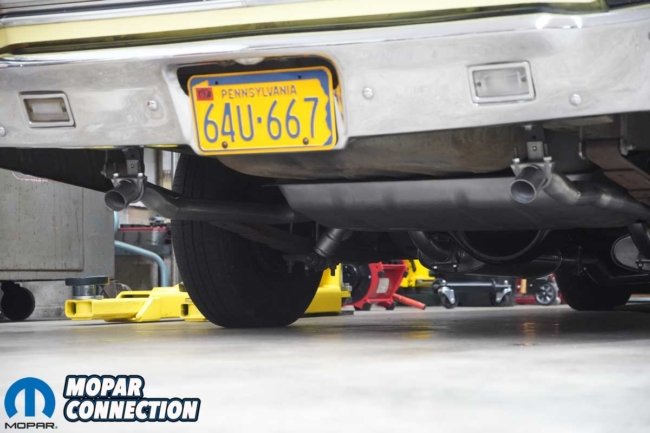
Above: The new dual-exhaust system gives our 273 a deeper, throatier exhaust note without introducing objectionable drone or excessive noise while cruising. The result is a satisfying sound that complements the Dart’s personality without becoming tiresome behind the wheel. Classic Exhaust Systems has put together a well-designed package, and the availability of different muffler options allows enthusiasts to tailor the exhaust note to their particular vehicle, engine combination, and personal preferences.
While performance numbers would have been great, for now, the clearest result is the one we set out to achieve. Our small-block Dart has a deeper, more purposeful sound, a dual-exhaust appearance that suits a V8, and the street manners we wanted to preserve. Sometimes a successful modification does not require turning a classic car into something it was never intended to be. Sometimes it simply means making the car more satisfying to own and drive.