


Chrome was not as abundant in the 1970s as previous decades, chrome was still seen as high style. By the end of the 1970s chrome accents on cars across the board diminished. Much of which was caused by cutting production cost and increased EPA enforcement. Although solid chrome bumpers and stainless trim is a thing of the past, many enthusiasts still enjoy the sight of it on classic cars. The problem is many classic cars chrome is pitted, rusty and looks terrible. Thanks to Classic Industries, we were able to rejuvenate our Dart’s chrome to new.
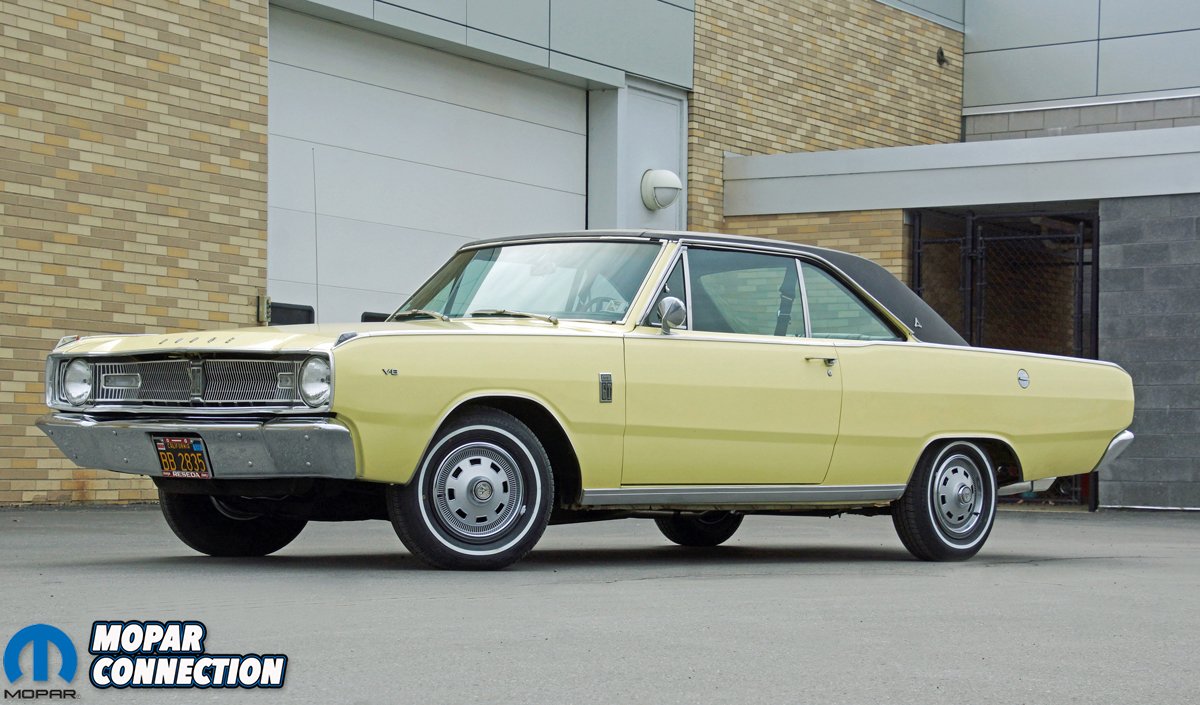
There are many chrome pieces on our Dart that had seen better days. Nothing was rusted off or was in horrible shape, but it did not have the shine we were looking for. Over time chrome can pit, become very scratched and start to fade and peel off. From a distance our Dart looked great but when you stepped closer you could see that all the chrome needed refinished or replaced.

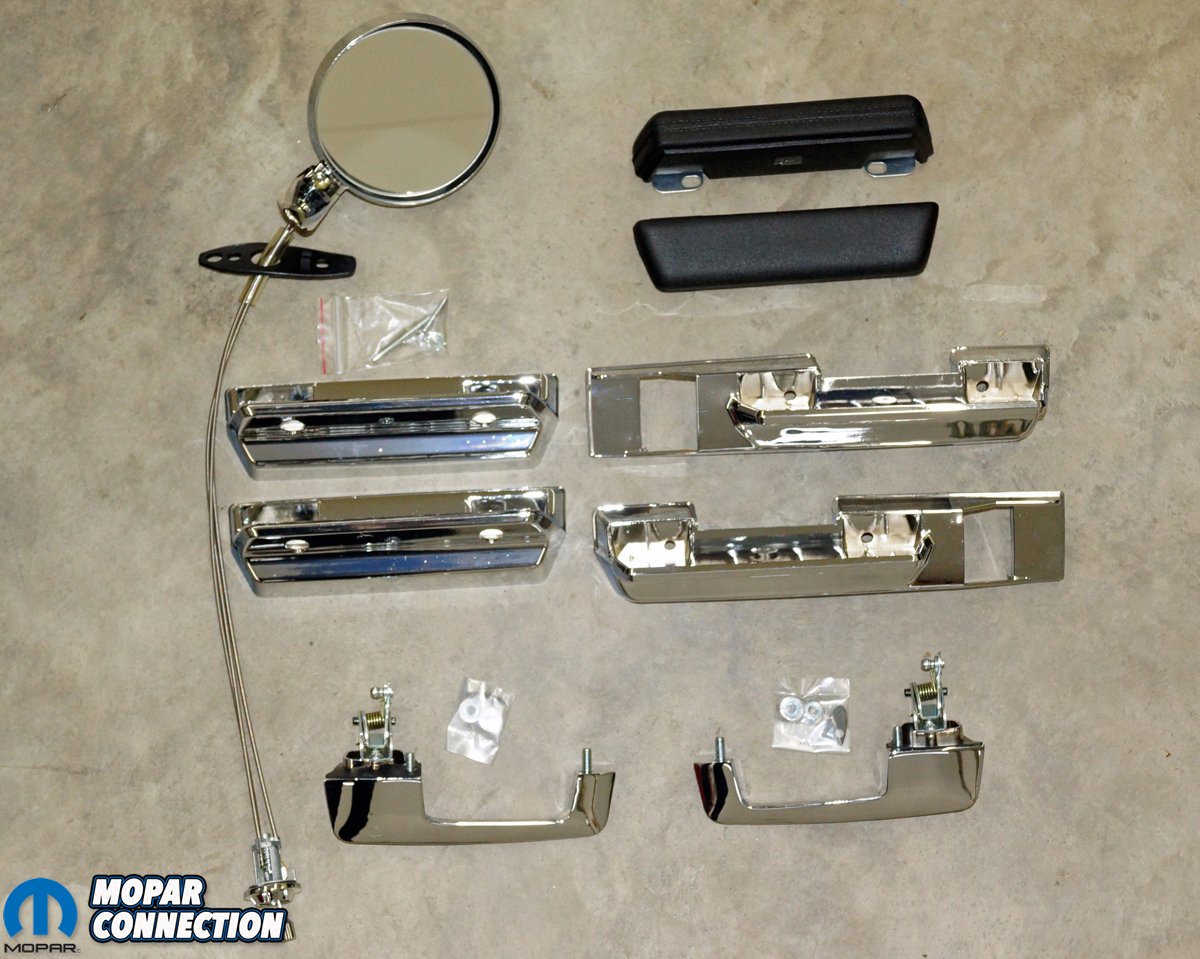
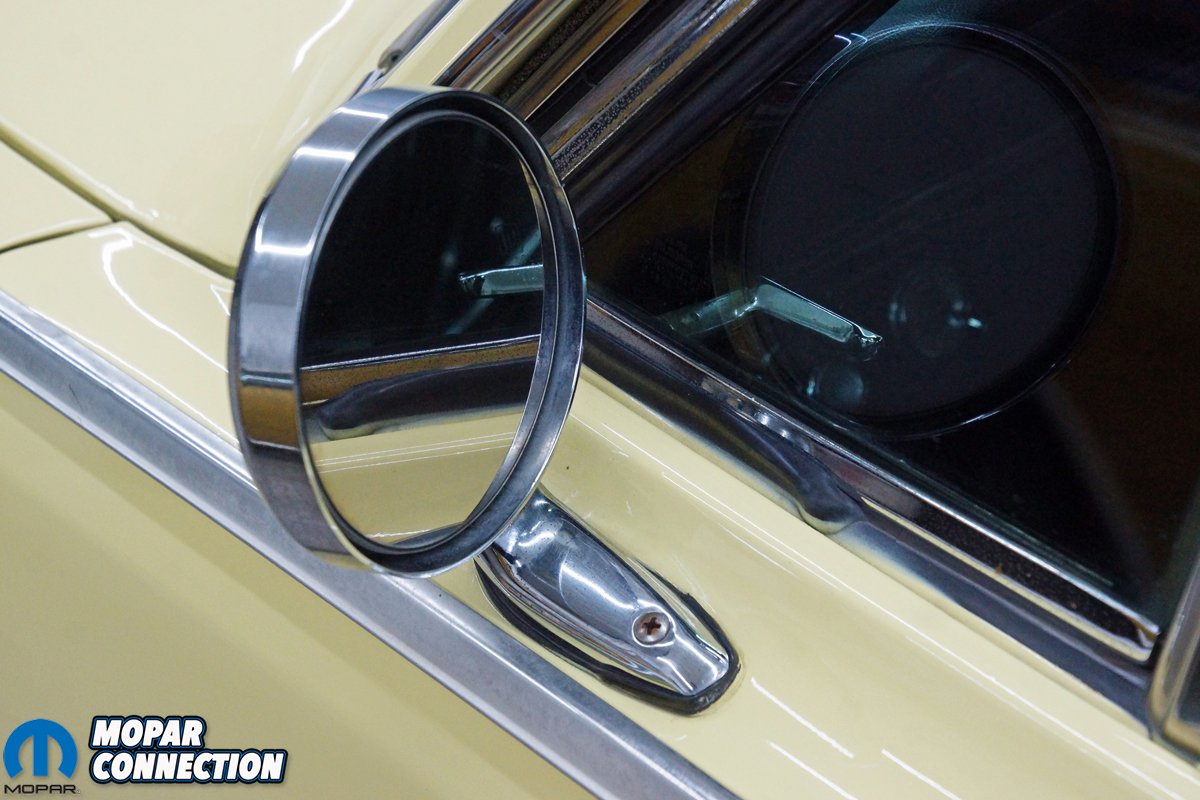
Above: After 52 years, the interior and exterior chrome on our 1967 Dart is showing its age. Classic Industries has all the new chrome parts for Mopars. We picked up an exterior rearview mirror, external door handles, armrests and bases, and window crank handles (not shown).


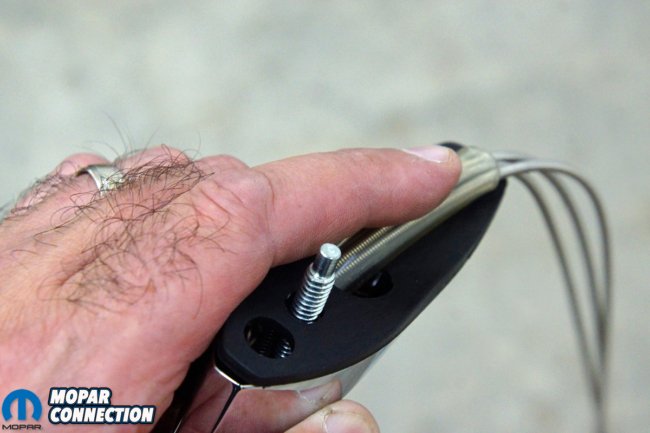
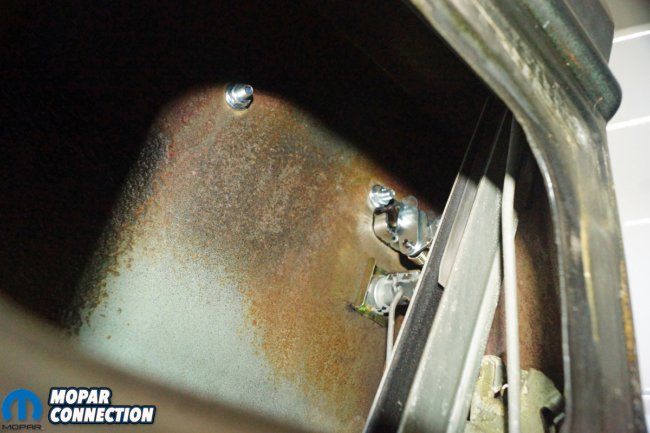
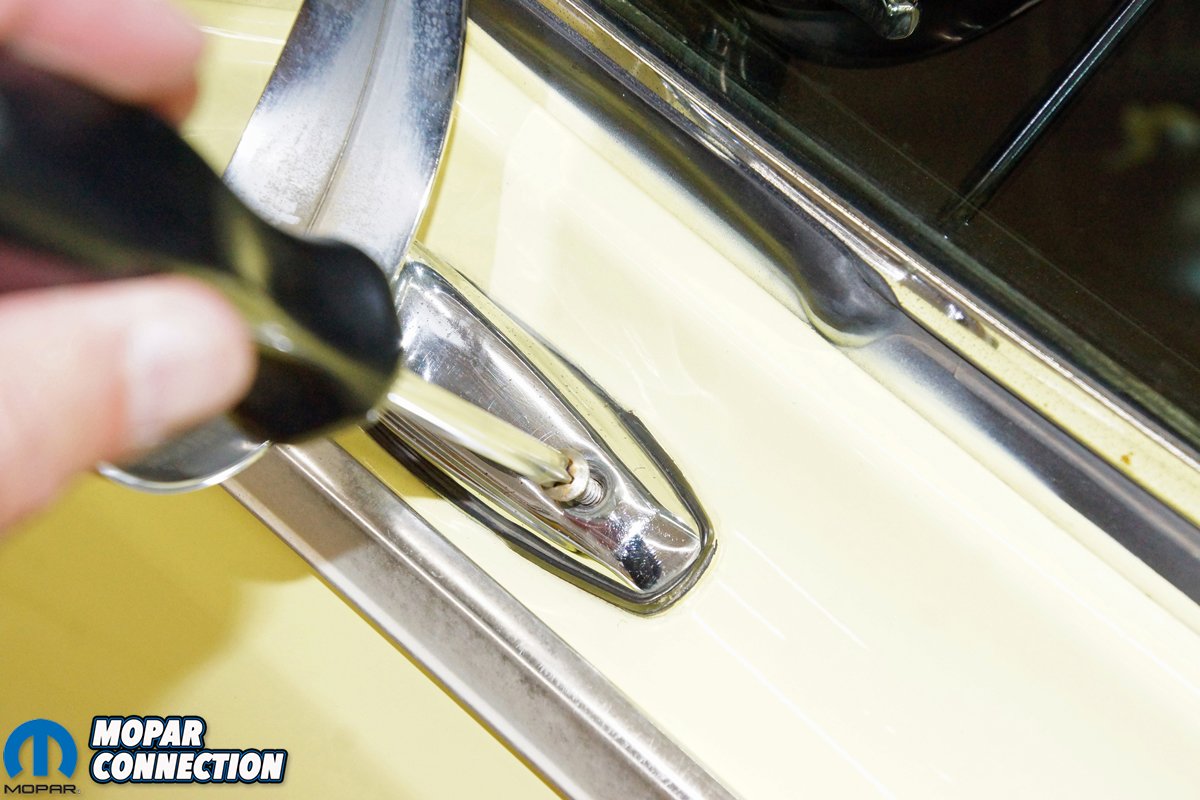
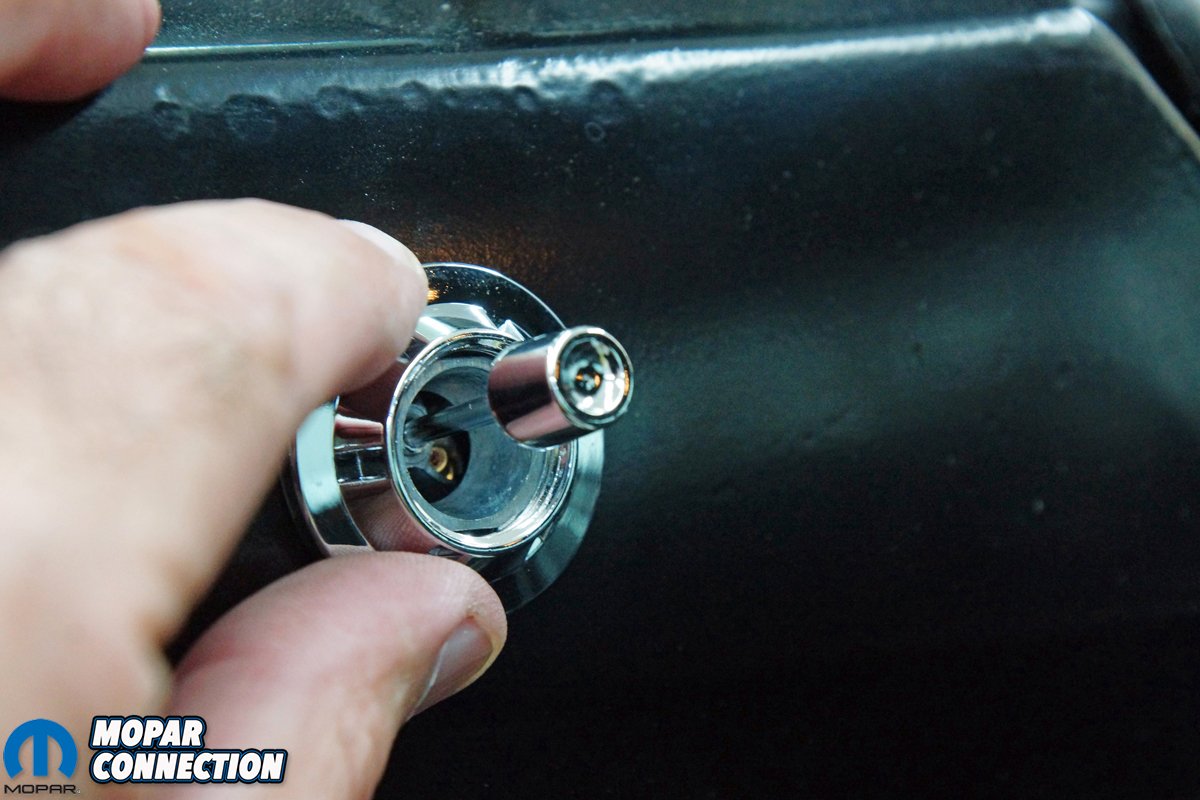
Above Left: On the driver side door, we had to replace the exterior rearview mirror as well as the exterior door handle, window crank handle, and the armrest pad and base. The mirror control lever collar nut had to be unthreaded to allow the mirror to be removed. Above Right: The mirror is held in place by a stud and nut on the under side (through the door) of the mirror base, and there is a second screw that extends from the exterior of the mirror base to the door skin.
Instead of sending all of our parts our to be refinished, we gave Classic Industries a call. Their catalog offered every piece we needed. Some might say that the replacement parts are not as good as the original. Potentially when reproduction parts first came to market they were a little under par but that has changed. Classic Industries only offers quality parts and at great prices. We plan to drive this Dart and the new parts from Classic Industries would be a perfect fit.
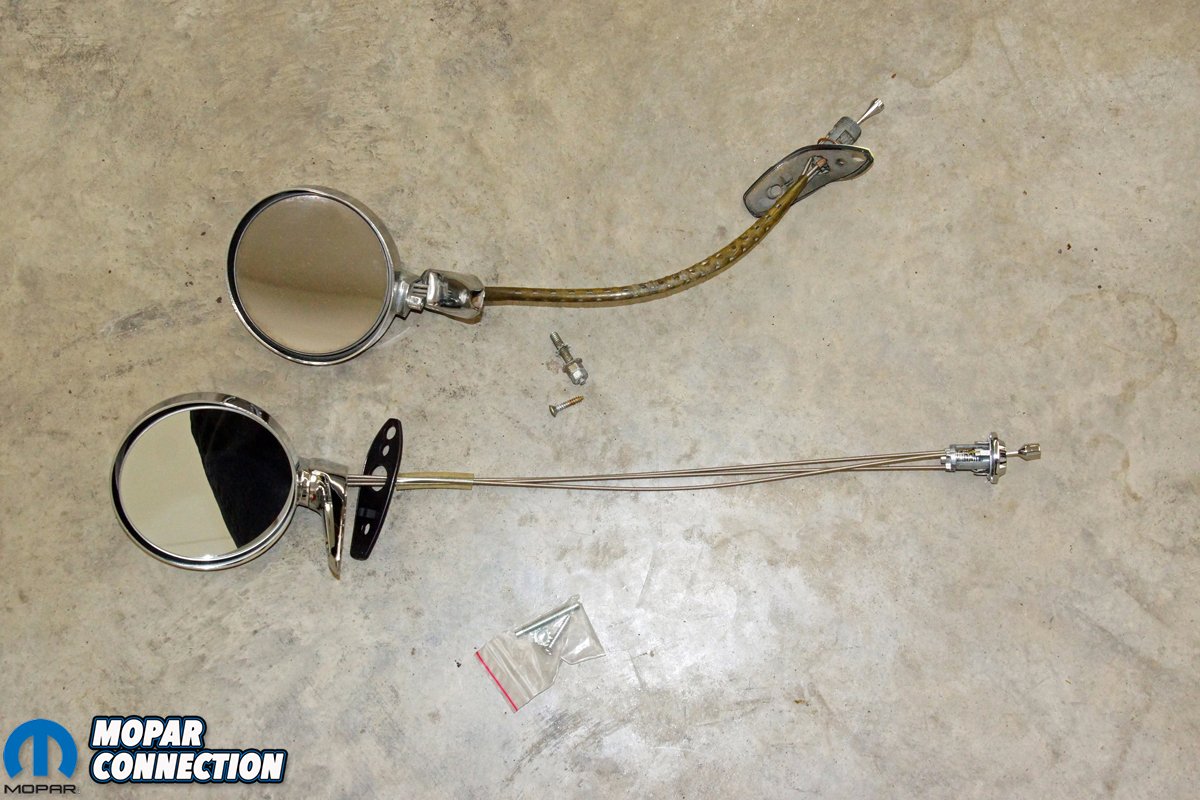
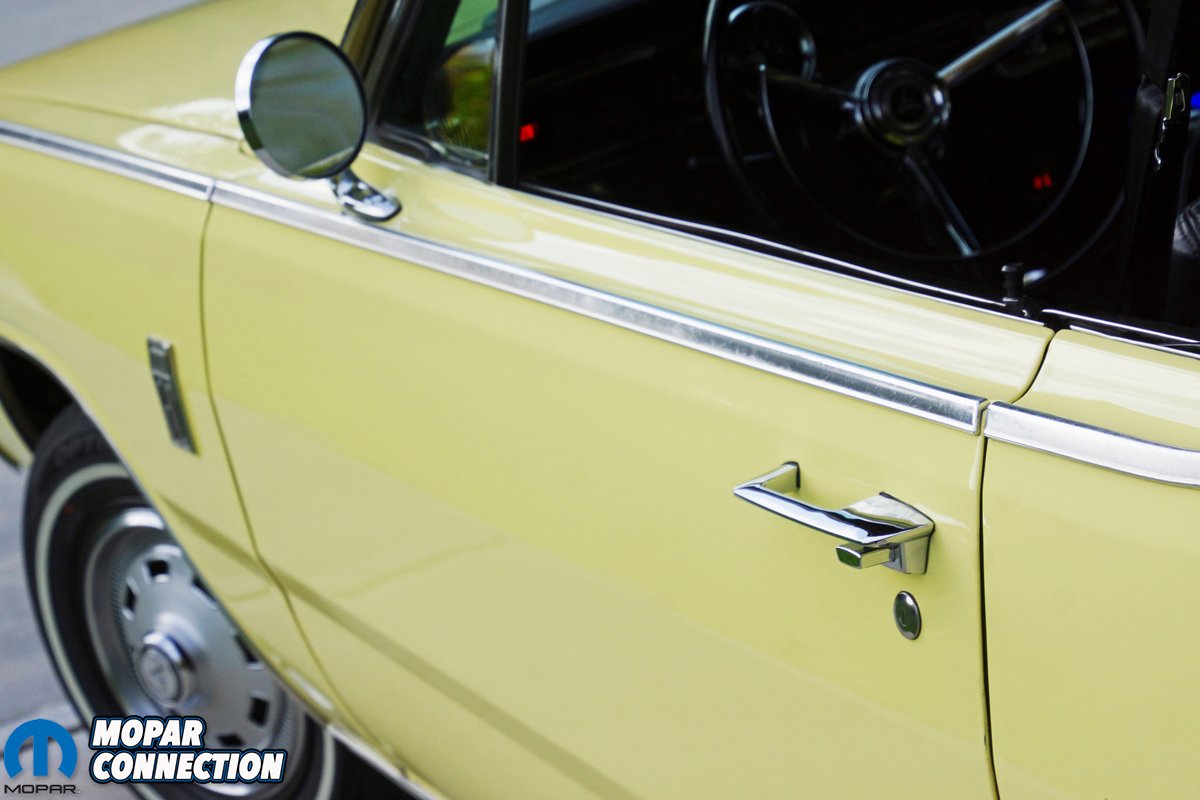
To replace our Dart’s factory remote operated exterior mirror, we selected a 1966-74 A and B-body remote outer door mirror (round type). It came supplied with all the required installation hardware (MD2207). To remove the mirror, we unthreaded the collar nut from the control lever mounted on the interior side of the door. We pushed the control lever (and attached cables) through the mounting hole and into the door cavity.


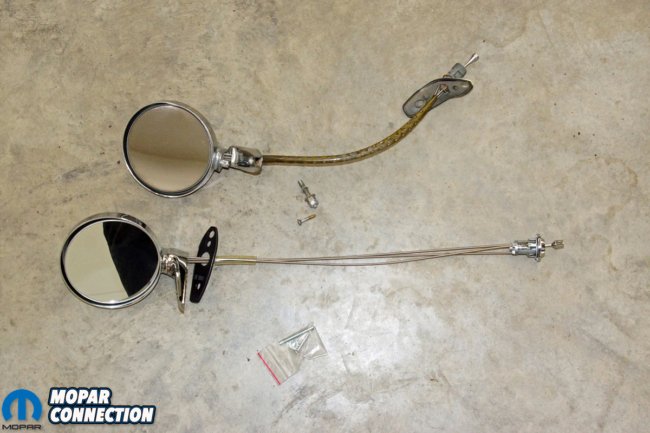
Top Left: The mirror is held in place by a stud and nut on the under side (through the door) of the mirror base, and there is a second screw that extends from the exterior of the mirror base to the door skin. Top Right: The exterior screw unthreaded without any difficulty. Sometimes the Phillips screw head can be stripped or the screw is seized into the door. In either case, the screw may not be backed out without a struggle. Bottom Left: We reached into the door cavity and eased the nut off the mirror base stud. With the mirror free from the door, we pulled the mirror, cables, and the control lever from the door. Bottom Right: The old mirror (top) had shorter cables than the new mirror (bottom). In 1967, Dodge mounted the mirror further down the door (closer to the front fender) than the 68-76 Darts. The later Darts required slightly longer cables to properly route them to the mirror. The longer cables still work well with our Dart.
Reaching inside the door, we removed the nut on the stud that extended from the mirror base through the door skin. On the exterior of the mirror base, a Phillips screw was removed. At this point, we carefully pulled the mirror and base upward while feeding the remote cables and control lever out of the door. We removed the factory mirror base gasket from the door and cleaned the accumulated debris where the gasket had been.
To install the mirror, we slipped a new gasket over the remote cables and onto the mirror base. The control lever and cables were fed through the factory hole in the door. The mirror base stud was pushed through its mounting hole in the door, and we reached up into the door to install the nut finger tight. The mirror base was adjusted to align the gasket and we installed the new Phillips screw through the mirror base.


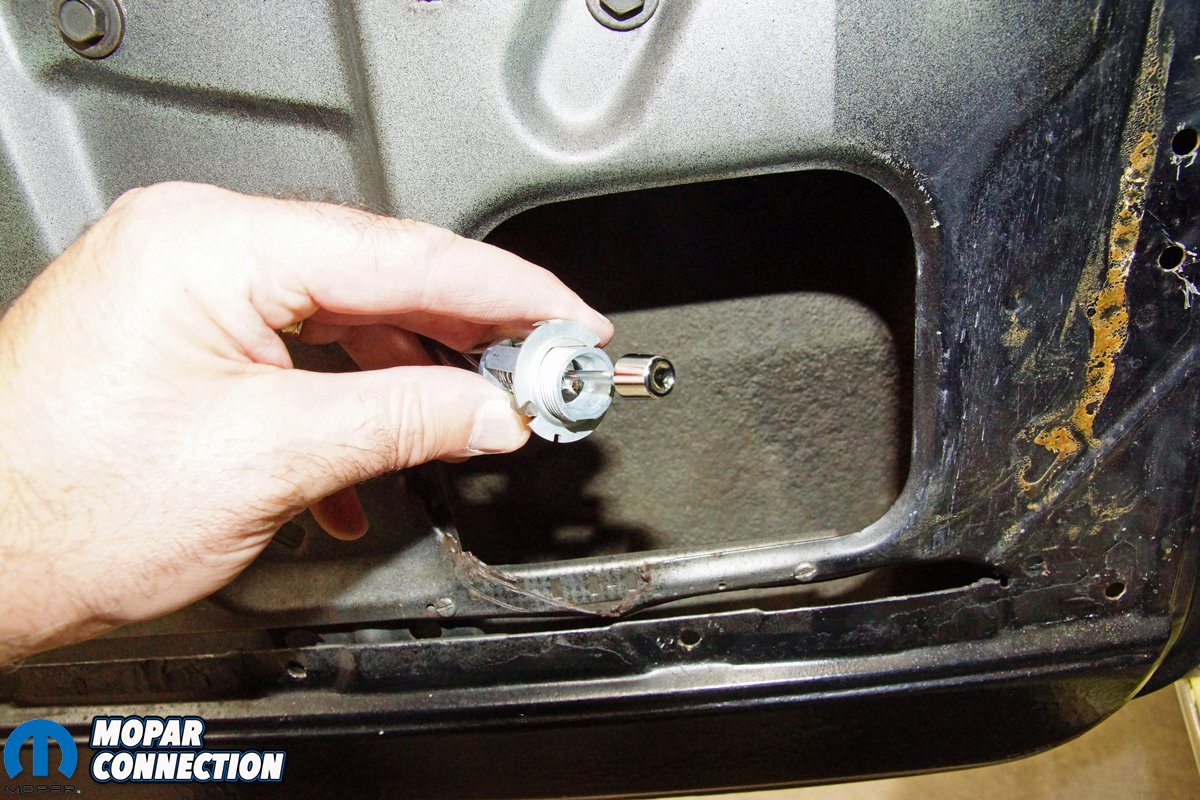
Top Left: We installed the new gasket and threaded the stud into the mirror base. The cable sheathing was maneuvered into the base with it extending down the cables a few inches. This would protect the cables as they pass into the door cavity. Top Right: We guided the control lever and cables through the factory hole in the door. The mirror base was slipped into place, and it was secured with the new nut and exterior screw. The gasket fit the base of the mirror and covered the mismatched paint. Bottom Left: We added the support washer (included with the mirror) to the control lever housing. This washer provides a large surface that engages the housing and works in conjunction with the collar nut. Bottom Right: The new nut threaded onto the collar. The internal washer prevented the collar from rotating while the nut was tightened. The lever arm provided a full range of adjustment of the mirror glass.
Once the screw was secured, the mounting stud nut was tightened. The remote cables were routed in the factory location (away from the window). The control lever was pushed through the hole on the interior side of the door. The new collar nut was threaded onto the control lever housing. With the mirror assembly installed, we manipulated the control lever to check for proper function. It provided a full-range of motion of the mirror glass. Unlike the old factory mirror, once the Classic Industries mirror’s glass was adjusted, it maintained the desired position.
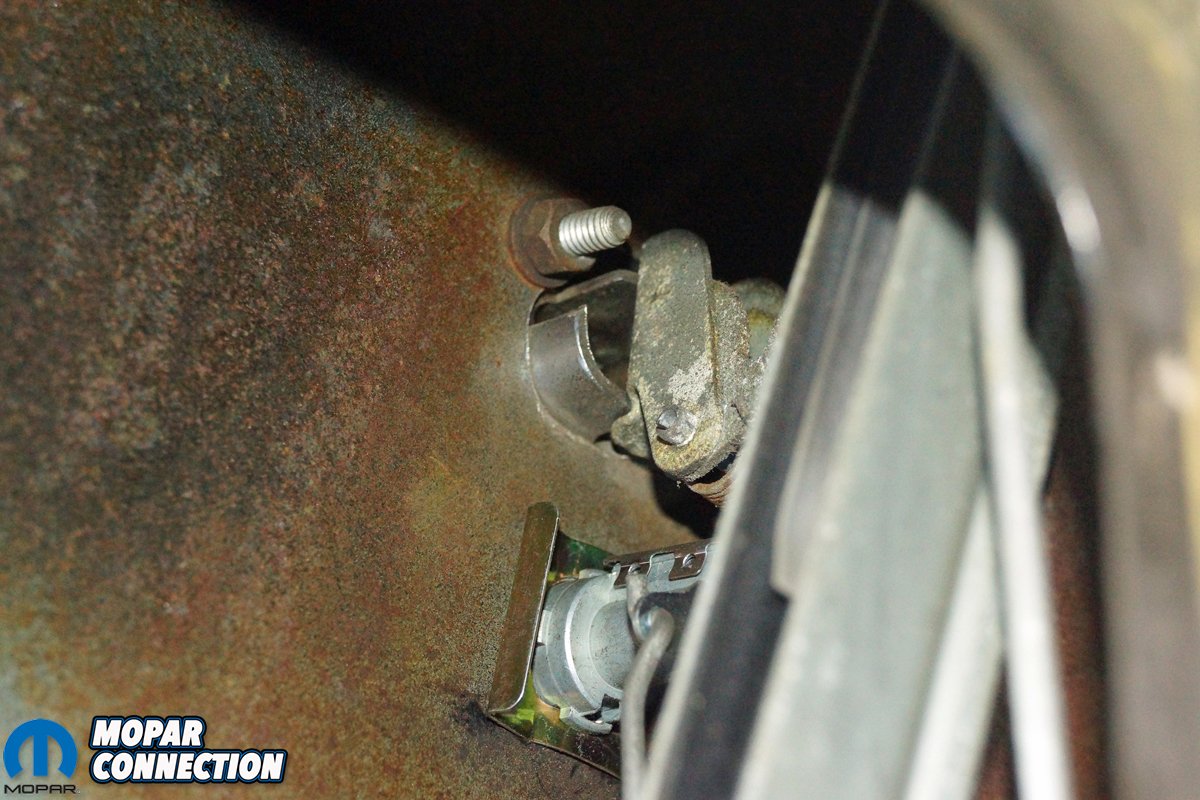
While the door panel was off, we had access to the exterior door handle’s mounting nuts. Before removing the nuts, we detached the link rod that extended to the door handle lever. The link rod was held in place by a metal retainer clip that had to be slipped from the rod end before the rod could be pulled free. Once the rod was released, the two door handle nuts were unthreaded. We took great care in pulling the handle from the door to prevent chipping any paint.


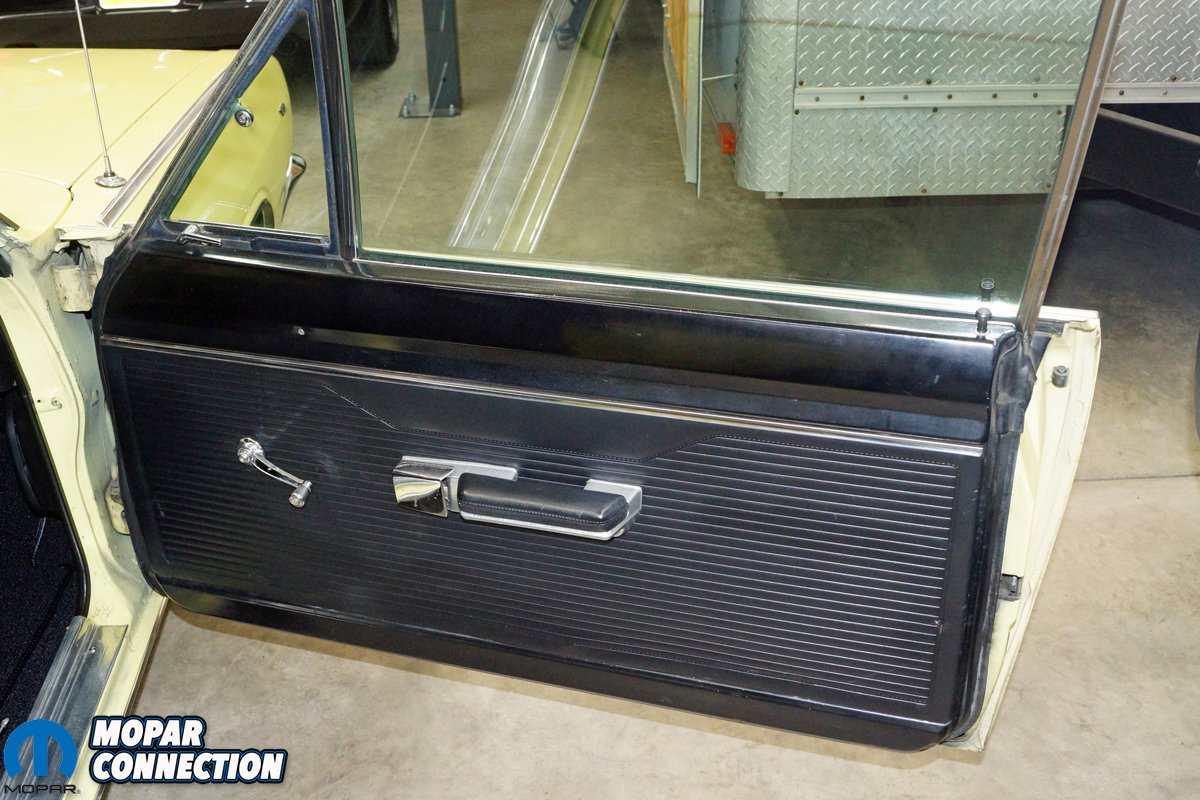
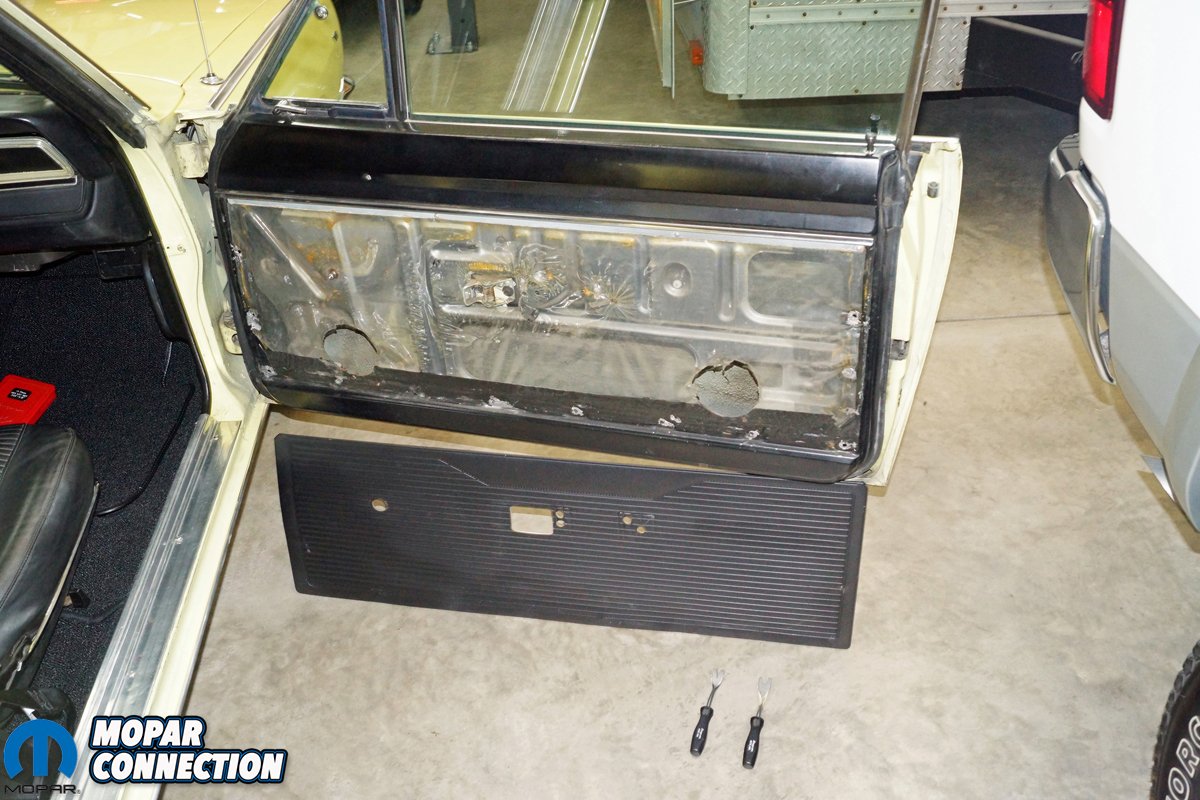
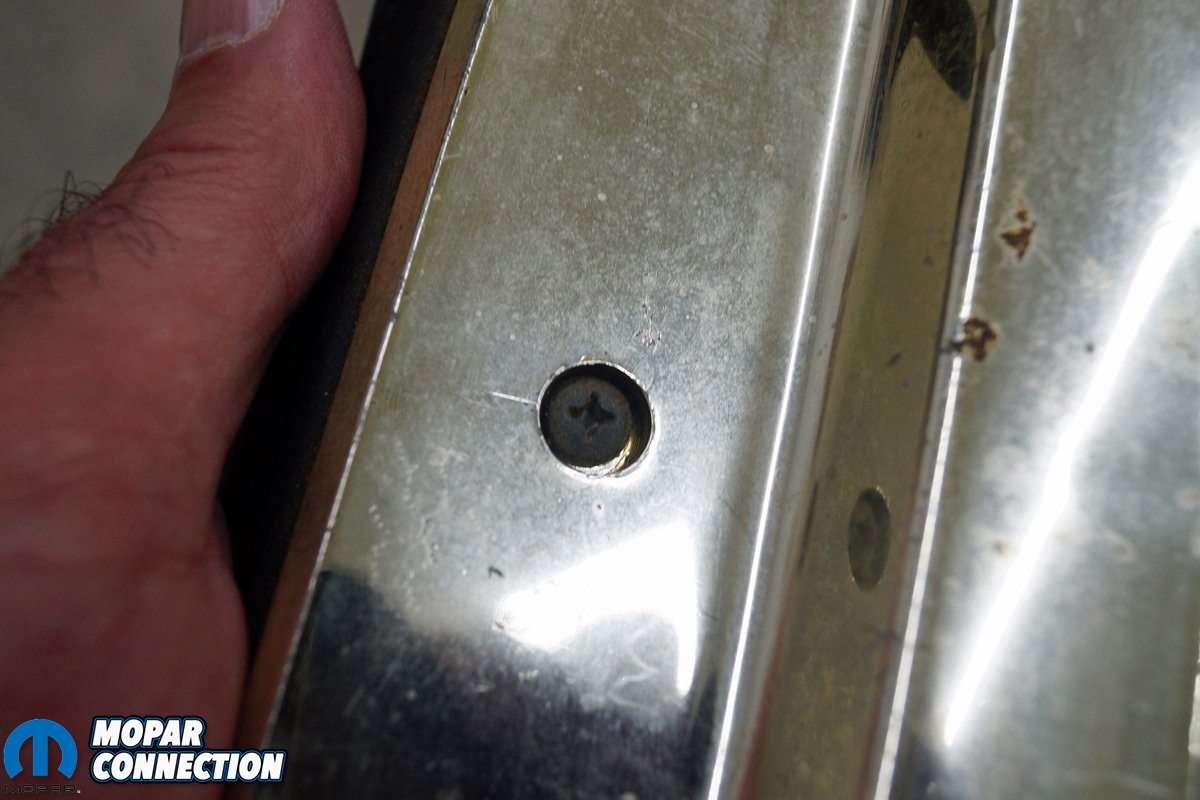
Above Left: To gain access to the exterior door handle (and the external mirror on the driver side), the door panel needed to be pulled. Door panel removal tools aided in releasing the door panel. The vapor barrier was removed after the chrome support strip was unscrewed from the door. Above Right: The exterior door handle had two nuts (only one shown) that had to be removed before the handle could be pulled from the door. There was a link rod that needed to be disconnected prior to the handle removal.
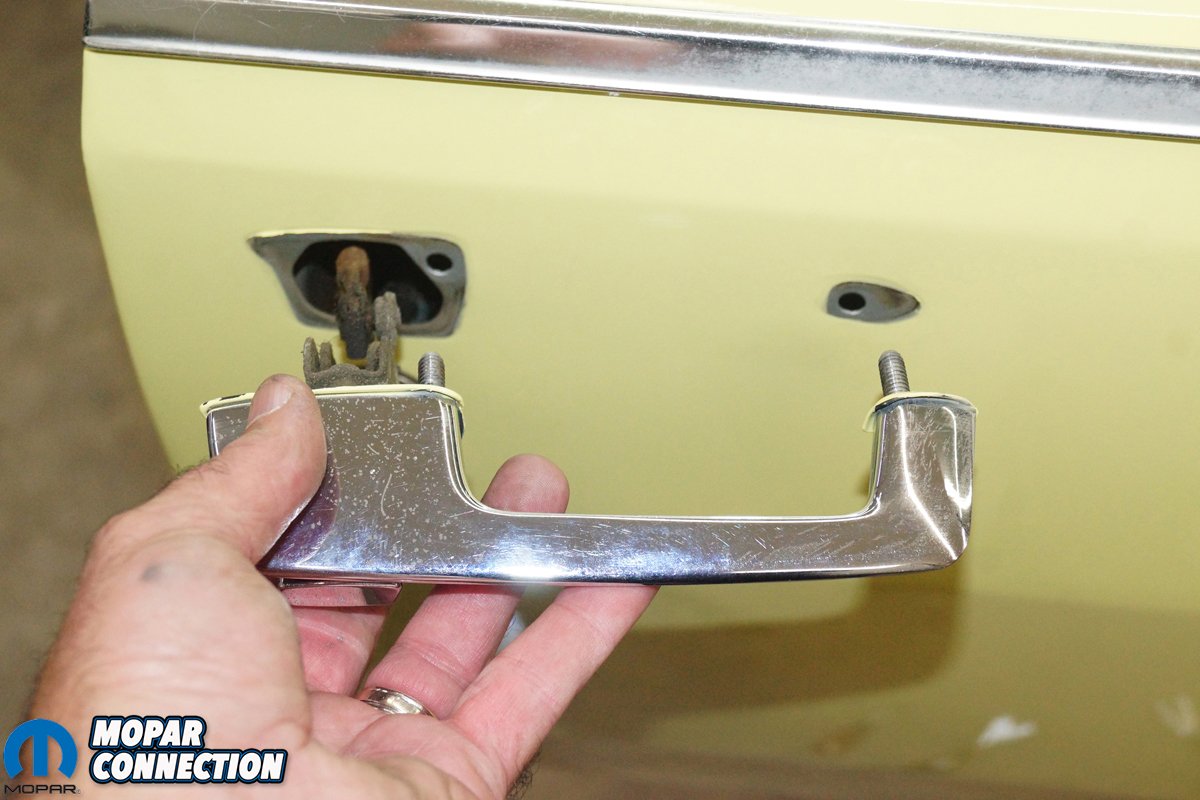
Once the handle’s studs cleared the sheet metal, it was maneuvered in an upward direction to slip the handle push button lever and rod from the door. In our case, the door handle gaskets remained stuck to the handle, so to prep for the new handle, we merely cleaned the area of the door where the gaskets had previously been.
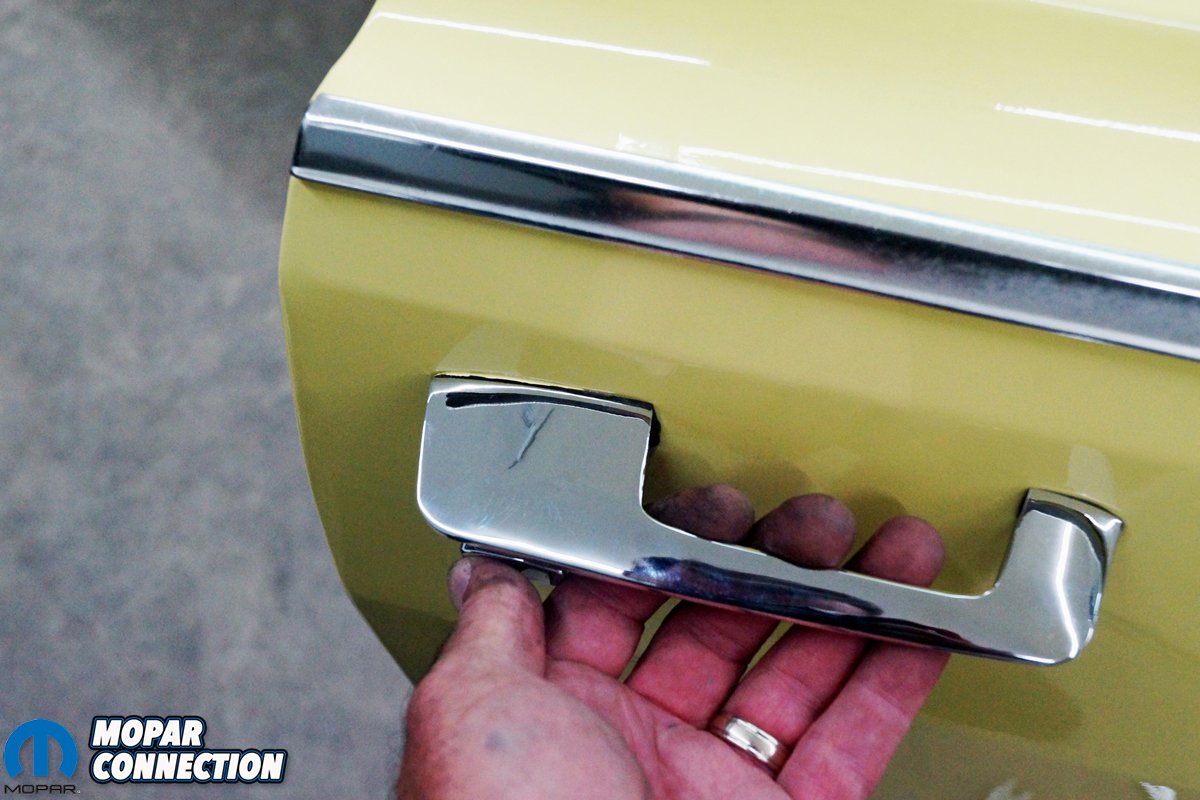
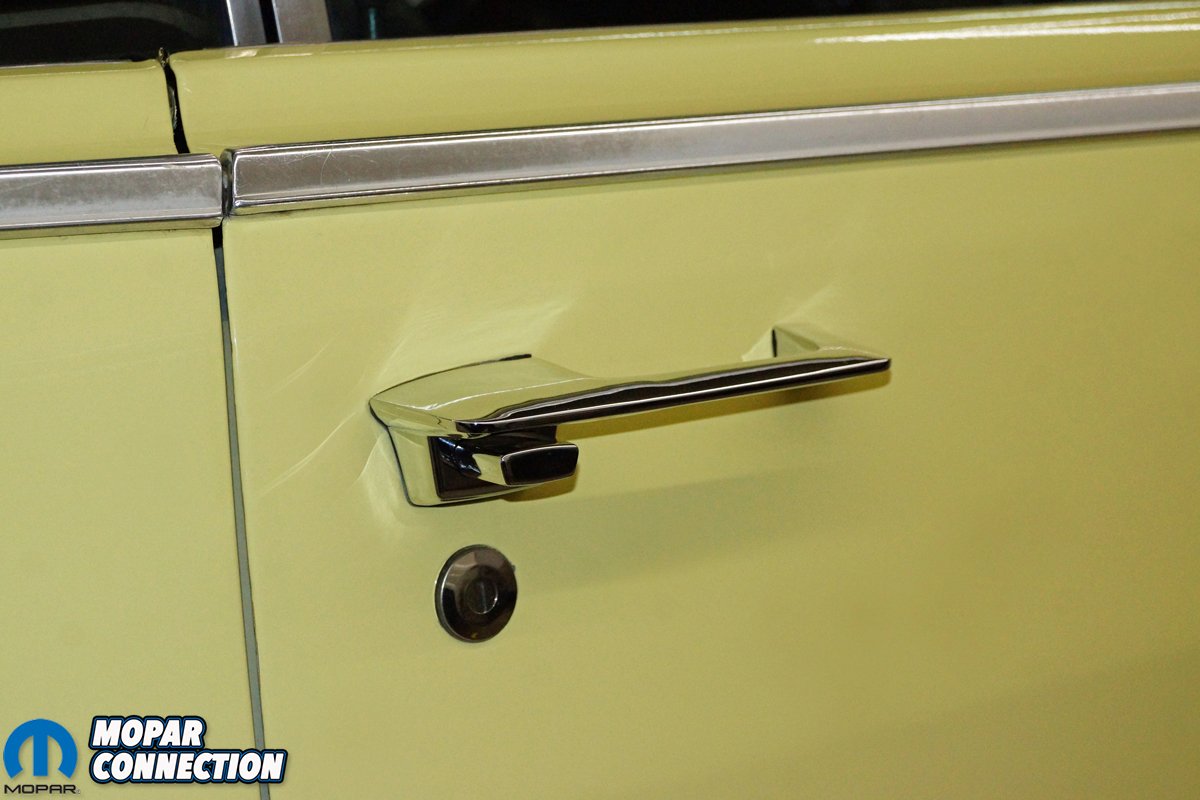
To replace the exterior handles, we chose the 1967-70 A-body front outer door handle set (LH & RH) with chrome release buttons (MB2262). With the two gaskets installed, we angled the driver side push button end of the handle through the hole in the door and then lined the handle studs up with their corresponding holes. We tightened the new mounting hardware onto the door handle studs. With the handle installed, we reconnected the link rod and tested the operation of the door handle push button. It released flawlessly allowing the door to open properly.

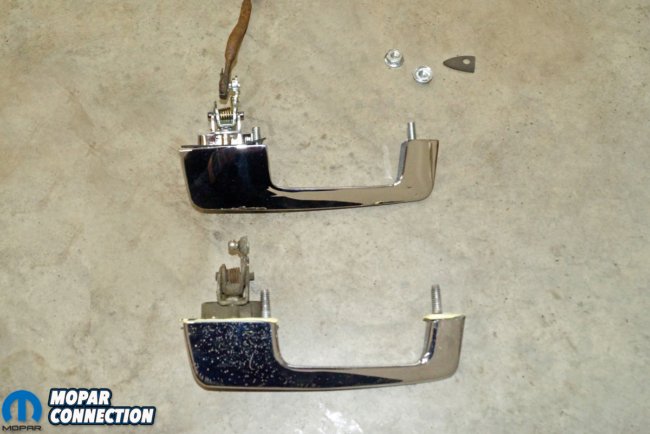

Top Left: The pitted handle was pulled free from the door with the link rod attached. The gaskets came off with the door handle. A low-dollar paint job was applied to the Dart by a previous owner, and it is obvious the door handles were not removed prior to the paint job. Top Right: We swapped the link rod from the original door handle (bottom) to the new handle (top). The large gasket has already been installed in this photo while the smaller gasket and the mounting nuts are ready for the installation. Bottom Left: The link rod, attached to the new door handle, dropped through the large hole in the door. We slipped the door handle studs through the door skin. The new gaskets closely lined up to the original gaskets’ silhouette, so a minimum of non-yellow paint was exposed. Bottom Right: The handle studs fit the factory holes in the door perfectly. Once the link rod was reattached and the nuts were tightened, the door handle button released the door from the striker without any difficulty.
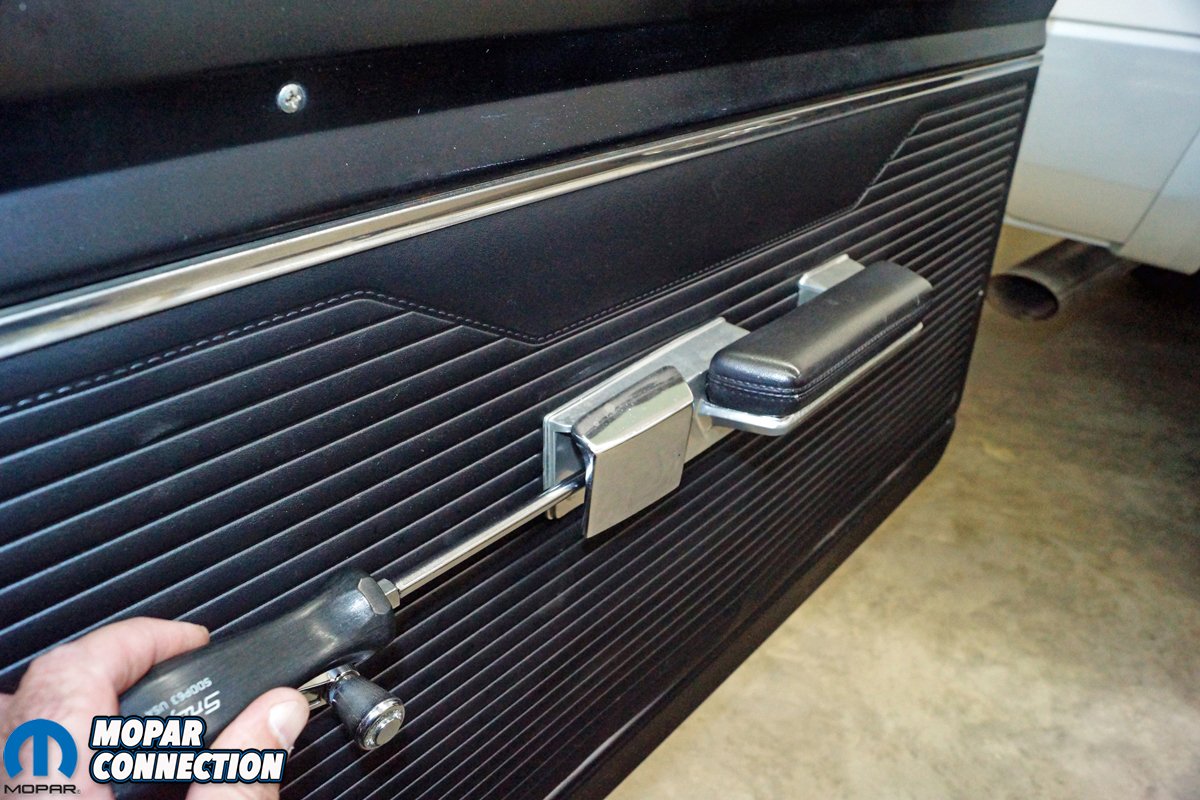
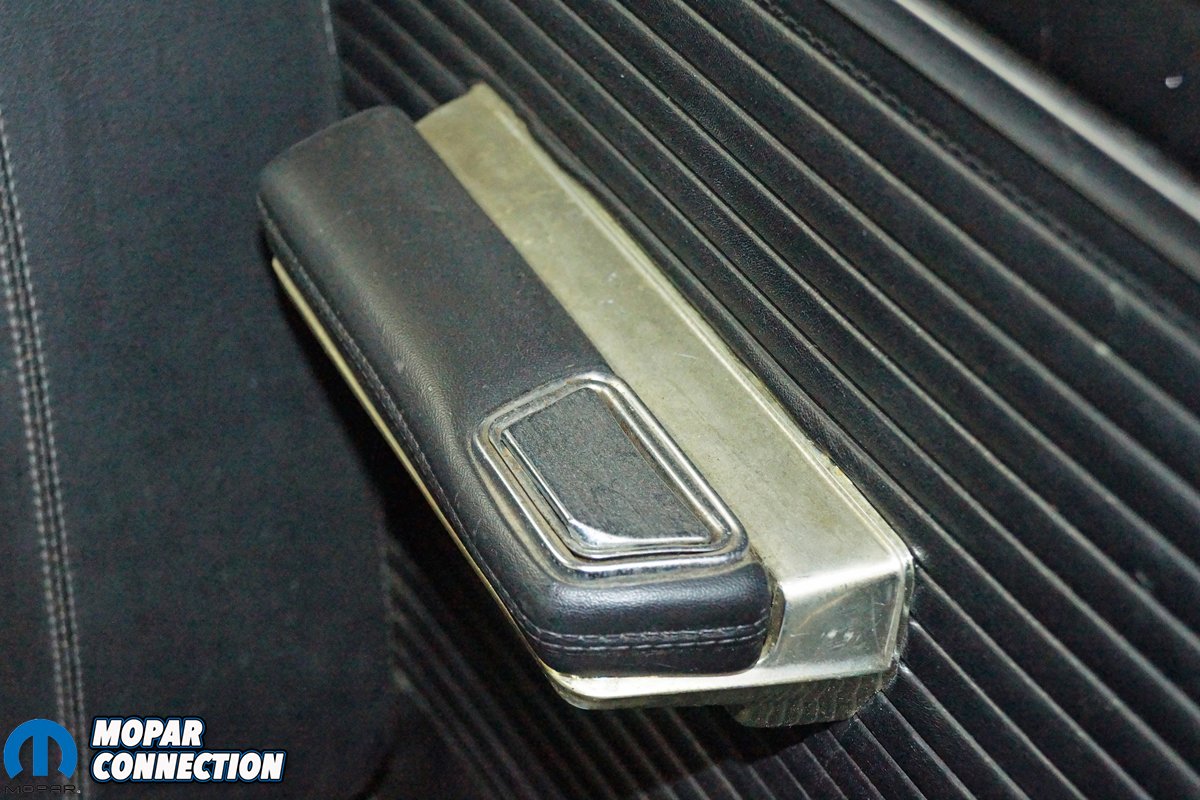
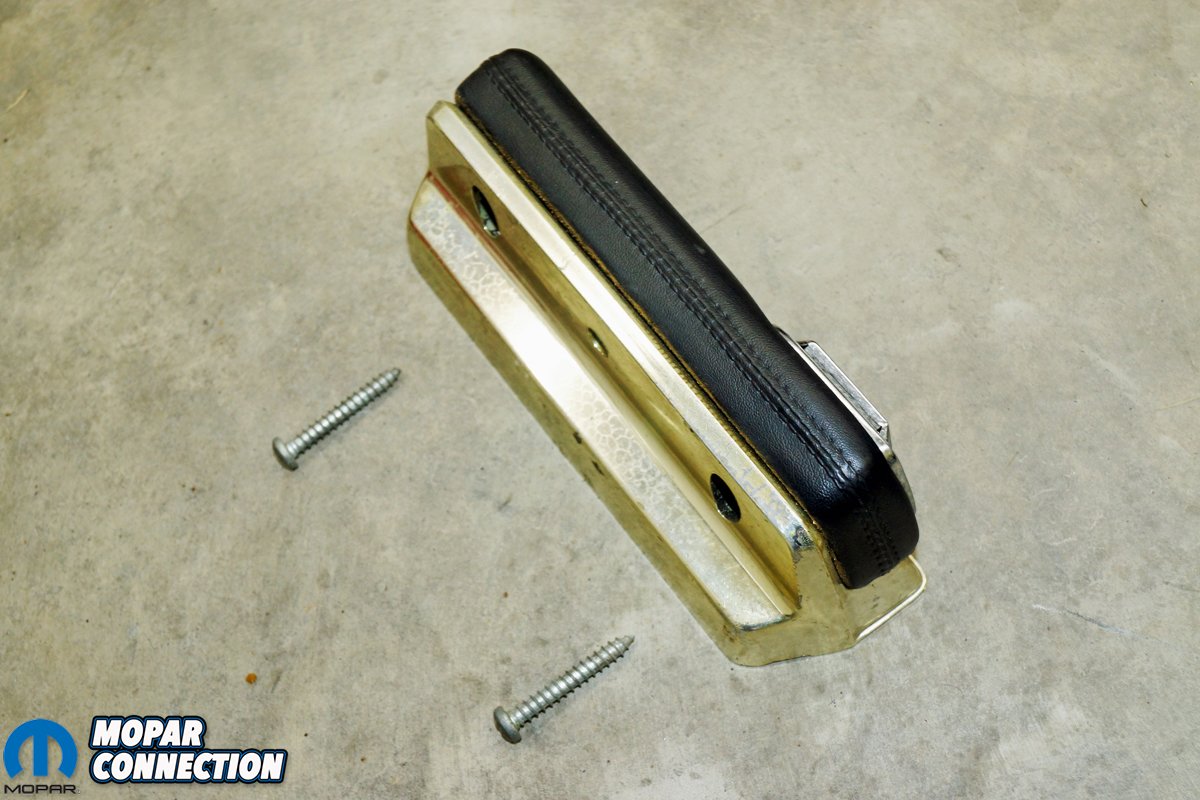
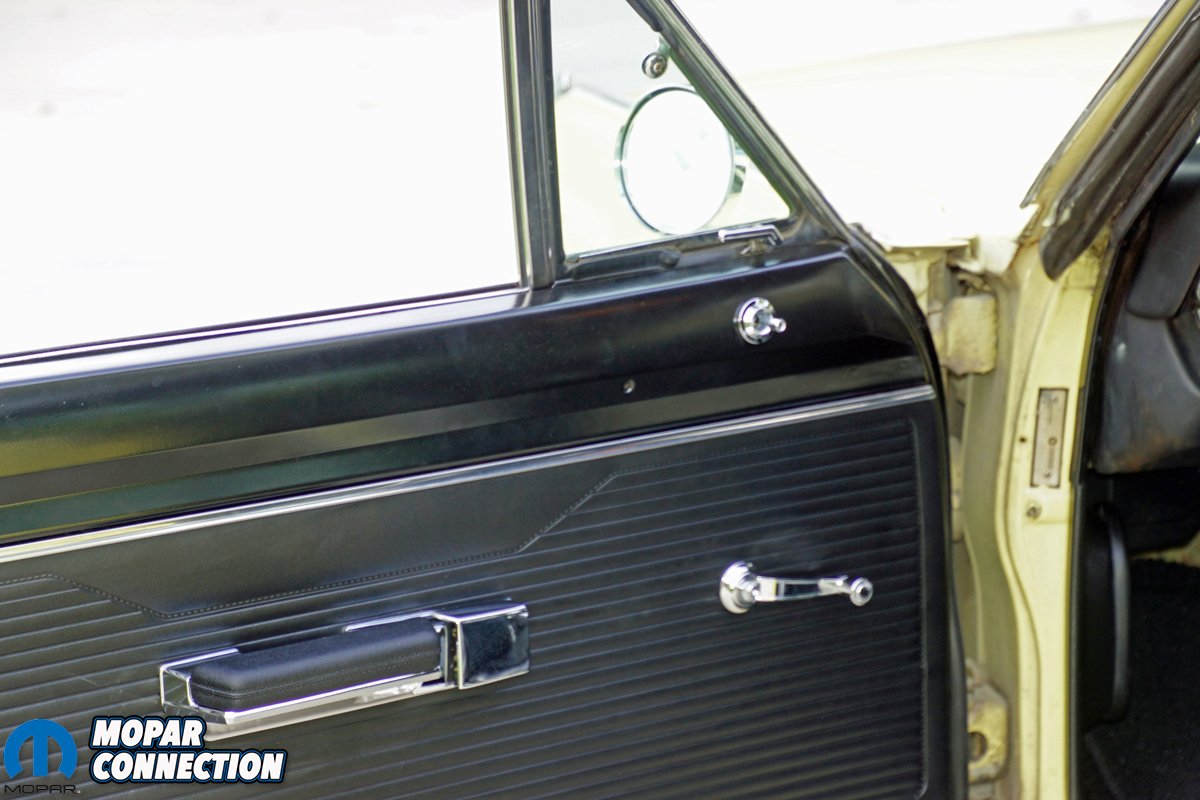
Once the mirror and door handle were installed, we reinstalled the vapor barrier, the door chrome strip, and the door panel. Due to the poor condition of the driver side armrest pad, we picked up a pair of 1967 A-body armrest pads in black (MF1758) and a pair of chrome armrest bases (MA1532). We retrieved the factory mounting screw that had previously been removed from the old armrest and installed it onto our new assembly.
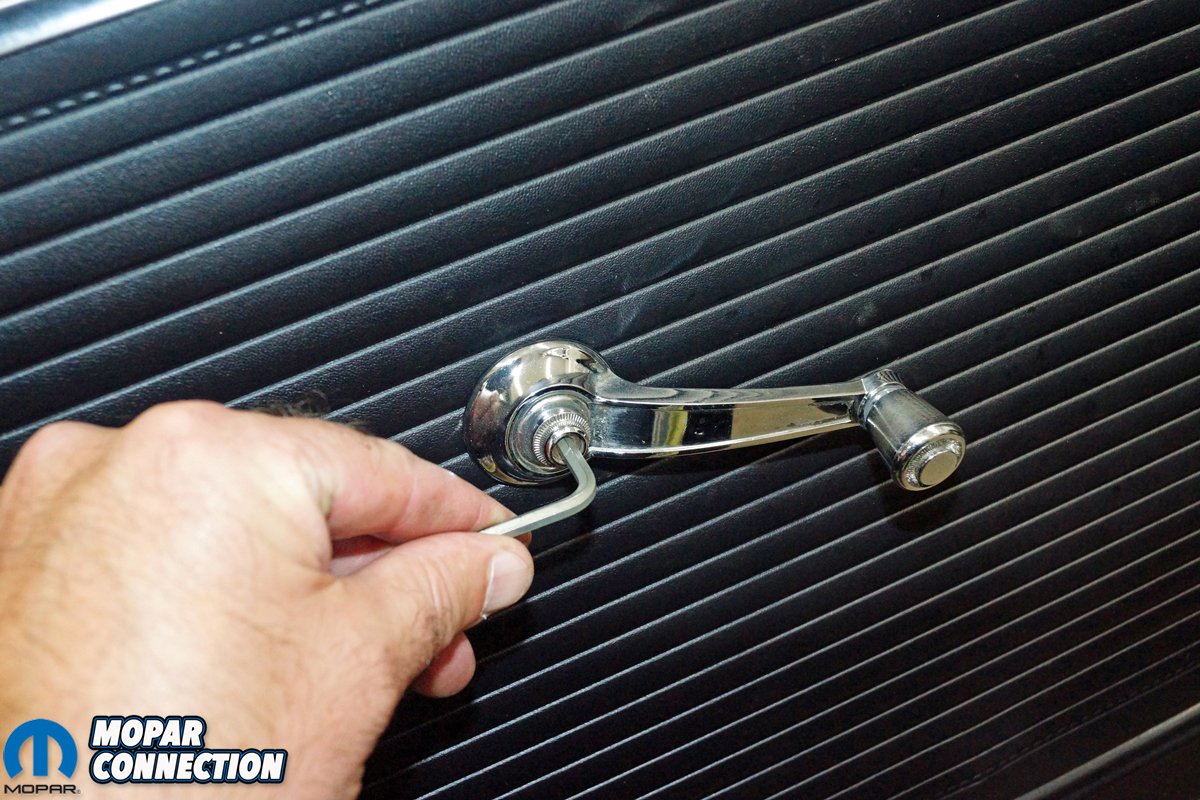
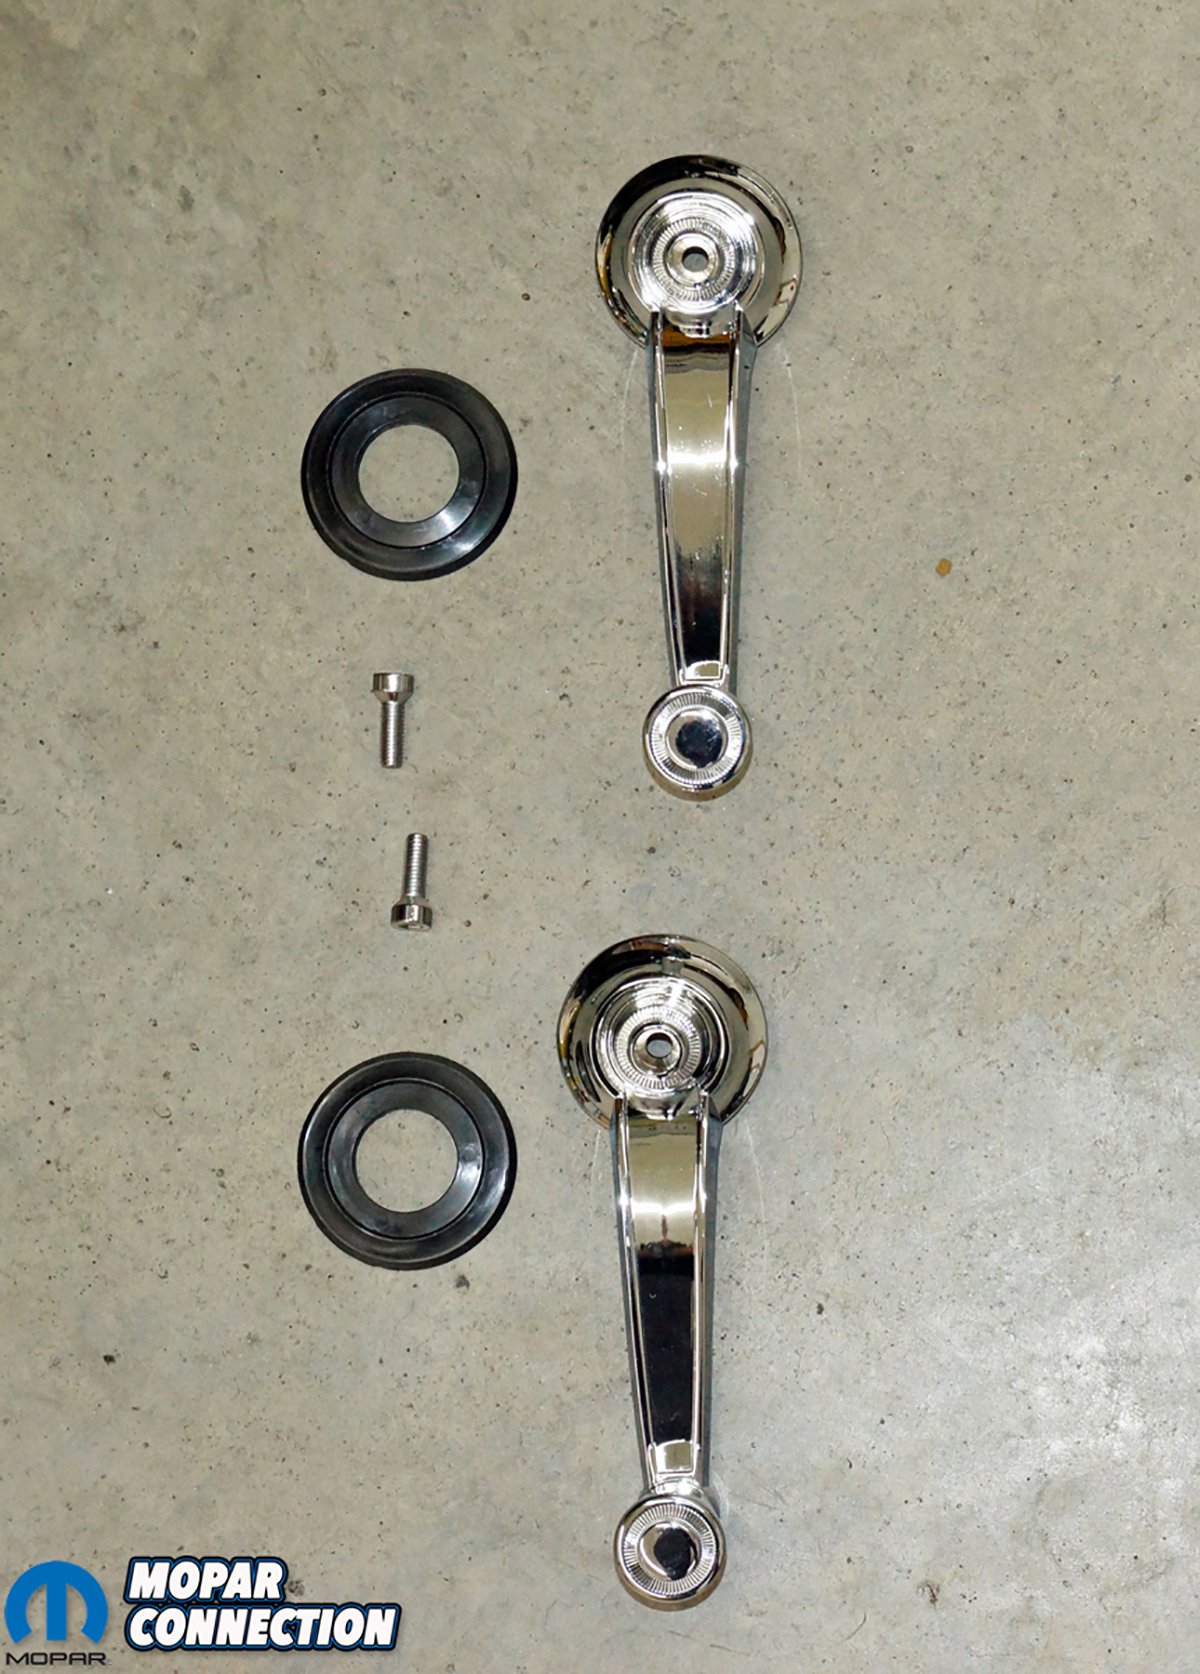
With the armrest reassembled, we installed the armrest base onto the door panel with the factory screws. We reinstalled the cleaned and polished inner door handle, it provided an interference-free operation with the new armrest base. To finish the door, we picked up two pairs of 1967 A- and B-body window crank handles (MD157). We oriented the new crank handle and tightened its mounting screw. After we completed the driver side door, we performed the same procedures (except for the mirror) on the passenger side door. Upon final assembly, all the installed components operated properly.

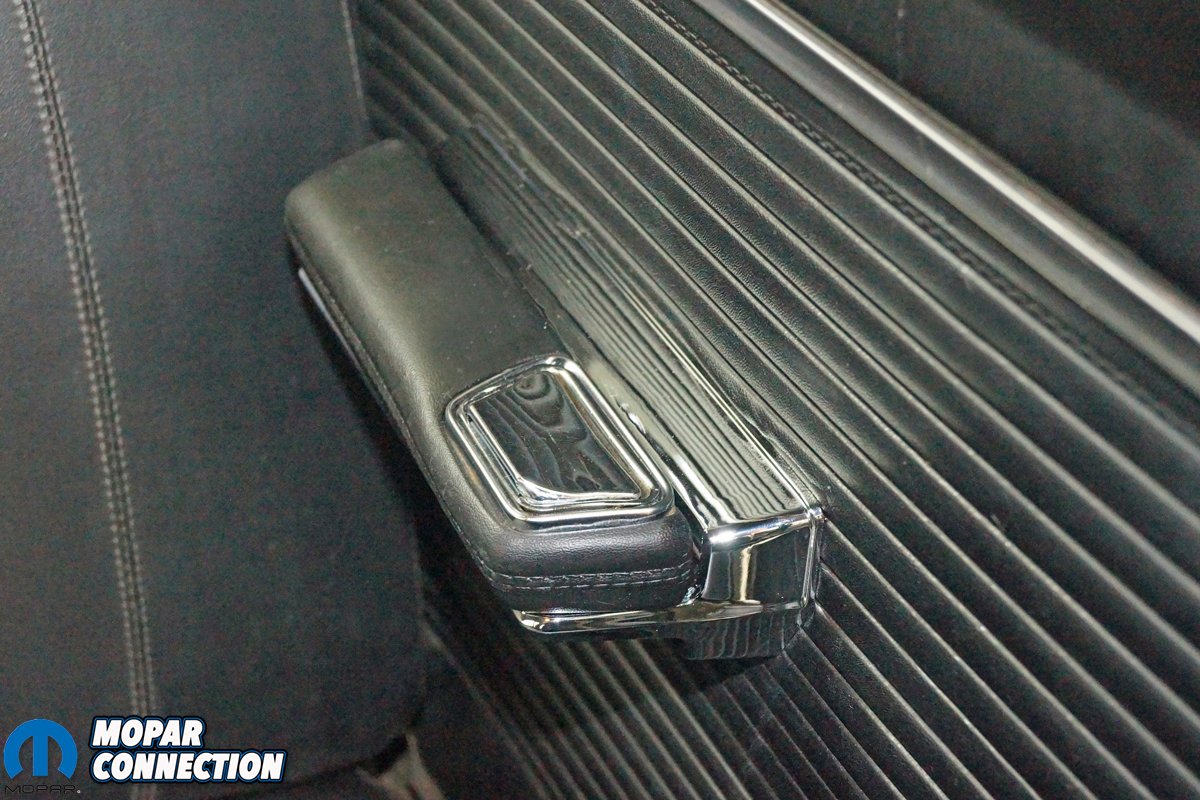
Above: The small details might not be apparent from a distance but helps cure our OCD and set our Dart apart at the next show.
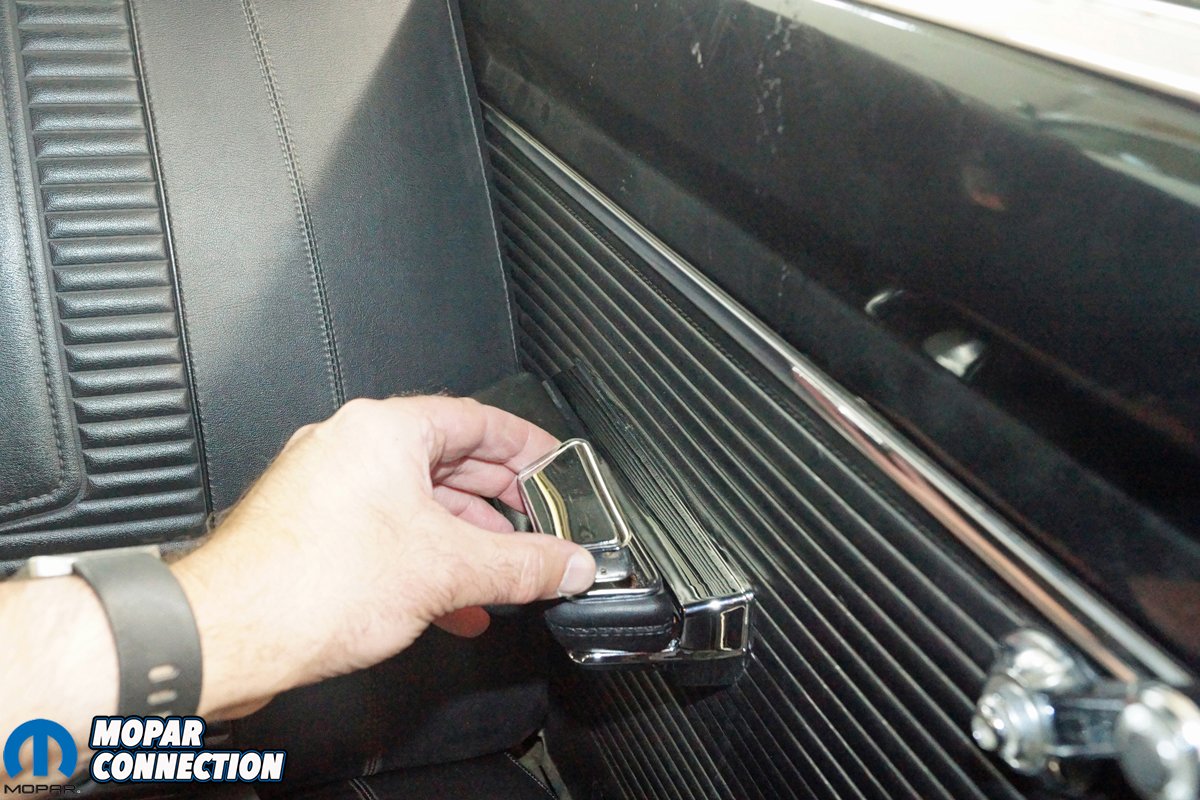
To wrap up our project, we removed the rear seat armrest assemblies. We then separated the bases from the armrest pads, reinstalled the factory pads onto the new bases (part no. 2788046), and then reinstalled the armrest assemblies onto the panels. The window crank handles were removed, and the second pair of handles we picked up from Classic Industries were secured in place in the same alignment as the originals.
We were extremely satisfied with the quality and fit of the components. The new chrome certainly enhances the overall appearance of the Dart. If your Mopar’s chrome is looking a bit aged, Classic Industries has the components to renew your ride. Give them a call or check them out on the internet for additional information.


