


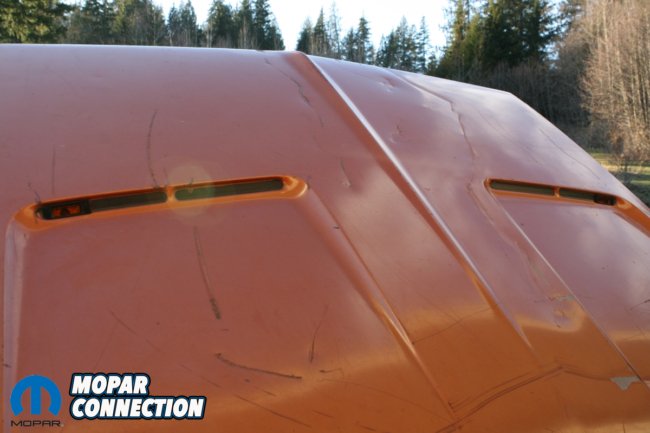
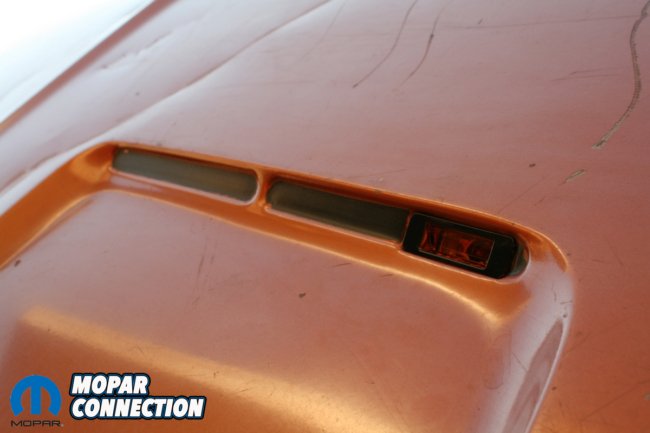
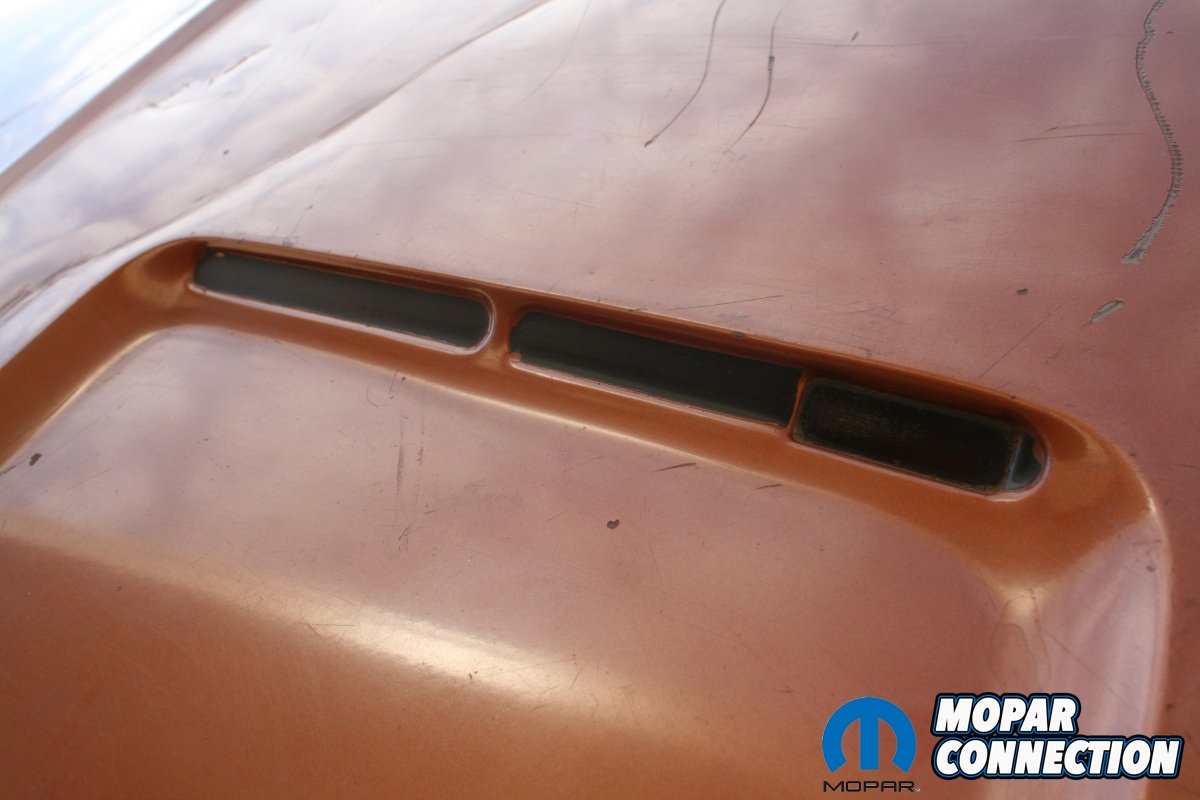
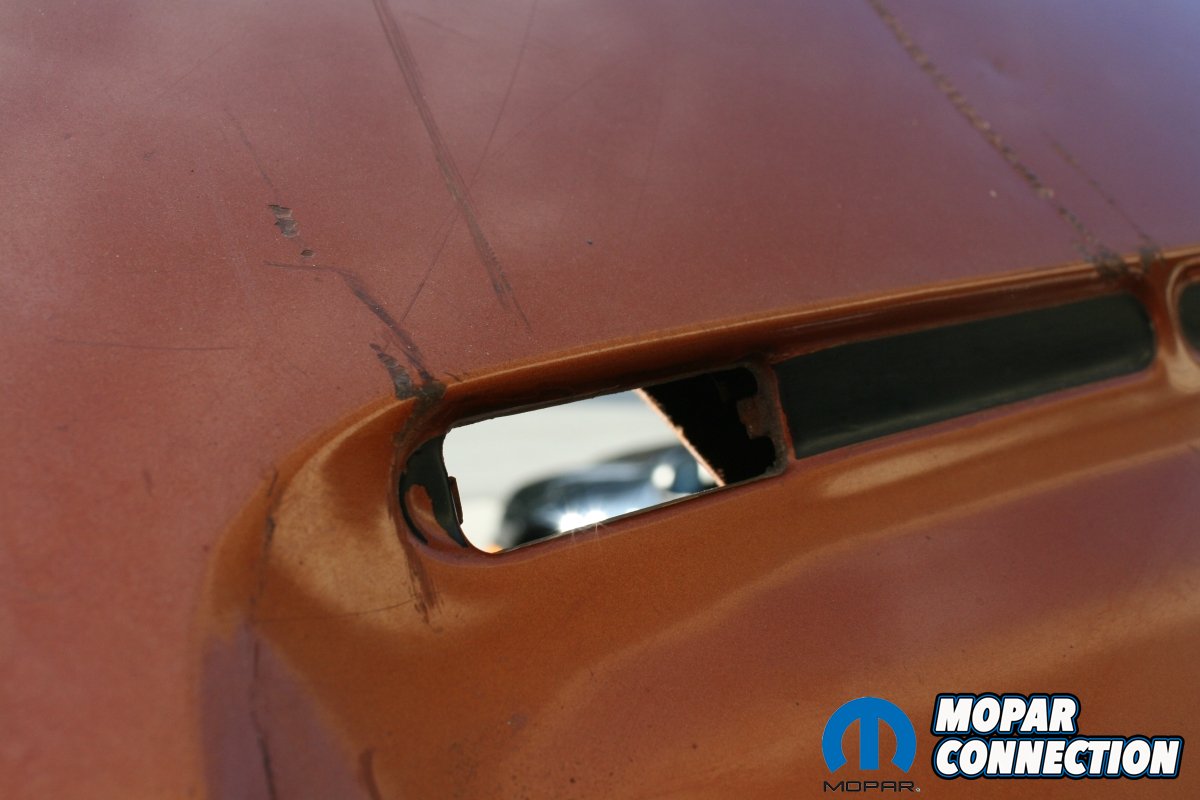
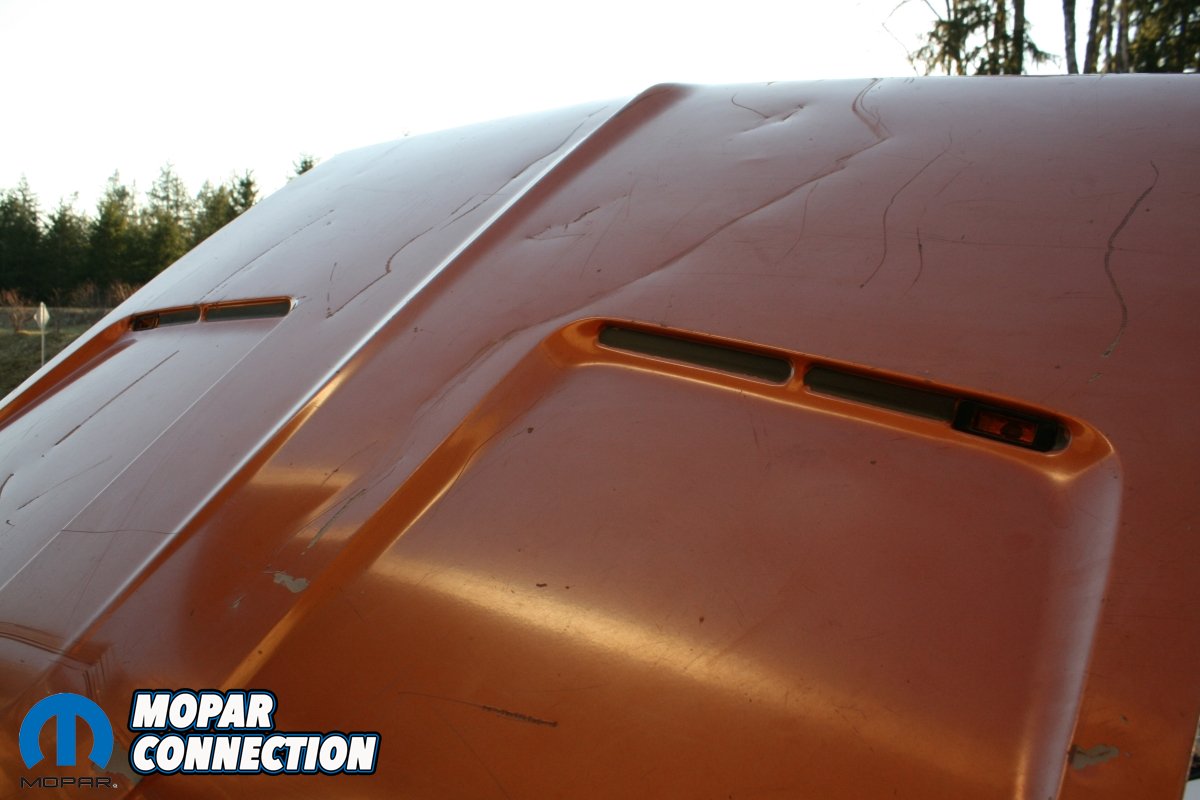
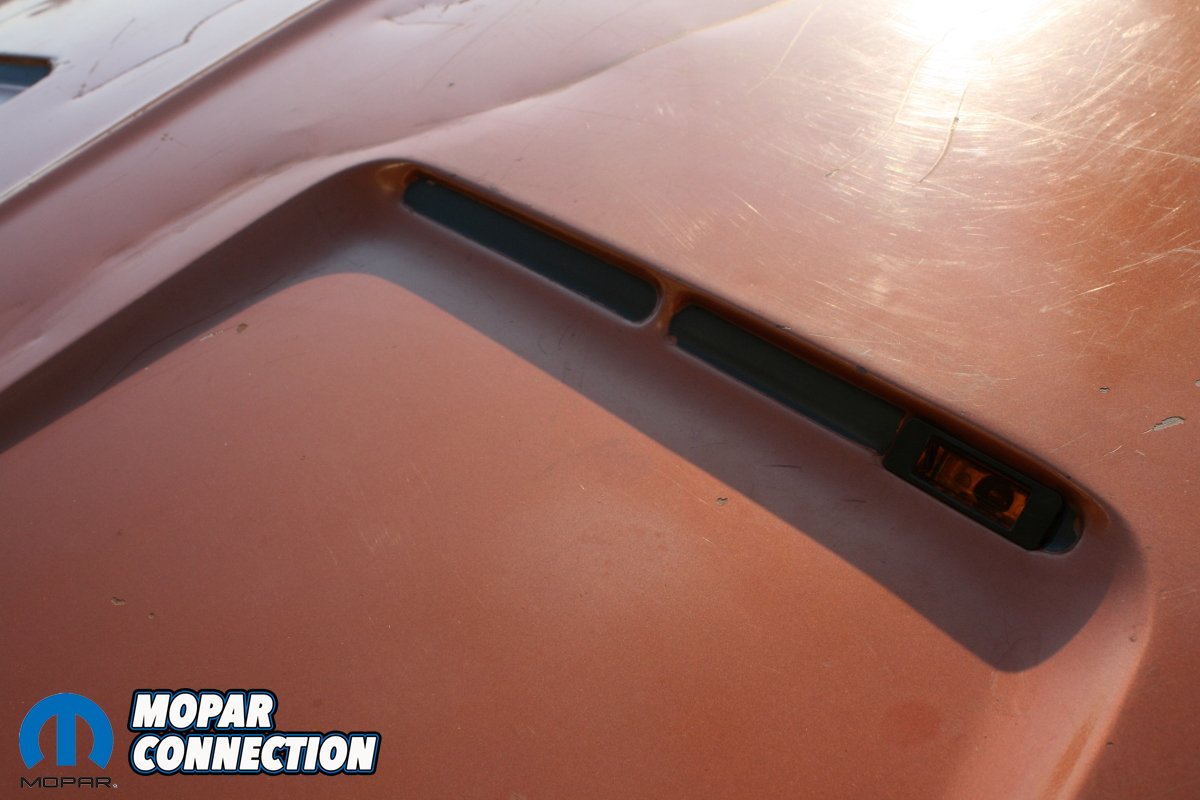
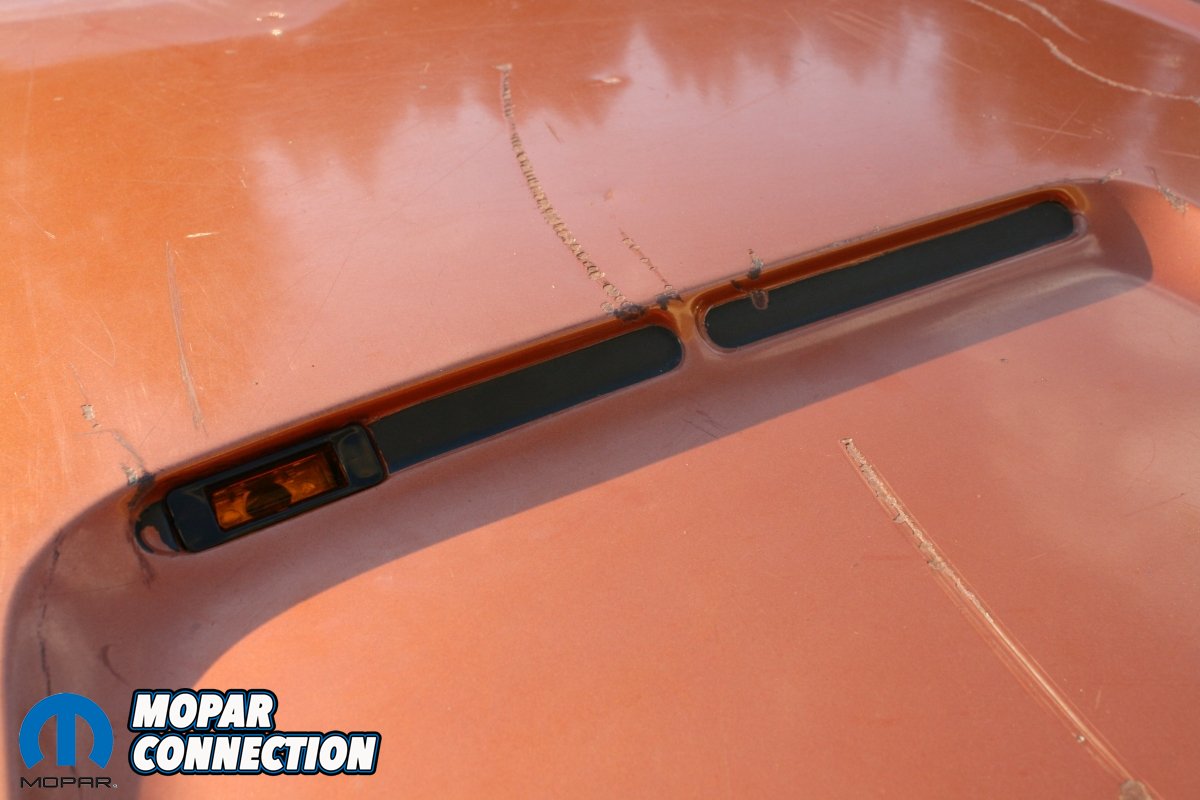
When ordering a 1968 or 1969 Charger back in the day, you could order factory hood mounted turn signals (option code 517 for 1968 and L31 for 1969) for a whopping $10.50 in 1968 and $10.80 in 1969. However, all ’69 Chargers equipped with the Special Edition (SE) package got these signals as standard equipment. If your car wasn’t equipped with factory hood mounted turn signals, the spots on the hood instead had black hood signal block off plates installed.
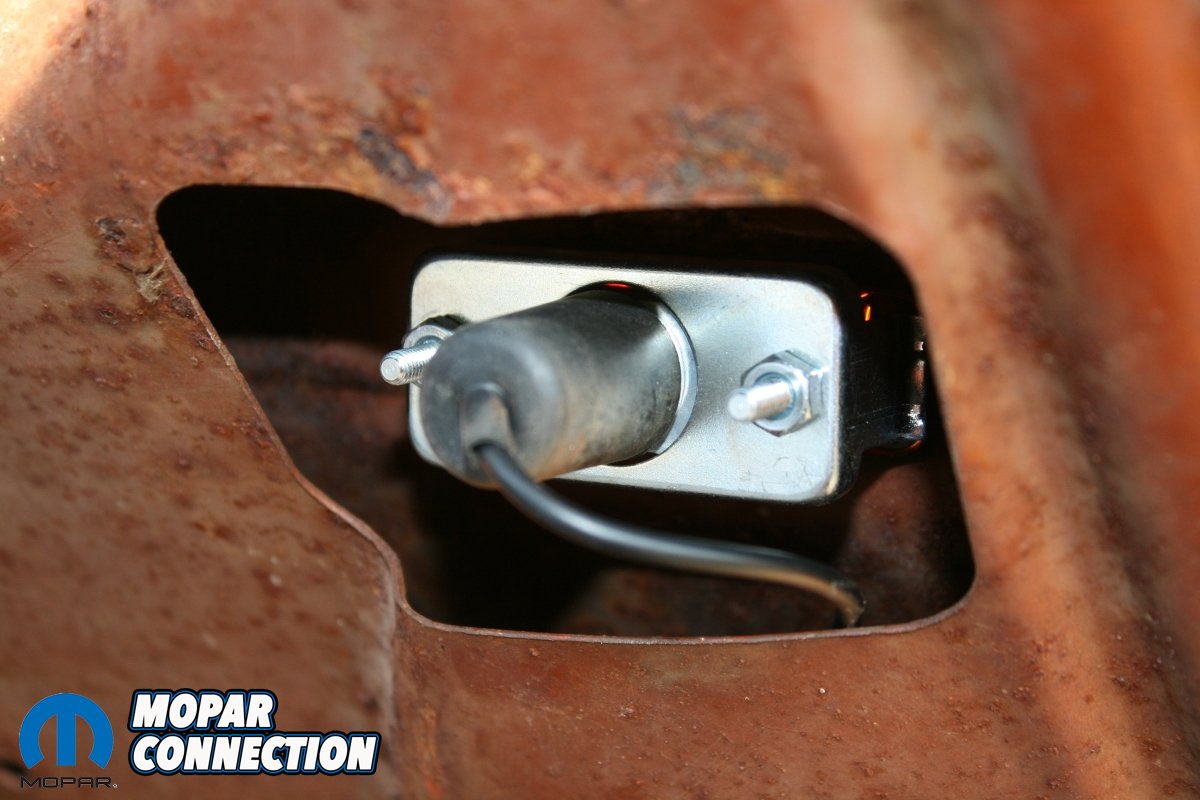
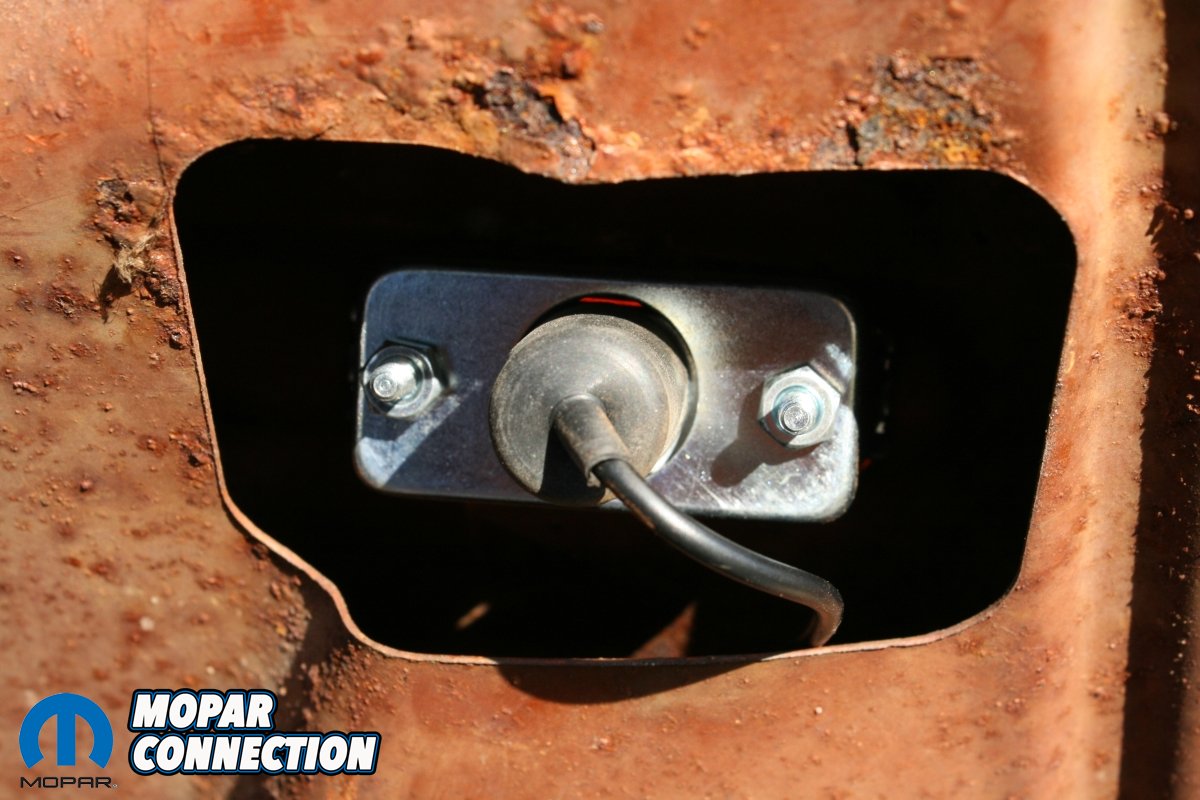
What many people don’t know is that whether your Charger had these signals installed at the factory or not, the ability to add them to your car is very easy as they all have the wiring harness plug end for the signals. Our ’69 Charger project car came without hood mounted turn signals. We discovered a random plug with no home located on one of the engine bay wiring harnesses by the brake booster.


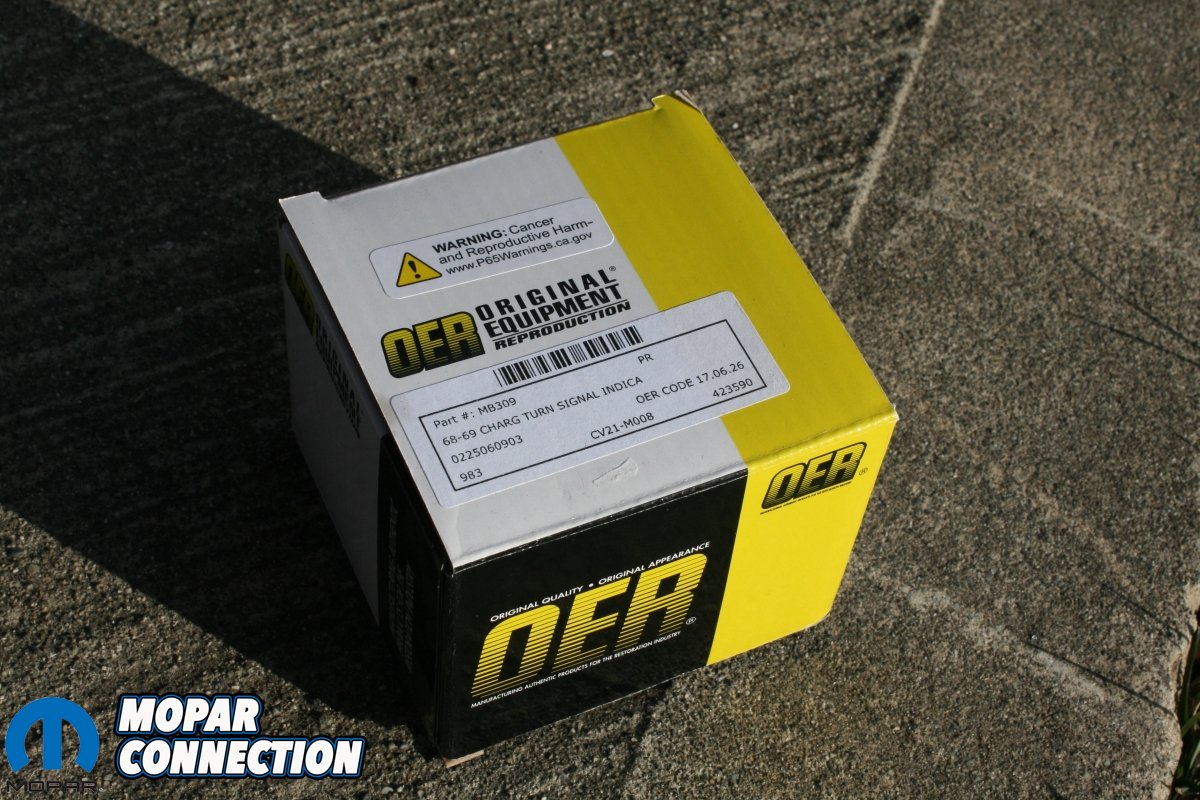
Upon doing research, we learned that this plug was indeed for hood mounted signals. It would make sense that Dodge put these on all cars as they would of had to make two separate wiring harnesses if they didn’t. Thanks to this, anybody can add hood mounted turn signals to their Charger. This is where Classic Industries comes in. Working together with OER (Original Equipment Reproduction) Restoration Parts, Classic Industries now offers high quality reproduction hood mounted turn signal indicator assemblies for 1968-69 Chargers.
These new reproduction units look and work just as the originals did. No longer will you have to find good conditioned used ones and hope the wiring still works properly. These assemblies feature correctly colored amber lenses, stamped steel housings as original, wire pigtails with correct connecting ends, mounting brackets, and hardware for proper installation. Simply bolt them in, hook them up and go! It’s that easy. They are priced at $199.99 USD and come in a pair all together in a kit. We grabbed a kit for our Charger and went to work installing them.


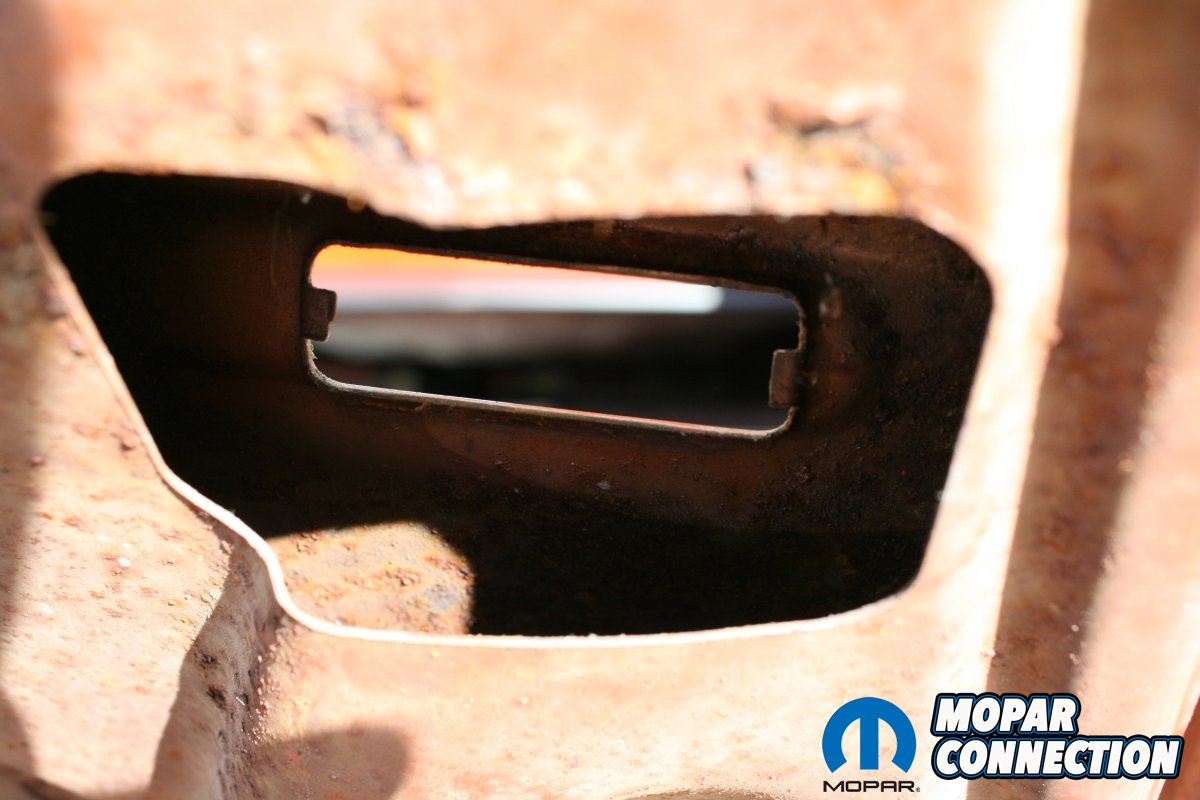
First, we removed the hood signal block off plates that came on Chargers not equipped with hood mounted turn signals (Pictures 6-11). Since studs had quite a bit of rust build up on them, we sprayed some penetrating fluid on them and let it soaked for a few days. Then, using an 8 mm long socket, we removed the nuts. Unfortunately, even with the penetrating fluid, because they were so rusty, the studs snapped almost immediately upon trying to remove the nut. With the nut removed, we pulled off the backing plate and then removed the block off plate from the top side of the hood. (Pictures 12-14)
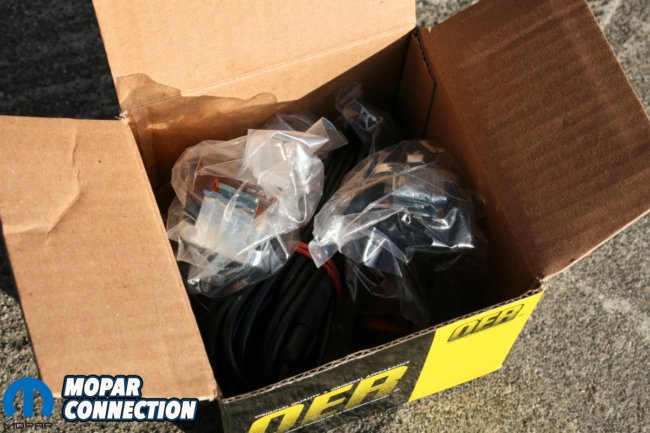
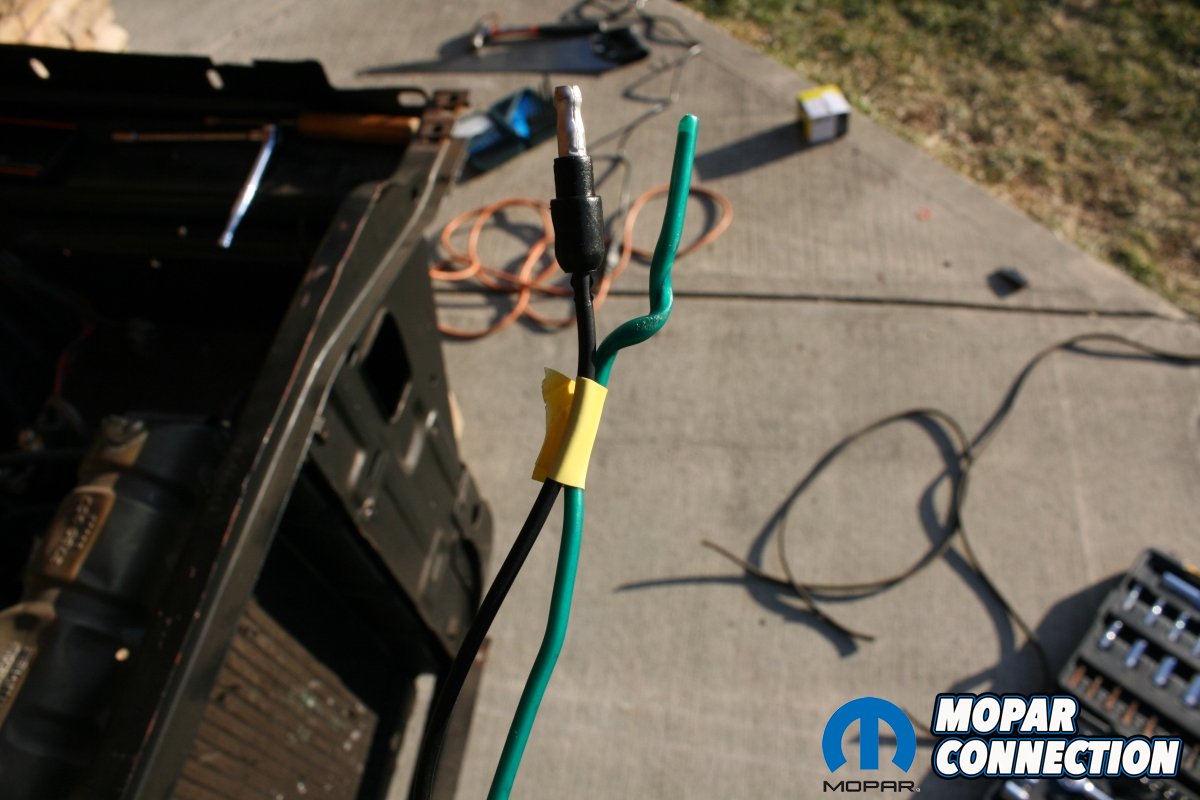
Next up, we opened up the brand new turn signals that were nicely packaged . Once we removed the plastic wrap and twist ties, we laid them out to make sure everything was there. In the kit, you’ll find two turn signals with pigtails and a separate small harness that plugs into both signals and then plugs into the main harness on the car. (Pictures 1-5) Once we ensured we had everything, we went to work.


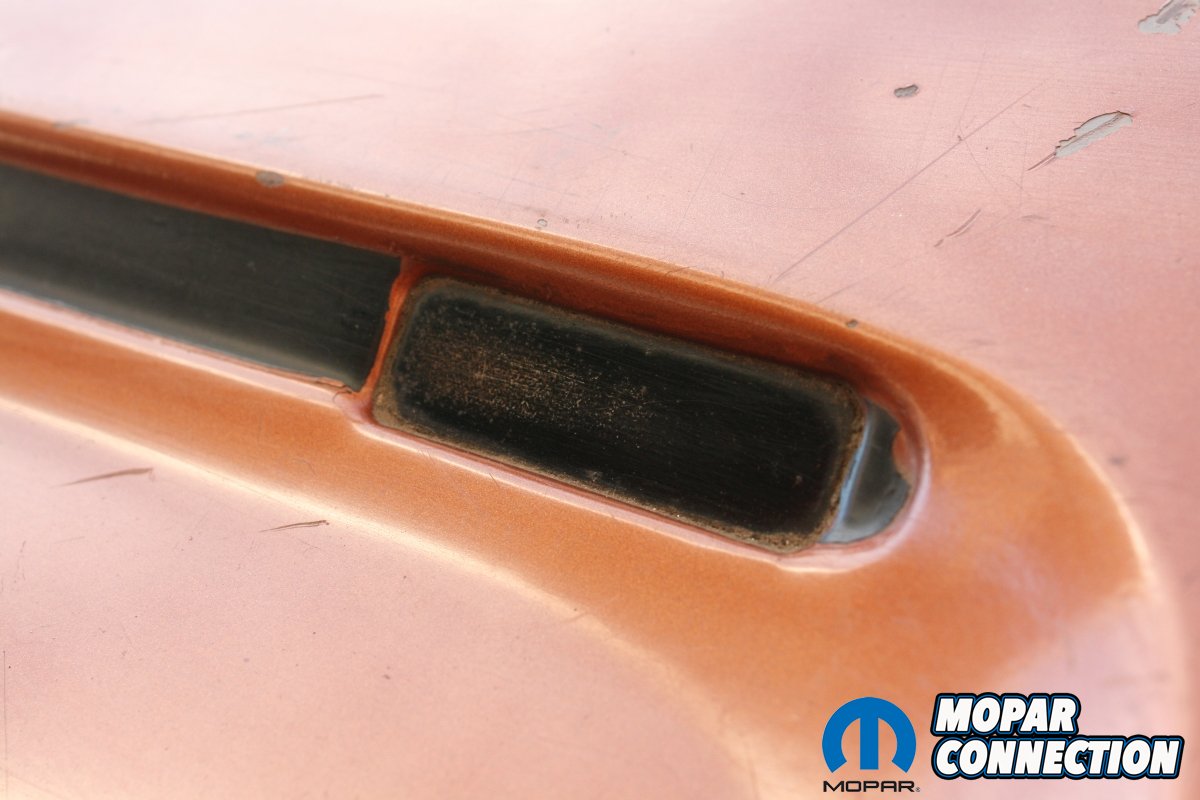
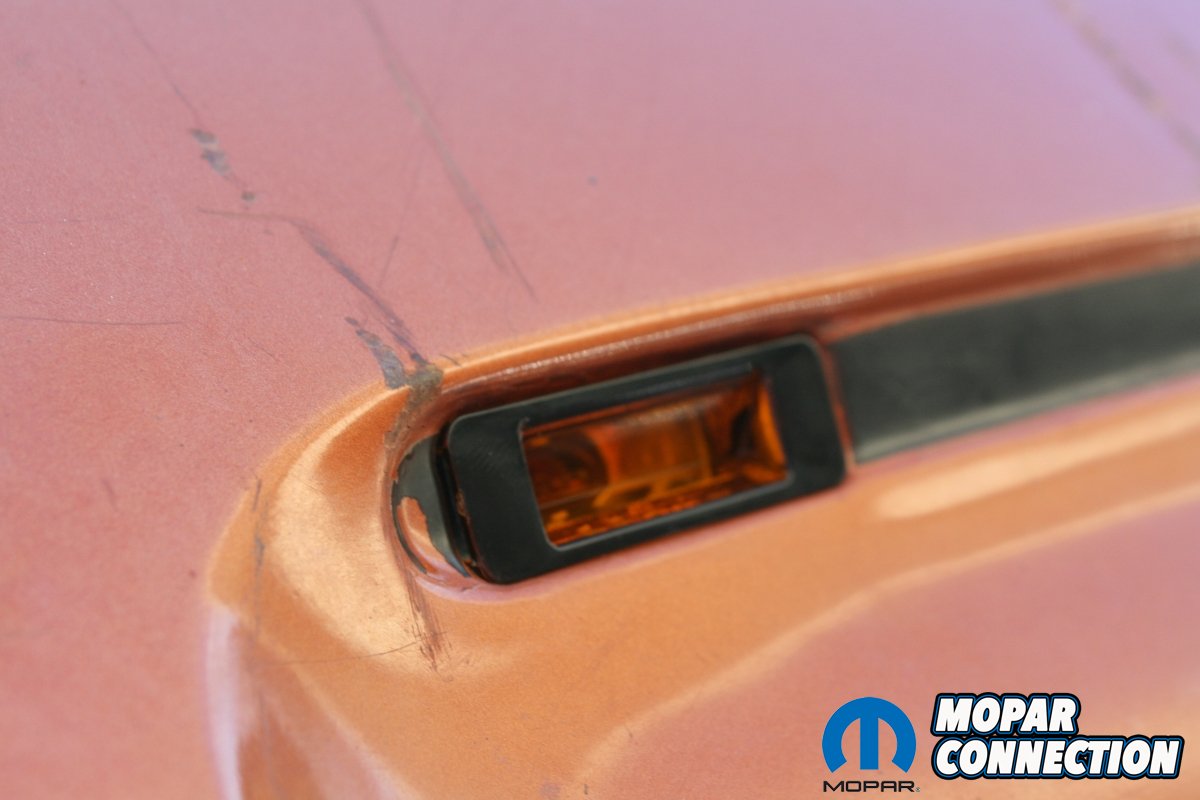
We installed the right side turn signal first. First, we removed the rubber pigtail cover and the rear retainer plate so we could install the signal portion from the front side of the hood. We found that the fit of the signal into the hood was almost a little too tight at first. We had to move it around slightly to where we felt was the proper even position before pushing it into place. The signal seemed tight going in and requires a bit of careful effort to properly pop it into place. You’ll feel a click when it’s properly clipped in. (Pictures 15-16)
We let the wire hang freely out and then moved onto the driver side, repeating the same steps on that side. We did notice that there was a very small gap on either side of the hood signal where you could see daylight through between it and the hood. With our original block off plates, they were sealed tightly against the hood to keep water out. However, with these turn signals, there is the ability for a small bit of water to come into your engine bay if you drive your car in the rain. Upon comparing these reproduction units to the factory ones though, we found the factory ones fit the same way.


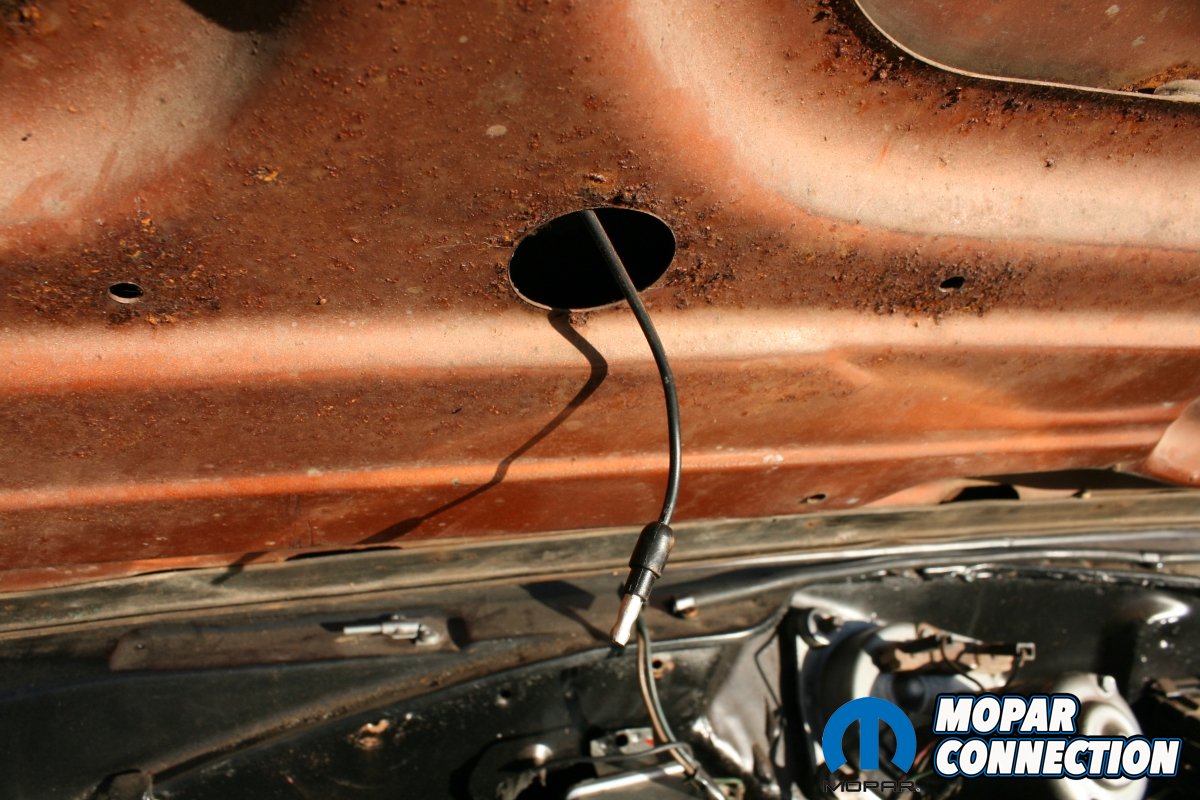
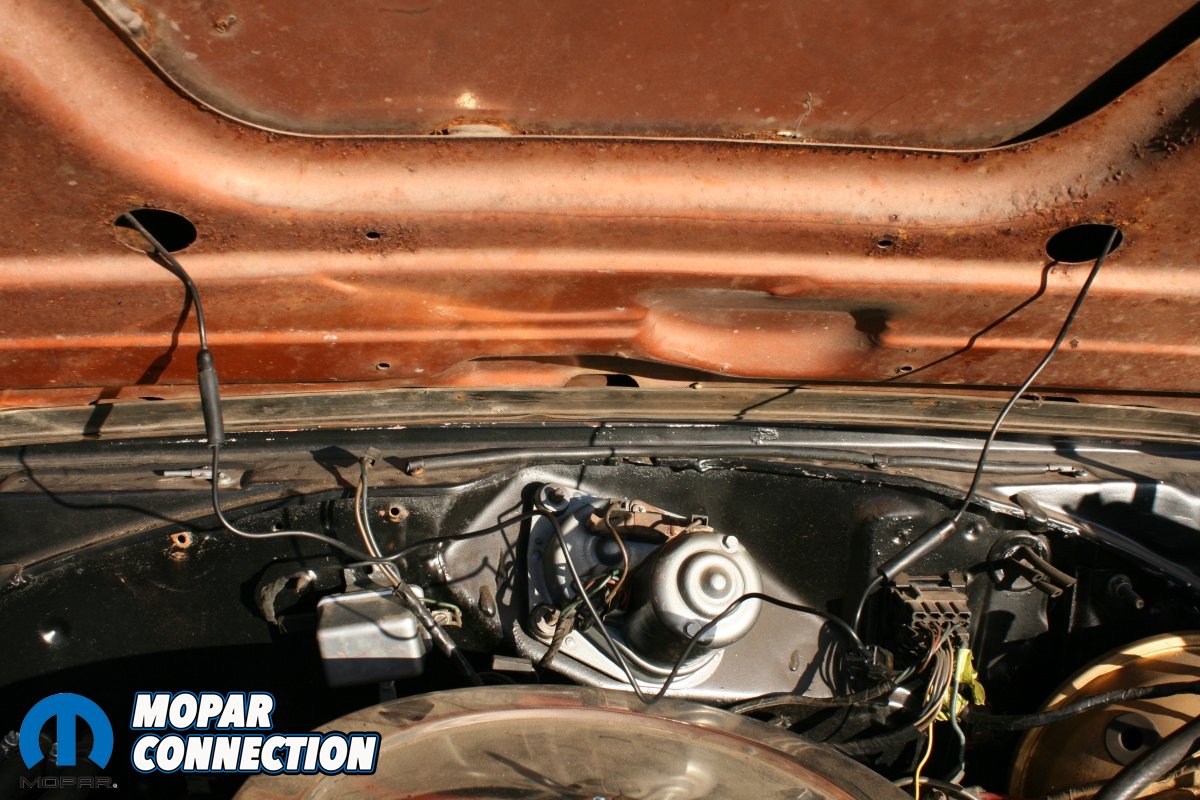
With that complete, we installed the rear retainer plate and rubber pigtail cover from the back side. We then installed the two 8 mm nuts with an 8 mm long socket and lightly hand tightened them. There is no need to torque these into place as tightening them too tightly could damage them. (Pictures 18-20) Now it was time to run the wires along the inside of the hood. The wires need to run from the opening where the signals are, down the inside of the hood and then pop out of two holes located on the back side of the hood.
This is where it can be tricky. To make it easier, we used a metal coat hanger that we cut and then taped the end of each wire to the end of the coat hanger. With that, we fished the wires down the inside of the hood and out of the opening. We repeated the same on the other side. (Pictures 17, 21-22) Note: Make sure you install the rear retainer plate and rubber pigtail cover before running the wires thru the hood! We forgot the first time and had to repeat the step.


Our only complaint is that we aren’t big fans of how the wires sit against the somewhat sharp hood edge. We’d love to see some type of rubber grommet installed in these two holes and have the wires run through them. However, every Charger that we’ve seen with factory installed hood signals look exactly like ours and have no type of grommet so it was definitely a factory design flaw back when these cars were built. We are going to consider trying to find something that looks factory in the future though.
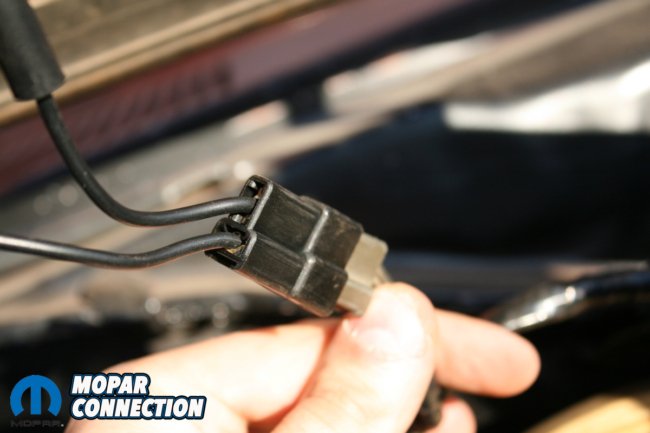
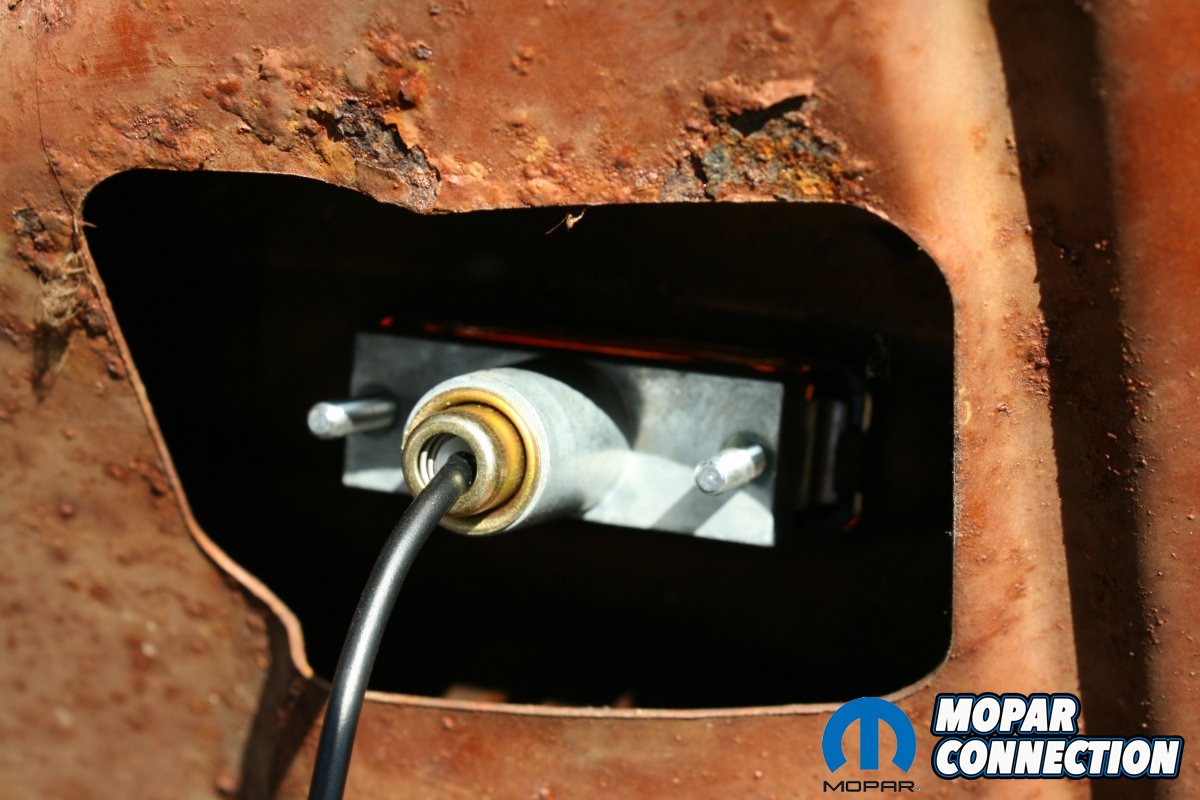
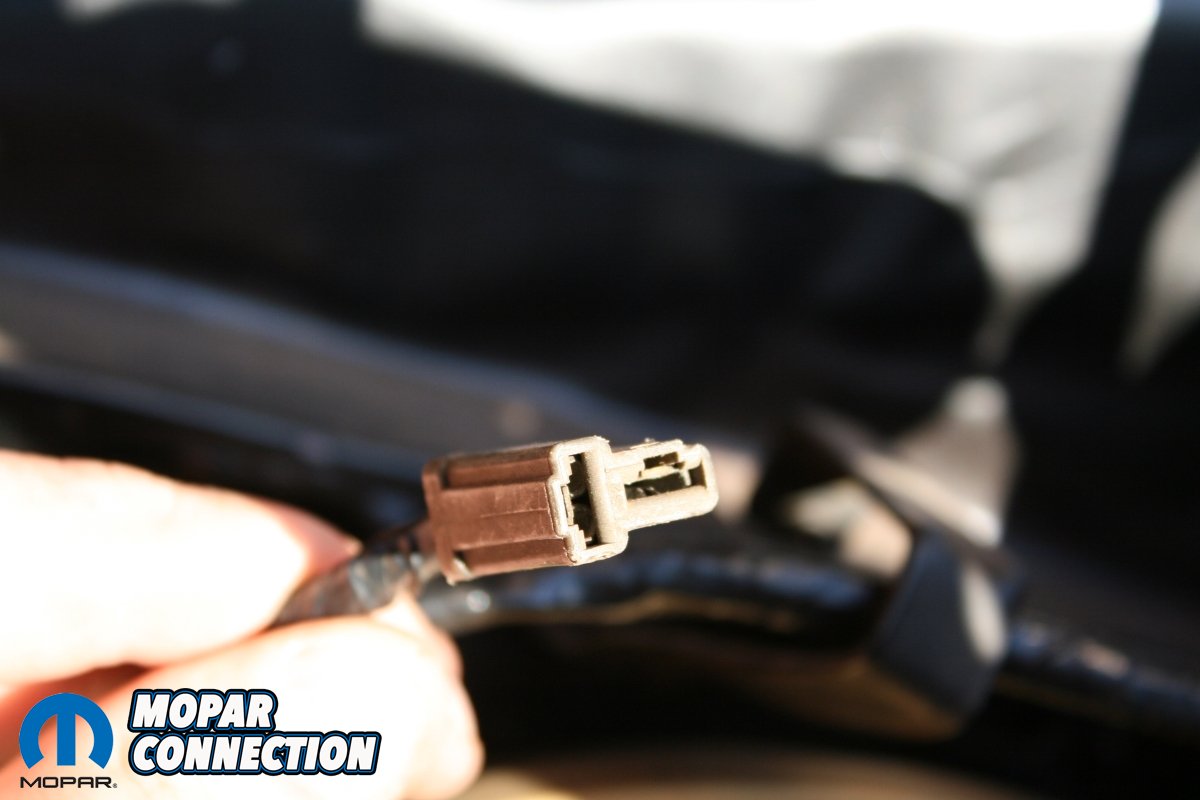
With both wire connectors hanging out of the proper holes on the back of the hood, we then connected the single small wiring harness supplied with the kit to it. This harness has two long ended connectors that go to the signal wires. The short one plugs into the driver side signal connector and the long one plugs into the passenger side.
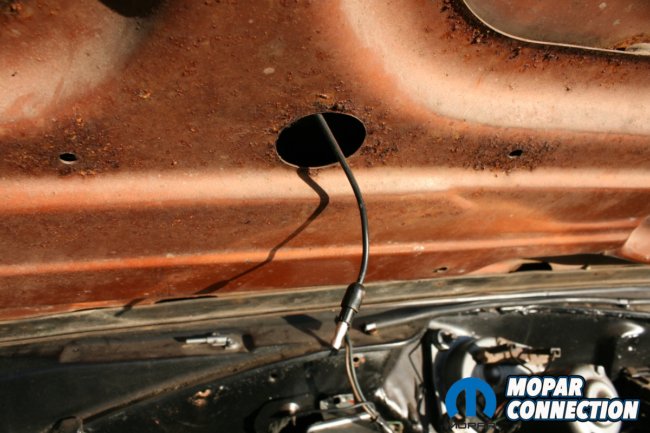
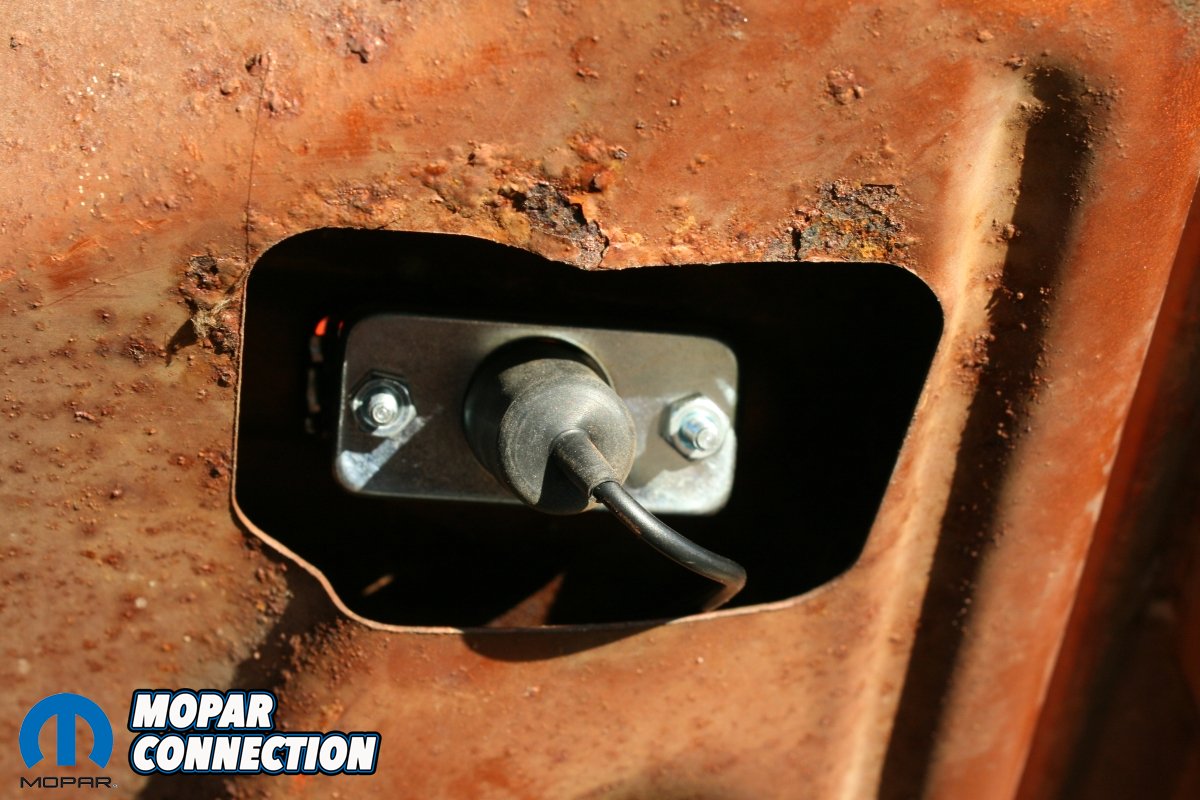
Once you have those plugged in, you can now plug the square ended connector into the factory plug on your main wiring harness on the firewall. While it should be easy to find as it was on our ’69, you might have to look around for it a bit; however it should always be in the general vicinity of the brake booster. (Pictures 23-24)
Now that everything is plugged in, you are ready to test them out and enjoy your new turn signals! Overall, this install took just 15 minutes! It’s that easy! We have to sincerely thank Classic Industries for providing such a great reproduction restoration product. These turn signals are a fantastic addition to your car; whether it be adding them to a car that didn’t receive them from the factory or just updating your tired old factory units.


