


A number of safety-related changes brought in an unusual end to the 1960’s. The year started off with a stumble as the infamous “recall wheels” exited stage left via dealership letters in September of 1968. Those Kelsey Hayes manufactured aluminum cast-center rims, sales code W23, got the hook because lug nuts had a tendency to loosen over time.
Additionally, a string of safety-related sanctions hit promptly on January 1, 1969. For one, head rests became standard equipment on bucket and bench seats. These additional “restraints” came courtesy of Federal Motor Vehicle Safety Standard 202 which mandated them in all front outboard positions.
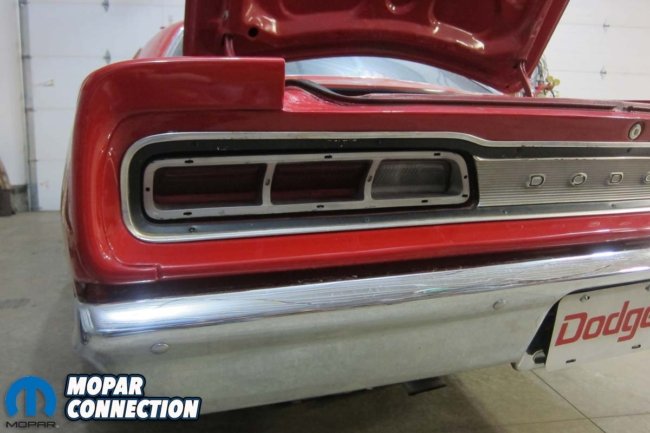
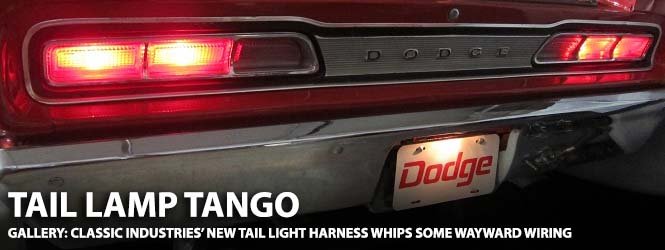
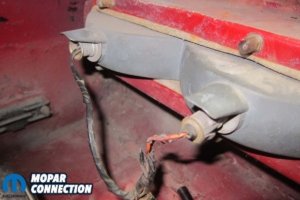
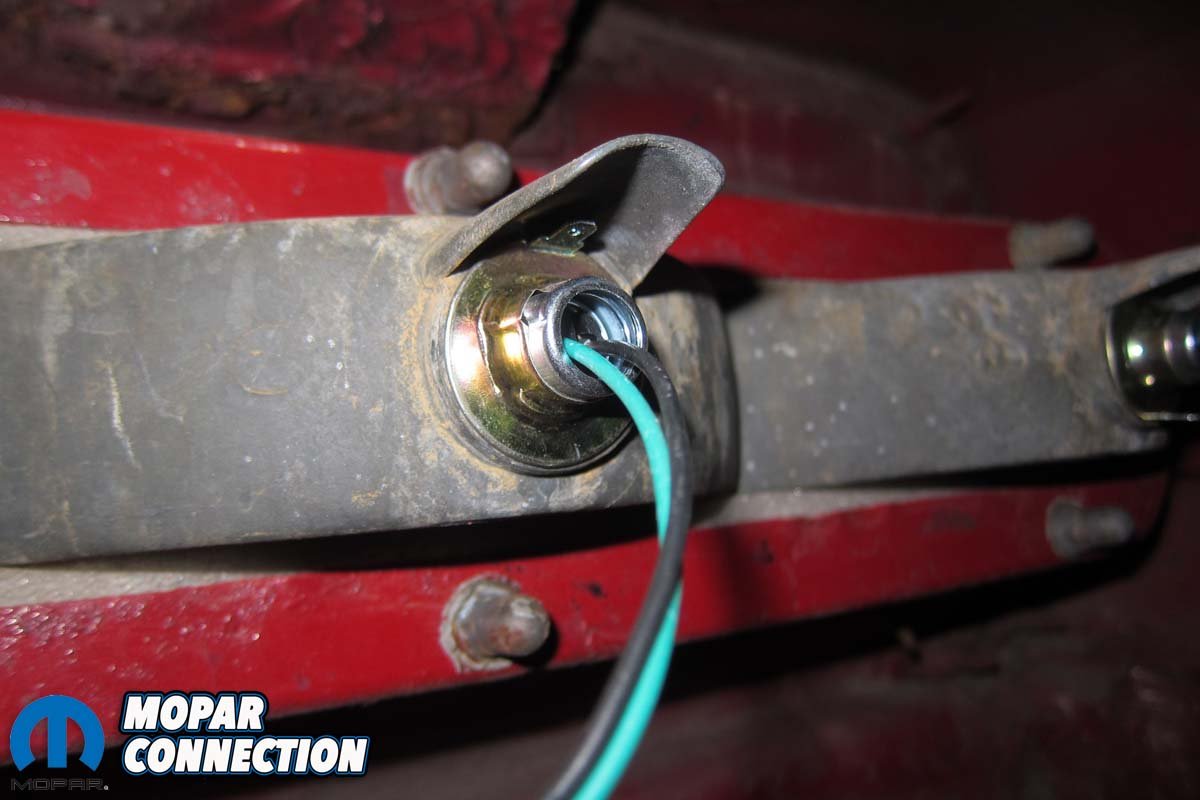
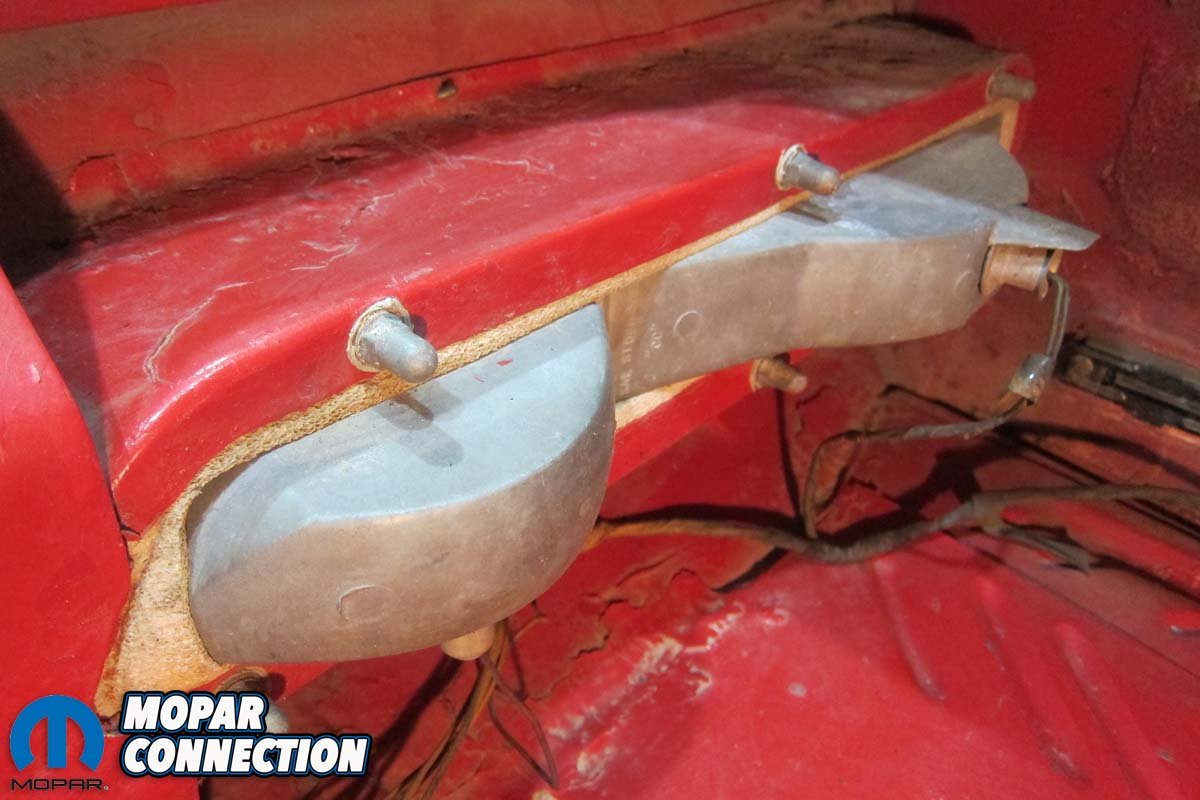
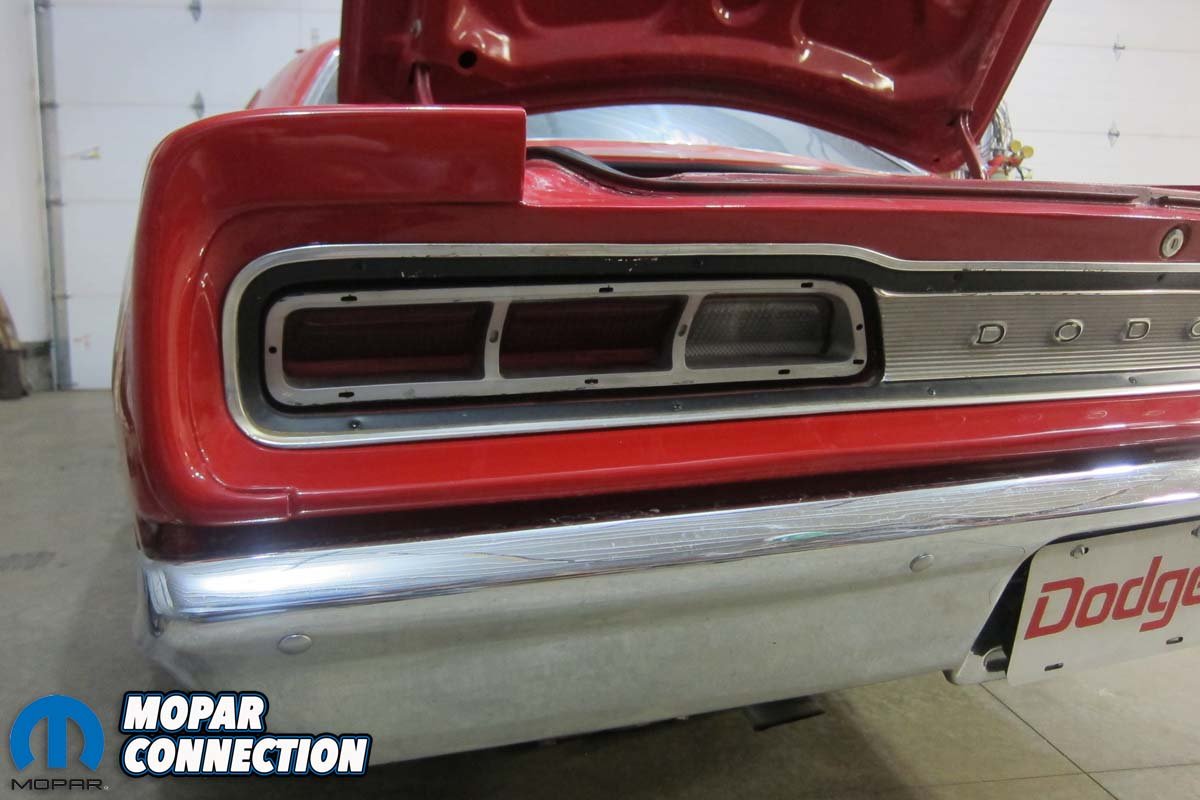
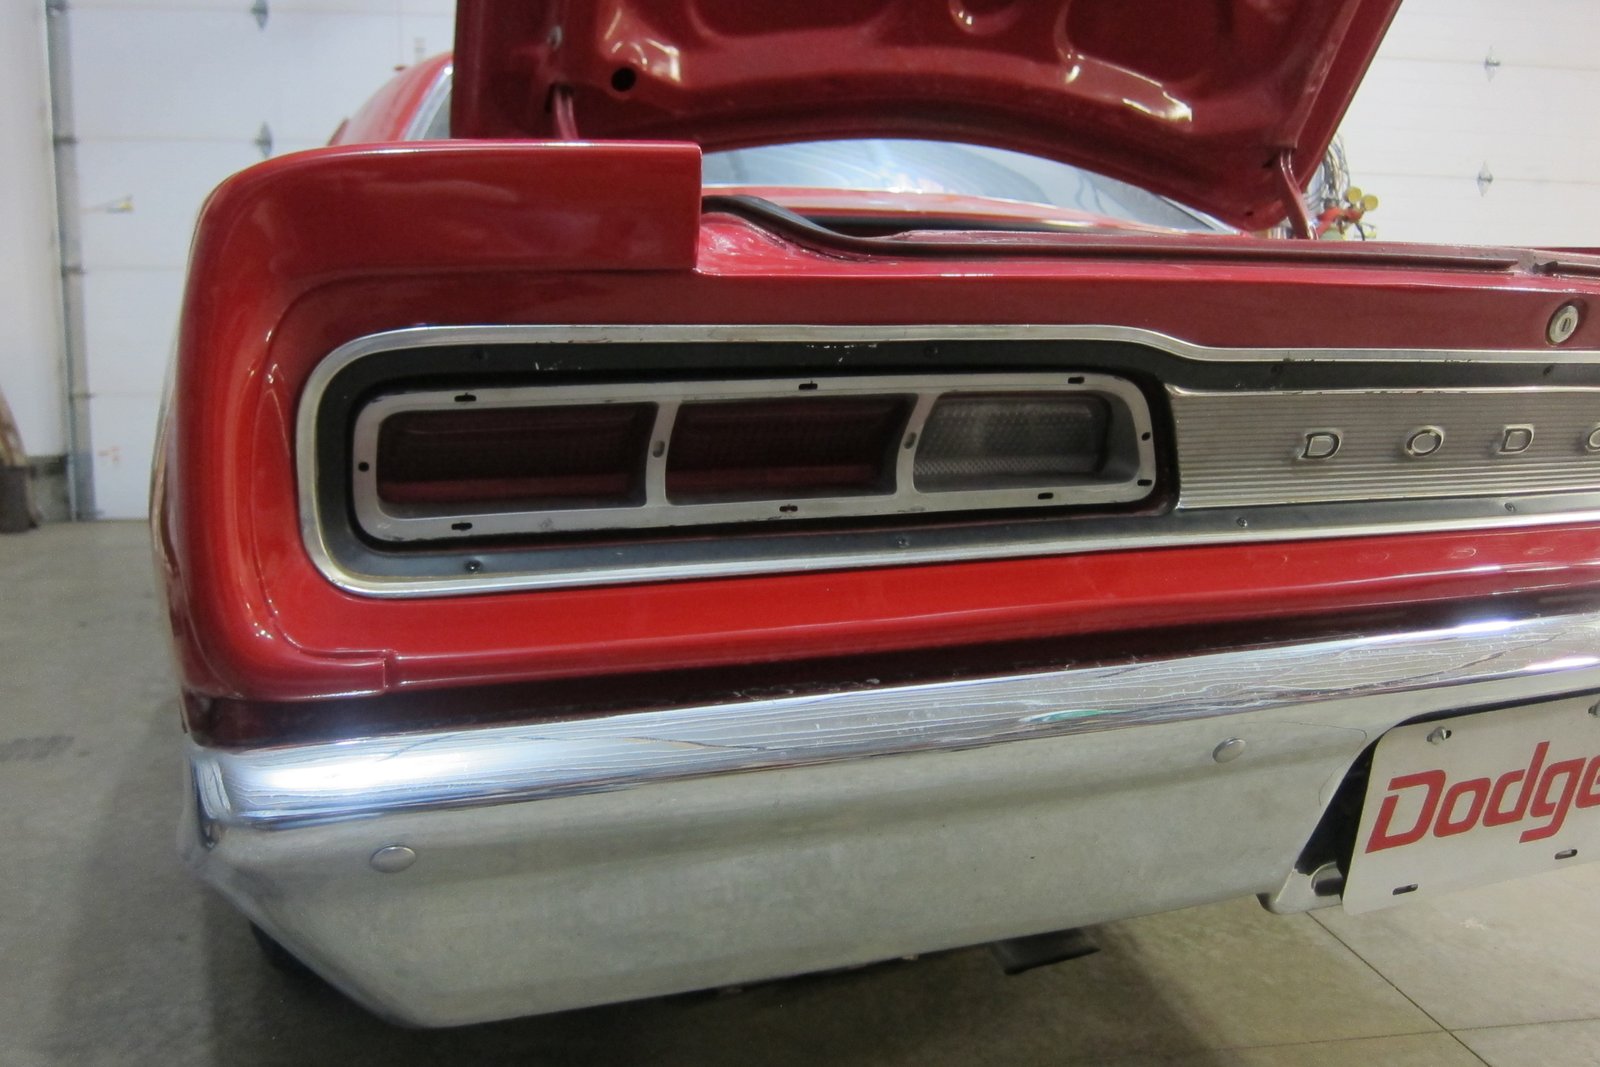
Above: A missing bezel and lackluster illumination were about to put this tail light out for good.
The primary goal of the US National Highway Traffic Safety Administration’s (NHSTA) directive was to reduce head and neck injuries in accidents. Obviously, low-back bucket seats with add-on headrests didn’t survive for ’70 as integral high-backs made more sense with the new decree.
In a similar vein, an additional brake light bulb was added to 1969 Dodge Coronet rear tail lamps to improve visibility. For whatever reason, housings on models except station wagons were originally designed with two total bulbs: one for the brake and one for the back-up light.
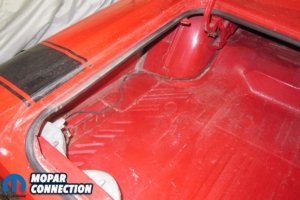
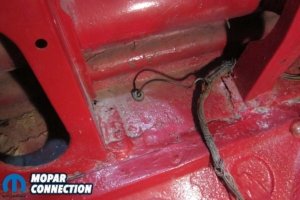
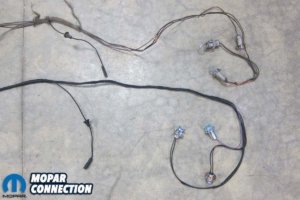
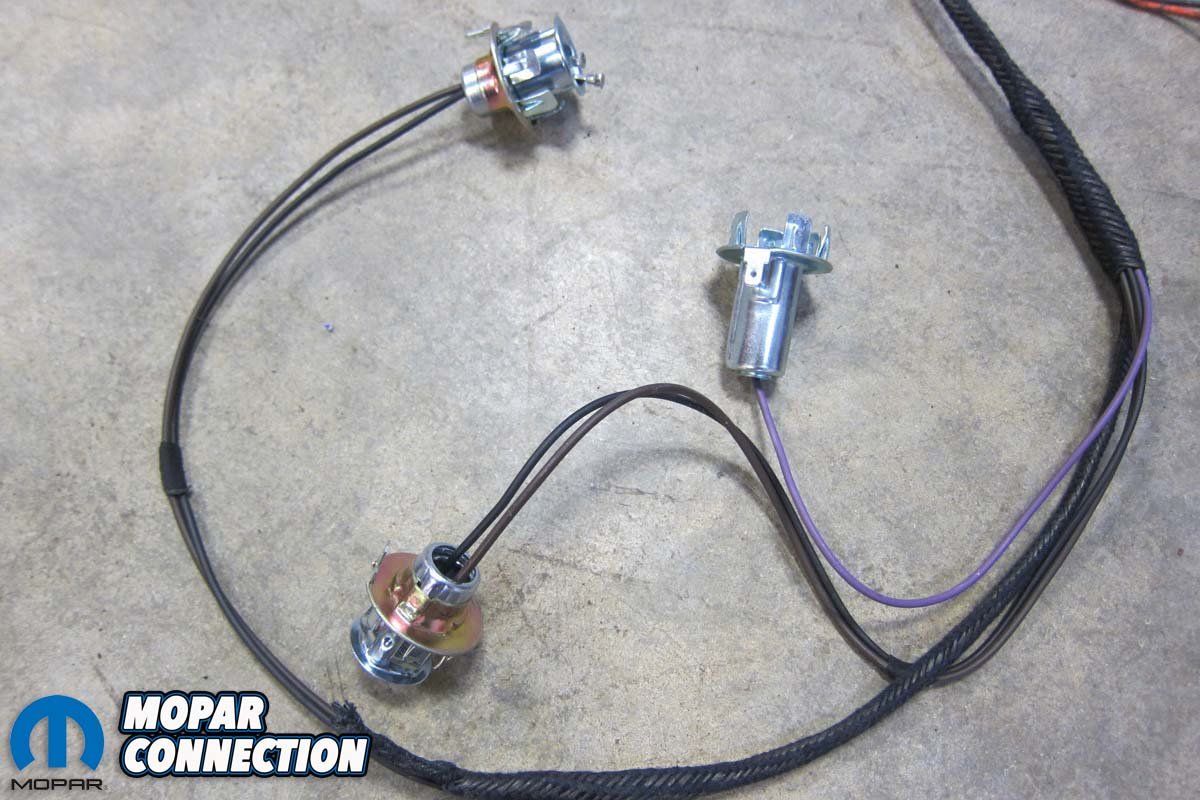
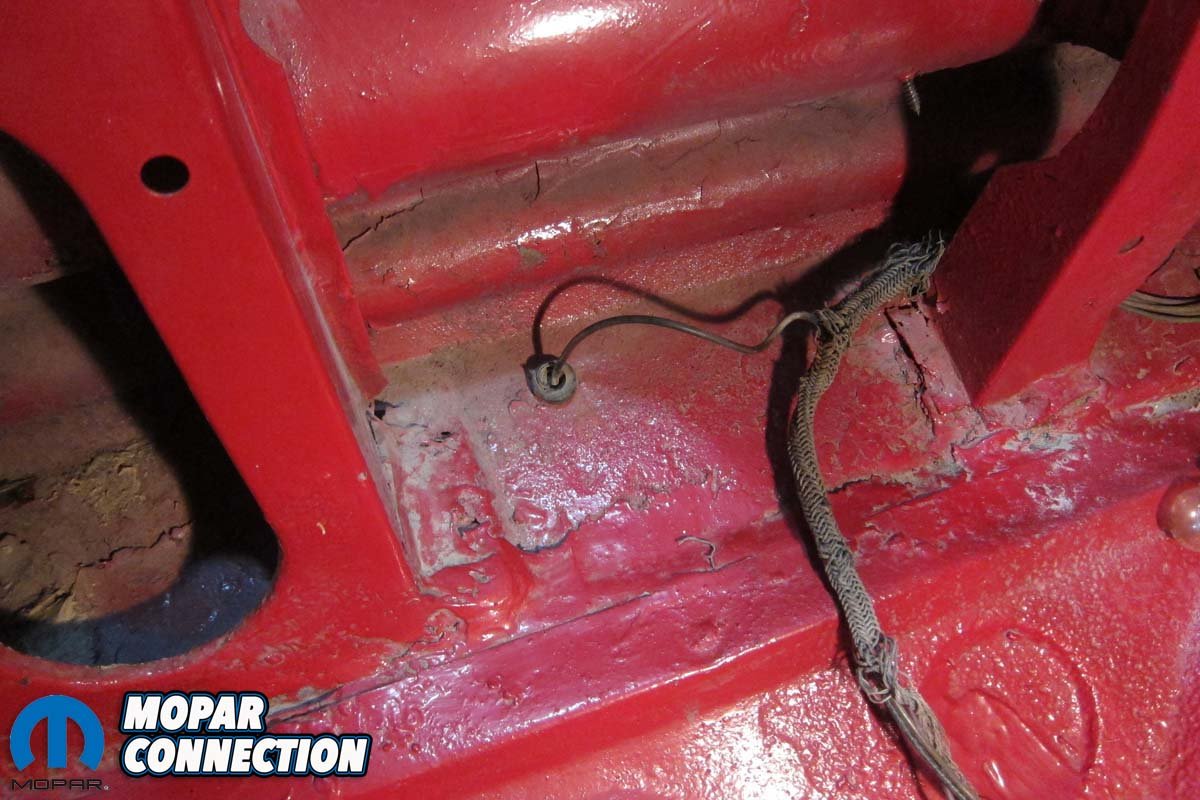
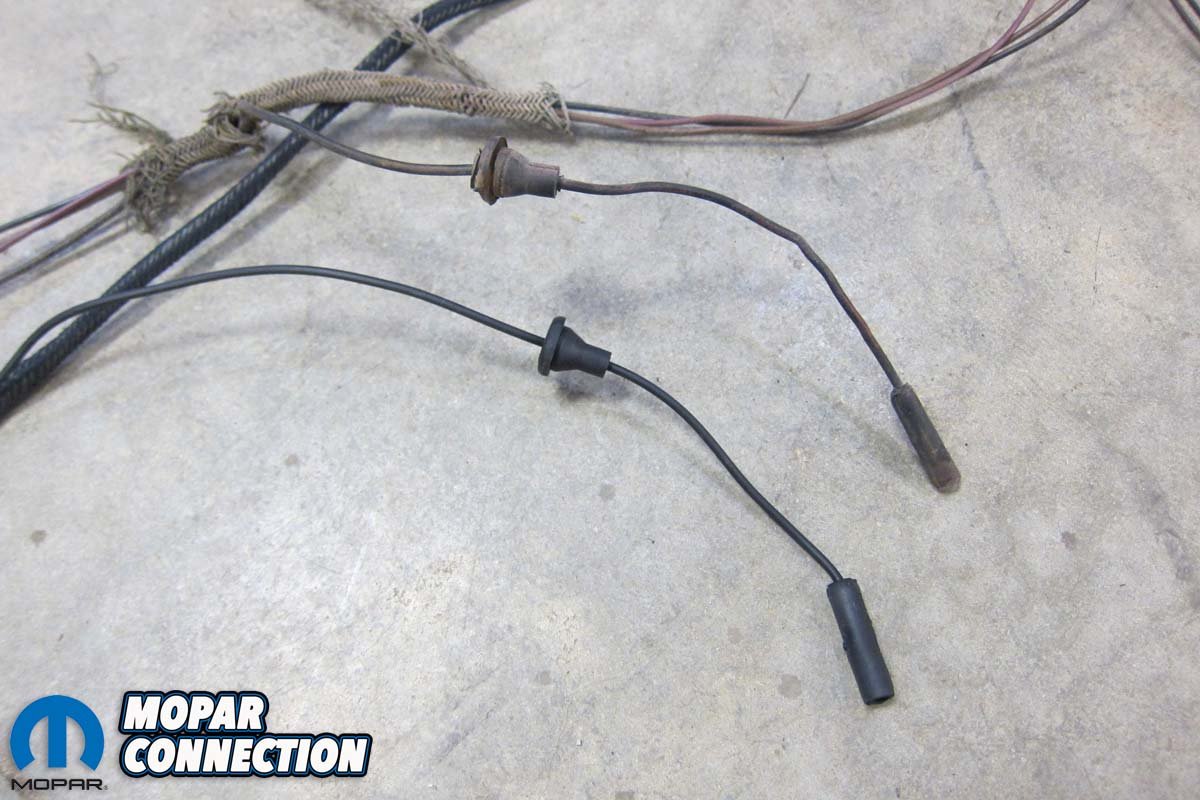
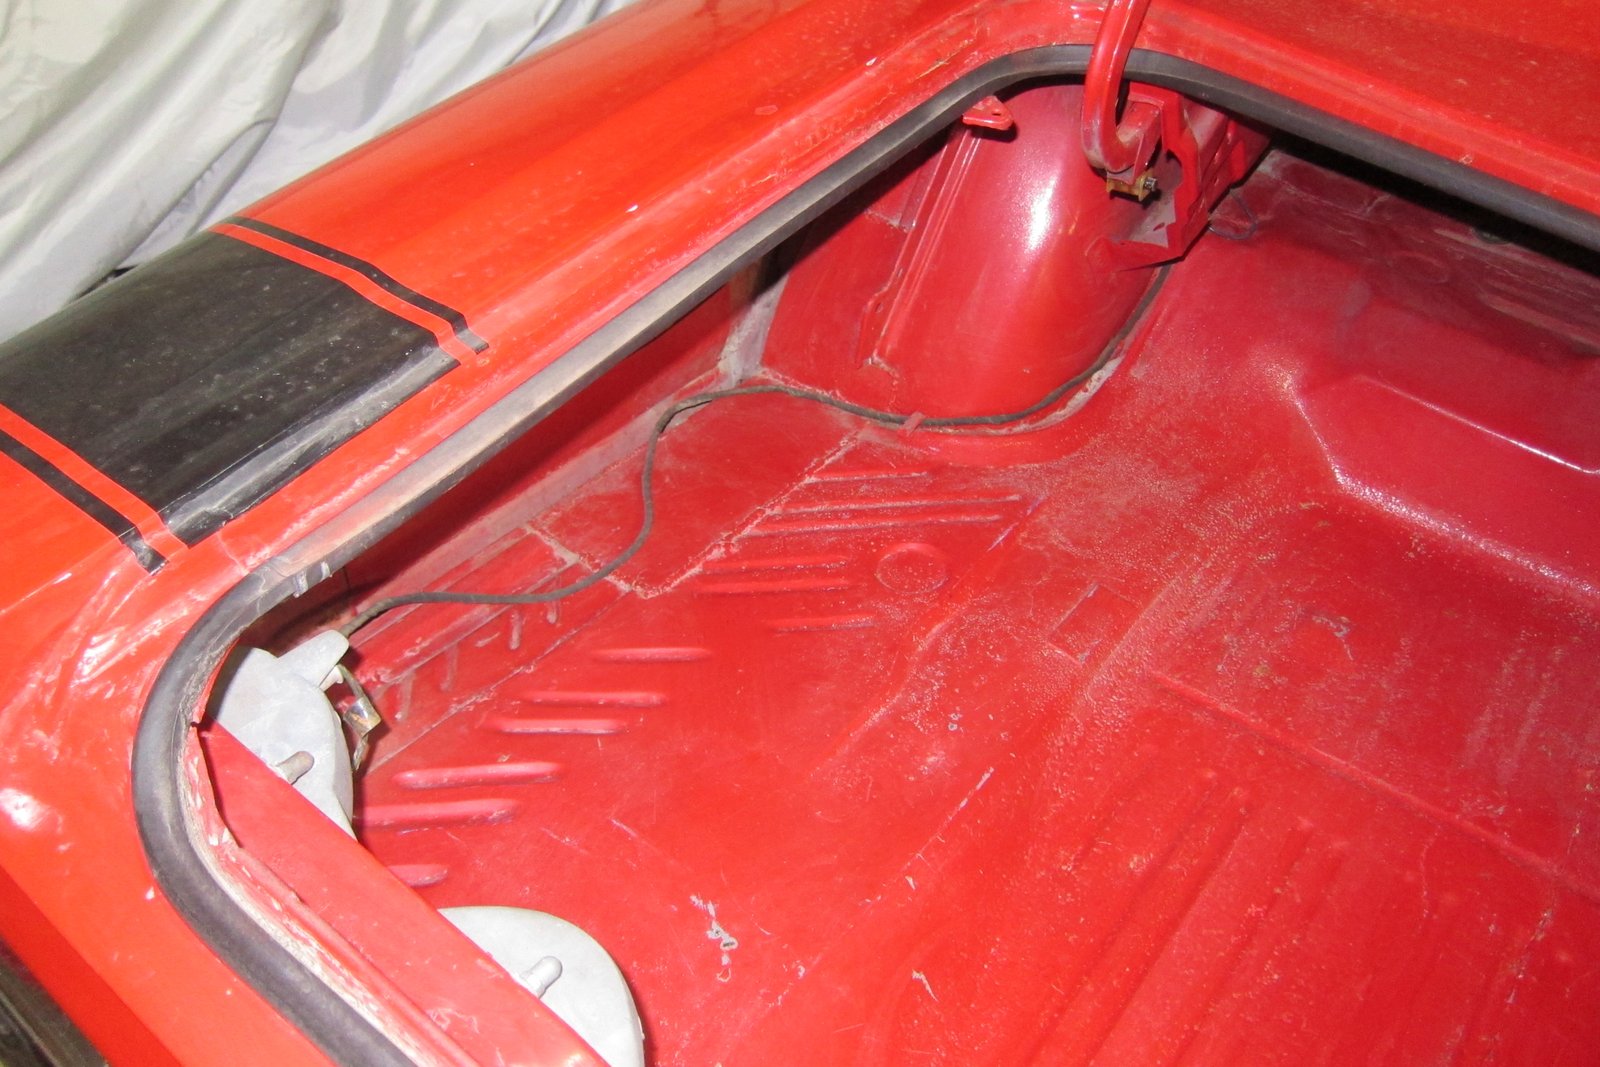
Above Left: The factory rear body harness laid along the inner wheelhouse on the driver’s side. Above Right: A single wire for the license plate light poked through a grommet-filled hole near the trunk latch support.
The January 1st change brought the total to three with two brake bulbs alongside the single back-up lamp. Lenses were adjusted at the same time with early cars getting “shallow” units and later models getting a deeper valley to the bottom side of each rectangular section.
A quick delve into the 1969 parts book finds the bezel, lens, and interior gasket outlined in section 8-55-158 while the housing and exterior gasket are detailed in 8-55-7. The parts book listings further confirm the new year switch date as both of these sections prescribe different part numbers for “up to approx. Jan. 1, 1969” and “after approx. Jan. 1, 1969.”
For the numbers nerds, early cars used housings 2930432 (right) and 2930433 (left) with lenses 2932736 (right) and 2932737 (left). Later cars contained housings 2930820 (right) and 2930821 (left) with lenses 2932956 (right) and 2932957 (left).


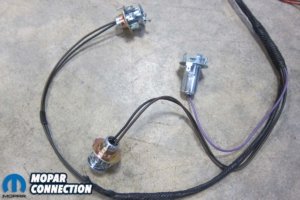
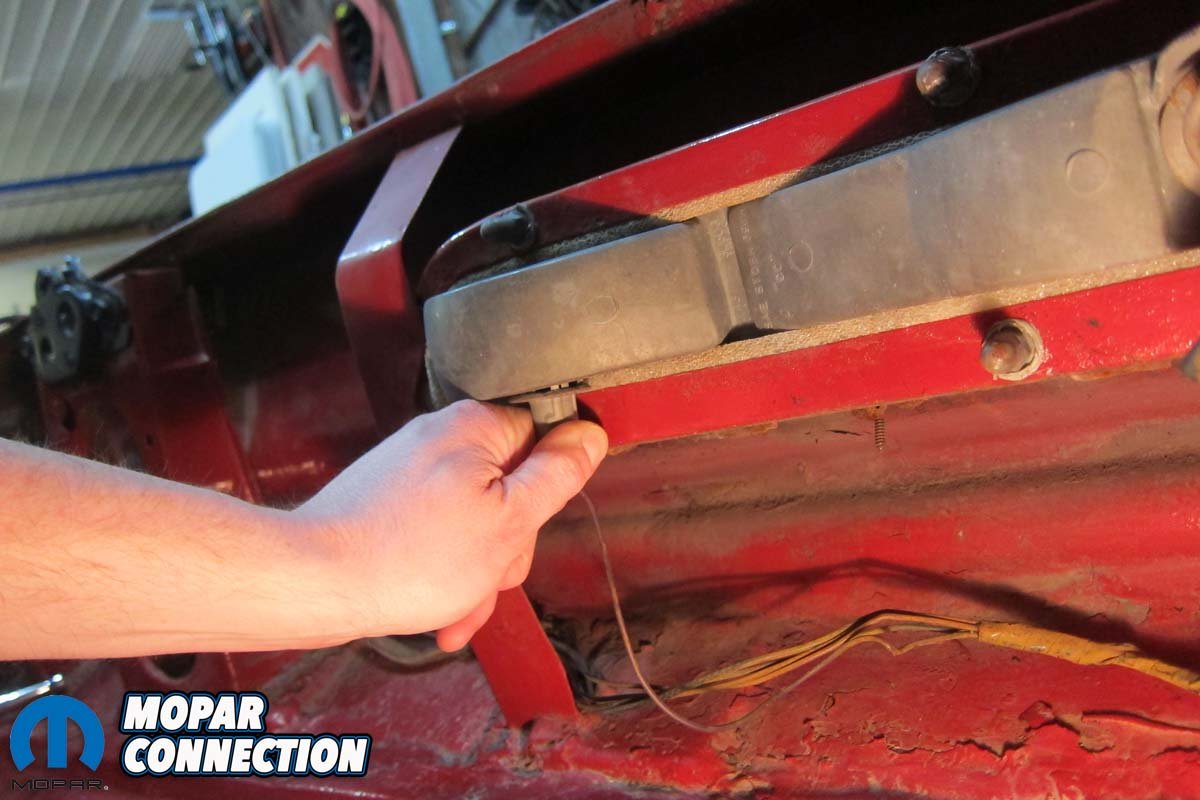
Above Left: The passenger’s side tail lamp had an extra bulb scabbed in to fit a late-’69 housing. Above Center: All sockets simply pulled straight out from their places. Above Right: Six domed nuts held the driver’s side lamp assembly, an early’-69 unit, to the body.

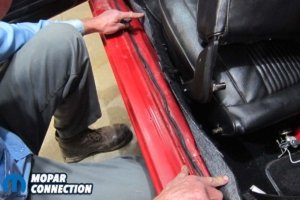

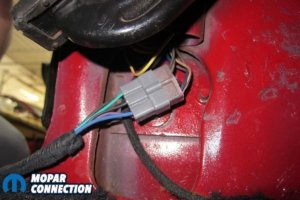
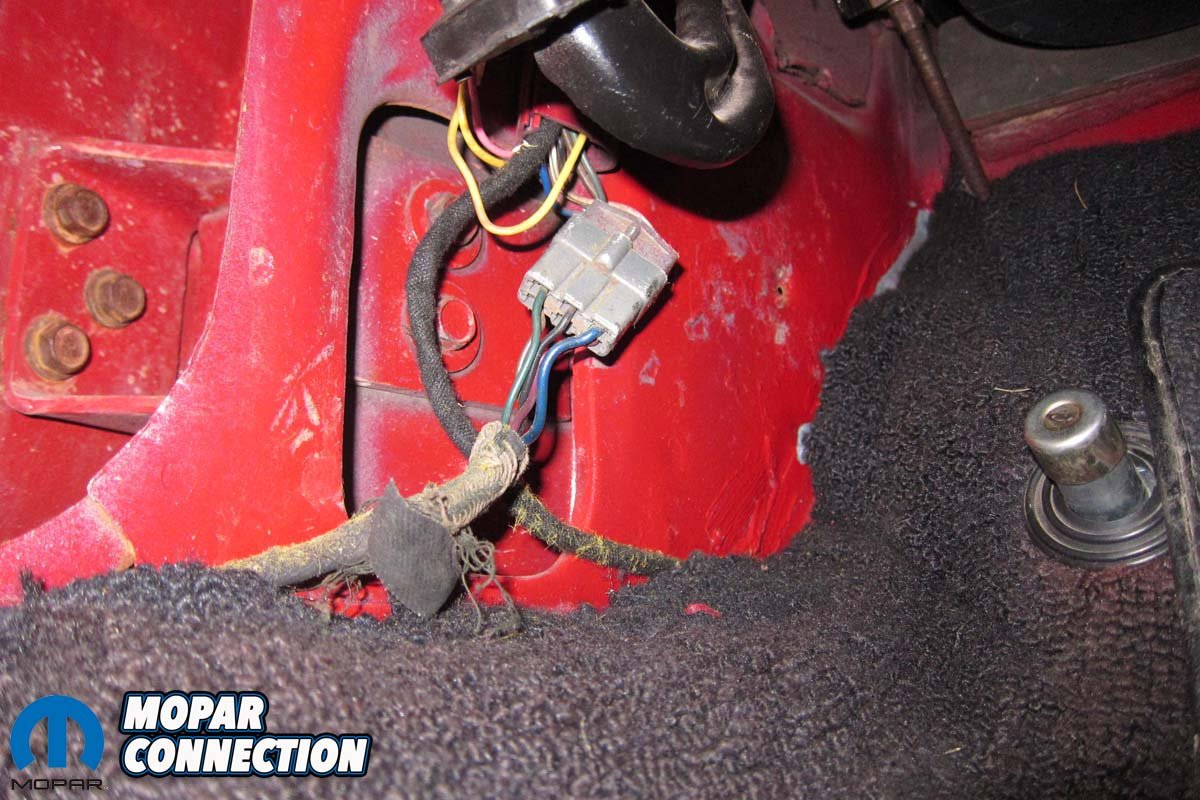
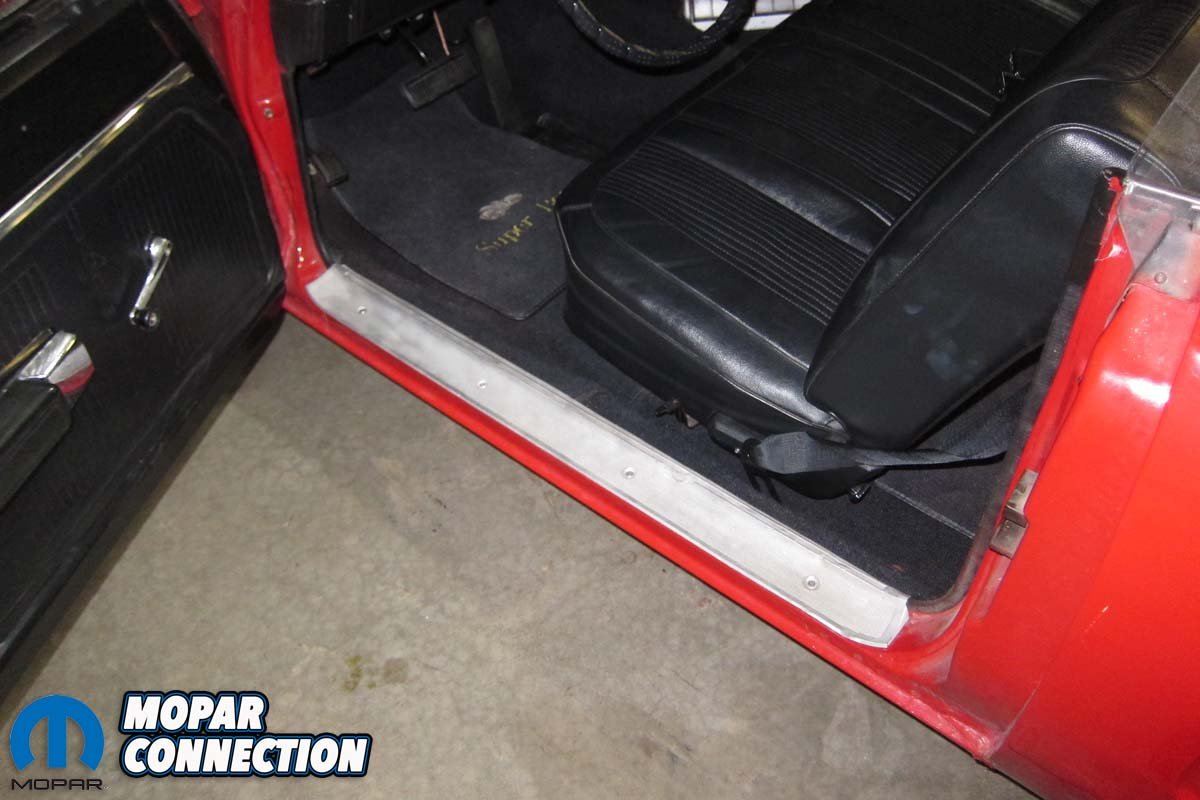
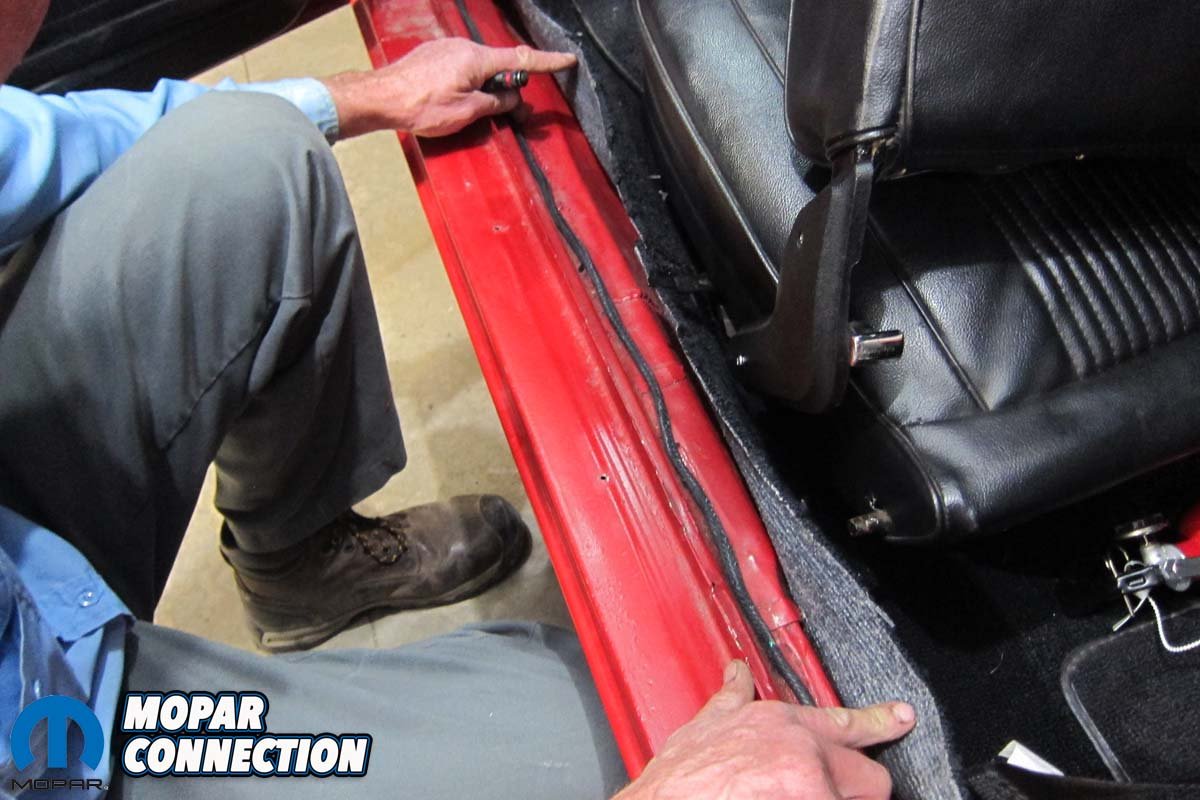
Above Left: The driver’s side sill plate needed to be removed for access to the wiring channel. Above Center: Peeling back the carpet revealed the rear body harness. Above Right: Hidden behind the kick panel was the harness connector.
Regardless, the result of the original one-bulb debacle was a pathetic amount of light radiating from the rear end of these cars. That single lamp behind a pair of lens sections was meager right from the start, providing poor visibility to all those left at the starting line.
Born on October 25, 1968, our 1969 Dodge Super Bee was built with the skimpy shine of one tail lamp bulb per side. However, when the car limped into our possession, it carried the correct one-bulb lamp on the driver’s side and a mismatched later two-bulb lamp on the passenger’s.
With an eight-owner history in its fifty-three-year tenure, we weren’t at all surprised. Ramshackle repairs made by prior “mechanics” plagued this car early on, but one of the more disturbing oddities for us has always been this hodge-podge set of tail lights.

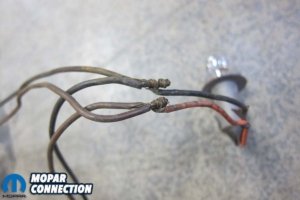
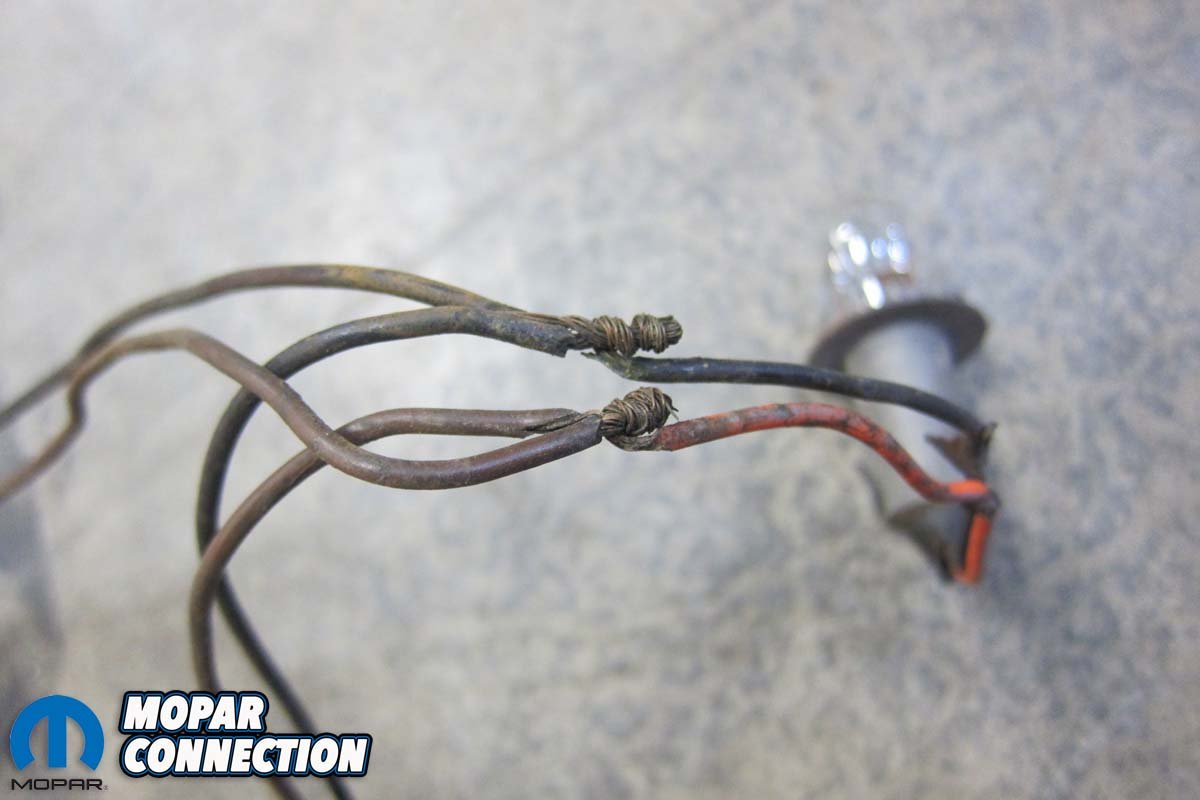
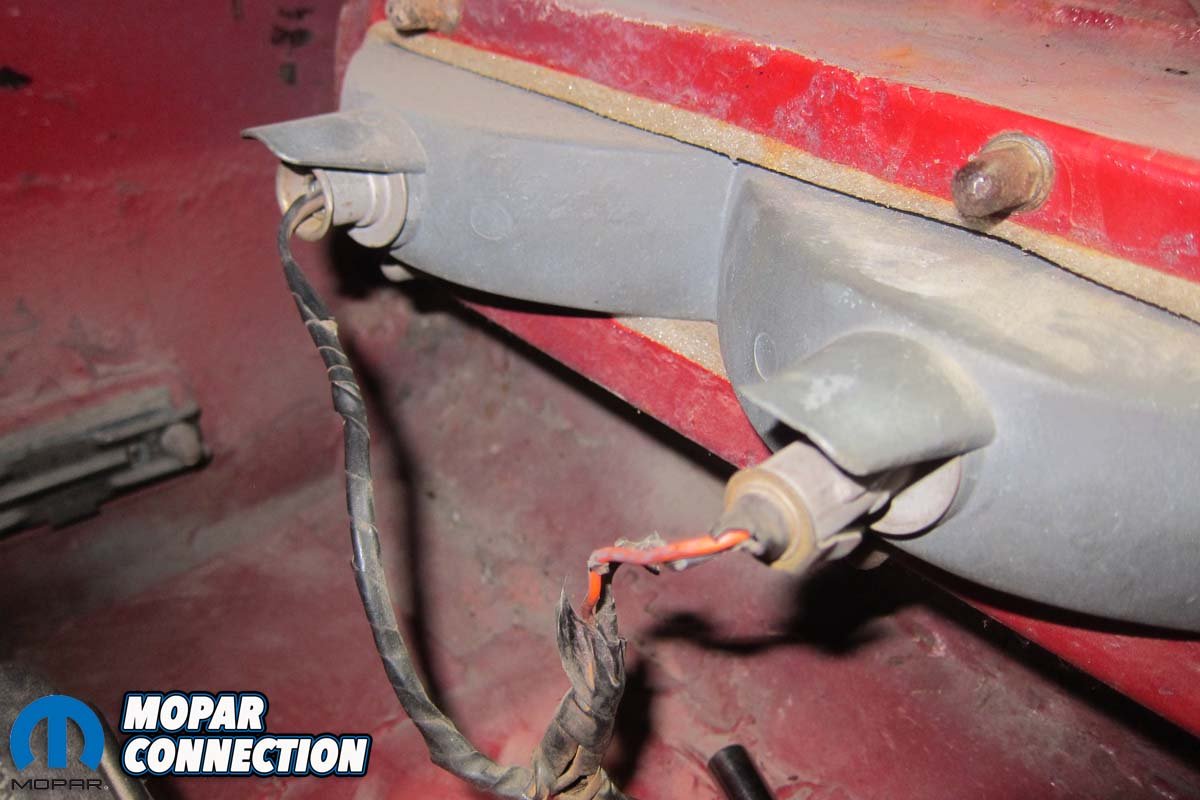
Above Left: The original wiring showed telltale signs of previous “repairs” via a healthy dose of electrical tape. Above Right: Underneath all that goo was a pair of less-than-ideal splices.
Luckily, the swap meet at Holley’s 2021 MoParty birthed a two-bulb assembly for the driver’s side at a negotiated price of $60 cash on the barrel head. While it wouldn’t make the Bee OE-correct, it would put us in a position to have a matched set with superior stop lighting.
Next on the list was a new rear light harness to get all the sockets in all the right places. A quick flip through Classic Industries’ online catalog found what we needed in a “1969 Dodge Coronet Rear Light Harness – With 2 Light Option” (P/N MB2476).
Careful review of fitments and titles was important here because there were three different harnesses available: one for single-bulb lamps, one for dual-bulb lamps, and one for convertibles. Classic’s support team was on top of it to make sure we got what we needed for a trouble-free fit the first time.


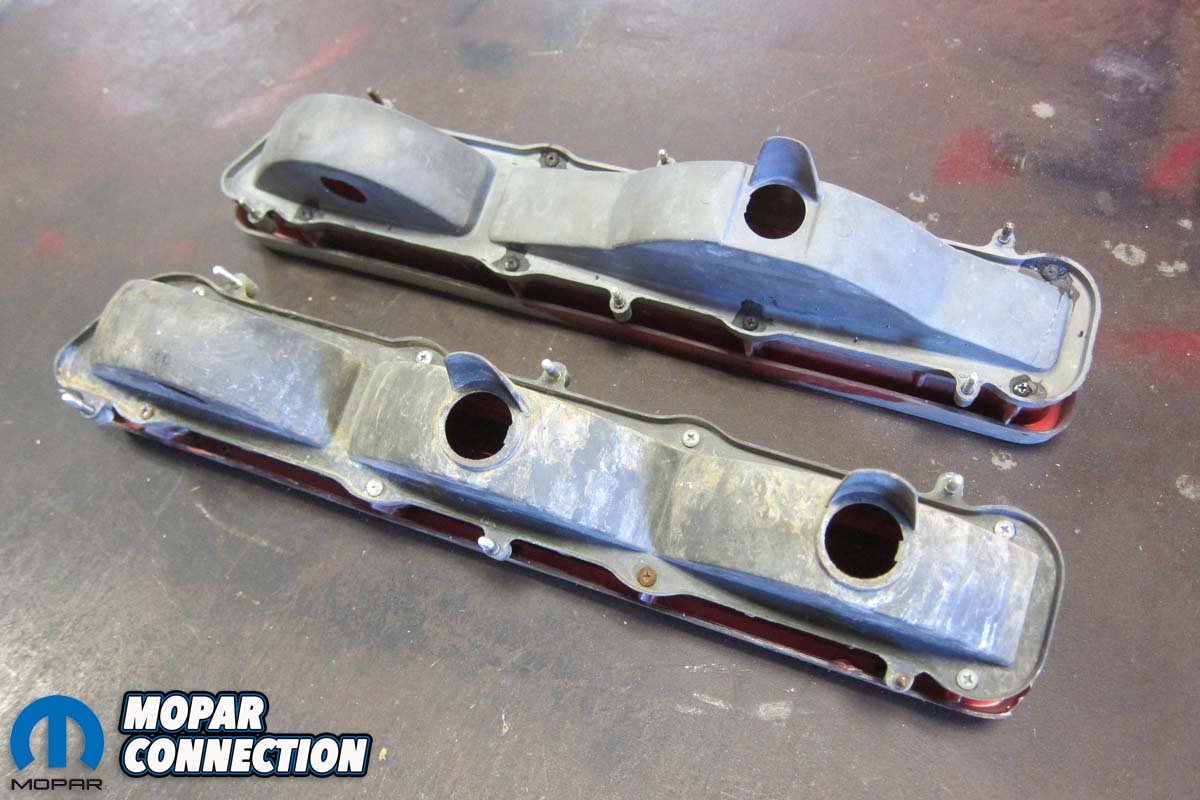
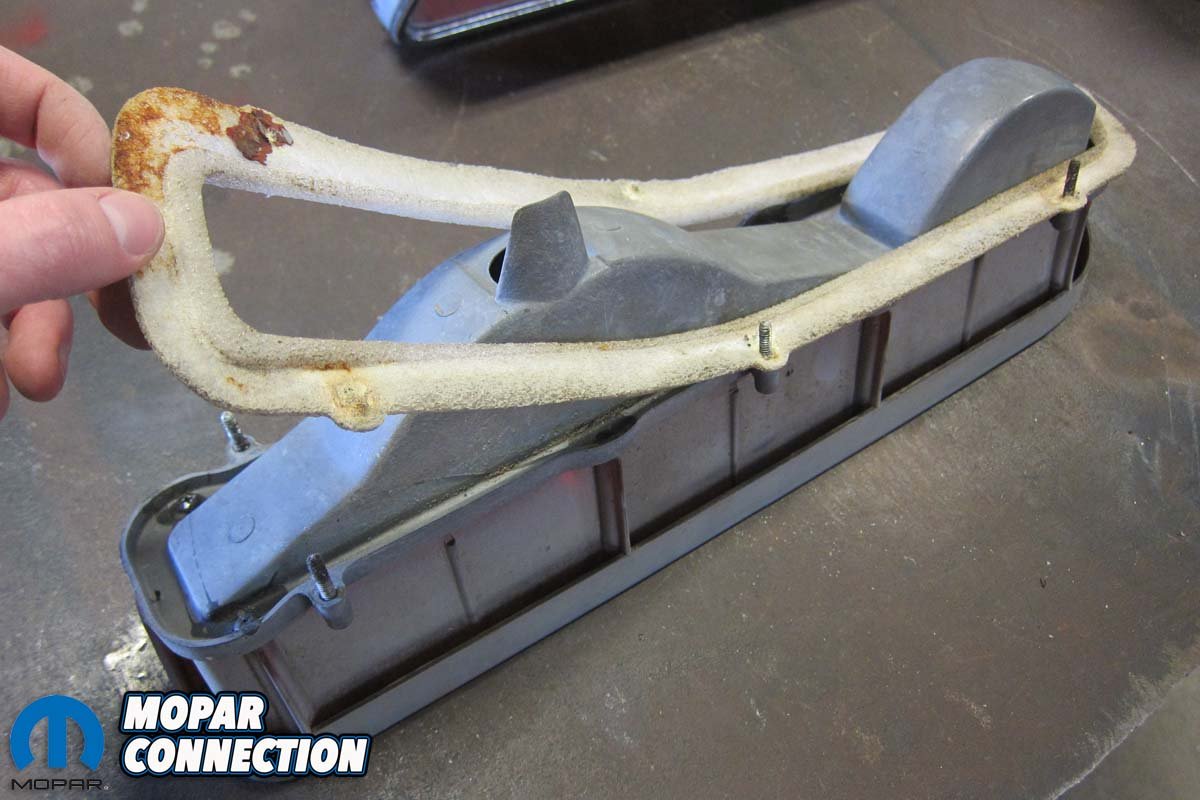
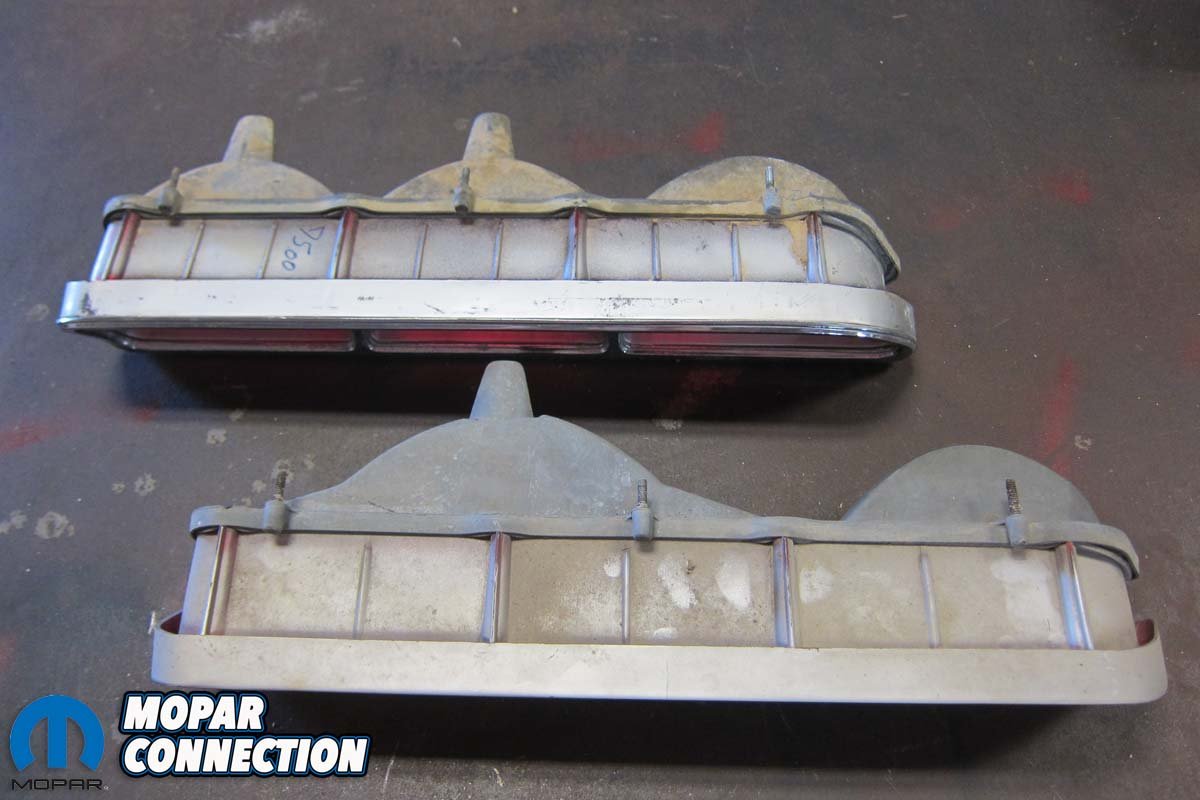
Above Left: The original housing gasket was saved for reuse. Above Center: Note the housing differences between the early version (bottom) and the late (top). Above Right: The early housing (top) came with a single tail light bulb while the post-1/1/69 piece (bottom) came with two.
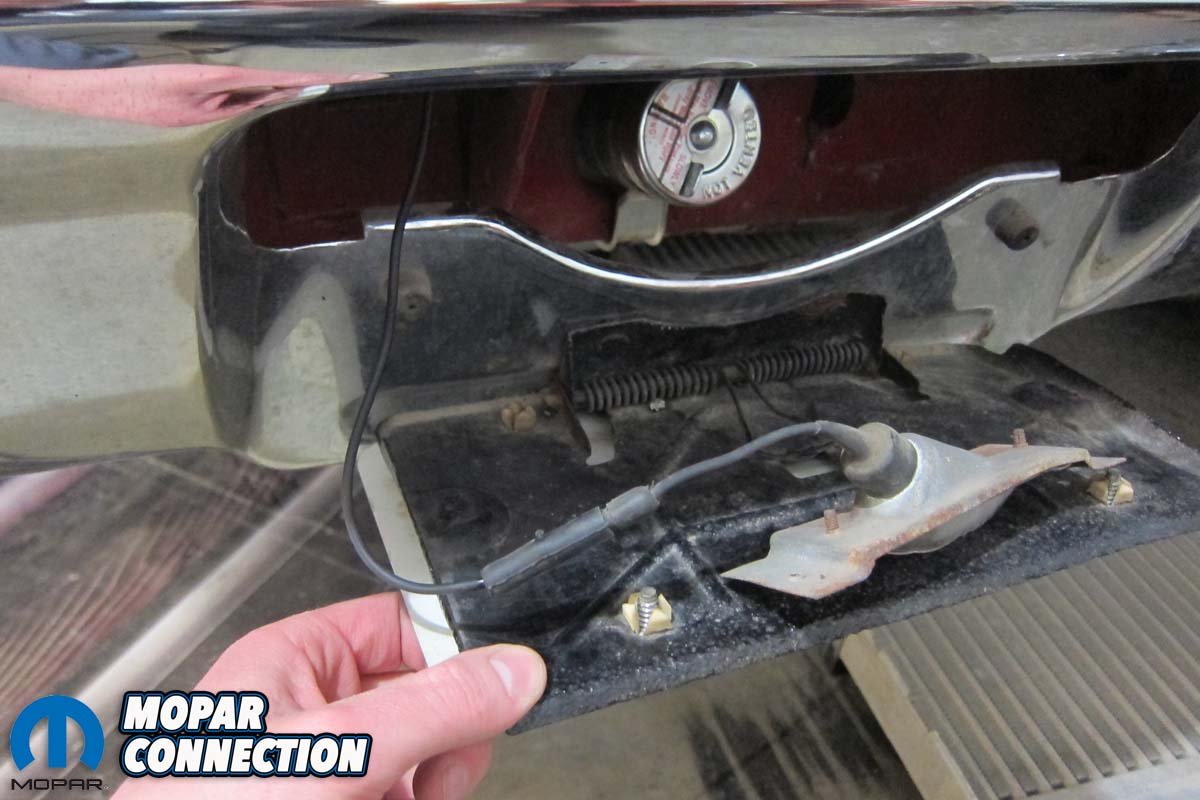
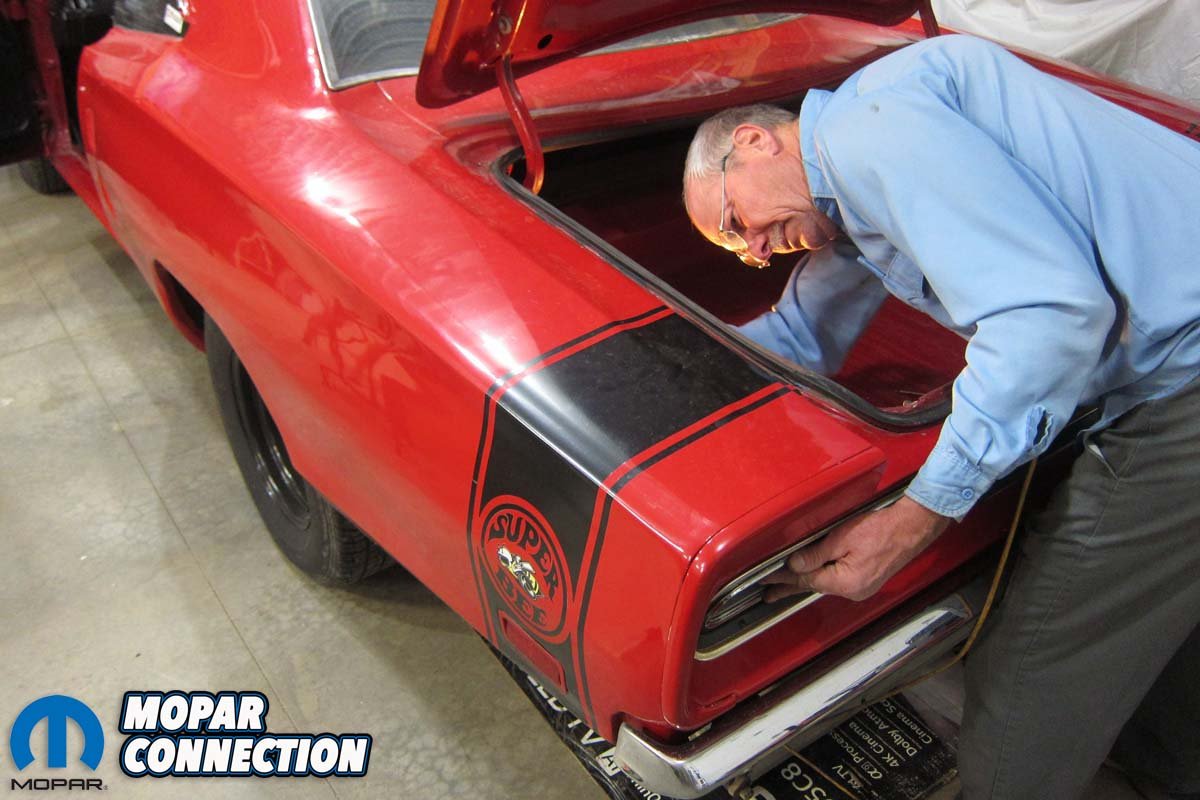
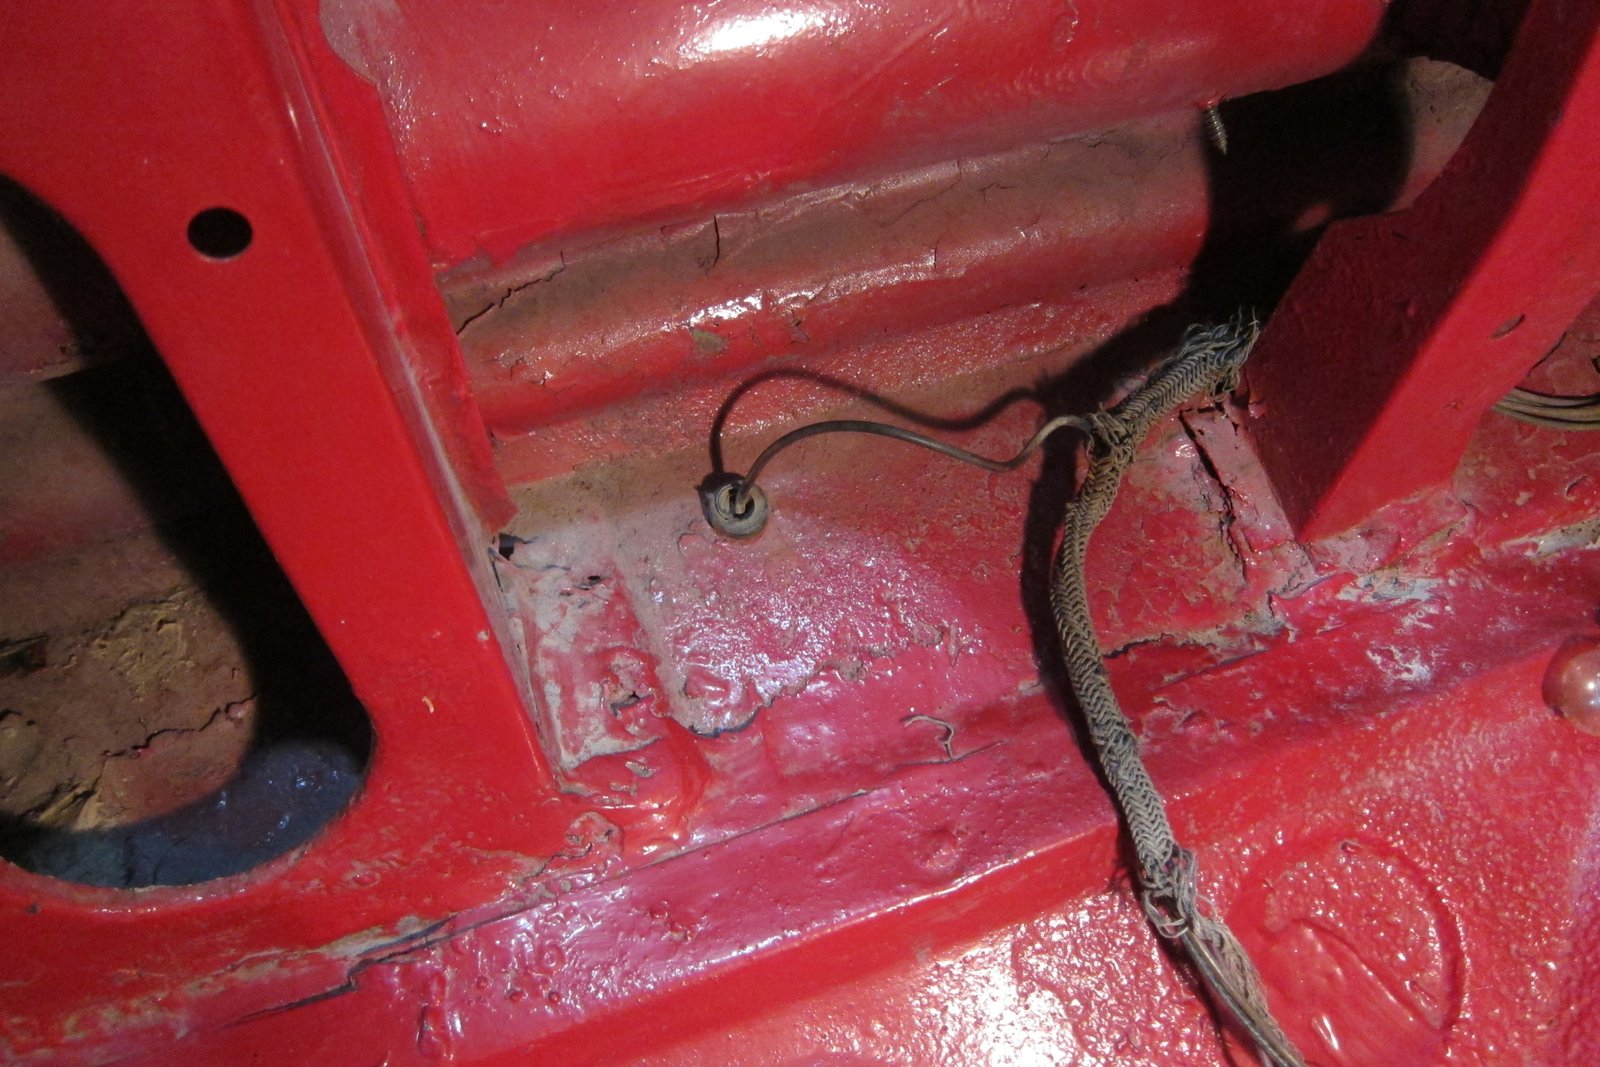
Diving in to the used and abused Bee’s trunk was the next step and we found it easiest to work from back to front. After disconnecting the battery, the license plate lamp came first via a simple one-wire hookup that exited the floor through a grommet near the trunk latch support.
With all the sockets and bulbs removed, the driver’s side tail light came next, a simple task consisting of six domed nuts. The only other wire in the harness was for the fuel level sending unit. Similar to the license plate power supply, this was a lone wire routed through a grommet and down to the front of the fuel tank.
Up front, the driver’s side sill plate needed removed for access to the wiring gutter underneath the carpet. The harness connection itself was under the driver’s side kick panel, right near the parking brake pedal. With it unplugged, we dragged the whole harness out the back, carefully routing the forward connector underneath the rear seat.

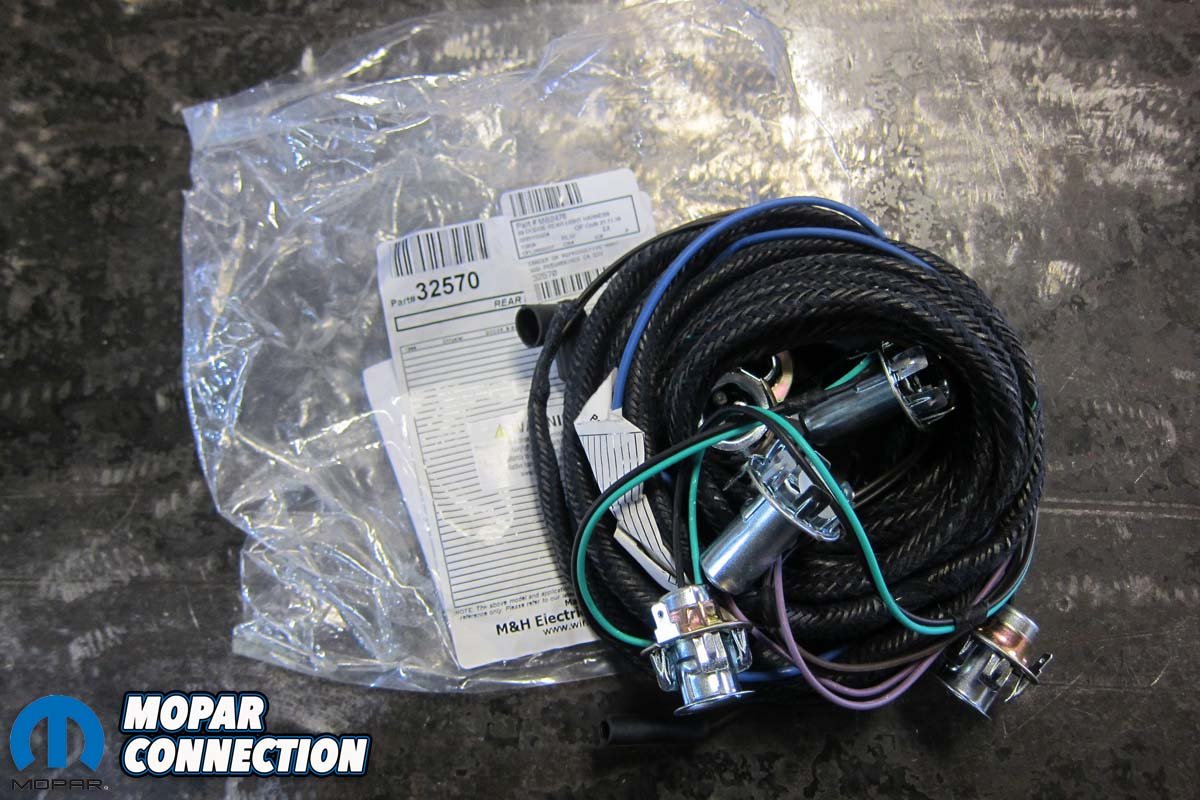
Above: Classic Industries supplied a brand-new, factory correct harness to get the Bee lined out and lit up.
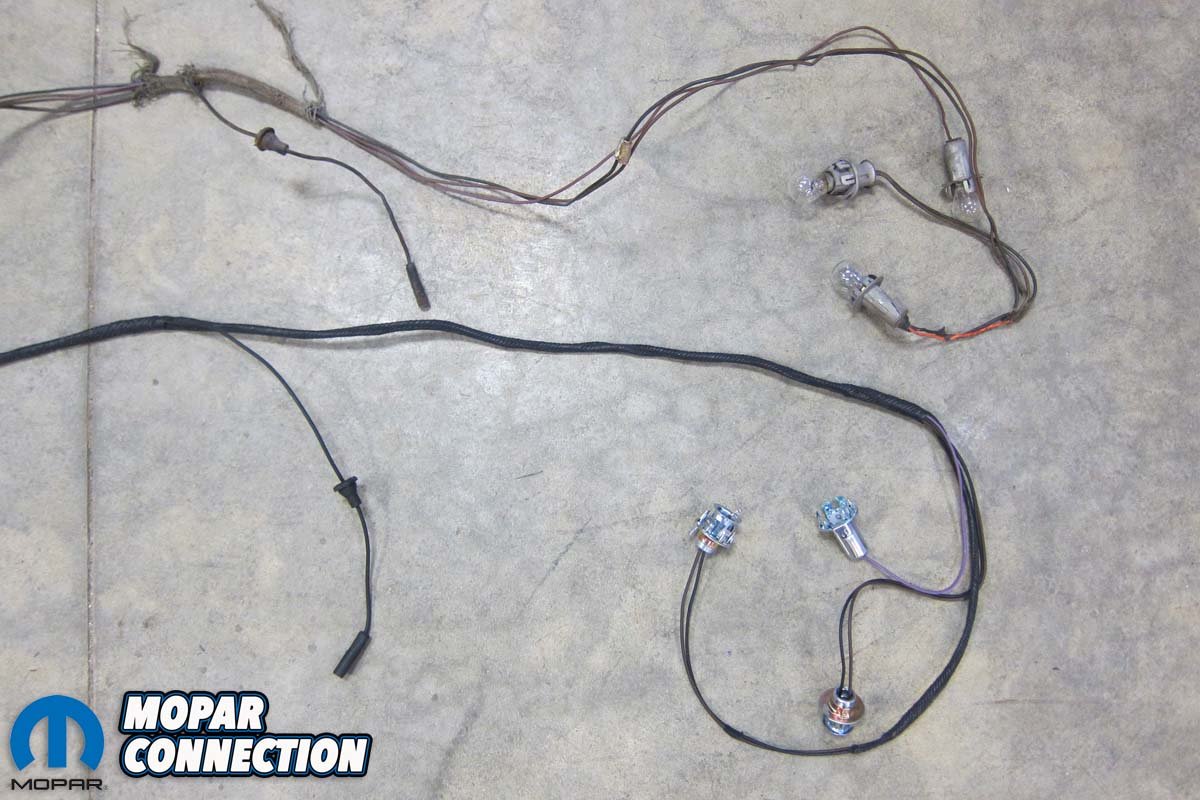
The new Classic harness came neatly-packaged with minimal shipping fanfare. Right away, quality was apparent with a slick non-adhesive wrap, fresh wires that were the correct gauge and color, and all the right sockets for our OEM bulbs.
Laid next to the butchered factory harness, the Classic assembly was nearly a dead-ringer. All five wires were present and accounted for in dark blue (fuel level sending unit), violet (back-up lamps), black (primary lamp power), brown (right turn signal), and dark green (left turn signal).
Of course, there wasn’t a dedicated ground wire in the bunch. The sockets themselves connect to the housings which connect to the body which connect to the engine which connects to battery ground. For any troubleshooting purposes, it’s always important to understand that relationship.
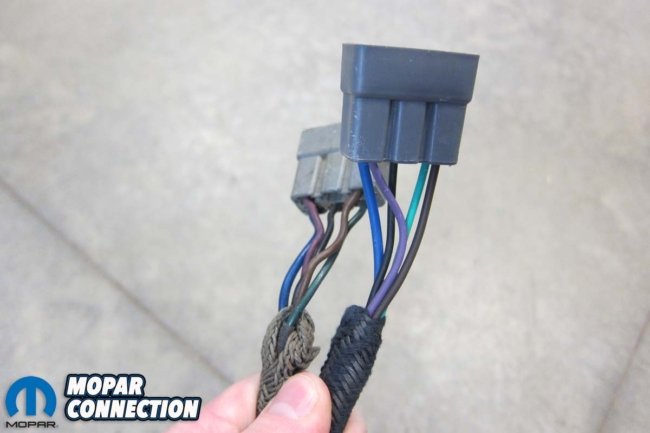

Above Top: The Classic harness’ connector (right) matched that of the original (left). Above Left: Length of the new harness was spot-on. Above Center: Wires on the new harness (bottom) that required grommets came with them already installed. Above Right: Sockets and wire colors were perfect for the application.
Confirmations complete, it was time for reassembly. Again, we started at the back by feeding the six-position forward connector through the trunk, up over the shock tower, below the left side of the back seat, in the wiring channel, and up to the kick panel. Classic’s connector plugged right in to the original dash harness without issue.
The “new” two-lamp light for the driver’s side reused the outgoing housing’s original gasket, although a replacement set from Classic (P/N MB184574) would’ve certainly shored up sealing duties. With it in installed, sockets popped into their places, six in total (four brake and two back-up).
The license plate light wire also made its way through the floor, followed by its pre-installed grommet. Underneath, the fuel level wire was last to land before putting battery power back to it all.


Above Top: A late-’69 housing was installed on the driver’s side to match that of the passenger’s. Above Left: Sockets all popped in as expected. Above Center: The new connector fit its mating part in the original dash harness as it should have. Above Right: The result was tail lights aplenty.
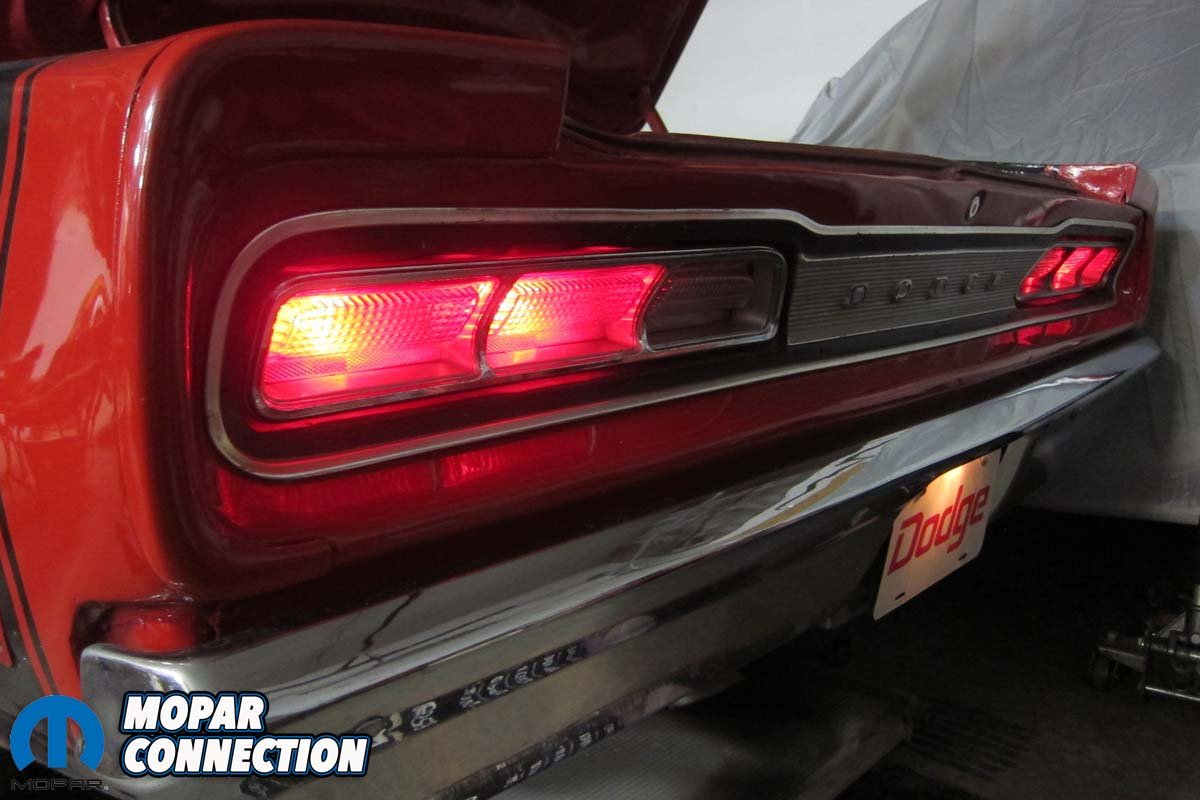
Lit up, the overall improvement was apparent immediately. Aside from the upgraded two-lamp housing set, Classic Industries’ replacement harness was clearly providing a better feed of voltage as the used bulbs breathed new fire.
Our fuel gauge was back to working as well, an unintended positive consequence of kicking that old wiring clutter to the curb. From back-up lights to turn signals to license plate illumination, everything worked perfectly on the first try.
Classic Industries has given the back of this Bee a luminosity it hasn’t seen since the late 1970s. No doubt, it’ll be easy for any stoplight challengers to see us disappear into the night with the new bulbs burning this bright.


