


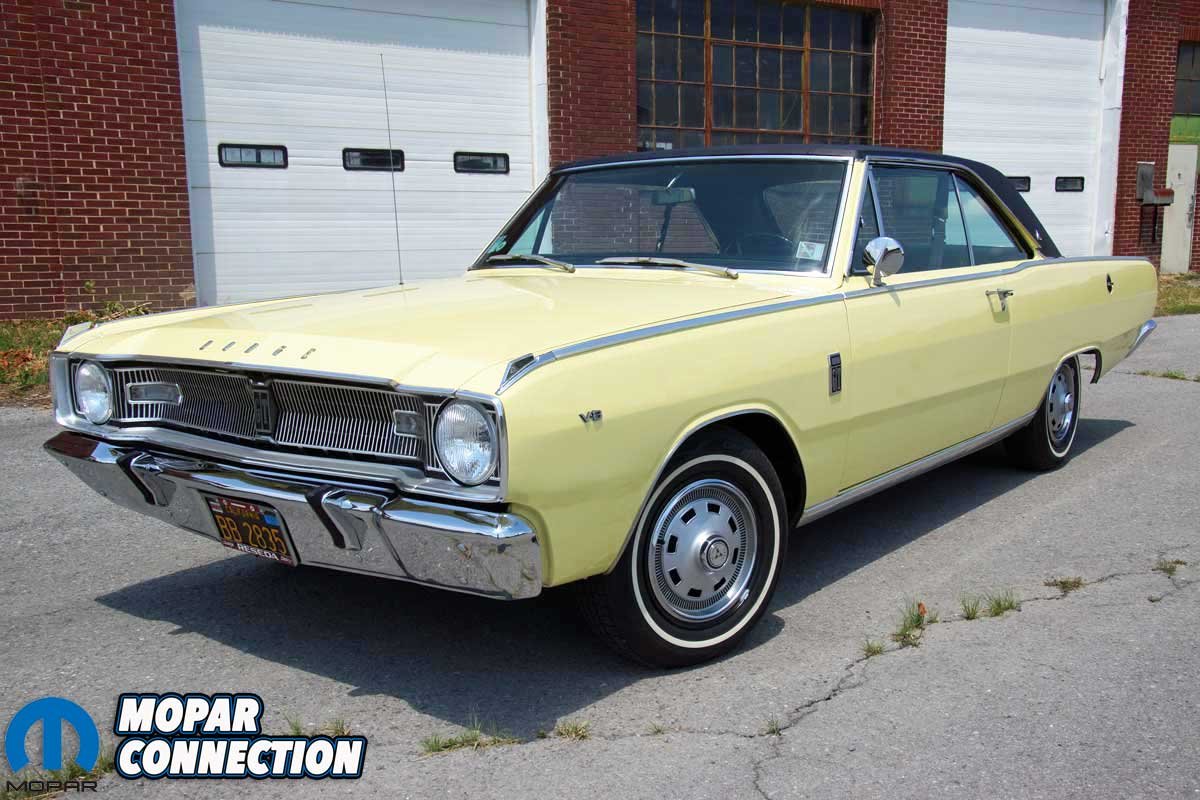
For the 1967 model year, the Chrysler Corporation updated its A-body line. The all-new 4th generation Dodge Dart, 3rd generation Plymouth Valiant, and 2nd generation Barracuda were significant departures from the earlier models. The modernizing included each model receiving revised steering systems, a wider frame rail spacing and front track, and an engine bay and k-member capable of accepting larger engines.


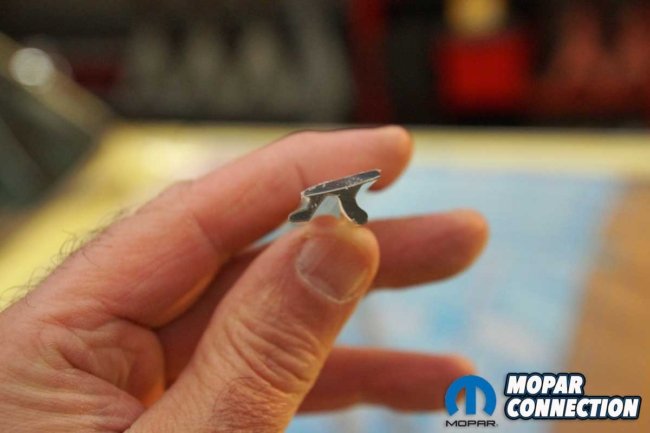
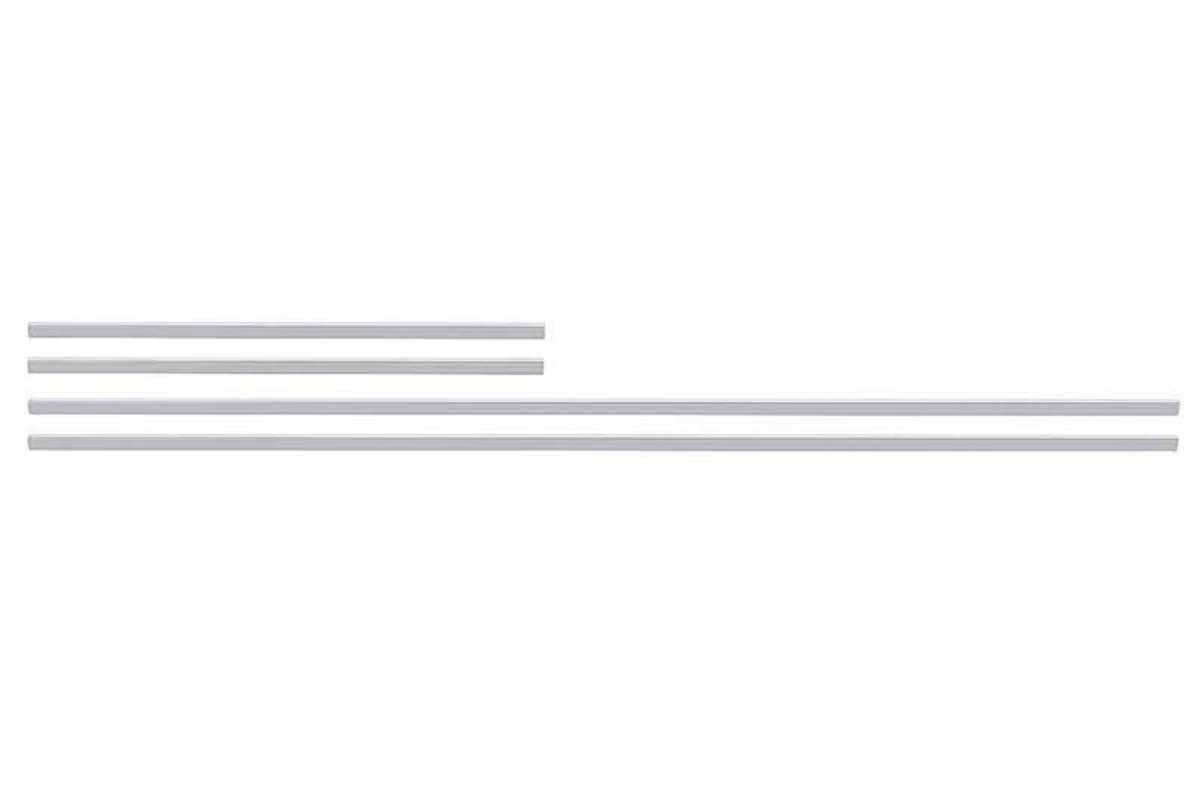
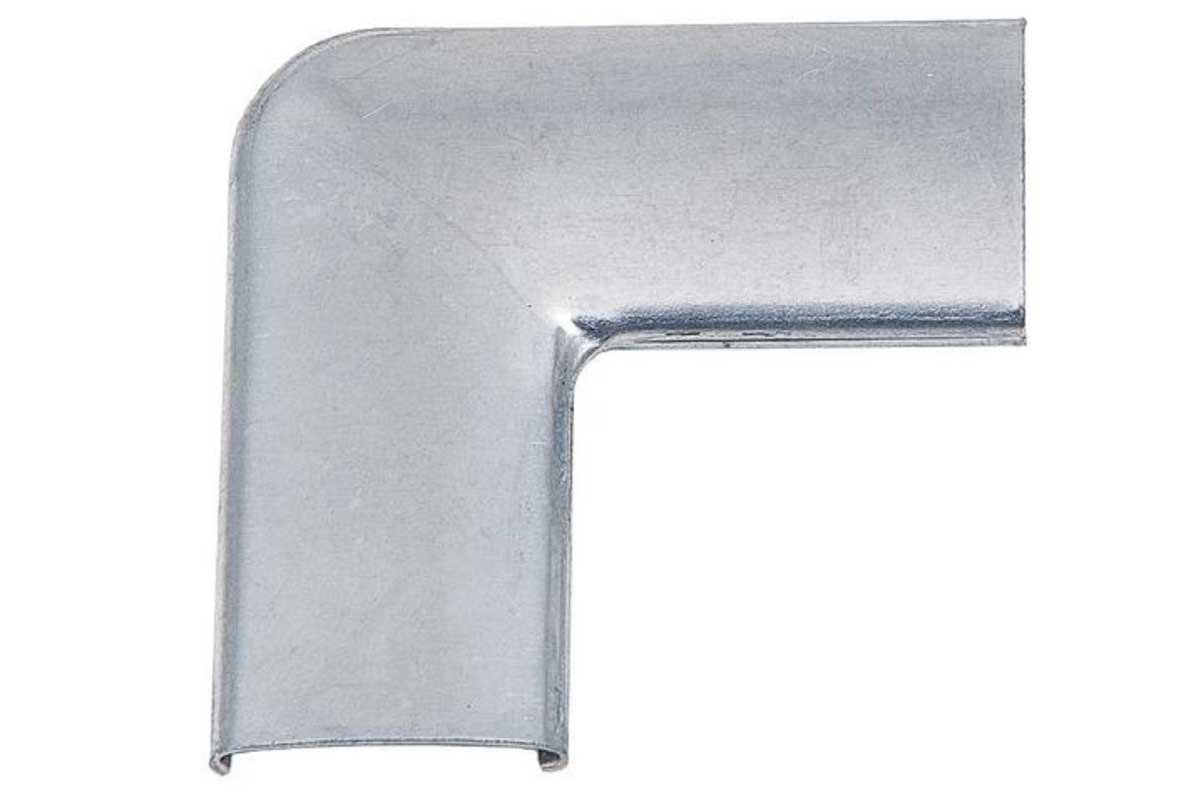
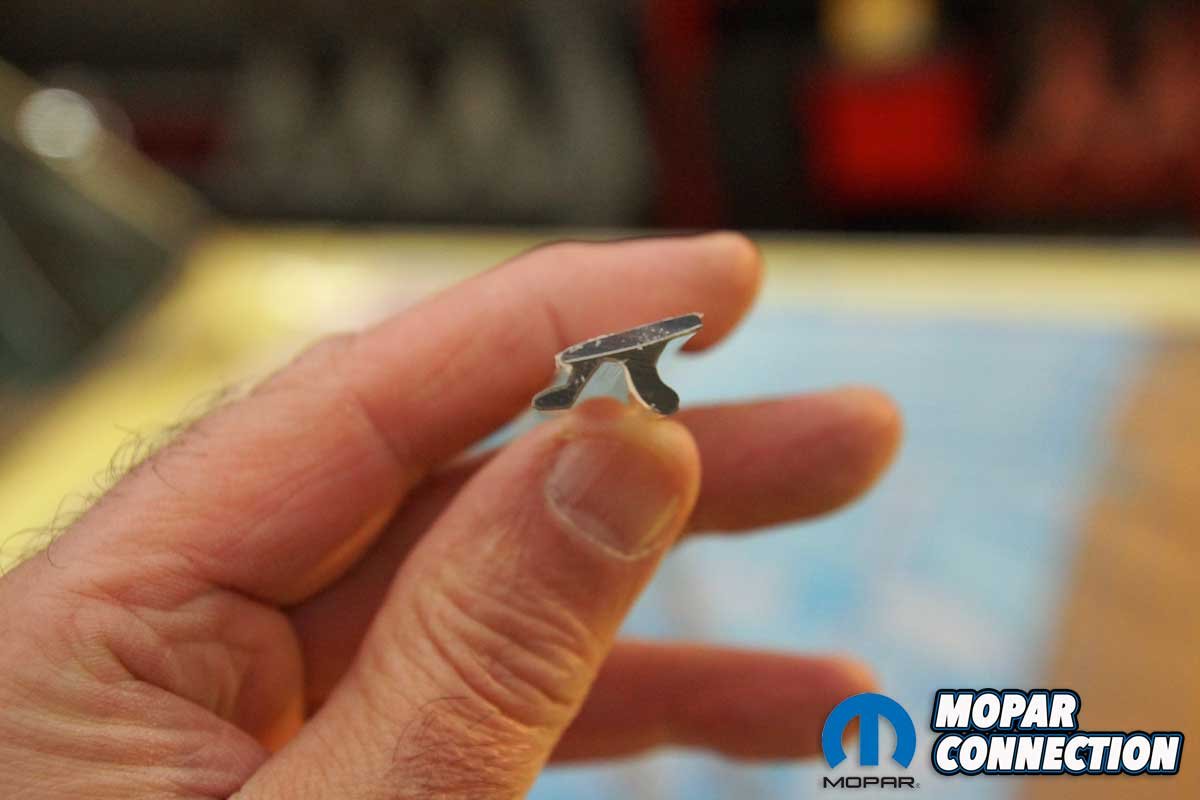
Left: Classic Industries has exact reproduction lock strips to replace the damaged strips on the ’67 A-bodies. Right: The ’67 A-body windshield lock strips require unique stainless corner clips, also available at Classic Industries.
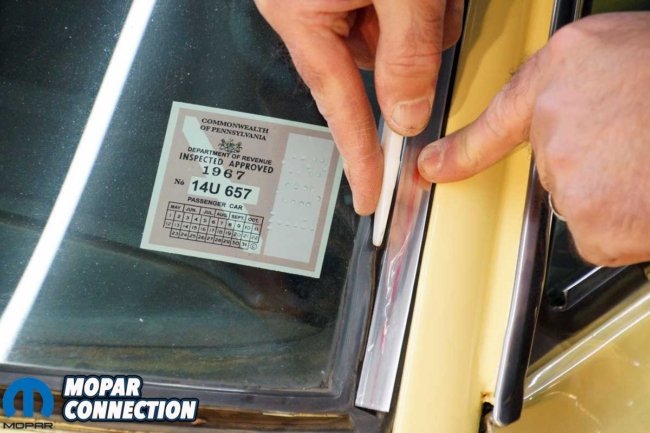
During the run of the ’67-76 A-bodies, each respective vehicle’s body lines remained similar with nothing more than front- and rear-end facelifts. However, the ‘67s are unique oddballs compared to the ’68-’76 models. For instance, the location of the exterior mirror and the interior door lock buttons differ from the other years. In addition, the idler arm is different, and a single metal strip retains the fuel tank.

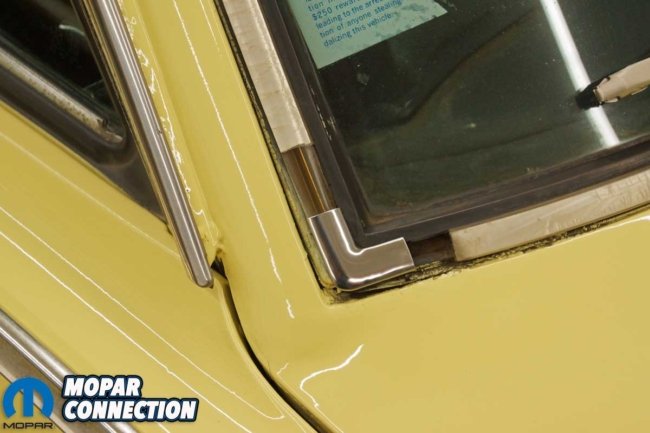

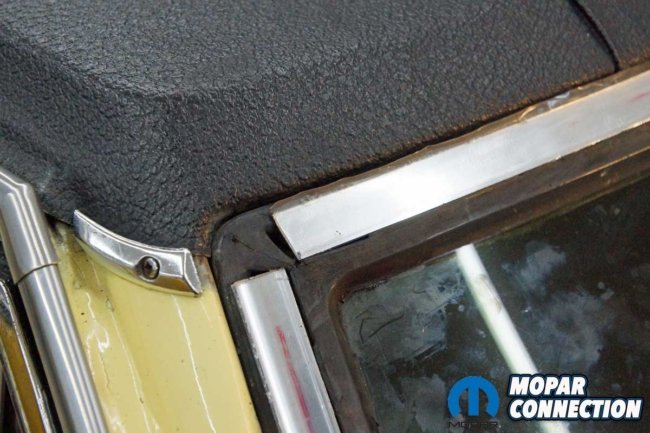
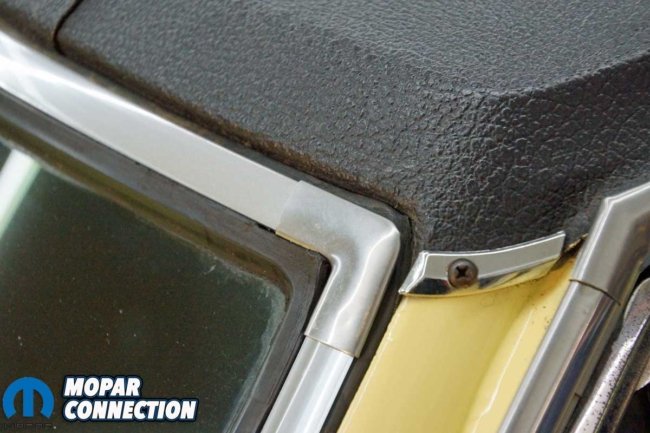
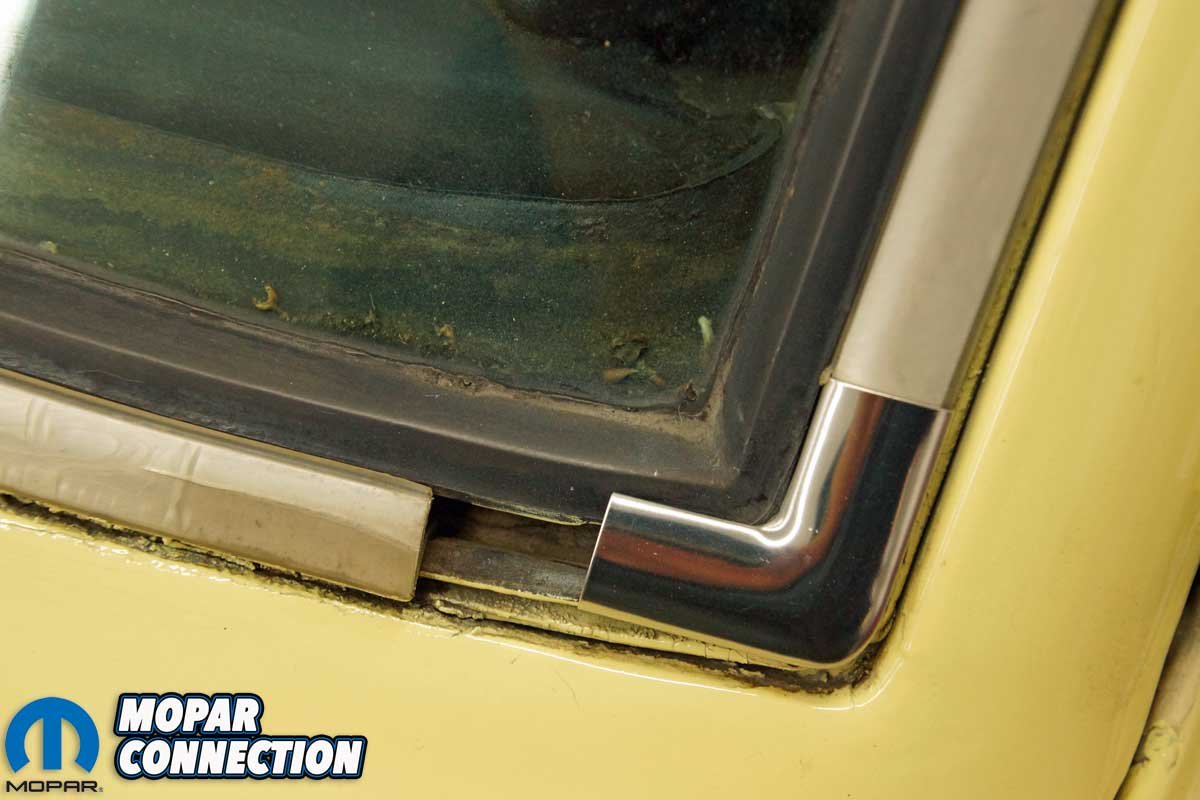
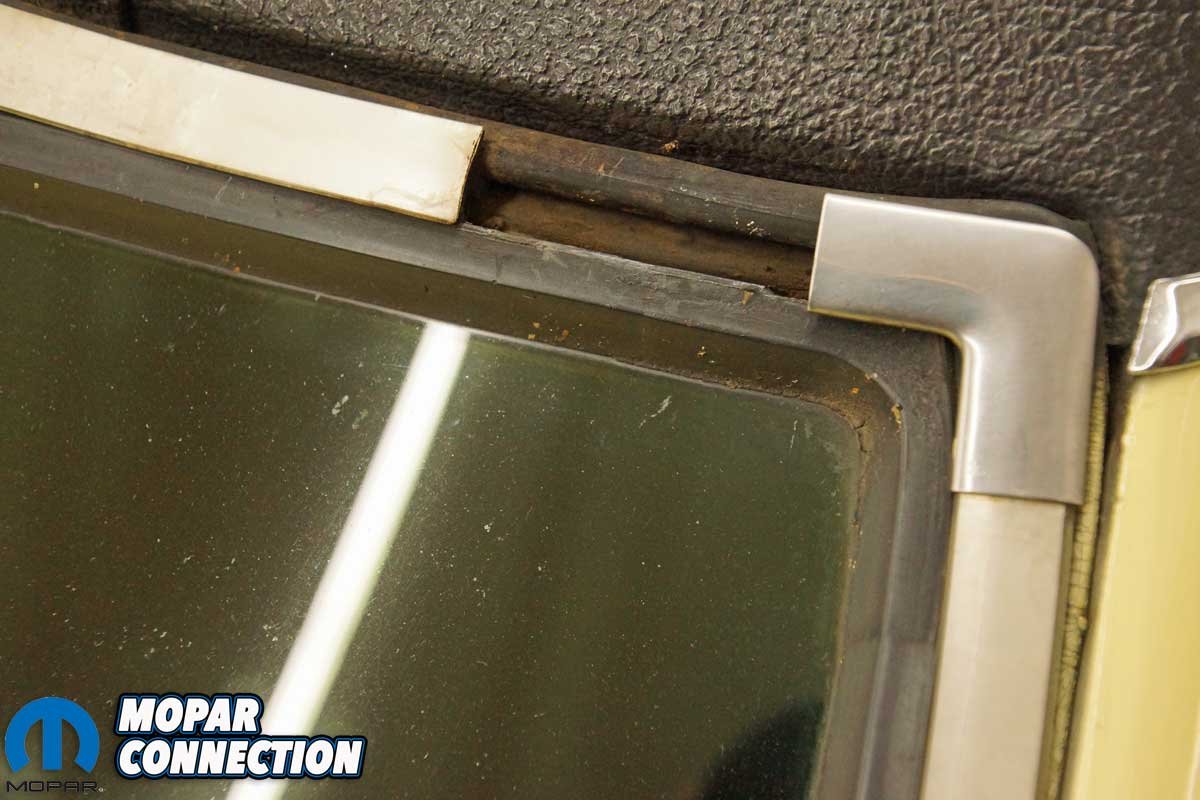
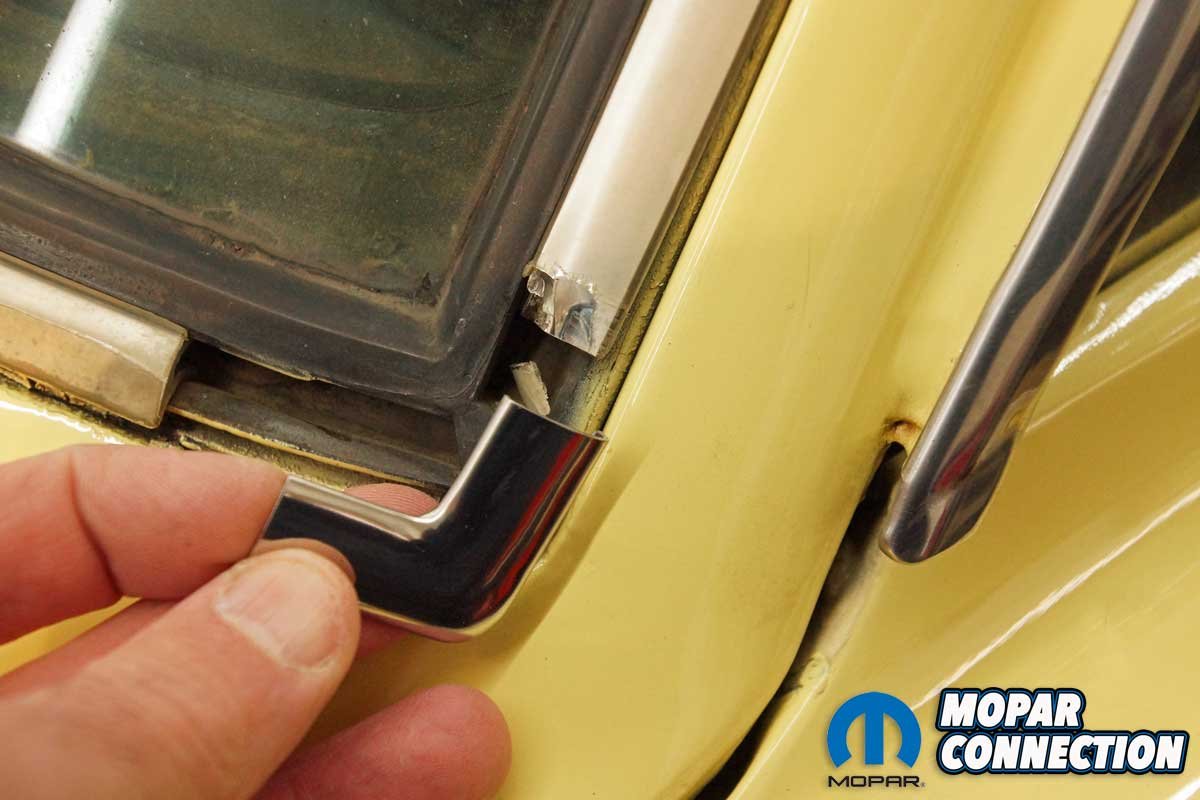
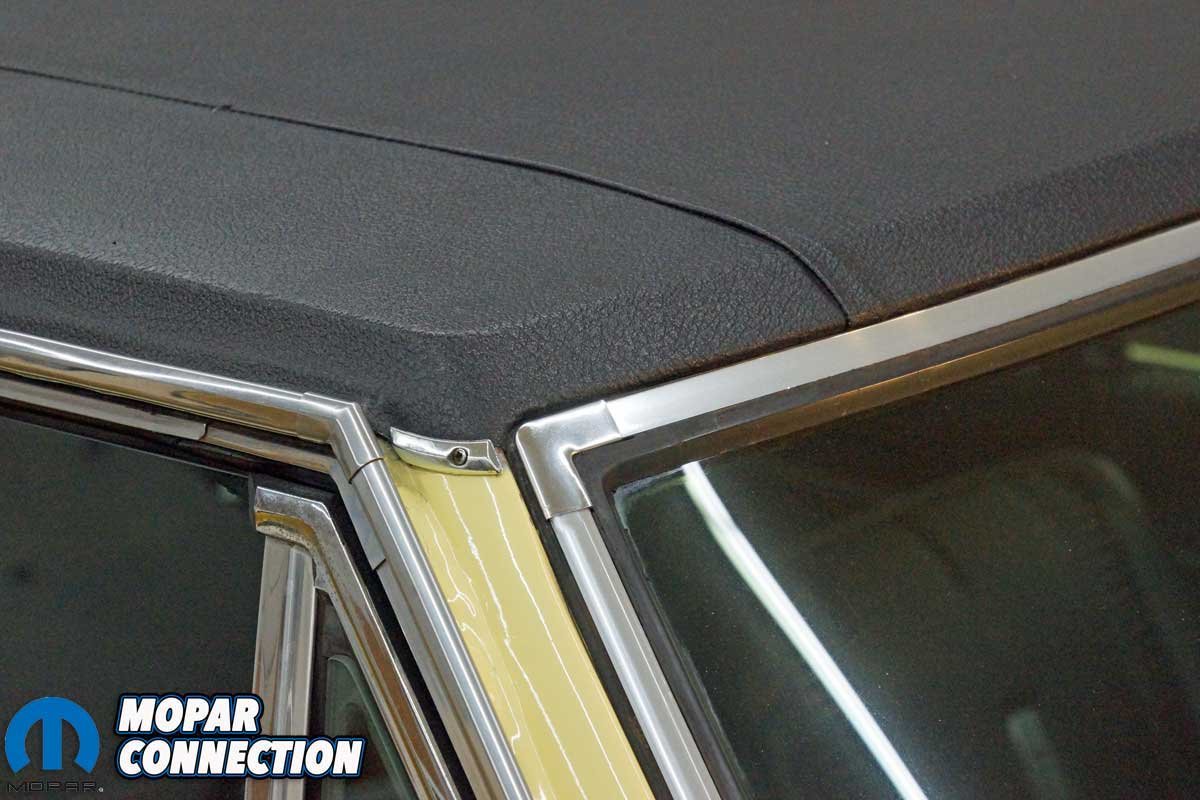
Left: Our Dart suffered through 35 years of California sun, and that exposure did some damage. Center: The lock strips tend to break and crack at the ends, which occurred on our Dart. Right: Usually, the corner clips are missing, but we only lost one clip in 55 years.
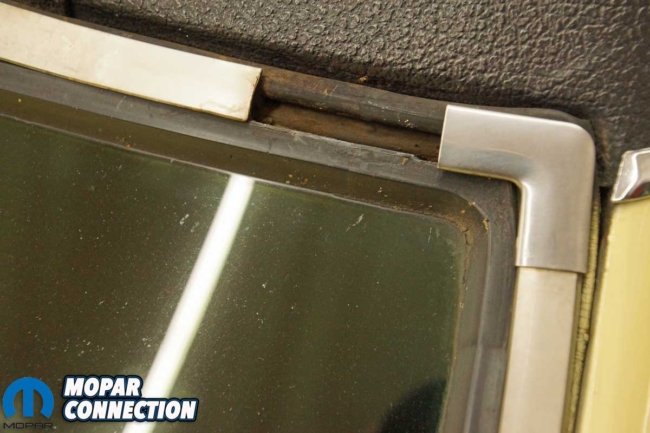

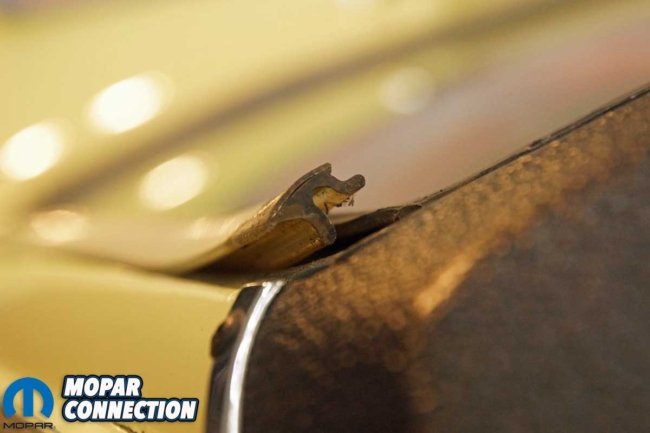
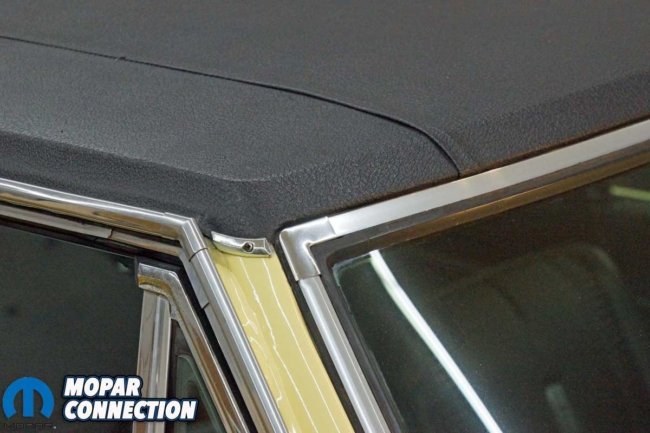
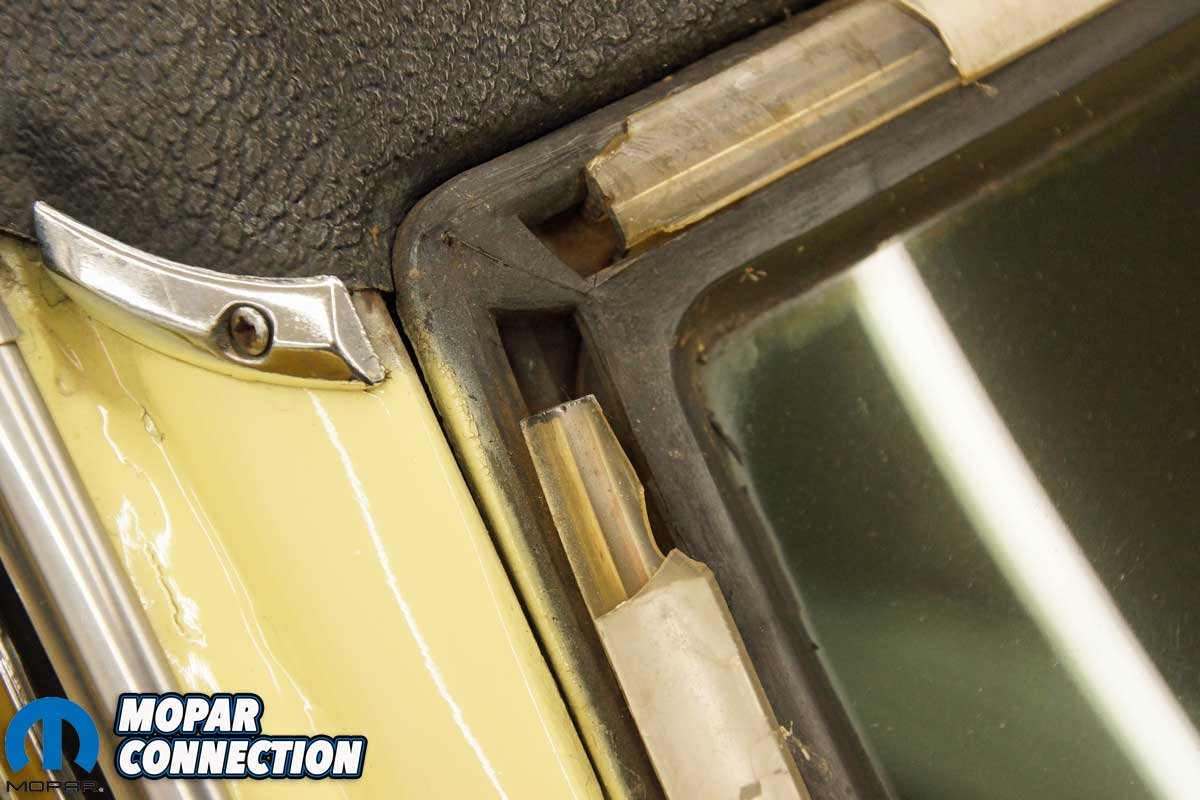
Left: Not only do the lock strips break away over time, they tend to fade, as noted on the a-pillar trim. Center: Without the support of the lower lock strip, the corner clip has lifted and lost its proper orientation. Right: The top strip had delaminated, which allowed water and contaminates into the strip.
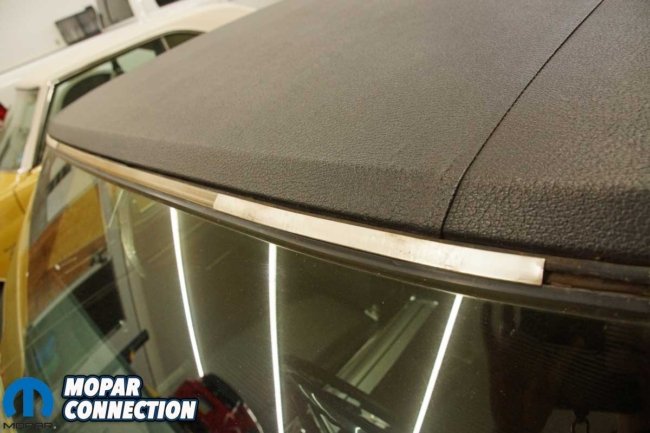
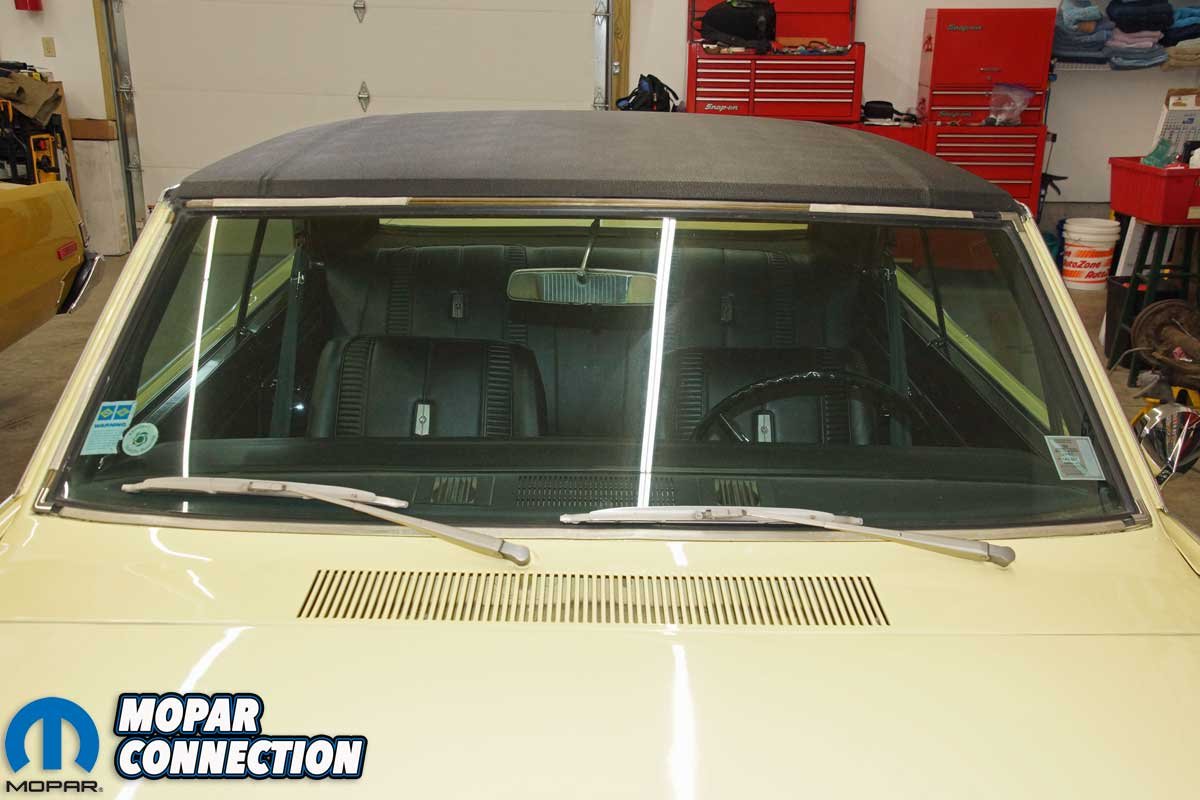
Another dissimilarity is the one-year-only windshield trim. The ‘67s had four plastic strips and four stainless corner molding clips rather than a full stainless frame. Unfortunately, in most cases, the plastic strips cracked and broke away as the years passed. Additionally, the corner molding clips ended up dropping (or flying) off the car as the plastic strips degraded.
Luckily, Classic Industries offers all the parts needed to replace the trim. We picked up a 4-piece chrome lock strip set (part no. MA1811) and four polished stainless corner clips (sold individually) (part no. MP14019). The lock strip set and corner clips fit the Dart base model, the 270, the GT, the Plymouth Barracuda, the Valiant base model, and the Valiant Signet. The parts will work on 2-door hardtops and sedans and 4-door sedans, but they will not mount on a convertible model.
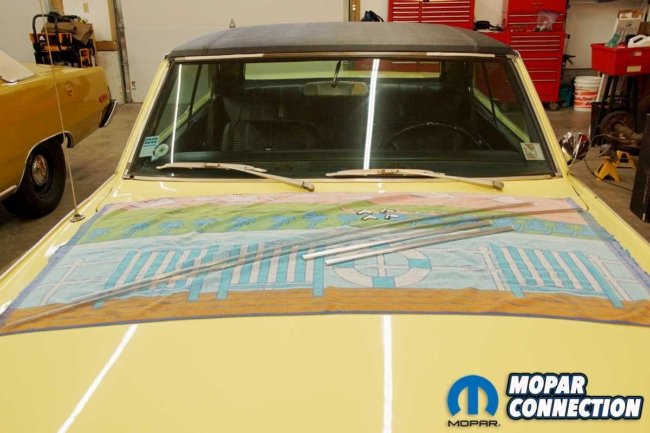
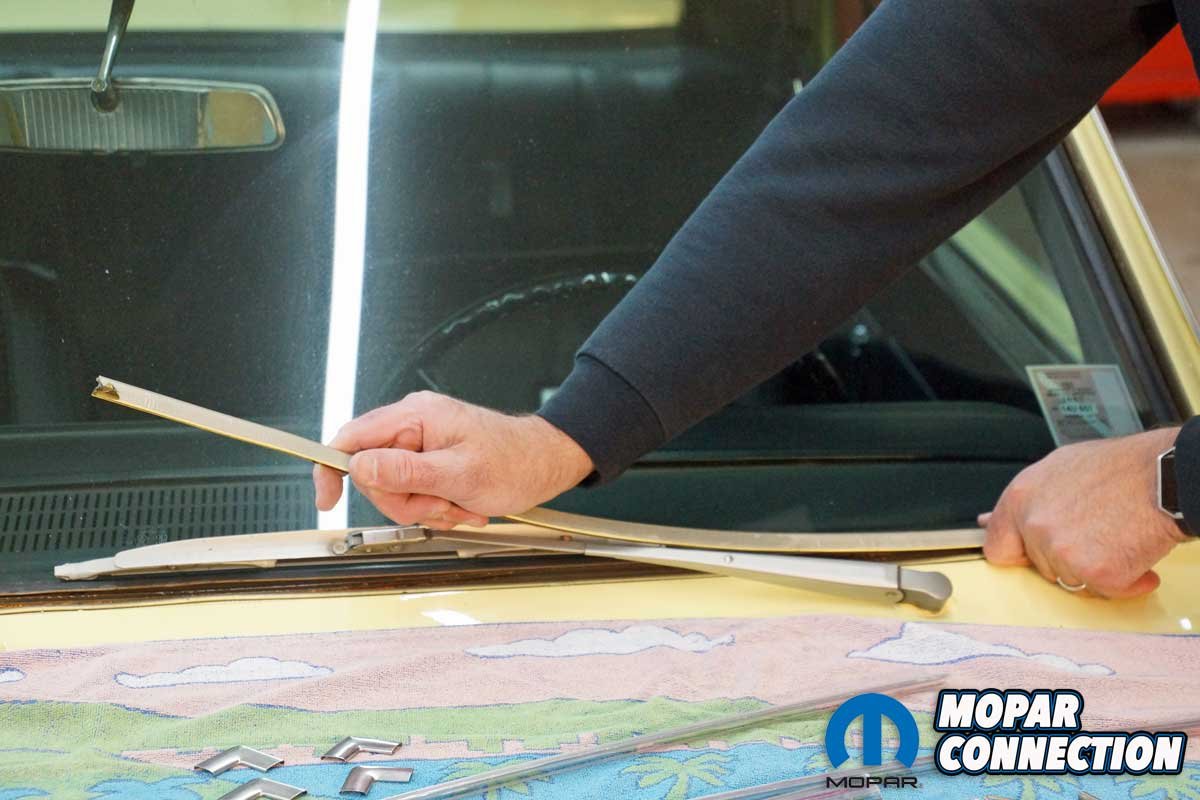
Left: We laid the two 22-, 52-, and 62-inch lock strips and all four corner clips on a towel. Right: Some refer to the lock strips as “F” strips. An “A” strip design was used on some Dodge/Plymouth products in the ’70s. Although an “A” looks like it would work on an A-body, it will not secure properly.
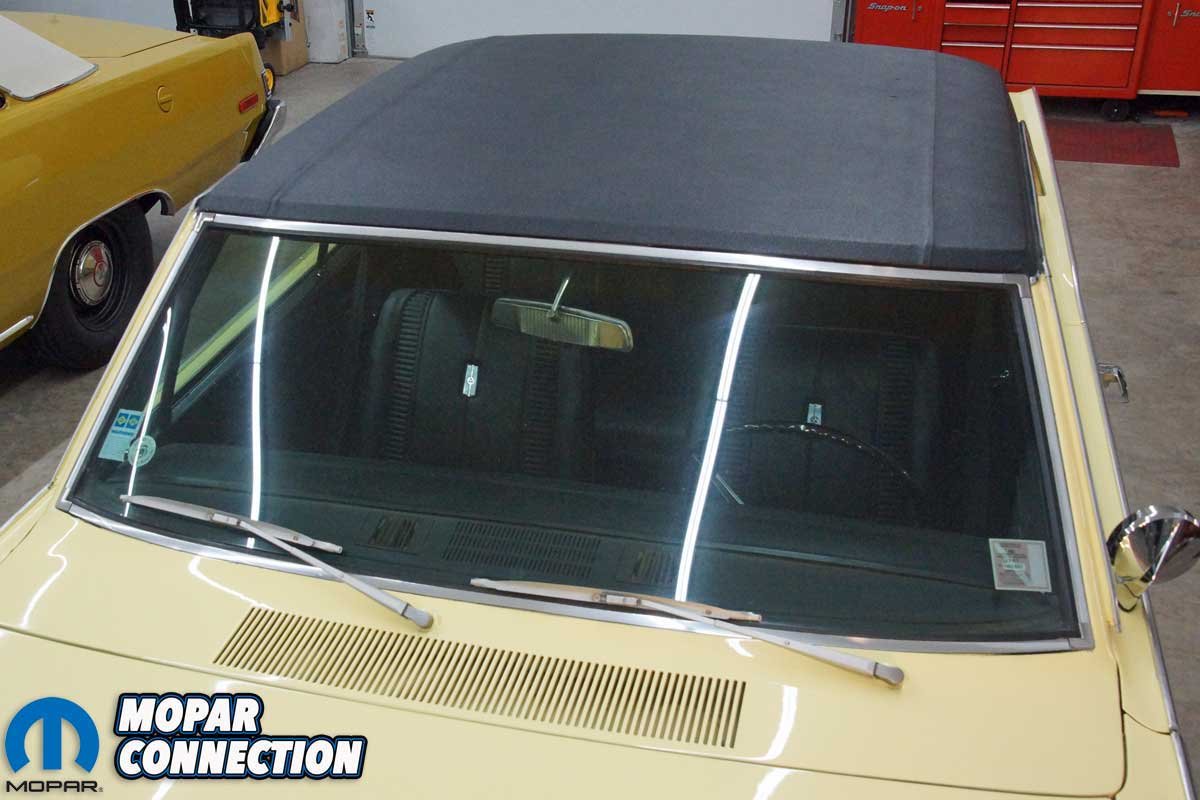
After 35 years of baking in the California sun before making its way to the east coast, our Dart GT’s windscreen trim broke down like every other ’67. However, the damage was not as bad as some; the Dart retained three corner clips.
To start the disassembly, we removed the three remaining corner clips. We used a trim removal tool (tongue depressor style) to lift the clips gently. Each end of the clip folds over the plastic chrome strip. We used our trim removal tool to provide leverage to “pop” the corner over the lock strip. The corner clips are the same, so we did not worry about keeping them in order.


Left: We used a trim removal tool to push the corner clips off the remainder of the lock strip. Right: The lower driver’s side clip came off in our hand with minimal effort.
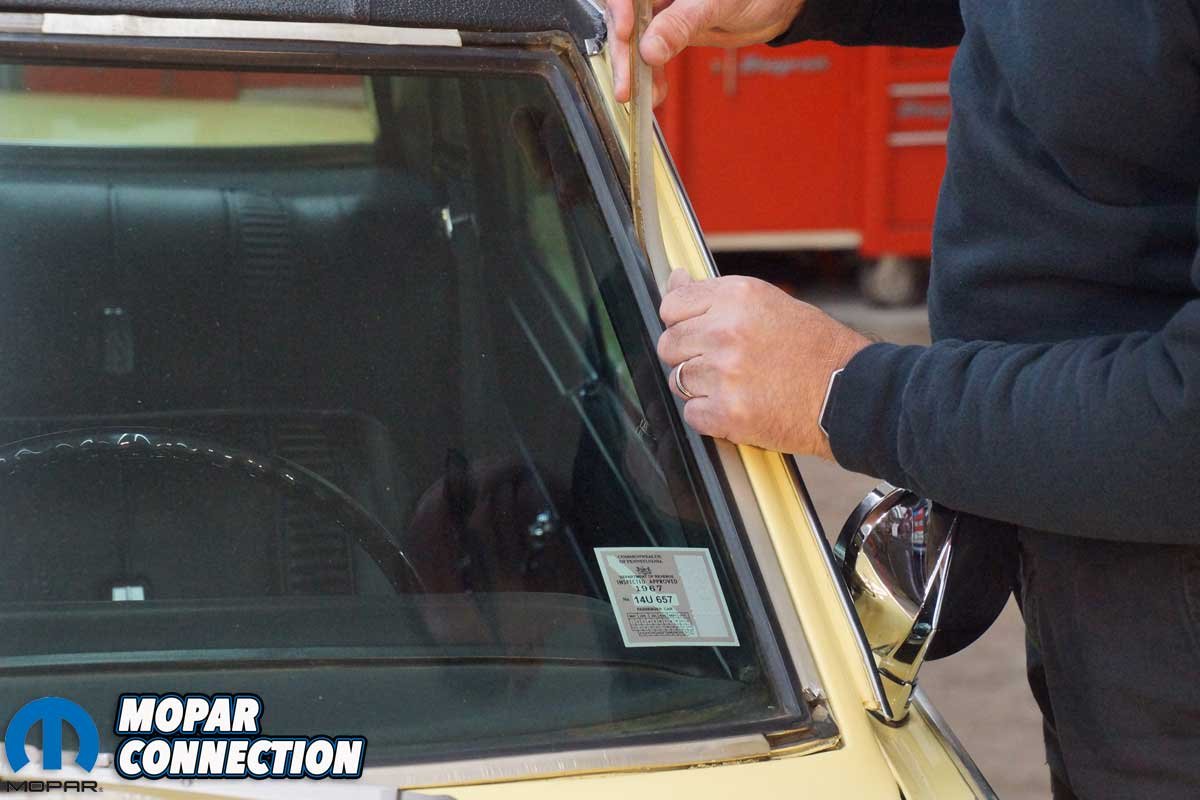
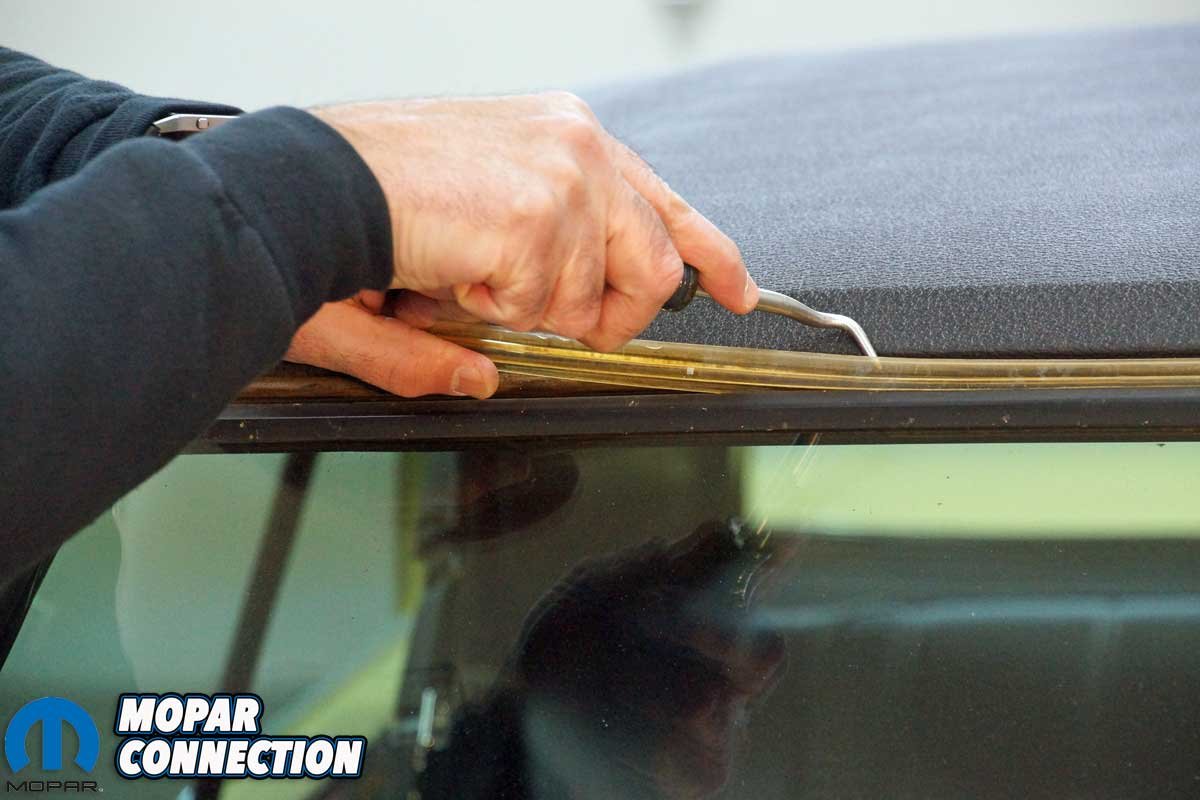
Removing the chrome locking strips was more challenging. We were able to insert a cotter pin removal tool into the small gap between the two locking strip tabs on the driver’s side a-pillar trim. By lightly prying the strip out of the windshield gasket, we gained better access to the end of the strip. We continued to work the lock strip from the gasket. However, as we removed the trim, it tended to shatter violently. Fortuitously, we had previously placed a pair of safety glasses over our eyes, and a protective towel had been laid over the paint on the cowl and hood.
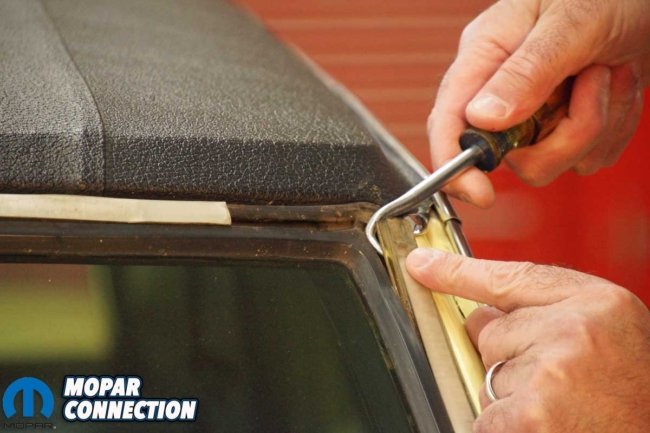
Left: We used a cotter pin removal tool to lift the pillar lock strip. Right: By raising the end of the lock strip, we had something to grab to remove the trim.

Left: The trim had become brittle and did not bend well. Right: The lock strips tended to shatter into several jagged pieces. Make sure you wear safety glasses.
As the trim broke apart, we had to pick out the chunks of lock strip that remained. It turned out to be more work than we had expected. After removing the driver’s side trim, we performed the same procedure on the strips of the top, bottom, and passenger side a-pillar. Once the strips were extracted, we used the cotter pin removal tool and a shop vacuum to free any remaining debris and clear the gasket channels.

Left: Each lock strip ended up breaking at some point. Our main objective was to clear the windshield gasket of any lock strip material. Right: The top and bottom lock strips were much longer. The same removal process was employed. It just took longer to remove each strip.

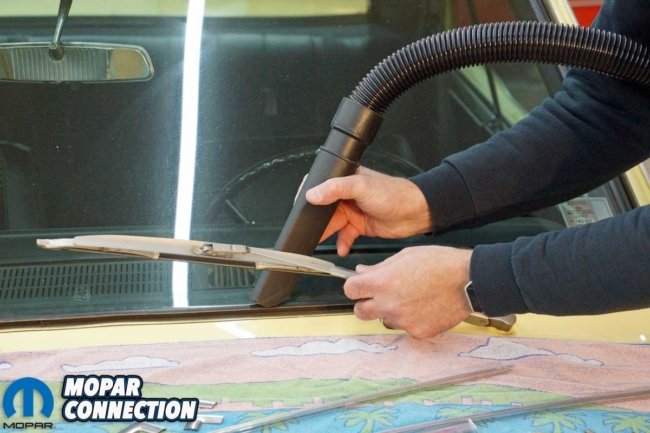
Left: The final lock strip section was removed. We could have pulled the wiper arms, but rather than fight to release them from the Dart, we just worked around them. Right: The gasket was cleaned, and we vacuumed each gasket channel to remove any remaining debris.
As soon as we removed the lock strips, we wanted to take care of the paint overspray on the windscreen gasket from a previous repaint. So we taped off the paint around the a-pillars and the cowl and lightly sanded the gasket to remove the paint tape lines. The last step we performed before installing the new lock strips was to clean the gaskets thoroughly.

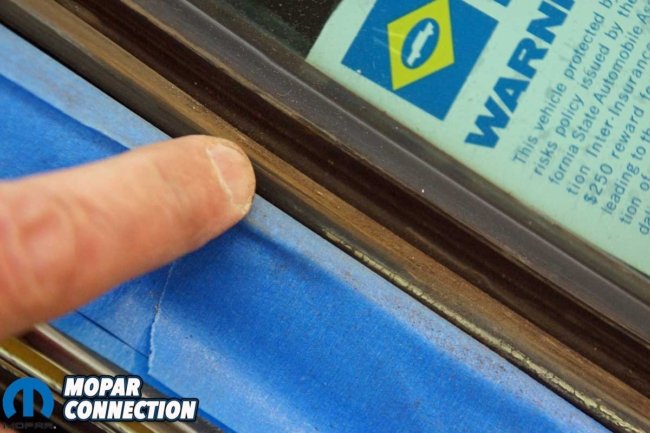
Left: The Dart had been repainted years before we purchased it. A tape paint line remained on the gasket, so we sanded it away. Right: The paint line can be seen on the edge of the gasket (below finger). The line has been removed from the gasket (above finger).
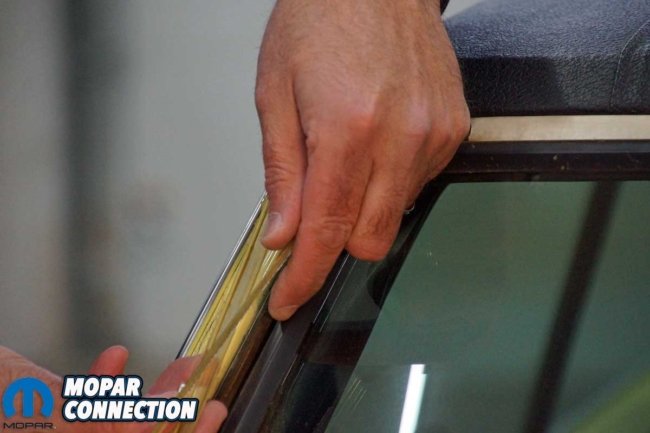
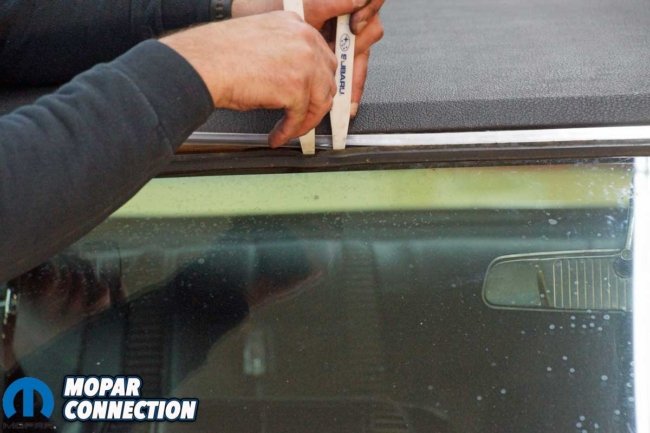
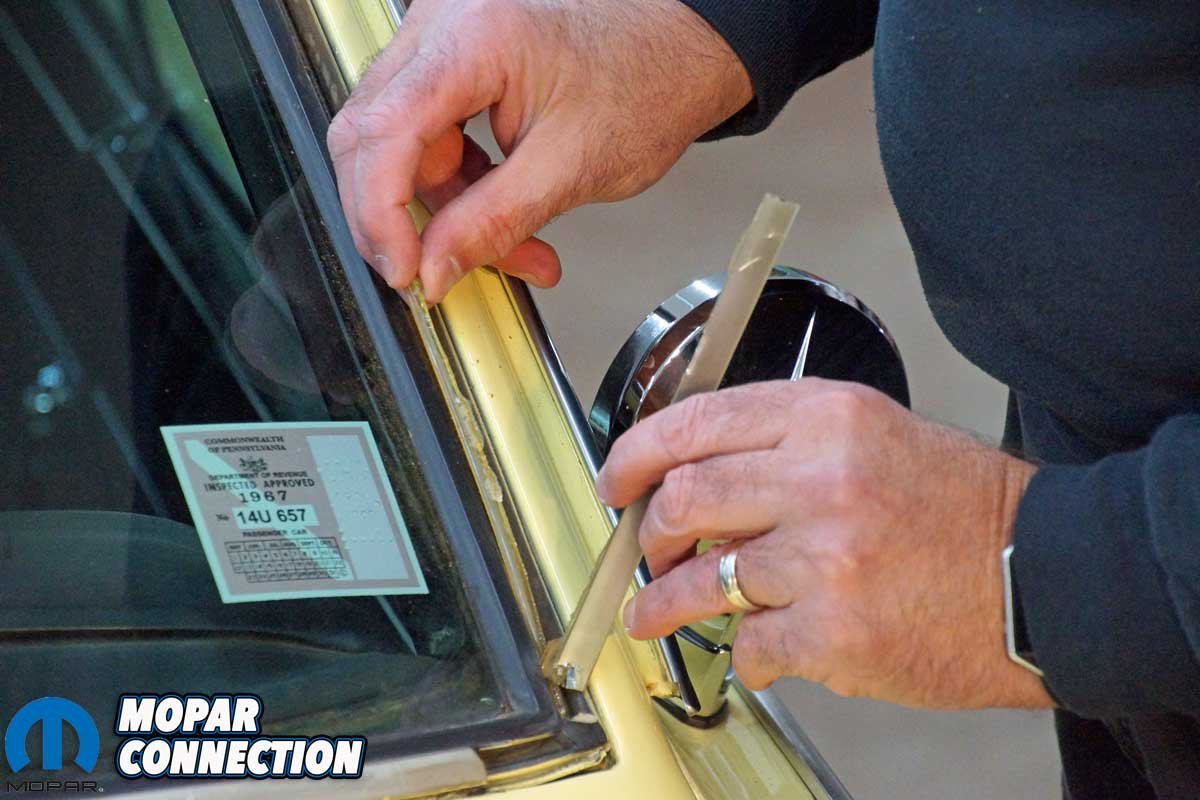
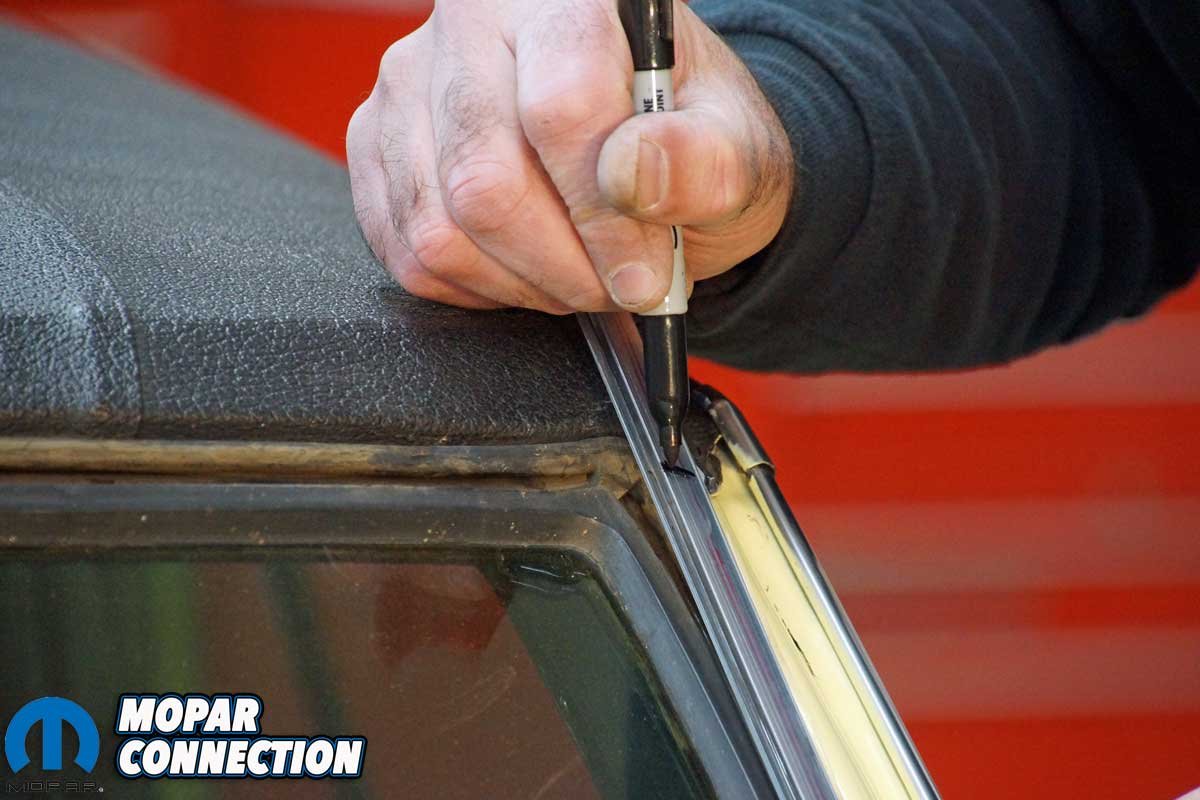
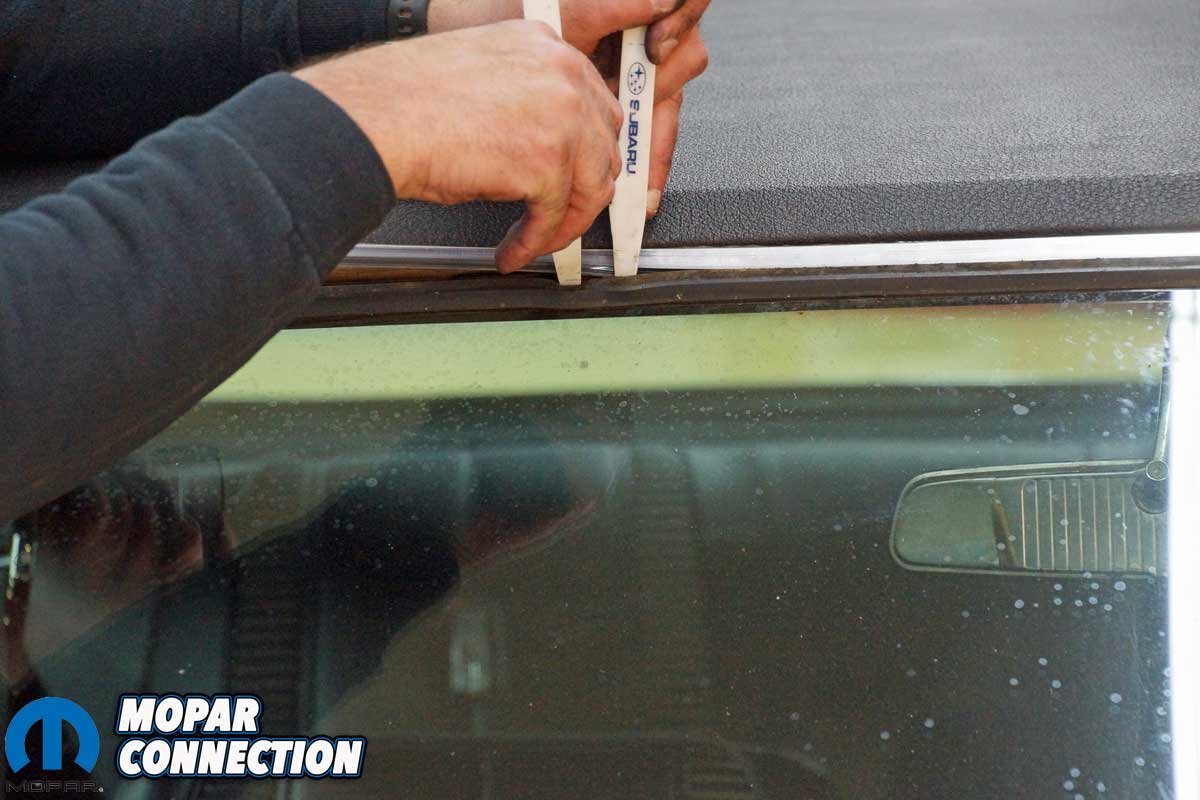
We started the installation of the lock strips on the driver’s side a-pillar. The Classic Industries lock strip kit comes with two 22-inch-, a 52-inch-, and a 62-inch-strip. We selected a 22-inch strip. However, the strip was longer than needed (it could be used on a sedan with a taller roof line). Therefore, we laid the strip on the gasket and marked the length necessary for our Dart. Once marked, we shortened the strip with a cut-off wheel.
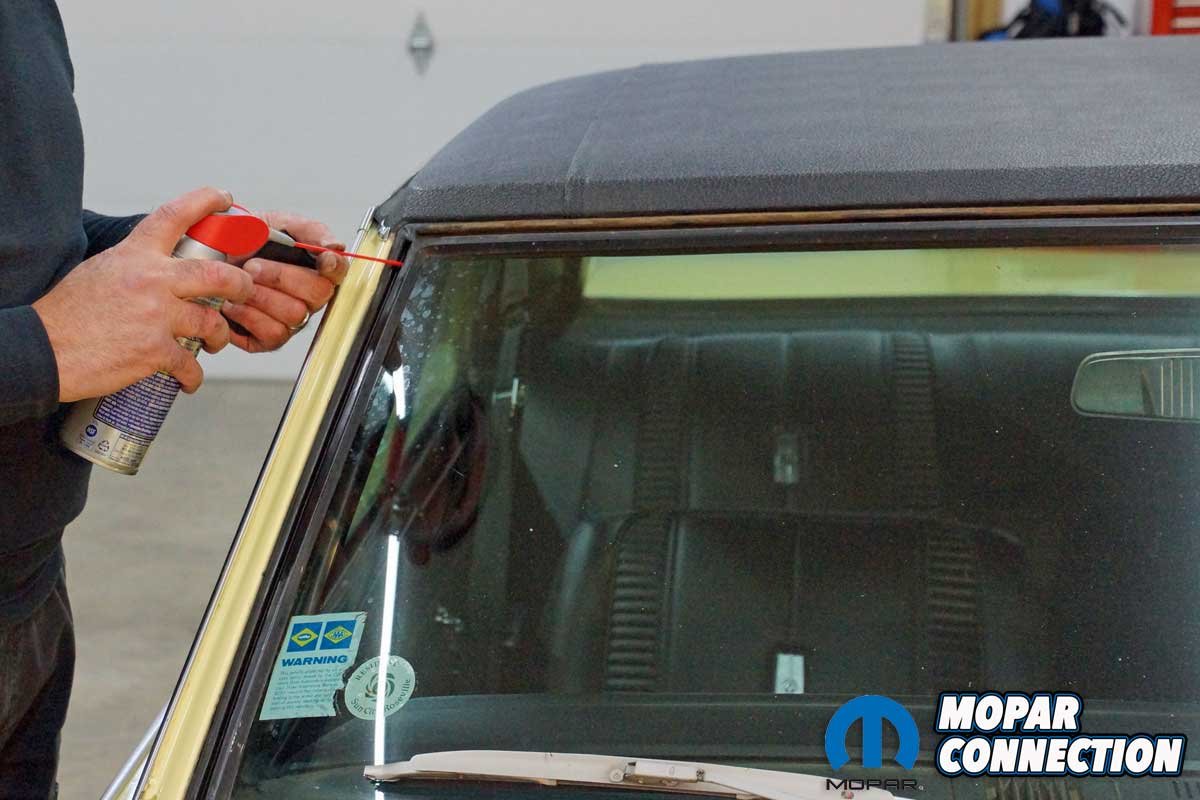
To ease the installation of the lock strip, we lubed the gasket with a dry lubricant. Next, the strip was guided into the gasket channel. After we slipped the lock strip into place, we used our trim tools to locate the gasket onto the strip. We followed the same procedure on the passenger’s side a-pillar strip.


Left: The 22-inch strips need to be shorted for the 2-door hardtops. Therefore, we marked the strip for the required length. Right: With a cut-off wheel, we cut the lock strip.
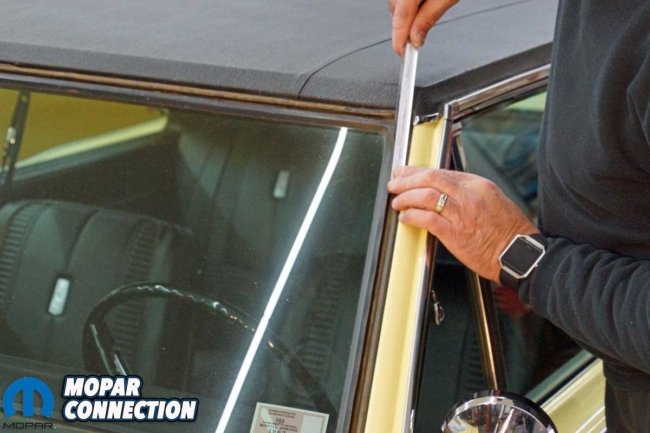

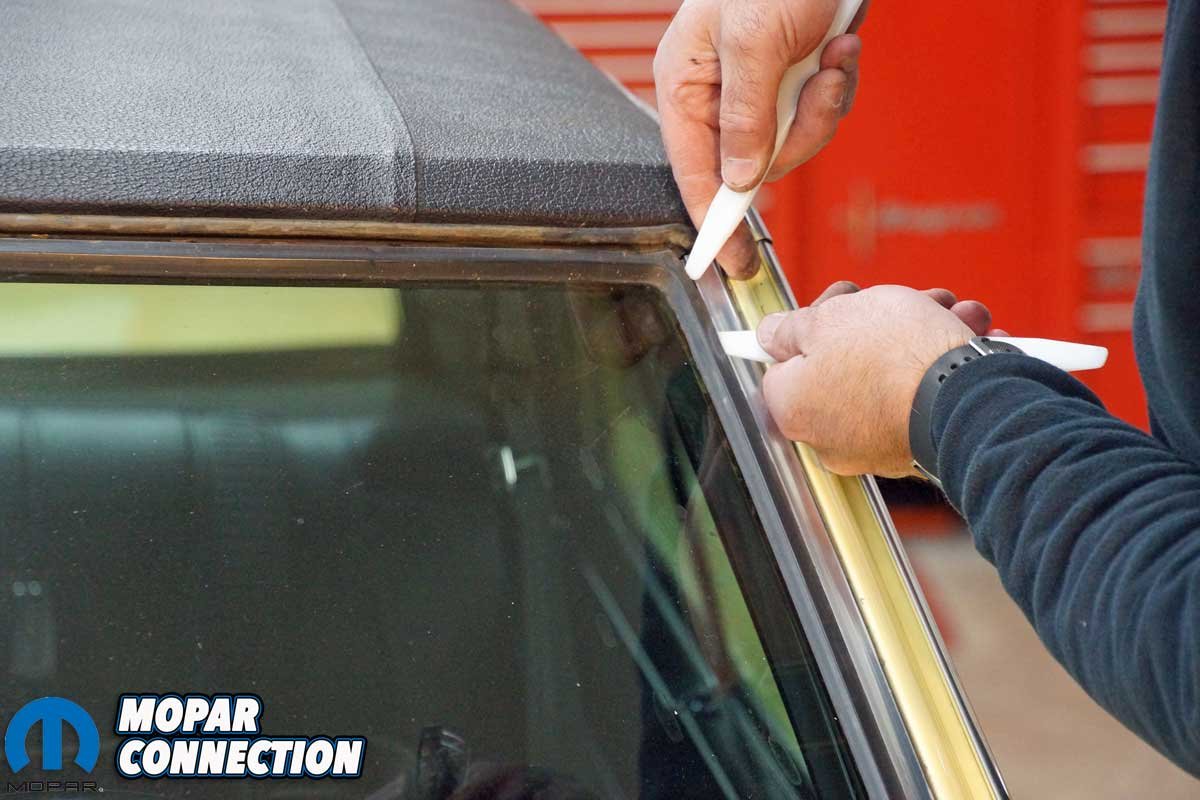
Left: We slid the A-pillar trim into the gasket channel. The installation took some effort, even with the assistance of some penetrant lubricant. Center: We had to work the gasket over the trim. Right: The same process of working the gasket into the channel was required at the lower end of the lock strip. It seemed the ends of all the strips needed some manipulation to fit into the channel.
Installing the top lock strip was a similar process as the a-pillar trim. Yet, we could not merely slip the much longer 52-inch strip into the gasket. Therefore, we started by working the lock strip into the gasket by manipulating the gasket with a pair of trim tools. Again, we worked slowly but diligently, and eventually, we had the strip secured in the gasket.
The last lock strip to install was the 62-inch bottom strip. We followed the same procedure we employed on the top strip. The lower strip took the most time to complete. We had to work around the wiper arms to make the job more challenging. We gained the needed access by bumping the wiper switch to move the wipers up the windshield.

Left: We sprayed a dry lubricant into each channel to assist with the installation of the trim strips. Again, working slowly and diligently was the key to success with the lock strips. Right: The top and bottom lock strips were so long that we could not slip them into place. Instead, we manually worked every inch of the trim into the channel. The work was slow, but eventually, we engaged the strips into the channel.

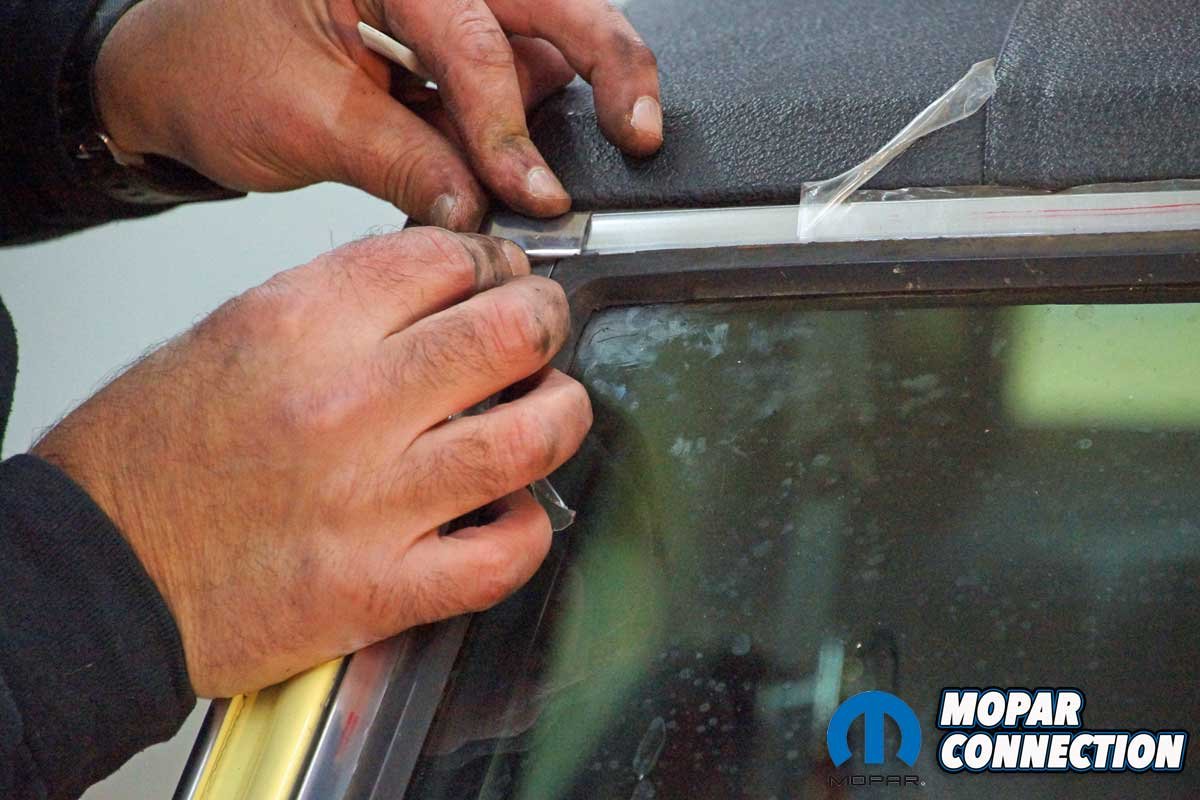
Left: The lock strips fit perfectly into the gasket. Each piece stretched to the end of the channel, just like the factory pieces. Right: We pulled a portion of the protective film from each lock strip to install the stainless corner clips. It worked best when we pushed the clip over one strip and then “popped” over the other lock strip.
With the lock strips satisfactorily installed, we pulled back just enough of the protective film off each lock strip to allow the installation of the stainless corner clips. We found it easiest to engage one end of the clip around a lock strip, and once it slipped into place, we moderately depressed the other end of the clip, popping it over the opposing lock strip. For example, we fitted the clip over the passenger’s side a-pillar lock strip, and once located, we pressed the corner clip over the top lock strip.
Left: We removed the protective film from each lock strip with all four corner clips installed. Right: The corner clips fit well, and each one is engaged with its opposing lock strips.

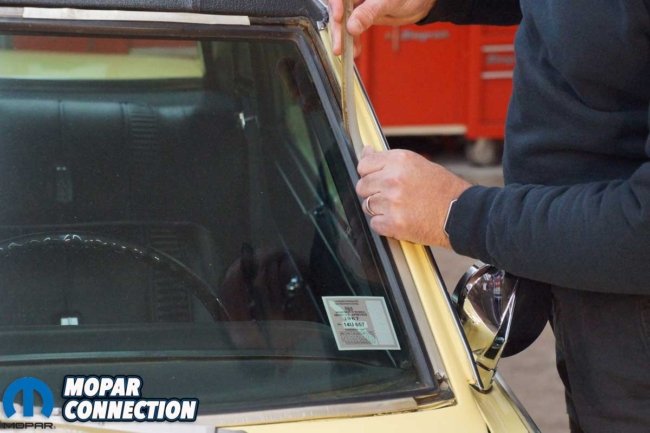
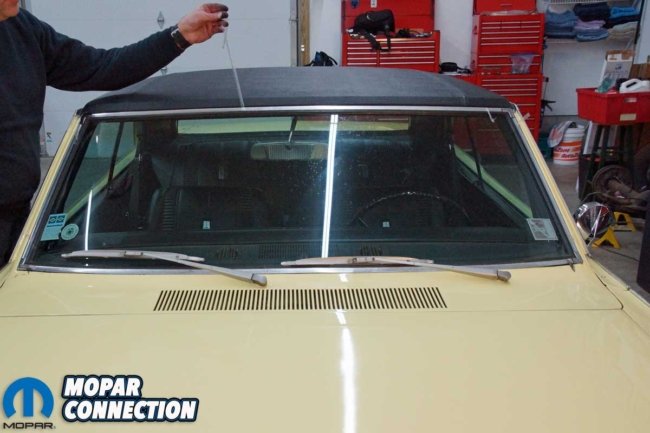
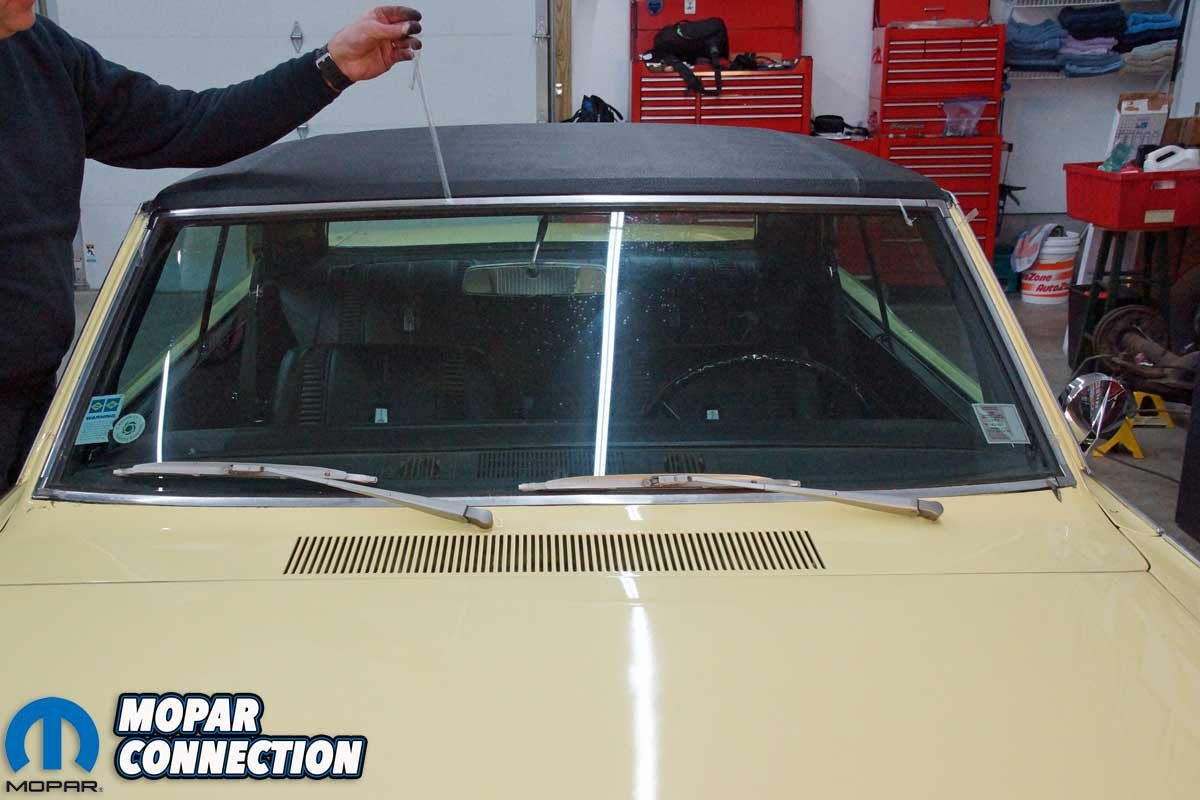
Left: The trim and corner clips have returned the luster to the windshield area of the Dart. Right: All the pieces fit perfectly. The results are well worth the effort.
After completing all four corner clips, we removed the protective film from each lock strip and cleaned the lock strips, the painted areas around the windshield, and the glass. With everything wiped clean, we stepped back and admired our work. The Classic Industries lock strips and corner clips restored the Dart’s windscreen to the factory appearance when it left the Los Angeles assembly plant in May of ’67.
If you have a ’67 Dart, Barracuda, or Valiant in need of a windshield trim update, Classic Industries has the parts to restore your Mopar. The repair should take a few hours, so if you start on Saturday morning, you will make it to the evening car cruise.


