


After installing the brake/clutch pedal assembly, the master cylinder, proportioning valve, and brake lines on our on-going Comeback ‘Cuda ’70 Hemi-powered Plymouth ‘Cuda convertible project car, we then install the under dash insulation. Detroit Muscle Technologies “shoddy pad” and the “fiber board” insulation kits are great! They are cut to exact specifications and their fit is spot on. Having great parts and correct tools always make things go so much better.
After laying out the “shoddy pad” in the car it took a little time to figure out exactly how the pad was oriented. After some test fitting we settle on how the pad will install the best and then we get out the 3M spray adhesive and coat both the under dash area and the pad with 2 heavy coats. Wait about 5 minutes for the glue to get tacky and then smooth the pad into place.

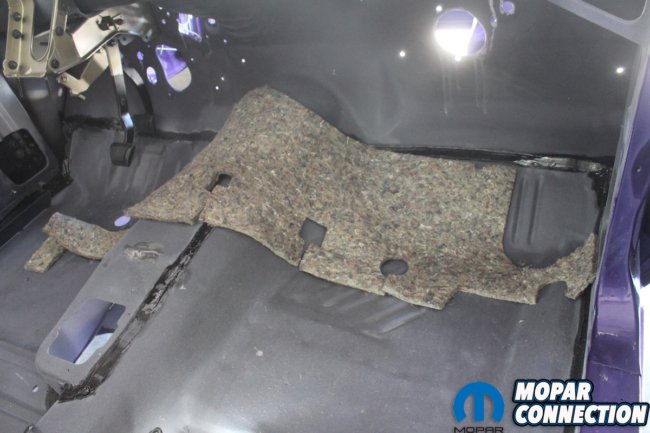
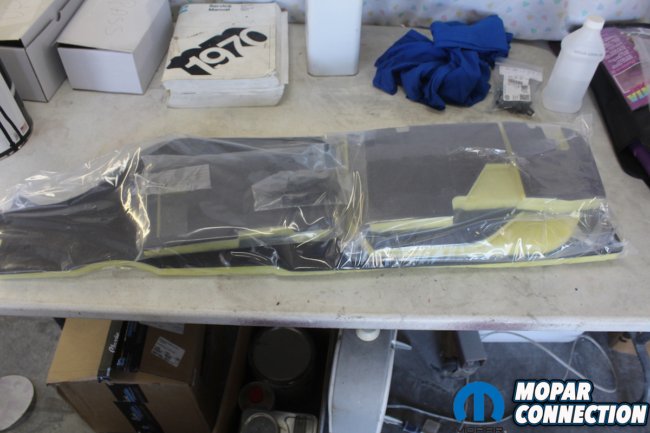
Above: Our good friends over at Detroit Muscle Technologies provided us with all of our insulation and gaskets for the ”Comeback ‘Cuda.” The next step in the restoration process is to install the under dash insulation. The “Shoddy Pad” sound deadener is a dead on replication of the original soft insulation found on these E-bodies.

Above left: We open the package and allow a couple of hours for the folds in the pad to relax. Then we lay out the pad making sure to get the pad oriented correctly. Above right: The “Shoddy Pad” is glued on to the upper firewall. After cleaning the area we like to use the 3M spray on Yellow Super Trim Adhesive. This can be purchased at most automotive parts stores or at your local paint supplier.
Next, we lay out the fiber board insulation kit. Everything needed to install the insulation is provided. We again take some time to test fit the pads before installing them. We had a question about the kick panel and door inserts, so we just called them up. Their customer service is great, and we quickly had our answer.
We do wish that the plastic pins that hold the insulation to the firewall were made of a little heavier plastic since we easily broke the first pin. After taking some time to run a drill bit through the firewall holes to “slightly” enlarge them we were able to get the remaining pins installed. Now that all the under dash insulation is installed we can move on the restoring the non A/C heater box and the emergency brake assembly.
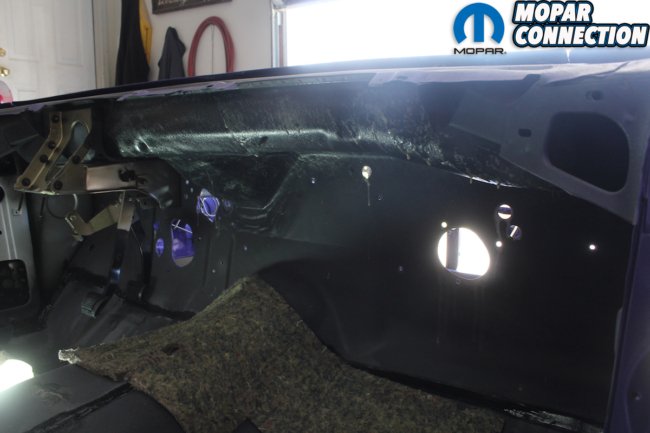
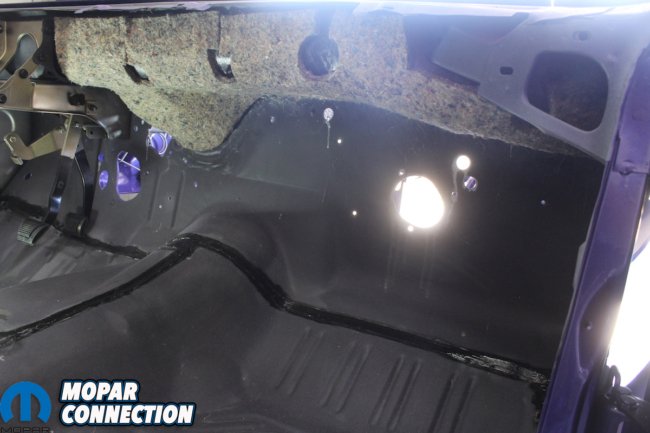
Above left: We spray several heavy coats on the under dash area allowing some dry time between coats to limit any runs. We also do the same to the surface of the “Shoddy Pad” although we use more product on the pad since it is porous and soaks up the adhesive quickly. Allow about 5 minutes for the glue to get tacky. Above right: Following the contour of the upper firewall cap we work from right to left. This way if you have any extra pad it will easily fit next to the steering column support.

Above left: By working right to left and bottom to top you can see how perfectly the pad fits in the car. With Detroit Muscle Technologies products, we can always count on a perfect fit. Above right: The “Shoddy Pad” comes in two sections. The smaller section obviously goes on the left side of the body between the steering column support and the body. It only fits one way so there isn’t any confusion about how to install it.

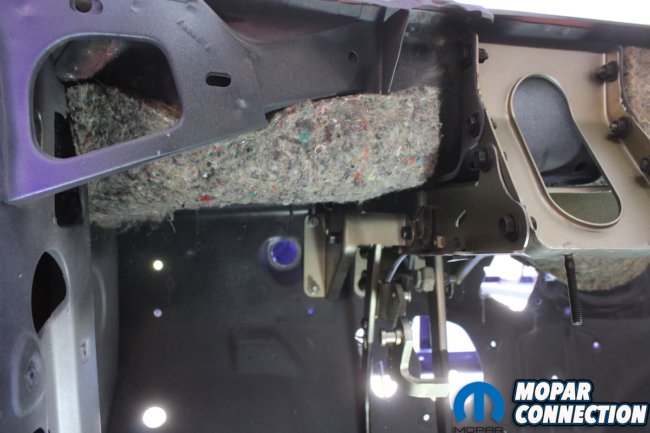
Above left: Next, we break out the firewall and kick panel insulation. It is made of a fiber board with fibrous insulation attached to the back side. Above right: There are several areas where depending on your car’s equipment can either be punched out or left in place. Pre-fit these panels so you can be sure what needs to be removed and what needs to stay. The “perforation” on these areas makes it easy to remove and leave a clean edge.
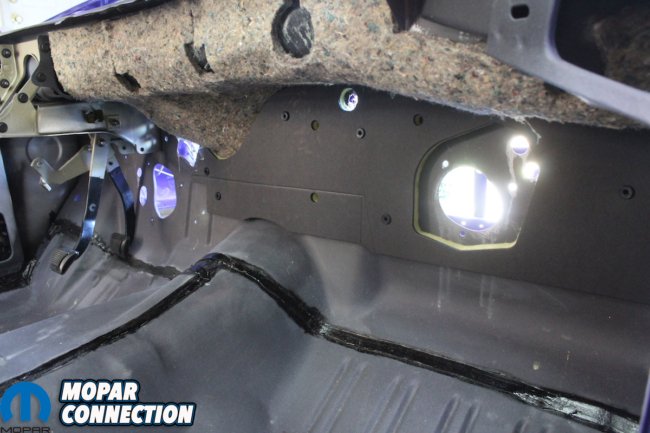

Above left: Here you can see where we removed the hole for the “Shaker Hood” cable. If your car doesn’t have a “Shaker Hood” you simply leave the perforated hole in place. The fit of the insulation is again perfect. Above right: The section that goes on the drivers side has the perforated areas for the emergency brake, the clutch safety switch, and the speedometer cable.

Above: The kick panel insulation caused us some confusion at first. As you can see the fiber board side goes against the metal and the insulation side faces outward. There are two small door sections that fit around the lower hinge bolts. There were also two other sections left over. So, we called DMT and talked to a real person. What a refreshing concept! We found out the two remaining sections are glued to the kick panels and once installed have the insulation sides meeting together.


