


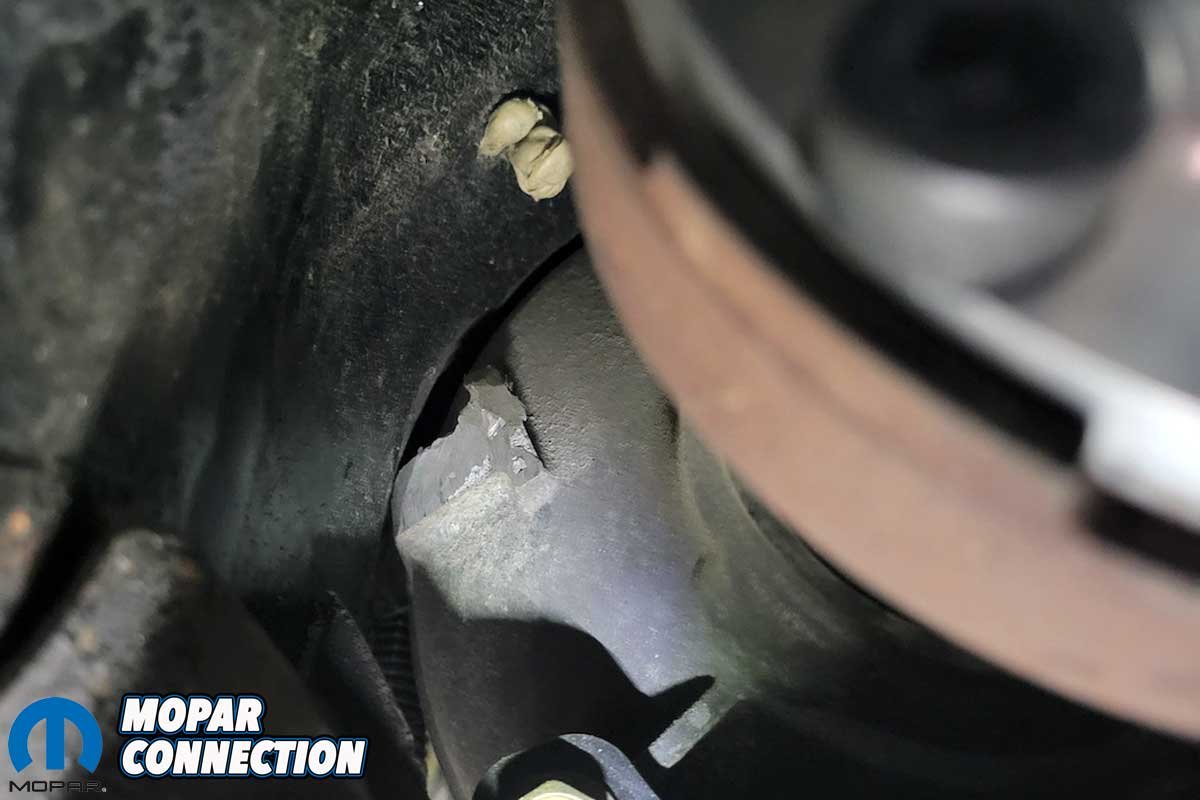
Integrating modern drivetrains into vintage Detroit iron often poses a challenge. An example would be accommodating a late-model 8hp70-8 8-speed automatic transmission in our 1970 Dodge Super Bee. Despite efforts to modify the transmission and the transmission tunnel, we still encountered occasional floor contact under specific driving scenarios.

Above: Our 1970 Super Bee has benefitted from a late-model Hemi and an 8hp70-8 automatic transmission. The driveshaft tunnel in the vintage Mopars can be too shallow and narrow whenever attempting to fit new technology transmissions. Luckily, Speedtech Performance has developed the three-piece ExtReme Tunnel Cover Kit.
While scouring the Speedtech Performance website, the ExtReme Tunnel Cover Kit (SKU: 191510) caught our attention. The kit offered a cost-effective solution to our persistent problem. Speedtech Performance is known for crafting top-tier suspension systems. The unanimous proof can be found by looking at all the top cars using Speedtech Performance chassis components in the Optima Search for the Ultimate Street Car series.
Understanding the difficulties of adapting older vehicle technology to newer components, Speedtech Performance unveiled a transmission tunnel specifically for its ExtReme chassis, which increases space for modern transmissions and drivelines.

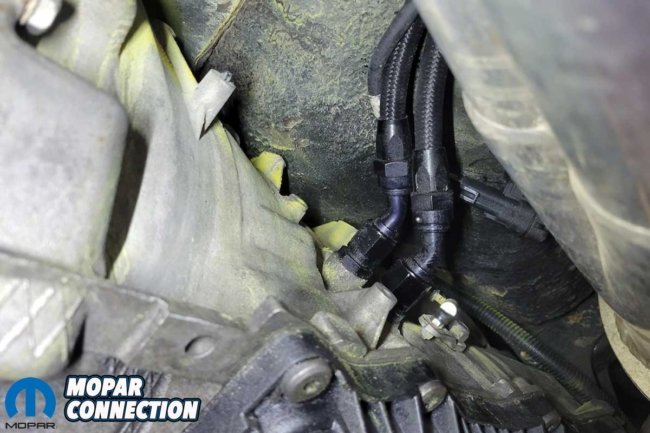

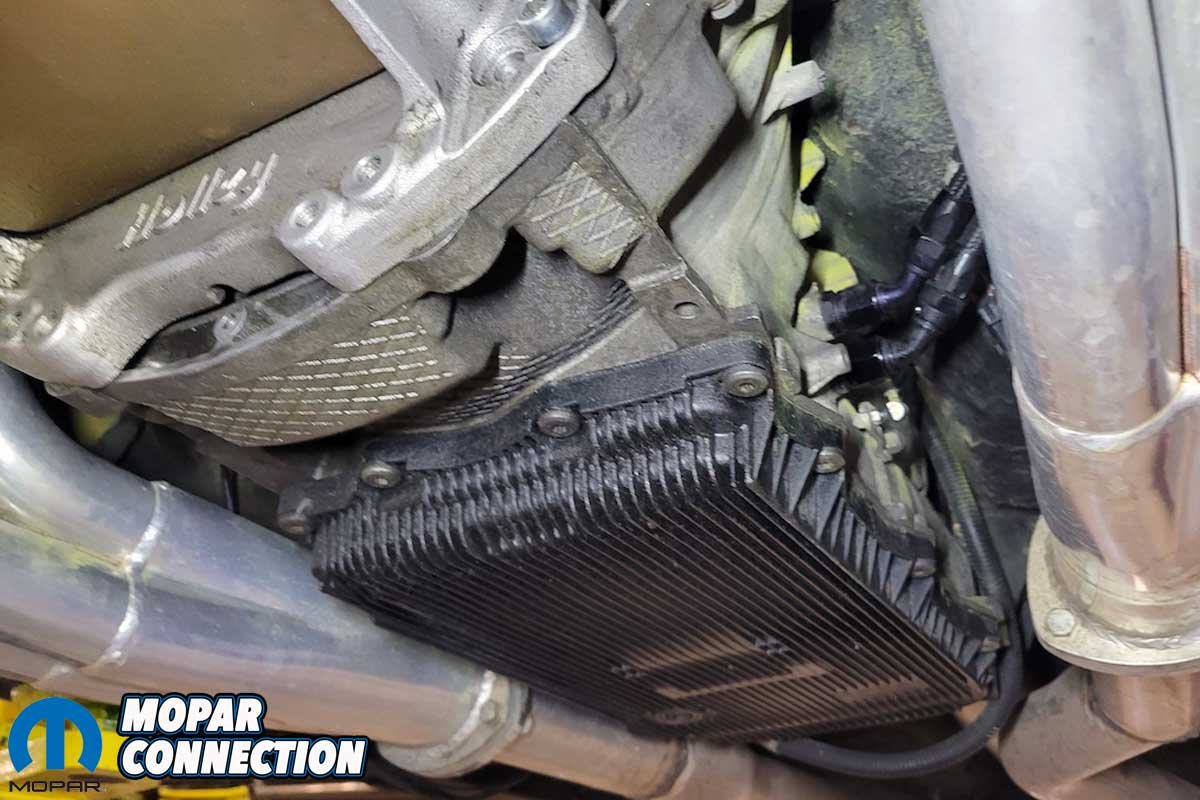
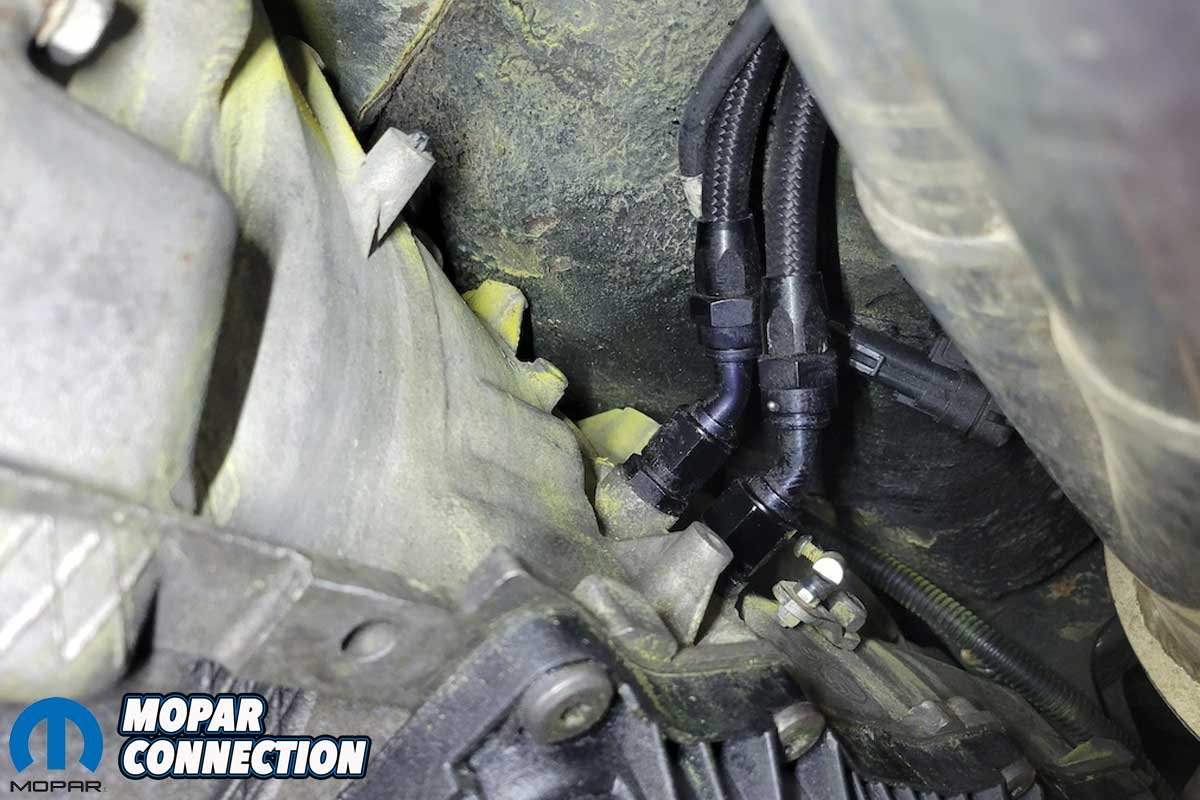
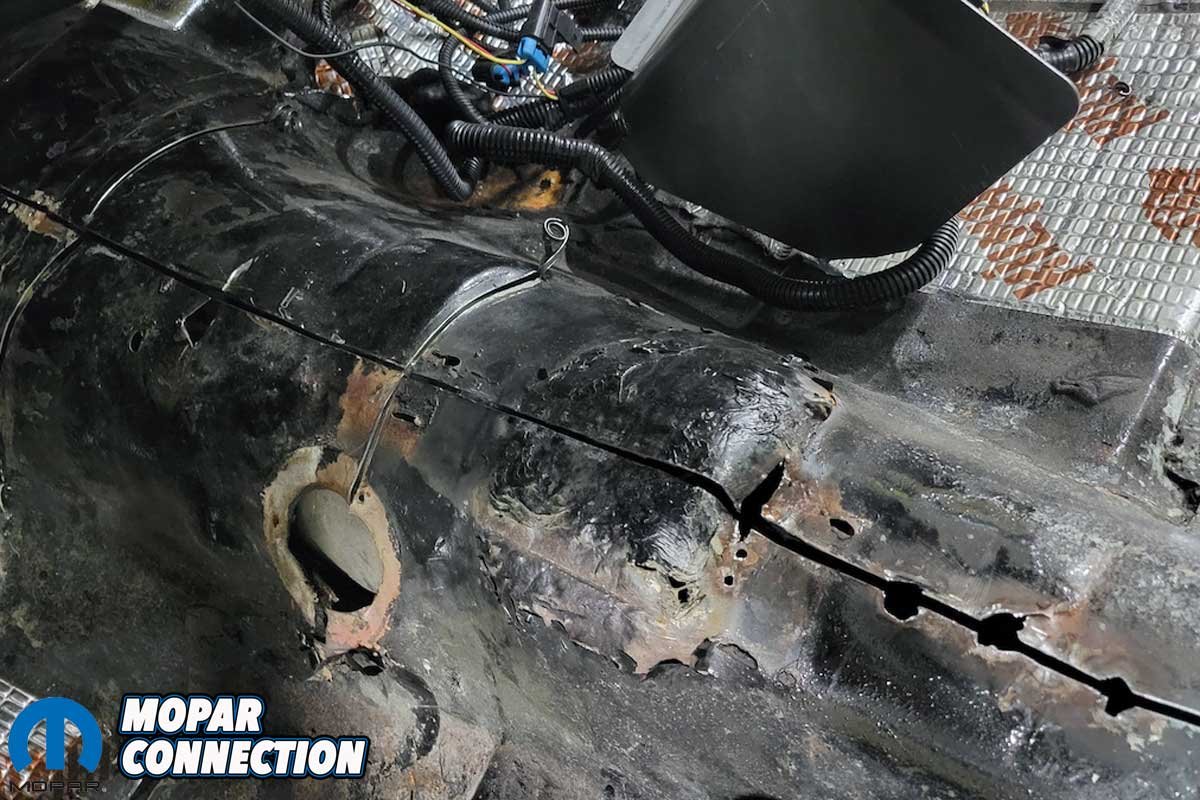
Above: The 8hp70-8 automatic had several non-essential components removed from the exterior, and the driveshaft tunnel has been massaged to fit the transmission. However, even with all the clearance work, we still had occasions when the transmission and floor contacted each other.
Traditionally, altering the transmission tunnel involved starting from nothing—a costly and time-consuming endeavor. However, Speedtech’s exclusive prefabricated tunnel cover simplifies the task, making the update something enthusiasts can perform in the garage.
The ExtReme Tunnel Cover Kit, designed for Mopars, comprises three parts that seamlessly fit from the firewall to the rear seat. All three pieces are pre-bent to accommodate the vehicle’s floor pan. The installation involves cutting, welding, and some light fabrication work.
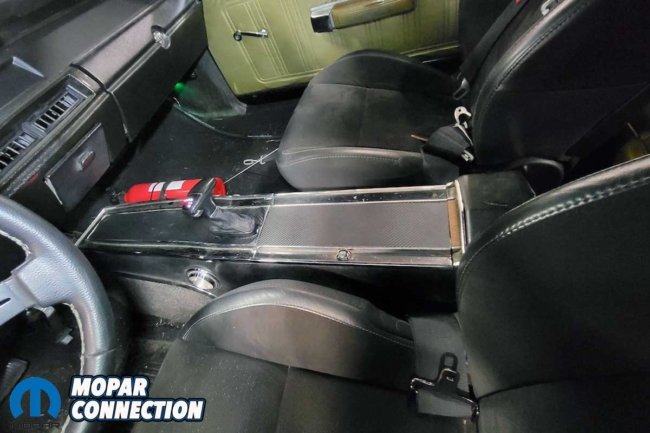


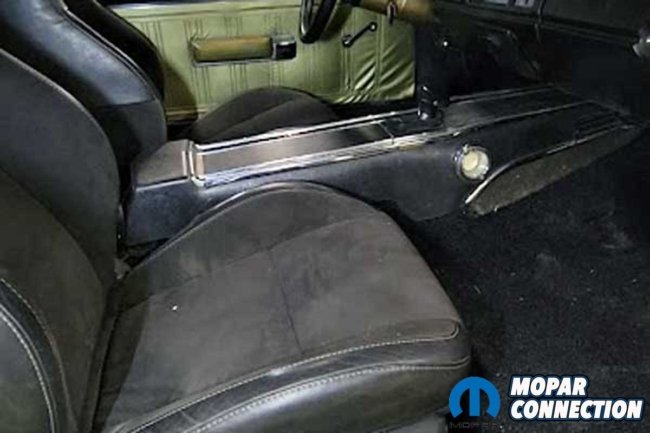
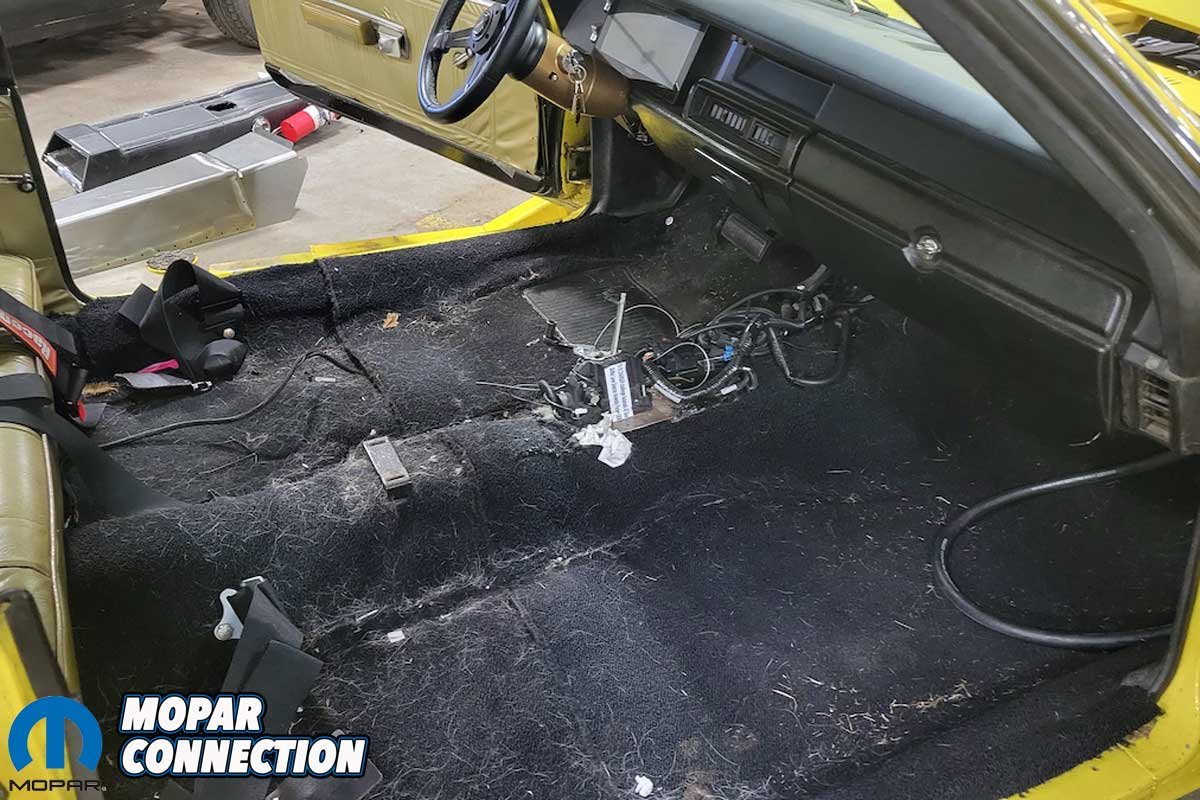
Above Left: The factory console rested on the slightly widened driveshaft tunnel. Overall, it looked decent. Above Center: To start the Speedtech Performance tunnel installation, we removed the seats, shifter, and console. We discarded the dirty carpet. Above Right: Some hammer work can be seen at the shifter rod access hole.
The kit’s installation will require safety provisions, such as removing flammable materials like seats, carpeting, and insulation padding before welding. Protective gear should be worn when handling grinding tools, and precautions should be taken to prevent welding sparks from contacting the Super Bee’s window glass or other interior components.


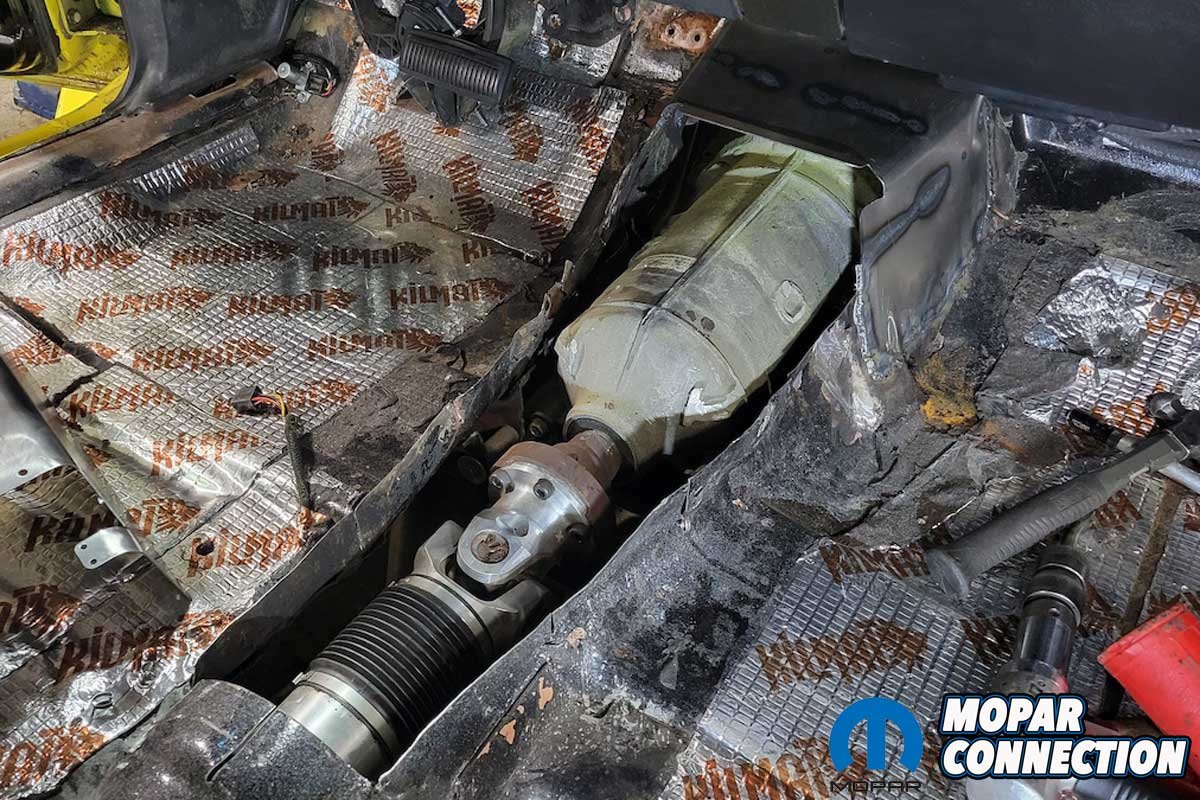
Above Left: The Speedtech Performance tunnel kit was laid over the original driveshaft tunnel to check the fit. We made measurements and scribed marks on the factory floor pan in preparation for cutting the floor. Above Right: The cutting began with slices on the tunnel in longitudinal and transverse directions.
The installation required basic hand and power tools, welding equipment, a drill and bit to make an access hole in the tunnel cover for the wiring harnesses, and a seam sealer. The cover is designed for extreme chassis Mopar setups, guaranteeing a tailored fit.


Above Left: We cut the tunnel to our reference lines. We needed a hammer and dolly to move the metal where we needed it to line up with the Speedtech Performance tunnel kit. Above Right: The sections of the tunnel kit were placed onto the floor of the Super Bee. With minimal metalwork, we had the new tunnel ready to be welded to the floor.
The three pieces were laid over the factory tunnel to find the proper position of the transmission tunnel kit. We marked an outline around the panels onto the factory driveshaft hump. Then, we cut out the factory transmission tunnel with the lines marked, leaving enough overlap for welding and minor trimming if needed.
With the Speedtech Performance tunnel cover mocked in place, we performed minor metal reshaping of the cover with a hammer and dolly to match the contour of the floor. Once satisfied with the fit, we had the options of welding, riveting, or using sheet metal screws to secure the kit’s cover pieces to the Super Bee’s chassis.


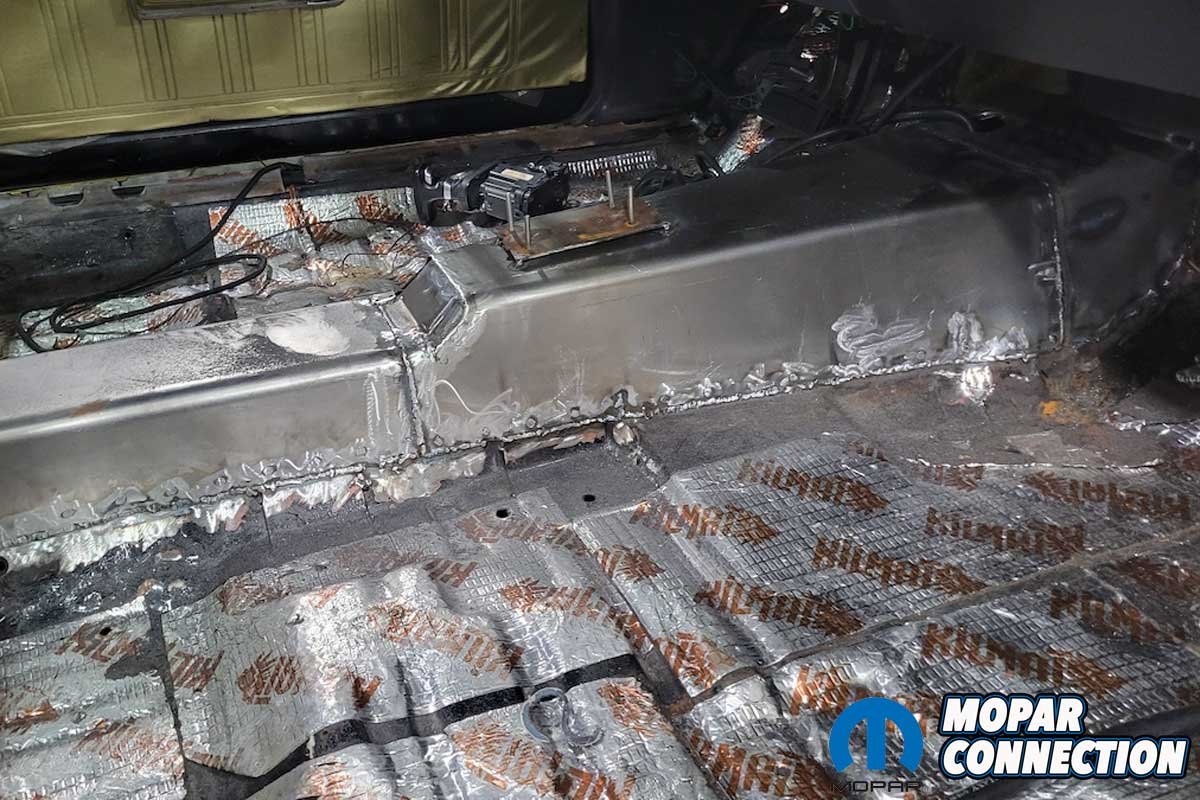
Above: Rather than using sheet metal screws or rivets to secure the tunnel kit, we welded the three panels to each other and the floor of the Super Bee.
Because we had welding equipment, we chose to weld the covers to the chassis utilizing the pre-drilled holes in each panel. After welding, we added a generous layer of durable automotive seam sealer to ensure a watertight seal between the cover and the floor at the welded seam.
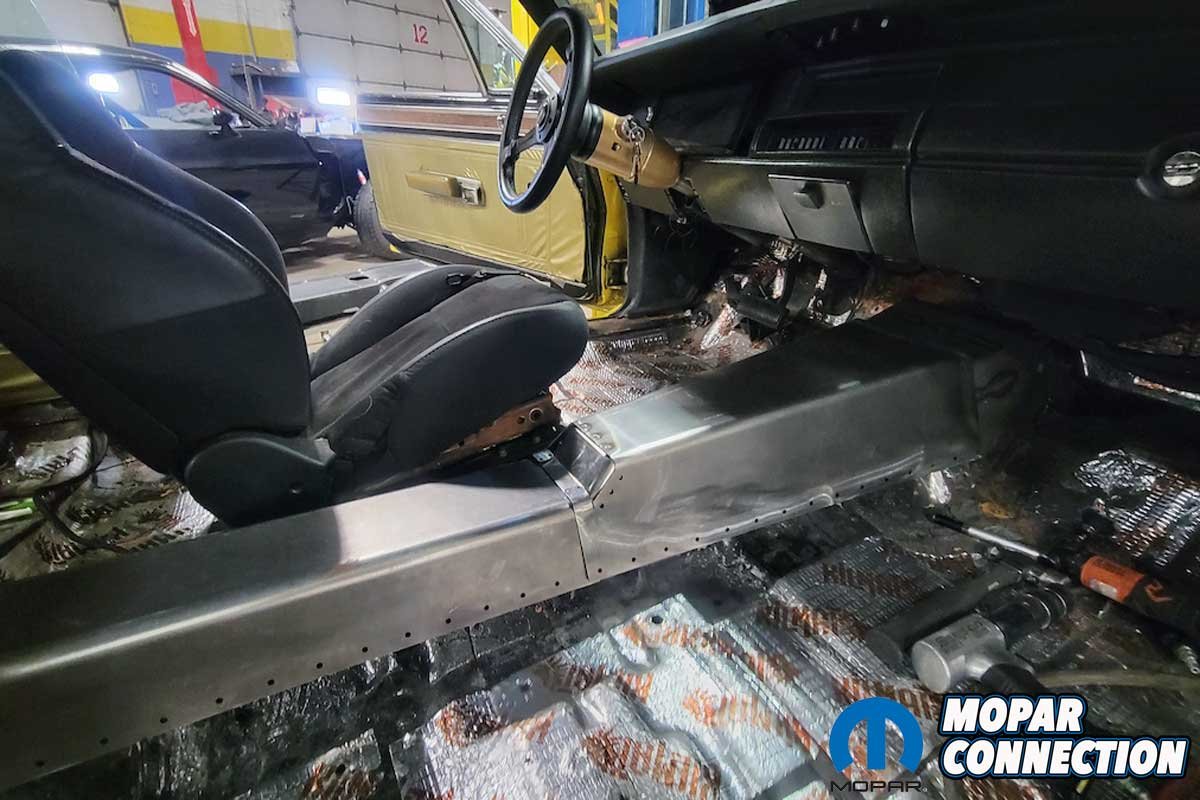
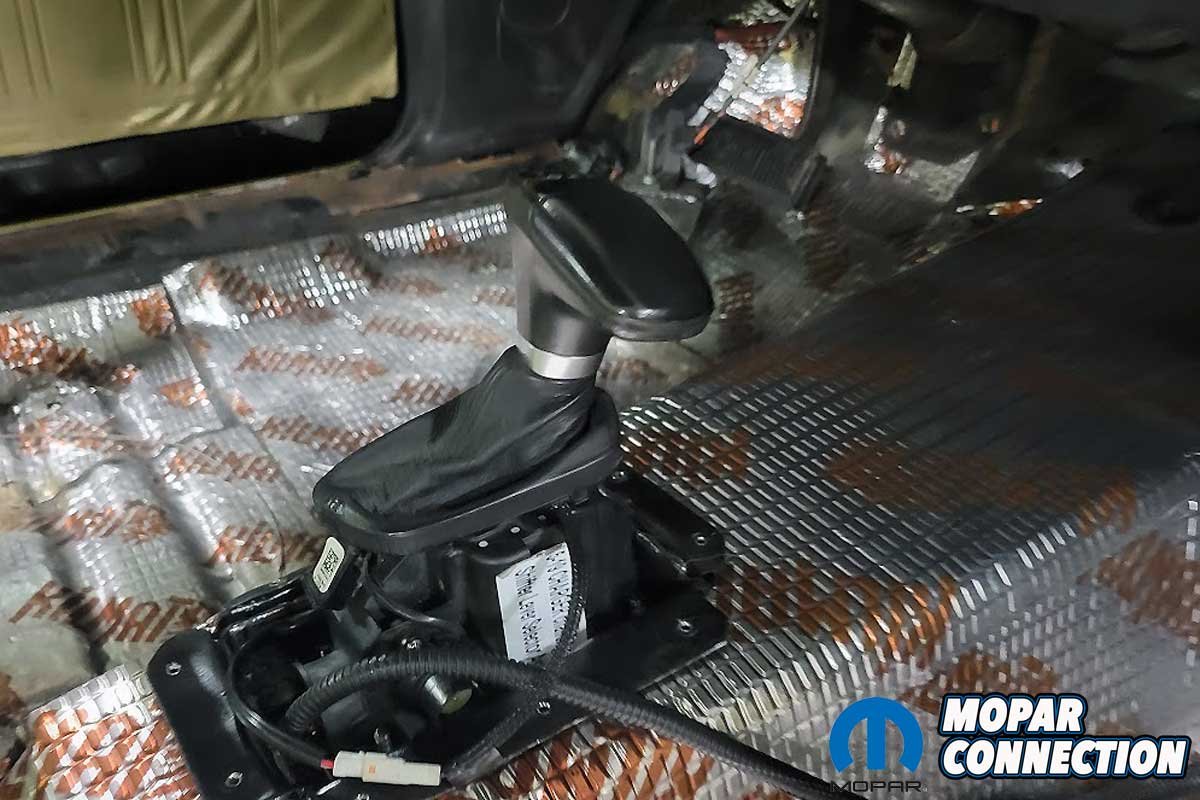
We reinstalled the driver’s seat to help us locate the best position for the 8hp70 transmission’s electronic shifter. While seated, we found the shifter was higher than we preferred. A hole was cut in the tunnel’s center, and a metal box was constructed to allow a lower shifter position. The box and shifter were designed to be removable, making transmission servicing less complex.


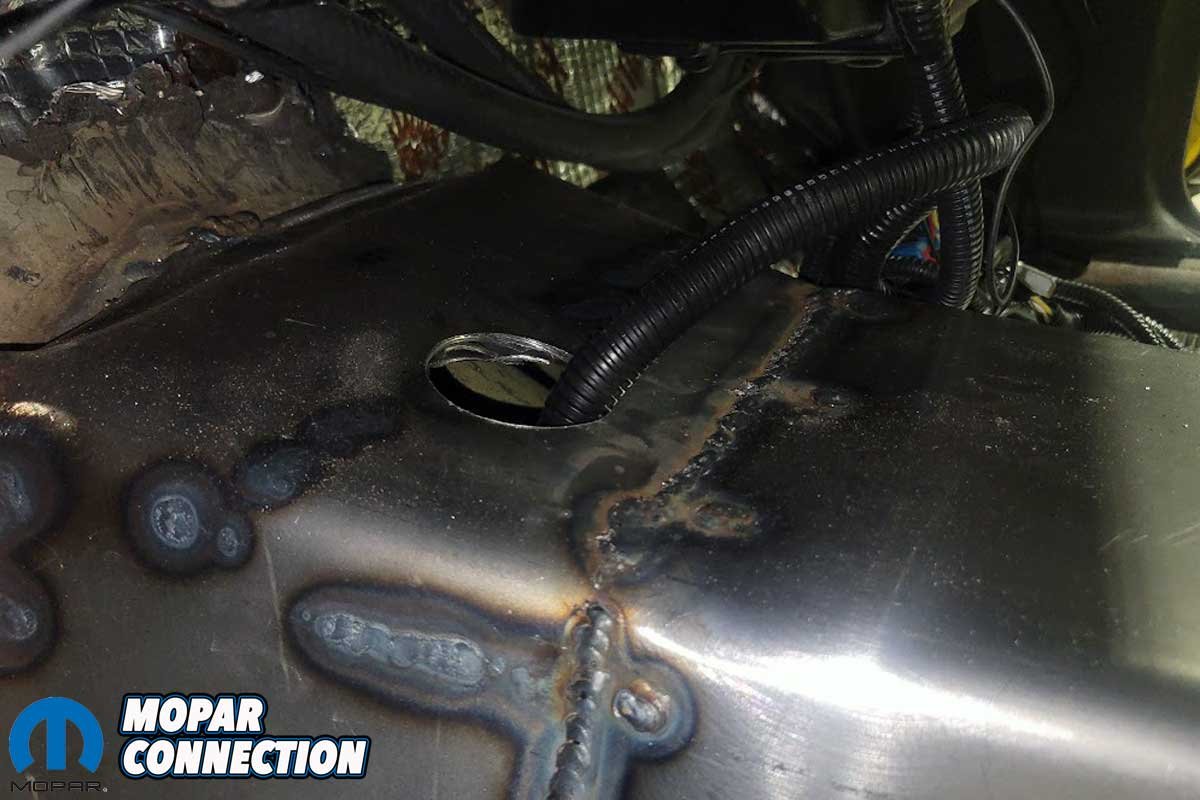
Above Left: We burned in the panels without any difficulty. Above Center: The three-piece tunnel kit looked excellent, with all the welds ground down and smoothed. Above Right: We added an access hole to the driveshaft tunnel at the base of the dash through which the wiring harness could pass.
With the shifter sufficiently positioned, we drilled a 1-inch hole in the transmission tunnel under the dash for the wiring harness. The hole’s location under the dash made it nearly undetectable, and when the console was installed, the hole would be hidden. A grommet was installed to protect the harness and finish the hole.
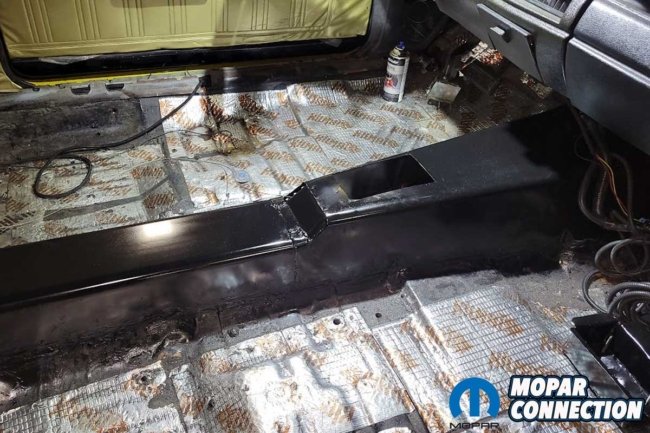


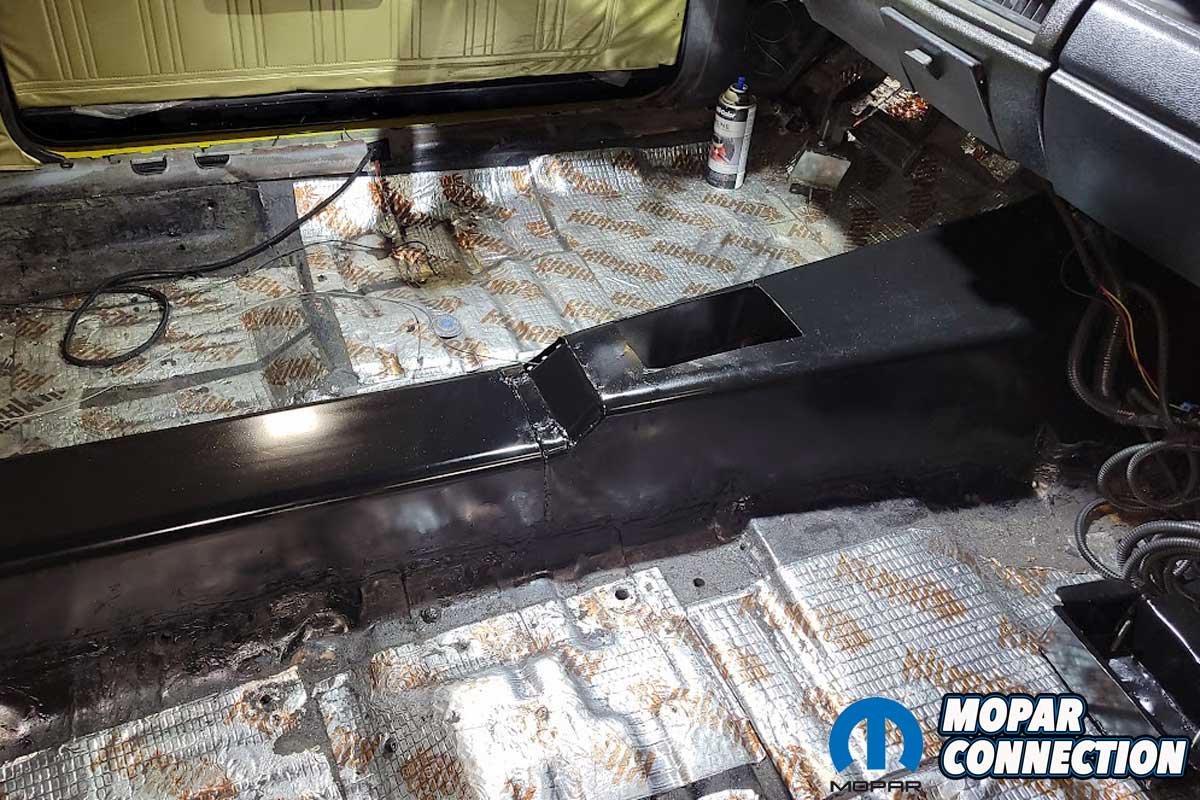
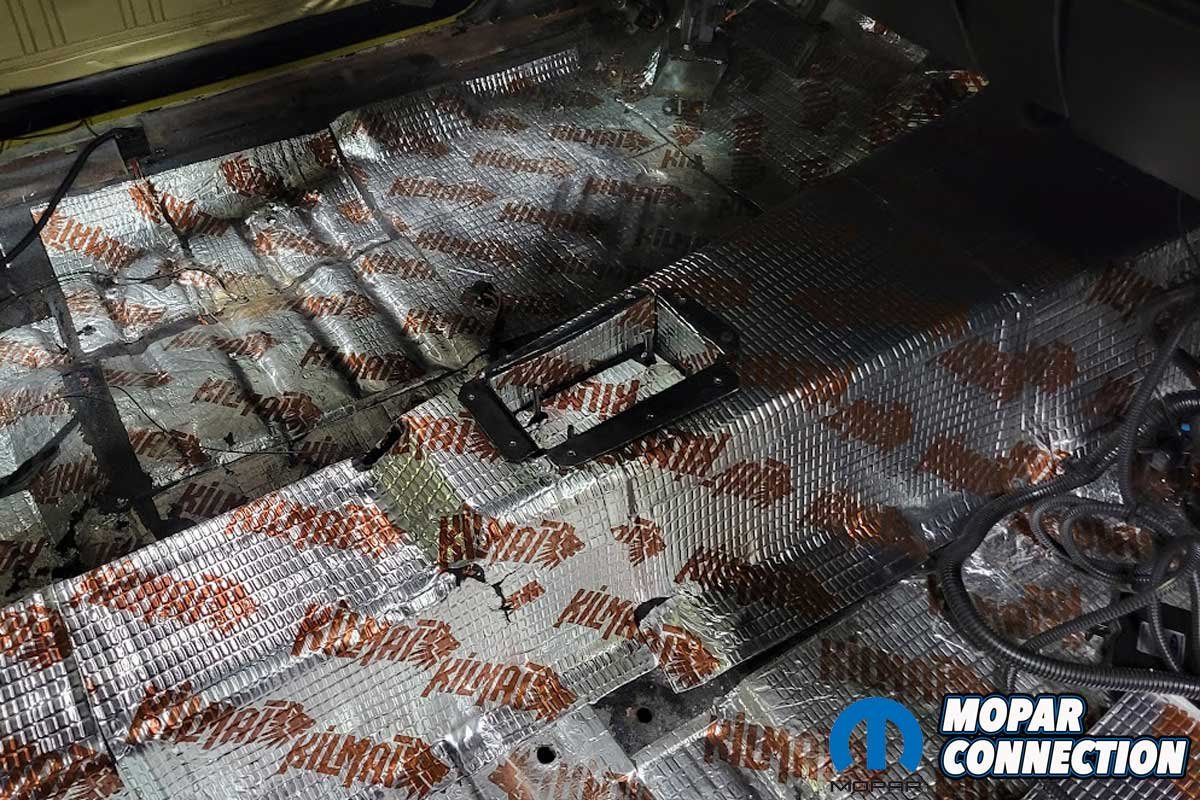
Above Left: With the welding completed, we added corrosion protection in the form of black paint. Both sides of the driveshaft tunnel were painted. Above Center: The entire tunnel was covered with sound-deadening material. We developed a recessed box to properly (lower) the transmission shifter mounting area. Above Right: The transmission shifter mounted perfectly to the tunnel. Because of the tunnel’s design, we had room to make modifications to locate the shifter where we wanted it.
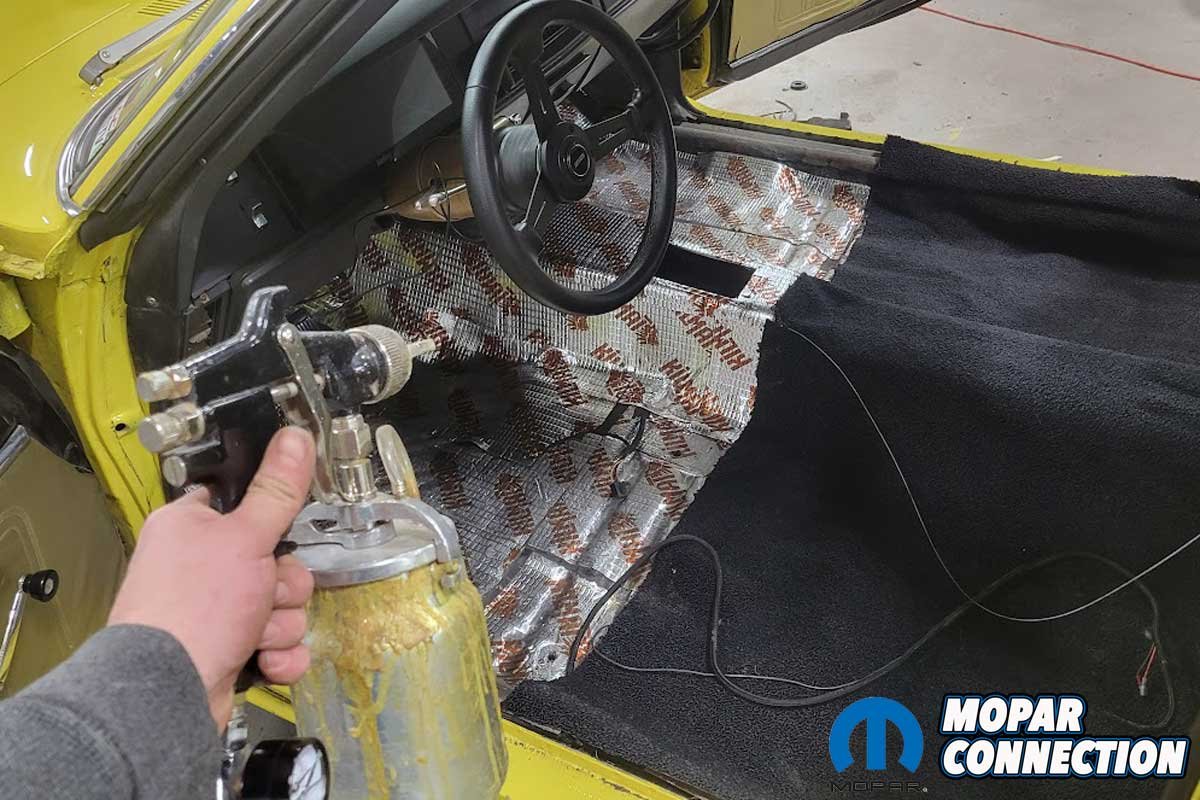
As a protective measure against rust, we painted the transmission tunnel. At this point, we covered the tunnel with heat and sound barrier material. When we draped the old carpet over the newly raised tunnel, it was too short, so we ordered a new OER carpet (Part No. MB967501) from Classic Industries. Most new carpet sections typically come a little larger than needed, which provided us with enough material to cover the tunnel and reach each rocker panel. We glued the carpet to secure it to the floor.

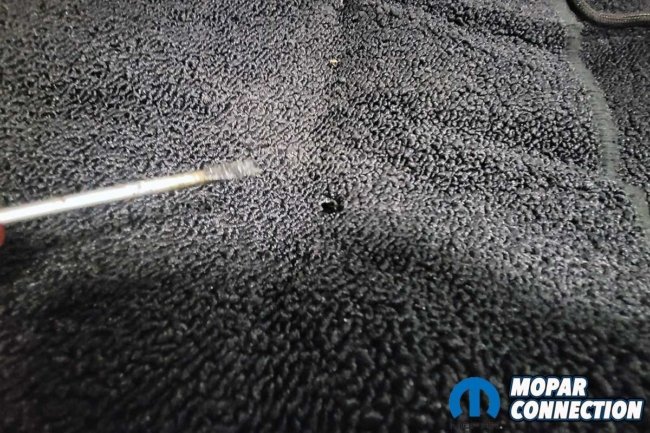
Above Left: We glued the new OER carpet to the floor. The new carpet had enough extra length to cover the raised tunnel and extend to each rocker panel. Above Right: To protect the carpet from fraying or pulling when installing the seat bracket or seat belt anchor bolts, we heated a screwdriver shank with a torch and then plunged it through the carpet. It made a hole and melted the surrounding material simultaneously, significantly reducing the chances of carpet damage.
We located the mounting holes for the seat brackets and belt bolts. Then, we heated a screwdriver shank and pushed it through the carpet at each hole. The screwdriver melted the carpet, ensuring it would not fray when the components were secured.
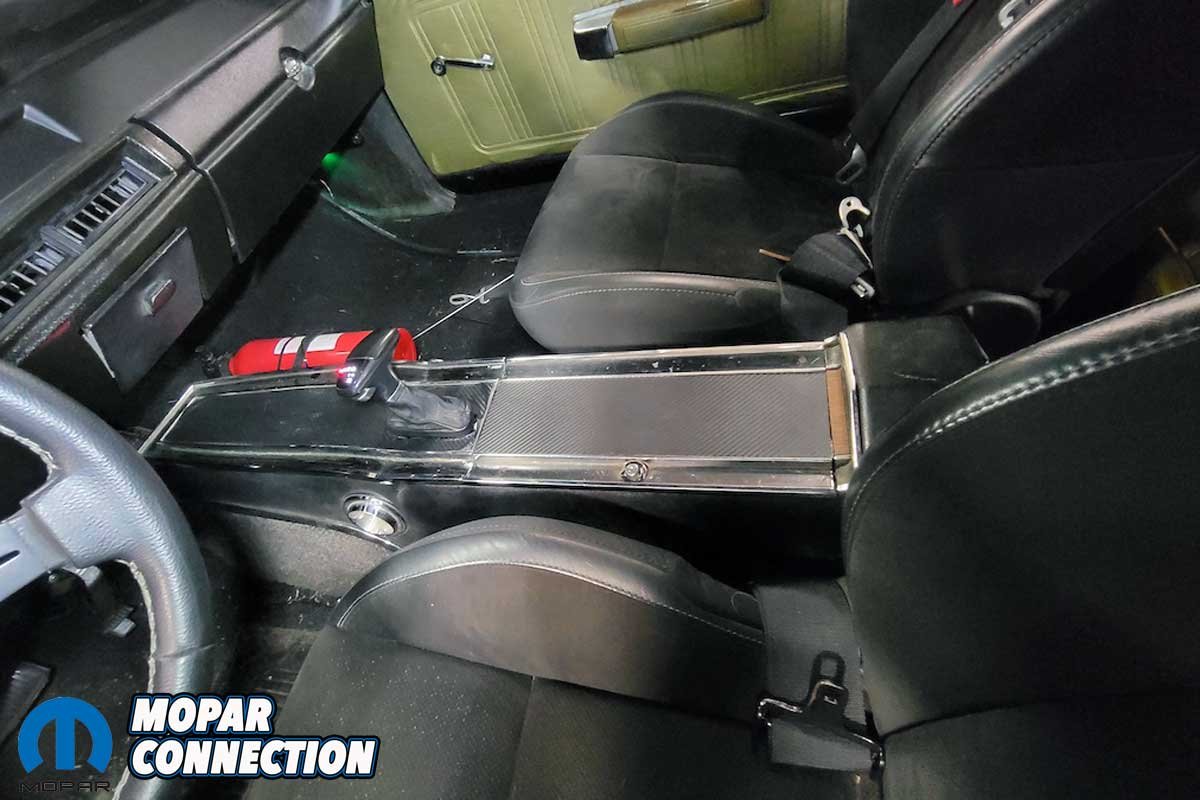
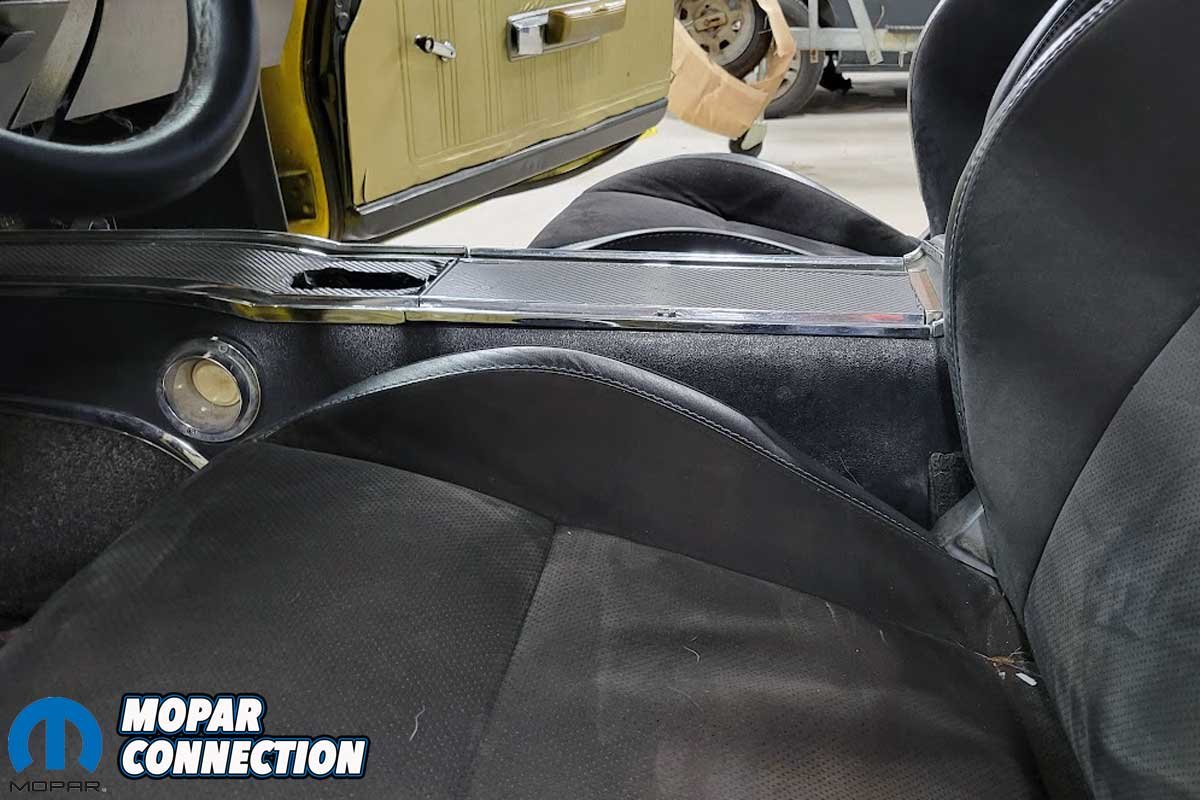
After the seats were mounted, the original center console was secured over the tunnel. The top of the console was modified to fit over the shifter and provide a place to fasten the boot.

Above: With the interior reinstalled, all our hard work was hidden. The problems with the transmission and floor pan contact were gone. Speedtech Performance’s ExtReme Tunnel Cover Kit worked perfectly on our 1970 Super Bee.
Upon completion of the installation, the interior looked like a factory design, except for the modern shifter substituting the OEM shifter. Speedtech Performance’s ExtReme Tunnel Cover Kit is a practical, inclusive solution for accommodating modern transmissions in a classic B-body Mopar. If your Mopar has a later-model transmission, consider Speedtech Performance for its tunnel cover or chassis components from its vast catalog.


Do you have anything on the install of the 8HP70? Adapter, controller, etc. I have a 46RH to put into my ’68 RR but the 8 speed has a lot of appeal. Good article, Thanks, DC.
As a parts advisor at a CDJR dealer, I have discovered a steel pan kit for the 8 speed ZF transmission. It if from the Jeep parts catalog, and is impact resistant as well as offering a replaceable filter.