
Our 1967 Dodge Dart’s original radiator sprung a leak in the top tank nearly a year ago. We had it repaired, but the top tank leaked in another area within a few months. After two more attempts to fix the top tank, we decided to move in another direction. However, the problem got worse for us. No matter what aftermarket radiator we ordered, the factory fan shroud would not fit properly, even after being informed the shroud would fit.
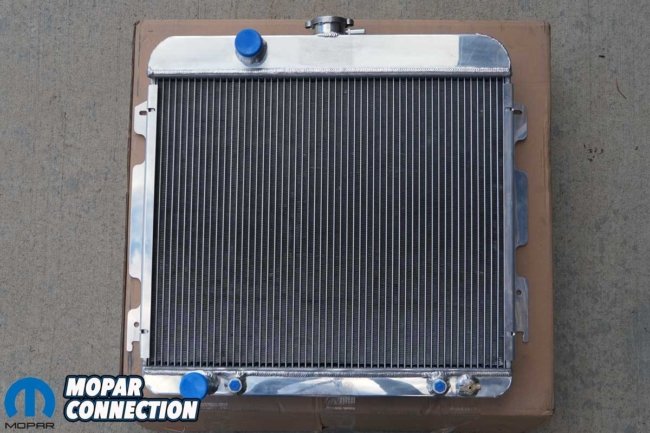
Above: We have experienced multiple leaks on our factory radiator for about a year. To fix our cooling system woes, we purchased a three-core Champion Cooling Systems aluminum radiator.
Over three months, we ordered and returned three radiators (all from different manufacturers). Fortunately, we stumbled upon Glen-ray Radiators, Inc., which manufactures authentic reproduction 26-inch radiators for A-, B-, C-, and E-Body Dodge, Plymouth, and Chrysler vehicles. The radiators come with the correct factory tanks, stampings, and core. But again, we ran into a roadblock. The radiator would be available at the Chryslers at Carlisle 2024 event, which left us without the use of the Dart for a good portion of the summer.
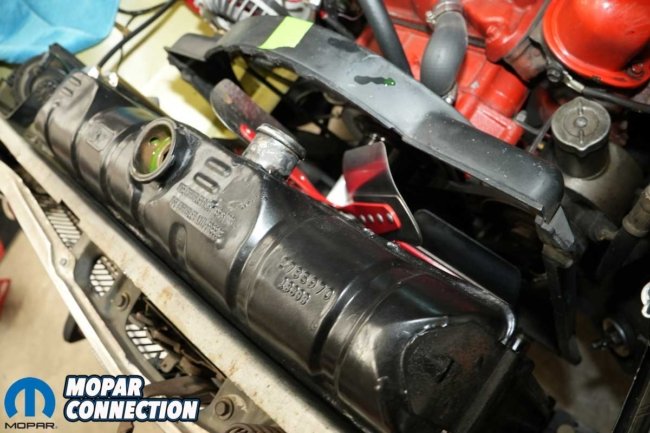
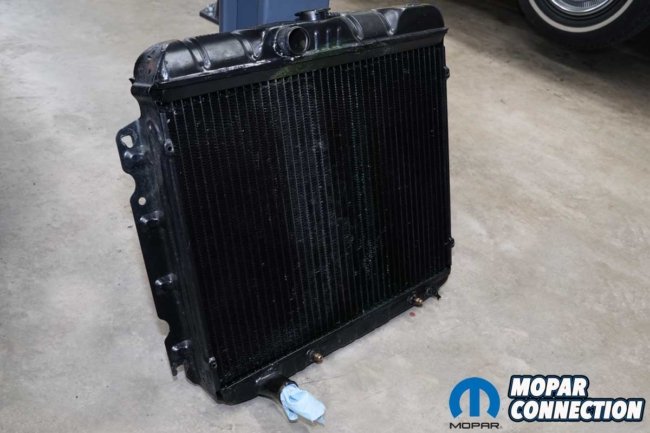
Above Left: The factory radiator served dutifully for 56 years, but in the last year, it started leaking, and after the initial repair, it leaked three more times. Above Right: The Dart was originally an air conditioning-equipped vehicle, so it came with a factory shroud. We prefer to use the shroud with the new radiator.
So, we devised a plan to select a low-cost Champion Cooling Systems aluminum radiator (part no. CC6769) that we would use until we picked up our factory radiator. Upon swapping the Champion radiator for the Glen-ray unit, we would put the Champion up for sale. The reason for a Glen-ray Radiator is that the author does not prefer an aluminum radiator in a stock vehicle. An aluminum radiator is excellent in a race vehicle, but the appearance of an aluminum radiator in a 1960s muscle car looks out of place.
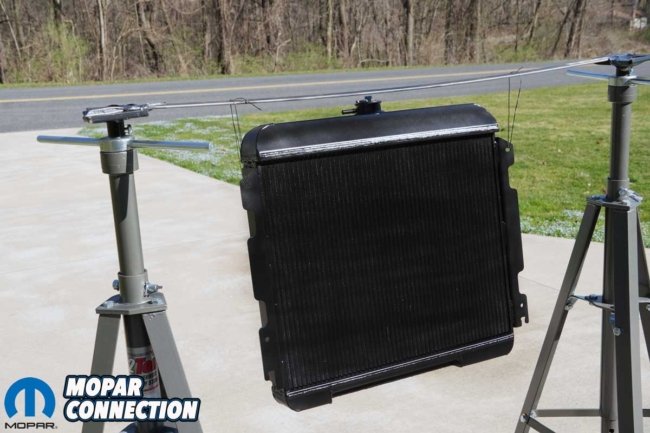
Above Left: Because a bright-colored aluminum radiator appearance was not desired, we scuffed its surface to prepare it for painting. Above Center: The radiator was supported between two jack stands. Above Right: We painted both sides of the radiator with high-temperature black paint.
When the Champion radiator arrived, it was readily apparent that the factory shroud would again not fit onto its shroud support. Nonetheless, we went forward with our short-term plan to use the radiator. To diminish the appearance of the aluminum radiator, we scrubbed it with a Scotch Brite Pad, cleaned its surface, and painted it with high-temperature black paint.
Above Left: The coolant was drained from the radiator at the petcock. Above Right: Even though the coolant stopped draining at the petcock, more coolant spilled from the system when the lower radiator hose was removed.
Before painting the radiator, we made an apparatus consisting of a support rod (from which we hung the radiator) and two tall jack stands. After suspending the radiator, we followed the paint manufacturer’s application process and completed the paintwork within an hour. If touch-ups had been necessary, we would have had to wait at least a week to reapply paint, so we needed to paint the surface quickly.
We placed the radiator next to a propane shop heater (torpedo) to ensure the paint cured. If you are single or have a forgiving spouse, placing the radiator in an oven set to about 225°F for 30 minutes would have also cured the paint. The paint finish turned out better than we imagined, reducing the aluminum appearance.
Above Left: Both automatic transmission lines were removed from the radiator. We supported the fittings with one wrench while unthreading the transmission lines from the fittings with another. Above Right: We capped the transmission lines with vacuum plugs and wrapped paper towels around the fittings to minimize the transmission fluid leakage.
After letting the Champion radiator sit for about a week, we finally got time to pull the leaky radiator. Because we had removed the radiator so many times in the last year, it was out of the Dart’s chassis in no time. With the radiator cleared, we had access to areas where the coolant from the leaking radiator had been pooling. We spent a few minutes cleaning the radiator support and the K-member.
Above Left: We removed and folded the upper radiator hose out of our way. Above Right: Four fasteners securing the fan shroud were removed. The shroud was moved out of the way by laying it over the engine cooling fan.
Above: With the radiator out of the Dart, we noted discoloration on the seam of the top tank. The coolant staining and even leakage could be seen. A business attempted to fix the problem multiple times but failed to succeed.
The Champion radiator did not come with the automatic transmission cooler fittings, so we unthreaded both from the original radiator and installed them on the new radiator. As expected, the factory radiator shroud did not fit onto the new radiator. The shroud bolt holes are 22 inches on center, while the brackets are 21½-inches center-to-center. There was no way we were going to cut our fan shroud. We decided to run without the shroud until we installed it on the Glen-ray Radiator later this year.
Above Left: The factory radiator shroud’s mounting flanges were 22 inches on center, and the flanges had raised areas to match the shroud’s contours. Above Right: The Champion radiator (and all three other aftermarket radiators we tested) measured at 21 1/2 inches center-to-center at the mounting flanges. Also, the flanges were void of the raised areas to match the shroud’s contours. We continued with the radiator installation but would not be reinstalling the shroud.
We pondered why each aftermarket radiator would not accommodate the factory shroud. It turns out, the aftermarket radiators are designed for various aluminum sheet metal shrouds that house an electric fan. Electric fans work well but adding an electrical load to the minimal output alternator seemed like a poor idea, similar to our thinking of having an aluminum radiator in a stock Dart.
Above Left: We lowered the radiator into the engine bay. The radiator mounting brackets dropped over the lower mounting bolts. Above Center: The two upper mounting bolts were secured through the radiator’s bracket. Above Right: With the radiator bolted in place, we installed the upper radiator hose and the overflow hose.
The installation of the Champion radiator was straightforward. The radiator mounting brackets dropped over the lower mounting bolts, just like the factory radiator. Both upper mounting bolts slipped through the radiator’s brackets and into the radiator support. With all the bolts installed, we tightened each of them. We reattached both radiator hoses to the radiator.
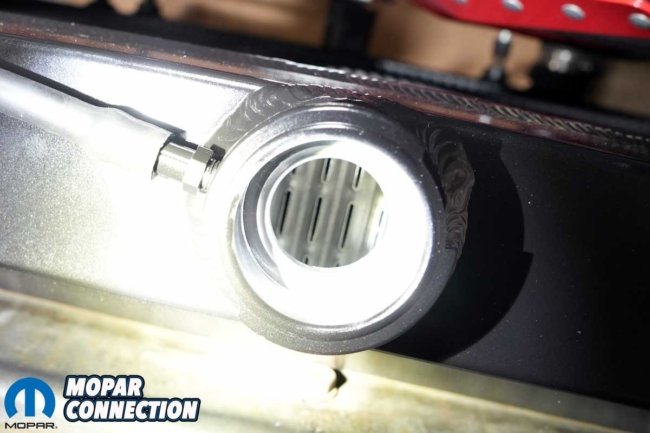
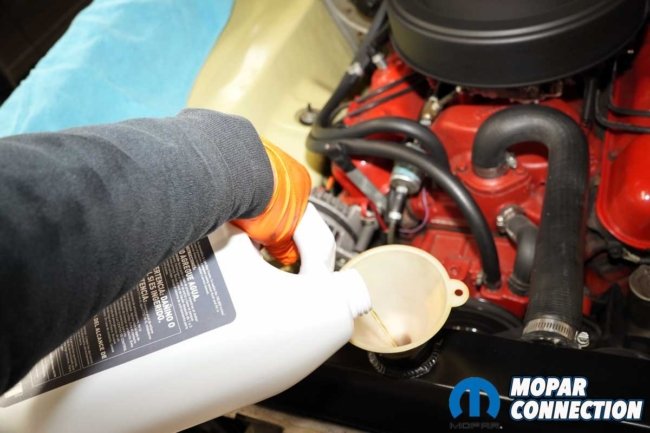
Above Left: The three cores of the Champion radiator could be seen through the filler neck. Above Center: After tightening the lower mounting bolts, reattaching the lower radiator hose, and rethreading the transmission lines, we prepared to fill the system. Above Right: We filled the radiator with pre-mixed ethylene glycol (green) coolant.
We then turned our attention to the transmission lines. The passenger-side line threaded onto the fitting without any difficulty. However, the driver-side fitting was about ¾-inch to the left of the factory transmission line. The misalignment required us to slightly manipulate the line to get the two to meet. Both lines were attached to the radiator’s cooler within a few minutes.
The factory did not have overflow tanks in 1967, but we added an overflow several years ago (Keep Your Cool(ant) with a Mancini Racing Recovery Tank). We routed the radiator overflow tube to our recovery tank. With everything buttoned up, we added ethylene glycol (coolant) to the radiator and the overflow tank.
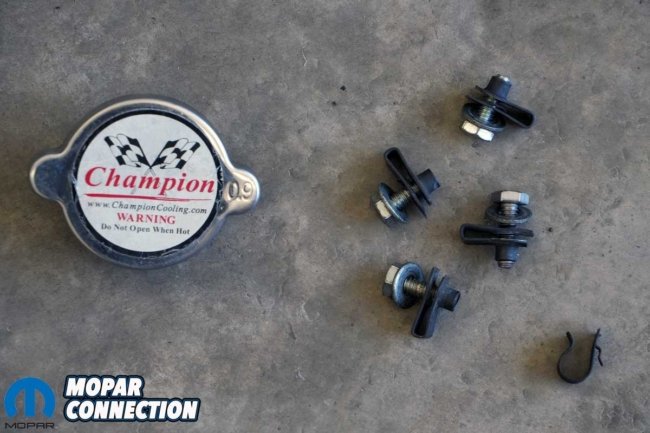
Above Left: We ran the engine and topped off the coolant before installing the radiator cap. We continued to run the engine and the heater to purge any remaining air in the system. Above Right: Although we had several radiator caps with different pressure ratings, we selected the factory-specified 16-psi cap.
We started the 273 and watched the coolant level. Once the engine had warmed up and the thermostat had opened, we topped off the coolant and installed the radiator cap. What cap did we use? The factory cap is rated at 16 psi. However, the company that attempted to repair the radiator told us a 7-psi cap would be fine and reduce the chances of a leaky radiator. That turned out to be incorrect, plus we did not like the idea of losing boil-over protection. Lastly, Champion sent a 0.9 bar (about 13.5-psi) cap with the radiator.
The cap we selected was the factory 16-psi cap. With a 50/50 mixture of water and antifreeze, our boil-over protection was 220°F. With the cap adding 16 psi, we added another 48°F (3°F per psi) for a 268° boil-over protection.
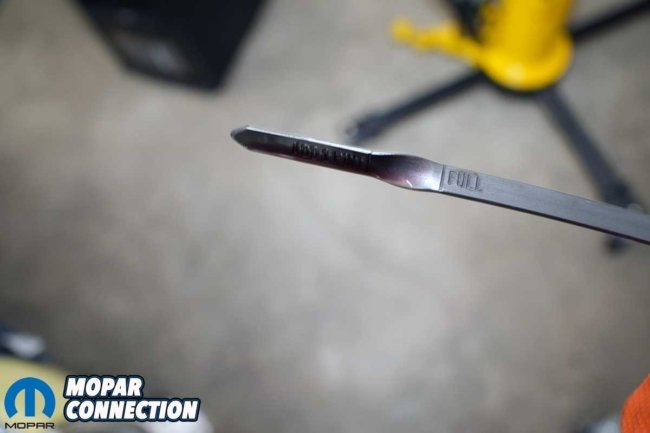
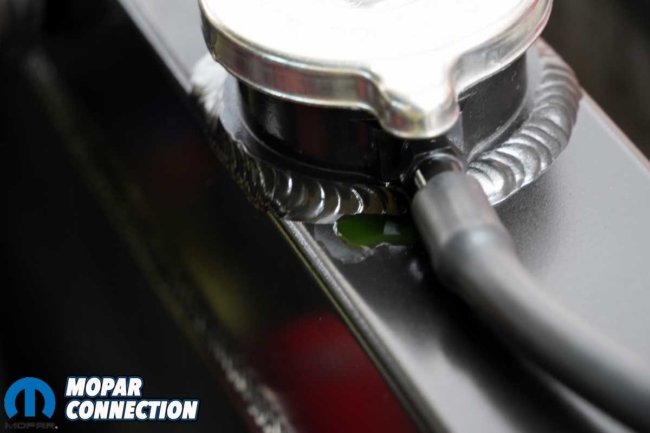
Above Left: Because we removed the original transmission cooler (located in the factory radiator), we checked and then added a small volume of transmission fluid to reestablish the correct level. Above Right: For a moment, we thought our new radiator was leaking at the weld of the filler neck. It turned out, the overflow nipple had not been tightened during assembly, so we snugged it down, and the leak stopped.
The installation was almost complete, but we noticed a small leak forming at the radiator filler neck as we increased the engine rpm. We looked more closely and observed the filler neck overflow nipple had not been tightened when it was installed at the manufacturing facility. Our last leak was fixed after a turn and a half with a wrench.

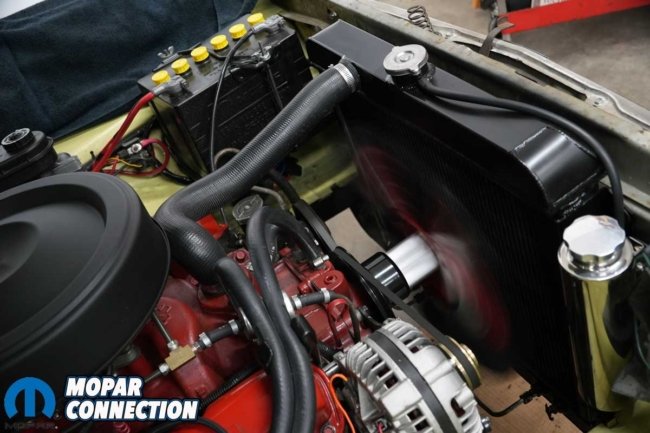
Above: The black paint helps disguise the aluminum radiator. Although we cannot use the fan shroud, we have not experienced any overheating concerns.
Since the repair, we have again enjoyed the Dart. Thus far, we have not had any overheating concerns without the shroud, and we do not expect any problems to arise. The Champion radiator does an exceptional job despite not having the stock appearance we desire. We will follow up with the radiator’s performance when we cover the Glen-ray Radiator installation later this year.













Nice article, I never thought of painting my aluminum Champion in our 71 Dart..
-Mike
I heard you get free egg roll with every radiator.