


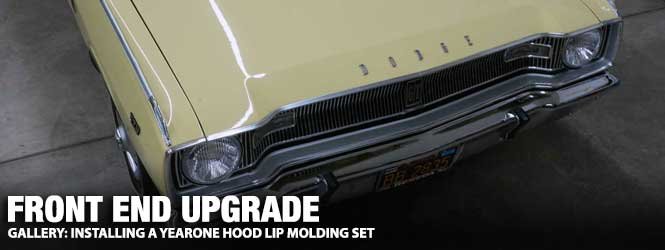
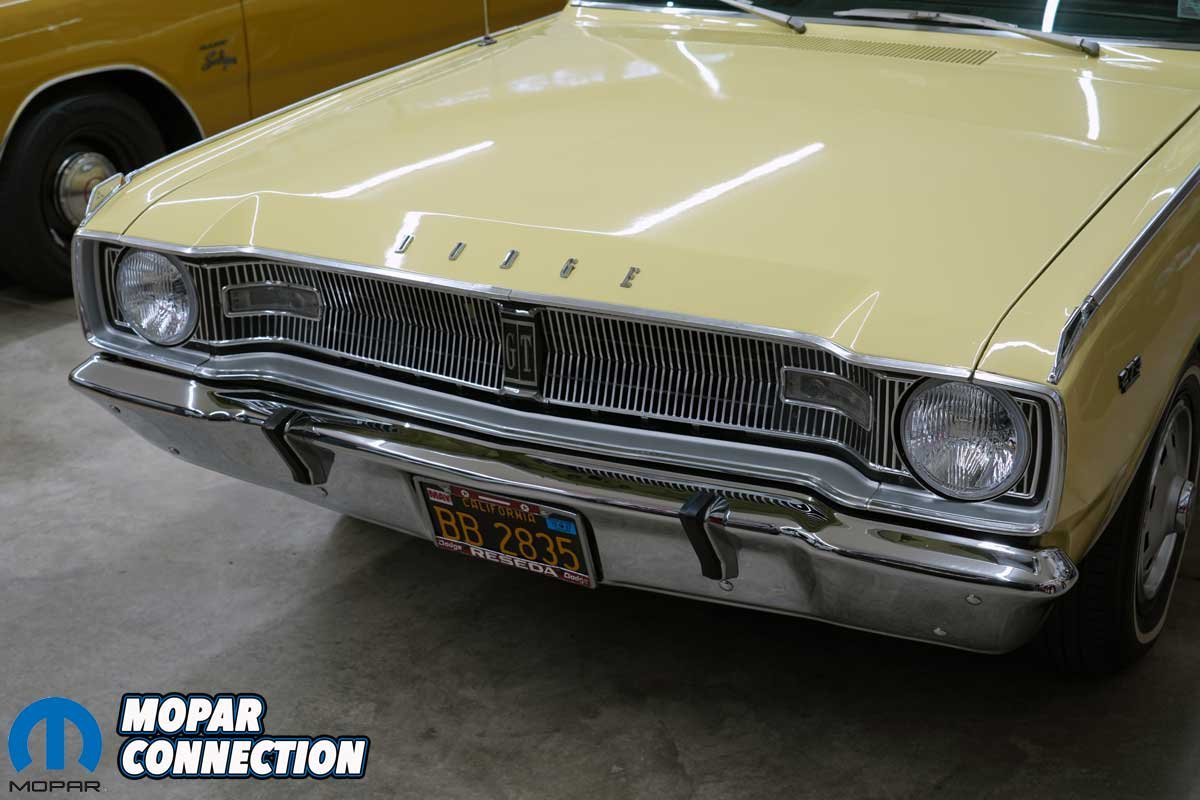
Now and then, it is a pleasure to do a simple Saturday Morning Tech story, and YearOne recently set us up with one. Our ’67 Dart has been slowly getting a front-end update with new headlight bezels from YearOne, a freshly painted grill, and bumperettes. The latest upgrade was a YearOne hood lip molding set for ’67-’69 Darts (Part no. DHM67).

Above Left: The YearOne hood lip molding set came complete with the left, right, and center trim components. The kit also had trim clips and fasteners. Above Right: The 57-year-old hood trim was complete but slightly beat up.
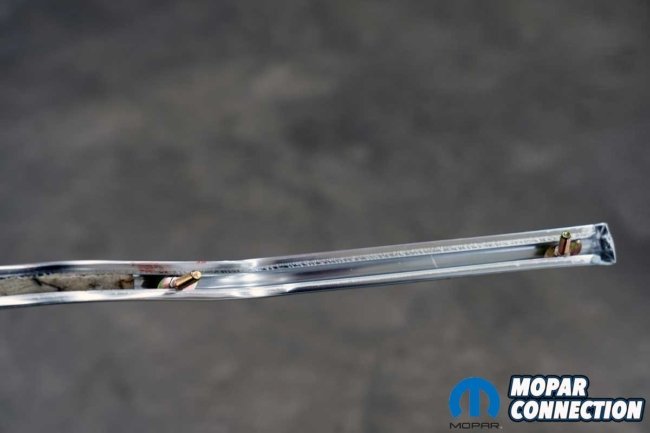
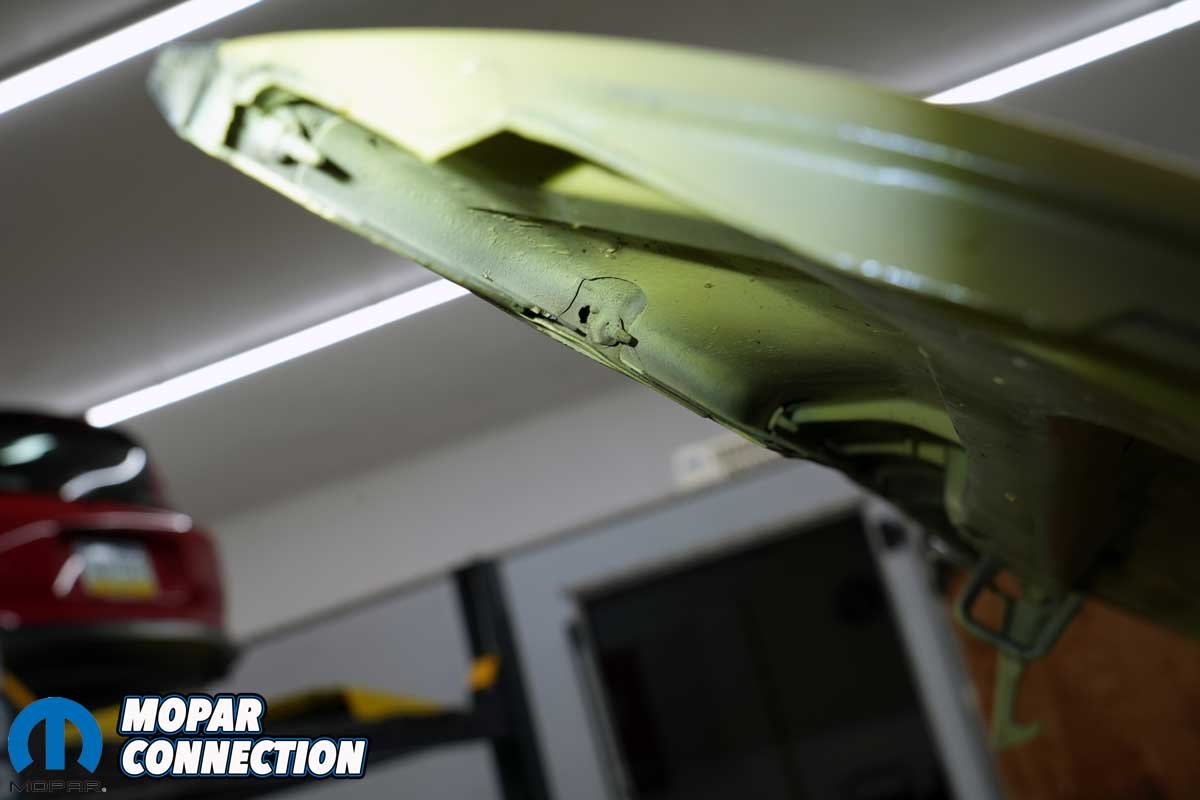
The 57-year-old hood lip molding was in good shape, but once the other components were rejuvenated, it did stick out, looking a bit aged. There were a few dents and scratches, so we contacted YearOne for the replacement part. The hood lip molding set came in three pieces, just like the factory. The set included left and right full-length sections that spanned the hood and a center segment that mounted between the two.


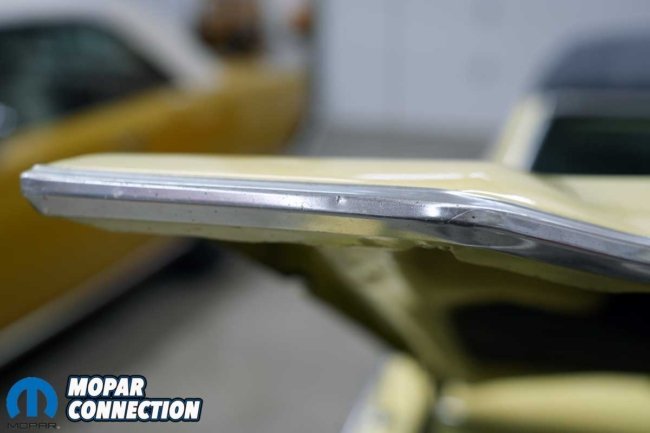
Above: The original hood molding was complete, but its best days were in the past. Road debris and people leaning against it caused the damage.
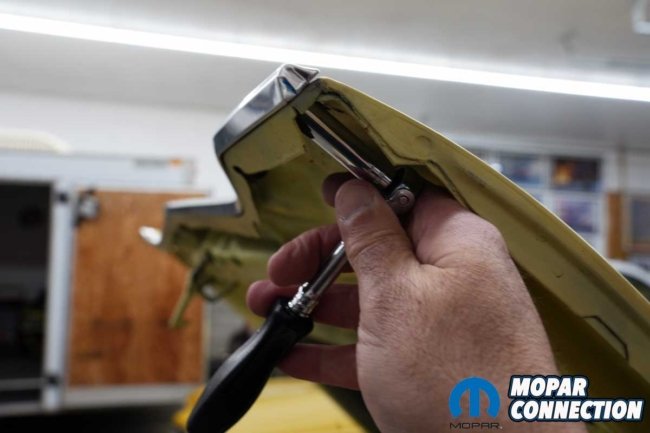
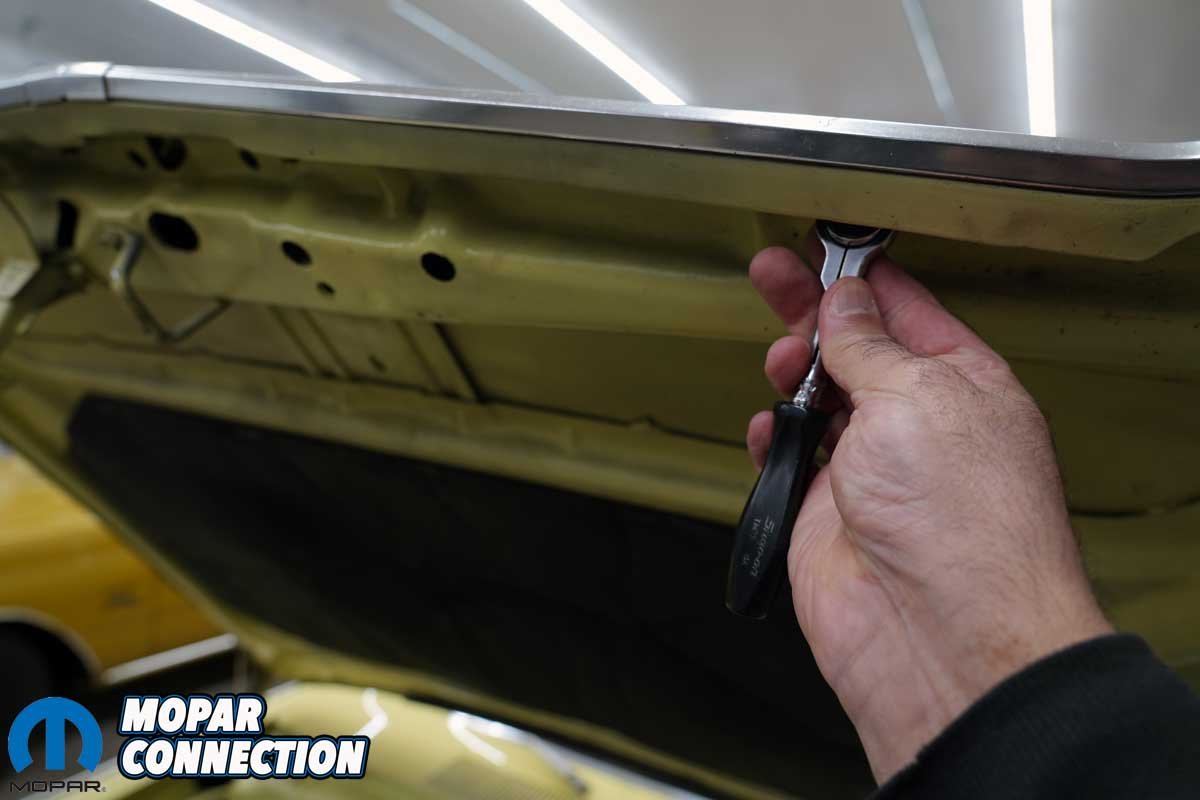
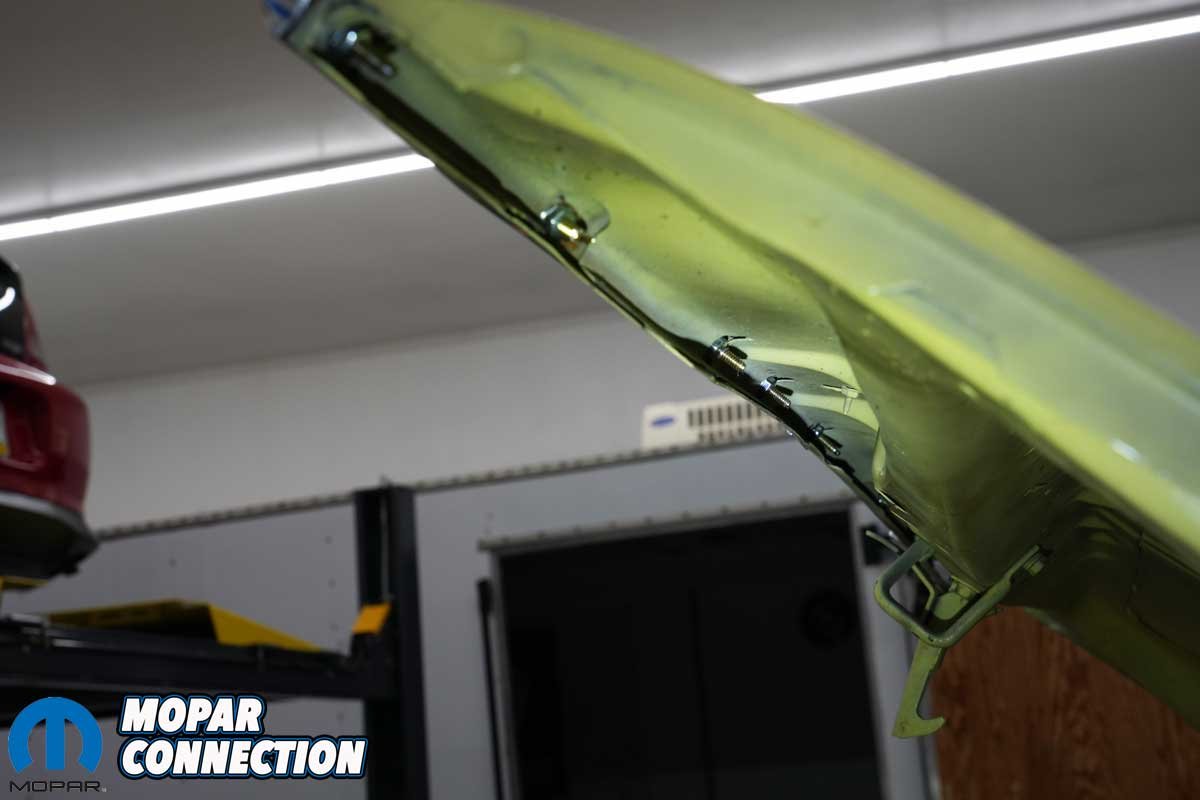
The removal process was straightforward. With the hood in the open position, small studs protruded through the hood sheet metal on the opposite side of the lip molding. Starting at the driver’s side and moving from the outer edge to the center of the hood, each stud’s fastener was removed. The center segment’s nut was loosened, and the driver’s side trim was carefully removed from the Dart. The passenger’s side trim was released in the same fashion. Lastly, the center segment was pulled.


Above Left: Eight fasteners (four per left and right trim) affix the molding on the hood’s inner lip. The center segment had a single fastener. Above Right: A quarter-inch ratchet and socket quickly removed the securing nuts.
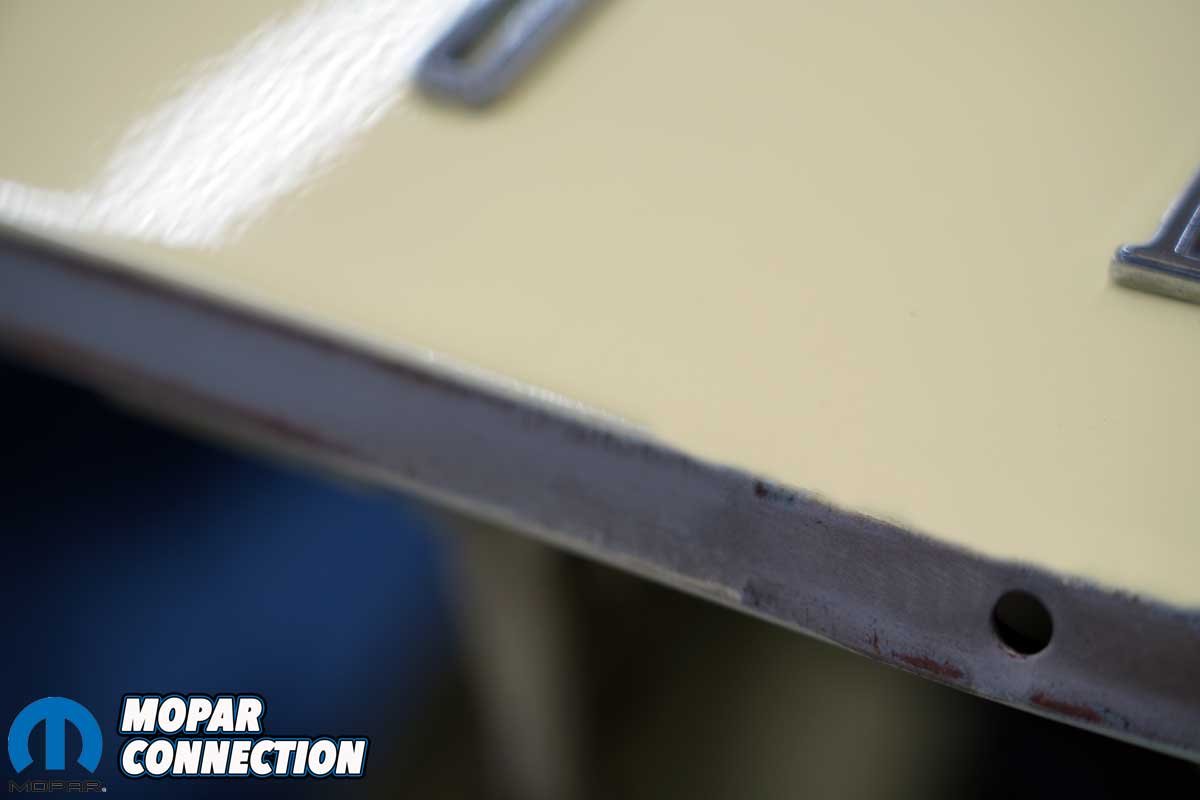
With the hood lip molding removed, we cleaned the area where the trim had been. Our Dart, which had been repainted in Sunfire yellow sometime in the past, had the original silver color where the trim had been. A few small pieces of the newer yellow exterior “popped off” the hood, and the chips would be visible when the new molding was installed, so we applied a bit of touch-up paint and wet sanded the areas.
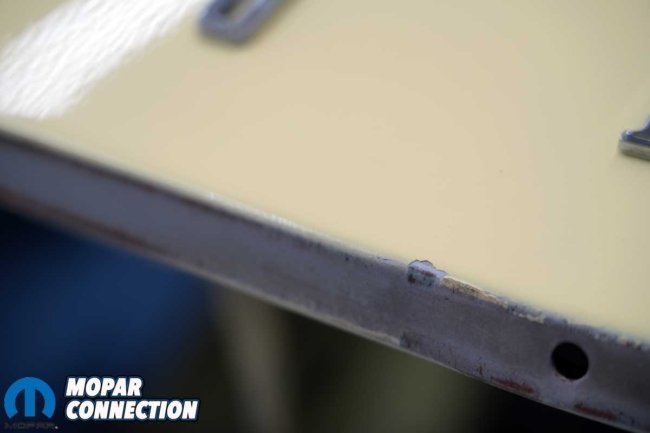

Above Left: When the hood trim was removed, the Sunfire yellow (re)paint lifted in a few places. Above Right: After applying touch-up paint and followed by wet sanding, the result was decent enough not to be noticed with the new trim.
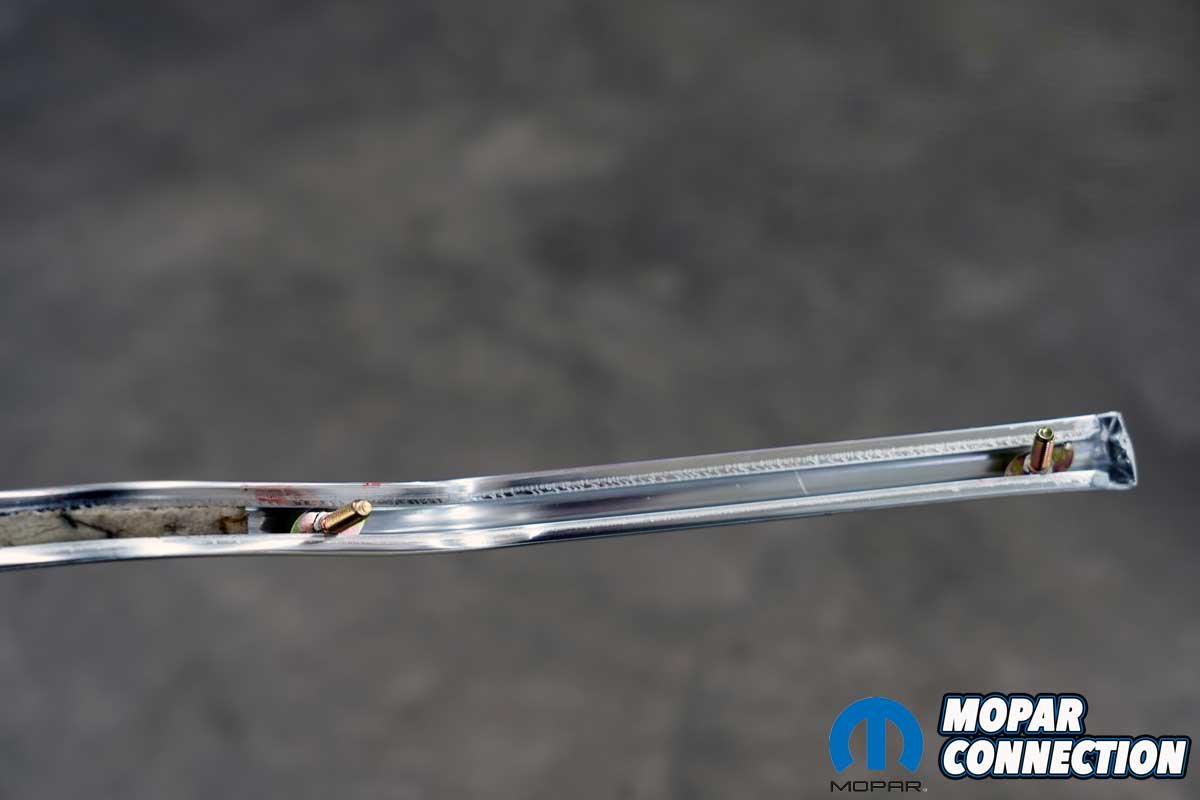
Waiting for the paint to dry, we assembled the molding set. We slid the new trim clips (with studs) into the left and right moldings (four clips per molding). We took our time because the clips fit tightly into the molding. The center segment of the molding was loosely fitted to the hood. Then, starting with the passenger’s side molding, we gently slipped it into the center segment and aligned each stud with the factory-elongated mounting holes. A nut was started on each stud.

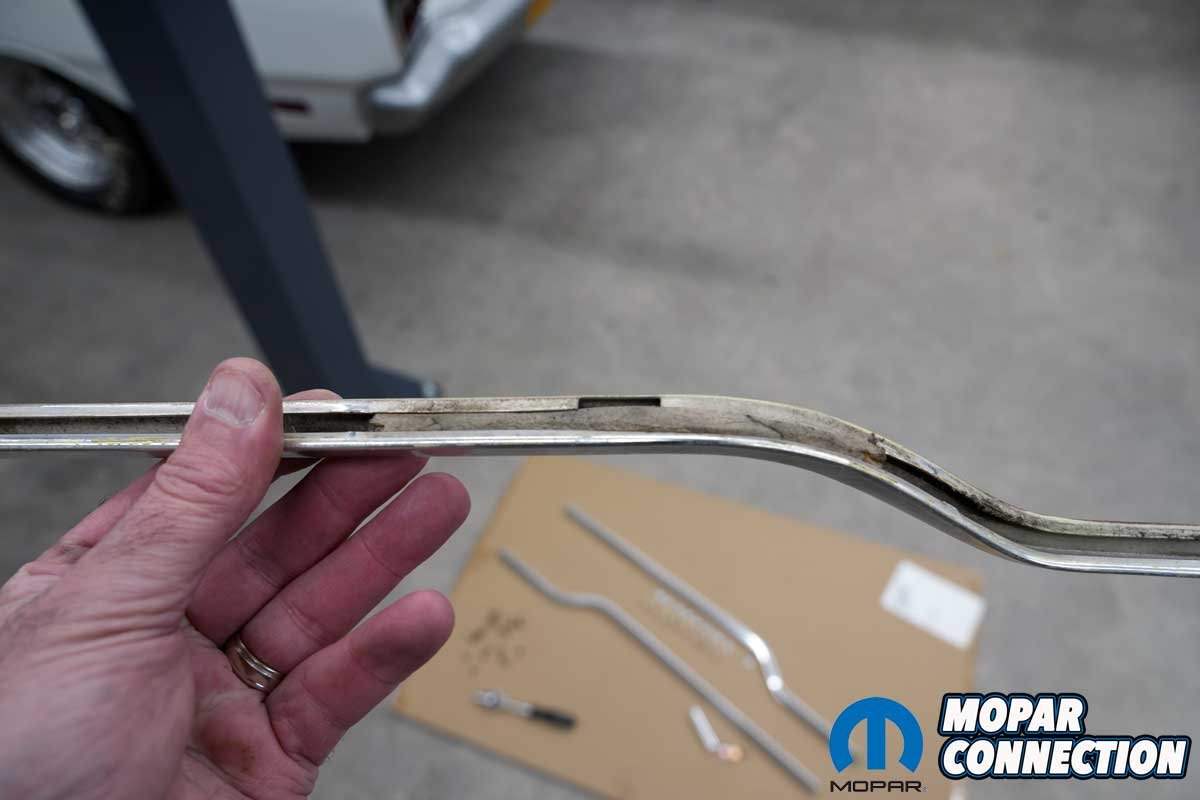
Above Left: The original trim had a foam insert in the bends on the left and right pieces. All the trim clips were rusted and fell apart when the fasteners were removed. Above Right: The foam was cleaned and transferred to the new trim. The left and right trim pieces were ready to install with the new clips.
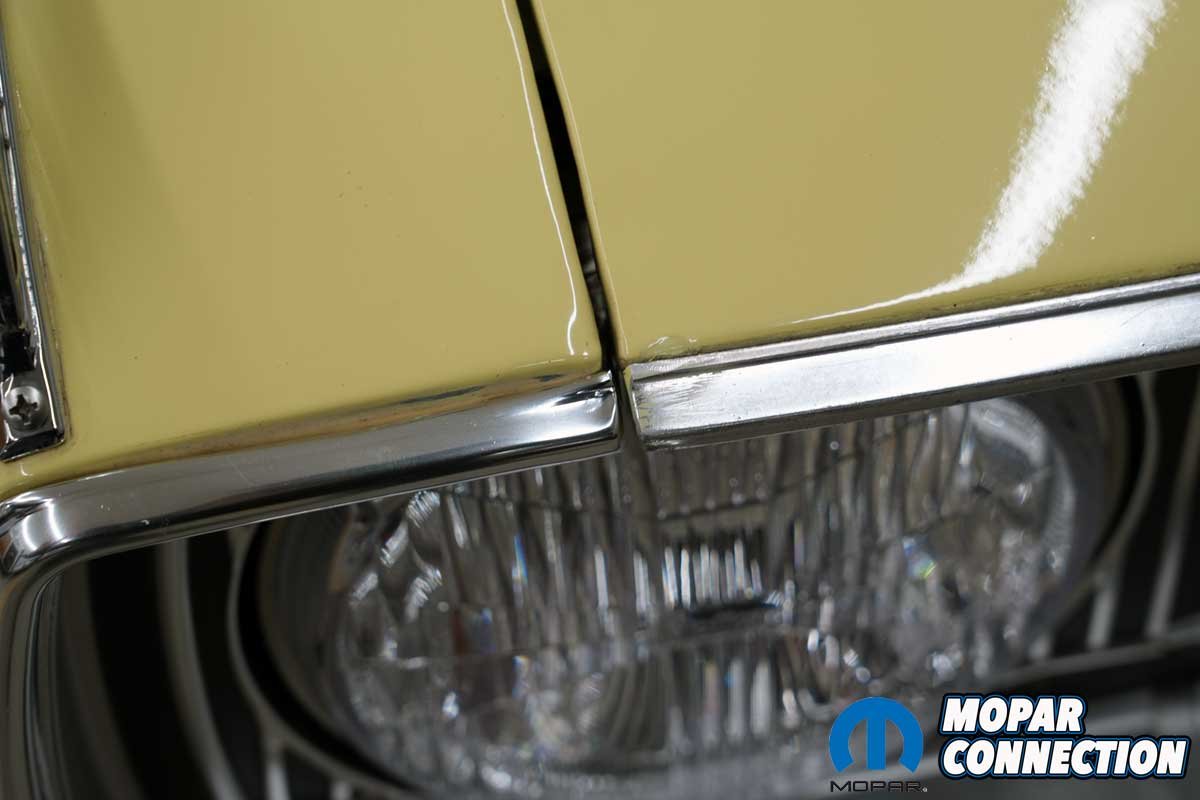
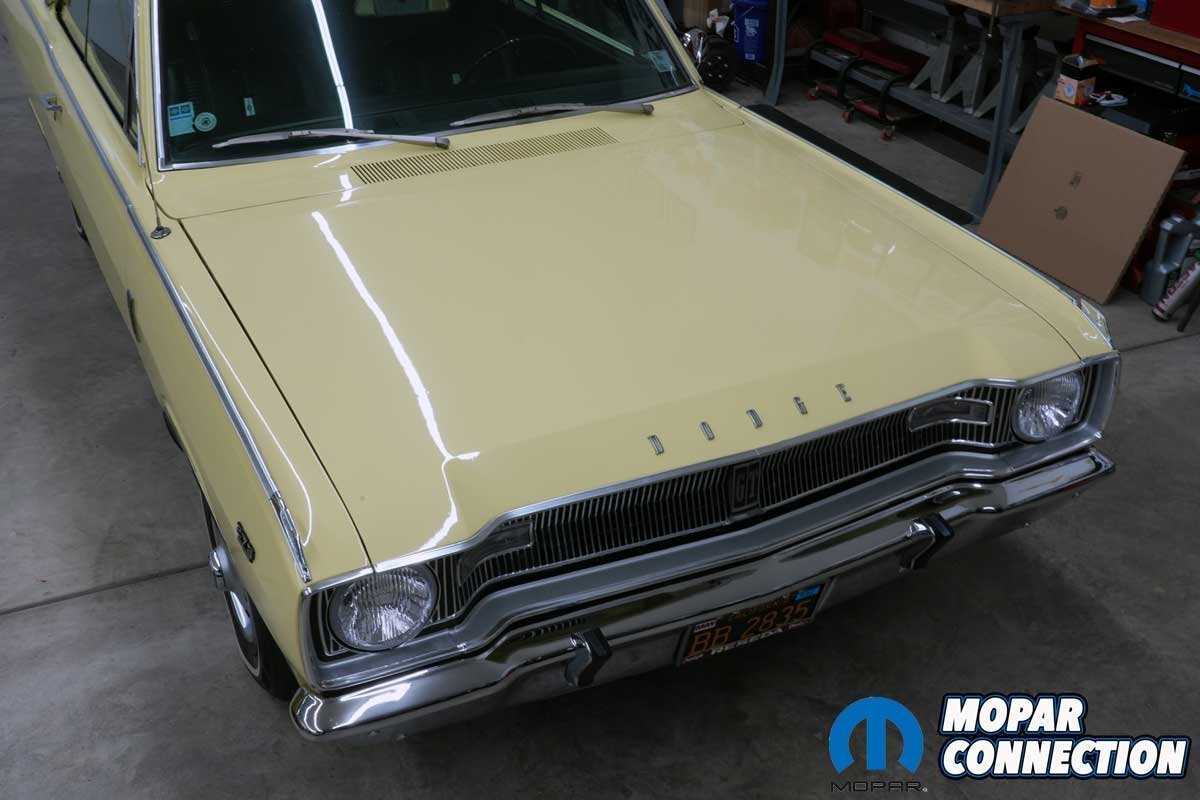
We moved to the driver’s side trim and performed the same procedure. With all the trim lightly secured in place, we ensured the outer ends of the molding lined up with the edge of the hood where it meets the headlight bezel. Confident with our alignment, we snugged down all the fasteners and gingerly closed the hood. We would have stopped if any impediment occurred, but our hood closed adequately.

Above Left: The hood lip molding was snugged into place, working from the center out. The ends of the trim were adjusted so that the trim aligned with the hood gap. Above Right: The fasteners were all secured once the hood molding was verified that it did not interfere with other components.
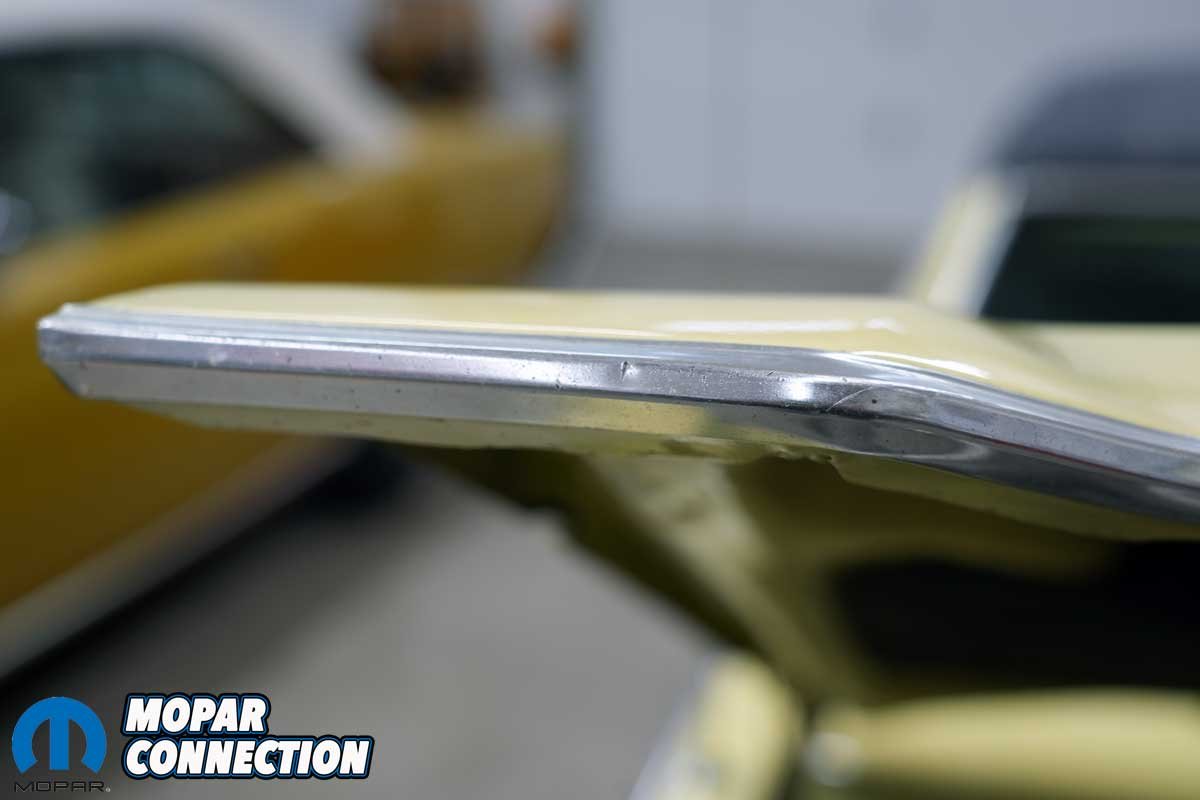
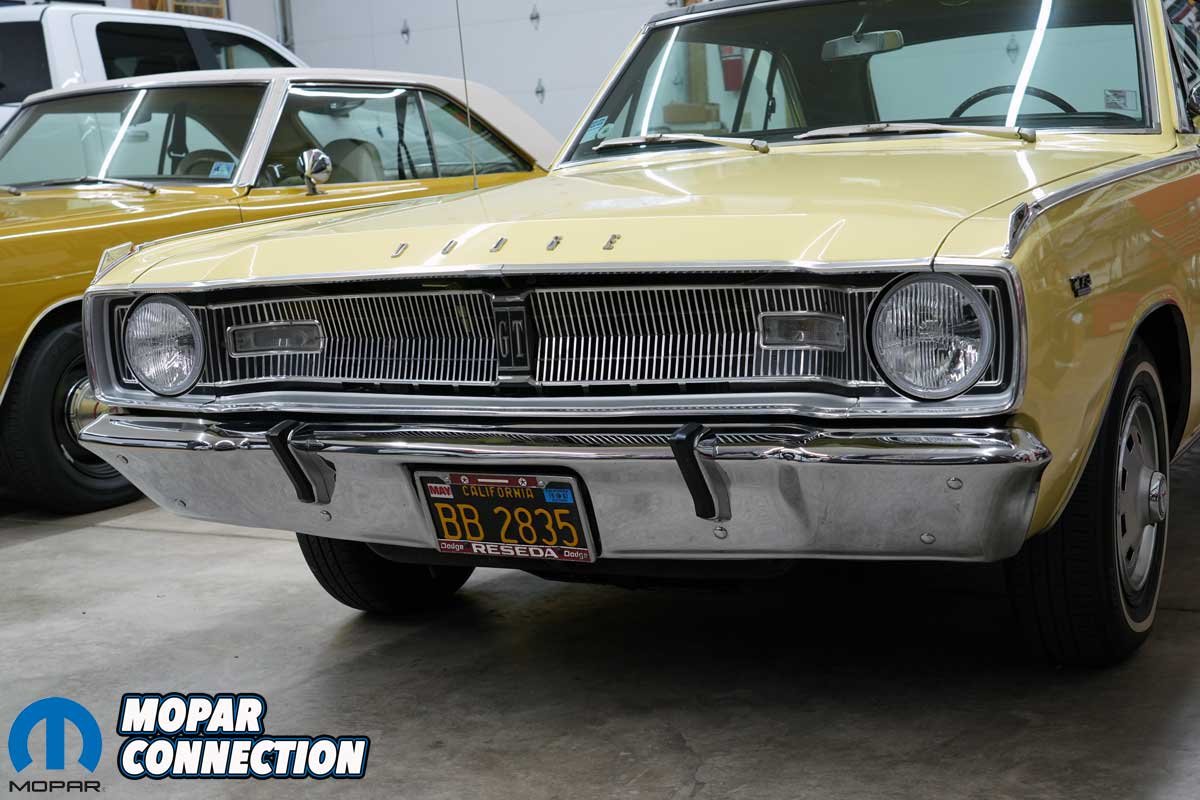
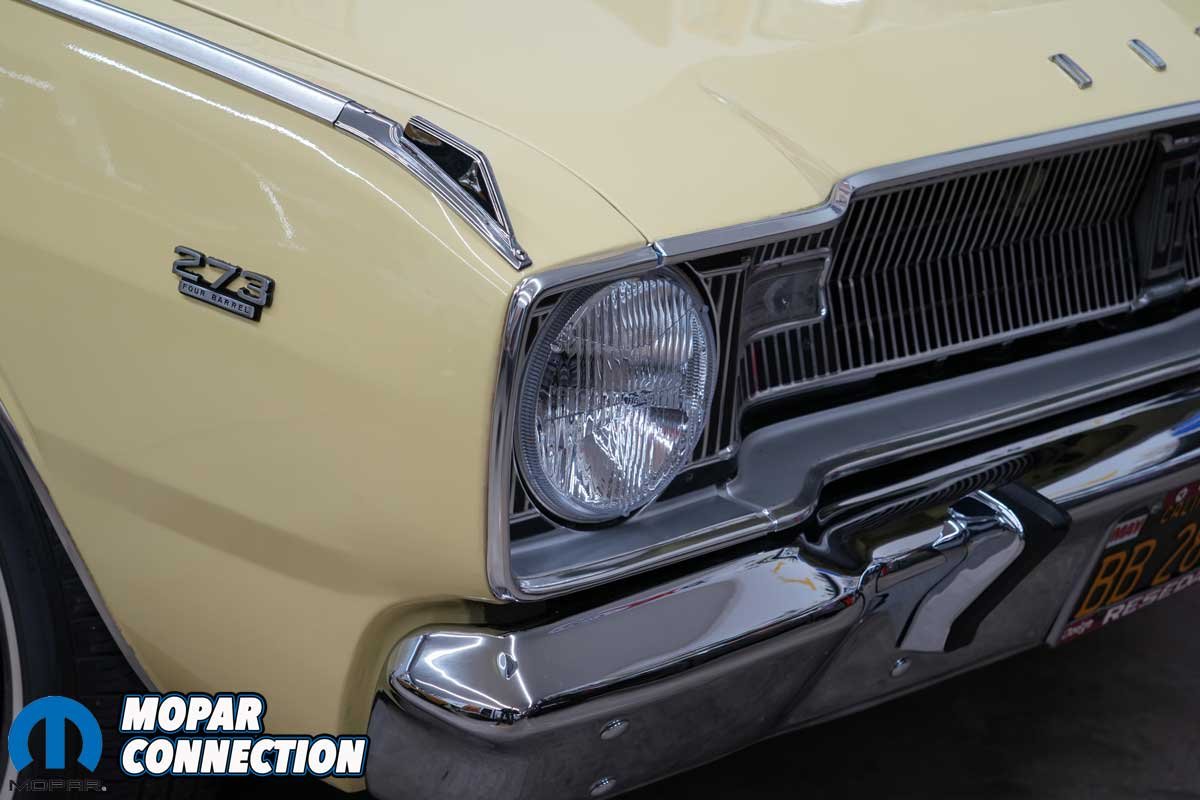
Just like that, we finished a simple Saturday Morning Tech. The trim looks great and blends nicely with the bezels, grill, and bumper with the bumperettes. Now, if only we could locate the correct D-O-D-G-E letters for the hood, the front end would be complete.


Above: Regardless of the angle, the YearOne hood lip molding looks excellent. The chrome matches the headlight bezels perfectly, and the installation was simple and completed in about 30 minutes.
If you have an A-, B-, or E-body that could use new moldings, bezels, or grills, YearOne is just a click away. Take the time to overview its products; YearOne representatives are always ready to help you with all your Mopar needs.


