


In 2008, this author purchased an air-conditioning equipped 1975 Dart Swinger motivated by a 225 Slant Six. In 2009, I started a complete restoration on the 68k-mile Dart. I know what you are thinking. “You restored a ’75 Slant Six Dart?” Yes, I did.

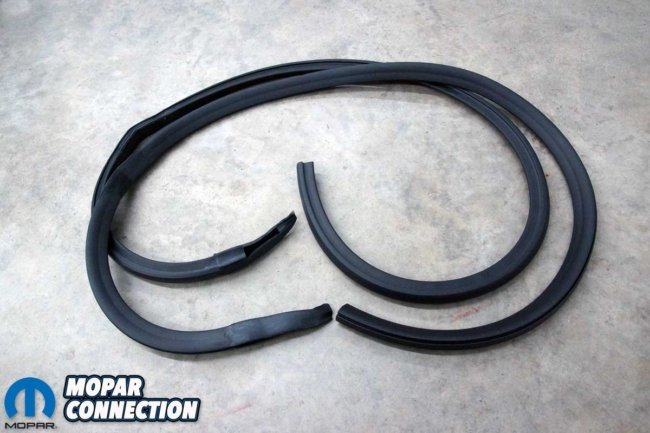
Left: We picked up a pair of door opening weatherstrips from Year One for our 1975 Dart Swinger. The weatherstrips have the correct installation clips and the properly formed ends. Right: Year One also offers a pair of roof rail weatherstrips. They have the proper shape and contours to match the factory originals.
It is a long story, but the gist of the tale is I purchased my ’69 Dart in 1989, and the 19-year-old me had fits setting the dwell on the 340’s dual-point distributor. Well, my dad came to the rescue. After owning and maintaining a ’64 Sport Fury, a ’68 Road Runner, and a 340-equipped ’70 Cuda, he used his experience to adjust the points adequately.
However, during the process and out of frustration, I exclaimed, “My next Dart is going to be a Slant Six with air conditioning!” To which my dad quipped, “Your next Dart?” And nineteen years later, I purchased the ’75, and as prognosticated, it was a Slant Six with air conditioning.


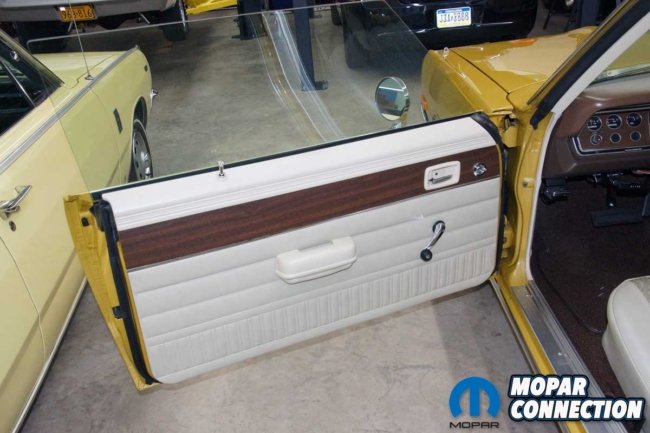
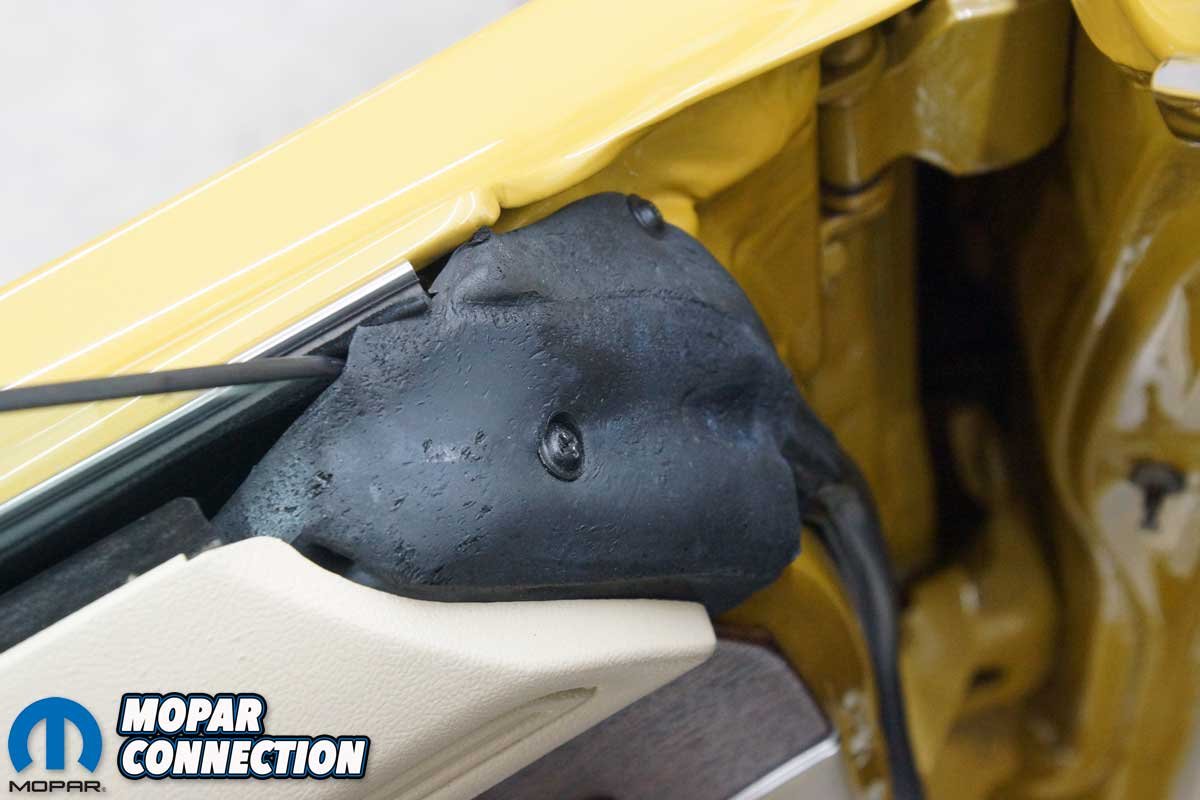
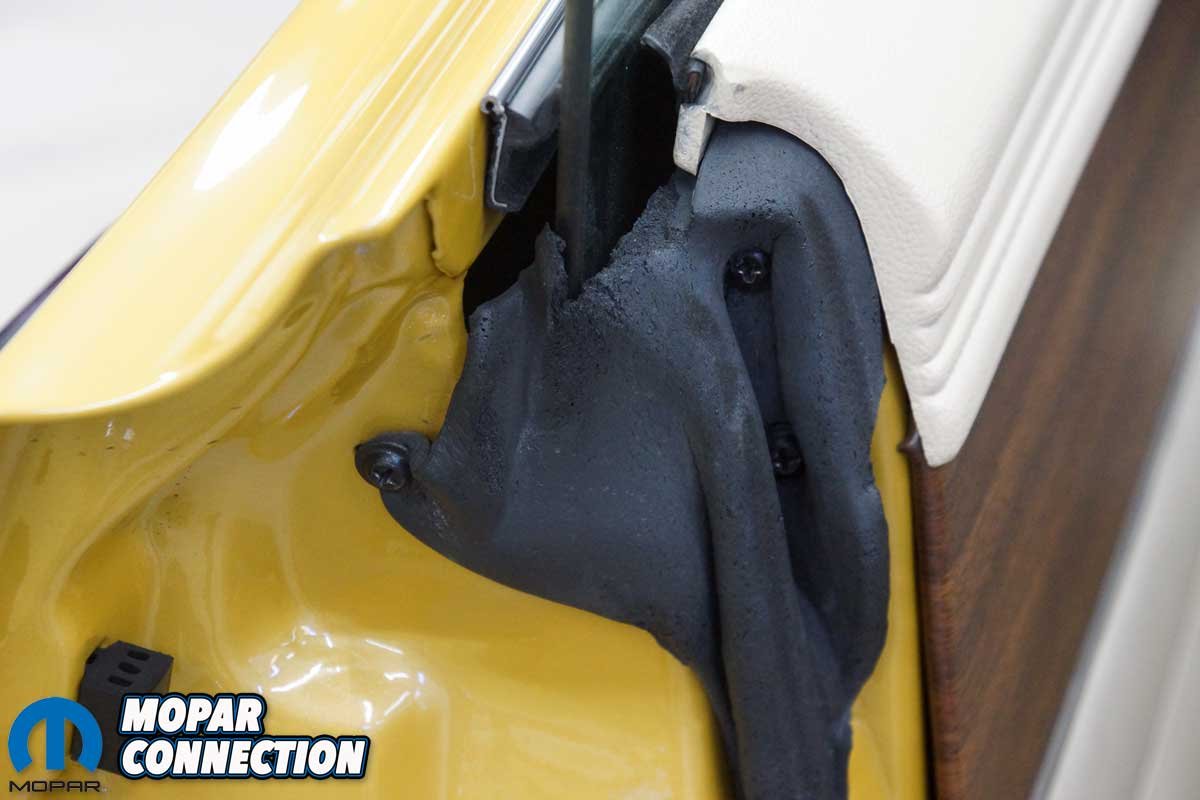
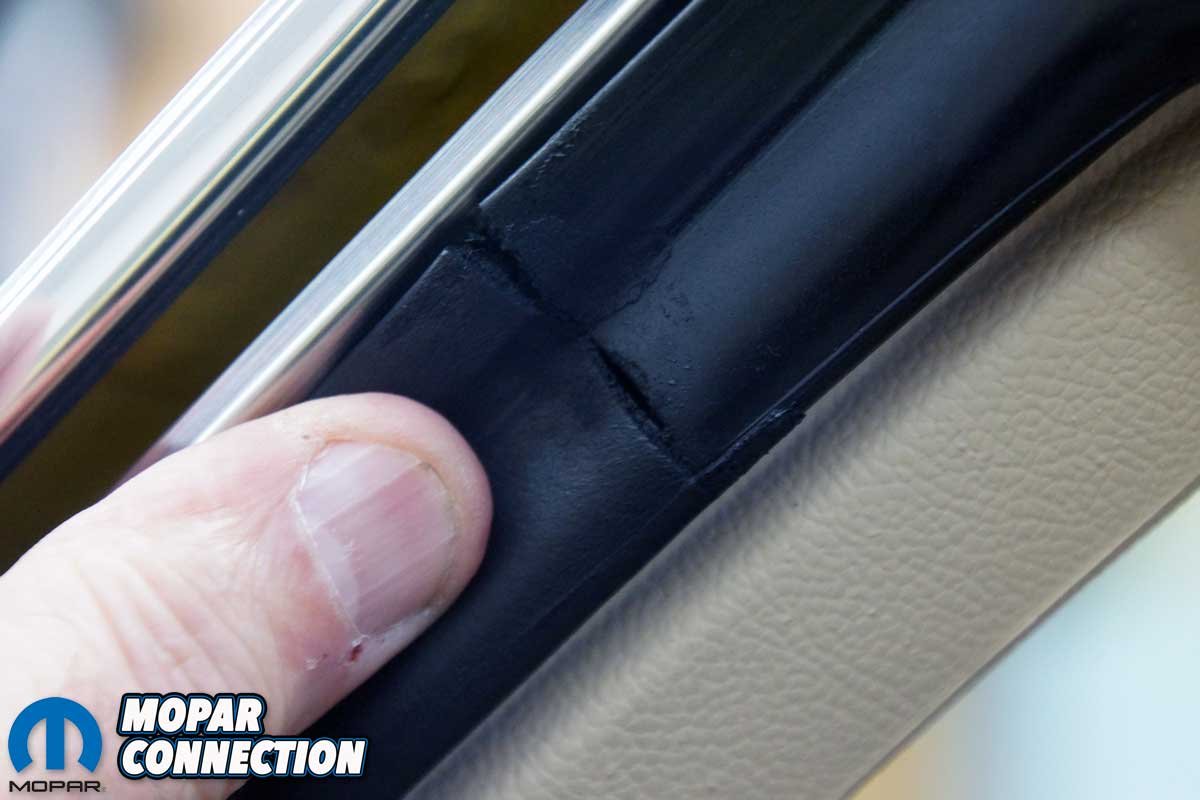
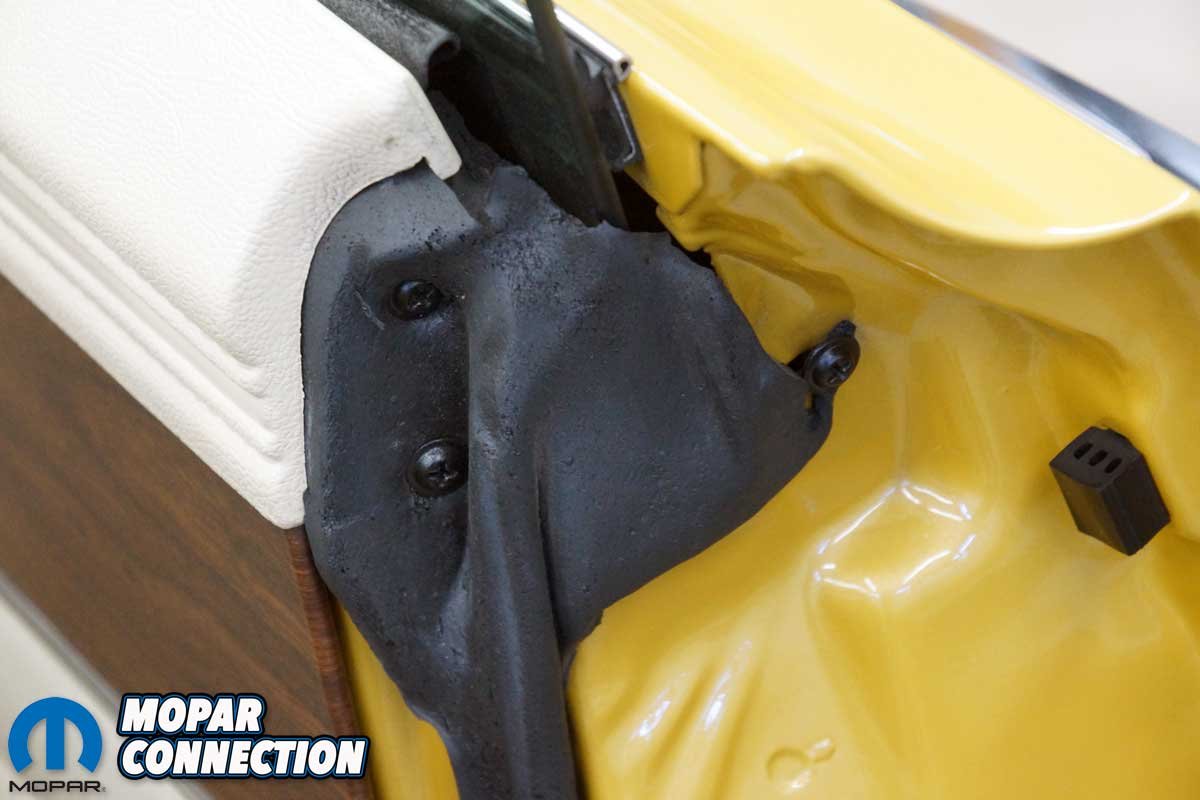
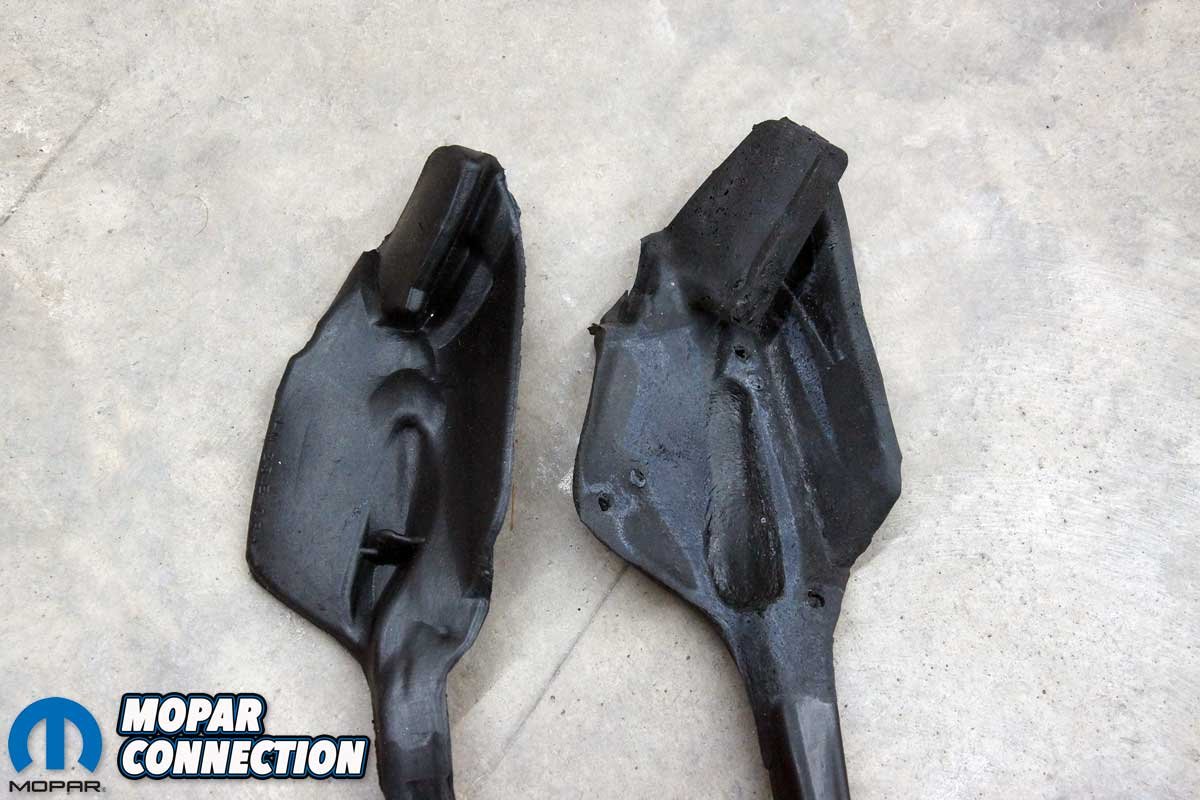
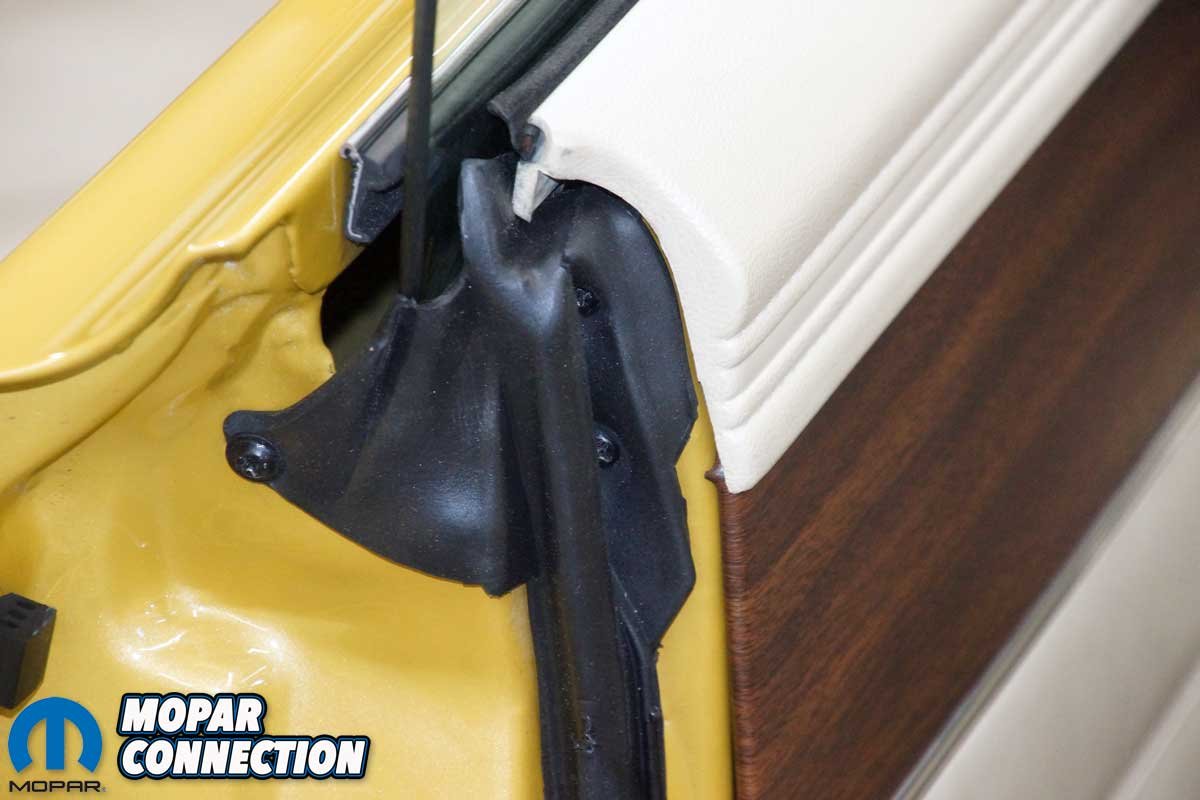
Above: The door opening weatherstrip installed in 2011 was a terrible reproduction. It was made of foam rather than synthetic rubber. In a little over a decade, the seal is frayed and torn.


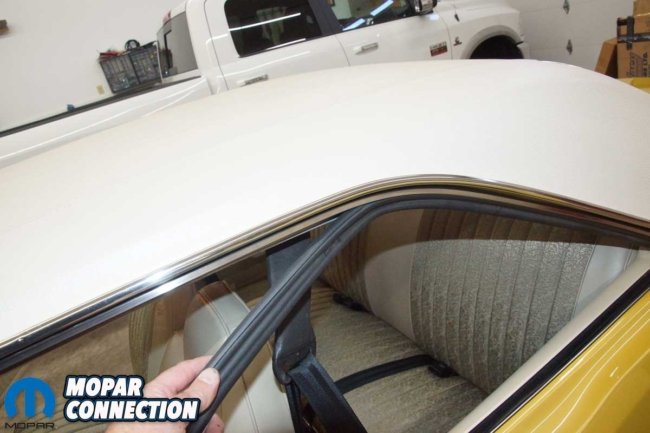
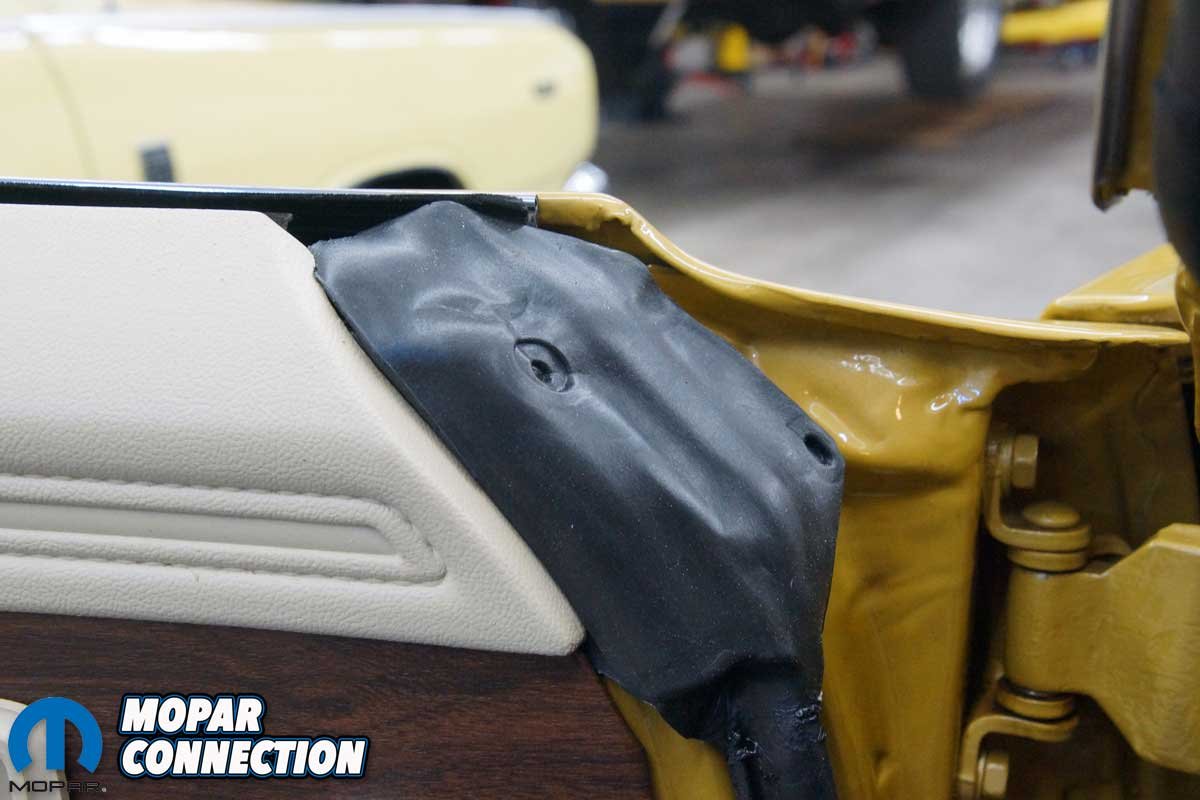
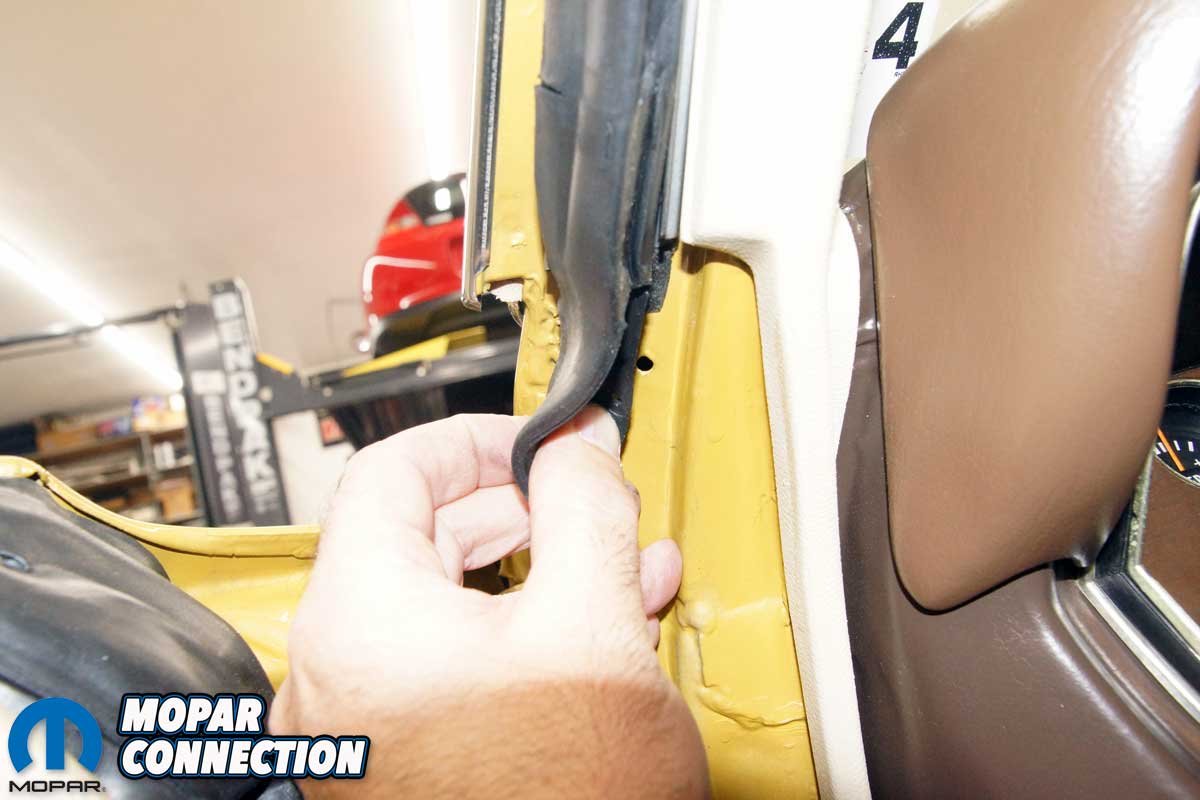
Above: More damage was found on the passenger side door opening weatherstrip. In addition, the roof rail weatherstrip above both doors had ripped in several locations.
During the restoration process, it was quickly revealed that new parts for the “beak nose” Darts (’73-’76) were not easily found. In most cases, new old stock (NOS) and quality used parts were used, but for a few components, aftermarket pieces were installed. Unfortunately, some of those parts were not of the best quality and fit poorly, but they were suitable at the time.
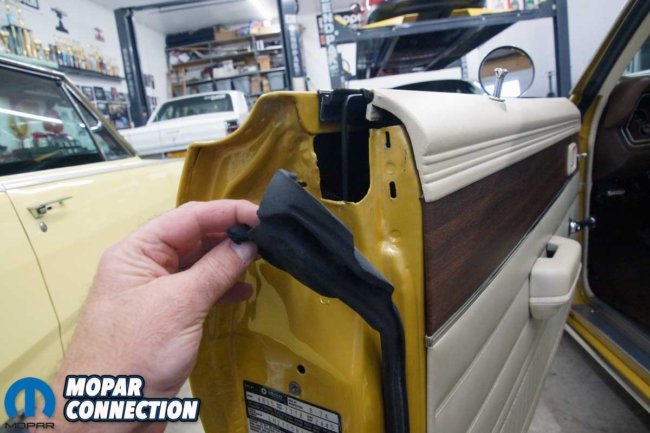


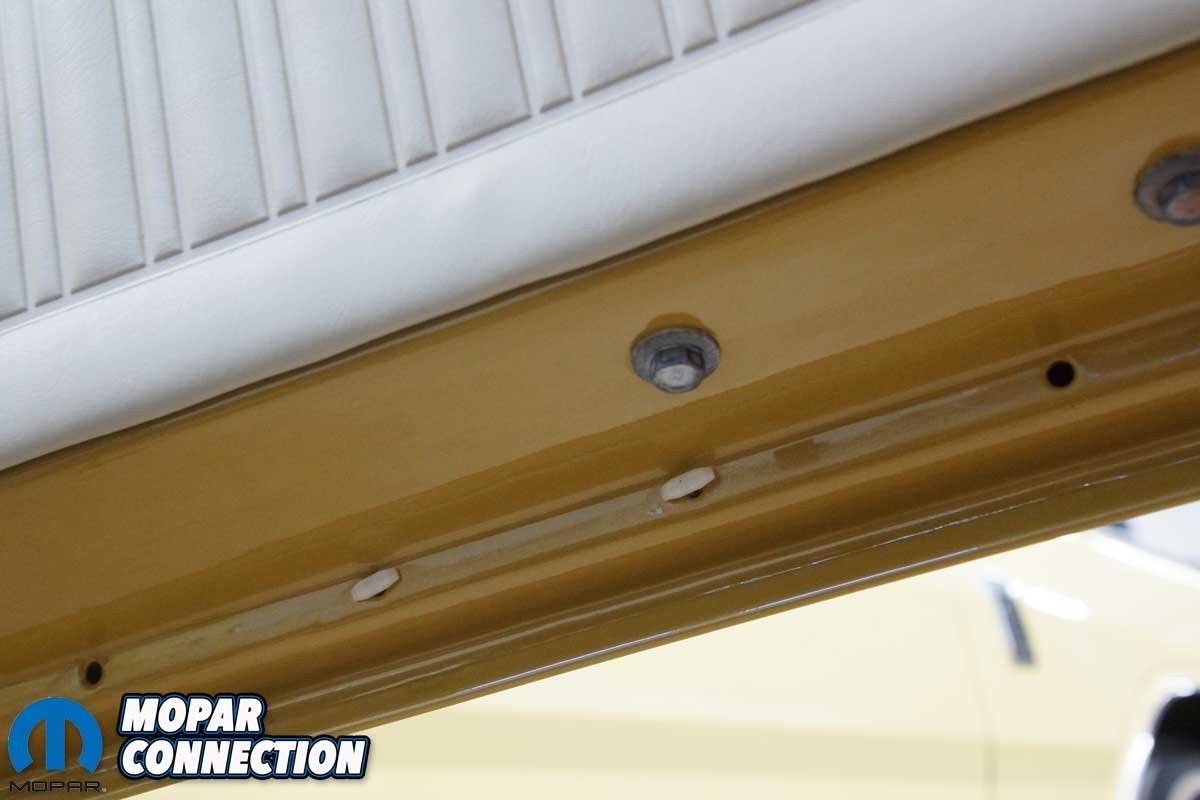
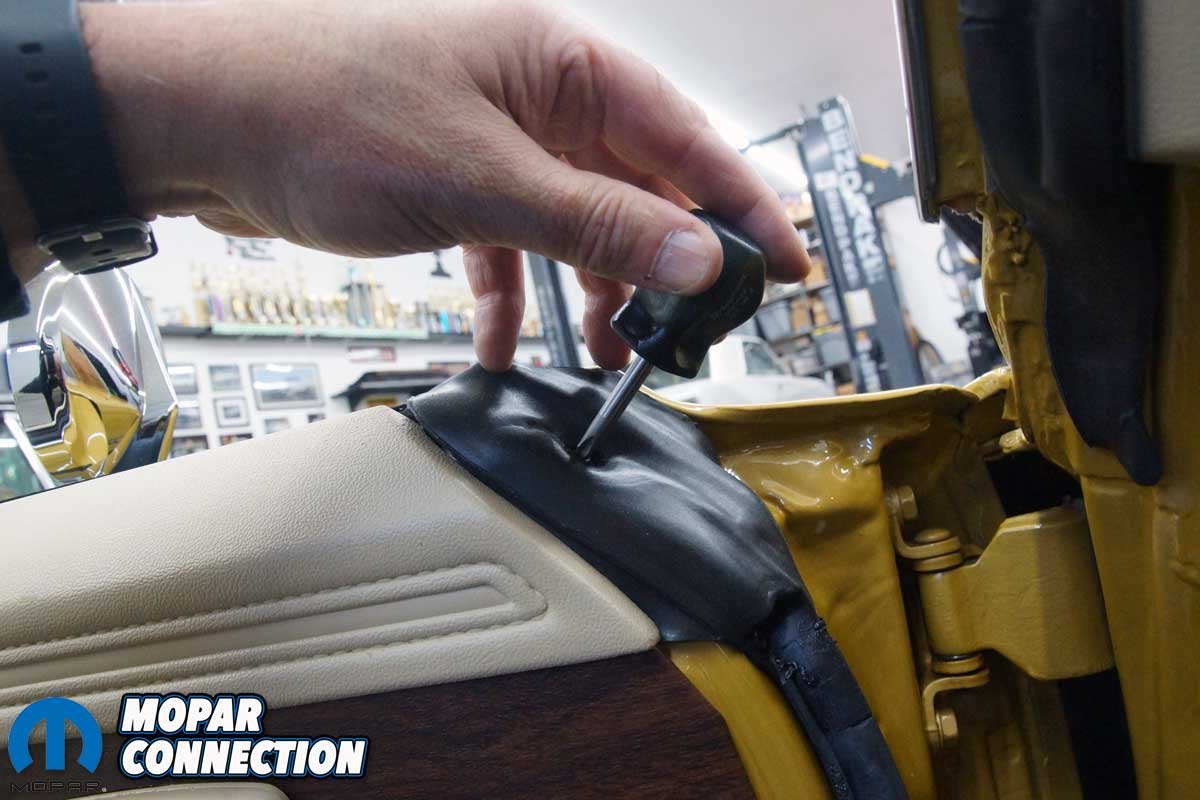
Left: We began the weatherstrip removal by untreading three screws from the end seal. Center: With great finesse, we pulled the weatherstrip from the door. Right: A few seal clips remained behind after the strip was removed. We used pliers to pull the clips from the door.
First, the door opening weatherstrip for each door was downright incorrect. It was a foam rather than pliable synthetic rubber. The second inaccurate part was the roof rail weatherstrip, which was also a relatively poor reproduction. Eleven years after the restoration, better parts have become available for the ’73-’76 Darts, so now was the time for an upgrade. Year One has the accurate door opening weatherstrip (part no. CC7376) and the roof rail weatherstrip (part no. AW776).


Left: The difference between the new weatherstrip end seal (left) and the old weather strip (right) is dramatic. Center: The weatherstrip fits perfectly onto the door. Right: All three screws lined up with the mounting holes located in the door.
The removal of the old door opening weatherstrip was uncomplicated. After the unthreading of three screws at the door end nearest the striker, the seal was gently pulled away from the door to release the seal clips. At the other end of the seal, three additional screws were removed, and the strip was detached. Several seal clips were ripped from the weatherstrip during the removal procedure. The remaining plastic clips were carefully extracted from the door with pliers.


Left: All of the door opening weatherstrip’s mounting clips lined up and clicked into the mounting holes in the door. Center: The opposite end seal was also appropriately mounted with the three factory screws. Right: The door opening weatherstrip fits correctly and looks factory correct.
The weatherstrip installation was the reverse order of the removal. First, we applied a small amount of weatherstrip adhesive to the end of the seal (at the hinge end) and reinstalled the three factory screws. Each clip was snapped into place as we moved around the door. Next, a small amount of adhesive was applied to the other end of the seal. The factory screws were reinstalled. The same procedure was followed for the other door.
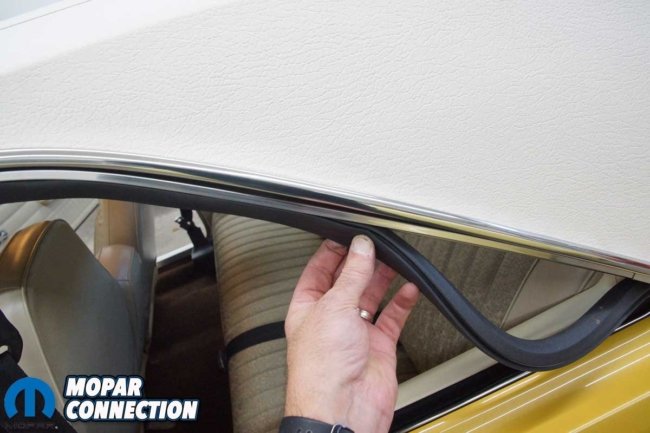
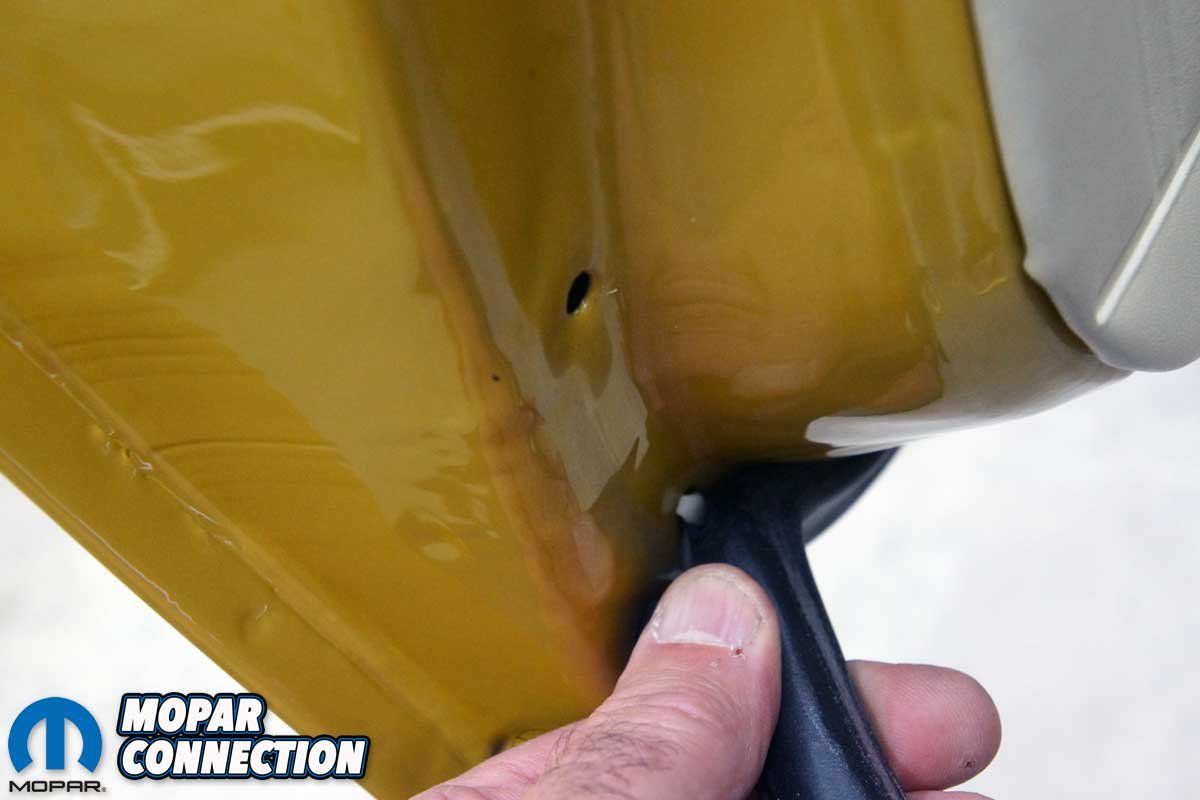
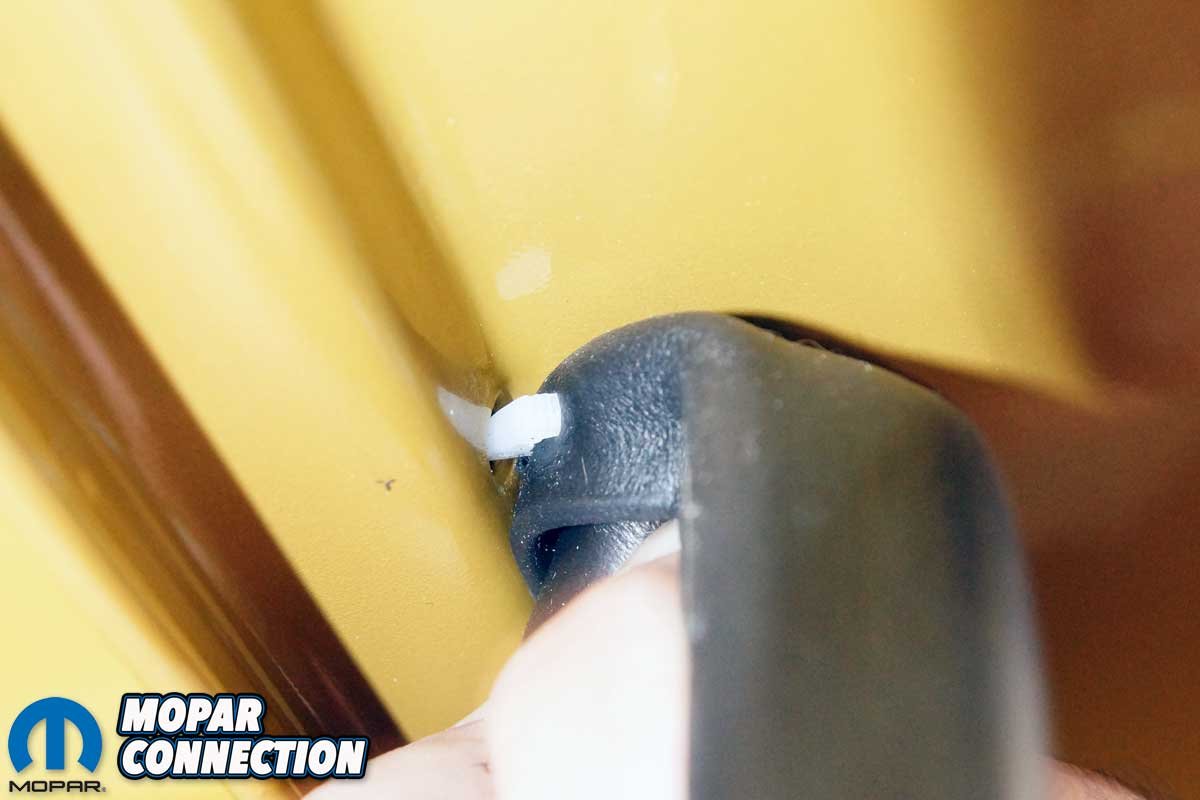
The roof rail weatherstrip installation was less complex than the quickly completed door opening weatherstrip. First, one plastic pin had to be removed at the a-pillar to allow the trim to be pulled from its channel. With the pin removed, we gradually freed the seal from the adhesive and then proceeded to pull the seal from its channel working from the a-pillar to the c-pillar.

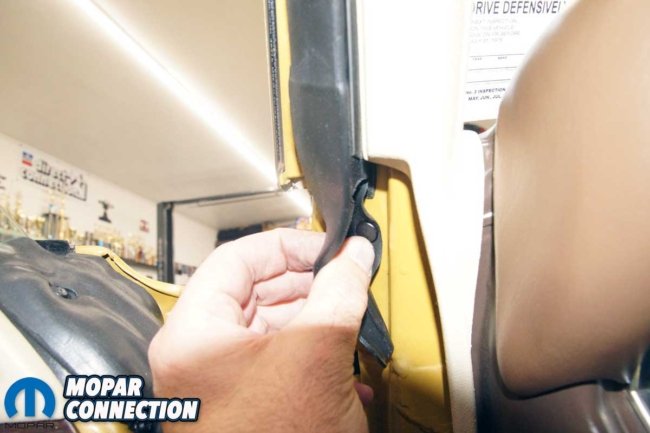
Top Left: A single plastic pin located the roof rail weatherstrip at the a-pillar. Top Right: Once the pin was removed, we pulled the seal from its channel, working from the a-pillar to the c-pillar. Bottom Left: With a small portion of the new weatherstrip mounted in its channel, we fed the strip into its channel and the c-pillar. Bottom Right: We worked from the rear to the front of the channel. We installed a new plastic pin at the a-pillar to secure the weatherstrip to the pillar.
To install the new roof rail weather strip, we started at the c-pillar by tucking the trim into the channel. Then, moving forward, we continued to insert the trim into place. At the end of the strip, we applied adhesive and installed the included plastic clip. After completing the driver’s side of the Dart, we followed the same installation procedure on the passenger side.


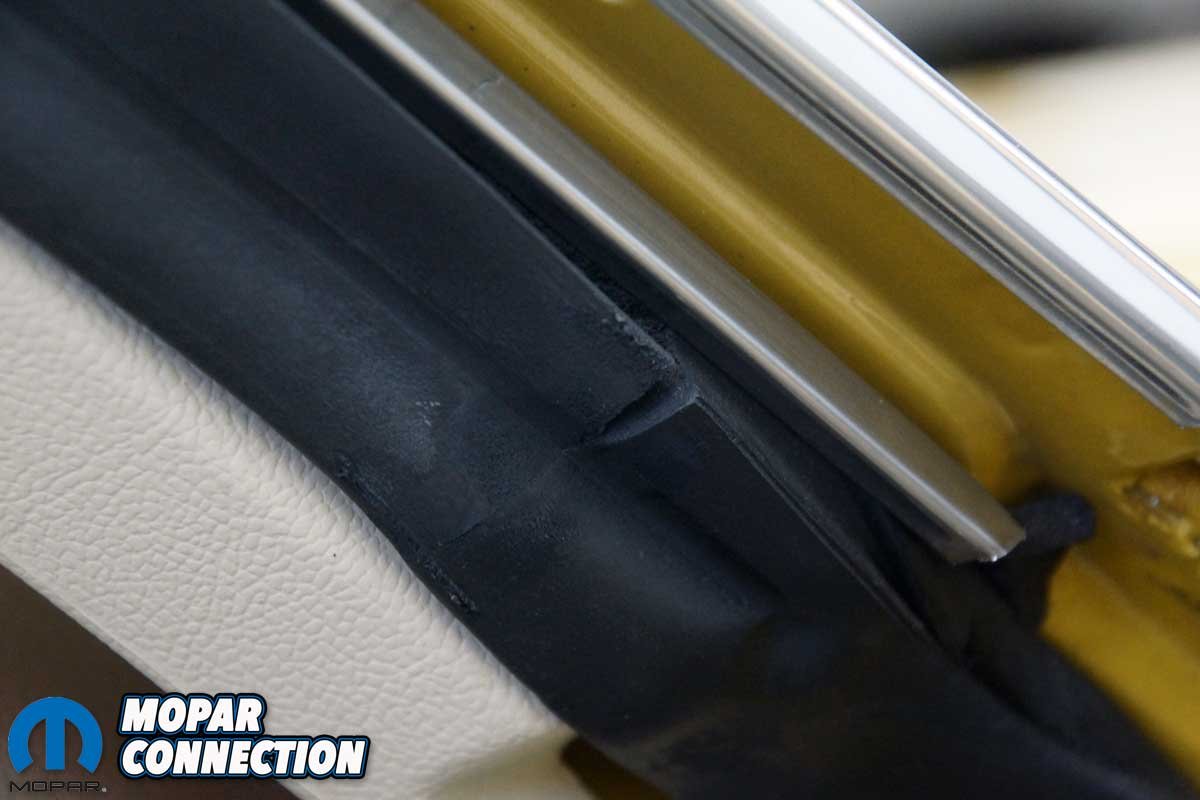
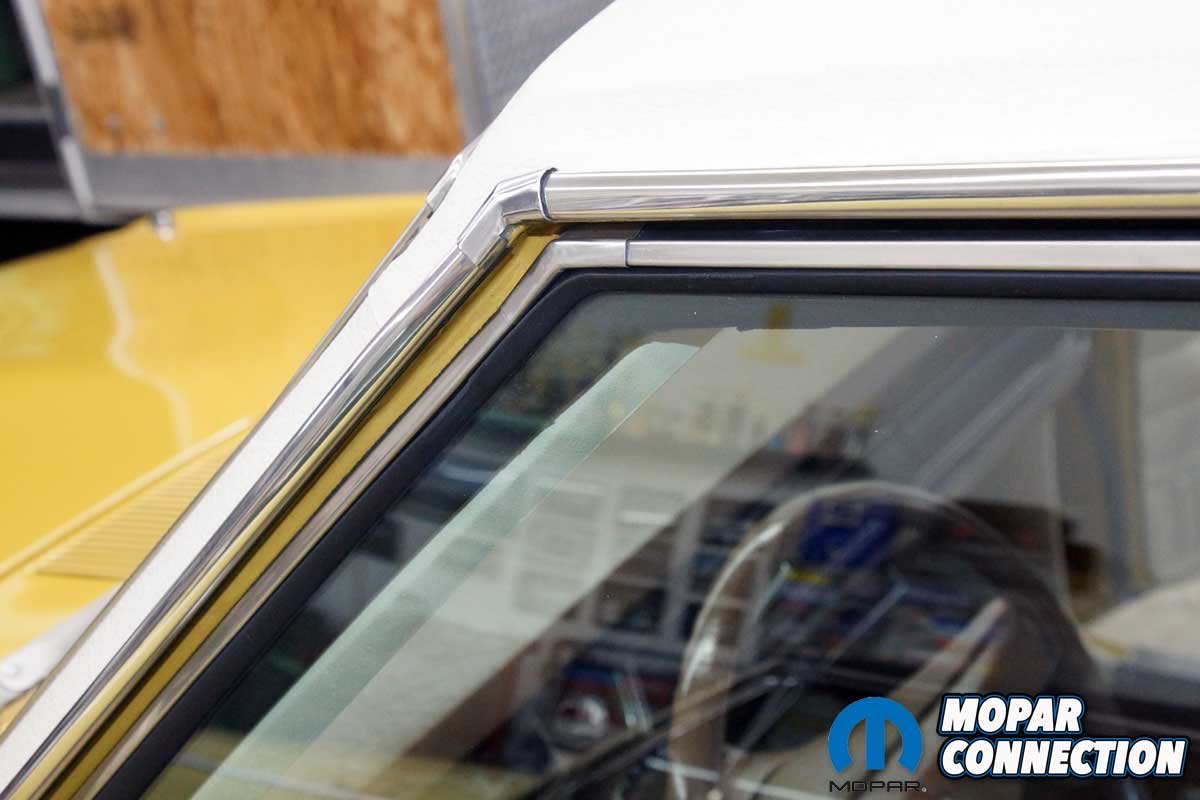
Above: The roof rail weatherstrip sealed cleanly across the entire parameter of the front and side glass. During a test drive, we noted all the wind noises were gone.
To evaluate the new seals, we took a 25-mile trek through the back roads of central PA. While enjoying the color changes of the trees, we noticed that the distinct wind noise that we had grown accustomed to (with the windows up) was gone due to the excellent sealing characteristics of the new weatherstrips.

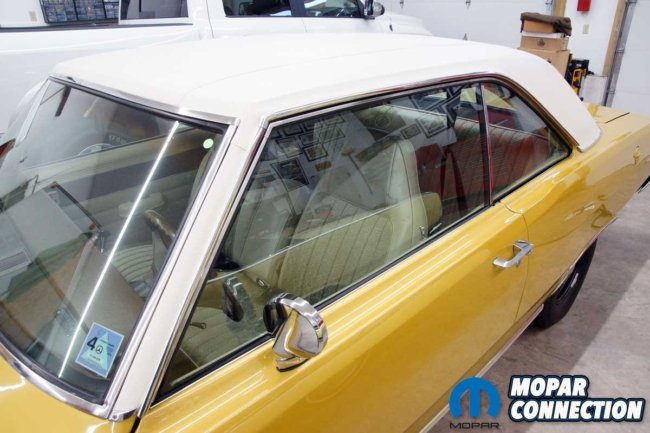
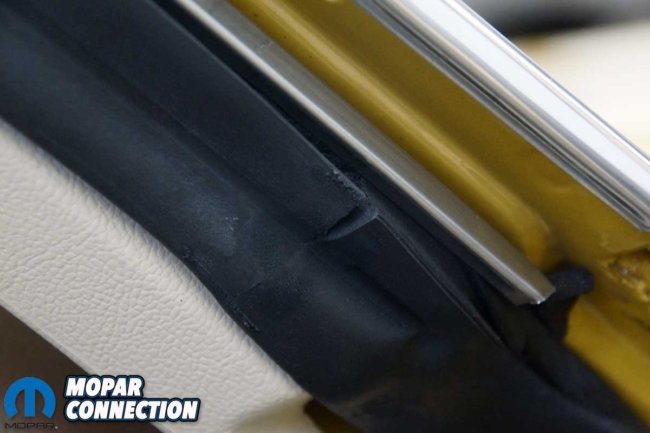
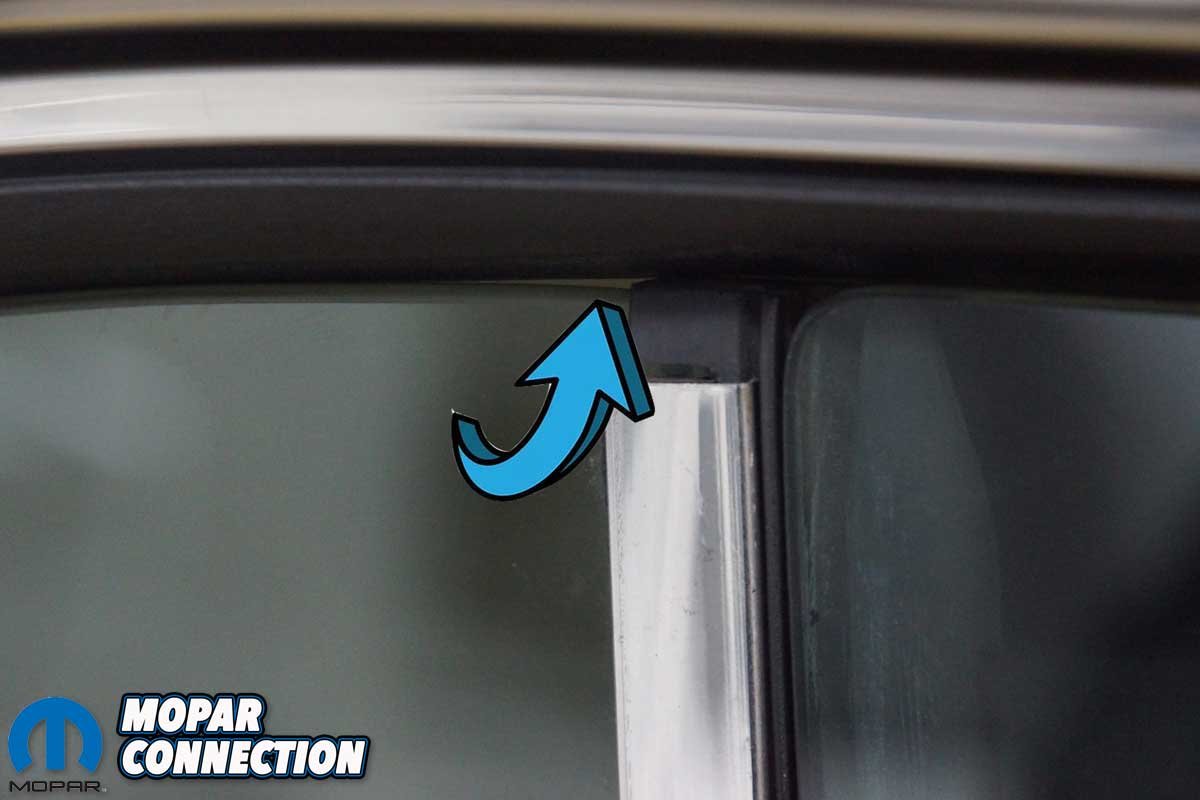
Left: The arrow points to the gap between the passenger side glass and the old weatherstrip. With the new weatherstrip installed, the void disappeared. Right: The new weatherstrips fit perfectly, resulting in a weathertight Dart.
We are incredibly pleased with the new parts. The fit and appearance are nearly identical to the factory original parts. Although we avoid driving in wet or chilly weather, it is nice to know that the Dart is now weathertight if we get caught in a storm. Check out all Year One’s products to prepare your Mopar for that rare chance it gets caught in harsh weather.


