


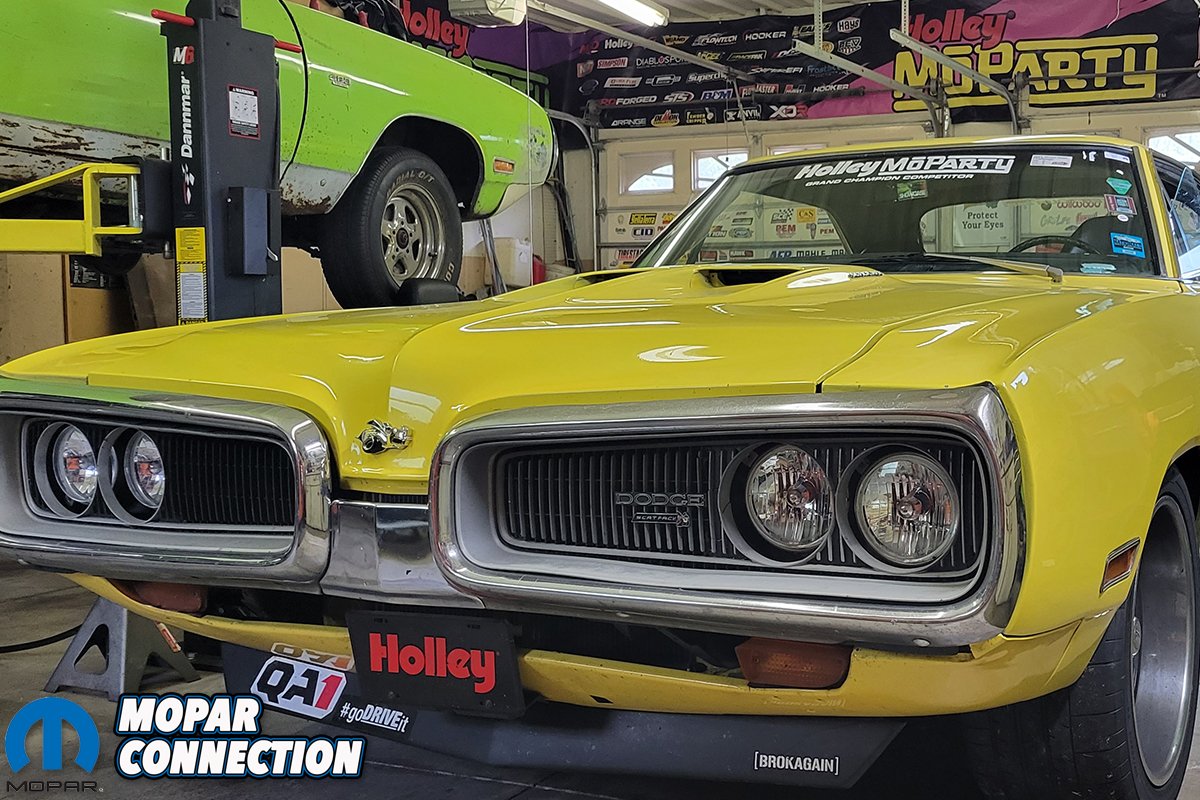
Replacing axles do not normally happen until there is failure or a restoration. Axle shaft failures can happen in multiple ways, such as snapping, teeth wearing, etc., but in our case the flanges bent where the wheel mounts. With a lot of road course and auto cross racing we do in our 1970 Dodge Super Bee, the stock axle shafts could not hold up to the heat and hard corning.
Recently, after an event we had a very bad vibration, and what we thought was a bent wheel ended up being the axle shaft flange. In this article we are going to show you just how easy it is to install new axle shafts in your own garage. We called up the leader in Mopar axle shafts, Moser Engineering.
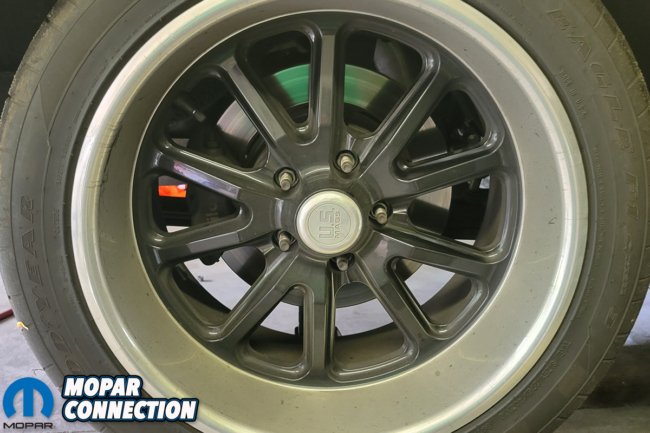

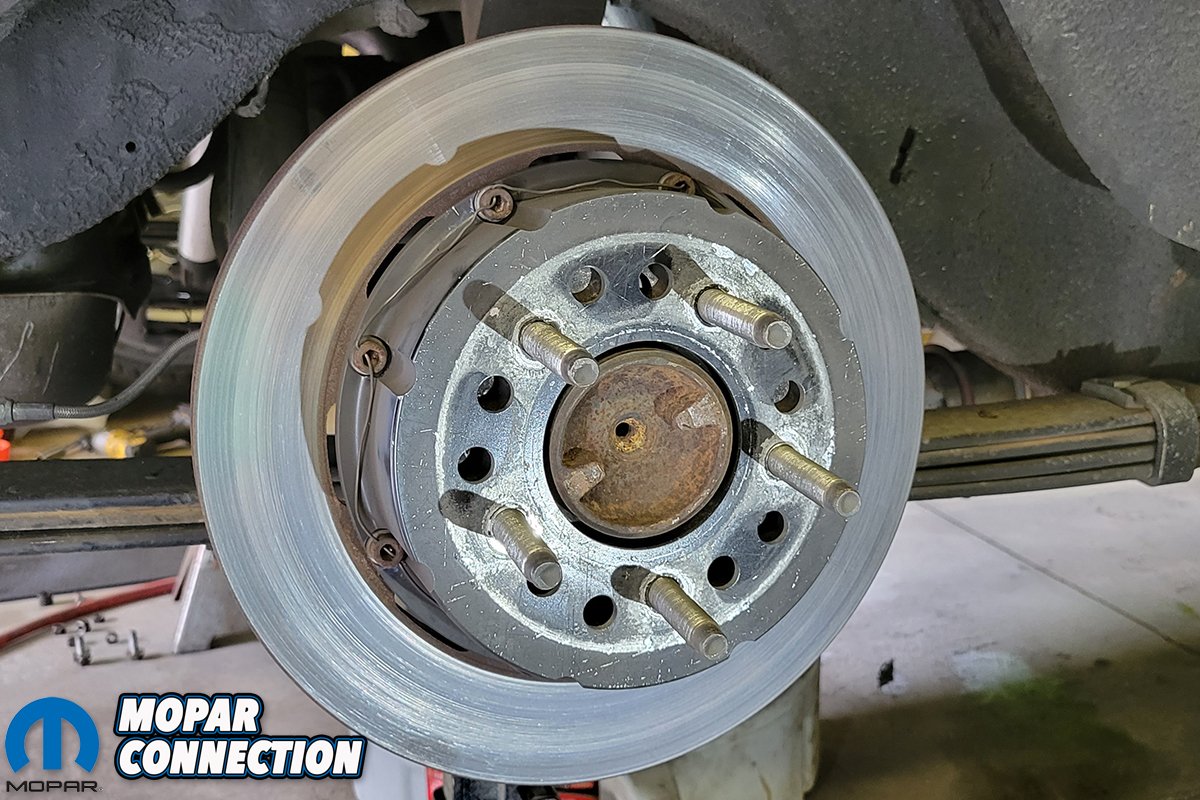
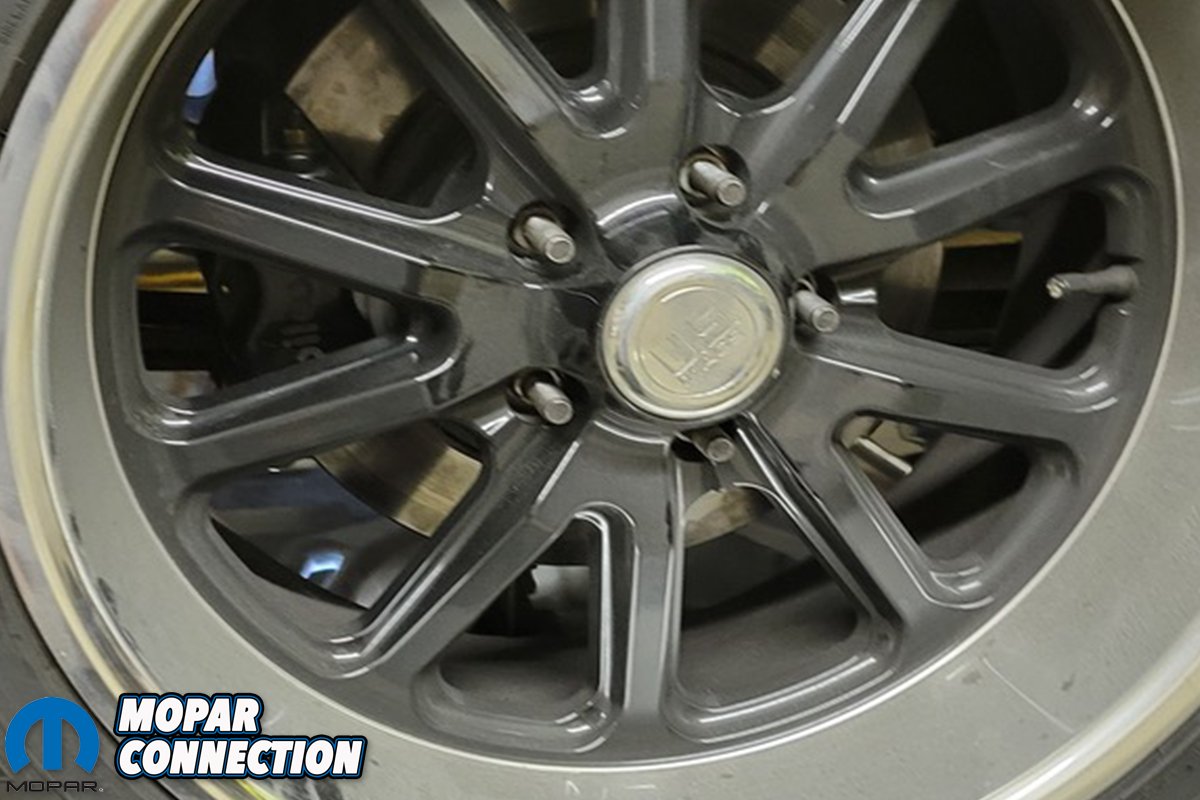
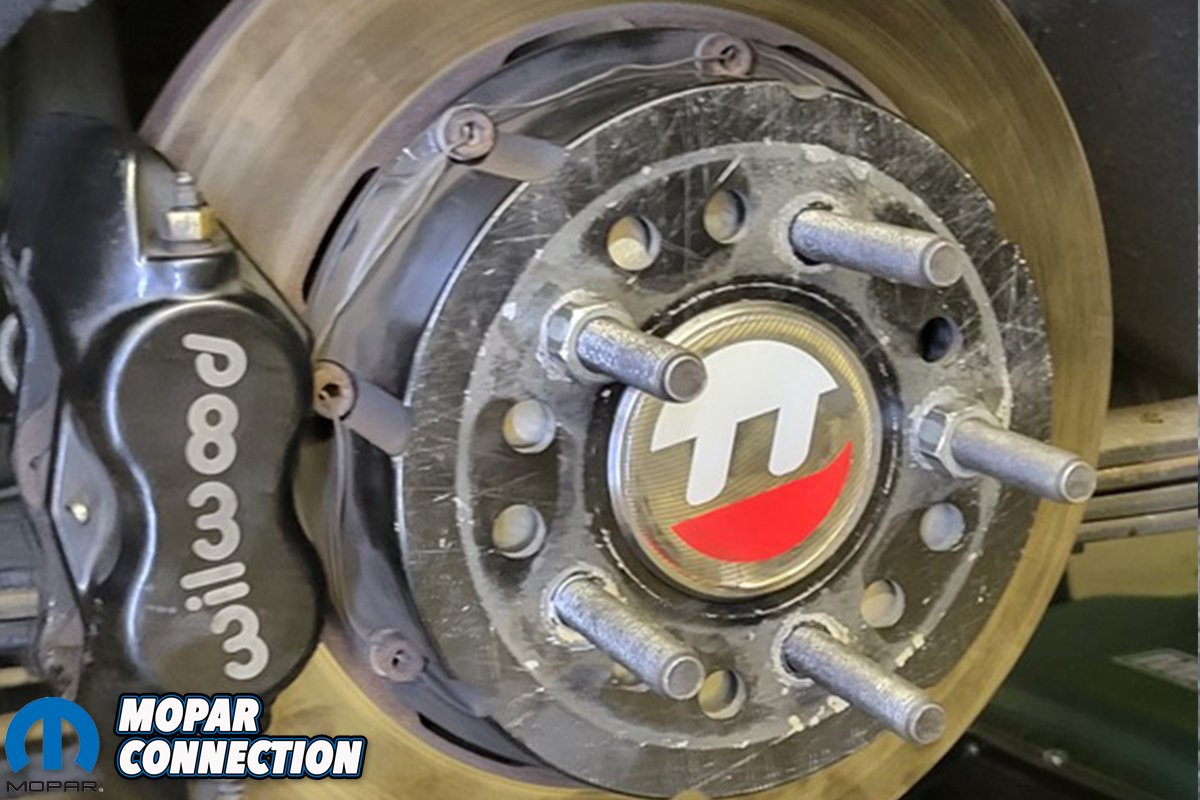
Above Left: Properly lift your car and secure it with the weight off both rear wheels. Above Right: Remove both rear wheels to gain access to the brakes and axles.

Above Left: We removed our brake calipers first by using a 9/16″ wrench. Above Right: With the caliper out of the way, remove your brake rotor.
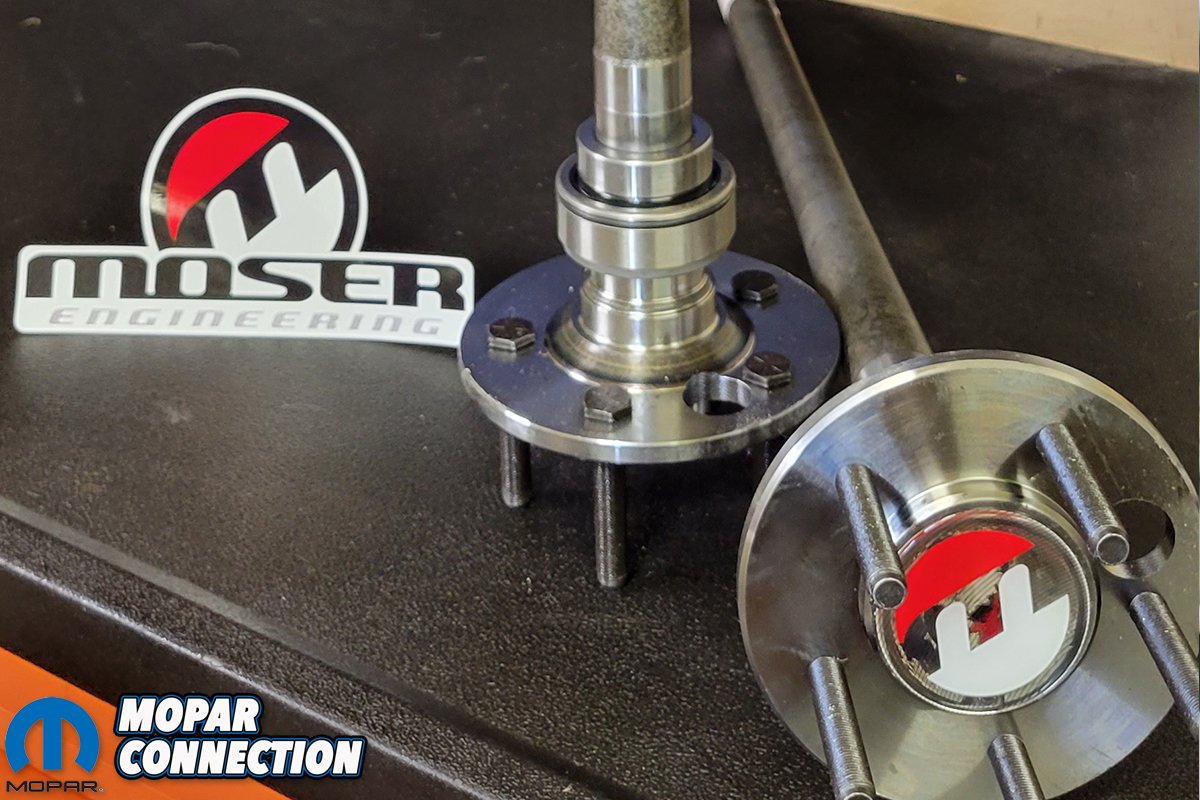
We talked with Moser about our application, a stock 8 3\4 B-body rear end with Wilwood disc brakes, they told us no worries and had the parts ready on the shelf to be shipped out. We received exactly what was needed. Moser axles controls the whole axle building process from raw materials to the machining. This allows them to have a fast turnaround time, competitive pricing, and superior quality. All Moser products are made right here in the USA.
We needed green bearing style axles because of the rear Wilwood disc brake kit. The kit requires one of the two styles of green bearings, so be sure to get the correct style of axle for your brake setup. The tools needed were nothing special, a hammer, hex wrench, 9/16” wrench, and an impact gun.

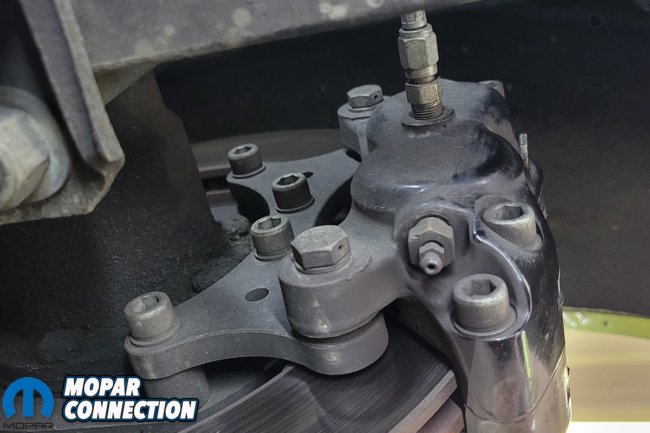
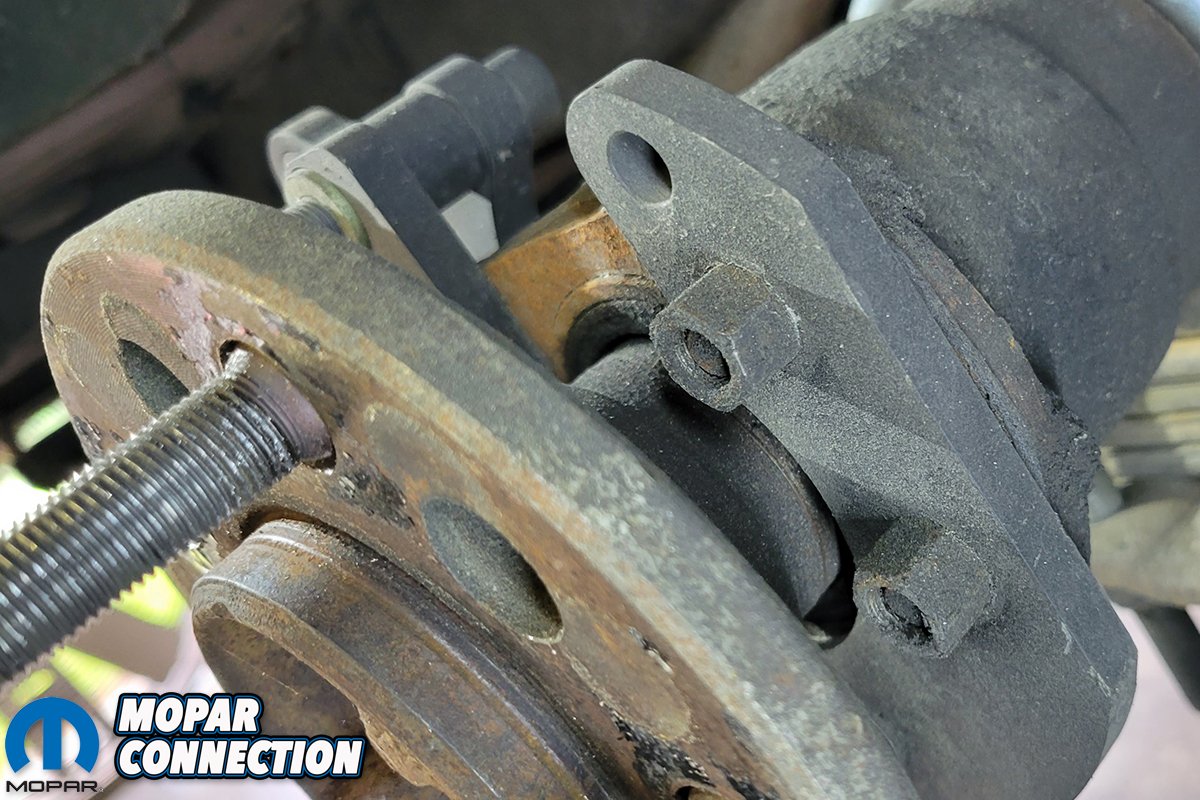
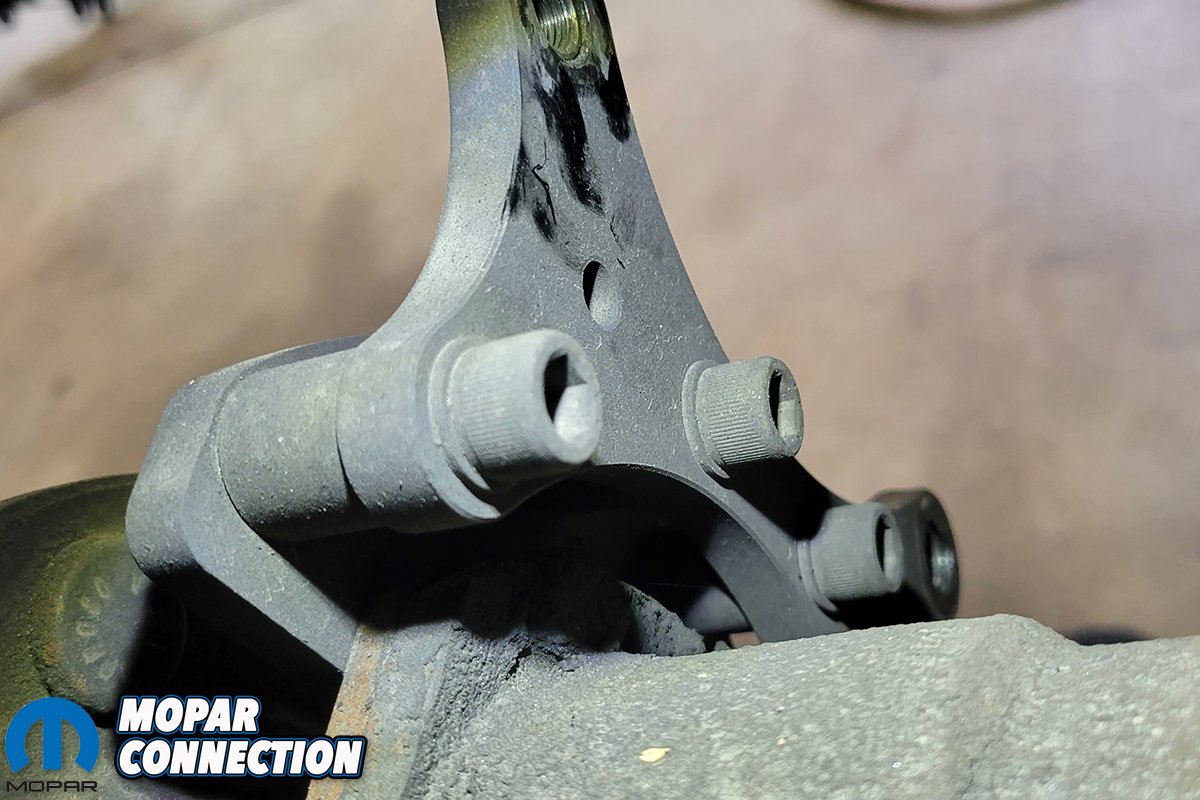
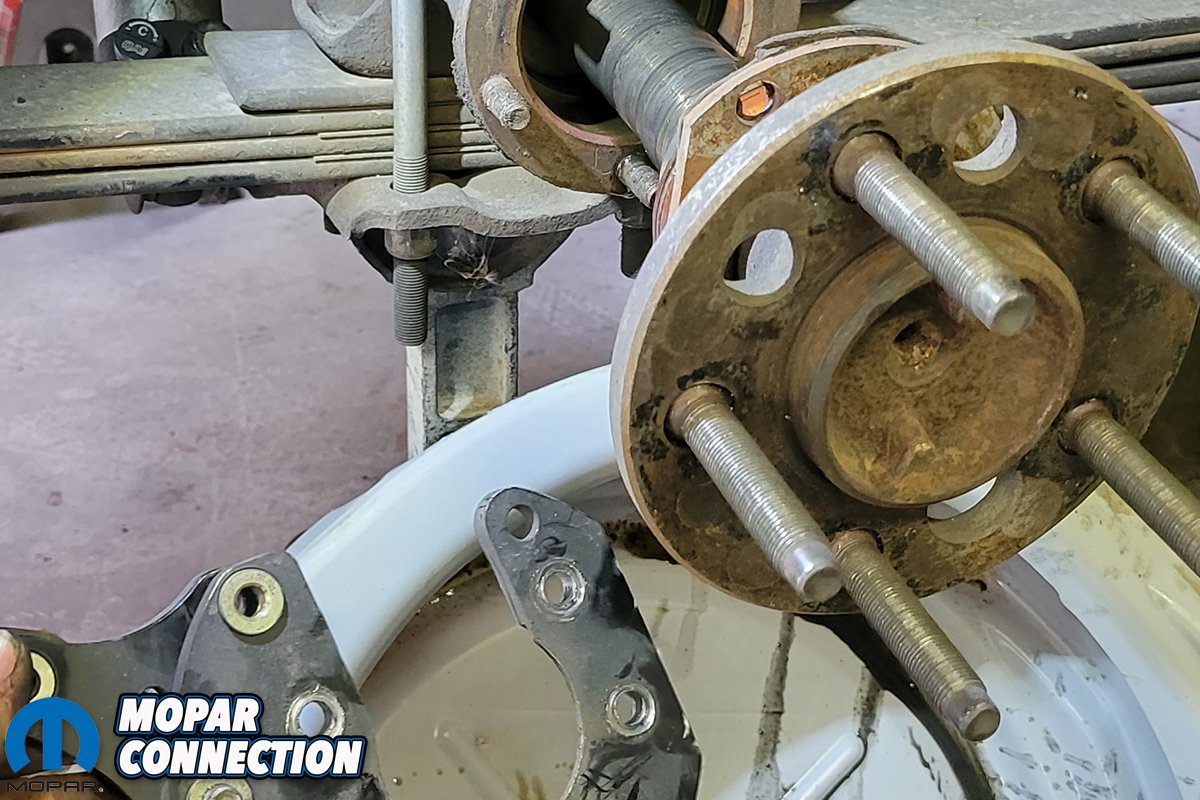
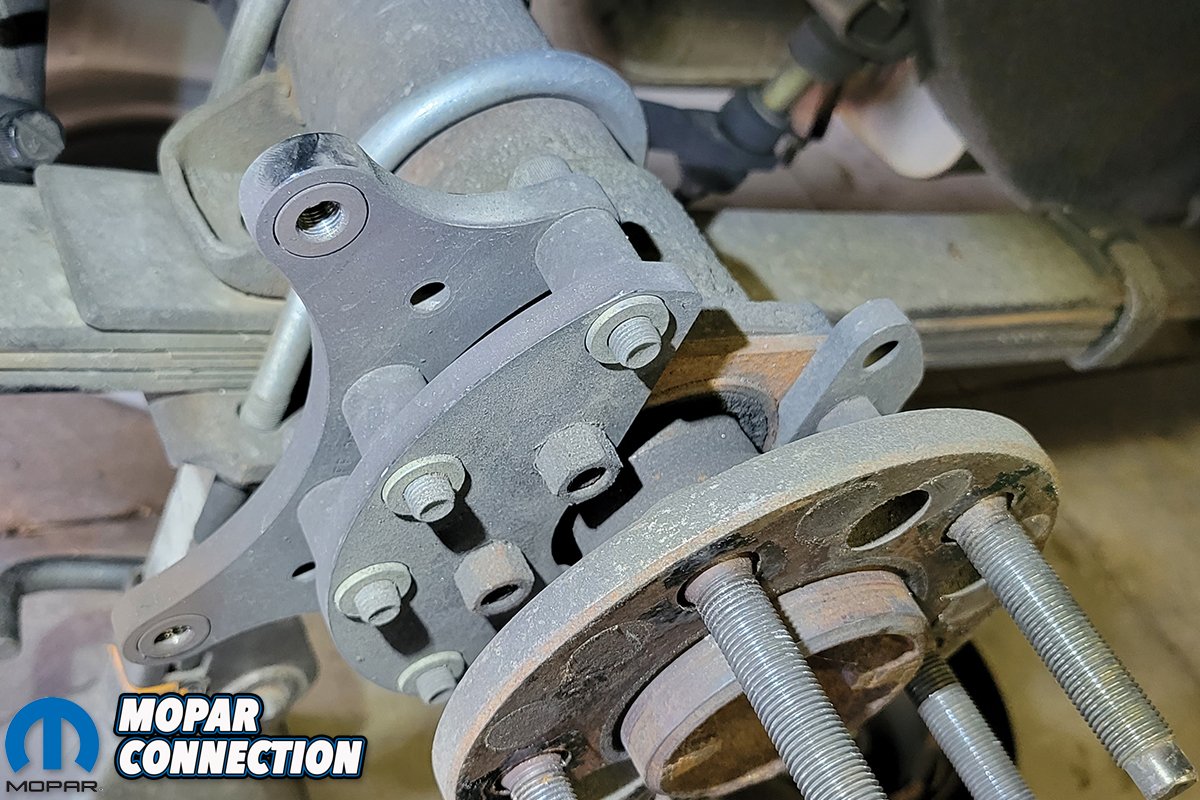
Above Left: We then removed the five nuts that hold the axle to the housing. Above Right: You can see the nuts a little better.


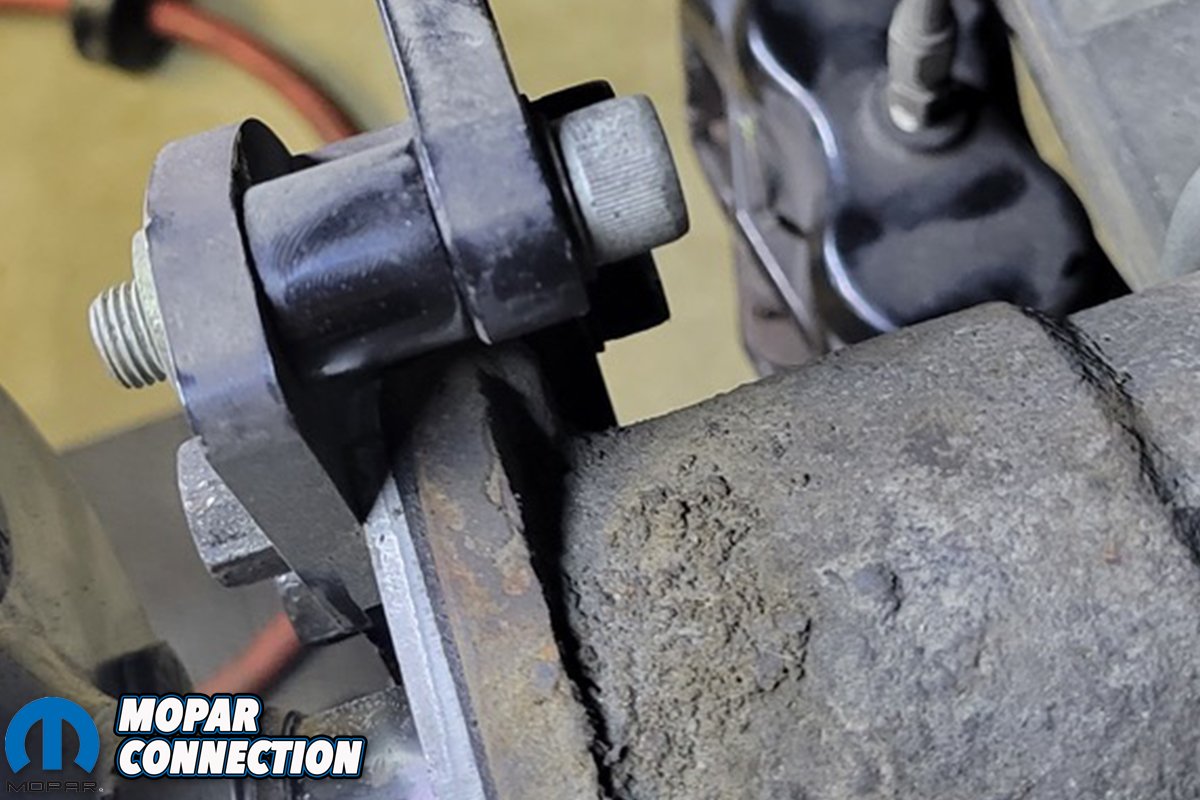
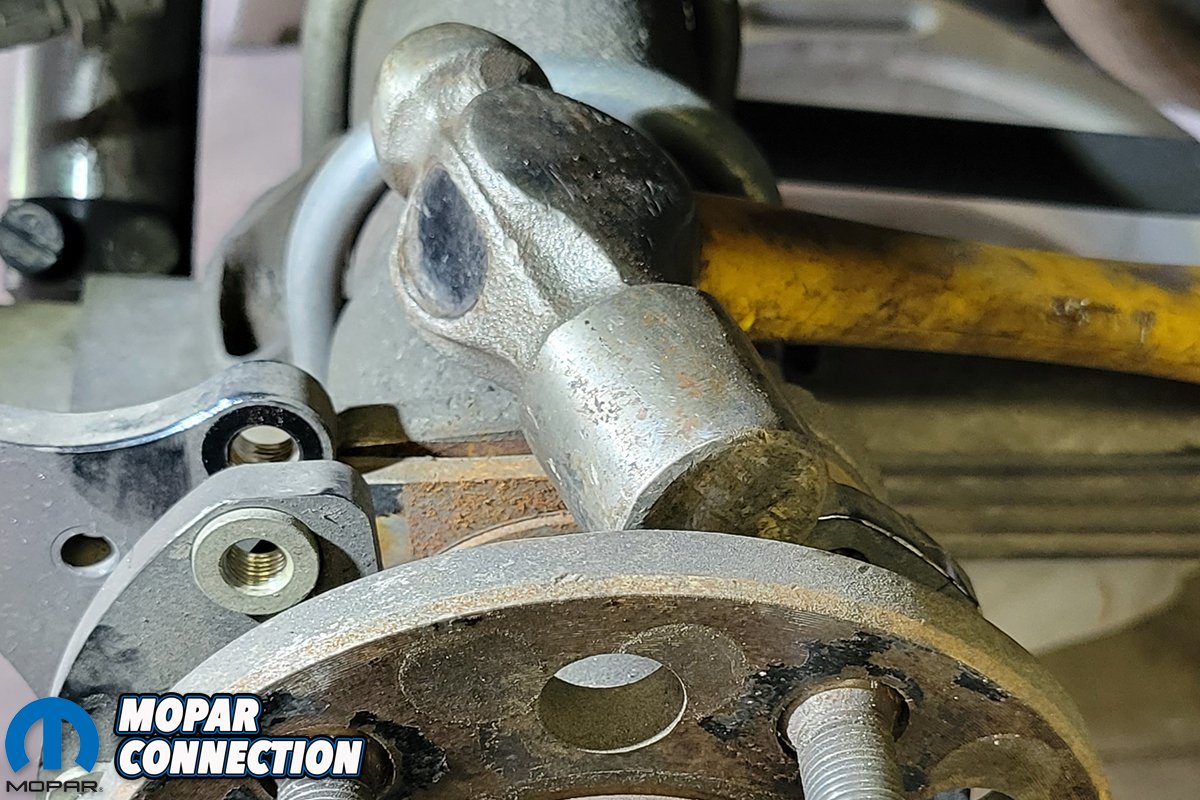
Above Left: Our rear brake setup sandwhiches the housing flange and needs taken apart a little further. Above Right: The allen bolt you see here needed to be removed so we could slide the caliper bracket off the studs.
To start off, we jacked up the car with the rear wheels off the ground and placed it safely on a set of jack stands, and removed both rear wheels. With the wheels off, we were able to access our brakes system. Remove either your drum or caliper and slide off the rotor.
Access to the five nuts that retain the axle are easy with drum brakes. If you have Wilwood disc setup like us or another brand disc brakes, you may have to remove some brackets to gain access. With the retaining nuts removed, the axle should pull out of the housing. Sometimes if it has a really tight seal, it might need a little help by tapping it with a hammer.


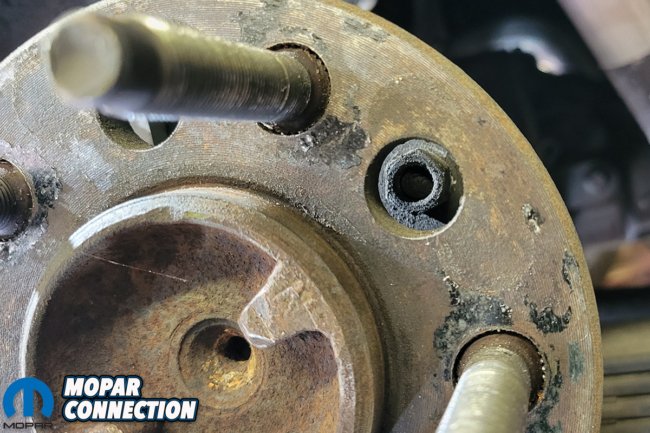
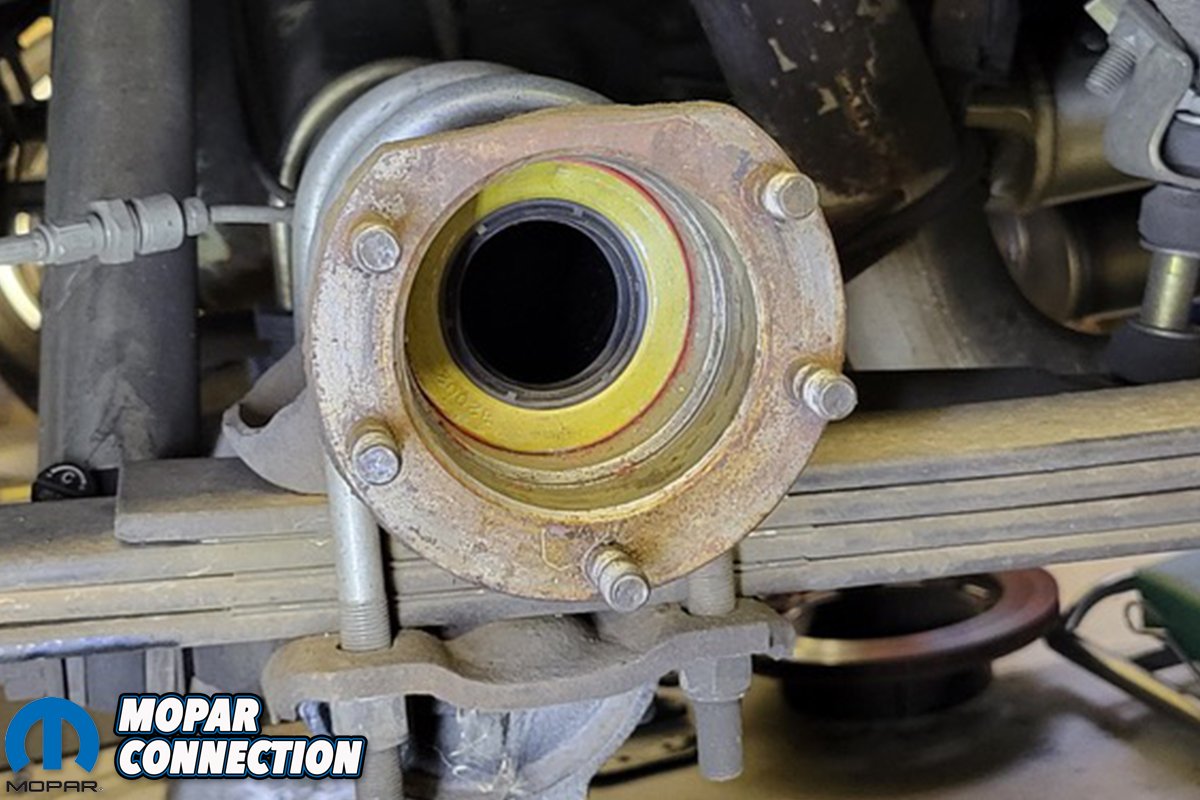
Above Left: We needed a little help from our hammer to get the old axle out. Above Center: Make sure you have drain pan under axle as some fluid will leak out. Above Right: Our axle seals were bad and replaced them while we had the axles out.
Since the axles are out, it was a perfect time to inspect the axle seals. Our seals happened to be torn and will replace them now. You can use a punch to twist the old seal and pull it out, but make sure you find a good seal driver to prevent damage to the housing or seal during reinstallation.
With the new seals in, we will reverse the order of operations to install our new Moser axles. Be careful when sliding the axles into the housing and be sure not to damage your axle seals. We reinstalled the axle retaining bolts, rotor and caliper bracket. We bolted on the caliper and double checked that our pads were aligned with the rotor.


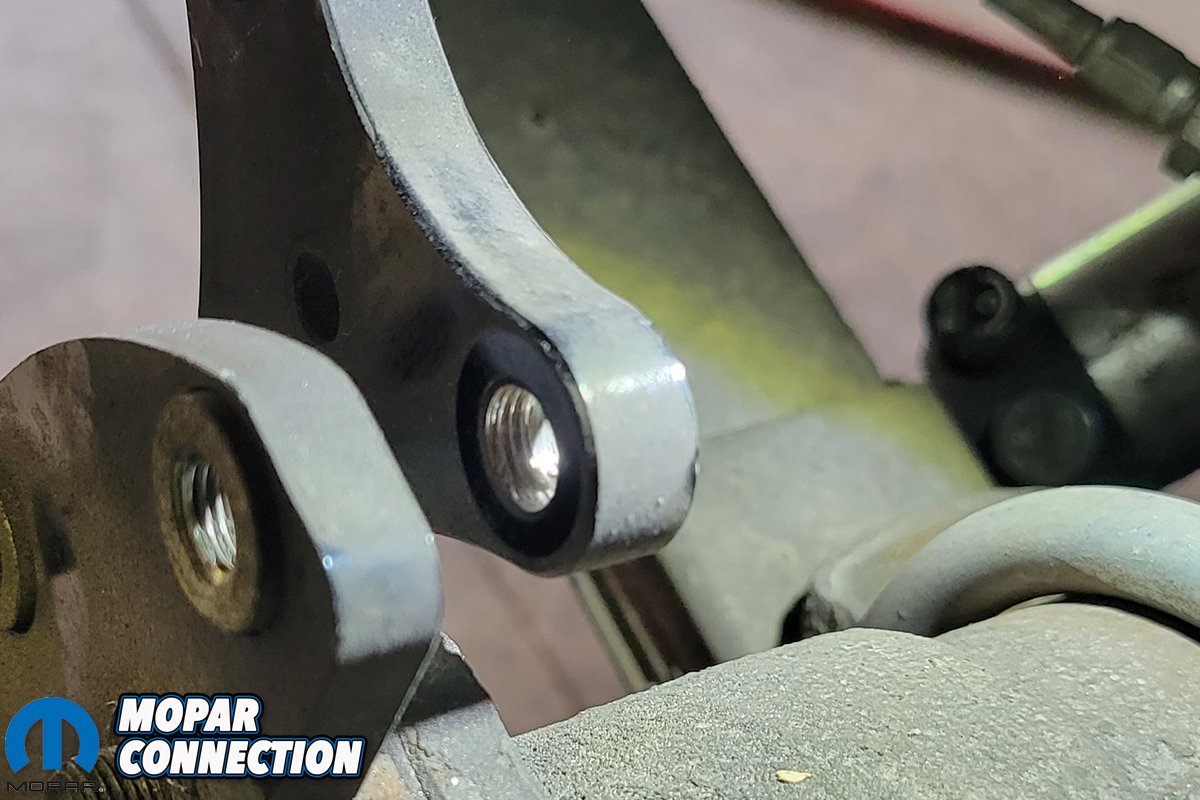
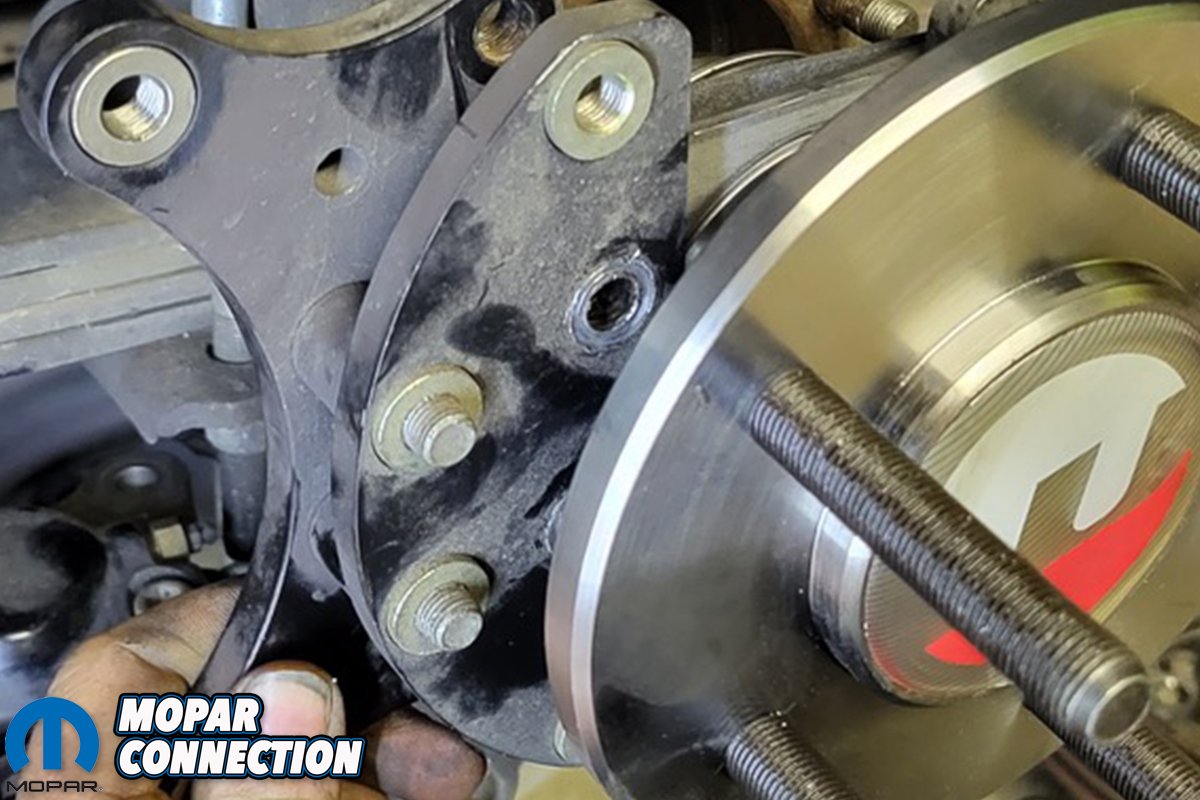
Above: Before the axle is completely in place, we had to slide our caliper bracket onto the housing first. Above Center: We reinstalled the bolt for the axle bracket and ready to slide the Moser axle in the rest of the way. Above Right: We finished up by torqing the nuts down for the axles and reinstalling the caliper.
If you have drums, be sure your shoes are adjusted properly, and nothing is rubbing as it was before. It’s always good to double check this because with as old as these cars are, you never know if someone may have changed something before you owned it.
Before we lowered the Super Bee off the jack stands, we decided it was a good time to replace our old, overheated, worn-out differential fluid. We used Lucas Oil Synthetic 75w-140 gear oil for superior protection since our rear end sees high temps and worked hard on the track.

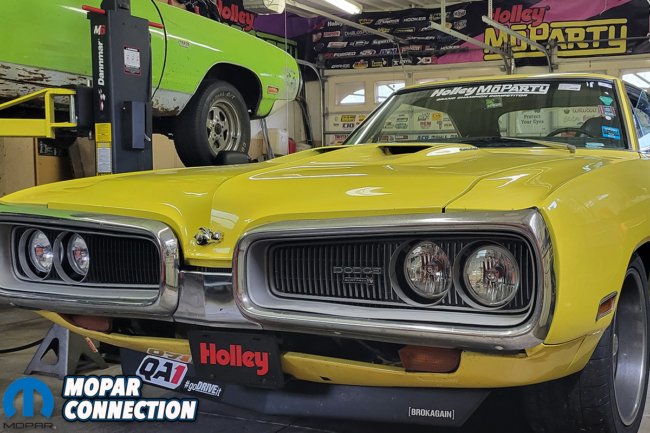
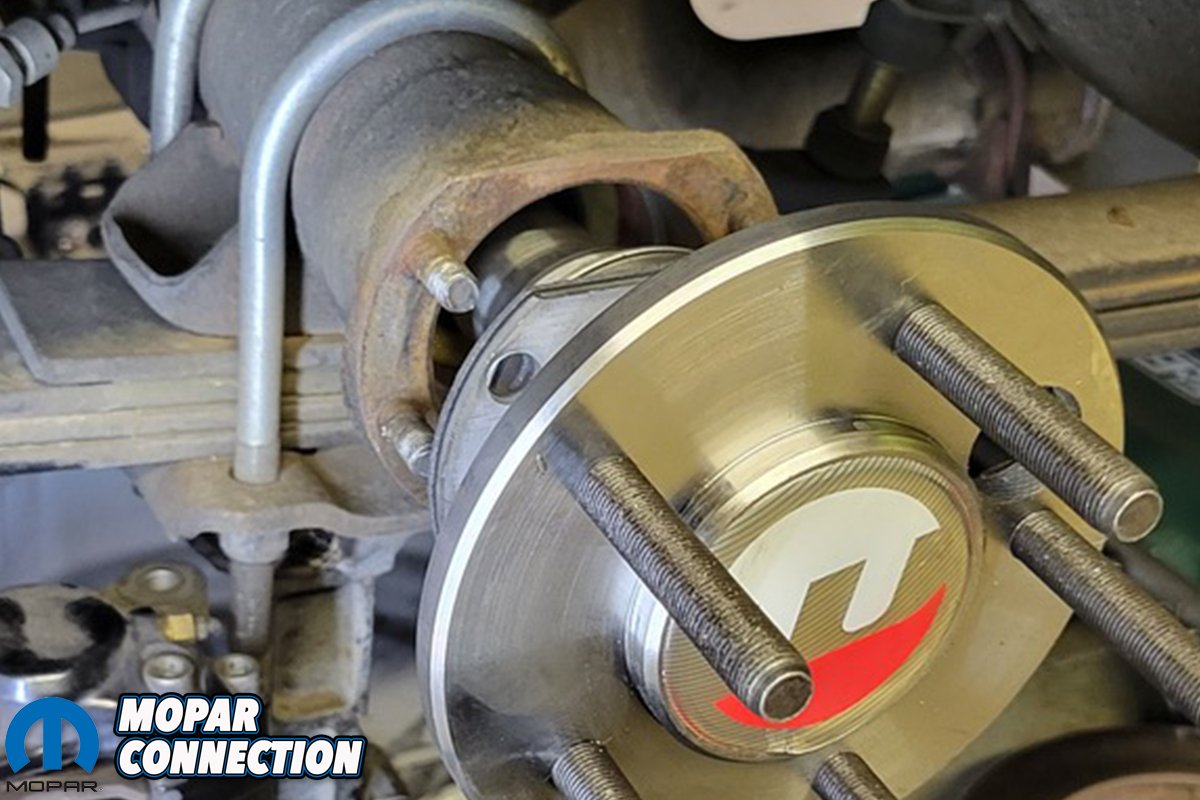
Above Left: The new bearings and axles went in perfectly. Above Right: Now we are ready to hit the track with confidence due to our new Moser axles.
We reinstalled the wheels, torque the lug nuts to spec and lowered the car to the ground. This process only took about an hour and thirty minutes, with a handful of tools. The new Moser axles are stronger than our stock axles and will handle more power and side loads from the hard cornering. Now we have great confidence going back out on the track that our axles are straight and stronger than before.


I’ve read a few articles over the years that the Green Ball Bearings don’t handle the side loads like the original Timkens. I got a pair of the Green Bearings years ago but never installed them due to that theory. I hope they work out for them.