


Recently, we came across a question by a member of the Facebook group The Dodge Dart Page. Customarily, reading the questions and the subsequent answers is entertaining, but rarely is participation in the conversation a desire.
However, when a member asked how to remove the incandescent bulb from a fender-mounted blinker on a ‘67 Dart, we offered help. Because of our first-hand experience with the unique design, we knew that incorrectly removing the bulb could permanently damage the housing if the owner did not approach the removal cautiously.
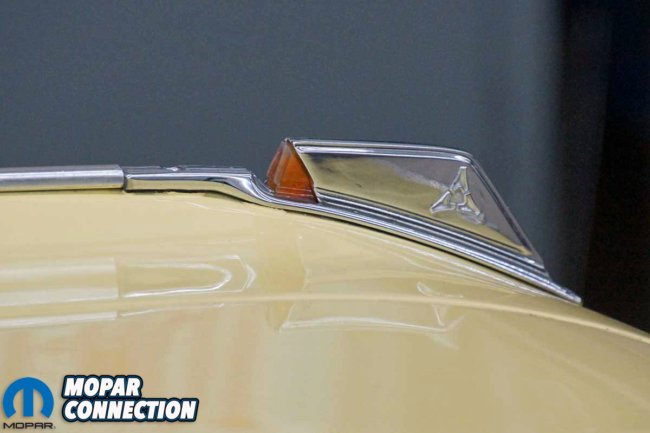
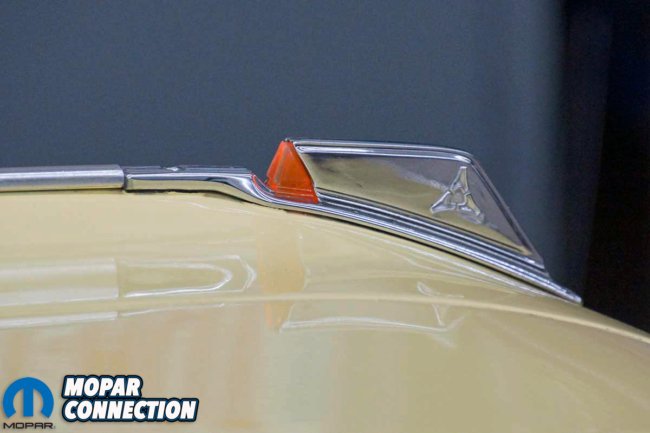
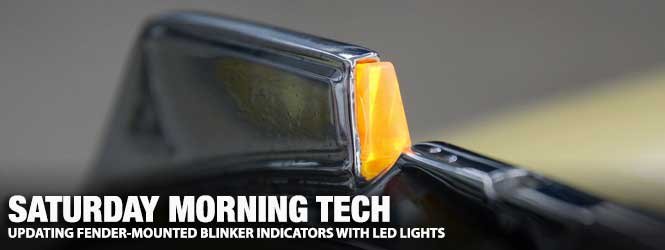
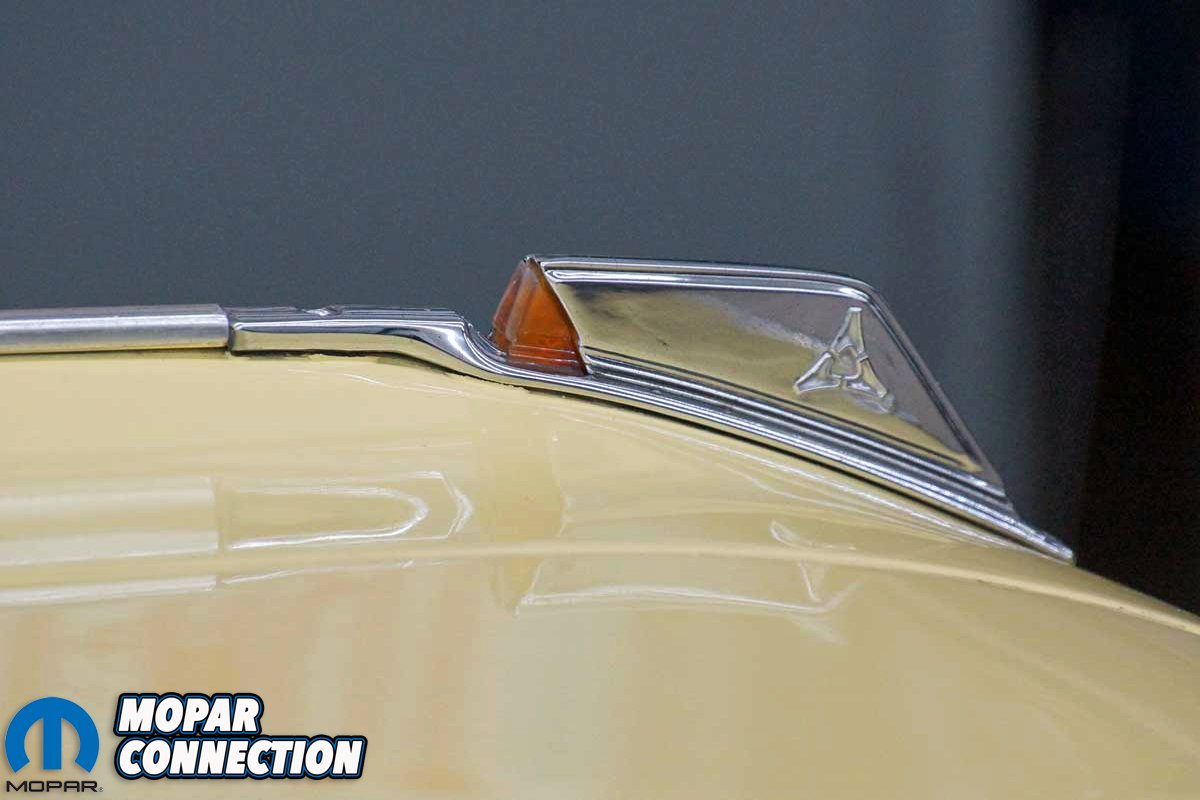
Left: Our ’67 Dart has the popular, on Chrysler products, fender-mounted blinker indicators. The lenses are in good shape. The 1893 bulb is off in the photo. Right: With the blinker on, the light was barely visible in daylight, and it is not much brighter at night.
We posted a systematic list of the procedure to remove the light, which could also be found in a service manual for the specific year, make, and model of the Mopar. Additionally, we added photos showing the removal process and how we upgraded the lights from the factory bulbs to LED lights. The discussion of the updated lighting led to multiple questions about the LEDs.
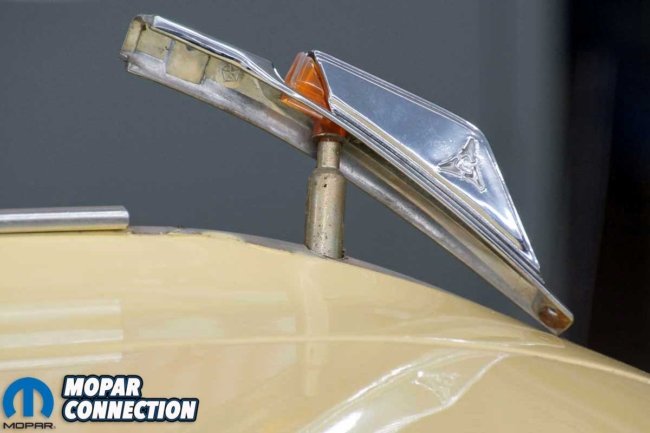
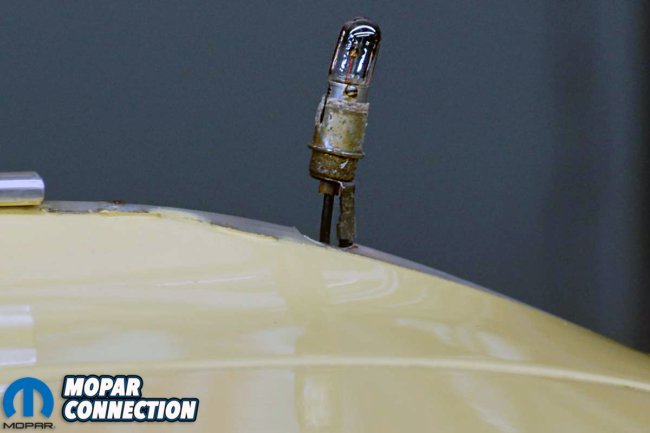
Left: The 1893 bulb fits inside the cylinder attached to the lens. When the bulb is illuminated, the light goes up the cylinder into the bottom of the lens. From there, the light expands through the lens. Right: By gripping the cylinder and the bulb housing at the base, we separated the bulb housing from the blinker assembly. Our bulb appeared discolored, and the connector had some corrosion. However, the voltage drop across the bulb was a correct 14 volts.
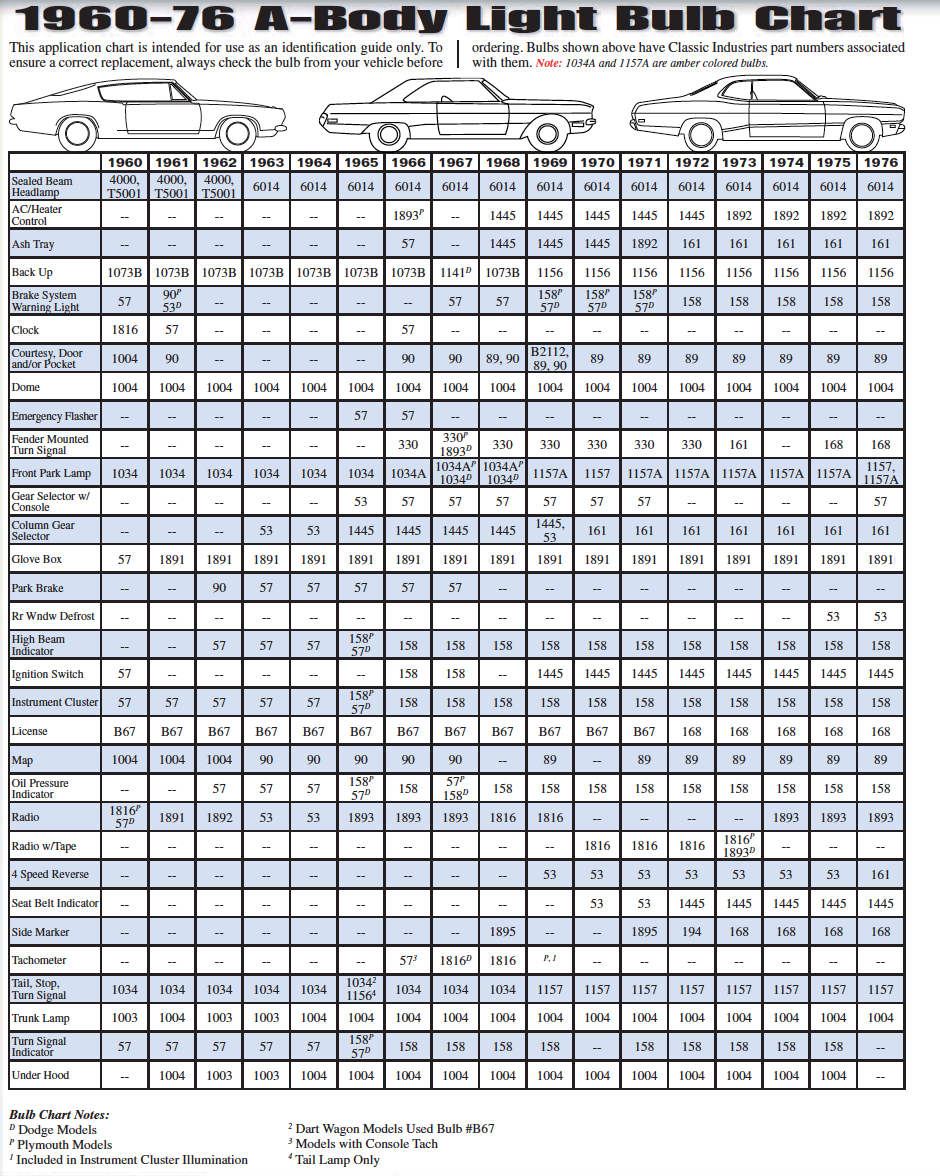
Most of the readers asked, “what LEDs were used?” For our 1967 Dart, we used an 1893 replacement LED light. Unfortunately, the 1893 light bulb is only for the ’67 Dart. Other models and makes require different replacement bulbs. For example, Chrysler used the 161, 168, or 330 bulbs for the fender blinker indicators up to the 1976 model year. The bulbs differ in overall length, although they seem similar. Also, there are two installation styles; they can be a socket or a push-in wedge design.
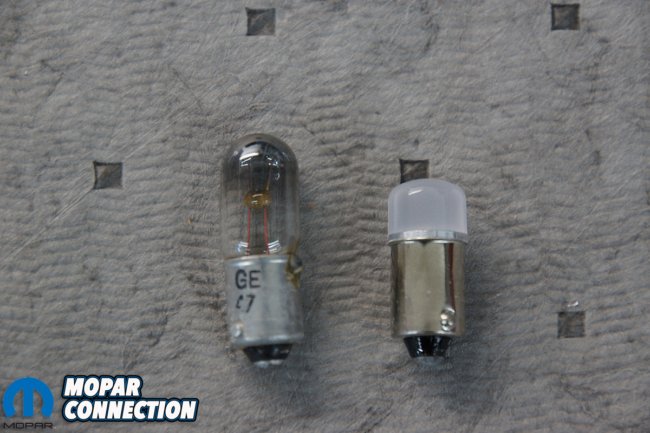
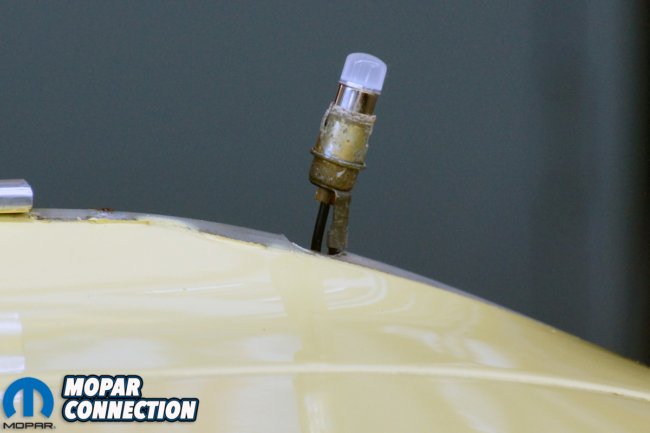
Left: The bulb on the left is the OEM incandescent bulb, and the one on the right is an LED replacement. We were not concerned about the difference in height because the LED will be bright enough to illuminate the lens. Instead, we focused on finding an LED with the same cross-section diameter as the original bulb so it would fit in the cylinder. Right: We cleaned the bulb housing and twisted the LED socket into the housing. The LED fit perfectly.
Note: If the Mopar has the Fuel Pacer system (introduced in 1975) like our ‘75 Dart, keeping the incandescent blinker bulb may be advantageous. The driver side incandescent fender-mounted blinker indicator will fade into full brilliance as the bulb voltage increases due to a drop in engine vacuum. The driver can monitor the indicator and lightly manipulate the gas pedal for maximum fuel economy. Conversely, an LED will remain off and instantaneously turn on when a specific voltage (lack of vacuum) is achieved.
While we will not recommend one brand of LED bulbs over another, there are numerous online sources and local auto parts stores that carry a variety of designs. The most obvious benefit of installing the LEDs in the fender indicators is their brilliance. When blinking, our Dart’s incandescent bulbs were barely visible during daylight driving, and the lights were still dim at night. With the LEDs installed, the bright light is easily seen during daylight but is not blinding at night.


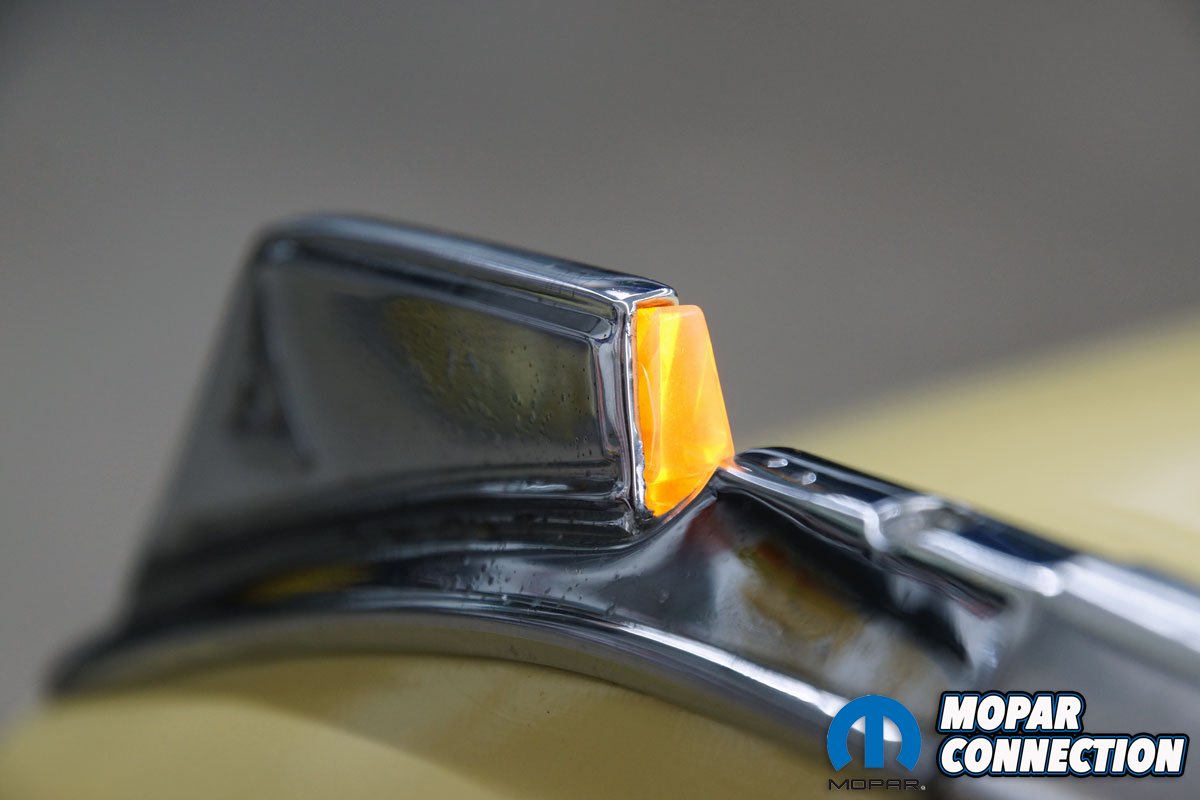
Left: With the LED installed and operating, the light from the fender-mounted blinker was easily seen in daylight. Right: The indicator is bright but not blinding during evening driving.
Additional benefits of installing LEDs include a lower amperage draw compared to the factory bulbs, which will reduce the current flowing through the 45+-year-old wiring. LEDs are more energy-efficient. For example, an LED of 10 to 12 watts has the same luminescence as a 50-watt incandescent bulb, and LEDs have an extended lifetime expectation. Lastly, the LEDs run cooler than incandescent lights, so the older lens covers will not be subjected to excessive heat.
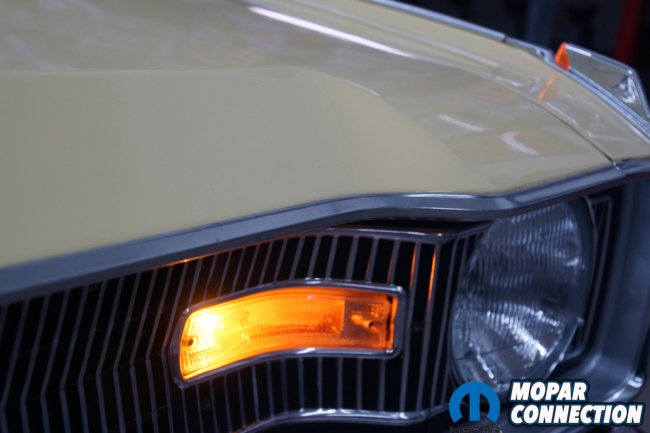

Left: The fender-mounted indicator blinks in unison with the grill-mounted blinker, but the fender-mounted indicator provides feedback to the driver, not to oncoming traffic. Right: The update of the fender blinkers took about 30 minutes to complete. Depending upon your application, the time may vary. We have also provided links (found in the last paragraph) to two charts listing the bulbs required for the ’60s to mid-’70s Mopars.
If the fender blinker indicator brightness is not as good as preferred, we suggest finding 12-volt LED replacement bulbs for your application. Before installing the LEDs, thoroughly clean the factory bulb housings to remove corrosion and debris. Next, ensure each bulb receives the correct operating voltage of 13.5 to 15 volts, and each bulb housing has a proper wire or case ground. To determine the bulb each Mopar requires, check out the bulb charts (1 and 2) supplied by Classic Industries. With the advantages of LEDs, all that is needed is for you to make the conversion to your Mopar.


