


Recently Project Trail ’n Thrash decided to start running not so smooth. The Wrangler is our daily driver and with high gas prices, we did not need it eating any more fuel than it already does. We had a pretty good idea that with 120k miles on the clock, that a bad coil pack was the culprit.
Most newer vehicles will throw a check engine light when there is a misfire on a particular cylinder. We were unfortunate and nothing was coming up on our scanner to help diagnose our rough running Wrangler.


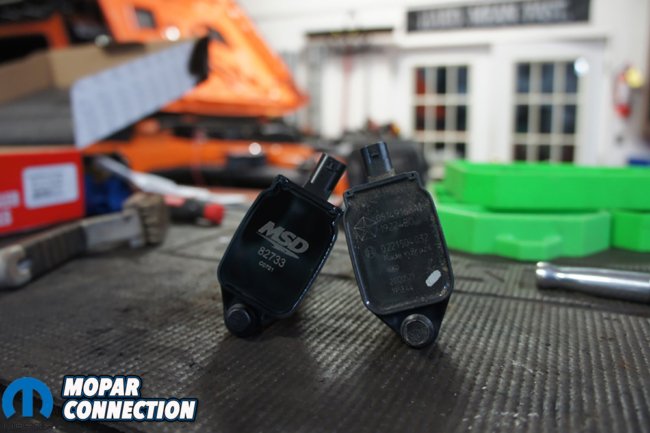
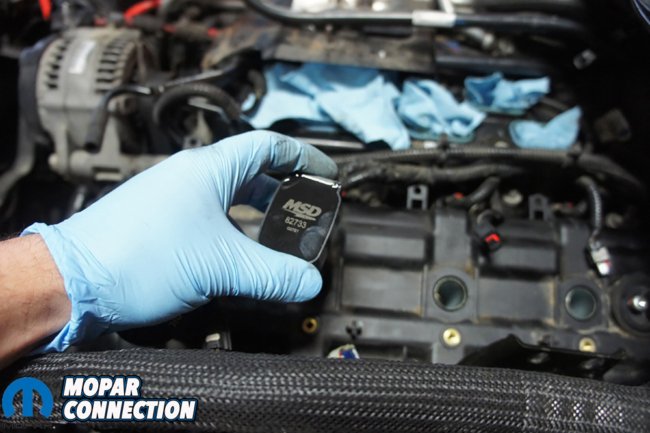
Above Left: The Penastar V6 coil packs showed up and well packed. Above Right: As you can see, the same coil packs are used on multiple applications.
We had already replaced the spark plugs at 100k miles and assumed they were fine and assumed that maybe we had a bad coil pack. In the past we have diagnosed a bad coil pack by letting the vehicle run and unplugging each coil pack one at a time to see if the vehicle’s idle changed at all.
With the Pentastar 3.6 engine, we could not do that. The upper plenum or top half of our intake covers up the driver side valve cover with no way to access the coil packs with it running. Although these are great engines, this is one downside of their design.
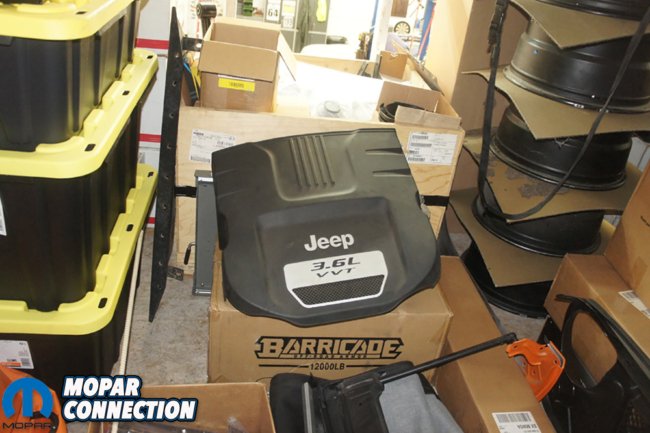

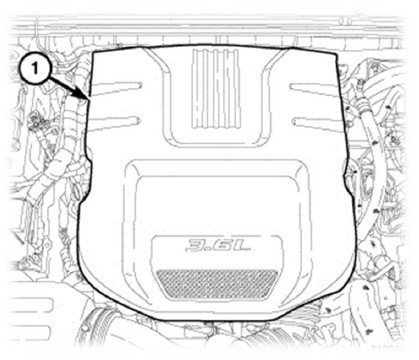
Above Left: The engine cover is stowed away with our spare parts. Above Right: We are ready to start dismantling.
Trail ’n Thrash was getting up there in miles and decided that we would replace all the coil packs now. Whether it was the issue or not, the coil packs would be replaced and it would be ready for another 100k miles of adventure.
We called up the experts at MSD and talked to them about their Blaster coil packs for the Pentastar 3.6. They told us that the MSD Blaster V6 coil packs would be perfect for our application and hopefully would cure our issue.

Above: You can see we left the air box, but removed the air intake piping.
The MSD Blaster V6 coil packs are reliable and a direct bolt-in replacement. Swapping out your factory coils does not get any easier than this. The coils come with new mounting bolts and plug directly into the factory wiring harness.
MSD coil packs power anything from small block street cruisers to 10,000 horsepower top fuel dragsters. If MSD has the technology to ignite 10,000 horsepower top fuel dragsters, then we have no worries about installing their Pentastar V6 coil packs.
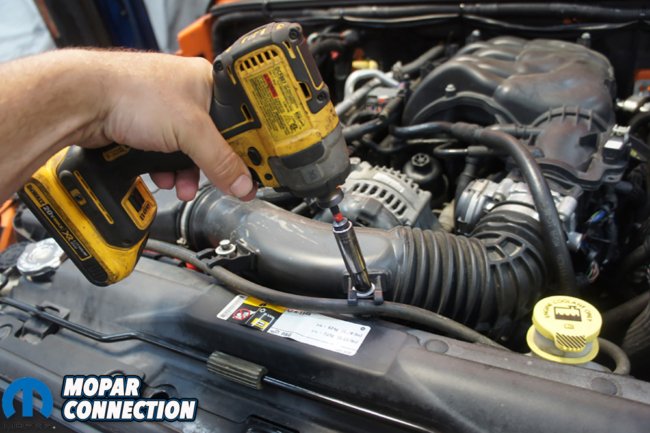

Above Left: We start by removing the air box lid and air intake. Above Center: You can see how it is easy to forget to remove the Intake Air Temperature sensor on the bottom of the air intake. Above Right: With air intake removed, we move to passenger side of the motor.
The MSD Blaster coil packs are available for multiple models of Jeeps and other Mopars. You can type in your exact year and model on Holley’s website and it will show you all the options for coils and other parts for your Mopar.
We ended up ordering our set of MSD Blaster V6 coil packs from Extreme Terrain. Their site is super easy to use and we always know that the parts we order will fit. Extreme Terrain had free shipping over $75 and had the Blaster coil packs in a couple of days.
Above: We removed and replaced the first coil pack on the passenger side without removing the intake. Looking back not sure why because you have to remove it for the rest of the coil packs.
Once they arrived we were ready to get started. Although the actual removal and installation of the coil packs themselves is not difficult, accessing the coil packs on our 2013 Jeep Wrangler was a little difficult and can be very intimidating for some. We were a little timid our first time too.
We had to remove the upper plenum when we replaced our spark plugs at 100k miles and we should have replaced the coil packs at the same time as preventive maintenance and save ourselves the time of doing it all again.

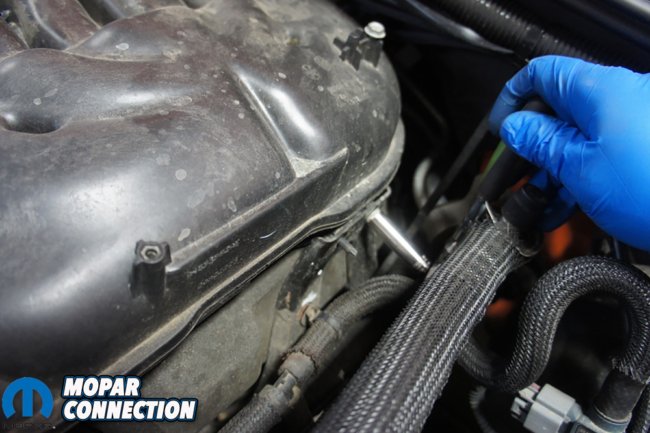
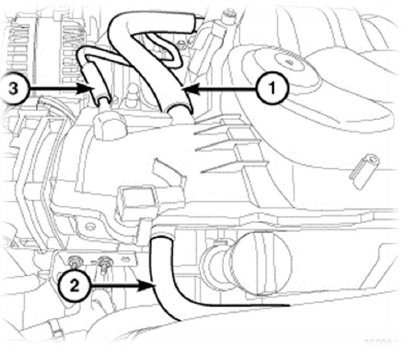
Above Left: With air intake removed, we move to passenger side of the motor and disconnect the main harness and lay it out of the way. Above Right: We pull the transmission breather and PCV hoses off the intake and set them to the side. Our one PCV hose goes to our JLT oil catch can instead of the intake, so your hoses might look slightly different.
Removing the intake is not terribly difficult, but does take some time to get all the sensors and support brackets removed. As always, when working on anything electrical on your vehicle you should disconnect the battery.
The first couple items are removing the plastic engine cover and air intake tube. We did not have to remove the plastic cover because we tossed our’s in the parts bin a while ago. The cover is just to help noise but can be a pain to work around on the trail and we assume it holds in a lot of heat, which we do not want.

Above Left: You can see how we worked around the wiring harness to remove the 10mm nuts. Above Center: We left the wiring harness connected to the bracket and laid it off to the side. Above Right: Do not forget the MAP sensor connector.
Removing the air intake tube is a very simple task. A couple 10mm bolts and a hose clamp at each end and the intake tube comes off. Do not forget to unplug the inlet air temperature (IAT) sensor before you rip the air intake out.
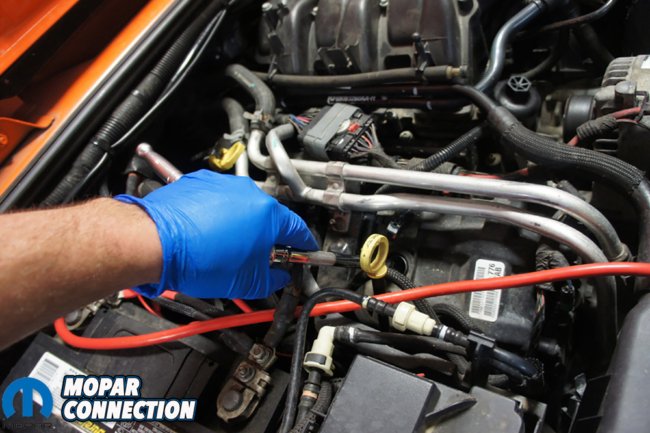
With the intake removed, we prefer to start removing stuff from the passenger side and working our way to the drivers side. The main harness plug needs disconnected and the two 10mm nuts underneath need removed to move the coolant lines out of the way.


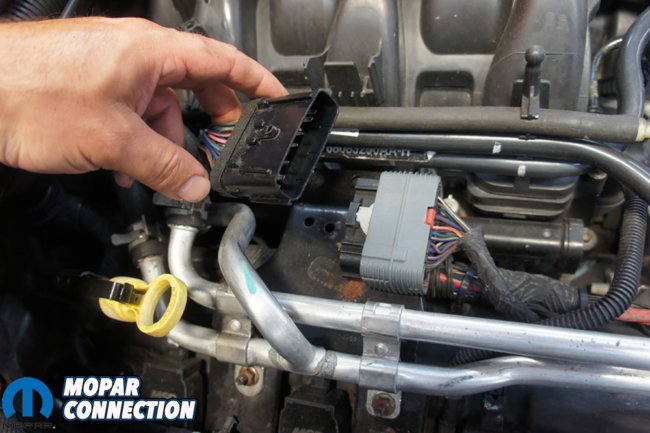
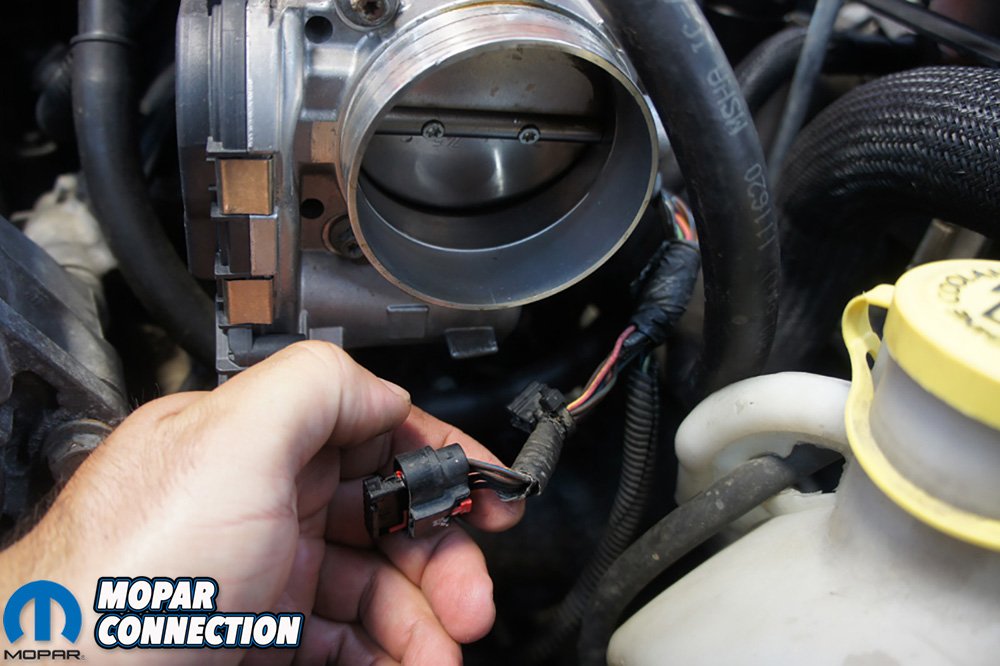
Above Left: Unplugging the Electronic Throttle Control (ETC) can be a little difficult. Then there is a friction clip that needs pulled off under the throttle body. Above Right: With the ETC sensor disconnected, we can access the two 10mm bolts and lay the bracket and harness off to the side.
The bracket the coolant lines are mounted to will need removed completed. There are two 10mm screws to remove on the intake and then two 10mm nuts on the side of the valve cover, which are a real pain to access due to the battery tray in the way.
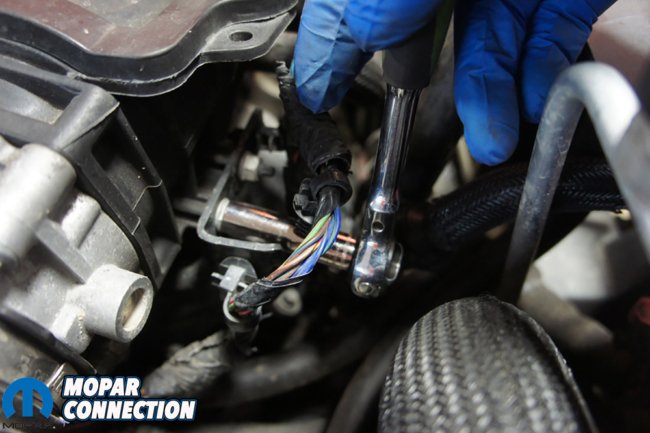
Moving to the front of the intake, there are a couple sensor plugs that need to be unplugged and a bracket to remove under the throttle body. As a little tip, whenever you are removing those pesky push lock clips, push it forward and then squeeze to release the lock, it comes off a lot easier.


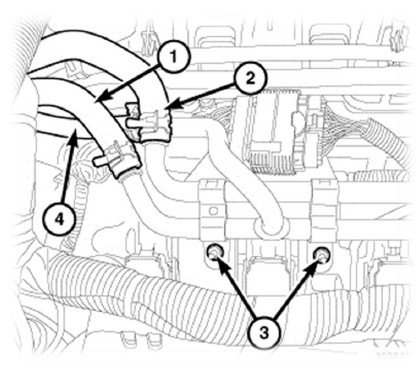
Above: Here are a few photos we found from Sprintex Supercharger installation manual, but they help point out a lot of the bolts and connections that need removed for the intake to be removed.
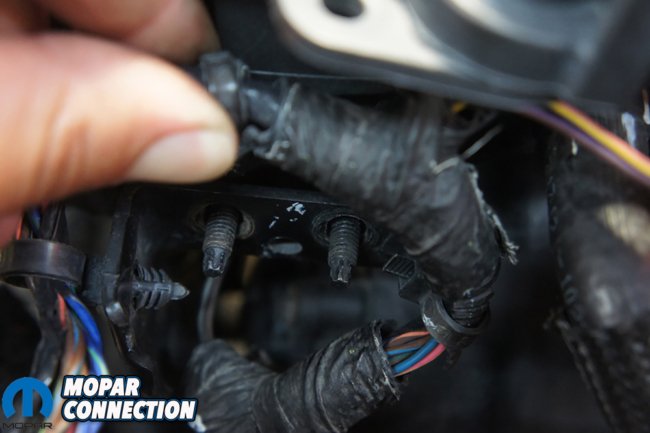
There are two 10mm nuts on the side of the throttle body and then 2 10mm bolts under the throttle body. This is an upper intake support bracket and will need to be reinstalled when you are finished.
Finally the last bracket to remove is on the drivers side. Once again there are two 10mm nuts that need removed and then two 15mm bolts on the bottom that need removed. They are accessible from the fender well.
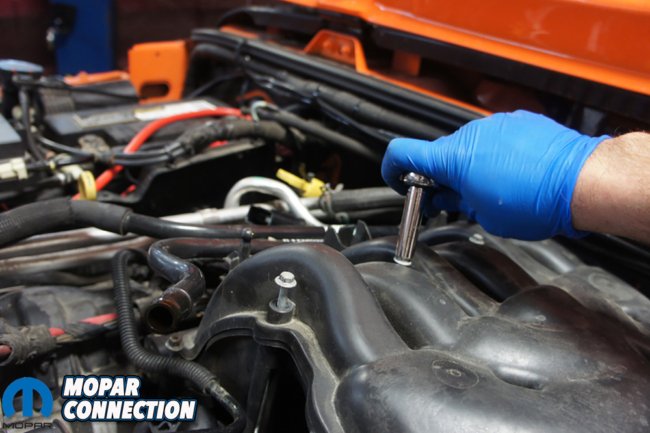
Above Left: We have found out that if you carefully remove the intake, you can just remove the two 10mm nuts and leave the bracket in place. Above Right: It was time to finally remove the upper intake bolts.
Now that you have all the support brackets removed, go around the intake one last time and make sure there are no sensors or hoses still attached to the plenum. Now you can start to remove the seven 8mm bolts on the intake. The bolts will stay in the intake and do not need to be completely removed.
With the 8mm bolts removed, the intake should come right off. If this is your first time, be sure to take it slow and do not force or pry on intake. Once removed, sit it to the side and now you’re ready to replace the coil packs.


Above Left: With the upper intake removed, we can start removing the coil packs and plugs if you you haven’t done so yet. Above Right: You can remove the intake gaskets and will need to install new ones.
It is best practice to stuff rags or completely cover the lower intake with a towel. This will prevent anything from falling into a port and potentially falling into the cylinder. We did not get a picture of our rags in our intake, but we did stuff them full.
We do suggest that if you have not already and are close to or over 100k miles, go ahead and replace your spark plugs. At least pull the plugs and check them. We have heard that the Pentastar engines are picky about plugs.
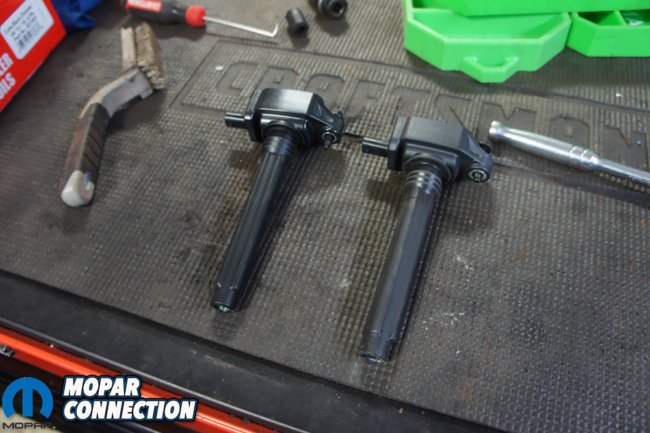
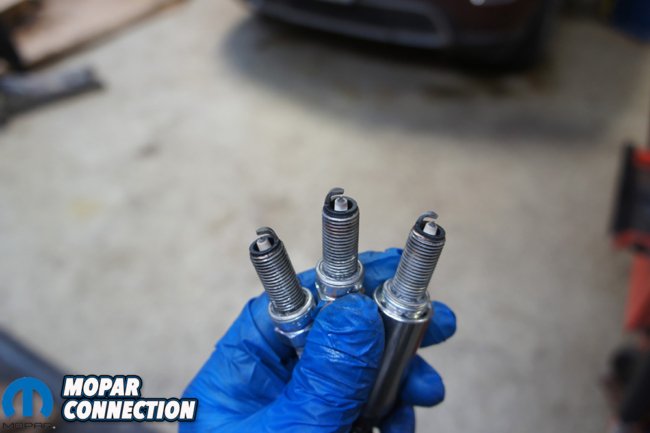
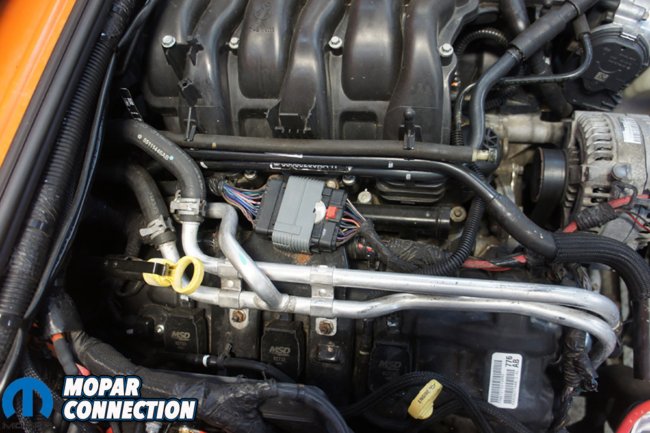
Above Left: From the side you can not tell which coil pack is factory or MSD Blaster. Above Center: The MSD Blaster coil pack is direct replacement with no fitment issues at all. Above Right: You can see our plugs look great, which they should since we just replaced them about 5k miles ago.
We used NGK Iridium 9723 plugs, and they have performed well. If you pull out a different plug than the NGK Iridium, we would go ahead and replace again with the NGK Iridium 9723. This would give you peace of mind that you have proper plugs in the motor and might save you a future headache.
The MSD Blaster V6 coil packs come in red and black. We like the stealthier look and opted for the black coil packs. All you need to do is unplug each coil pack and loosen the 10mm bolt, and pull them out. The Blaster coil packs are a direct replacement and has their own 10mm bolt to reinstall.
Above: We removed all the coil packs and start to install the MSD Blaster coil packs.
Once you remove and replace each coil pack, it is time to reinstall the upper intake. They recommend that you replace the upper intake o-ring gaskets, which can also be purchased from Extreme Terrain. We just replaced ours when we did our spark plugs and opted not to change them again.
When reinstalling the seven 8mm intake bolts, there is a special sequence and torque specs that have to be followed or you could damage your intake or create a leak. The sequence is shown in the pictures and the torque specification is 71 inch-lbs.


Above Left: When we plug our connectors back in we ad a little dielectric grease. This will help keep corrosion out and make the connectors come back apart easier in the future. Above Right: We snapped a picture of the new MSD Blaster coils before we reinstalled the intake.
We suggest that you use a quality and calibrated torque wrench as 71 inch-lbs is not a lot of torque at all and easily can be over torqued. If you do not own one, ask friends to borrow one or jump on eBay or Amazon and look for CDI branded torque wrench. They make some of the best torque wrenches in the industry.
Go back through and reinstall the hoses, brackets and connectors. The air intake should be last thing you put back on. If you forget to plug in the IAT sensor and start the Jeep, you may have a check engine light with about eight codes pop up. Ask us how we know.
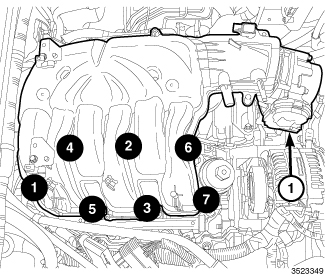
Above: This is the proper torque sequencing for the upper intake manifold. We like to snug all the bolts down by hand in proper sequence and then go back through and make sure they are all torqued at 71 in-lbs.
If you started the Jeep without the IAT sensor plugged in, it is not a big deal. Plug the IAT sensor back in and delete the check engine light codes with a scanner.
With the codes deleted or if you plugged in the IAT sensor, go ahead and start driving the Jeep. See if any other codes appear, if not you are all done.
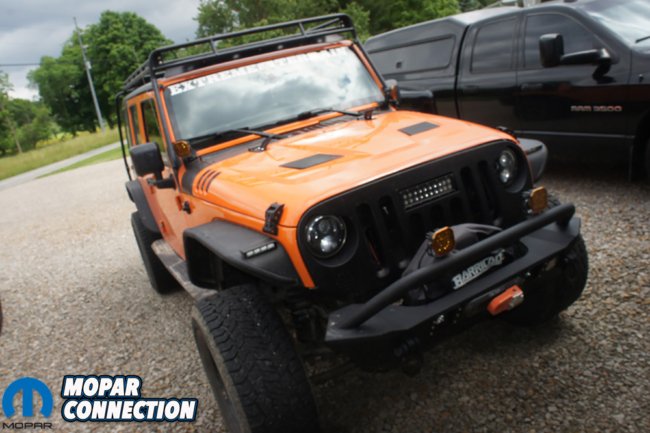
Above: Since we have installed the new MSD Blaster V6 coil packs, Trail ‘n Thrash has been running great and seems to be getting a little better fuel milage.
We happened to get lucky and the new MSD Blaster V6 coil packs fixed the roughness Trail ’n Thrash was experiencing. Since the plugs and coil packs have been replaced, we have experienced better fuel milage, better throttle response and a smooth idle.
Fuel prices are skyrocketing and anything we can do to help Trail ’n Thrash squeeze a few more miles per tank is wonderful. Overall we are very impressed with MSD Blaster V6 coils. They were easy to replace and have performed perfectly.


