
Funny thing about classic muscle car restorations; seems that everyone has their own way of doing things and that their way is the best way. Not surprising really as once someone finds a way that works well for them they will likely be somewhat stubborn to change from it. This doesn’t mean other methods are wrong, just different. As long as the results are first class does it really matter?
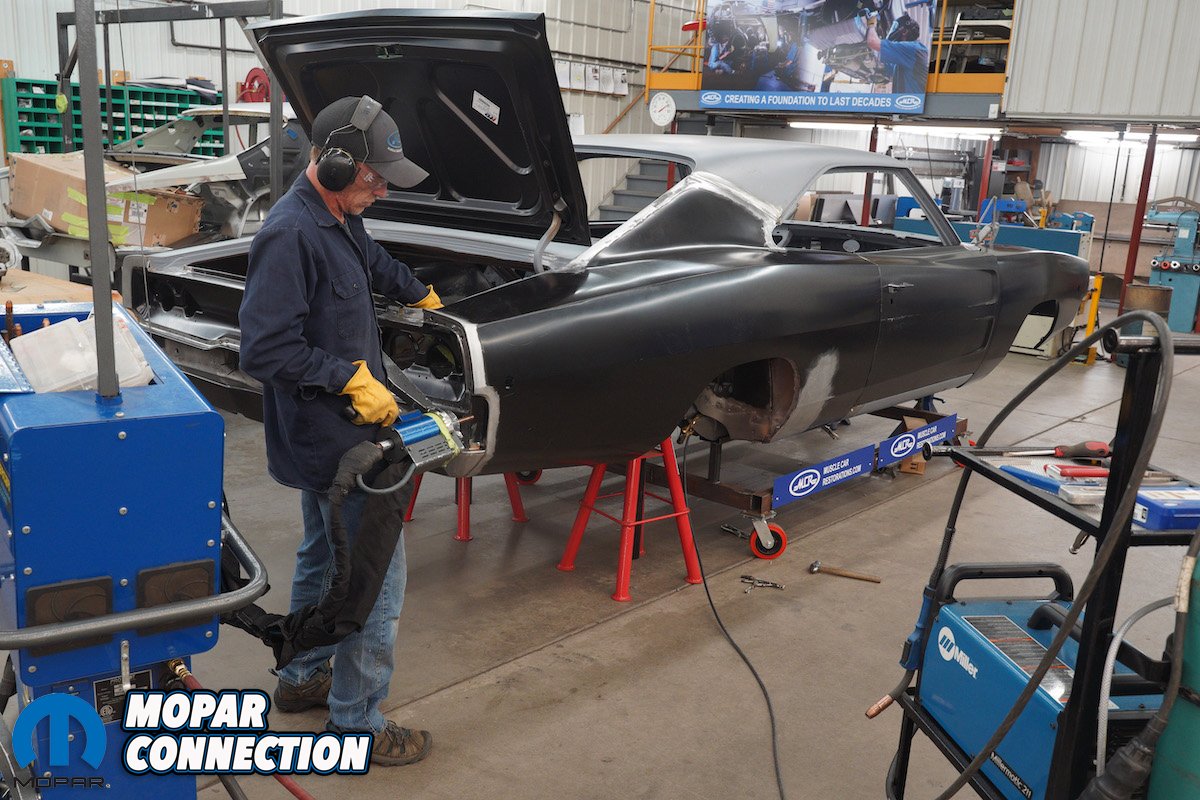
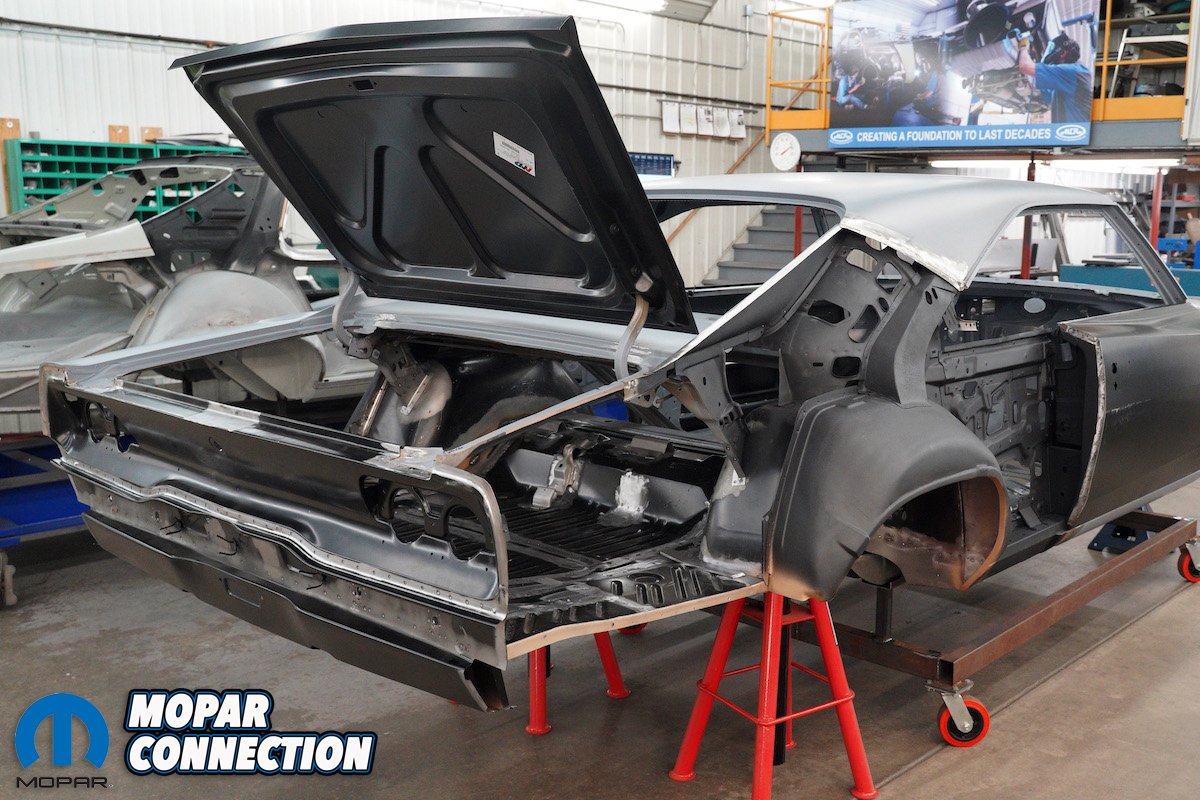
Still, processes evolve over time and what once was standard practice may be totally out of favor today. Such is the case with a quarter panel replacement being done on this ’68 Charger by Muscle Car Restorations in Chippewa Falls, WI. Typically, MCR prefers not to do a full quarter replacement as they like to retain as much of the car’s original sheet metal as is reasonably possible. This time though, a full quarter is warranted as this will be at least the second quarter replacement on this side of the car and it was done using very old techniques.

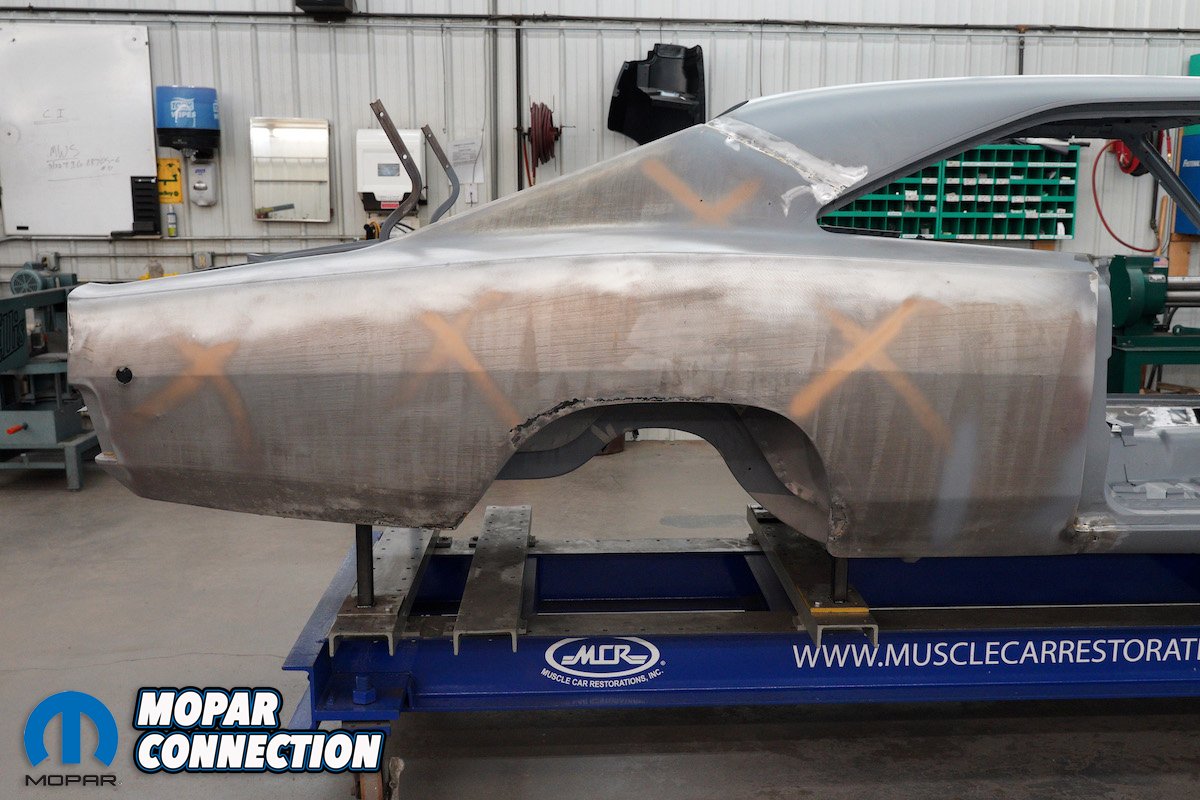
Above: As is typical, both quarters are severely rust damaged and will have to be replaced.
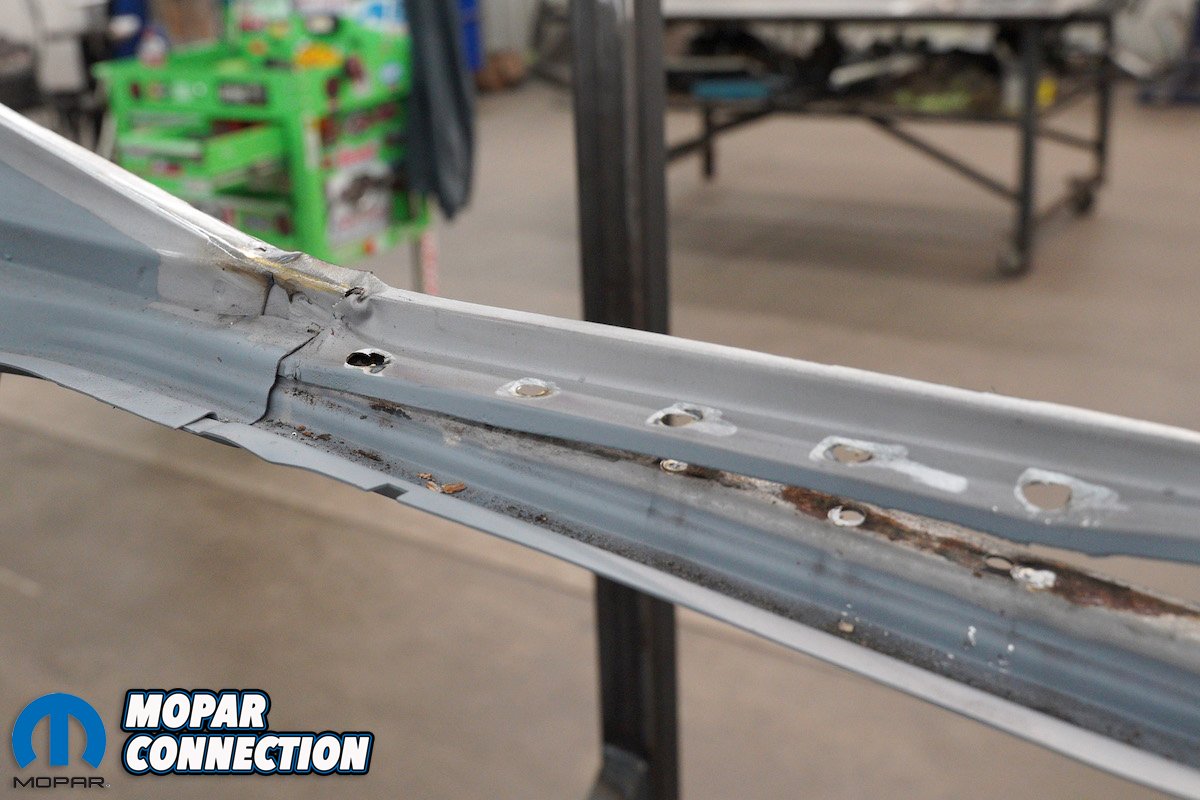
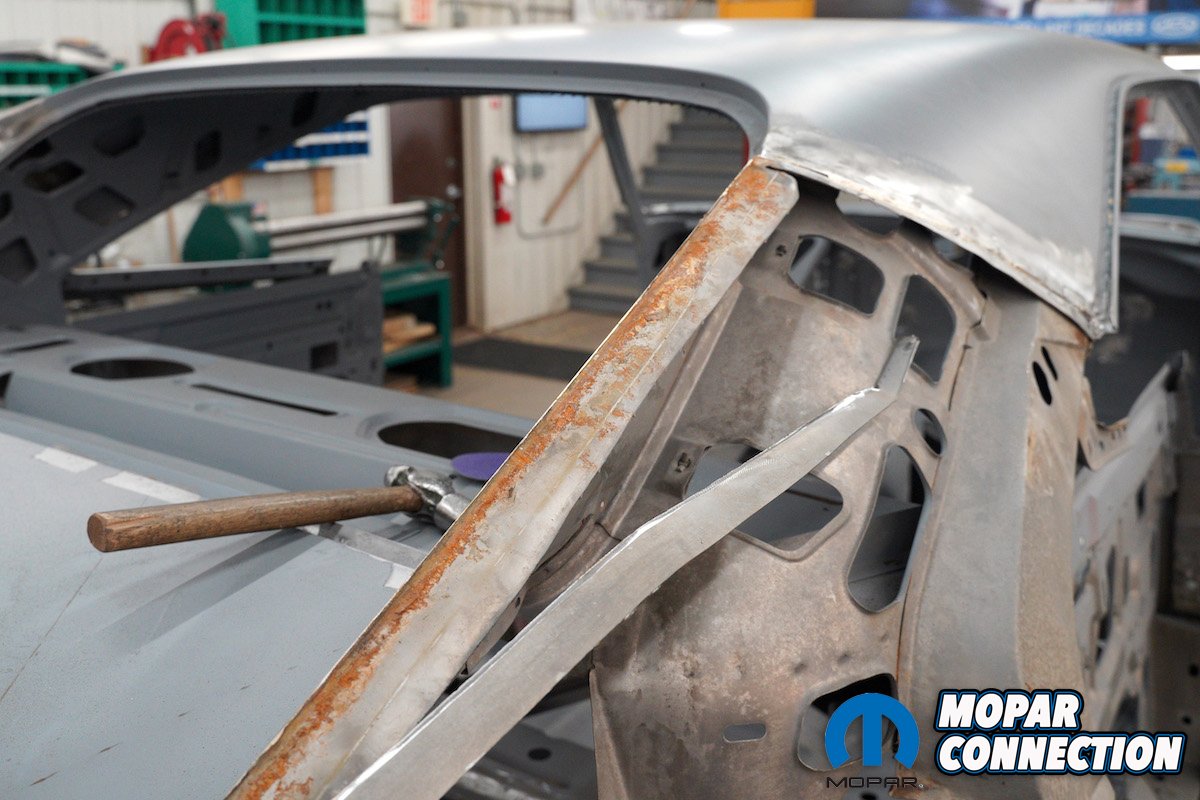
Above left: It’s not uncommon for MCR to find that the quarters have already been replaced once. What’s not so common is finding that brazing was used to install the current panel. Whether this was a previous body shop repair or perhaps a DIY’er is unknown but brass plugs are unacceptable so the whole quarter will need to be replaced on this side. Above right: The remaining bits of the quarter are removed by cutting all the welds that held it onto the body.
It’s no secret that there are not many virgin cars left out there. Most that MCR sees have already been restored once before and are more than ready for their second go around. And many of those were restored with less-than-stellar techniques. But at least whatever was done kept the car from rotting away in a junkyard somewhere.
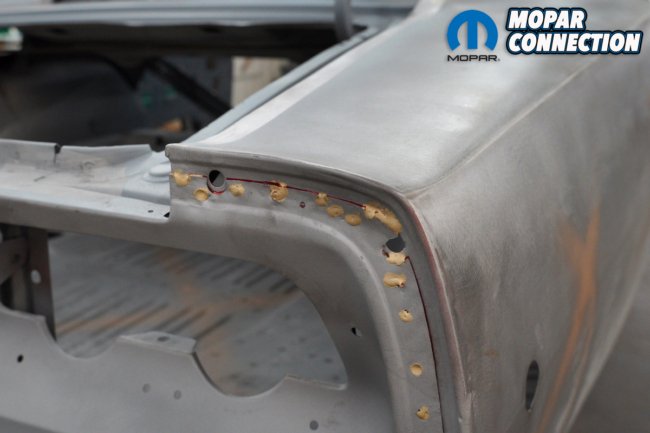
In this case, the passenger quarter was rusted out for the second time (or perhaps the first replacement was a collision repair?) as evidenced by the discovery of the brazed plug welds used to install it. Brazing on panels wasn’t uncommon 40-plus years ago but that is unacceptable today so MCR elected to replace the full quarter with one from Auto Metal Direct to bring it back to true factory specs.
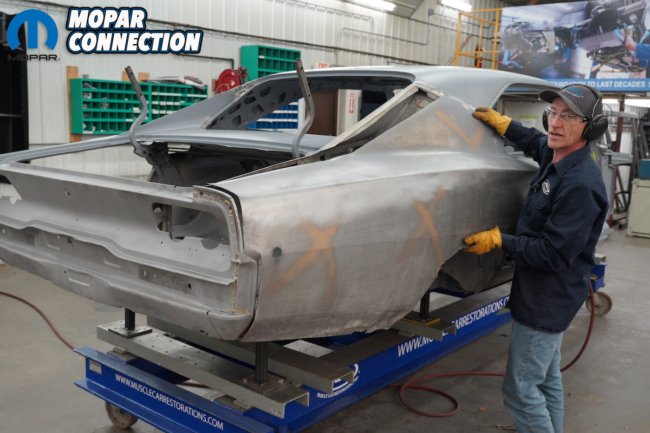
Above: Using a cutoff wheel to get the majority of the old quarter out of the way usually makes it much easier to prepare the body for the new panel.
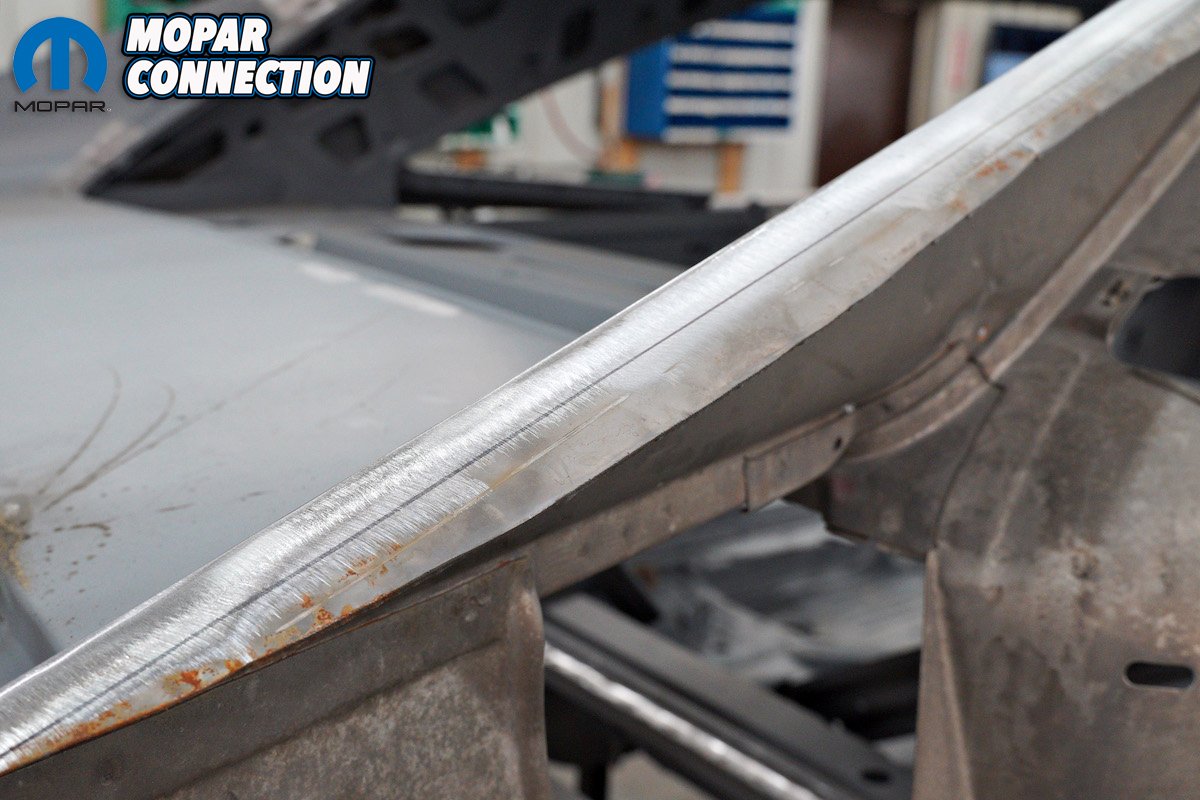
Above left: Weld surfaces will of course need to be cleaned up before the new panel can be installed. Above right: This quarter had been installed over the original in the sail panel area.
Of course we are going to show you how MCR performs these types of repairs. Undoubtedly there are others that do it differently and MCR’s methods have certainly been updated over the decades but you decide what’s the best for your resto.
It’s important to note that as we go through this process that the quarters are the first thing to come off the back of the car and the last to go back on. As is common, this one also needs wheel tubs and a trunk floor so those will have to be replaced before the quarter can go back on. We’re going to show you those processes separately but that means that when we show the quarter install, you’ll see the new tubs and trunk floor already in place.
Above left: After the rust was cleaned up, a line was drawn where the original panel needs to be trimmed so it will properly meet up with the new quarter. Above right: The part of the quarter that overlaps the trunk gutter also must be removed for a full quarter install. Note the rust between the parts. It’s mostly just superficial and is fairly easy to clean up.
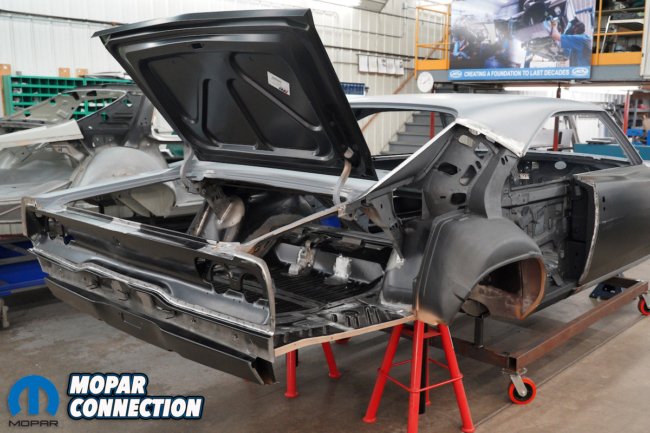
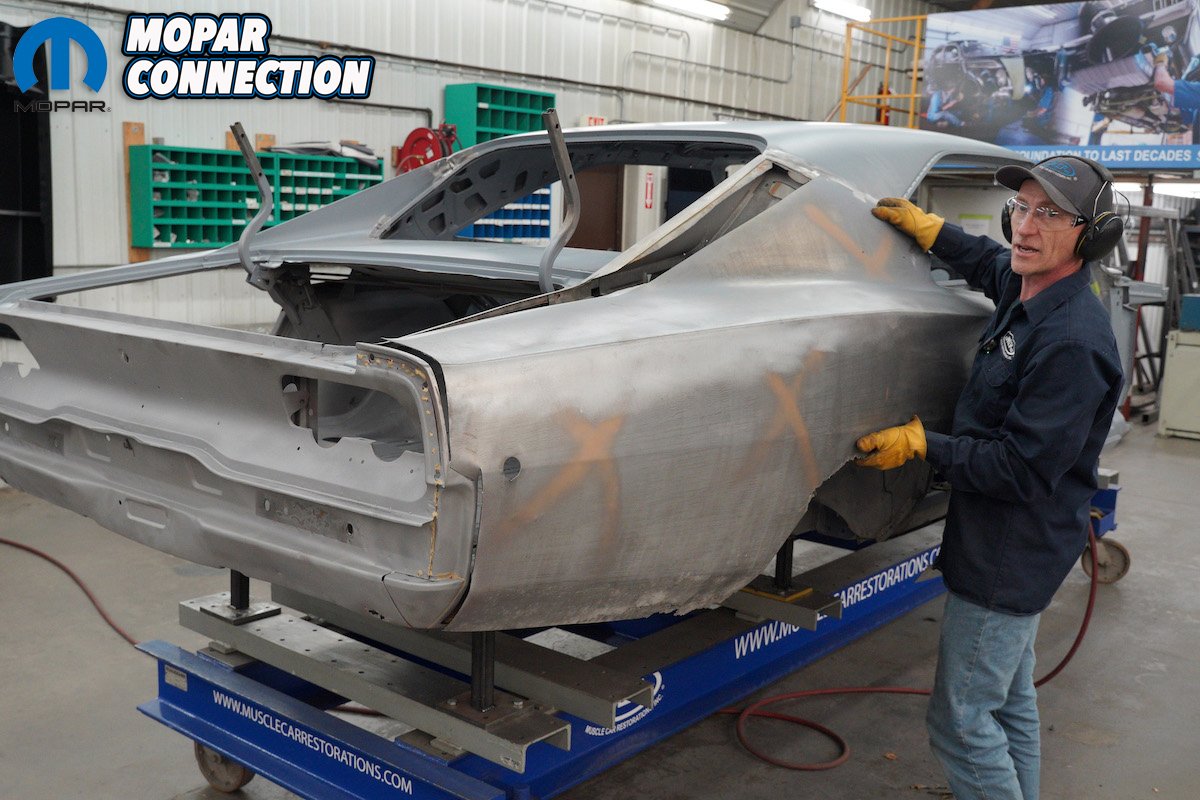
Above: With the rest of the parts under the quarter already repaired, the new one can now be set in place.
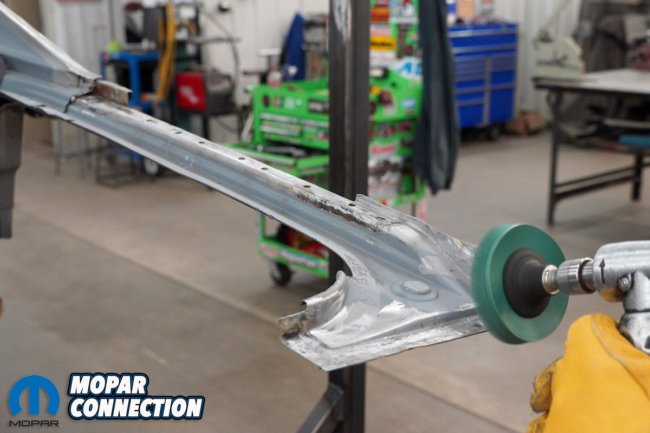
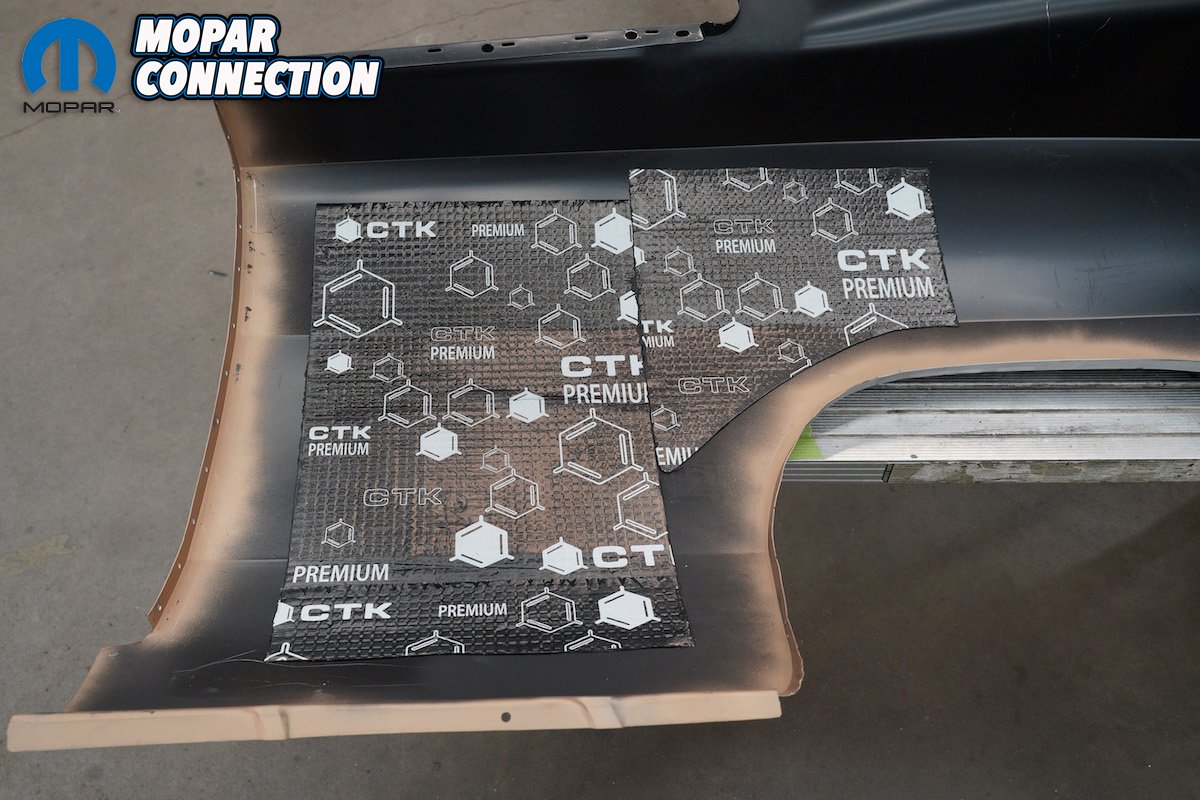
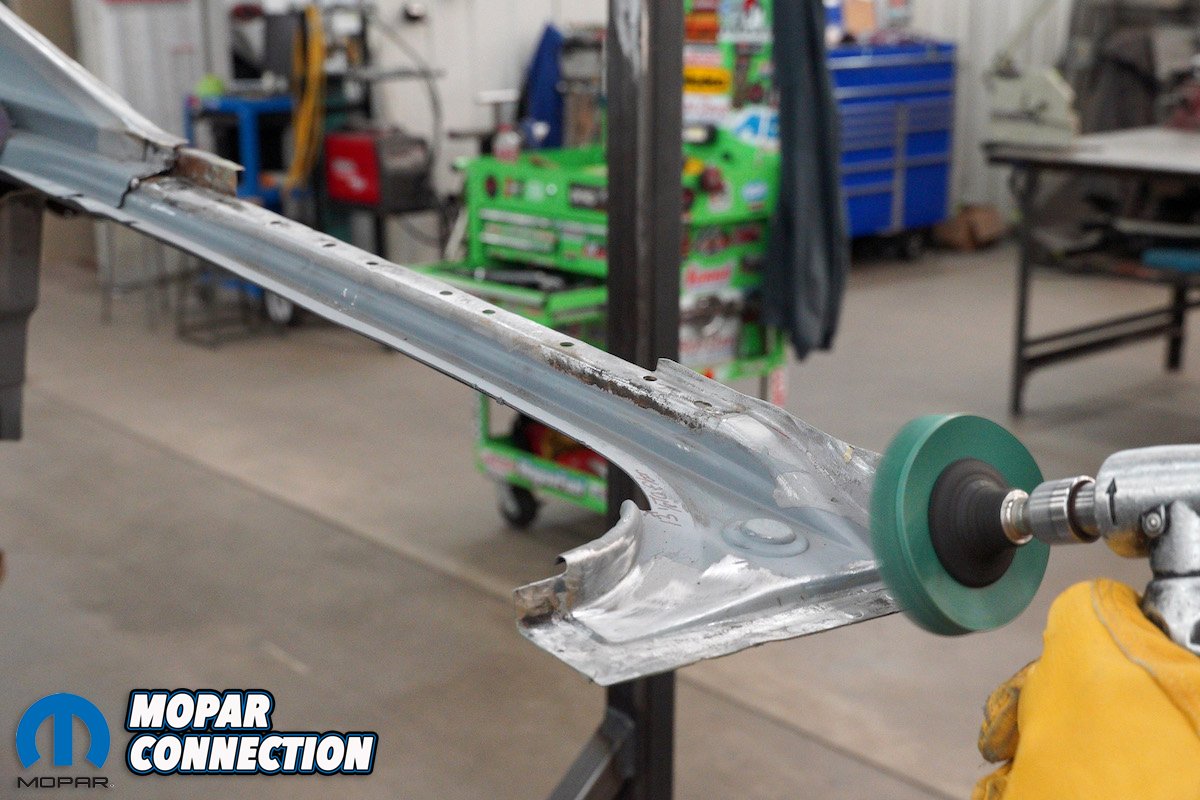
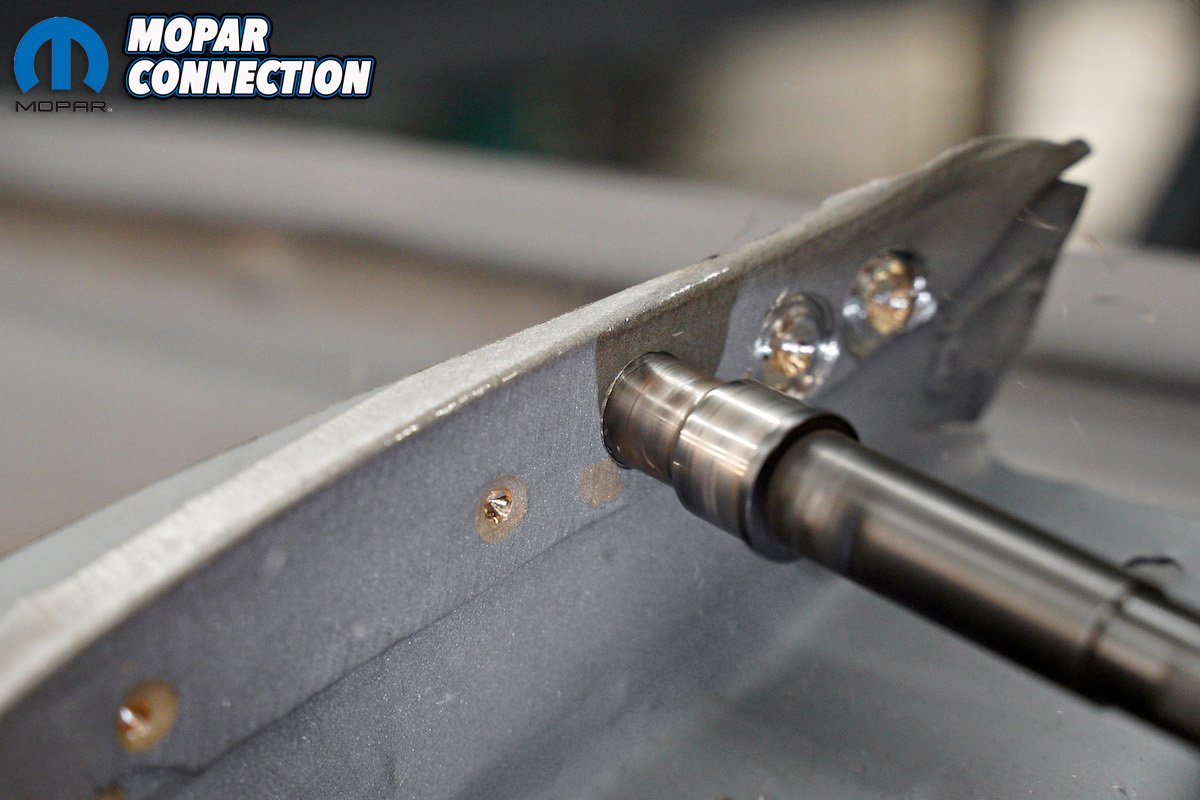
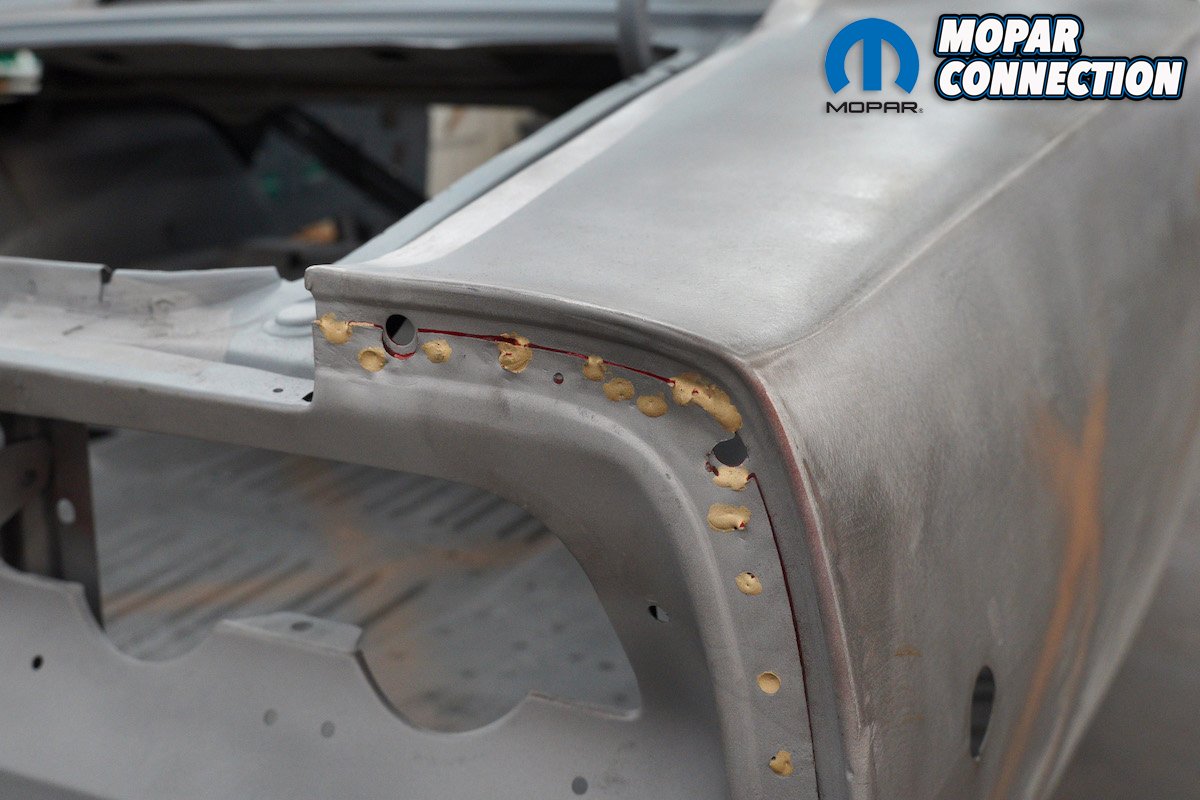
Above left: A green 3M Bristle Disc is great for cleaning up light rust. They don’t remove any metal and won’t over heat the part so there’s no danger of heat warping. These are also used to remove the e-coat from new panels anywhere that they will be welded. Above right: Sound deadener is generally added to the backside of a new quarter to minimize road noise. Not only is the e-coat removed from weld locations but a coat of Copperweld weld-through primer is applied anywhere panels are spot welded together to prevent rust from forming between the parts.
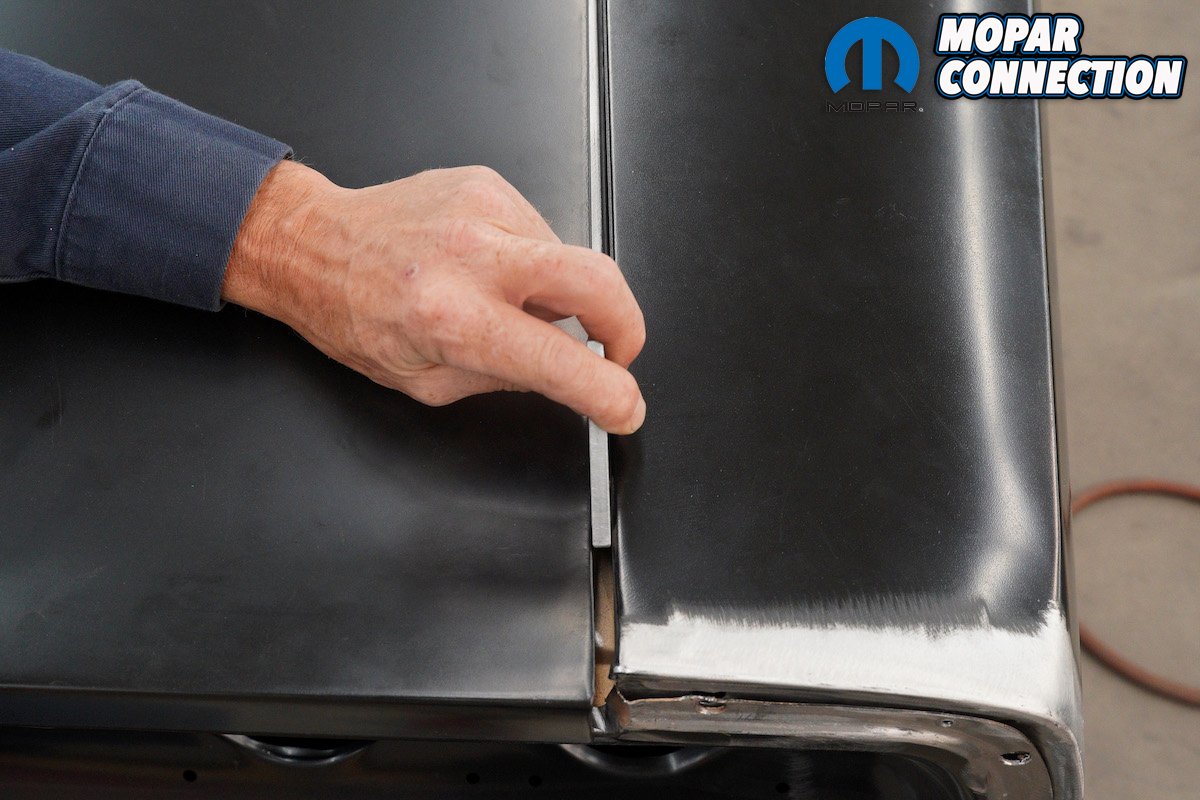
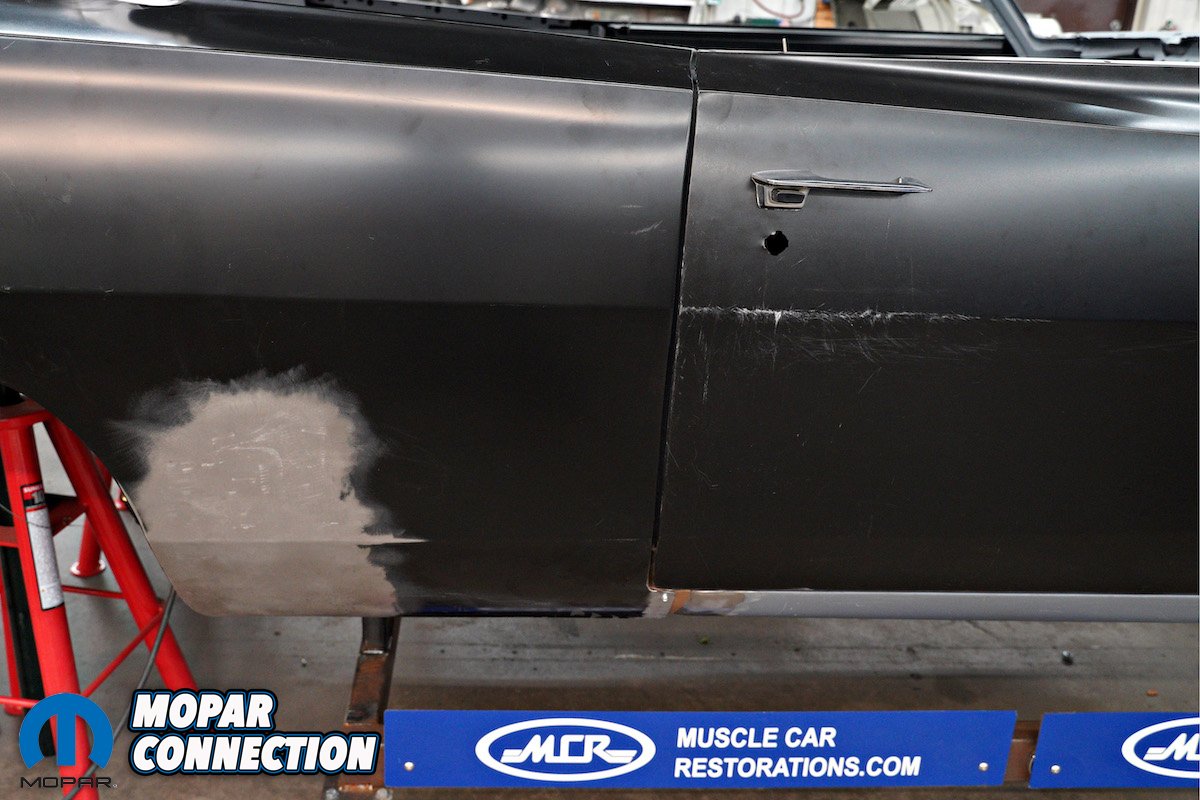
Above left: When installing full quarters it’s necessary to set both the doors and the deck lid in position to be certain that the panel gaps will be correct before anything is welded in place. Above right: Panel gaps are checked before the panel is clamped and sheet metal screwed in position for the welding process. You do not want to find out that your gaps are off after the quarter is already welded on.
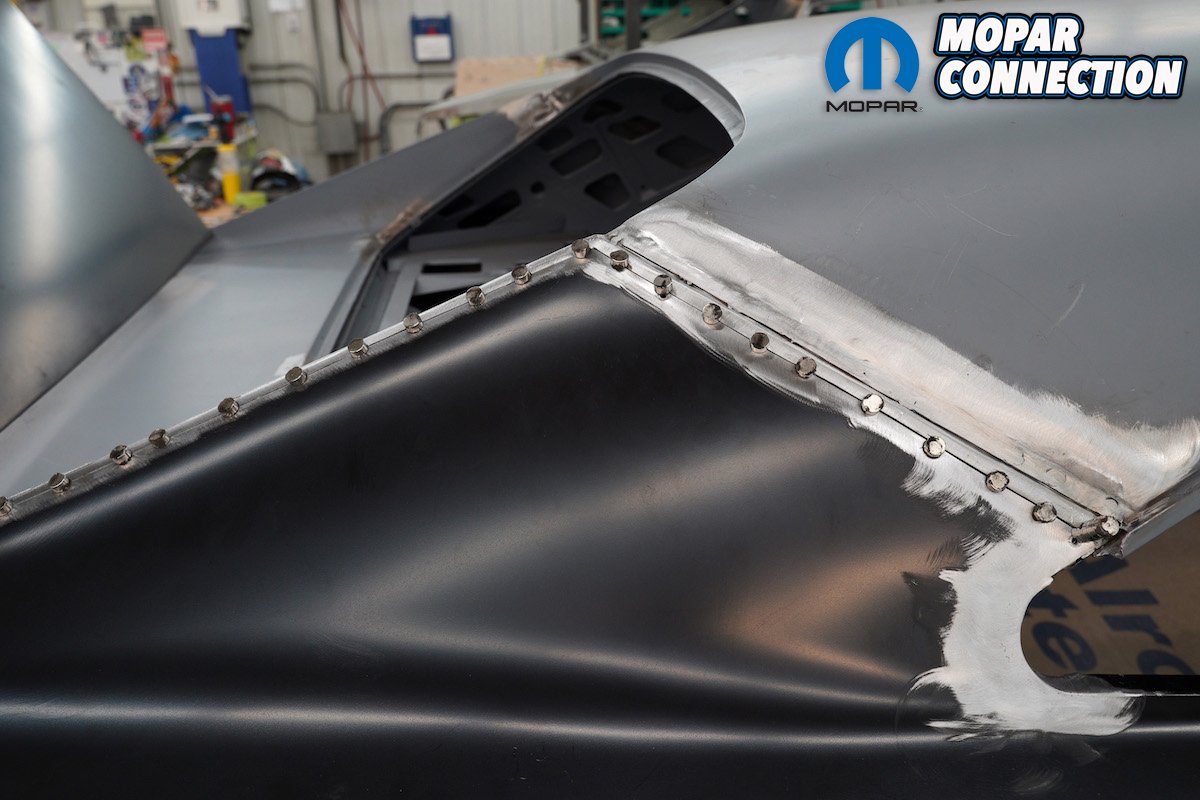
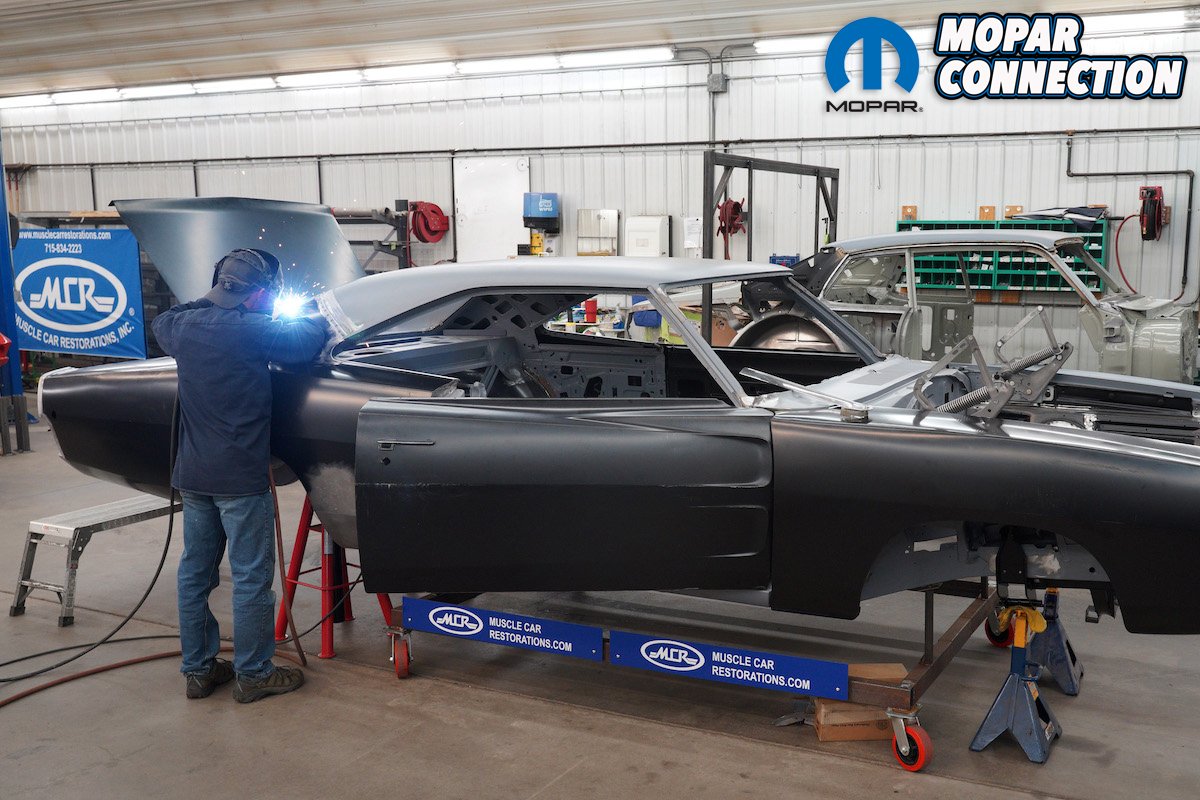
Above left: 3/8th inch neodymium magnets are placed along the weld seam to hold both panels in perfect alignment. Above right: With the magnets holding everything flat, tack welds can be placed about every inch or so along the seam removing the magnets as you go.
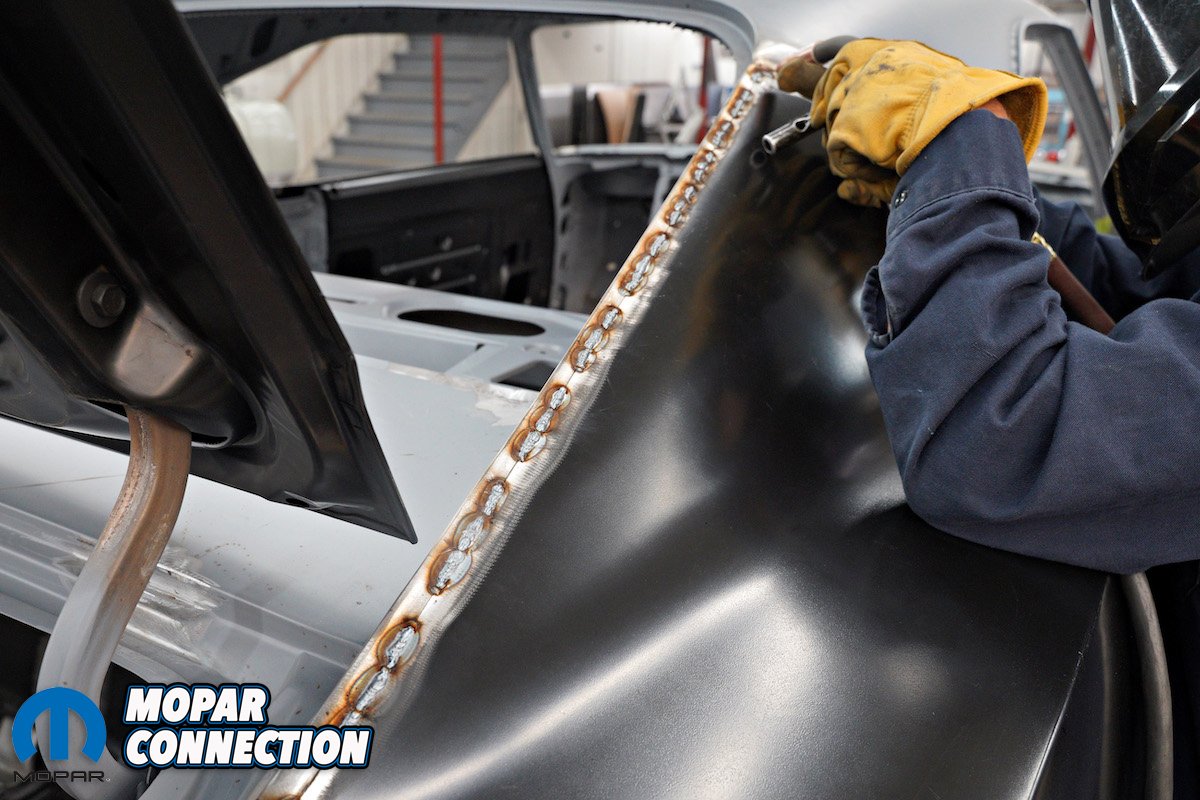
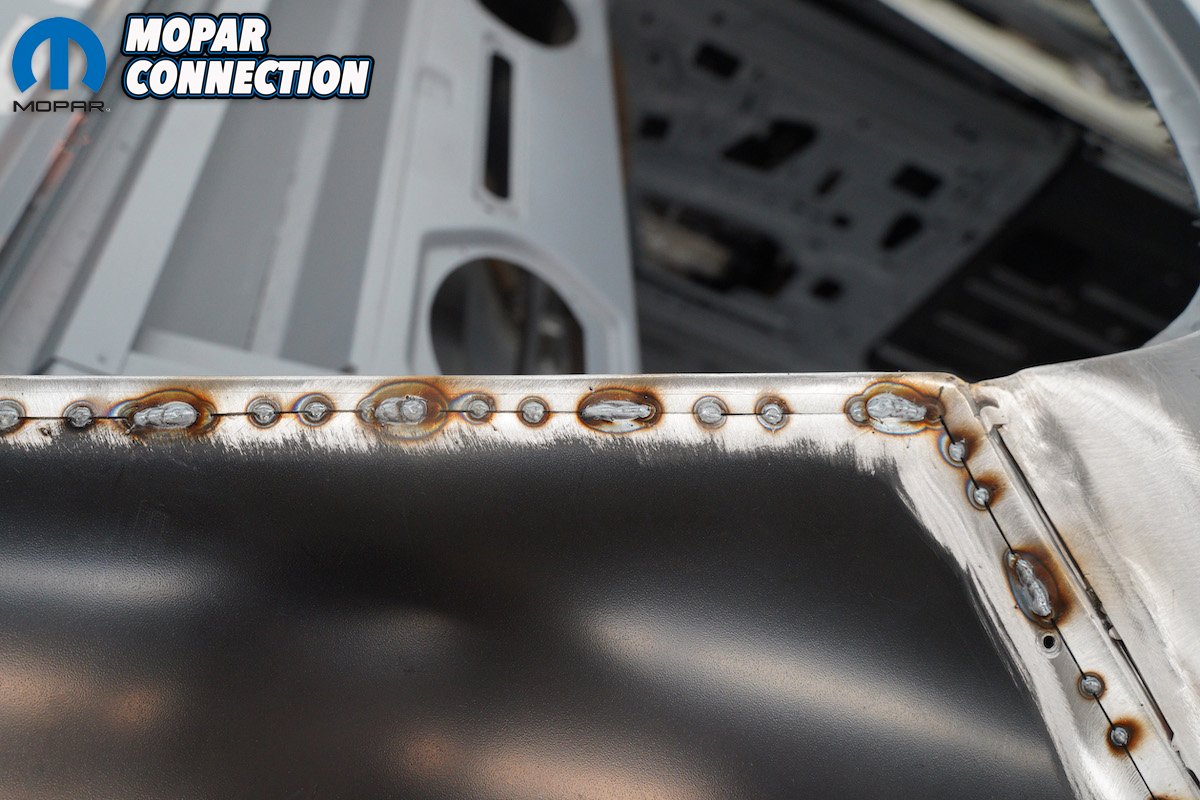
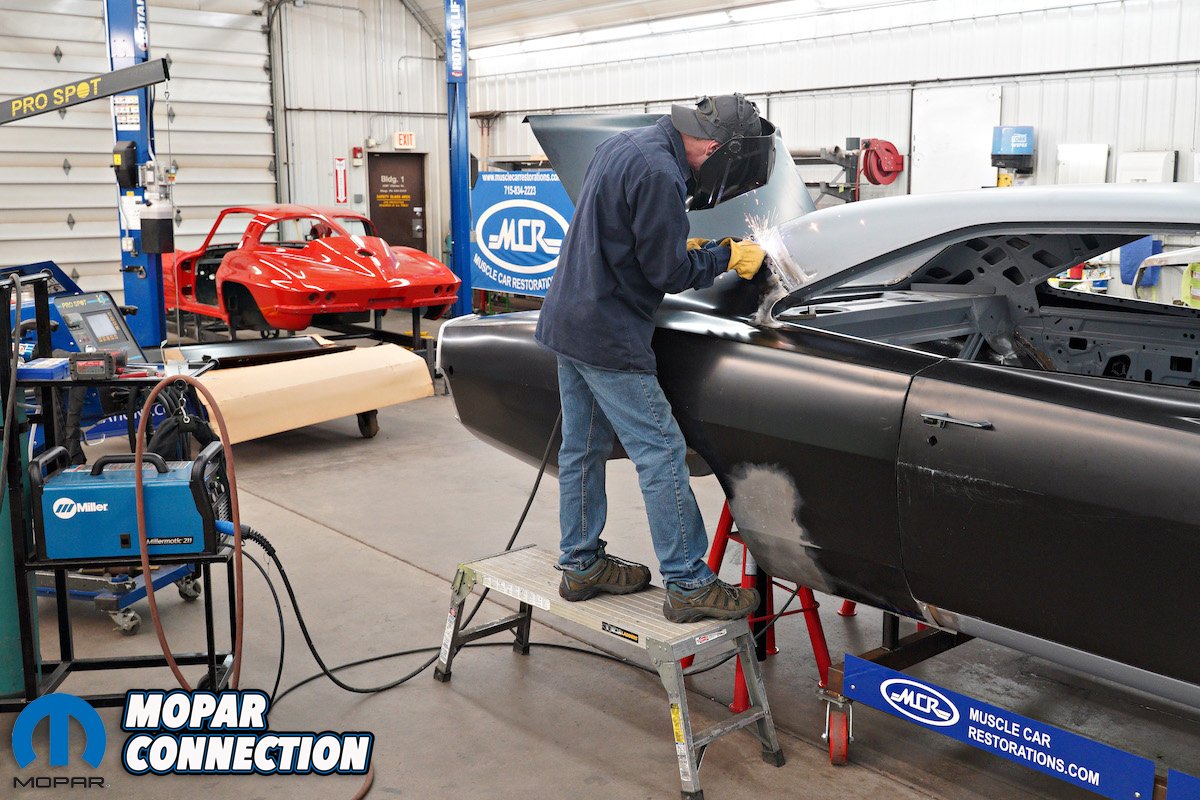
Above left: Additional tack welds can be placed in between the first set of tacks and then followed by a series of quick overlapping spot stitch welds to fill in the gaps. Air quench after each sequence of welds and move around the panel to let each location fully cool. Don’t run a bead! Quick overlapping spot stitch welds only. Above right: Continuing to add additional strings of spot stitch welds will eventually close up the entire seam. Using only quick spot stitch welds greatly minimizes any chance of heat warping. Note the narrow heat band around each weld string. Using an inverter welder like the Millermatic 211 that MCR very much prefers will make this technique much easier to perform than when using a traditional transformer welder.
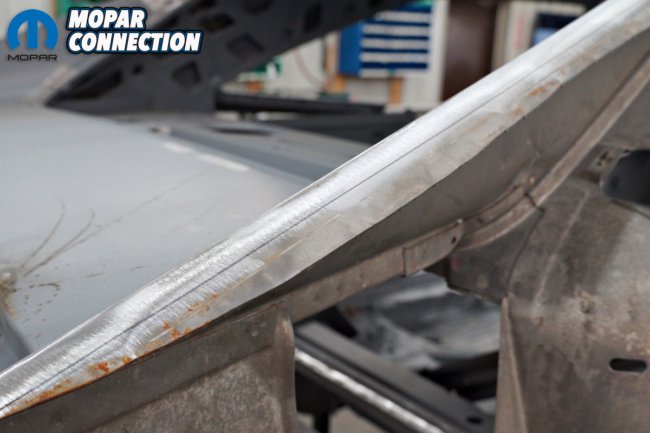
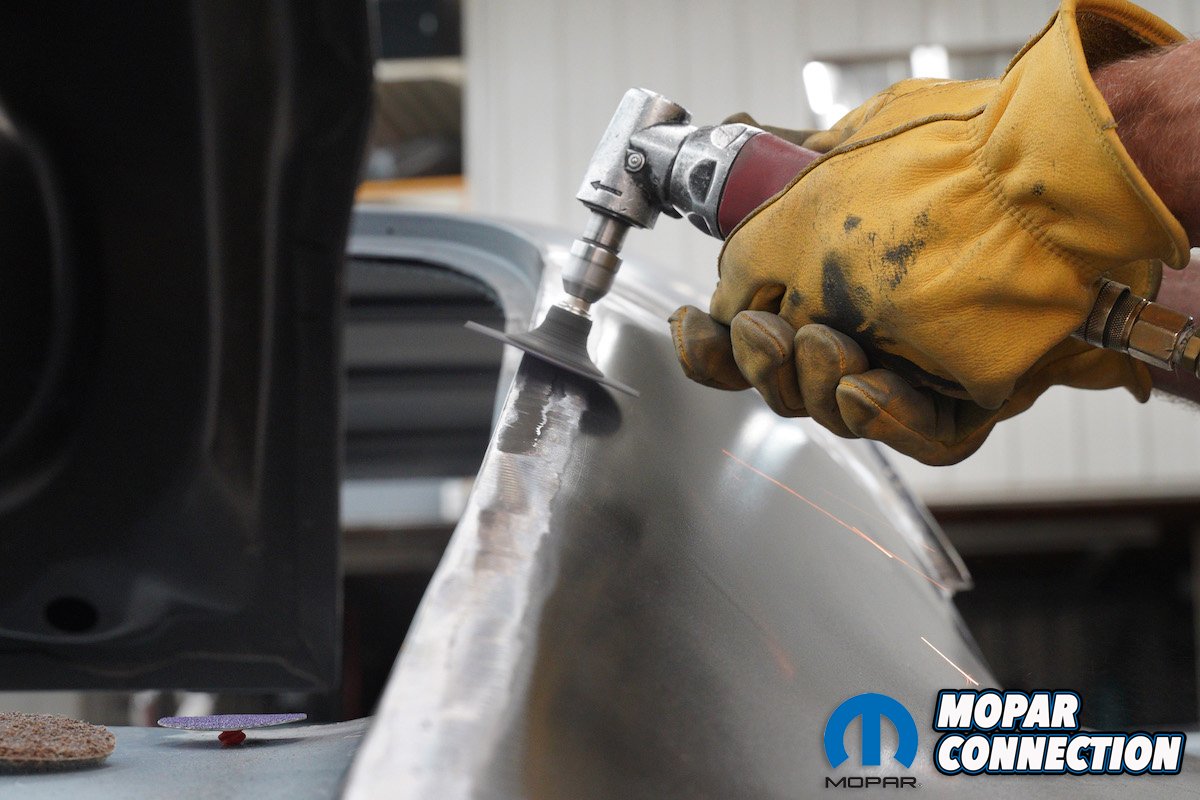
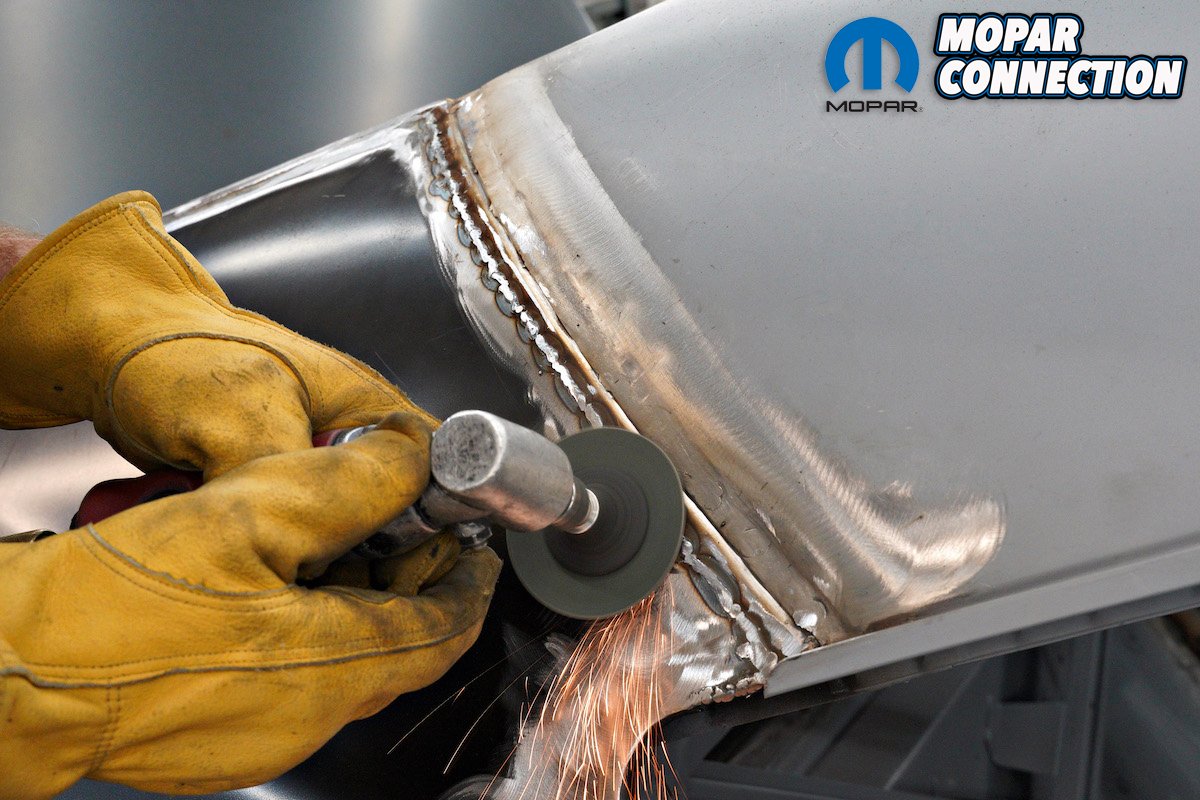
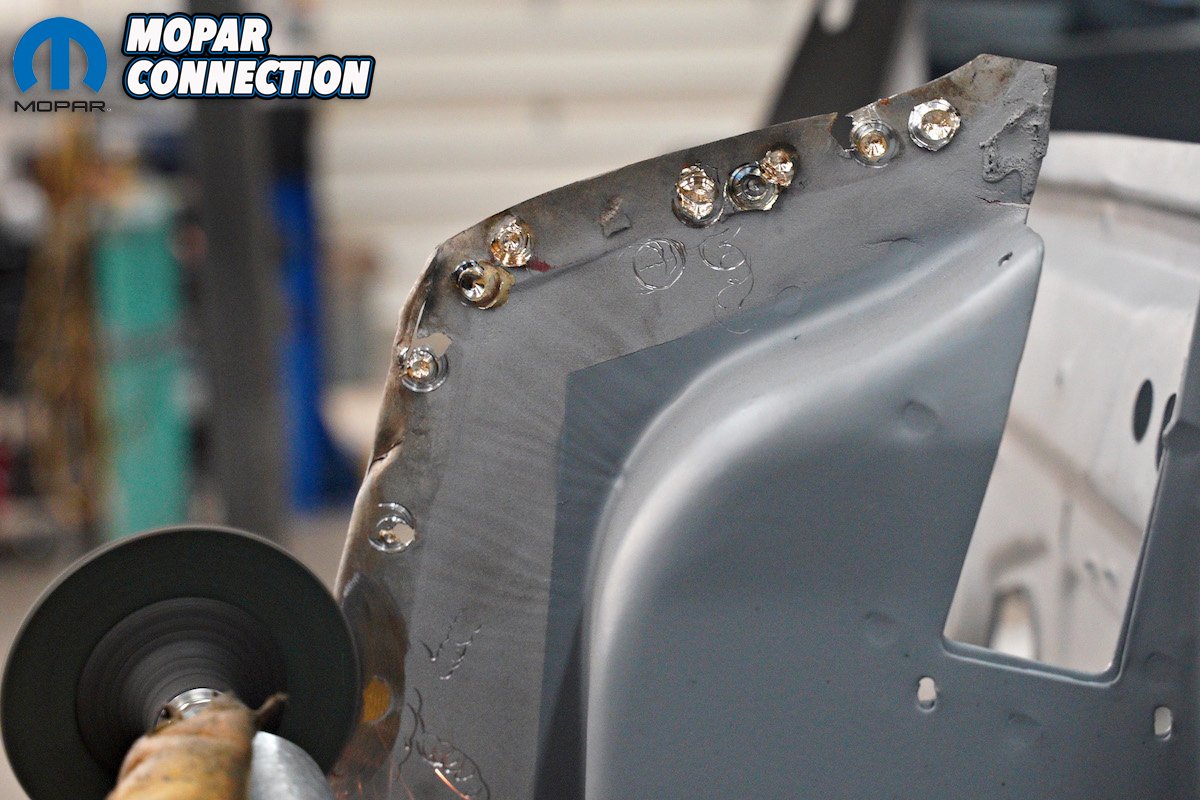
Above left: With the welding completed, an 80-grit wheel is used to grind the weld down flush with both panels. Be very careful to stay off the surrounding metal as that can be thinned very easily. Above right: Ground correctly, the seam will virtually disappear.
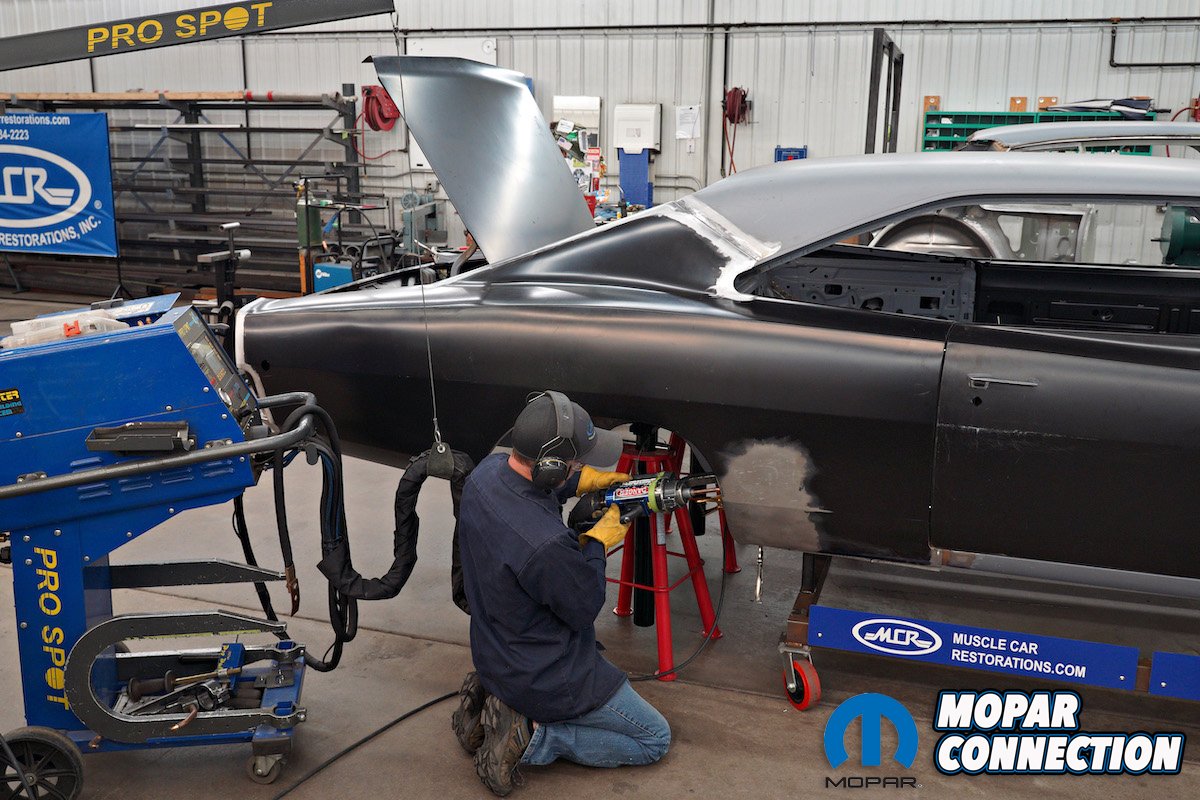
Above left: MCR replaces the original factory spot welds where possible but plug welding is a perfectly acceptable alternative if a pro spot welder is not available. Above right: The finished repair includes mocking up the taillight and bumper to be absolutely certain that they fit perfectly before the body is painted. MCR has been using Auto Metal Direct panels exclusively for all their Mopar projects for more than a decade.
Source:
Muscle Car Restorations
Chippewa Falls, WI
musclecarrestorations.com
715-834-2223
Auto Metal Direct
Gainesville, GA
autometaldirect.com
(833) 404-4777













so this had new quarters prior? and they rusted again? i didn’t think people drove this stuff in the winter or in climate weather after doing a resto?
wish you would do a vidio of this repair i would buy it right now i am currently doing my 70 ply gtx i have owned this car for over 40 years it had been wreaked before i got it and repairs where done very porley i am retired now and trying to do the best job i can on it,i dont have much help on it. my wife died 20 +years ago and my nephew only comes around once a while {couple times a month maybe } i bought all my parts from amd, frame rails,floors Q panels +++ doing meassurement a big chore. i retired from a welding shop so i know how to do that part,i printed a bunch of mcr pics and have been trying my best to copy their work. RKW thankyou amd for good parts.